Stylized Illustration: How to Draw Stylized Hands in Procreate | Beyoncé Flores | Skillshare

Playback Speed


1.0x


  • 0.5x
  • 0.75x
  • 1x (Normal)
  • 1.25x
  • 1.5x
  • 1.75x
  • 2x

Stylized Illustration: How to Draw Stylized Hands in Procreate

teacher avatar Beyoncé Flores, Bring out your passion for art ✨

Watch this class and thousands more

Get unlimited access to every class
Taught by industry leaders & working professionals
Topics include illustration, design, photography, and more

Watch this class and thousands more

Get unlimited access to every class
Taught by industry leaders & working professionals
Topics include illustration, design, photography, and more

Lessons in This Class

    • 1.

      Introduction

      1:17

    • 2.

      Getting Started

      0:25

    • 3.

      Using References

      3:04

    • 4.

      Drawing the Hand

      2:34

    • 5.

      Practicing Hand Poses

      2:44

    • 6.

      Your Turn!

      0:33

  • --
  • Beginner level
  • Intermediate level
  • Advanced level
  • All levels

Community Generated

The level is determined by a majority opinion of students who have reviewed this class. The teacher's recommendation is shown until at least 5 student responses are collected.

181

Students

6

Projects

About This Class

Drawing hands is definitely HANDS down one of the most intimidating and challenging topics when it comes to drawing. So how are we gonna go about with this?

Hi, I'm Beyonce Flores a digital artist and in this class, we’ll learn how to draw stylized hands.

Back when I started drawing, hands have always been a challenge to draw for me and well I would often just hide the hands somewhere to escape the elephant in the room. But with the right tips and continues practice, I found myself improving slowly but surely! So today I’ll be sharing those tips with you!

Starting with tip #1; observe and using references, references are your best friend when it comes to art. Learning how to use references will surely help you take a big leap in terms of improvement!

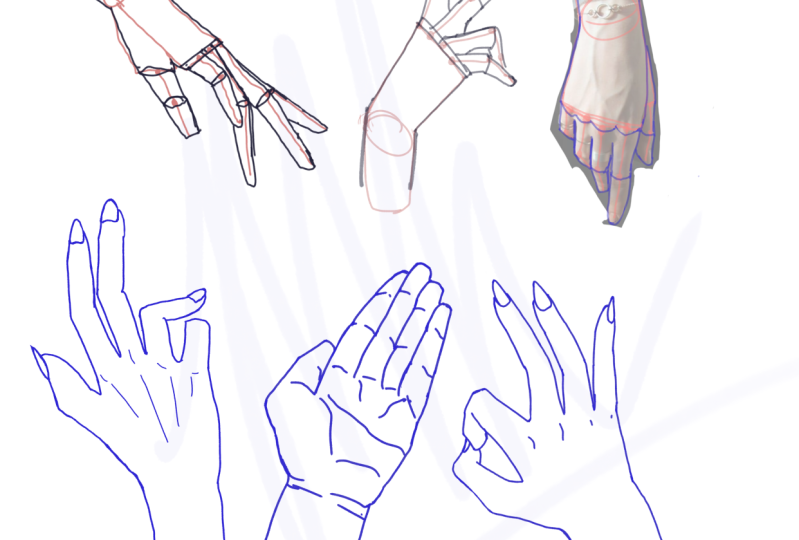
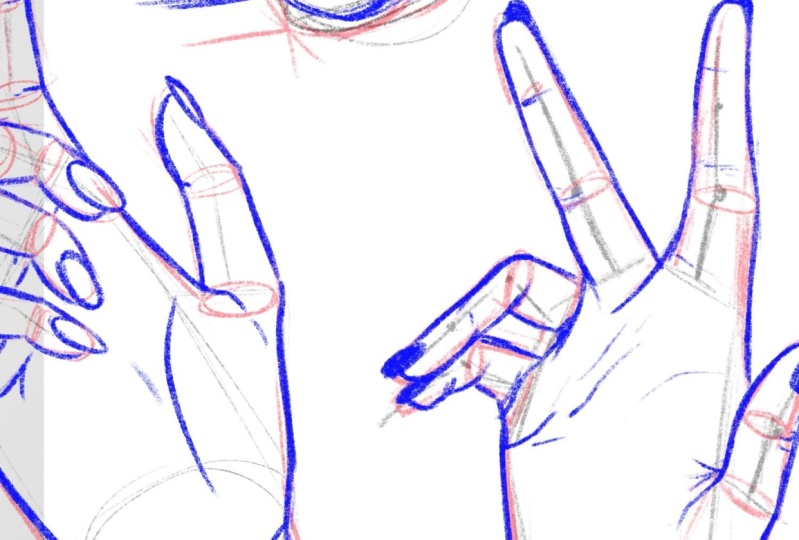
Tip #2; simplifying! Drawing hands is a complication topic so we’ll be learning to simplify things, we’ll learn to see the basic shapes and how we can use them as a guide.

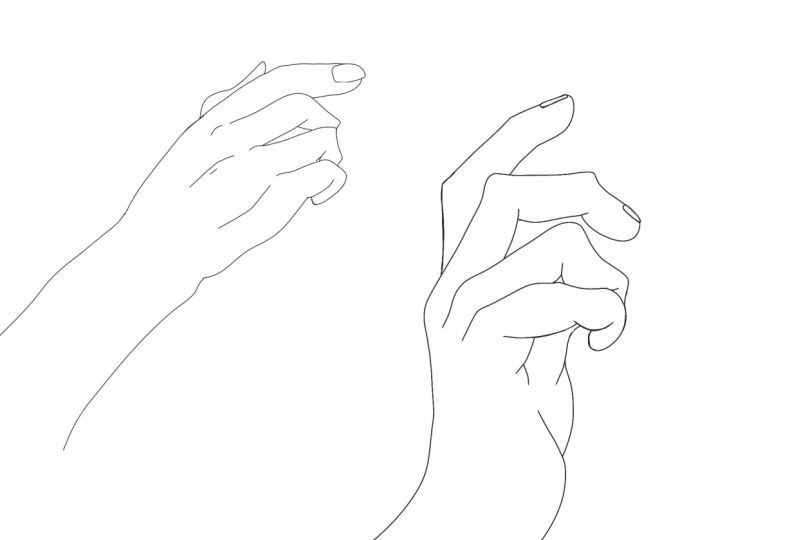
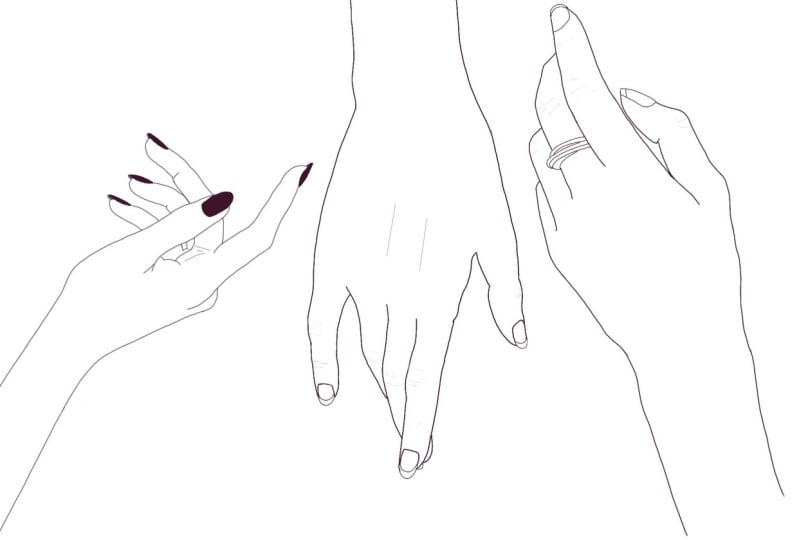
Lastly tip #3 practice! As the saying goes, practice makes perfect! So we’ll be practicing different kinds of hand poses to exercise our muscle memory! I’m excited to tackle each lesson with you, so let’s get started!

Meet Your Teacher

Teacher Profile Image

Beyoncé Flores

Bring out your passion for art ✨

Teacher

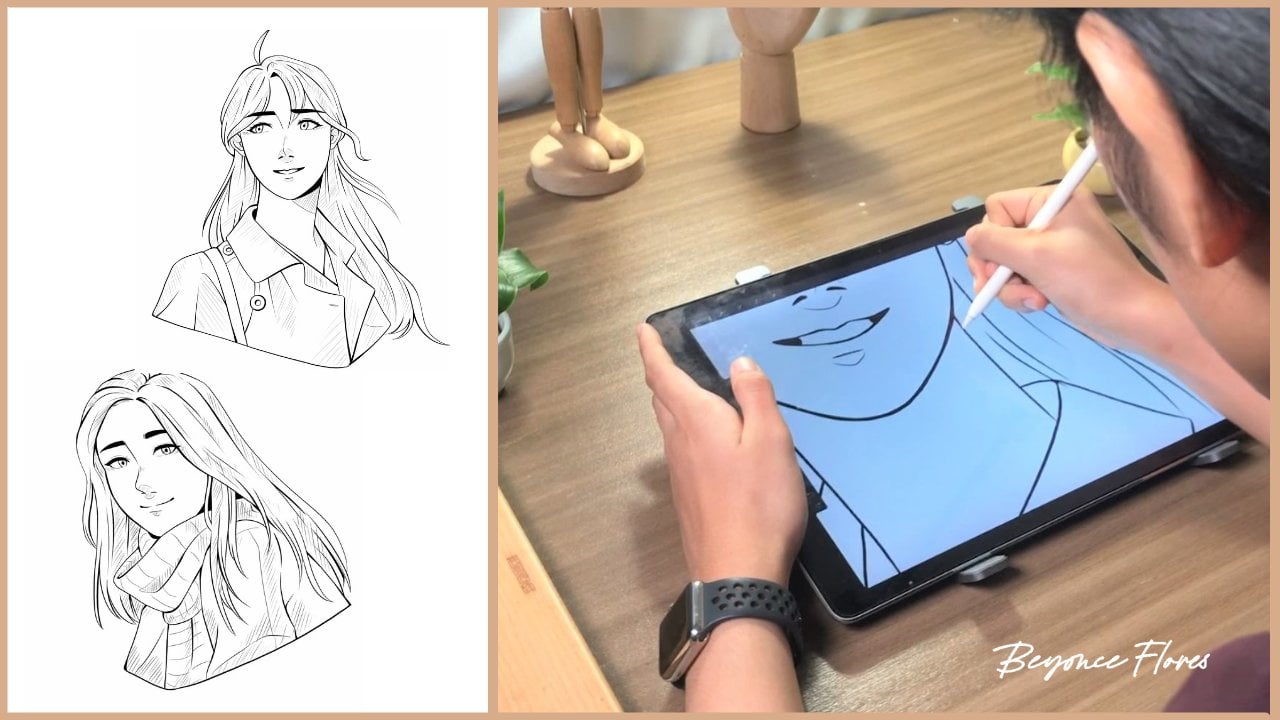
Hi! I'm Beyoncé Flores and I am a Digital Artist based in Manila, Philippines.

My goal and purpose is to help people discover their passion for art.

I'm excited to create beautiful and meaningful artworks with you! See you in class!

See full profile

Level: Intermediate

Class Ratings

Expectations Met?
    Exceeded!
  • 0%
  • Yes
  • 0%
  • Somewhat
  • 0%
  • Not really
  • 0%

Why Join Skillshare?

Take award-winning Skillshare Original Classes

Each class has short lessons, hands-on projects

Your membership supports Skillshare teachers

Learn From Anywhere

Take classes on the go with the Skillshare app. Stream or download to watch on the plane, the subway, or wherever you learn best.

Transcripts

1. Introduction : Drawing hands is definitely hands down, one of the most challenging and intimidating topics when it comes to drawing. So how are we going to go about with this? Hi, I'm Once Flores, a digital artist, and in this class we'll learn how to draw stylized hands. Back when I started drawing, hands have always been a challenge to draw for me. And well, I would often just hide the hand somewhere to escape the elephant in the room. But with the right tips and continuous practice, I found myself improving slowly but surely. Today I'll be sharing those tips with you, starting with tip number one, observe and using references. References are your best friend when it comes to art. Learning how to use references will surely help you take a big leap in terms of improvement. Tip number two, simplifying drawing hands is a complicated topic. We'll be learning how to simplify things and we'll see the basic shapes and learn how we can use them as our guide. Lastly, tip number three, practice As the saying goes, practice makes perfect. So we'll be practicing different kinds of hand poses to exercise our muscle memory. I'm excited to tackle each lesson with you. So let's get started. 2. Getting Started : As we get started, let's take a look at the art equipment we'll use for this class. I'll be using the ipad Pro and the apple pencil with the peppermint brush, but feel free to use traditional equipment like your sketch books and a pencil. You may also use the sketching brush you prefer in procreate. Once you have your materials ready, let's start in the next lesson. 3. Using References: Drawing hands is really challenging, especially for beginner artists starting out. But we have something that'll be of big help. These are references, these are models and guides. When drawing, first thing you'd want to do is search for inspiration or get in the zone by looking through references, you can look up a ton of great references in Pinterest. You don't have to rush this process. When looking through references, you'll slowly get inspired and it'll be much more fun to start drawing once you've found a reference you like. Once you found a reference, or let's take the reference we have here. We're going to start by simplifying what we see, such as the basic shapes and the overall structure of the hand. I'm starting off by drawing a circle for the wrist joint, then a rectangle for the palm. I'm then adding lines for the fingers and adding small circles for the joints. This helps with the finger placement and the guide to where the joints start to bend. After that, I'm adding a new layer and taking another color. And I'm now drawing cylinder shapes for the fingers. After drawing the fingers, I connected to the palm, as well as the knuckles going to the wrist. Now here's a look at both layers separately. Now here's another example, again starting off with a circle for the wrist joint, then drawing a rectangular shape as well as a triangle. Then I continue to add the guidelines for the fingers. After that, I'm taking another layer. And again, drawing the fingers, this time as cylinder shapes. This helps us simplify the fingers into basic shapes so that it's easier to break down a reference. I'm cleaning it up a bit. And here's the final breakdown. This method of breaking down references is good practice to further understand the anatomy of a hand. So by practicing this continuously, you'll be able to see a huge improvement when you draw hands. Now that we've learned how to break down the references into basic shapes. In the next class, we'll learn about drawing hands without tracing the references. 4. Drawing the Hand: Now that we've learned the basic shapes to a hand, let's recreate the same shapes, but without tracing the reference. This time we'll be sketching out the shapes again, While a reference will be on the side. Right here, I have this lovely, lovely reference. Instead of tracing, I'll be drawing it from scratch by using the same methods of drawing the basic shapes first, and so on. I started off by drawing a circle for the joint, then the rectangular shape for the palm. I'm drawing the finger guidelines and constantly looking at the reference. I'm now defining the fingers by using cylinder shapes. Just like the previous lesson. I draw a small curve for the knuckles, then connect the palm all the way to the wrist. After drawing the raw sketch, I'm going to draw on a layer on top of it, a final sketch of the hand. I'm drawing cleaner and more precise outlines for this layer. And here's its final look. Here's another example, starting off with a circle for the joint, the rectangle shape for the palm, then the lines for the fingers. Then I'll start adding the cylinder shapes for the fingers to be able to master. Drawing hands is really just by practicing continuously. Observing real life figures or references can also really help. When drawing hands, you'll learn all about the anatomy in the right proportions. Right here, I just finished up the hand and here's the final output. So now we were able to draw hands from scratch. The key here is continuous practice. So on our next lesson, we'll be practicing the same method, but with different kinds of hand poses. Let's head to the next lesson. 5. Practicing Hand Poses: After learning how to simplify the hands and drawing them, let's apply those same techniques to practice. I have here a couple of hand poses that we can simplify and learn to draw. Right here on my reference, two of the fingers are closed. How are we going to draw this? I start off by drawing a square shape, then I draw a circle for the joint and connect it a little bit down for the wrist. I draw a triangle shape for where the thumb starts, then I add the lines for the fingers. Afterwards, I'm drawing the cylinder shape, slowly starting by the thumb. I then start to draw the two outstretched fingers as those are the focal points and those should be the main focus of this hand piece. Just by continuously looking at the reference, I have a guide on to how to draw the folded fingers. I'm cleaning up the sketch here and there, and then I start adding the fingernails. I flip to check the canvas, if there's any mistakes in terms of perfortioningIlip it. And here's the final output. Let's draw another example. I start by drawing a box like shape, and then I extend the wrist. Afterwards, I start drawing the fingers while constantly looking at the reference. I defined the lines by the palm and the wrist. Then I start drawing the thumb. I erased some of the messy sketches and darkened the outline more. I added details to the knuckles and added a little bit of basic shadows, as well as cleaning up some of the messy lines. Finally, I added the ring and filled in the fingernails. And here's the final piece. 6. Your Turn!: Awesome job for reaching the end of this class. I hope you learned a lot and found these tips helpful for your art journey. For our class project, I'd like you to submit a practice sheet filled with your hand sketches. This practice will surely help you improve your skills slowly but surely. I'm really looking forward to your works. And if you enjoy this class, be sure to leave a review and follow to be able to tune in to future classes. Thank you again for joining my class and I'll see you on the next one.