Transcripts
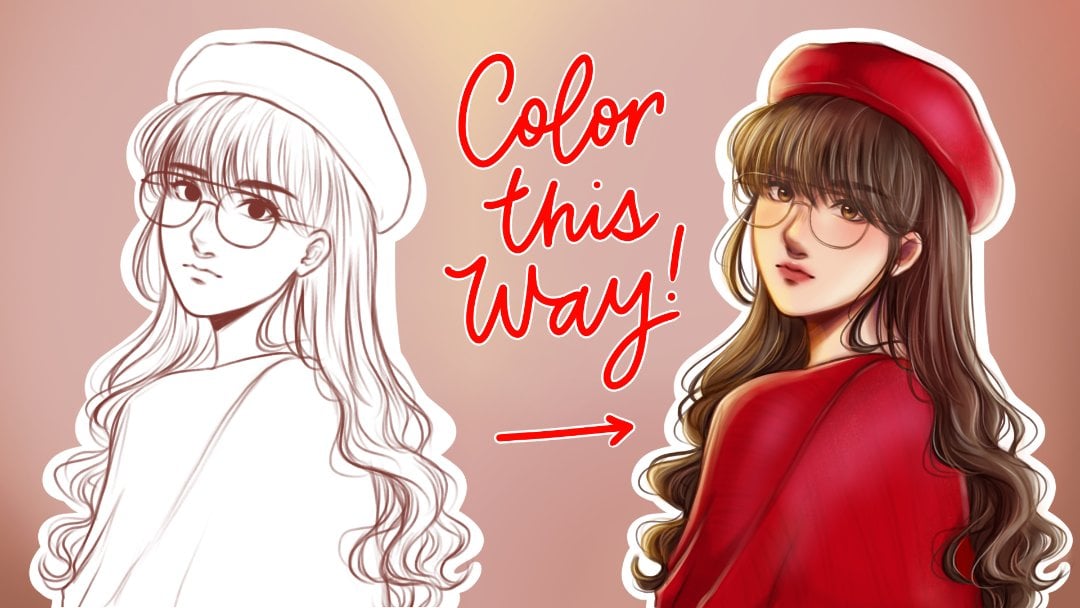
1. Introduction : Ever find yourself looking at a colored artwork in that
incredibly soft and wy style, and wonder to yourself, ah, I'd like to color
with this style, too. But how? Well, look no further because you came
to the right place. Hi, I'm Ganz Flores,
a digital artist, and in this class,
I'll teach you all about treating soft and wy skin. When we look through artworks
with this art style, at first, you'd feel intimidated because it's hard to
know where to start. But in this class,
I'll be teaching you that it's easier
than it seems. So here are a few points we'll
be focusing on this class. Applying base colors,
rendering shadows, and highlight placements, and adding the
finishing touches. Knowing and practicing
these points will help improve the
way you render your art. My goal by the end of
this class is you'll gain much more confidence in coloring your
character portraits. I'm excited, and I'm sure
you are too. Let's go.
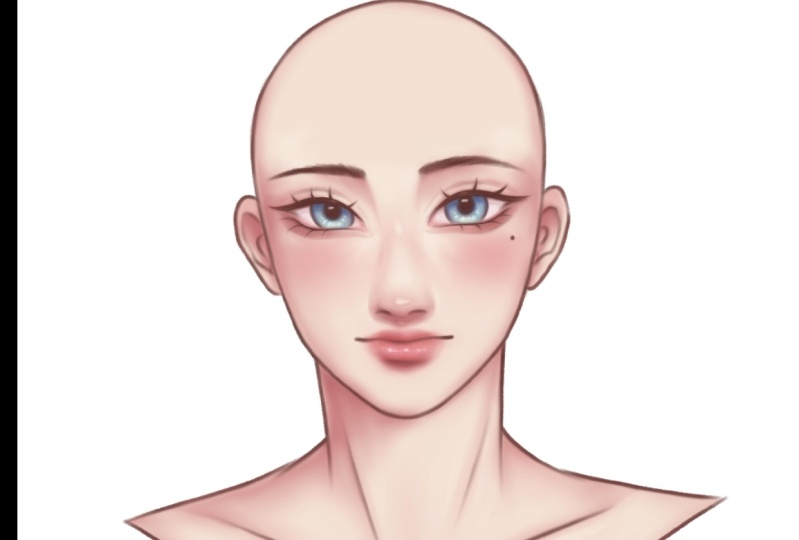
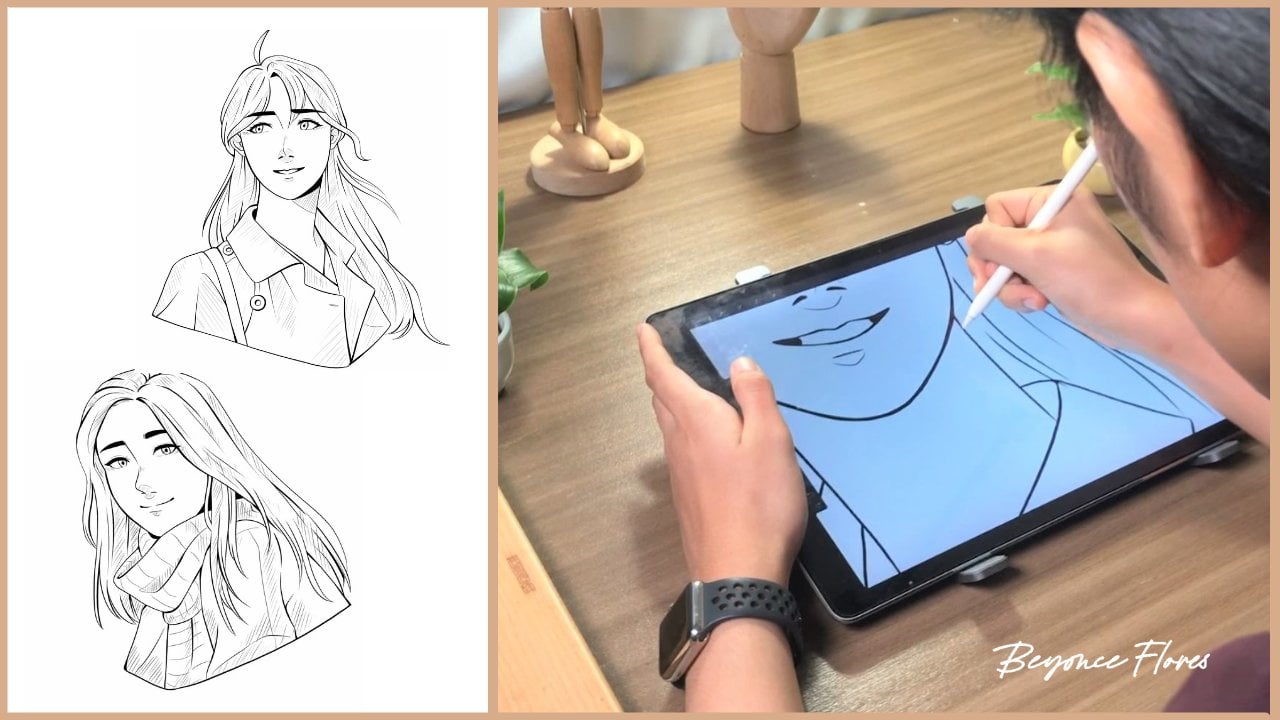
2. Getting Started : Our first step is preparing
our sketch layer. Let's take the sketch
I prepared for this class and set that
layer to alpha lock. Now, let's take a dark
brown shade and air brush it right at the skin parts. After that, let's add a layer beneath the sketch
for the base colors. Feel free to choose any
skin tone that you'd like. I'm now taking that color
and filling in the sketch. Okay. And afterwards, I'm cleaning up the
edges if necessary. Another method of applying base colors is by
using the lasso tool. Right here, I'm taking
the lasso tool and I'm tracing the outlines
until it closes. Afterwards, simply color
drop and you're done. Once you finish this step, head to the next
lesson where we'll learn all about
blending and rendering.
3. Shading & Rendering: Okay. So our next step is to
add blush in these areas. So now I'm taking
an air brush and choosing this light
pink red blush shade. And I'm coloring over those areas that I
showed you earlier. Okay. Right now, it looks a bit too heavy. I'm taking the skin tone color, and I'm lightly
diffusing the color of the pink just so
it blends nicely. Once you're done, you should have something that
looks like this. Next step is taking
a darker shade for the shadow and placing it
on these areas right here. Using the medium brush, I start coloring the
areas by the eyes, the ears, and the nose. And I'm starting to
blend it softly, making sure it blends
nicely with the pink shade. Now I'm shading around the
eyes and the nose bridge. I'm adding now the shadows by the neck extending
to the collar bone. I'm just color picking the shades that are
on the portrait already and using it to blend out so there
aren't any harsh lines. Now we're going to
add highlights and I'm just going to take
the same skin tone shade, and I'm going to place it
on these areas right here. Starting by the tip of the nose, I'm lightly coloring a small
do that I will blend in. I'm putting highlights by
the side of the nose and by the nose bridge as
well as the upper lip. After that, I'm putting
the lighter shade to her under eyes and
around the cheeks. Now here, I'm making sure I'm seamlessly and naturally
blending it with the blush. This process takes
a lot of patience because you will be
blending of the colors. I'm now adding a little
highlight by the cheek bones, then blending it with a
little shade of pink. Right here, I'm just fixing the overall shape of the nose because I wasn't
too happy with it. And after that, I'm now adding a darker shade to her under eyes just to create more depth, as well as her double eyelids. I took a darker shade of
shadow and I'm adding it almost to the same
places of the shadows, just to add more depth. Now, I'm adding
colors to her eyes. I took a dull shade of light
pink and filled it in. As for the lips, I'm taking in a bright red shade and just
airbrushing it over the lips. Now, with a light
red, almost pink. I'm taking that color and I'm brushing it right over the lips, as well as putting little
dots just for the highlight. I'm also putting a highlight
by the Cupid's bow. Now I'm taking a more
wider shade and I'm highlighting the already
highlighted parts just for the extra shine. Now when we take a step back
and look at our portrait, it almost looks complete. But right now, we're
practically just starting. So now we're going to merge
the sketch layer with the base colors that has
our rendering and shading. By doing this, we're going to
be coloring over the lines, and that'll help with the
portrait to more soft, Tint will be coloring over the line art that we may
have on our artwork. I'm taking the shade of the
under eyes and coloring it in a bit more just so I can blend it in with the
line art of the yes. This will help to soften
the look of the line art, so the portrait itself
would look softer and dewy. I'm going to continue
to blend that and I'm going to take
a lighter shade, similar to the blush. And I'm adding it towards the middle part of
the under eyes. This serves as a highlight. Then I'm taking an even
brighter shade and I'm going to highlight a smaller part
of the same part we colored. Now I'm taking a vibrant
red orange shade and I'm going to put it in the inner corners of the eyes
and going to blend it out. Afterwards, I'm going to
take the same shade of the linear and I'm going to
re add the lower lashes. Okay. Right now, I'm
adding another layer and setting that layer
to clipping mask, and I'm setting it to multiply. Now I'm going to be adding
some shadow towards her eyes just to give it a
little bit more dimension. I'm now going to
lower the opacity, so it doesn't look too. So right here, it's already, but on our next lesson, we're going to tackle the touch ups and
finishing touches. Okay.
4. Touch Ups & Finishing Touches: This lesson will be all about the small details that can either make or
break your artwork. The touchups I'll be doing
is completely optional, and if you find other
final touches you like, feel free to share it with
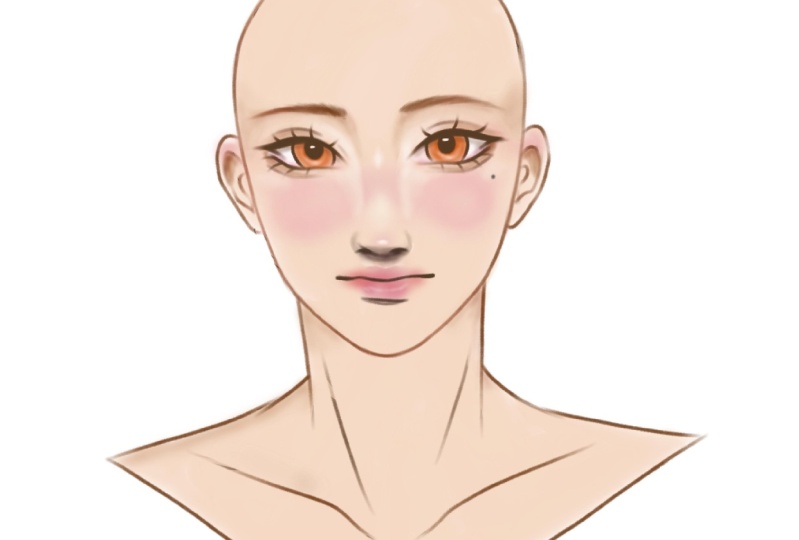
me in the class discussion. For the first touchup
I'll be doing, I'm going to take a
bright vibrant pink, and I'm going to brush it right across the lower
areas of her eyes. I'm also filling in the inner
corners by a little bit. Now I'm taking the
smudge tool and I'm slightly blurring out
the edges of her eyes. This is to create
that dreamy effect. Now I'm selecting the
shade of the line art and I'm taking a
medium hard airbrush, and I'm going to re a more
defined and sharp wing to the end of her eyes. So now I'm just
cleaning up a bit, and then I'll be adding
some color to her eyes. Okay. I chose the shade of brown, but you can choose any
eye color you'd like. I'm first starting off
with the base color. Then taking a slightly darker
shade of that color and I'm putting it on the upper side of the eyes to serve as the shadow. Okay. Now I'm taking a slightly bright but
muted shade of orange, and I'm putting it at the
lower part of the rises. I'm taking a brighter
yellow shade and putting it at the center of what
we drew with the orange. And then I'm taking
a white and I'm adding a small highlight
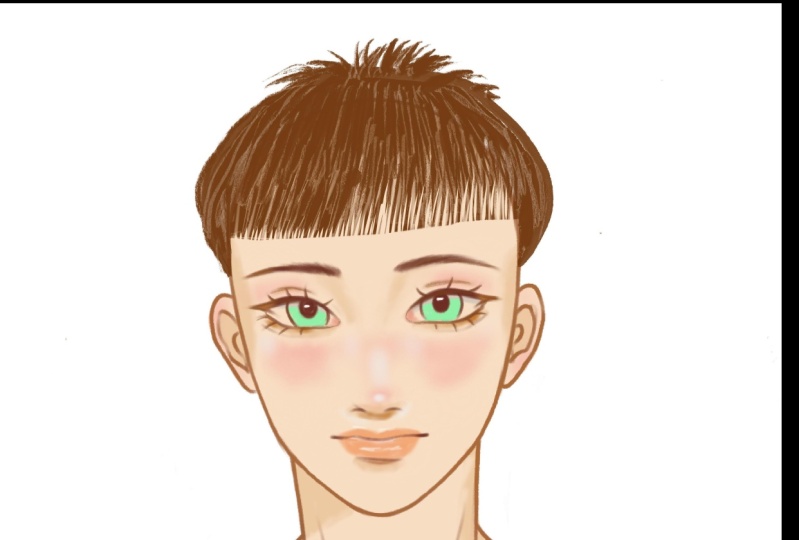
at the center of the eyes. Lastly, I'm redefining the
upper and lower eyelashes. Okay. And once that's done, we're pretty much done. From here, you can
continue the piece by adding your hair or clothing or any
type of accessories you'd like to customize
your own portrait. For our next lesson,
it's your turn and we'll be talking
about our class project.
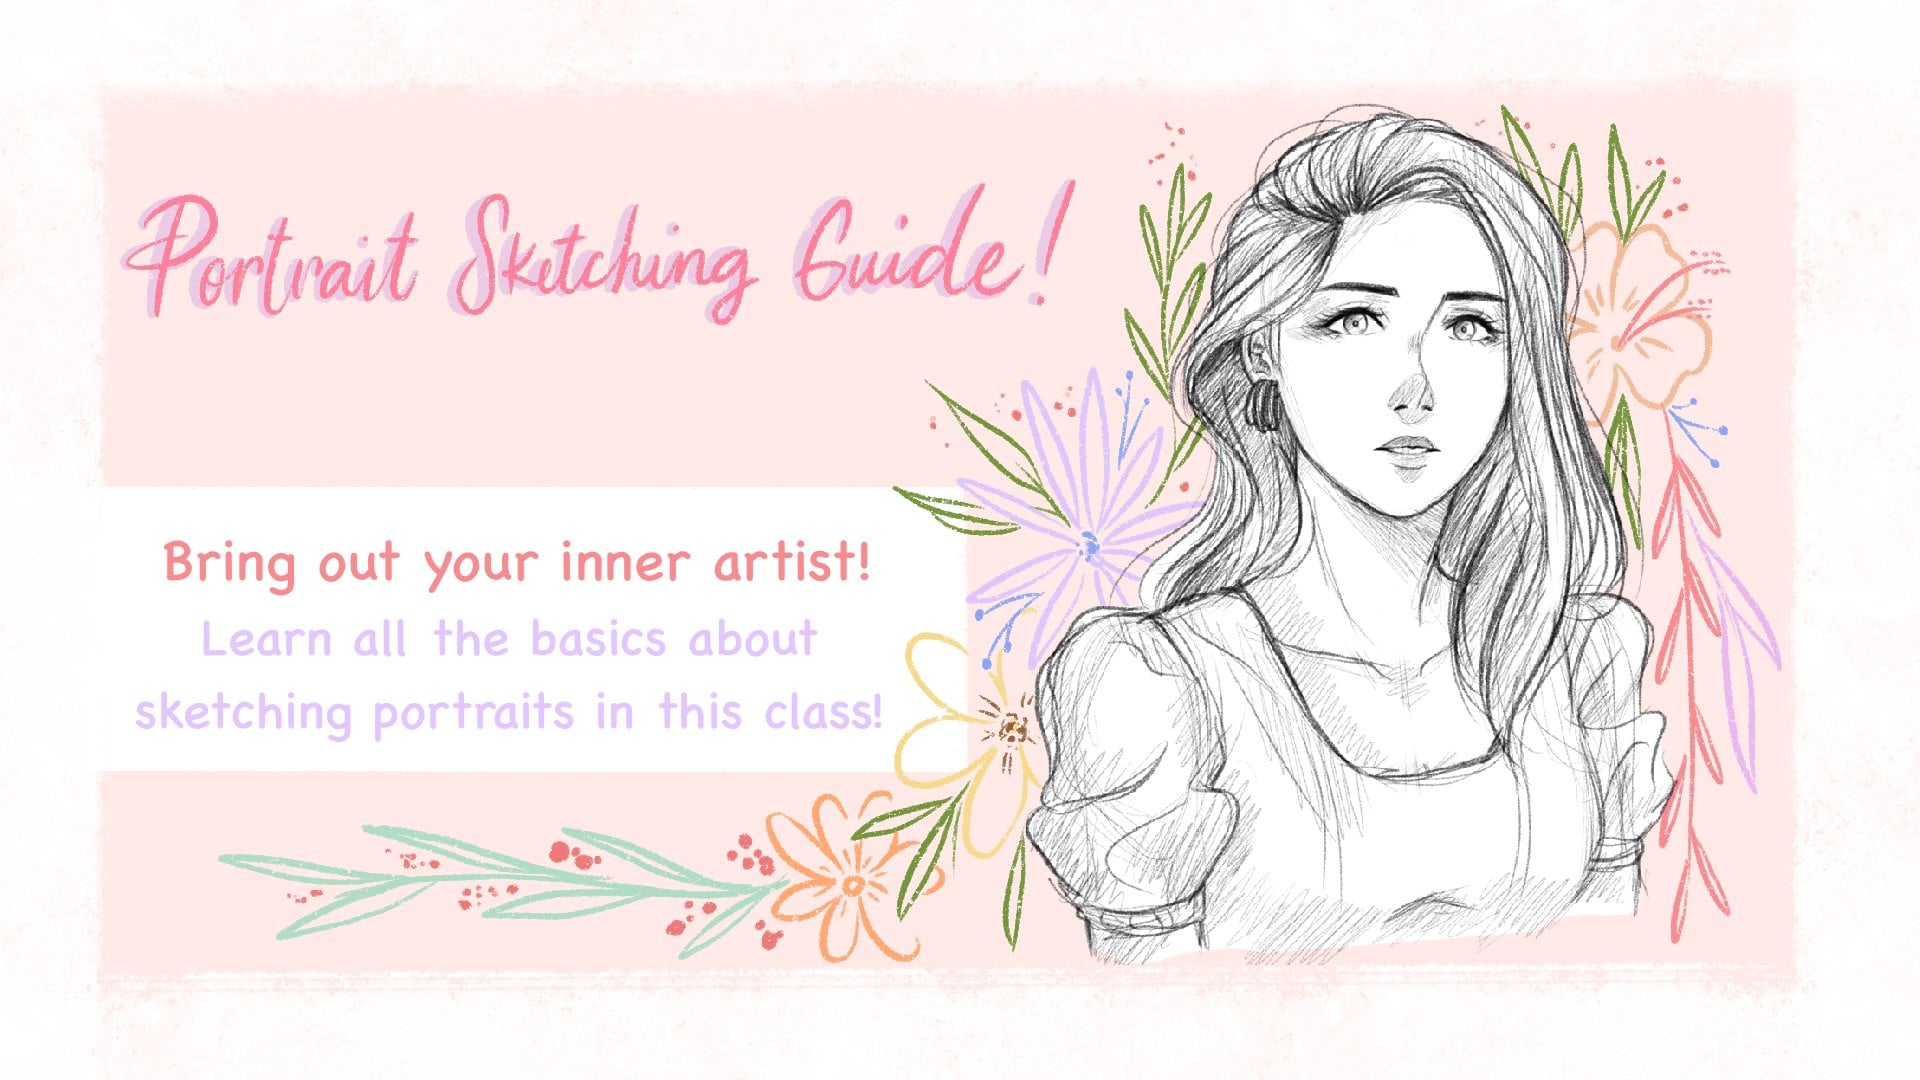
5. Your Turn: Okay. We're close to
the end of this class. Last step is application. It's now your turn and I'm
excited to see your project. I'd like you to submit
your own colored artwork. You may use the
sketches available in the research section and
download the PNG files, or you can draw your
own base sketch. When you finish, don't forget to submit your work in the
class project section. Thank you so much for
tuning in on my class, and I'll see you
on the next one.
 Beyoncé Flores, Bring out your passion for art ✨