Transcripts
1. Introduction: A thing about line art that I love is how it can turn your sketches into a fresh and neat piece. Hi, I'm fiance florists. I'm a digital artist. And in this class you'll learn all that you need to know to beautifully line your art. When we talk about buying art, we usually have a sketch on hand and adding line art to it to give you a piece of crisp and leap look. Lining arteries seem challenging at first book with enough practice, you'll just find yourself doing it perfectly. In order to achieve an amazing piece, we'll break this down into three parts. We'll start by lining our sketch, then thickening some of our lines, then we'll add finishing touches. My goal in this course is to help people improve their skills and learn something new, but they can bring throughout their art journey. I'm sure in this class you can pick up a thing or two to help you beautifully line your art with all that said, let's dive right in.
2. Getting Started: The start, we're gonna be using the iPad Pro and the Apple pencil with an app called Procreate. Of course, you are free to use traditional items such as a black lining pen and a sheet of paper. Let's take a quick look at the brushes. A good pressure that I recommend is a technical pen and the dry ink with a few adjustments. There are also a lot of brush options here that you can use, get creative and see which ones sticks to you the most. You can also adjust the brushes streamline to make your lines more stable. You can adjust it to where you're comfortable. Once you found the brush or pen suitable for you. Let's move on to the next video. So on.
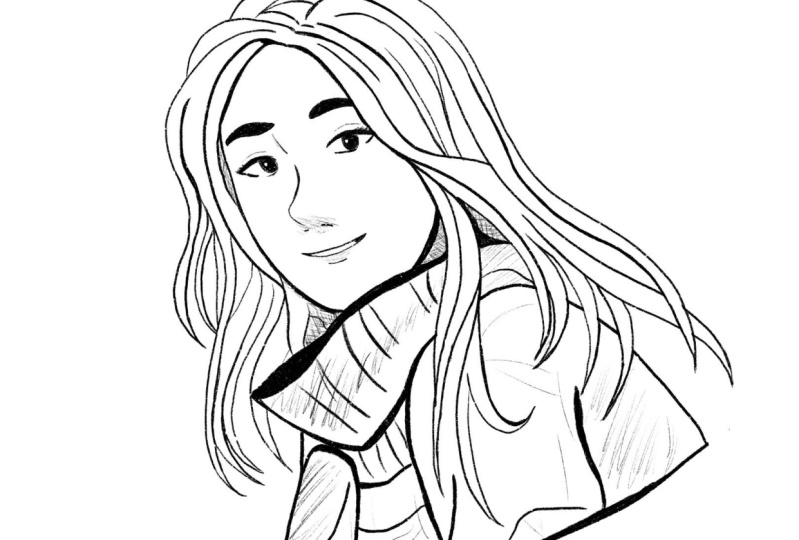
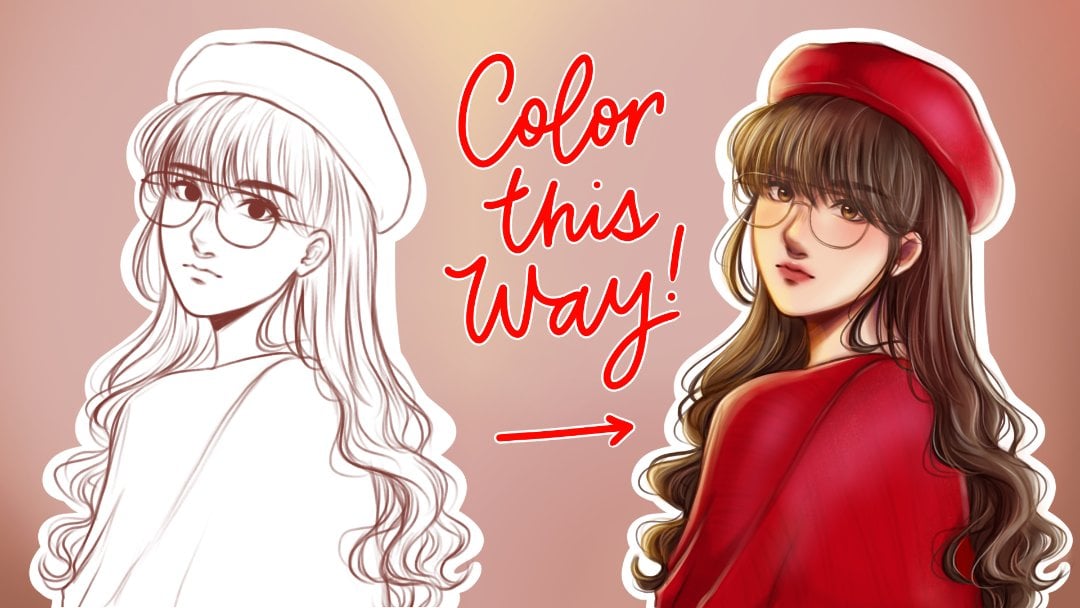
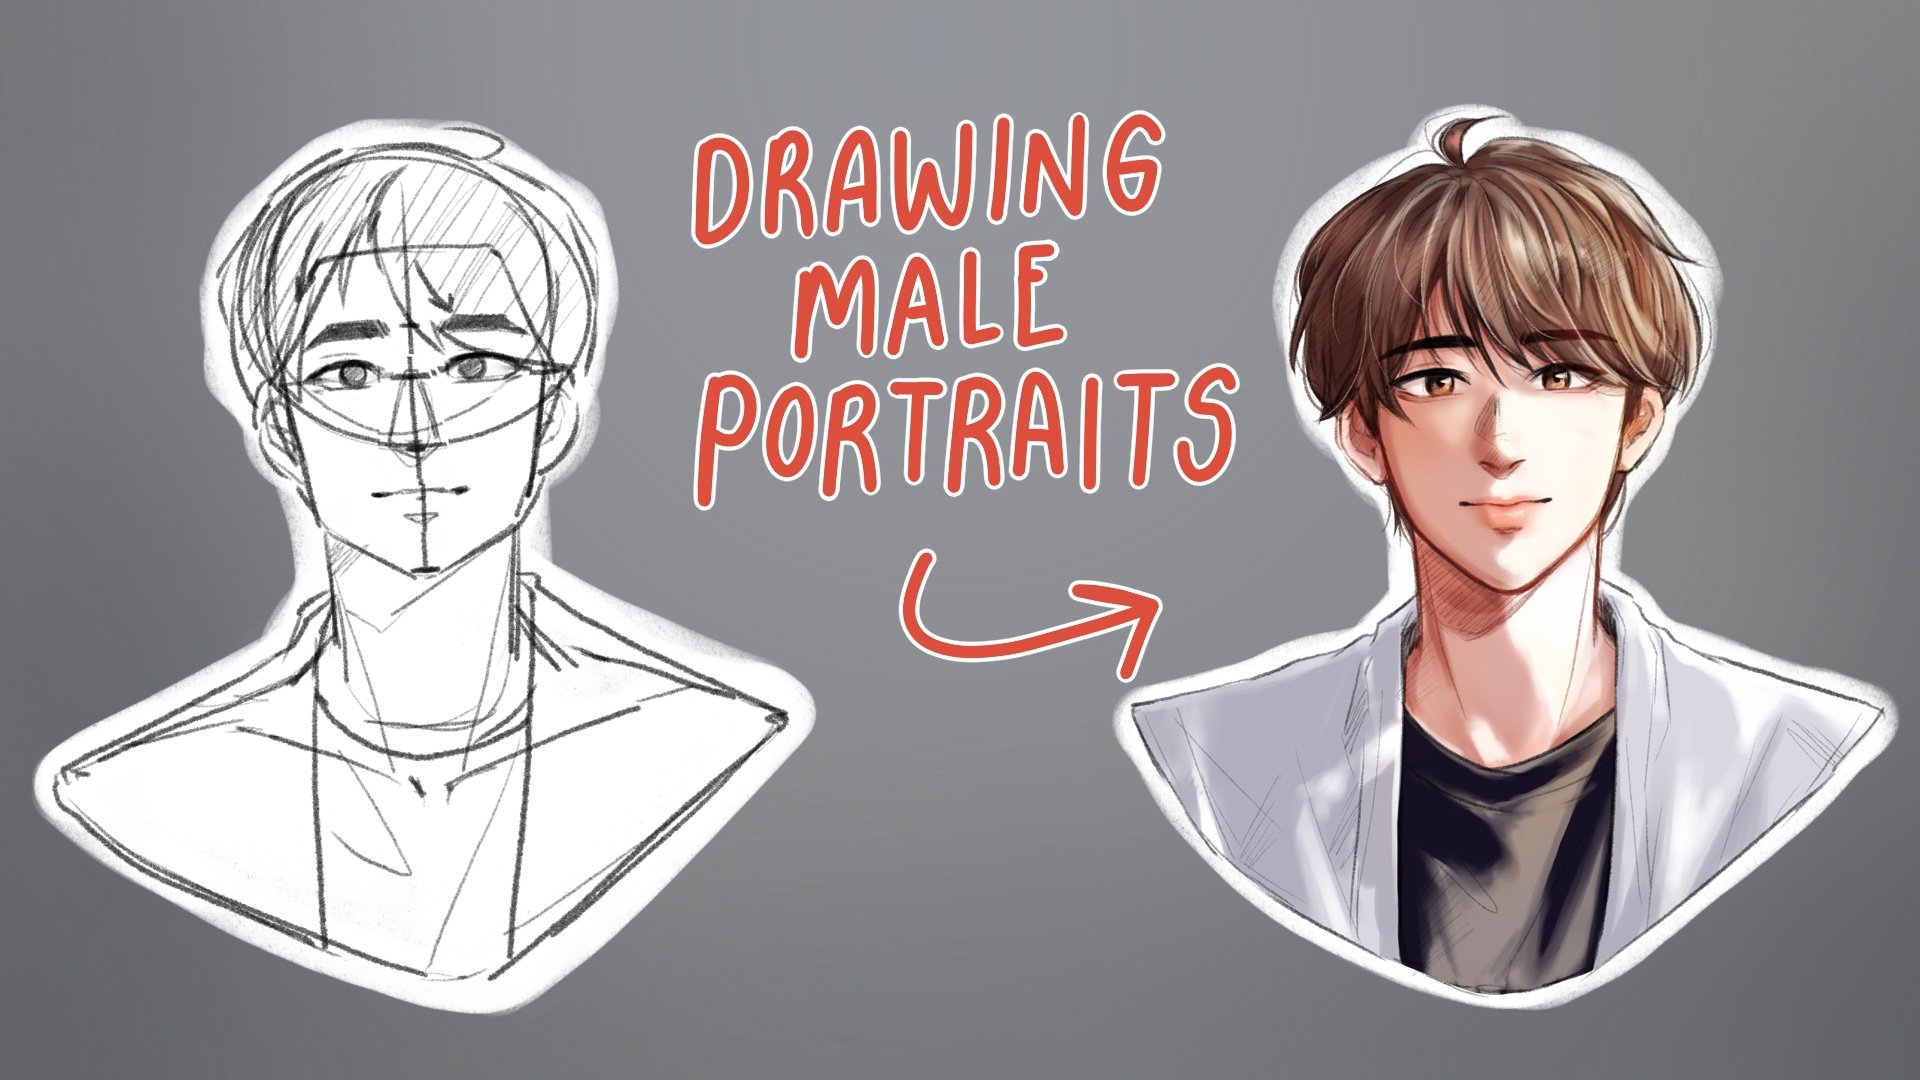
3. Preparing your Sketch: So why do we line our sketches? If you notice, most sketches look wonky and messy like this. When we turn it to line art, it turns to this. The main golden lining art is giving our piece a cleaner look. Doesn't it look much better? Now you're probably wondering, where can I get a sketch for this class? Great question, because I can offer three options for you. You are free to use any of the sketches that you have prepared or you can use the sketch that I provided down in the description. If you want to create your own sketch, you can refer to my last class teaching about sketching female portraits. Once you've prepared your sketch, Let's start lining.
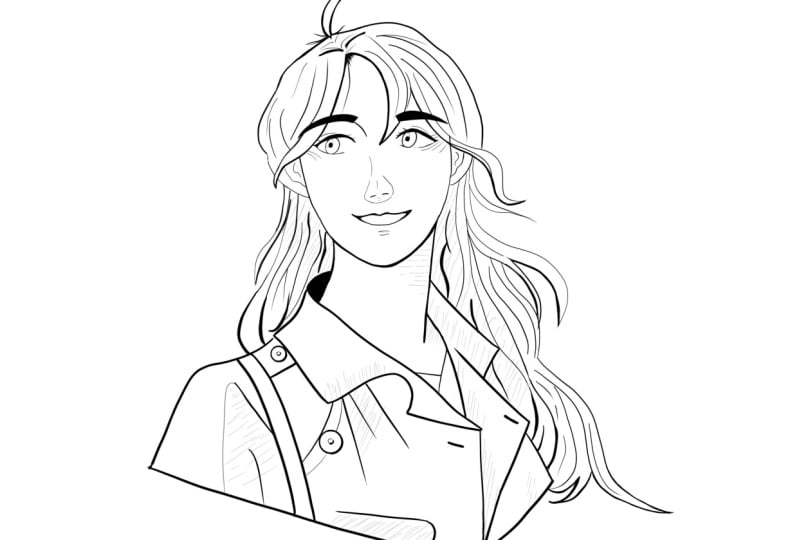
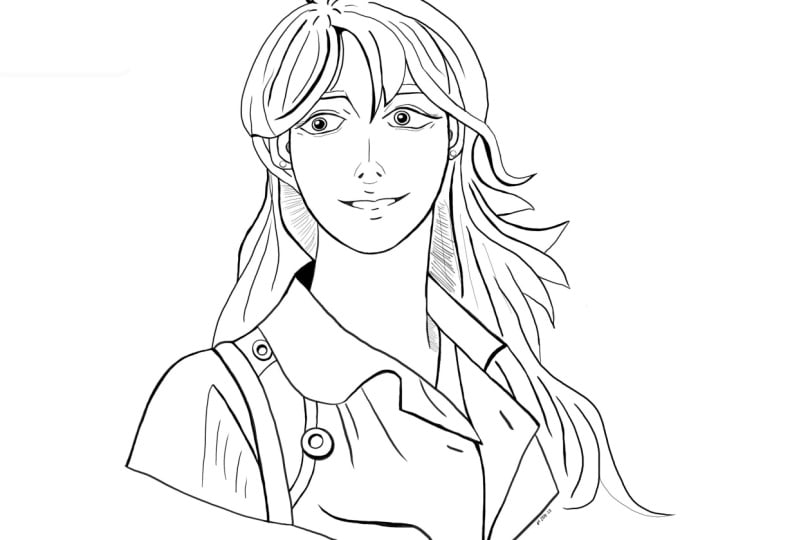
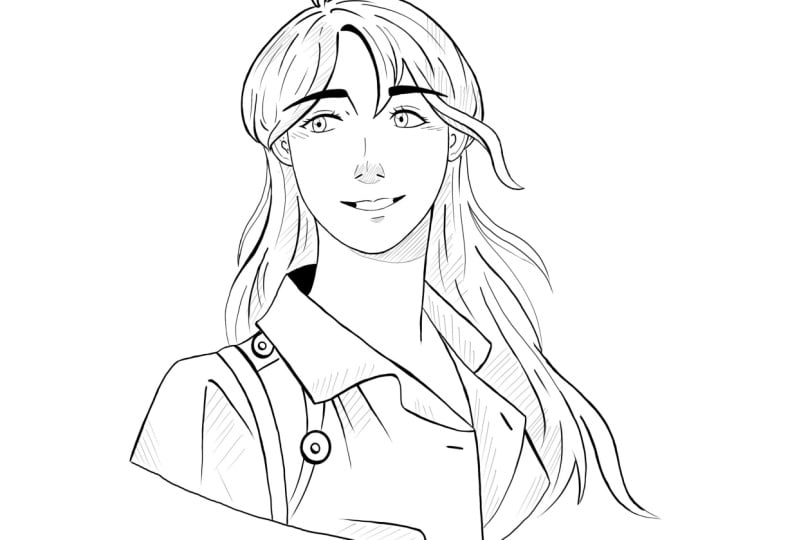
4. First Part: Facial Features: In order to achieve a smooth line, it doesn't have to be one quick stroke. Let's start by lining our sketch slow and steady to capture the fine and smooth lines. Beginning with the eyes, you can take your time on this part. Since the better the eyes look, the more it captivates the person viewing this art piece. A tip when drawing eyes is drawing them together. Drawing them one at a time can most likely make a huge visual difference with both eyes. But if you can switch eyes from time to time, you can monitor and keeps him both symmetrical. Right here, I'm drawing two round shapes for the irises and two little ones for the pupils. I also added smaller round shapes near the upper left of the eye, which is the light reflecting summit. When drawing the eyebrows, you can start with the outline, then you can either fill it in with black or the color you want later on when you color your piece. After you're done, turn your sketch layer off and look at your piece from afar to check your lining for anything to adjust for the nose. I'm just drawing two small lines for now, just as a guideline. Then we'll come back for it later. For the lips, I'm drawing a small curve on each sides to communicate that she's smiling. I also think in some of the edges to highlight her smile even more. I also drew a line underneath as a guideline for her bottom lip. For her face. You can imagine yourself drawing an inverted egg. Since she's a woman, her chin will have a softer curve. Taking your time is key so you can spot the mistakes you make in the process. And the third tip to spot mistakes is to actually flip your Canvas. Most of the proportions that look odd, we'll start out. See here that the right eyebrow that I drew was a bit higher when I flip the canvas. Now I was able to adjust it bright here. I'm just adjusting some of the facial features to correct the proportions. For the neck. I'm just adding two symmetrical lines. And that's a wrap for the face. Now it's your turn. In the next video, we'll start lining her clothing.
5. Second Part: Lining the Clothes: Lining clothes may seem challenging because of the details, but it can be very satisfying once you've done it. I'll start off with the color of her coat. Then I'll work my way down to the sleeves. So I'm starting with the left color for a smoother line, you can drag your pen down with the weight of your hand, then do one quick stroke. Then apply the same technique to the other side of the color. While I'm lining her left shoulder, I'm adding a small lump to separate the bag strap from her coat. Then I'm lining the border so we know where our portrait ends. I'm now adding a few wrinkles to her coat to give her clothing more texture. And now lining the bags strap and the rest of the small details. Here I'm adding a few more wrinkles and adding a line to close her color. Having to undo and erase a lot is normal. So don't fret about it. If you think you're taking too long in the piece. Clothing, check last but not the least, her hair lining hair is one of my favorite parts. So when you're done, let's get started right away.
6. Third Part: Lining the Hair: Lining the hair can be intimidating, but don't be lining of the hair can be really fun one to get a hang of it. Let's start with one of her Bangs then work our way from there. When drawing hair. Try to understand how it's flow works. That way. It'll be easier for you to draw it, even with a messy sketch. Underneath a small curve on her hair. I'll add a few lines to add more detail. Now onto the left side of her hair, I'm drawing lines that connect to the end of the face. Then I'll add more lines near it. Another tip that I can offer is actually working at the piece as a whole. You can go back to the eyes or lips to make adjustments at anytime when you see something that can be improved later on as you progress throughout your lining, you can always step back and work on it. Right here. I wanted to adjust the facial features a little bit. And when I did, it looked much better. After you make adjustments, turn your sketch layer off to see the BSW better. Now I'm adding small details for the nodes in order for it to stand out more. These are the guidelines for the nose bridge and the overall shape. After I made the adjustments with the facial features, I can go back to lying the hair. Right here. I drew the ears. The ear placements are usually in-between the eyes and the nose. Right here. I made her hair look as if it's tucked behind her ear, then the rest of her locks are behind her. I did the same to the other side and made the rest of the hair flow to the right. Here I'll draw the flow of the hair going down. Just be loose and follow your sketch. You can start with the outline then add more lines inside to give it a layered effect. I'm doing the same to the right side. I'm drawing the outer line first, then the lines inside it. I aligned her here as the same level as our border lines, so it looks even in proportion. It after that, I'm adding the smaller details that I missed in their clothing such as buttons and small straps. You finish the baselines, awesome job. In the next video, we'll learn how to think in our lives and how it will enhance our portrait even more.
7. Thickening Your Lines: When we think in some of our lines, we give our piece more texture and depth. Let's start by naming our layers so we don't get them confused later on. It's so easy to draw on the wrong layer, but it's definitely a trouble to erase and undo all the work you put on that layer. These thick lines can be placed on areas of the portrait with shadows just like right here beneath the hair. I'm adding some thicker lines in the area of her ears and also thinking the lines under her face and near the neck. And this emphasizes the shadows of the piece. I think in the lines by her blouse and the area behind our color. See how I'm thickening the lines around her neck and face. That way it communicates that her hair is behind her and it gives more depth to the portrait. I stick in the lives that were merging on her hair to add more depth. I also think in some parts of the hair outline, I'm thickening more lines when the hair lines that either merge or connect with a coat. I'm sticking some area of the coat that merge with each other. This can be intimidating at first since you might not be familiar on where to place these thick lines. But when you continue to draw and practice, it'll just become natural to you. Okay. Here I'm lining the details on our code, her buttons and small straps. I added thick lines underneath them to make them pop out. Lastly, I'm thickening some of the wrinkles I added to our code. That's a wrap. And now it's your turn. Once you've completed thickening your lines, you can proceed to the next video, adding the finishing touches.
8. Adding Finishing Touches: Finishing touches are meant to add texture and more details to your piece. Let's create a new layer and label it as finishing touches. This part is completely optional. This is where you can get creative and add any detail at you. Like. I decided to go with small lines to give my piece a little bit more texture. You can do anything with yours. I added my finishing touches on areas such as the hair near the neck and coat. Usually the area with shadow is supposed to be. I drew near on the wrinkles of recode and on her neck. Lastly, I opened the layers and lowered the opacity of the finishing touches. Take one last flip of beer liner, then you're done. Congratulations.
9. Final Thoughts: Congratulations for finishing your first line our project. Let's do one quick final recap of the lessons we've learned. During this class, we were able to expand more about line art and how the process was. We started from lighten your sketch to thickening our lines and lastly, adding our finishing touches. The lessons you've learned today are definitely not limited to this class. Only you can apply these tips and techniques in any of your other artworks as well. I'm excited to see what our courts were able to do. So don't forget to share your project. Thank you so much for joining this class. I hope you learned a lot. Always keep your creativity flowing. Then I'll see you on my next.
 Beyoncé Flores, Bring out your passion for art ✨