Transcripts
1. Introduction: Hello Guys will come back to another class to Rabia painting snowcapped mountain chains which actually looks really difficult. But no, they're actually quite easy Once you get to know a thing or two about them, there are four class projects in total. One is realistic data Is sunset galaxy on with not the light. I hope you like this projects that I picked out for you This is Secreta watercolour artists from India and without further delay let's get started.
2. Art Supplies: So these are that supplies I have used. I have also listed the colors used in each project videos as well. And of course, you can use whatever the brands you prefer. What are the colors you perform? What are the brushes you perform? But make sure the paper should be 100% Corton Charles, you cannot blend.
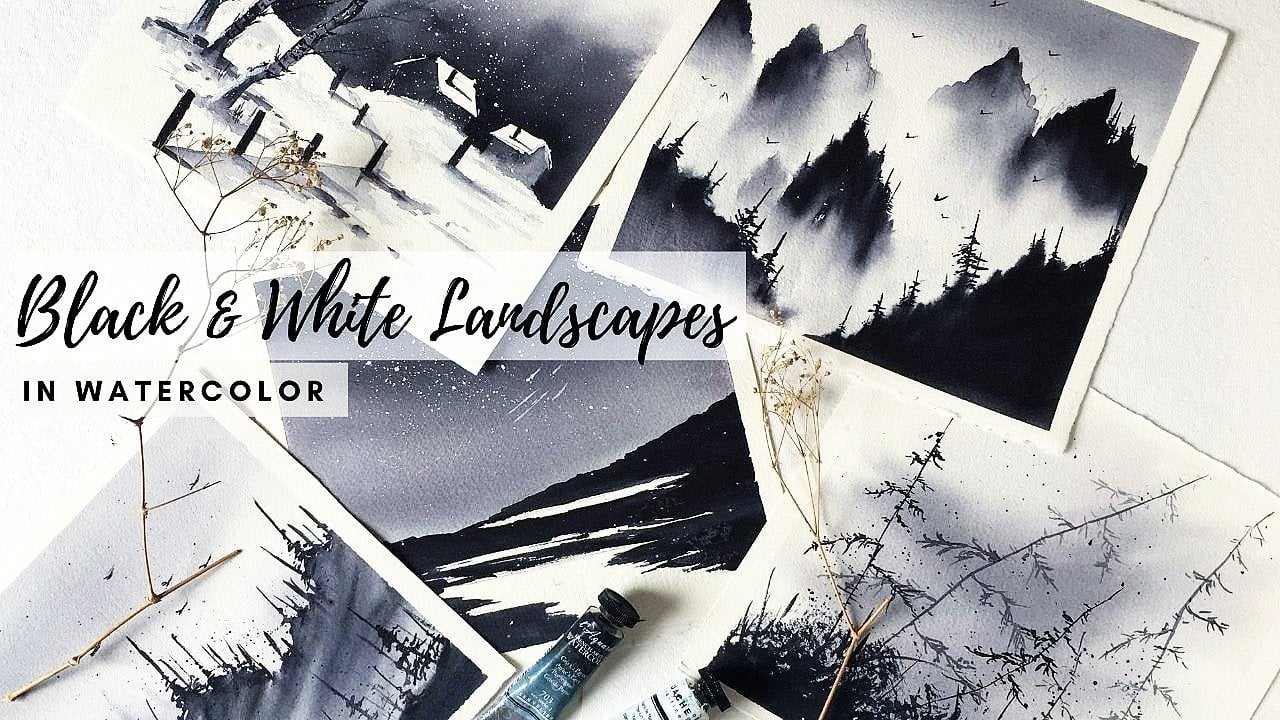
3. Techniques: while building up this particular subject. Snowcapped mountains may look complicated at first, but if you take him in it and observe what actually is going on, it lost him quite easy. So basically, there are only two techniques used here. What on dry that is wet brush over the dry paper on dry brush. So first, let's see the techniques up close. I will start with wet on dry video brush, take you paint on. Just slide on to your paper. You don't need to privet your paper for this is why we call it wet on dry brush will be wet here on the paper will be dry coming to dry brush. You can take normal dry brush. Since my brush was wet, I'm just trying, he told that tissue paper. Now take the dry brush. Dip it into the pain. Remember, the pain should be in fluid consistency. Now drive your dry brush on the dry paper work as you can see, you'll get some amazing pictures with this and see how these techniques are used to pain. Snowcapped mountains. Uh, I have a rough sketch ready of the mountains. I'm starting with wet on dry technique take red brush with paint and start painting the mountain. As you can see, I'm not following any rules in my brush strokes. I'm just randomly adding paint over the paper. Wonderful that I would say he's a dart and lines and cover up the moan pains. But make sure to leave. White space is in the middle of dots and lines. I will once again show you how to go on with that online's adult Align on dripping. I hope I'm making sense here. So now I'll stop talking for a minute and let you guys observe the process. We are now done with the wet on dry. Let's more onto dry brush technique. I'm taking a completely dry brush, dipping it into my pain on dragging the brush randomly or the paper. The previously painted dots and lines are not completely dried. They're quite done, and that's how it should be. Remember, don't start dry brush technique when the previous layer is totally wet. Don't start when it's completely dried. Ada paint when it's somewhere in between, and there you go. You got realistic, snowcapped mountains, but not quite. There is one thing we need to talk about yet shadows shard ask you sort off three D effect to any off your paintings, and they're quite easy to paint, too. So let's get started. Paint shadows only when the two previous layers are completely tried. I'm taking lighters to shared off indigo, and I'm just painting over the previous lier. Well, that's it. That's how you paint. The shadows have used the same three techniques in all of my landscapes except the last one that is Sunset Mountains. There is slightly a change in the techniques used here. Let us discuss Father. Since the background is so vibrant with sunset, the mountains would no longer be vie it like we discussed before. Instead, they will be in quite strong and contrast color, so I'm taking pressure in blue. What I'm doing is I'm painting the shadows layer first are dots and lines and Dr Rushed retailing's later way. Uh, and there we have a mountain with strong colors and shadows. I think we have discussed all the related techniques to paint the snowcapped mountains, so let's more onto painting the first landscape that is realistic mountains
4. Realistic Mountains: So we're here. The first class project off this class. I'm using an old painting off mine for reference. Sketching is easy. I will add this picture for you to sketch in the class project section. Please go on a effort while you're sketching it. Uh, since this is the first time I'm teaching a class on the subject, I thought I'd keep it big, not friendly. So we're not gonna be painting, uh, heavily. So I am planning on advanced a class where you can paint even more realistically than this today. I'll just be teaching you techniques on how to achieve the realism. But rest assured, if you practice these techniques, you can achieve the realism. But you need to put in a lot of time. For example, you're seeing the painting about in the picture. I had to paint in for more than 15 hours. Way. I think we are done with the sketching. I'll start at the next step for wetting the paper. I'm using a more brush number six violating the paper. Make sure you're keeping the sketch depart dry. We don't need what are there. - I am taking ultramarine blue and I'll just play in the sky. Uh uh. Let's get this were drying. Now let us start with the wet on dry technique like we had talked in the techniques video and I'm using into go for this. Remember the dots and lines. Just keep adding them and, of course, leaving the white space in the middle. You can leave the space wherever we want way after finishing one area, just take a wet brush and go over it. It's like adding shadows. Do not paint with heavy Qala. Just remember, we had to use lighters to share of the Colombian painting shadows. - Uh , way I will move on to the next area That is the highest big in this catch Dr Lines, daughter life. I just want to let you guys know that this entire painting consists off dots and lines so you can fast forward it if you got the concept or you can slow down the video if you didn't . I didn't fast forward this video because some might want to know the brushstrokes Oh, - five in our shadow for the next month and be I'm taking writers to shade of indigo. As usual, there are only three techniques, like we had talked about wet on dry, dry brush and shadowing so you can interchange those techniques in whatever way you wish, because I want to save some time. I am adding shadows now so that I can go on with it on dry once it dr Way way. Now we'll start adding dots and lines over this. Remember, the shadow part has to dry before you start your wet on dry technique that he's dots and lines. - I would like shadows here because I think it's tried. - Uh huh. Uh huh. Way, way, uh, way. I'm moving on to the next and with the same techniques that these dots and lines wet on dry . And, of course, I'm using indigo color. Since this is the same technique I thought are they are dots and lines to all the peaks in the sketch. Later, I will move on with the shadowing way. I think we are done with the's daughter. Nine Sweat on dry technique. I will stop here and I'll start shadowing Once this tries. Remember, it has to completely try before you shadow this part. Uh, of course, take the lighter shade of indigo. Oh, how does the entire area where we have done wet on dry technique already. - Let's start with wet on right that distorts and lines in the middle area off the sketch, Uh, way, way. Assuming the previously Reese tried, start with the dots and lines in the middle part. - Take the lightest shirt off indigo and shadow it, - uh , way. I think I'll stop here and keep this for drying. And here comes my favorite technique. That is, dry brush. Take a dry brush. Andi, uh, take the pain that is indigo and start dragging the brush over your sketch and it gives very wonderful pictures. As you can see, I'm continuing the drivers technique at the bottom here. I'm not using any weight on try our Charlene techniques because I think dry brush is enough way. Well, this part is not necessary if you are done the shard apart, right? But my shadow parts are looking very dull. So I'm taking another court off indigo on. I'm just adding shadows way. Oh, - the trick is to not overdo it. So I think I'll stop here. Well, I hope you like this process off painting so capped mountains and realistic method like I said. This is quite big enough. Friendly. Come up with another class with more techniques and easy tips for achieving advanced level . I have planned for these mountains a few more teams other than this boring blue sky, so let's check them out, shall we?
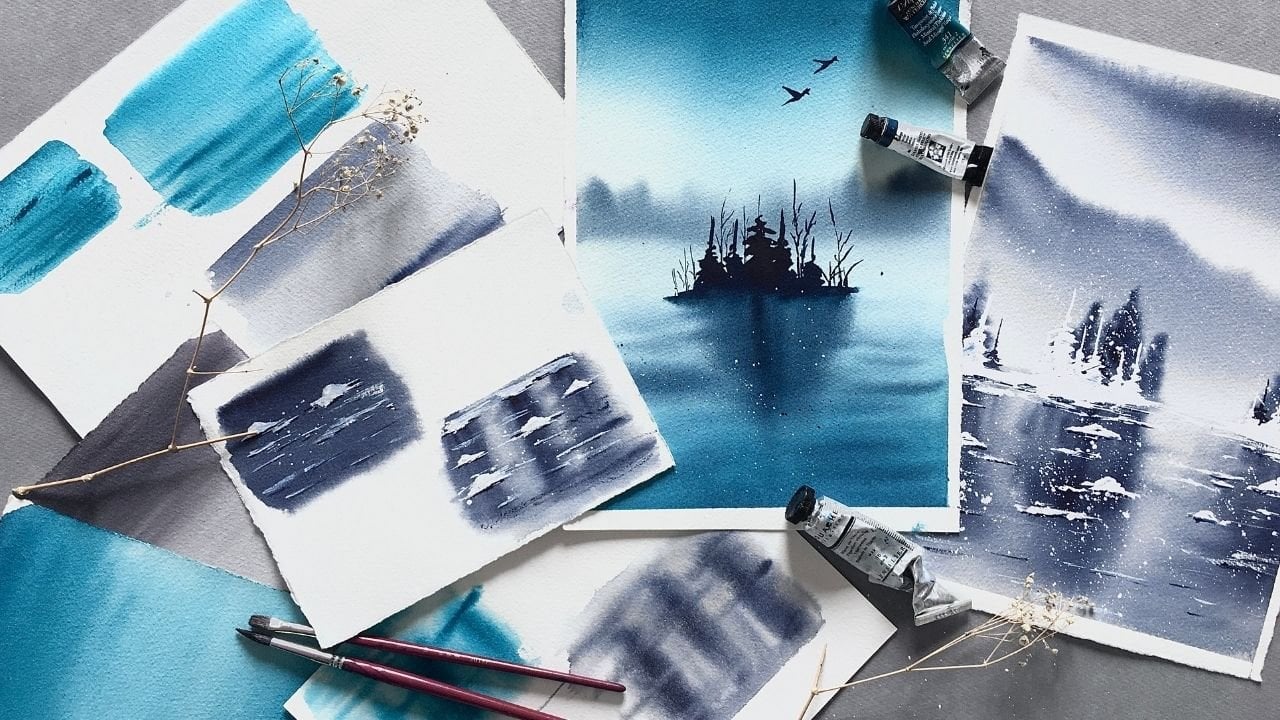
5. Northern lights & Mountains : this class is about snow capped mountain chains with Northen Lights Team. I want to let you guys know that this is not not in lights tutorial, so I will only be briefly explaining how to paint them instead off a complete tutorial. Let us begin by sketching, and I'm not following any reference picture for this. I'm just making up the sketch as they go. - Uh , once the sketch is done, start wetting the paper with clean water by making sure not touching their just off the sketch. I'm using a number six more brush for reading the paper. We owe way. First, I'll take clockwise way. Now I'll start adding the pain on my paper. Alternate eerie, leaving white in between. In the medulla letter comes Indigo. Take generous amount off indigo and start adding in the white spaces. Make sure your paper is right while you're riding both these colors because not a light spending is completely done in wet on Wet. Uh huh. So choosing the paper, which stays with for a long time, is really important. Way, way, way. Think it's done. I'll keep this. We're trying before moving on to moan pains. Now that the background. That is not unless is tried. I will start with the mountain. I am taking a small size brush, but it's completely up to you. I'm moving on with a doctor in lines like we had talked in techniques Video. - Uh huh. Way, - way . I will add a bit of shadows here. Oh, - and for some dramatic look, I have decided to take in the entire a mountain range with the pines. Gray, uh, way, way I will splatter some scars. I'm just taking a regular water polo white water cooler on a wet brush and splatter of a as you wish way are done with the Northern Lights team for our snow capped mountains. I hope you liked it. Andi. Let's move onto the next class.
6. Galaxy & Mountains: Let's start with our next project Galaxy with snowcapped Mount Ain. This class is comparatively easier than all my previous projects. I'm using one off my old paintings as reference here. I'll start by lightly sketching the moon pains. Start wetting the paper with clean water, and I'm using number six More brush. You can use any brush you're comfortable with. Don't let water get to the edge of the sketch. I am only taking into go here, and I'm adding generous amount off it. I am leaving right spaces in the middle. Which letter? We will blend, and then it looks like galaxy. Remember, we're painting wet on wet, so your paper needs to be vet for the colors to blend properly. Way. Now, I'm going to remove the excess water on my brush. Using a tissue paper like this, and with this tramp brush, I lightly blend the colors. Make sure the white is still there Whenever I have a very little time to paint. I usually paint in this technique. It's very quick, and it's very easy and you'll end up with a great night skies. Keep lending and keep adding the colors and keep renewing the colors using the damn brush handle. It feels good for you. Uh, way, way. I think I'll stop here and keep this for trying. We have talked about dry brush technique in the techniques video. When I'm falling, just start and I'm not using any weights. Don't dry our shadows for this particular mountain because I want this to be a quick and easy one. So I'm just using dry brush technique. - I will. Ah, You spying scree. Just too dark in the county. Oh, wait. Way, way sidled randomly yard few trees just to make this landscape look lively. Way, way we owe way we owe and my favorite parts packing way Do you think this is one of the techniques that I use often in my paintings? Just put a small dog off my paint and just drag it back so it's like a media shovel in the sky. Andrea Done
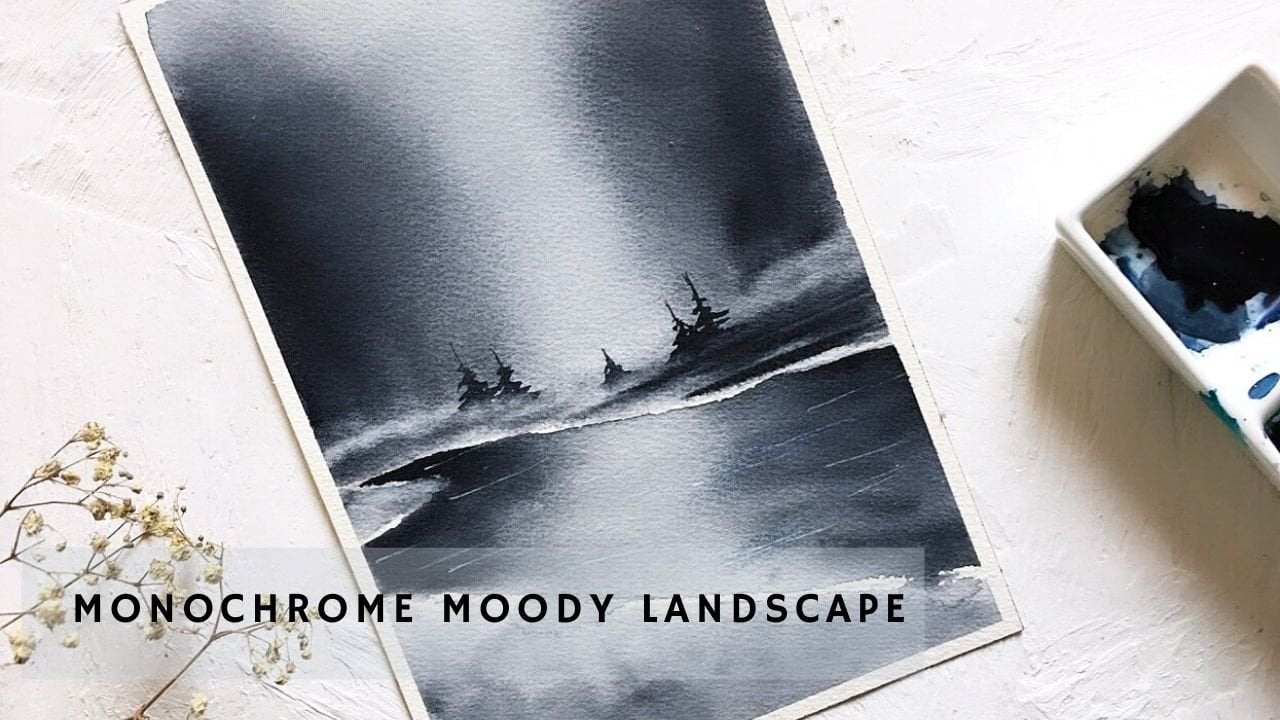
7. Sunset & Mountains: like a start with this catching, I'm using a reference picture which are, uh, adhere. One sketching is don start reading the paper with clean water. I'm using number six more brush. Make sure you're not reading the sketched area. Uh, way there is total off three colors a have used for painting the sunset Yellow orange. Imagine Don. So I will start with a low and then in the middle, I will add orange and later at the top, I will add Magenta. Start adding the pain on a wide the sketched area way. As you can see, the blending is going very smoothly because I'm using 100% cotton paper. I'm taking number four brush to add a magenta if you don't have much. And I took a you can add Why let here? I'm sharing the reference picture amusing for the background. That is Sunset Part. I think I'll stop here, and it's important that you do not overdo, and I'll keep this for drying now. Since this is sunset, there is a sunset in the background. The mountains should be in a contrast color, like we had talked about in the techniques video. So I am taking pressure in blue when I'm covering the entire mountain range with that color first letter we can go on with dot and lines way. - I think I'll stop here and keep this or drying. So I'm taking into Go on. I'll start adding dots and lines way . The reference picture that I showed you before was only for the background that is sunset on the mountain range. I am painting on my own way. Oh, - keep adding daughter lines, Uh, way, way, way I'm using indigo and I will act the shadow part. The background Orton lines are not completely dried, but still I'm adding the shadow, adding shadows on the top mountain. Also, I have painted many snowcapped mountains before as a practice, so I know where the shadows will be there because I have observed so many photographs. But you can take this picture this painting as reference. I'm adding the picture in the project section one last time. Online way, way call The snowcapped mountains are painted in random strokes, so it's important to not get carried of it. I think I will stop here on I will move on with the boat. I'm taking number one brush just two strokes off the brush, and then you'll have a bird. All right, we're done. I hope you like this.
8. Thank You: that was it for today's class. I hope you liked all the different teams that I have chosen on. I want to let you guys know that this is a beginner level and I will plan for an ad. Wants to class very soon on the same topic. Until then, keep practicing. Keep painting by.
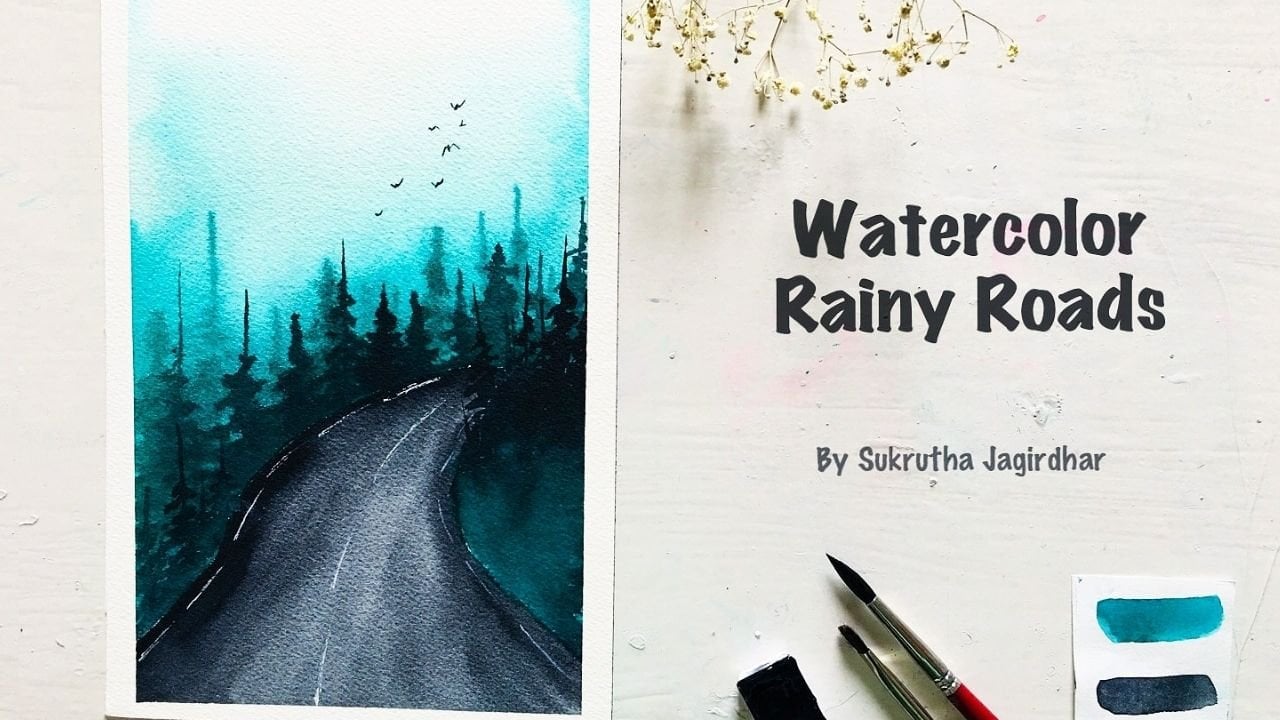
 Sukrutha Jagirdhar, Watercolor Artist I Creative Entrepreneur