Transcripts
1. Sketchup Basics (Part 1) - What's in it for You?: Hello, ladies and gentlemen, my name is Alec, and I welcome you to this introduction video of the first part of the course called Sketch Up Basics. If you ever wanted to learn how to use the sketch of three D modeling software the right way, all I can say is that you're at the right place at the right time, Whether it's professional, educational or just for your own fun, I will walk you through the basic tools that you need to create your 1st 3 D model. In the first part of the small depart course, I will show the basics off, sketch up. To get you started, you will discover what is the sketch of template, how to use the best template for your needs. What are the five main parts of the sketch up user interface? What other working annexes and what are the three most important things to keep in mind when working with access? Don't be scared if you don't know what disturbs our because this course is created with the beginners in mind and everything really explained in a step by step manner at the end of this part, you will know exactly which template to use for your work, how to set up the user interface properly and how to use the working access. The only two requirements for the scores are the Internet connection and any version of sketch up he stole on your computer. So if you're ready to learn how to start, uses ketchup. Click the blue andro button below this video and I'll see you inside.
2. Getting Started with Sketchup: Hello and welcome. Thank you so much for enrolling to the first part of the sketch of basics Course. I'm really glad to see you here in this video, we will be talking about the sketch up user interface and without further ado, let's get started by double clicking the sketch of Shortcut Icon. If you're starting sketch up for the first time, you will see this welcome window or dialogue box. This window is divided in three mates sections learned license and templates who I learned and license sections are self explanatory. Let's see what's inside the template section by clicking this little arrow at the bottom or by clicking on the juice template. But when it opens, you will see a least off ready made, sketch up templates. We their corresponding Tom Nail image title and short description. The thumbnail image represents the main call is for the ground and for this guy that will be used in your template. The title has two parts, its name and the measurement units that will be used throughout your work. Whatever it says in the description, don't bother too much, because the main difference are the measurement units and reach ever you choose, you can always define its settings to your liking. I also like the 2nd 1 from the list called Simple Template with meters as measurements units. And if you're more familiar with feet and inches, you can select the 1st 1 from the list. If you don't want to see this welcome window every time you start sketch up, I suggest that you uncheck this box in the bottom left corner that says, Always show on starter and then click on the stock using sketching But
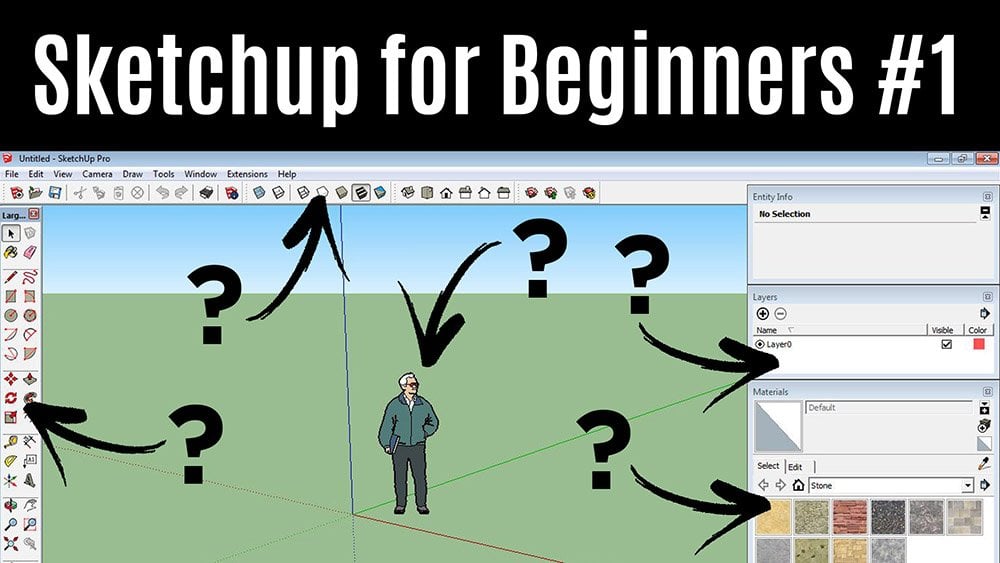
3. Sketchup User Interface - Part 1: welcome to the sketch up user interface. Just like most programs you already use, the sketch up user interface is five main parts. The 1st 1 is the big area in the middle of your computer screen. This is your modeling window, and it's where you will spend 99% of your time when working in sketch. In the middle of the modeling area, you can see a picture of a standing man called Steve. Steve is here just for scary purposes, and we will delete it later on. But for now, living capacities. What's more important than Steve? Are these three access the red, green and blue? Whatever you do will always be here to help you predict orientation, and I will talk more about them in the next video. The second main part of the sketch up is the Menu Bar, which contains a long list of options. Commands those and settings debt relate toe everything you do in sketch chuck. The file menu includes options for creating, opening and saving your sketch of files, or if you want to import or export the file, or to make a print out off your model view the edit menu has all the commands that effects the parts off your model that are selected like cut, copy, paste or delete. The View menu includes all the controls you used to affect the periods off your model itself. What's visible, how faces look and contains settings for turning on and off certain elements off your sketch up to users interface in Sketch up Your camera is your point off you and the camera menu contains controls for you in your model from different angles, like orbit pan and zoom. The drone menu includes tolls for drawing lines, arcs and shapes in your bottling window. The Tools menu includes tools for manipulation like moves, scale rotate and many others. The window menu. He's very well. Find any sketch of ballot box, and you can open nearly all of them from this man. For example, if you want to add a color or material to your model, you can open the materials dialog box, and when it opens, you will find the least of colors and materials. Debt are waiting for you toe. Apply them to your mother. As you already know, Sketch Up is a very popular treaty, modeling softer and There are a lot of enthusiastic uses that create little programs or plug ins. In orderto add some additional functionality to sketch up when you stole one these it will show up in the list within the extension spent. If you cannot see it on your screen right now, bear in mind that extensions menu all your players if you have installed at least one bloody. The last one is the help men when your stock, you can always check it out to find some additional felt when needed.
4. Sketchup User Interface - Part 2: The full bar is underneath the menu bar, and it is the third main part of the sketch up user interface that contains there cooking. Pick to activate ALS and commence. If you want to check what the schools are, you can go to view tool bars on at the end of the list, you can see that the standard styles and beautiful bar are selected. If you want to hide any of them, just check it and it will disappear from the toolbar. For now. Leave them as they are. And while we are here, I suggest that you add another toolbar from this list called large Tool sets. Most of the time, you will use the tools from the large tool set, and I will talk more about each one of them. In upcoming Medias, the fourth made part of the sketch appears. The interface is the status bar, with these four little icons in the lower left corner off your screen, the most important one. He's the one that looks like a question mark. When you play this, I can. It opens this tractor dialog box, which contains information about tools you're currently using. For example, if I select the line told from the lodge to set handling the icon with a question mark. This is what you'll see on the right. On this four, I can sketch a pill this place and context specific instructions like keyboard shortcuts, short instructions and general information about what you're doing at the moment. Last but not least, is the measurement box the fifth main element off the sketch up user interface, to describe it as simply as I can. These boxes were, numbers show up, and it enables you to create your treaty model or precisely sounded things that you can do . It is to draw a line off certain length to move something in certain distance, make a specific number of copies often object and much, much more throughout this course really was the measurement box a lot, and you will see exactly how to use it whenever you need it.
5. Working with the Red, Green and Blue Axis: if you remember in the video number two, I talked about the drawing access. These exes are here to help you, to figure out where you are and where we want to go in three D space. When you're working with this axis, there are three important things to keep in mind. The first long is that the red, green and blue drawing axes defined the treaty space in your model. The blue Exes rounds vertical while the red and green axes defined the ground plane in. Sketch up. The axe is are all at right angles to each other on and extend to infinity from the origin . The intersection point off all three lines. Number two. When you draw, move or copy something, peril toe one of the color axes you're working in that colors direction. If I select the line told from the logical sense and start drawing Allied Barrel two degree axis, I would say that I'm drawing in the green direction. I'm sure that the line I'm growing, it's parallel to the grain axis because the light turns green toe. Let me know if I select the move tool from the logical set and start moving this line peril toe the red axis. I would say that I'm moving in the red direction. I know in parallel with the red axes, because dotted red line appears to let me know. Number three. The main reason of using the red, green and blue access Easter. Let's sketch up. Know what you mean? If I click the line with the move told and move my cursor up? How a sketch of supposed to know whether I mean toe, move it above the ground over. Back in space. That's where the color axis come into play. If I want to move up, I go in the blue direction. If I want to move back, I followed the green direction because the green axis happens to run from the front or the back off my screen. As you can see the droving axes and not just candy, they make modeling a sketch of quick, accurate and intuitive. Oh, you have to do is to make sure that you're working in your intended caller direction as model by lining things up with access and watching the screen teams that tell you what direction you're working here to look and in furnace when excess as you move, hold down the shift key when the move line turns the color of her desire taxes. Or you can press the right arrow on her keyboard to love the move to the red. Access the left arrow to look. Your move to the green exes or the up arrow key to Locker moved to the blue Paksas. After using the softer for a couple hours, paying attention to the colors will become your second nature. So I really hope this first part of the sketch of basic scalps you out. If it did, go ahead and help me out by liking this video and by sharing a treat. Our students, as always, Thank you so much for watching this class and I'll see you in the second part of the sketch of basics.
6. How to Upload Your Screenshot to the Project Gallery: Hello and welcome. Before you upload your work to the Project Gallery, please be so kind to recommend this class to other students. You can do that by clicking the yes button about this video. When the pop up window opens, you can include your short review, which is optional, and then click the blue Submit button bill in orderto upload the screenshot off your work. Clean the your project link below this video and in the provided section, enter the title upload image by clicking the leak on the right. Leave a short message about this class. Select the public option from the drop down menu and click creates. Thanks for watching, and I'm looking forward to seeing your projects.
 Alek Stanojevic, Every day is a new chance to learn a new skill!