Transcripts
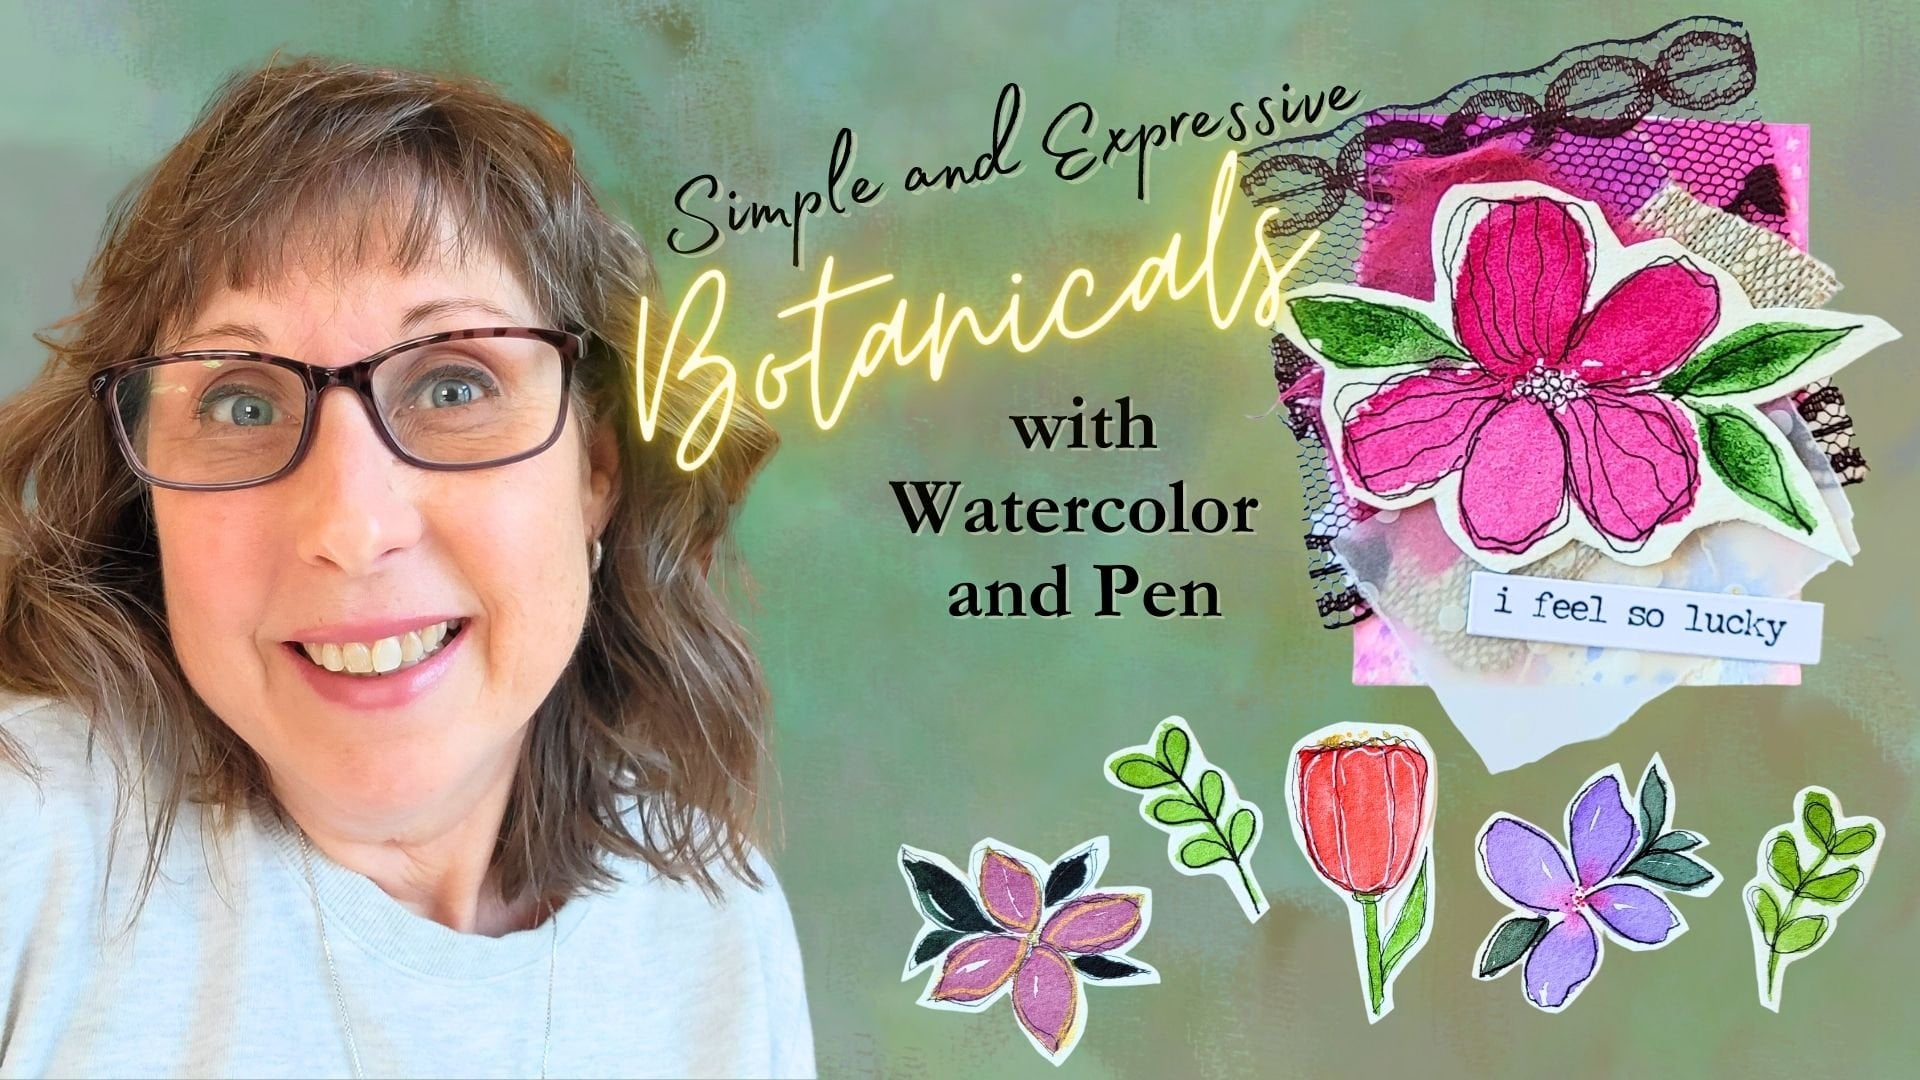
1. Create a Simple Card with Watercolor: My friends as tammy Ferrera. So glad you're joining me today. Today I'm gonna share a little tip about using watercolor in a very simple, basic, easy, easy way. I started doing watercolor about four years ago now. And basically I'm self-taught watching tons of Instagram and YouTube and following people whose style I really liked. And over time I decided this is how I like to paint. I want something quick, I want something simple. And getting nitty gritty is going to take some time out of time. I love to learn. And so I'm always looking for something new to do that. It's quick and easy and really cool. So today I want to share about how to use watercolor in a very basic way and then turn it into something really cool, really useful. I loved to make cards. And so if that's something that resonates with you, you can up your handmade card game with using some very simple watercolor. And I hope you'll find it fun. Let's make this a really cool experience. We're just learning, we're just practicing. And you can do that. I learned how to do it that way. You can too, and we're gonna have a great time learning some very basic watercolor. Thanks.
2. Supplies and Preparation: I want to share with you my supplies. Today I'm using some watercolor paper. You can tell that it is a 140 pounds. It's actually master's touch. I found this at Hobby Lobby. You can use any watercolor paper you have. And what I do is I would like to trim it down. Like I said, I make a lot of cards. So this is nine by 12 paper and I've cut it down into quarters. And so I use my rotary cutter and a pad. And there you go. I have something that is now six inches by 4.5. That's the cards I make. And actually I left something just half size instead of quarter. And so I have nine inches by six inches. I use to watercolor brushes. Use what you have. This is a ten And also a two. So, and they're round brushes. You can see from the tip of my brush that it's round. The round actually is referring to the feral. It is around. And then it comes to a really nice point. And then my palette, this is Winsor Newton, professional. I find I get the best results using their professional, but I started out with the student grade. And you can't to use whatever watercolor you have because we're learning a technique. And I want you to practice that. Especially. Now one thing we're gonna do is prepare your palate. And because I use Han watercolors, I like to wet them and I have a little tube that I fill with water and I add it to my paints that I like. And in fact, I just squirt right across the line of color that I think I'm going to use today. Just a tube of water. Maybe you have a sprayer. You could spritz your pans with water.
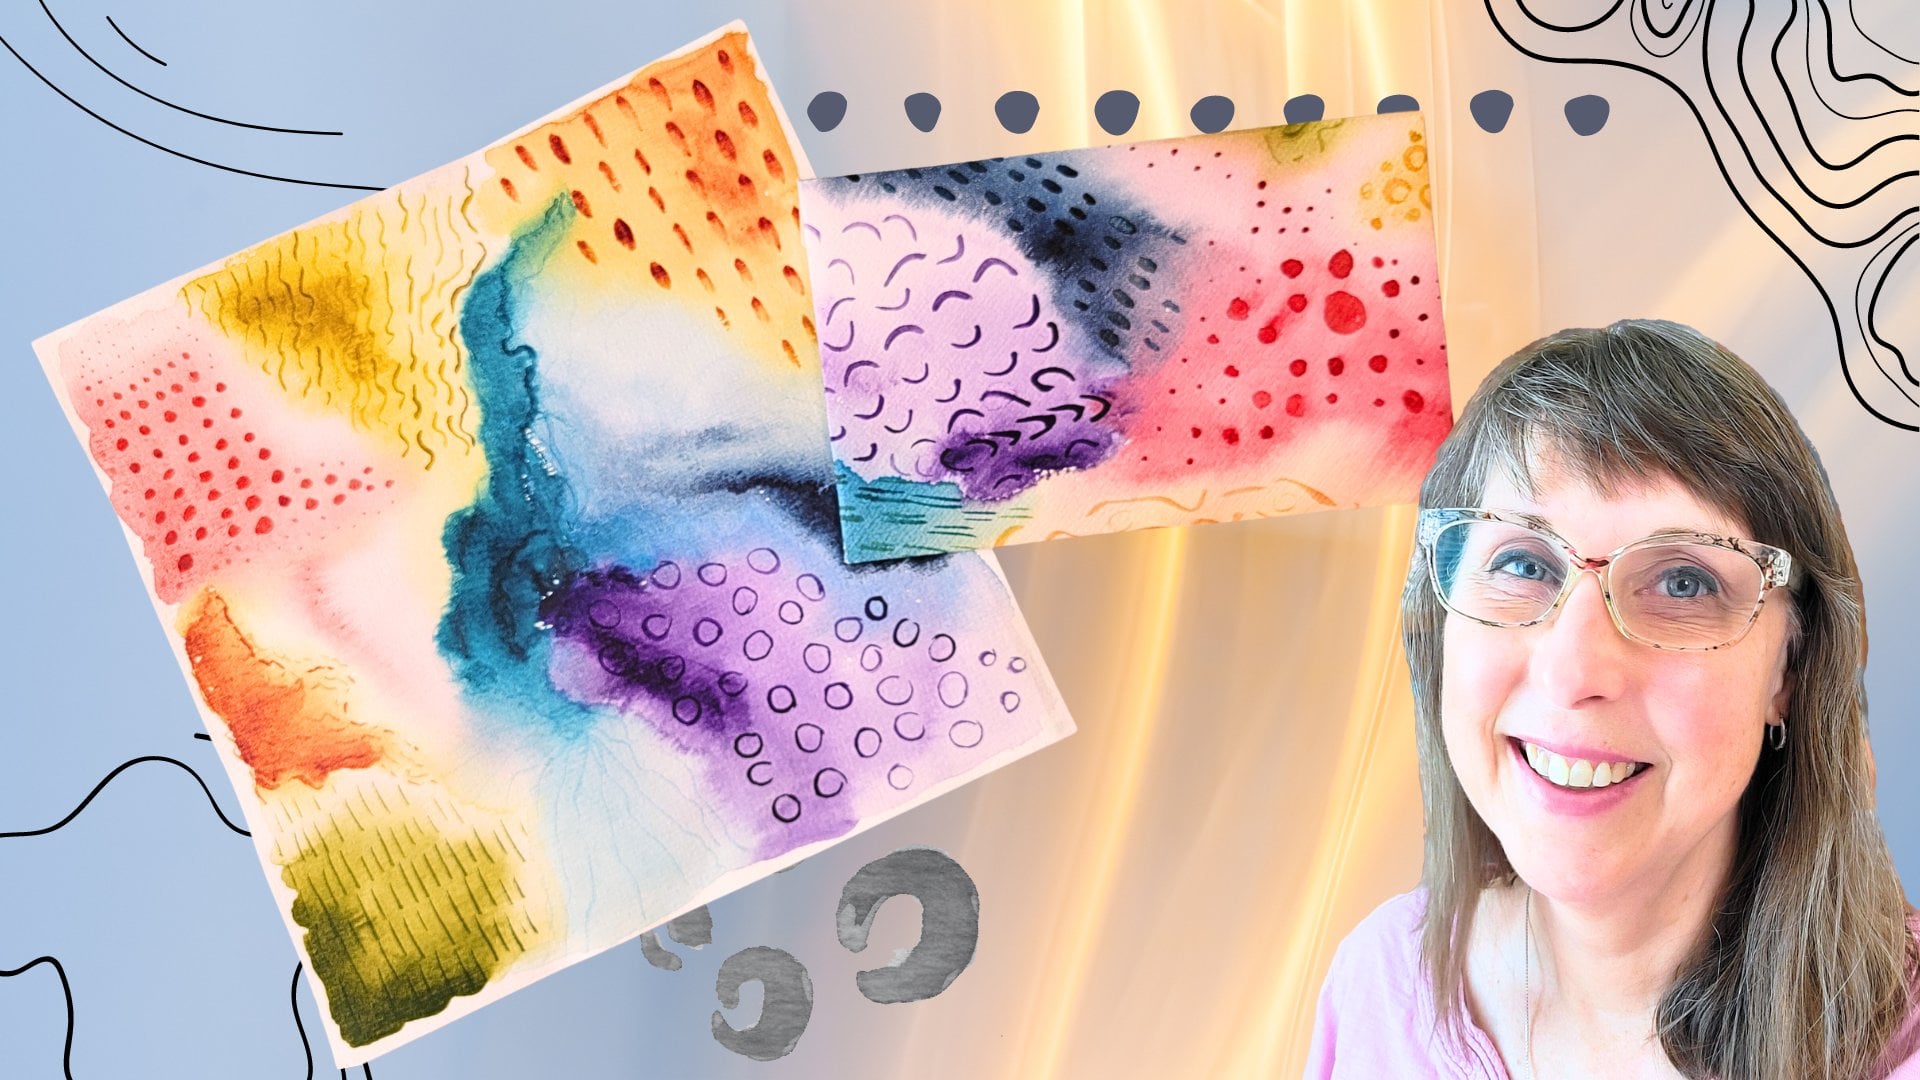
3. Wet on Wet Technique: I also have a jar of water. In fact, I even have to I'm somebody who likes to have extra clean water. I hate dirty water, so I always have to. One I start with, and once I want to really have a clean brush, I'll use my second container. Now, this technique of what I'm showing you has to do with wet on wet. So what I do is I take water and I've put it on my paper. In fact, my brush was not completely clean and so you can probably see some paint residue left making it a slight blue color. And then when I take my paint that I had pre wet, I drop it in. See how it kinda blooms and flows. So this is wet on wet when you take wet paint and you add it to a wet watercolor paper and it's going to flow and bleed. Now I want to change colors. So I washed my brush, I'm dipping it into my next color, and I drop it in. And look at that bloom and flow. Let's call it a believed when the to go actually into each other. Now the more you and work with your paints, you're gonna find a paint that actually pushes another color away. That's always crazy fun. And then there's other paints that want to work with their neighbor. Now this is what I mean by simple, basic beginner play. We are working with the colors to see how they interact and what a flow looks like. And a bleed looks like. And we're going to let that dry. And that is literally putting color to paper. That's what we've done. Look at that. And then incredible. The wet look, there's no water there. So wherever there's no water, the paint didn't flow too. So that's who we're working with today. We're practicing with our paints and we're dropping it. That's what this is called when the paint is on your brush and you're dropping it in and watching the flow and the bleed in the melding of the colors. And what's happening to each other. That's pretty unique. New will never have the same exact kind of look ever. That's what's so fascinating about watercolor. Okay, I'm going to show you some brushstrokes next. So hang on.
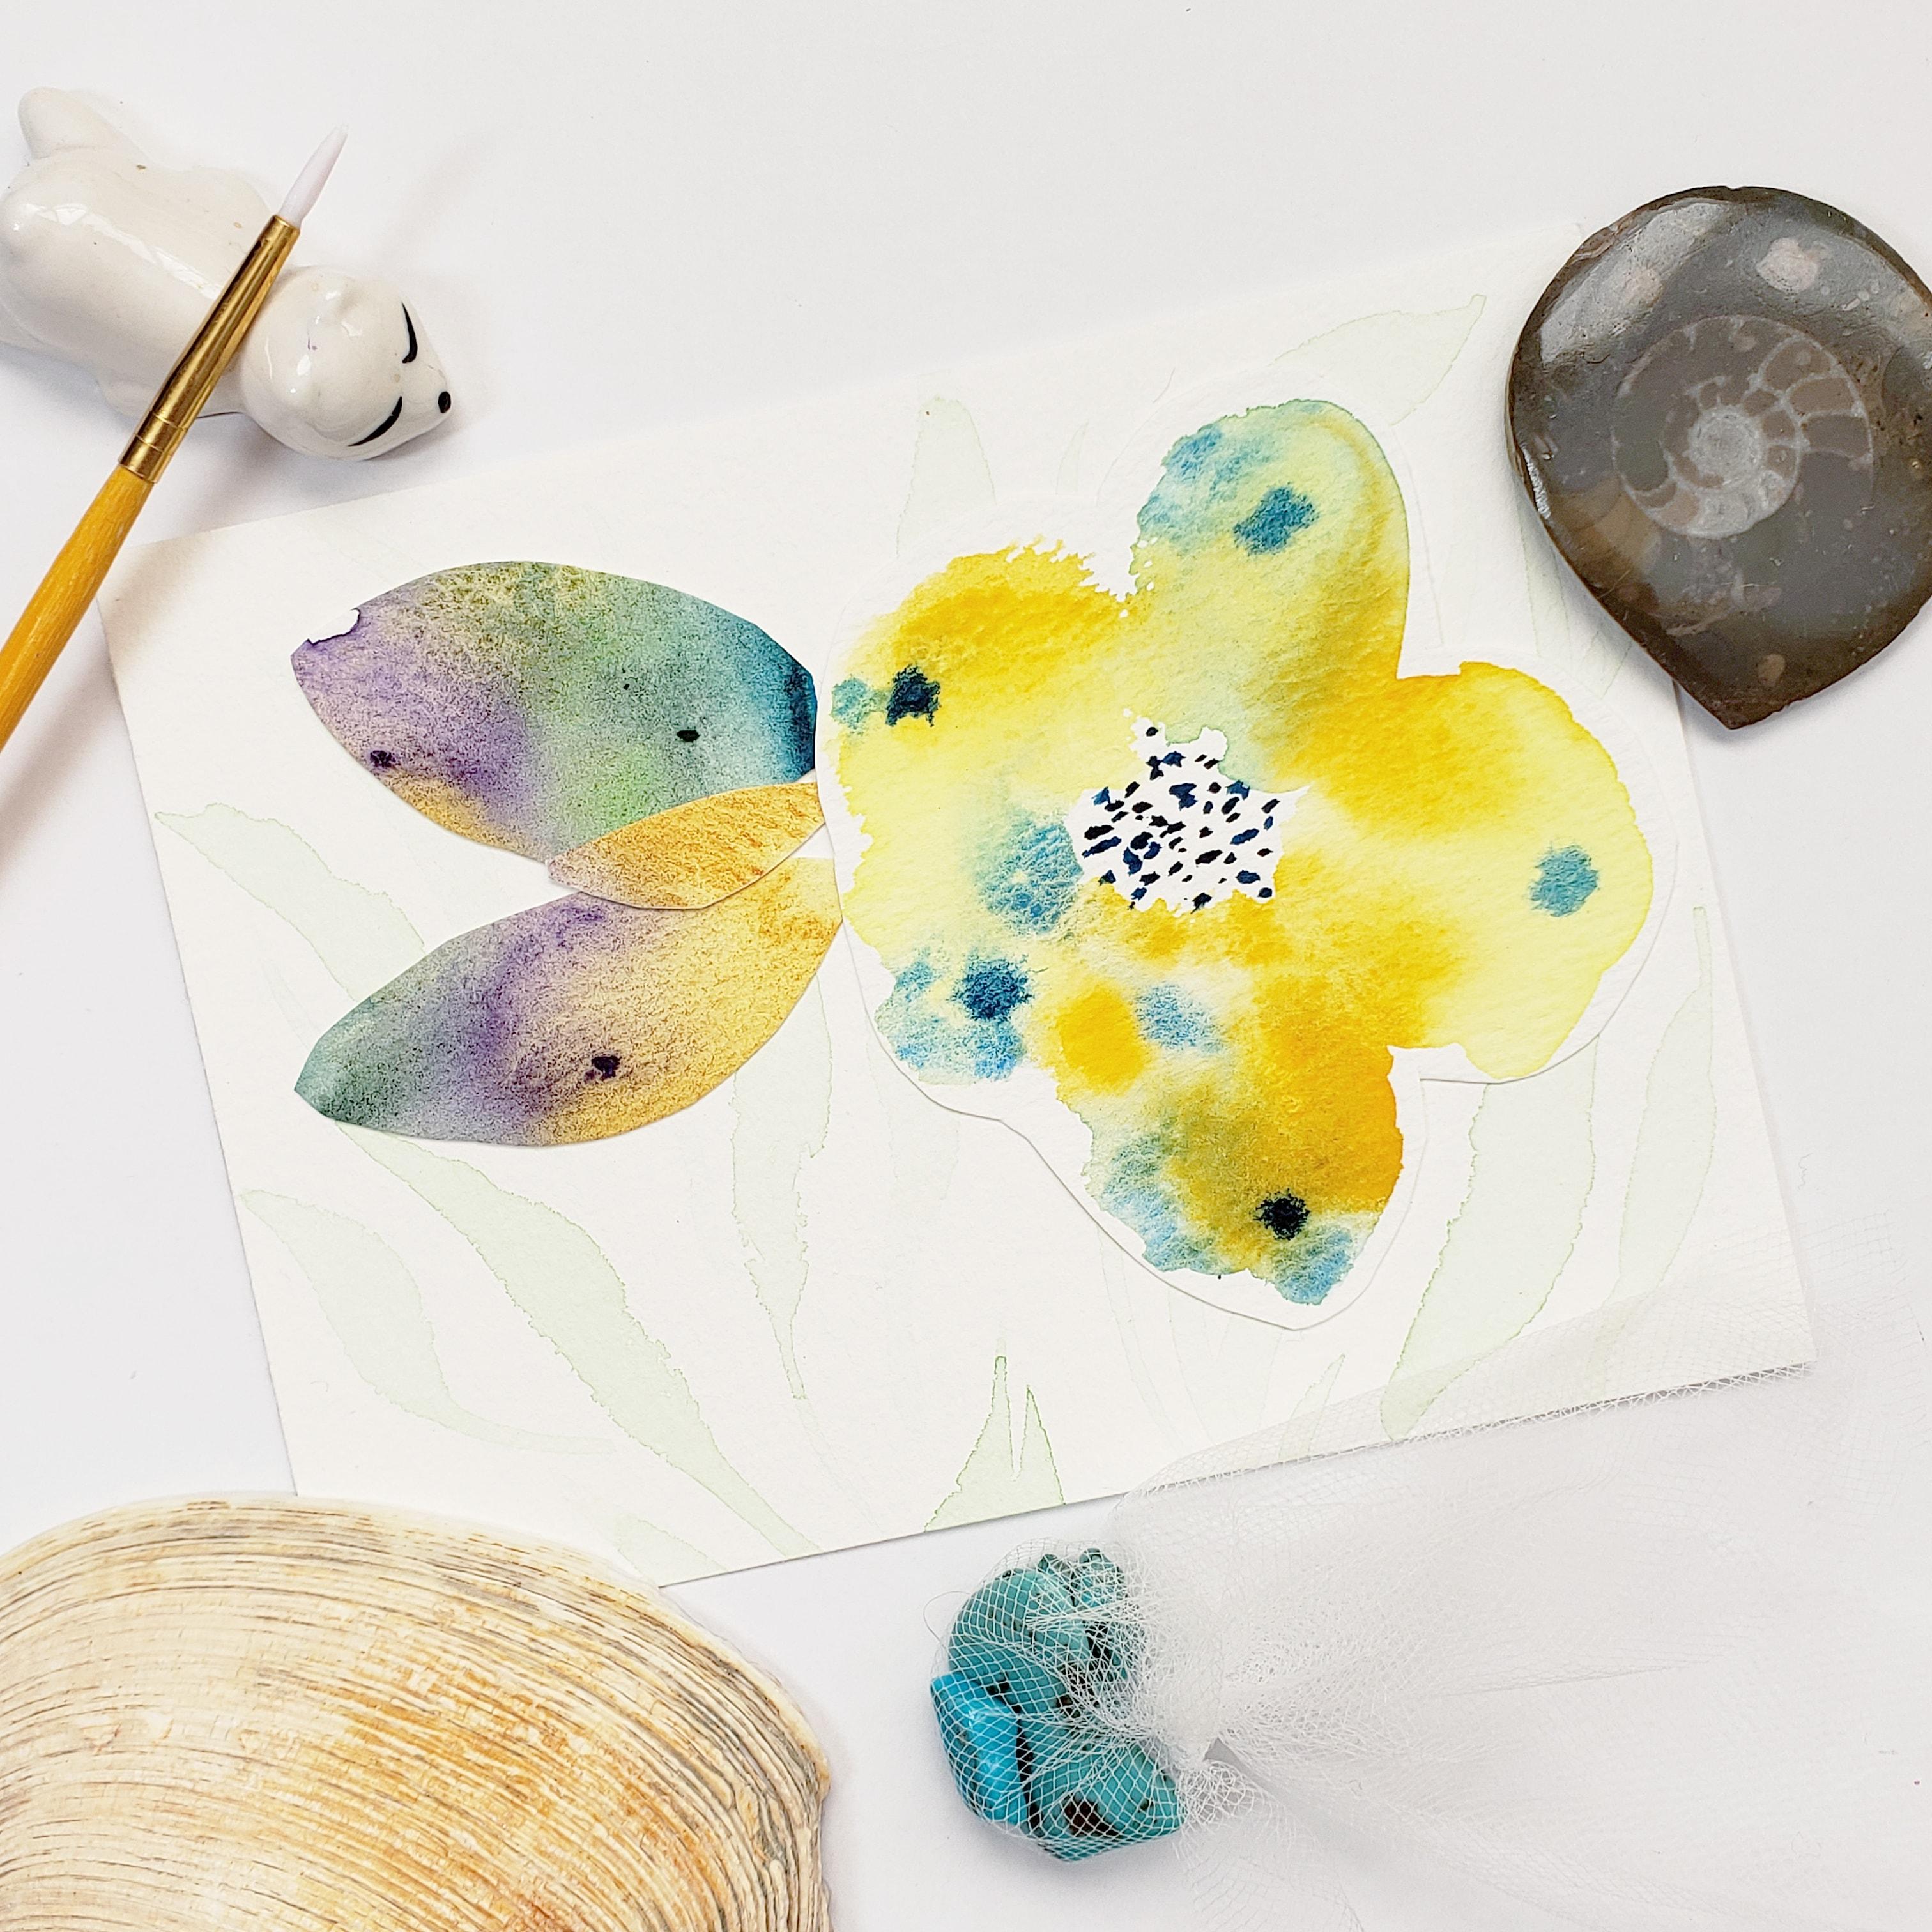
4. The Butterfly Shape: So working with brushstrokes, what I'm referring to is Langdon your brush and moving it around a particular shape. Now you probably can't see too well as to what's shaped by making. But just tilt your head a bit and see the glow from your light. And that's what I'm talking about. Can we make a shape that is the leaf-like OR pedal like? And you can work your brush into any particular symbol that you like. And then come over and take your paint to touch it to the area and watch it flow. Now this particular method you might think uses a lot of paint. And that's true actually. And you can push it around, slide it around. And if you tilt your paper, it'll flow around. Credible, right? A lot of you don't like that. Then I want you to take some paper towel, dry your brush a bit, and mop. That's what we're doing. We're mopping up the excess paint. Now, I noticed that ups on my first example. I did not let it dry very much before I moved on. And yet I can make a difference in my watercolour paint. Isn't that amazing? I think that's cool. Water colors. So forgiving, very forgiving. I'm watching to see this area of dried quiet a bit. So I'm going to add some more water to this section. And let's touch some pain. Touch, touch, touch, touch. Time doing. I'm not worried about the the granulation. Do you see how some of the paint looks a little grainy because the patient wasn't very blended. And that's something you can use your palette to do. You can work on smoothing out the paint that way. Or you can leave it alone using a little burnt umber in here. But I still had green on my paint on my paint brush and clean it a little bit better and drop it in. Drop it in. That's all we're doing. We're touching the areas. Now, watching and flow and move. Dabble it in. That's all it is. And when it dries, you're gonna have some really radical effects. I think you're going to be impressed with, hey, look what I did, look what my paint Did. I get that, not fun. Right now at this point, I'm going to pick up a little bit in threat and pick it up and drag. I'm just cleaning my brush because the puddle of water was quite a bit. We get that like a mock just picks up, right? And that's good because now it's going to dry more equally. And I want that because then I won't have a lot of hard lines or have to wait to much longer. So I hope you like that idea.
5. The Flower Shape: So I have one other idea I wanna do. And that's maybe more of a flower shape. So I'm doing like five puddles of water where they are. Now see the puddle. I'm moving that area, go move it around so that we don't have a puddles. But I have dampness. Now that's what I want. I want it pretty equally damp. That's important. Okay. Now, let's drop in some color. We're gonna do some more my yellows up here and maybe some blues. Those will be pretty together. Boom, boom, boom, boom. There you go. I'm gonna wash. Should I try another color? Drop it in. Just dropped up. Now me a washing my brush every time and not super cleaning it off. I have extra water. And you'll notice that when you add the color, you're actually adding water. So I remember when I was cleaning it off that I didn't want puddles but I'm actually making puddles while I'm practicing and working all this out. That's okay. Totally okay. I'm not, I'm not worried about that. This is just watercolor experience. We're practicing. We're looking at what flows together and how they interact with each other. And later, we're going to find how are we going to use this. Now, I only brought up mopping up color because I wanted to have my project dry a little faster. And if you don't care, then go ahead and let it dry on its own or pull out a hair dryer. You can even work that out with a hairdryer. But I'm okay. I'm going to let this dry and come back to you in just a minute.
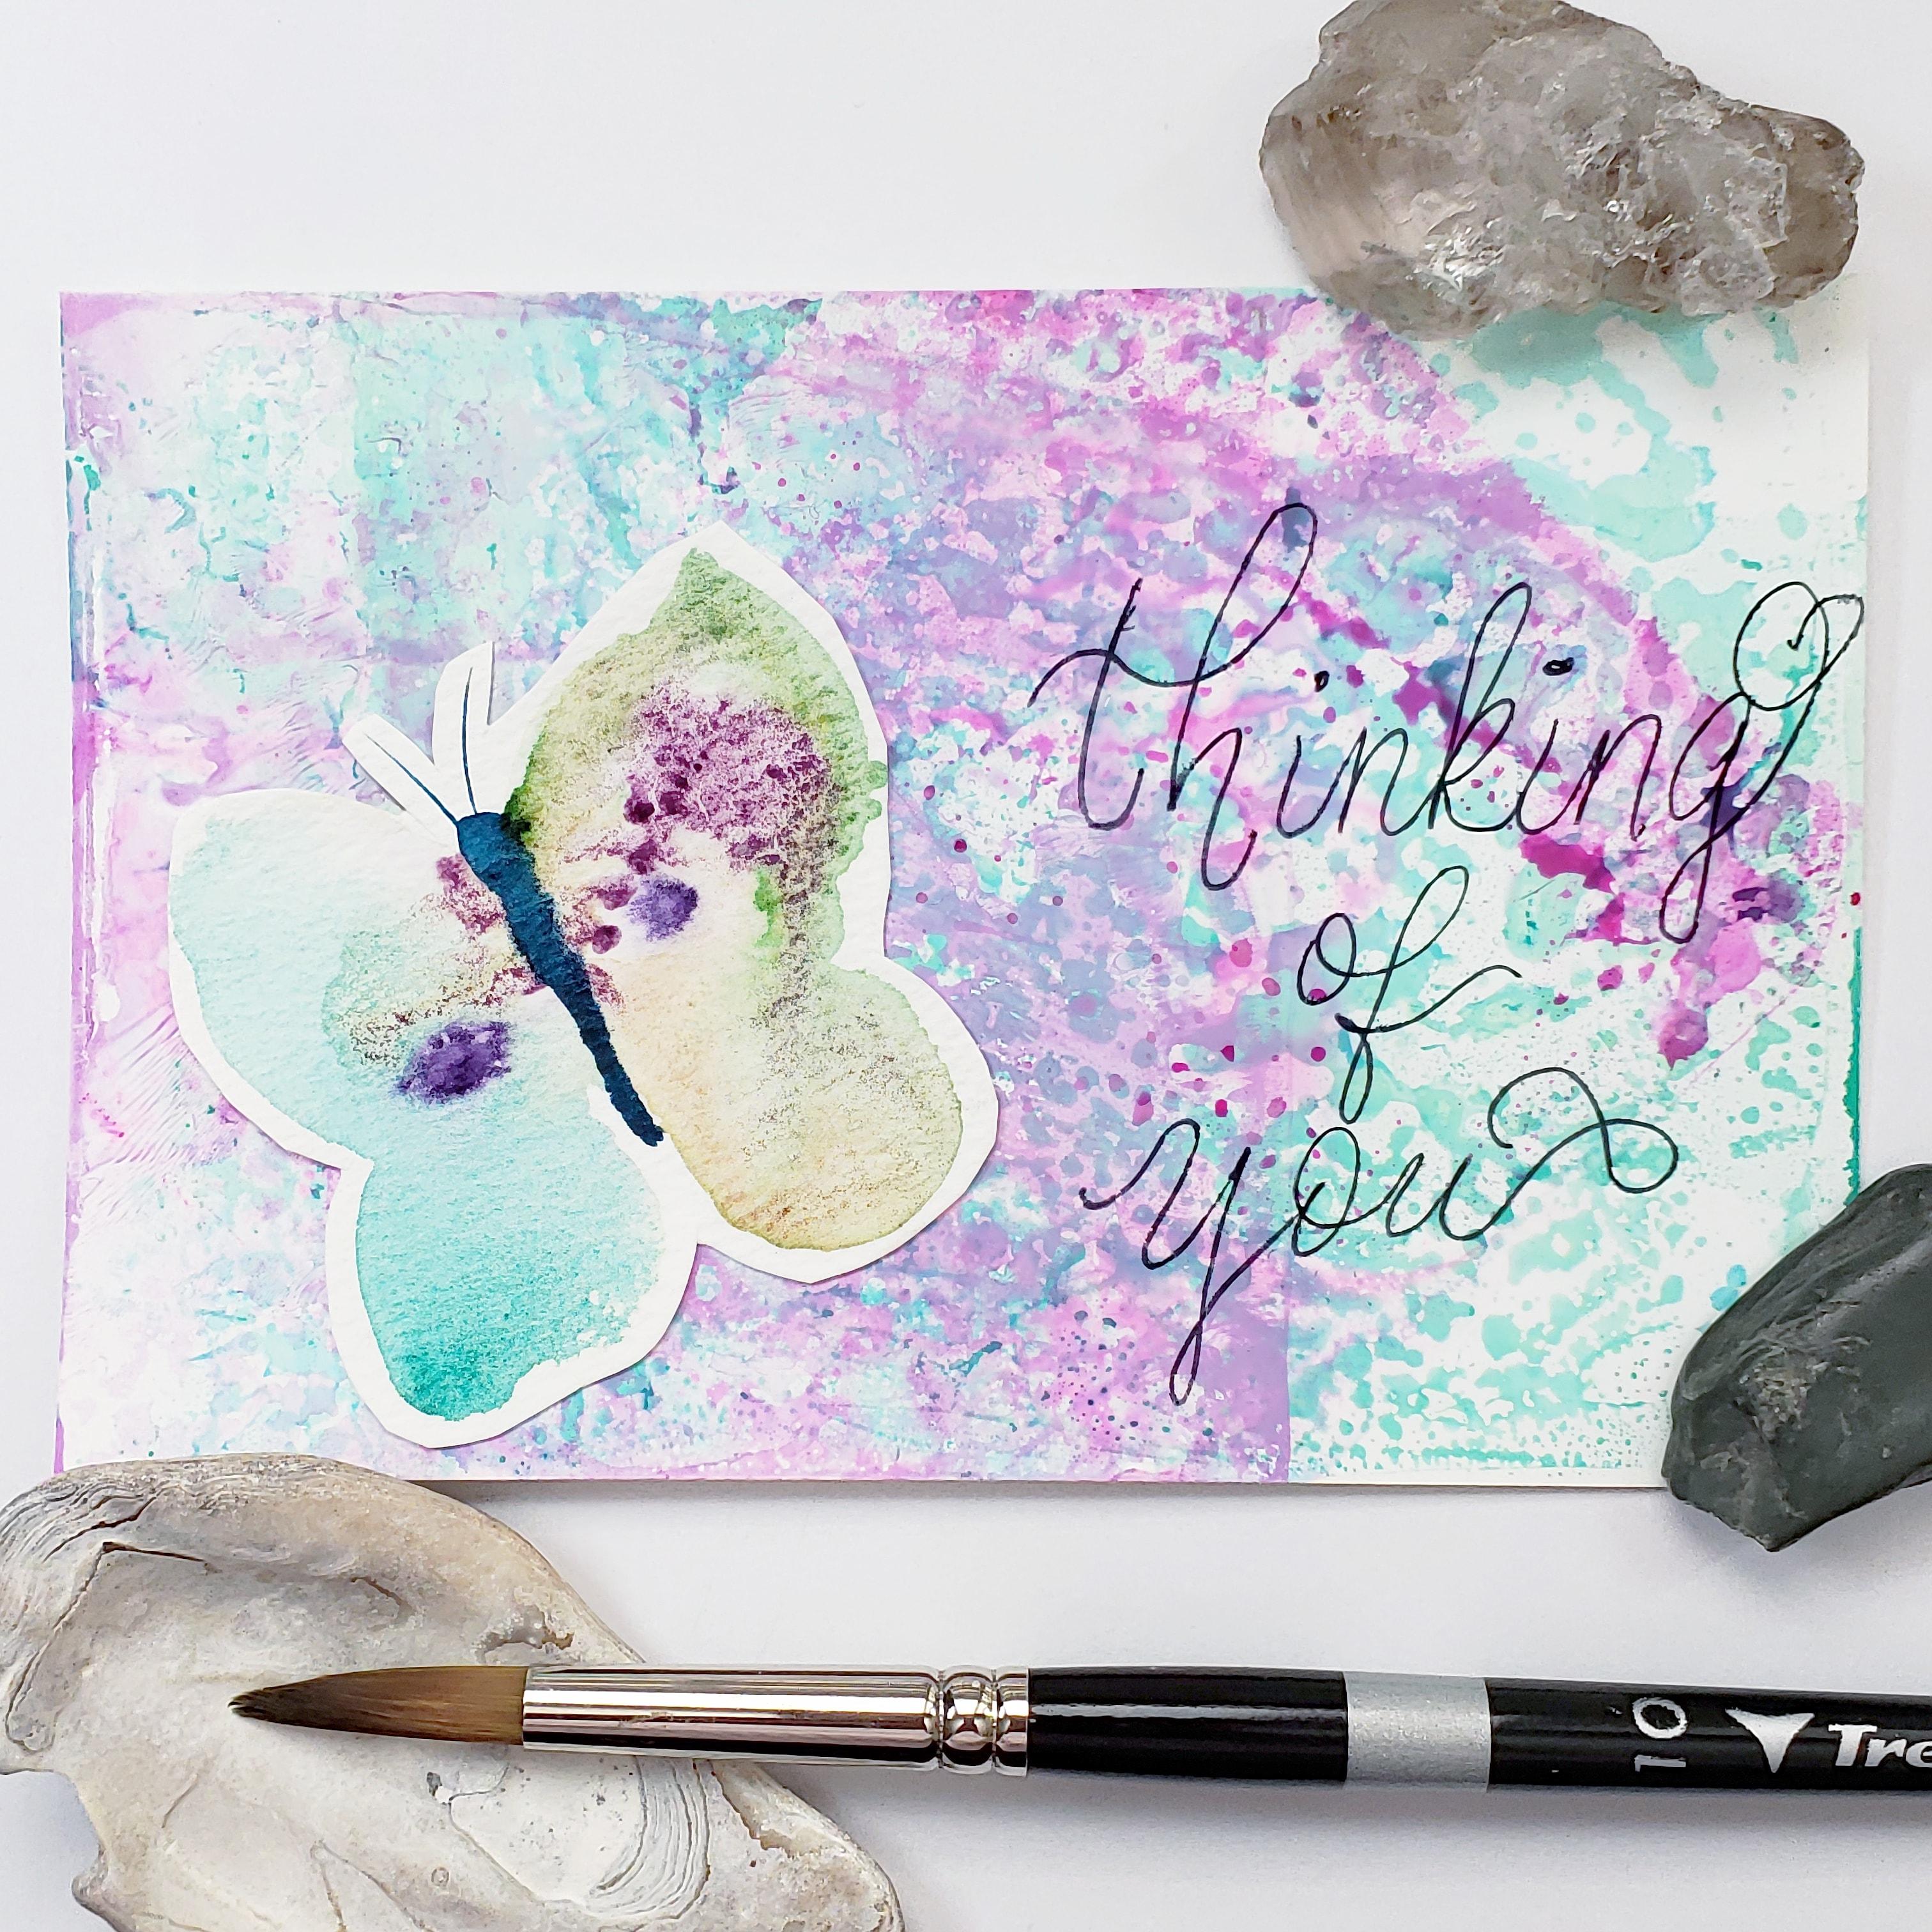
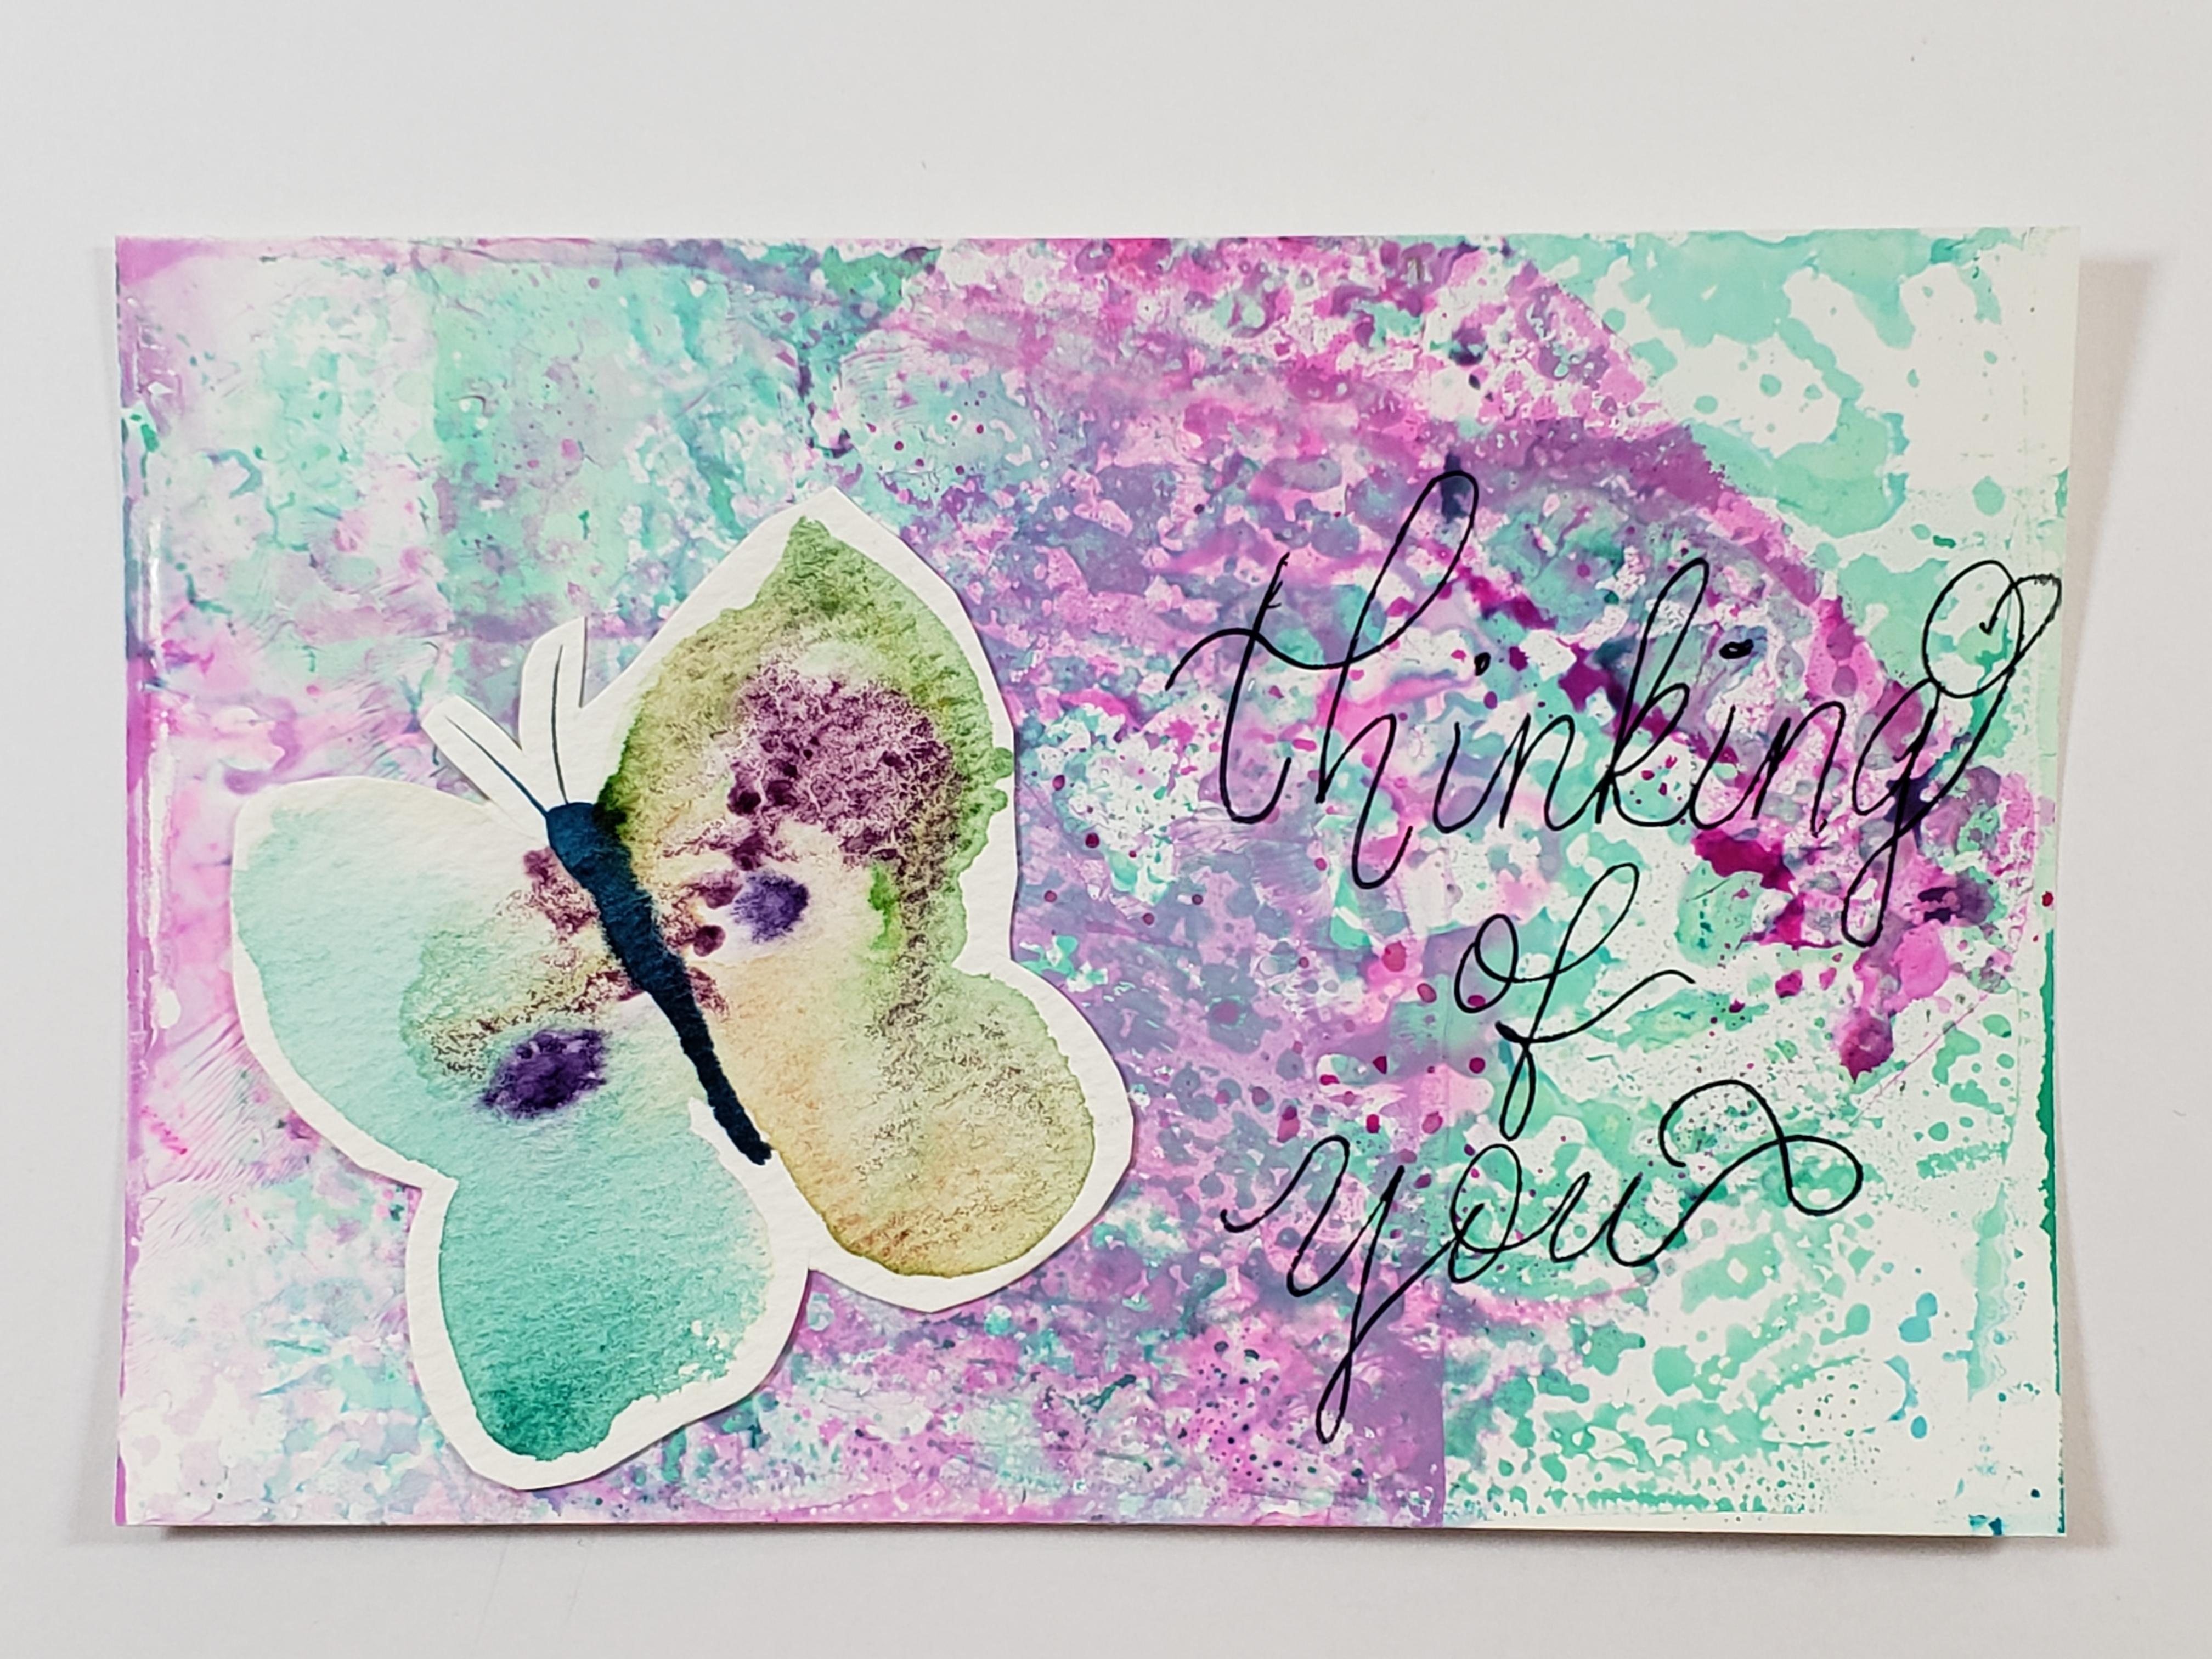
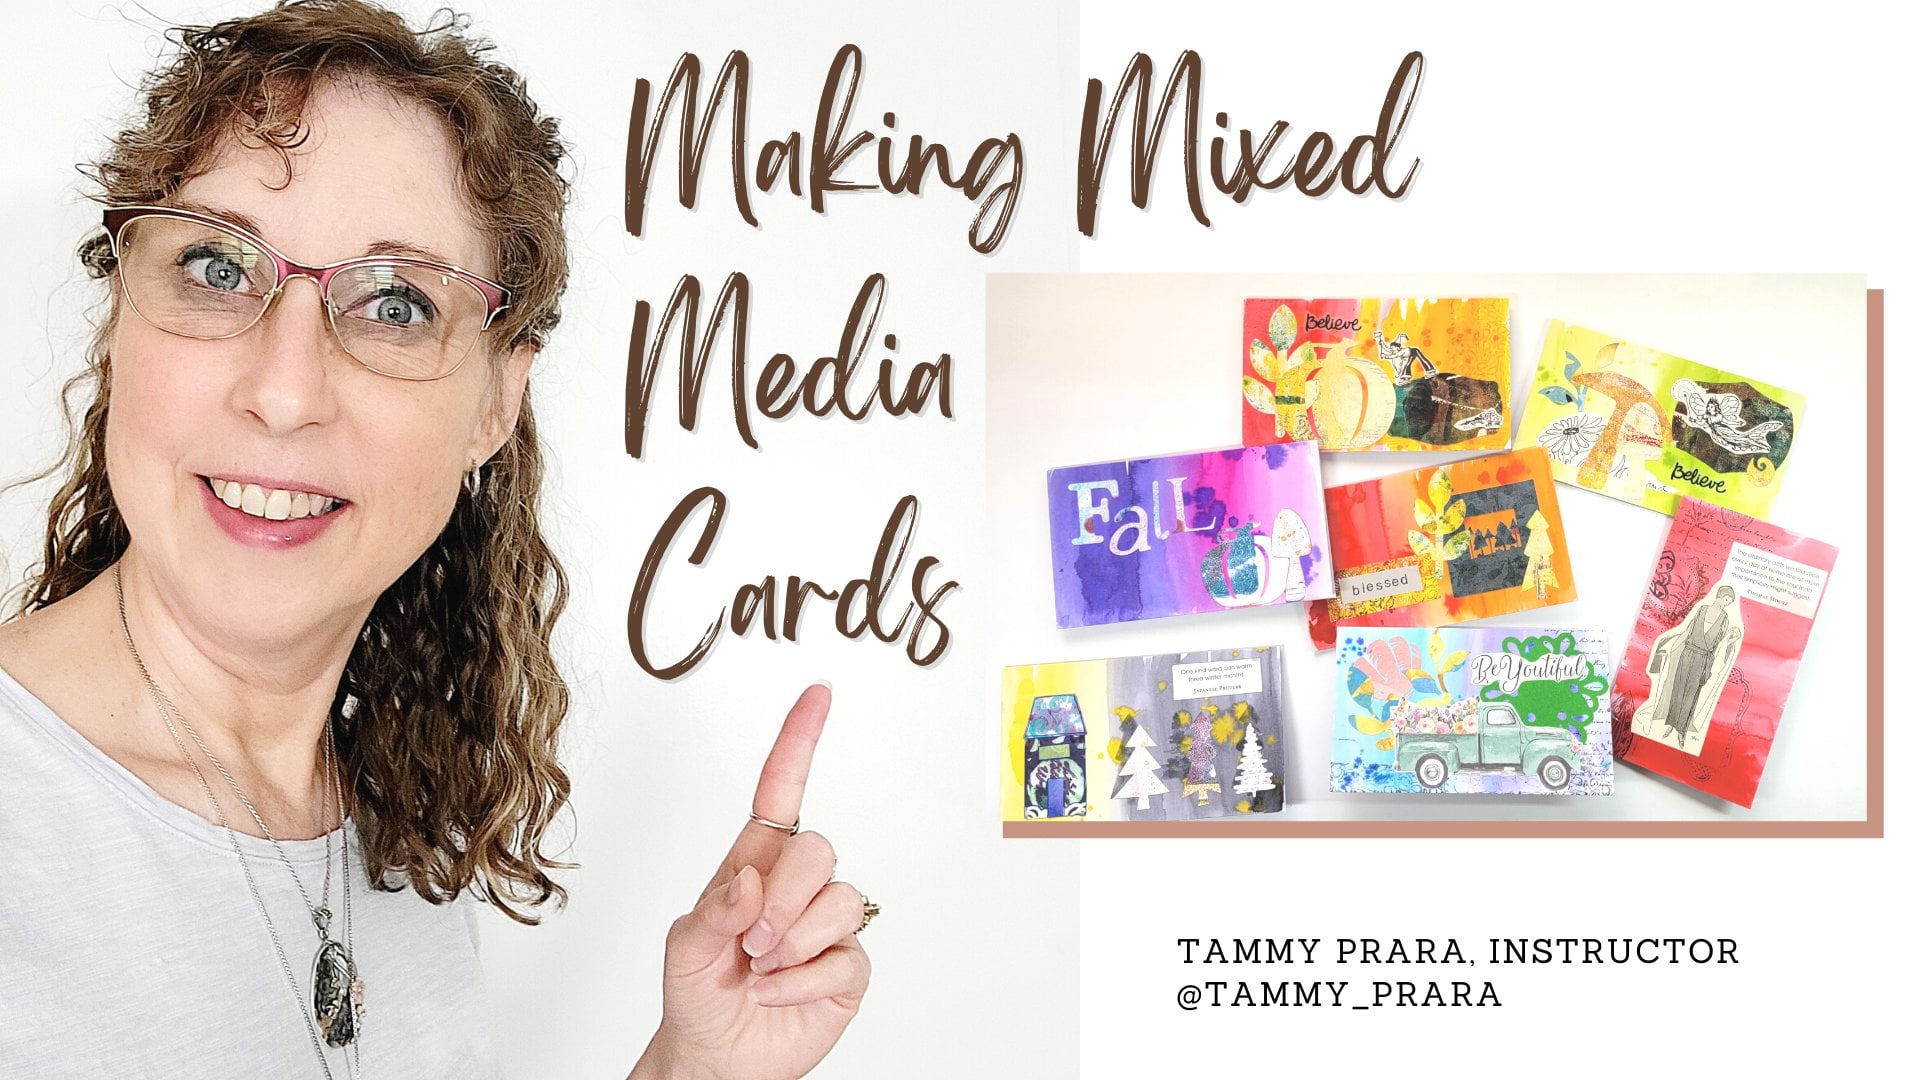
6. Butterfly Card : I told you I love making cards. If you've watched my photo paper card making, you'll probably recognize how to make something super simple using photo paper. And I love this recycled project because we, if you're my age, you may have quite a bit of photo paper on hand. And this is a great way to use up your photo paper and make it a card. Now our projects practically dried. So what I'm going to do is cut them out. You have made some handmade original artwork and can call it a sticker of sorts. So this, these color combo matches fairly well. Now what I'm going to show you is if you add a white border, it will stand up fairly well. But you might like the bright yellow of the, the yellow and teal as a contrast to the pink and green. That's up to you. I'm gonna go with the butterfly today. And all you do is I'm going to cut out a slight border around my butterfly shape. I'm not being exact. I'm truly just trying to say the same width of around maybe a quarter of an inch, maybe three millimeters around, to keep this white border as though it was a sticker. If this was a sticker project, it would have a slight border to it. Now, my only suggestion about the antennas is I like to keep it very simple. And so I'm not going to cut that kind of detail out. I cut around the wings, but I don't cut around the antenna of the butterfly. Oh, okay. Maybe a smidgen around it. Something like a heart shape. Right? Give it a little finesse. How's up? And you can add that to your card and see how it stands out because it has the white border around it. And I'm going to fix that kind of a sharp edge right there. And maybe I didn't like my trimming too well right here. Okay. And there you go. Look at that. Now. Choose where exactly do you want your project? I am going to use some glue. Stick blue. Now like this glue because it actually has a color when you are using the adhesive. And you can use regular glue and just let it set. I don't know what it is, but I think it's my heat from my body that's spreading that and Cole, who? I don't know that that's true. But there you go. I like how that helps it. In a little glue around the corner. Like I can see it coming up totally okay. When if this doesn't stick, I will use my white glue. Hold it on more permanently. Now it's up to you. Do you want to add any words on your card today? Four, Do you want to leave a blank and write on the back side? Do you want to add it to a card stock and make a flip up card. That's up to you. So many variations. I just loved this idea. I think I'm going to write today. But that's up to you. You don't have to, but I'm going to man so many uses for this card. I'm going to write thinking of you. Because even though I'd make an awesome birthday card, I don't want to encourage someone today, so I think I'm going to put that always dot your eye. I read somewhere that dotting your i's means you are absolutely being careful and consider it and not too quick. So there we have thinking of you on photo paper and an embellishment that you created yourself. That is fantastic. Your recipient will love that.
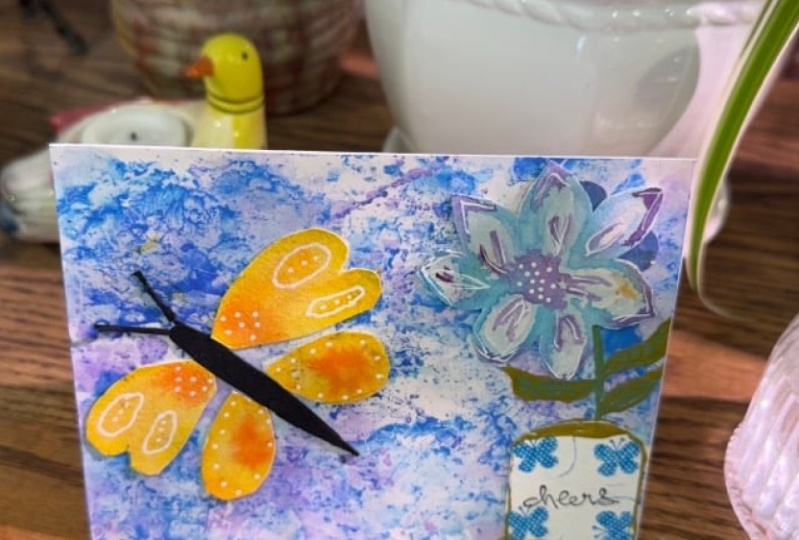
7. Bonus: Flower Card: All right. I have got an idea on what you can do with your scraps. I want to cut out this flower shape. And much like we talked about, following the outline and adding a little white around it. That's up to you. It's okay if you want to go ahead and get right up against that, even inside your painting line, that would be okay too. But I'm going to leave a little bit of light around my flower, cutting as carefully as I can. And I do want to say there is a skill to cutting. You should be having your arms close to your side while you're doing this. I am actually reaching hero, my camera right now. So I am at a bit of an awkward angle, but it's all good, right? We're here to learn and experiment. Now save this. That's a good hunk of paper. We can make some more. Now, I had a card that I was using up some paint and I actually just worked my brush practicing leaf shapes. If you've got some plain paper, card stock, colored paper, even coloured card stock, and you can cut it to the size of your envelope. That would make a great background. And look, I'm going to place the flower that I painted. Now what about this? How about a leaf? So I'm going to cut, I'll leave shape straight out of my painted practice. And look at that. In fact, I think I'm going to be able to get to outta here. If you need a template, make yourself a template. Don't make this too complicated or too hard. I want you to just have fun with it. I don't know. Should I go for a third? Might just go for a third. Let's see if I can get another kind of a I don't know what shape do you call it? And that's still a leaf shape. And a little tiny leaf shape. How's that? Now? Because I'm using card stock. On card stock, I do want to use some real glue. And this is a leans glue. I'm going to squeeze a bit in here. And just because I'm frugal this way and I add a little bit of water. And I'm going to mix that up with not so loved paintbrush. And I couldn't decide what your lay off an a look like. Where's placement? Look for you? What's that? In fact, I think I didn't like it on this corner. So I'm going to brush on this glue. And what's nice is it's going to dry clear. If you'd get it on the front of your object, not a worry. It's going to be like a sealant to you. So that's all good. Do you have something called mod podge? Do you have kids glue? It's all probably gonna work for you. I actually ran across this particular glue that I craft store and it has turbo tacky glue. Not exactly sure if that's significant, but it seems to be doing the job for me. Like I said, I've used a bit of my body warmed to get that in there and help it to stay. Now, I've got some leaves. I can get just under that promise shuttle lead Maslow's down first, don't you think? But I'm not worried. We can make this work. What if we do something to that effect? I like that. So I've got a little bit of extra glue and here I am going to help it go a little bit further. Like I said, I like to be a bit frugal with my supplies. And again, I'm just laying this glue right across the back trying to get all the edges because I really don't want it to pop up, stick up. I wanted to lay as flat as possible. And there we go. Her getting a first one down. Getting this under a heavy book when I'm done, That would be really good to keep that while it's drying. Because look how it just popped up there again. I wanted to get this in. I think I can do this one handed. While I'm putting pressure on my leaves on that I've already laid down. And there we go. I've got my last tiny pedal leaf right there. And yep, I'm gonna get that under a book and let that dry. But hey, I've made a second card out of the scraps of my practice is not awesome. Ok, I hope that's encouraging you to go out and experiment and to layer up your projects, save your scraps. You never know when you're going to need a little bit of color somewhere.
8. Final thoughts and Project: Thank you for joining me today. I appreciate your time. Share your project. Did you make something along with me? I hope so. Even if it's just the simple list of block of color, please share that. What were your color combos? Why did you choose them? Did you like the way they came out? Would you choose something else? Do it over again. It's just paper and paid. Just have some fun and experiment. And if you made a card, I would love to see that, to share that in the projects. Appreciate you learning with me. And I hope to keep coming up with some new ideas, creative ideas for you. Please drop me a comment. You can find me on Instagram, on shells and Jade. And I would love to meet you. Thank you for joining me. I appreciate so much you taking the challenge to pick up a paint brush and get an on paper in the most simplest, basic way, and then create something fun with it. Alright, you guys have a great day. Bye bye.
 Tammy Prara, Making Matters