Transcripts
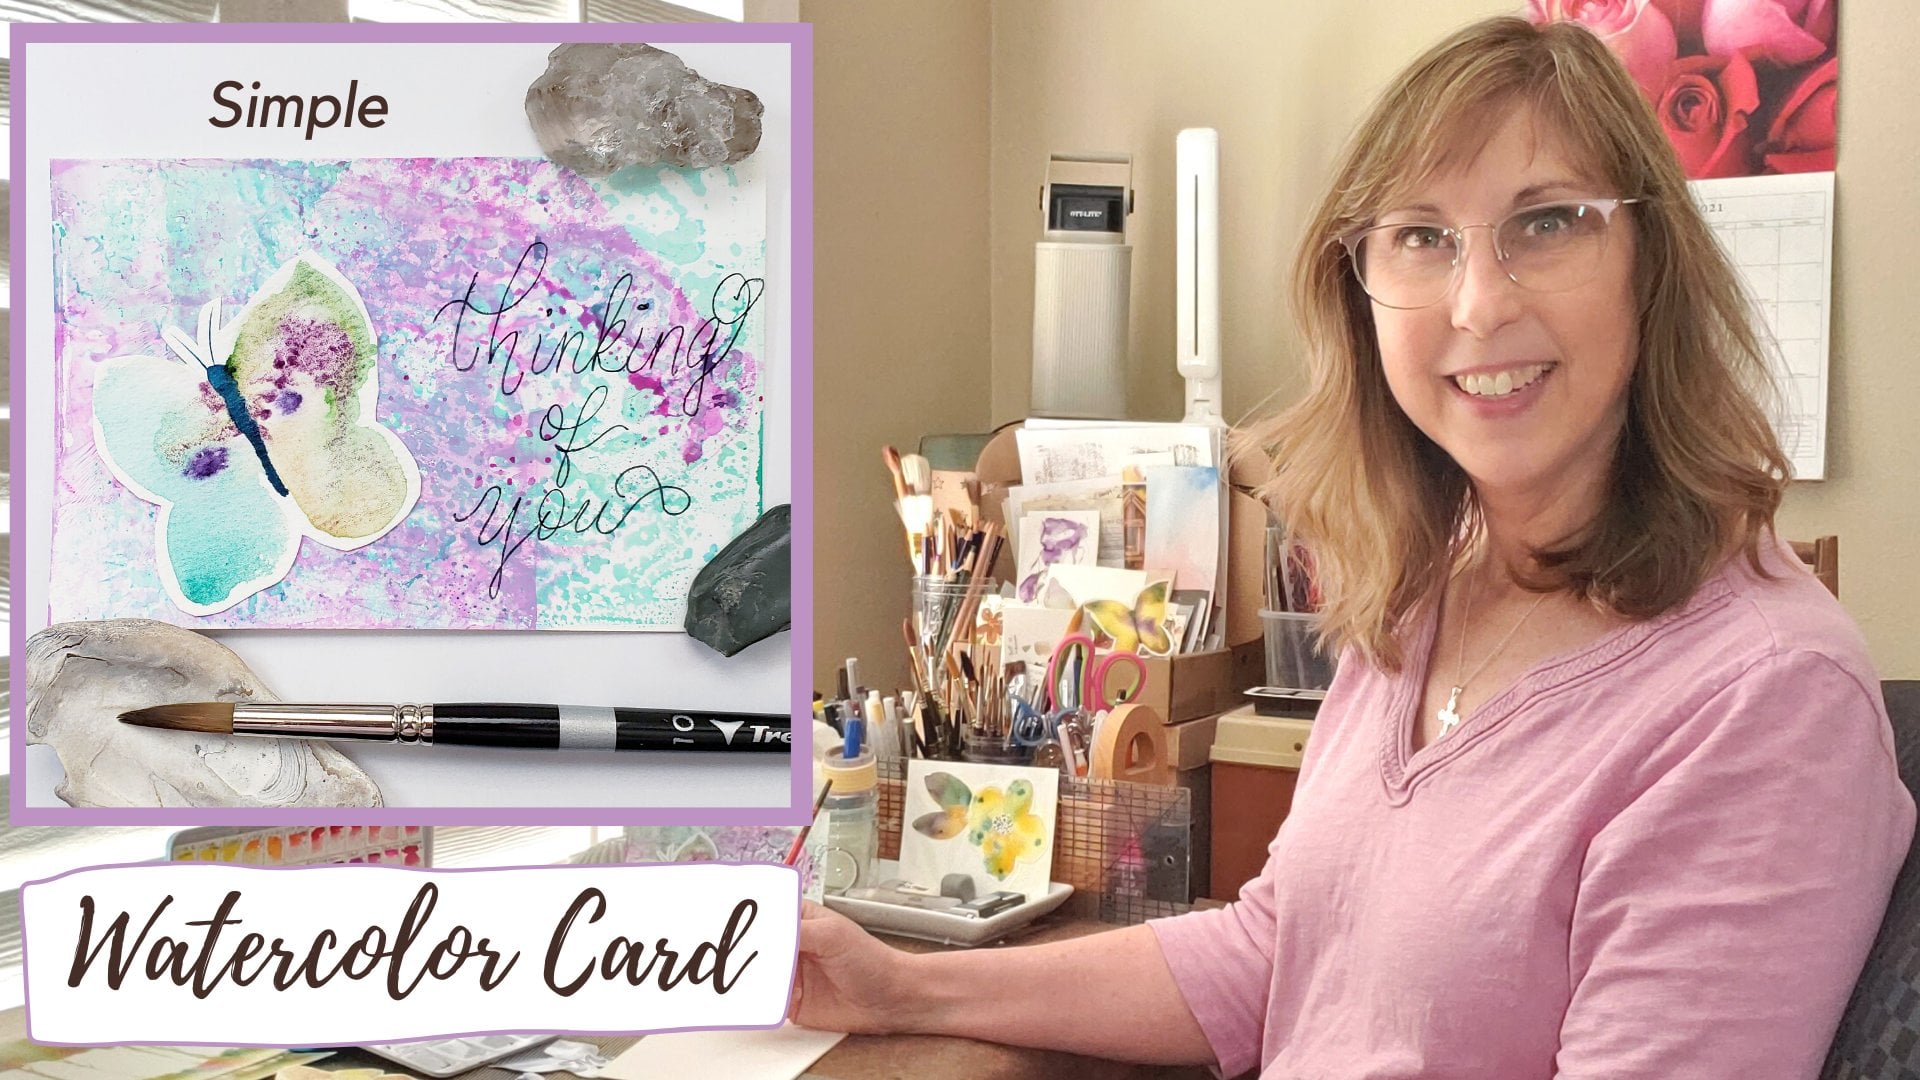
1. Mixed Media Card Intro: Hi friends, it's Tammy Prara. I have a new Skillshare class for you. And it's a little bit of watercolor, it's a little bit of collage. How is it I make cards that I just loved to share with friends, family, husband's taken them to work to show. They're really fun, they are relaxing. Sometimes I call it meditative art, just having all my supplies around me and fiddling with them until I find just the right look That works. And I'm going to show you how simple that is and how you're going to have fun doing it, collecting all kinds of materials. It's going to be simple, It's going to be engaging. And I can't wait to see what you create with the products and things you have around the house that will make great art collages to share as well.
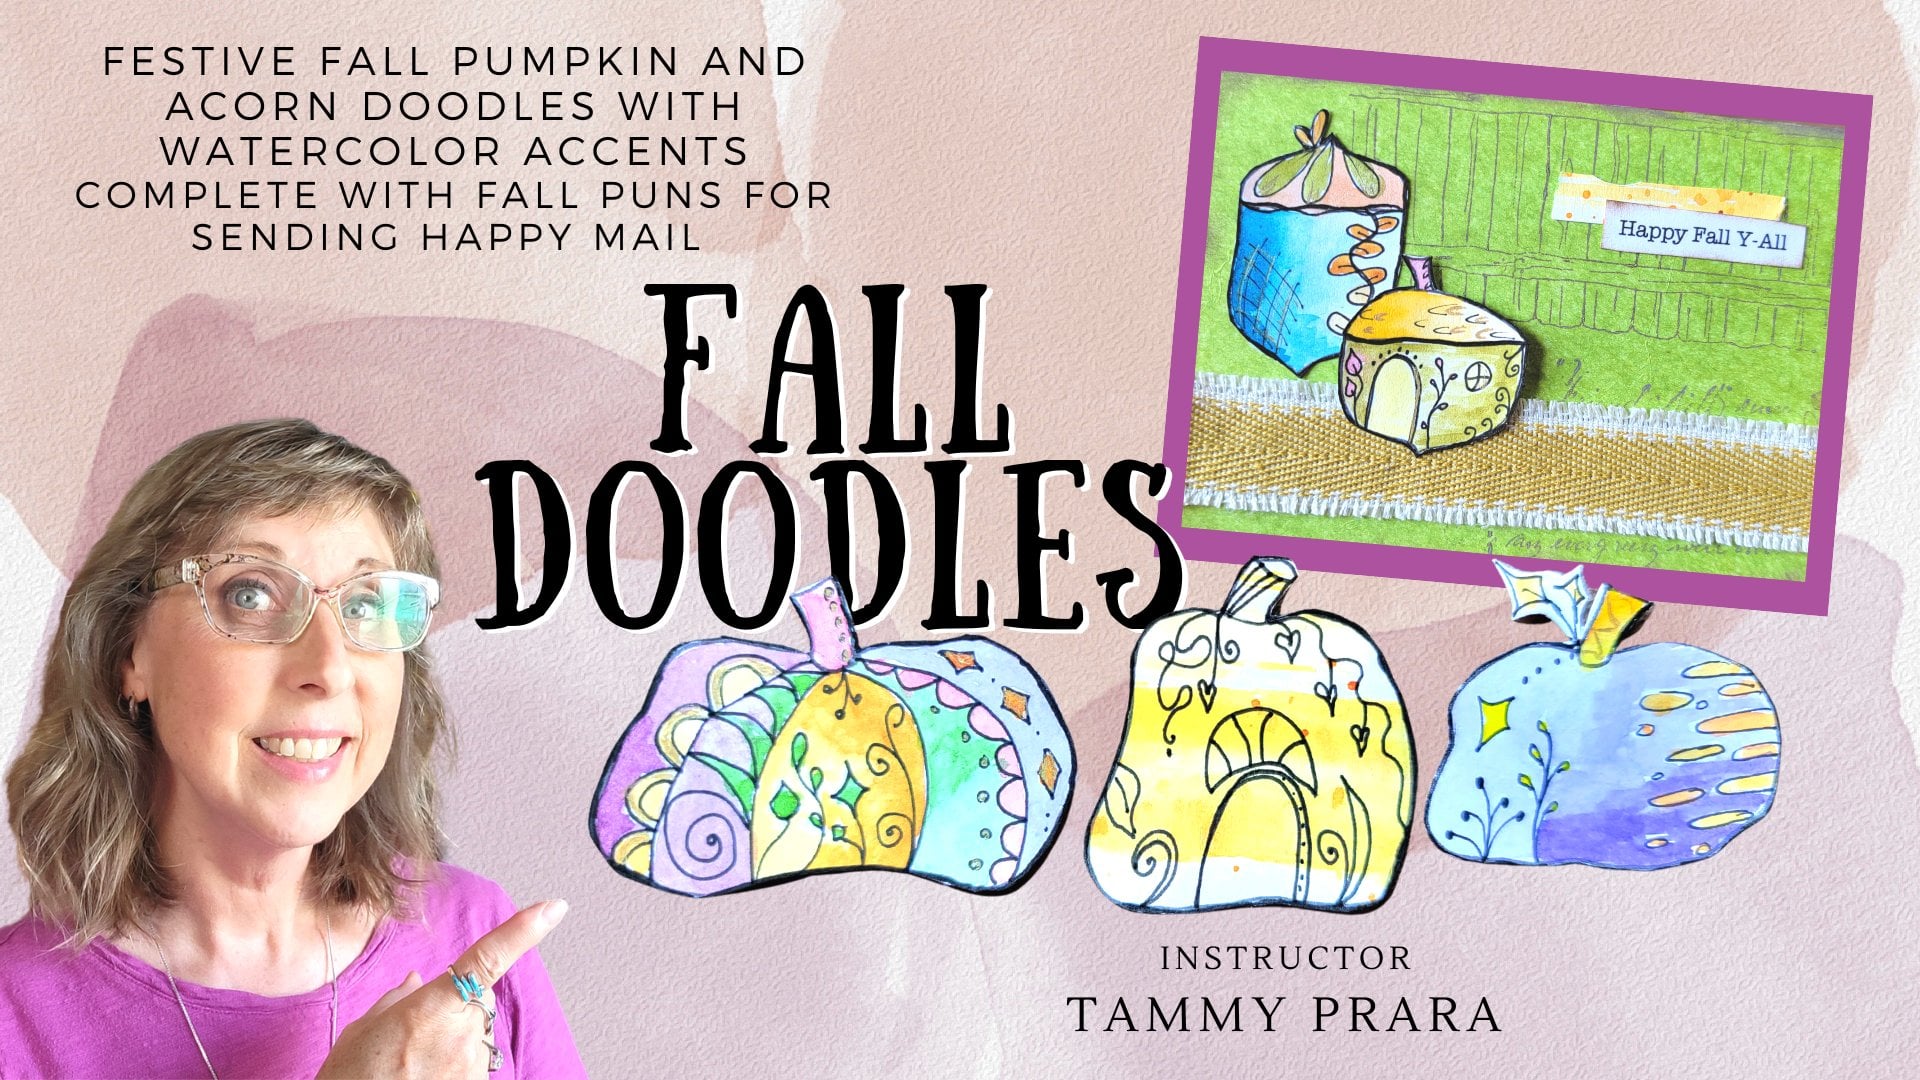
2. Collage art and supplies: Art is something anybody can do. And what I like most about it is I can take from all kinds of sources. I've used maps and magazines and book pages and music pages, old cards, postcards, text out of books, illustrations, stamps, acrylic paint in watercolor. This mixed media type of collage allows some total freedom and at the same time can be a challenge to know exactly what I should be looking for to have this cohesive piece. So I have a few tips I want to share with you. Collecting your materials and placing your materials. That will give you a really great piece to share. I hope you have a stash of stuff. Sometimes it's called fodder. If you have a book of quotes. I've been cutting these out using the words that I like the most fit the card. I have to juggle plate, art or Stash or my cleaning my brayer off. Actually it makes kinda cool textures. And what do you do with these? You can make little things. So this might be considered a, a tag shape. I've actually cut out pumpkin shapes. This actually I used on my cricket. I used a pattern on my cricket machine to cut. I literally fed my pages into my cricket and it cut out my pumpkins for me. I also have a piece of a calendar. Do you have any extra old calendars that you really like the images on there? That would be a good way to start. Or maybe some found words. I had this little guy out of a Trader Joe catalog. I cut that out. Oh, coloring pages. This is Joanna bastards calendar. Look at that. These would be really cute to cut out or even the shape of the flower as a picture to put on illustrations. Don't you love finding cute illustrations, cutting out maybe the little bears to go on your card. Oh, and the pixies or frolic of the pixies that might make great words to use. Him. Chopping wood or harvesting the apples. That might make a great one with my pumpkin. Man. This was from a catalog and how to fold. And I don't know, these would make awesome Stars. Oh, and look, here's some extra, all these cherries might look really cool. Maybe these aren't apples, but they're cherries. That might be great together. Oh, look, I found this in a catalog. I just tore that page out. I want to use that car. I love that. I want to use. You can cut out the flowers and stick something else in there and be beautiful. That would make great found words for a card. I had a very old magazine, in fact, look, September of 1920 to this illustration. French ferries. That would be so pretty on a card. Or the little ducks anywhere you can find art inspiration anywhere. Look at these children. I can imagine cropping them out, maybe with a pumpkin because of that orange on there. That just looks so cute. The tree or the girl with her hat, isn't that great? I love these old, old illustrations. My goodness. And here's an old recipe. Any way. There's so many ideas out there. And this is how I start making a collection and how I start making my cards.
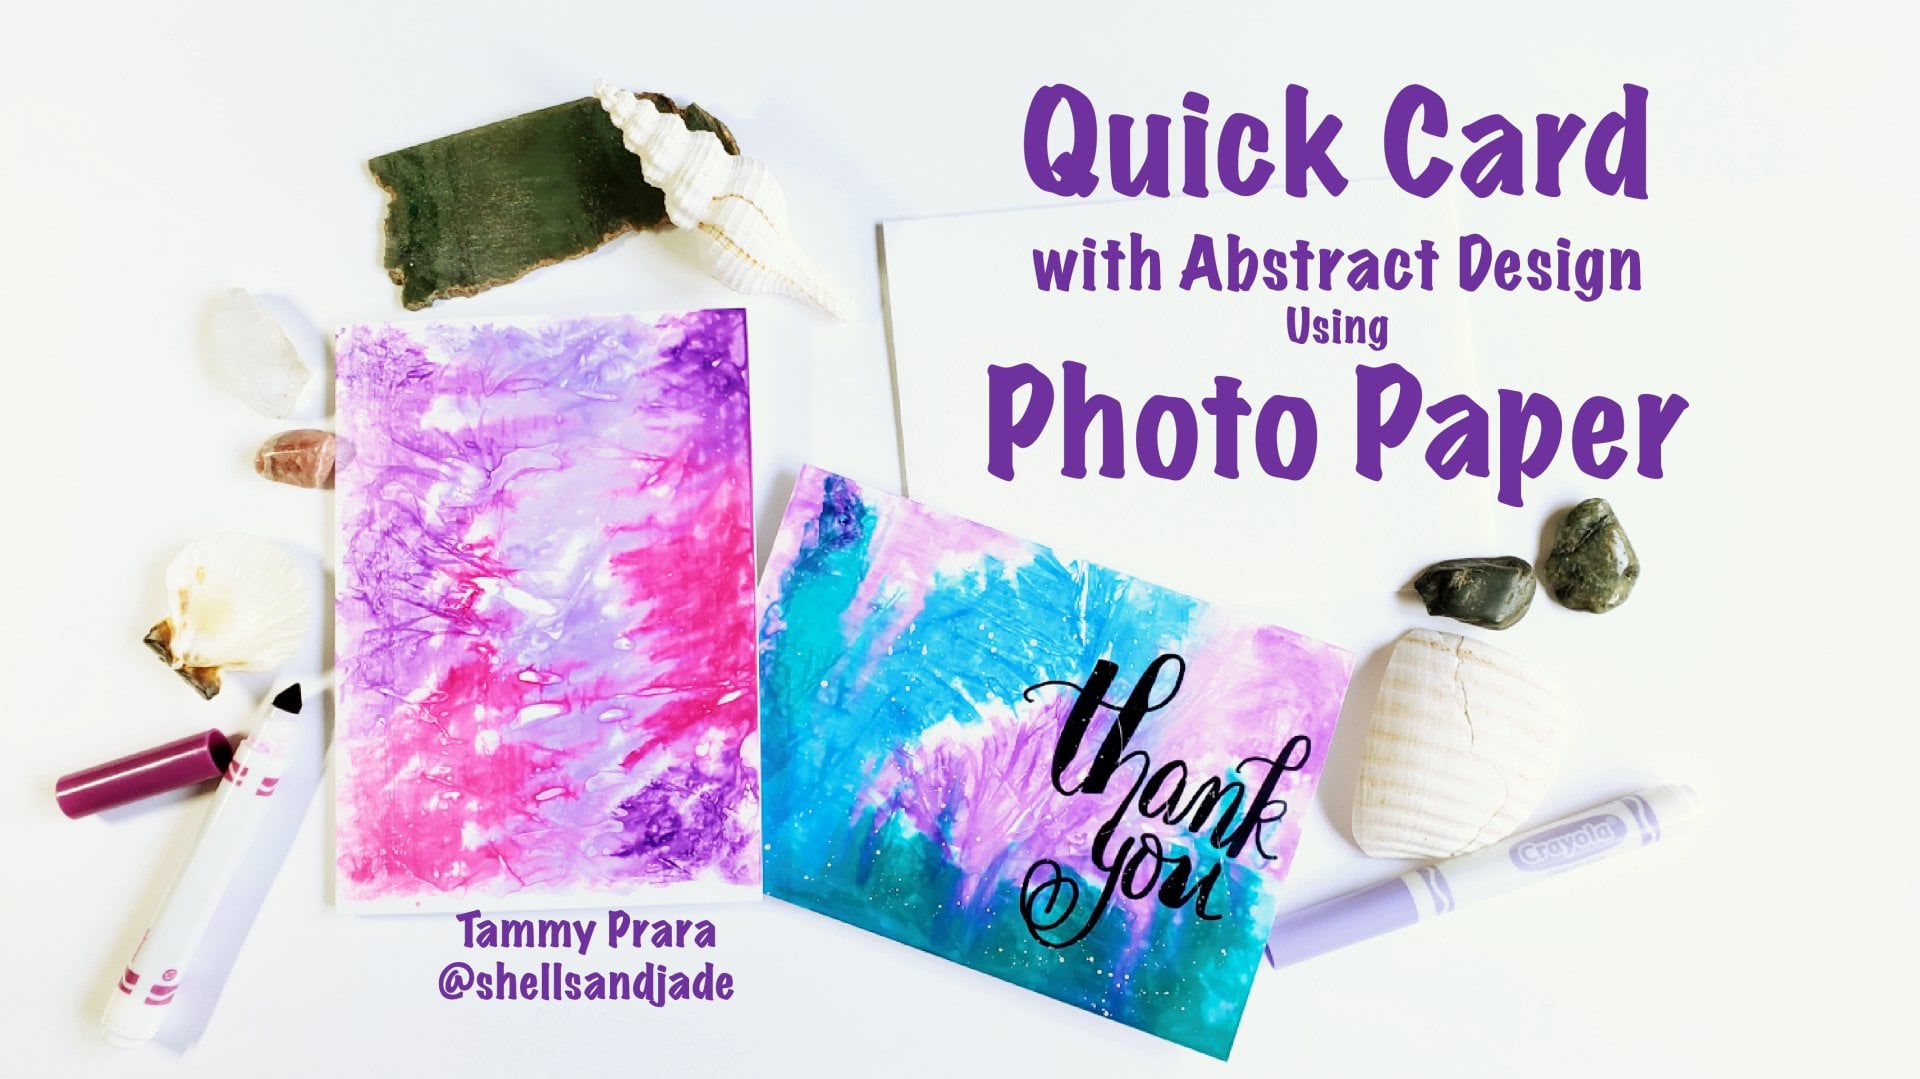
3. Painting the background: Okay. From my background, I have this heavy duty card stock and I actually founded at a thrift store. They were blank and what scored line through it to fold their cards. And I wanted to show you how to create a background with watercolor. Now this is not watercolor paper, it is card stock. But you can tell that watercolor works just as well on card stock. And here's a field, my supplies. I actually, for these particular cards, I use my watercolor called the Vive a color sheets. And they come from India and you can find them online. These are so handy. That's really a cool way to have your watercolor. I'm using a very large brush. This is a size 10. And of course, water to activate my watercolor. So very simply, it's a big, fast, slushy mess. So I'm actually going to wet it just a bit. I'm even going past the line of no return there. How about some of this and adding more water to it, making it very loose, rather sloppy and streaky. I'm okay with that. Maybe even making it darker and some sections. And I'm going to find a color to go with it. I'm actually working with some fall colors today. Ooh, we'll come back, came out. One was called dusk orange. I'm going to overlap. Just a sloppy, fun, playful mass, something I like to call wreck the project. And maybe some of this vermilion, and I'm going to do some splatter paint. I move my other cards out of the way. And I'm going to let that dry. Now you can tell it's starting to buckle a little bit. And I'm okay with that because you know, it I'm going to set it when it's just damp and not so wet. I'm going to set it under some heavy books. So that's all there was to the background. Before I pressing, I want to just dampen it a bit. Just a little bit of moisture and not the new him to have one, but something heavy. And those marble bookend really does the job. So I will come back after that dries.
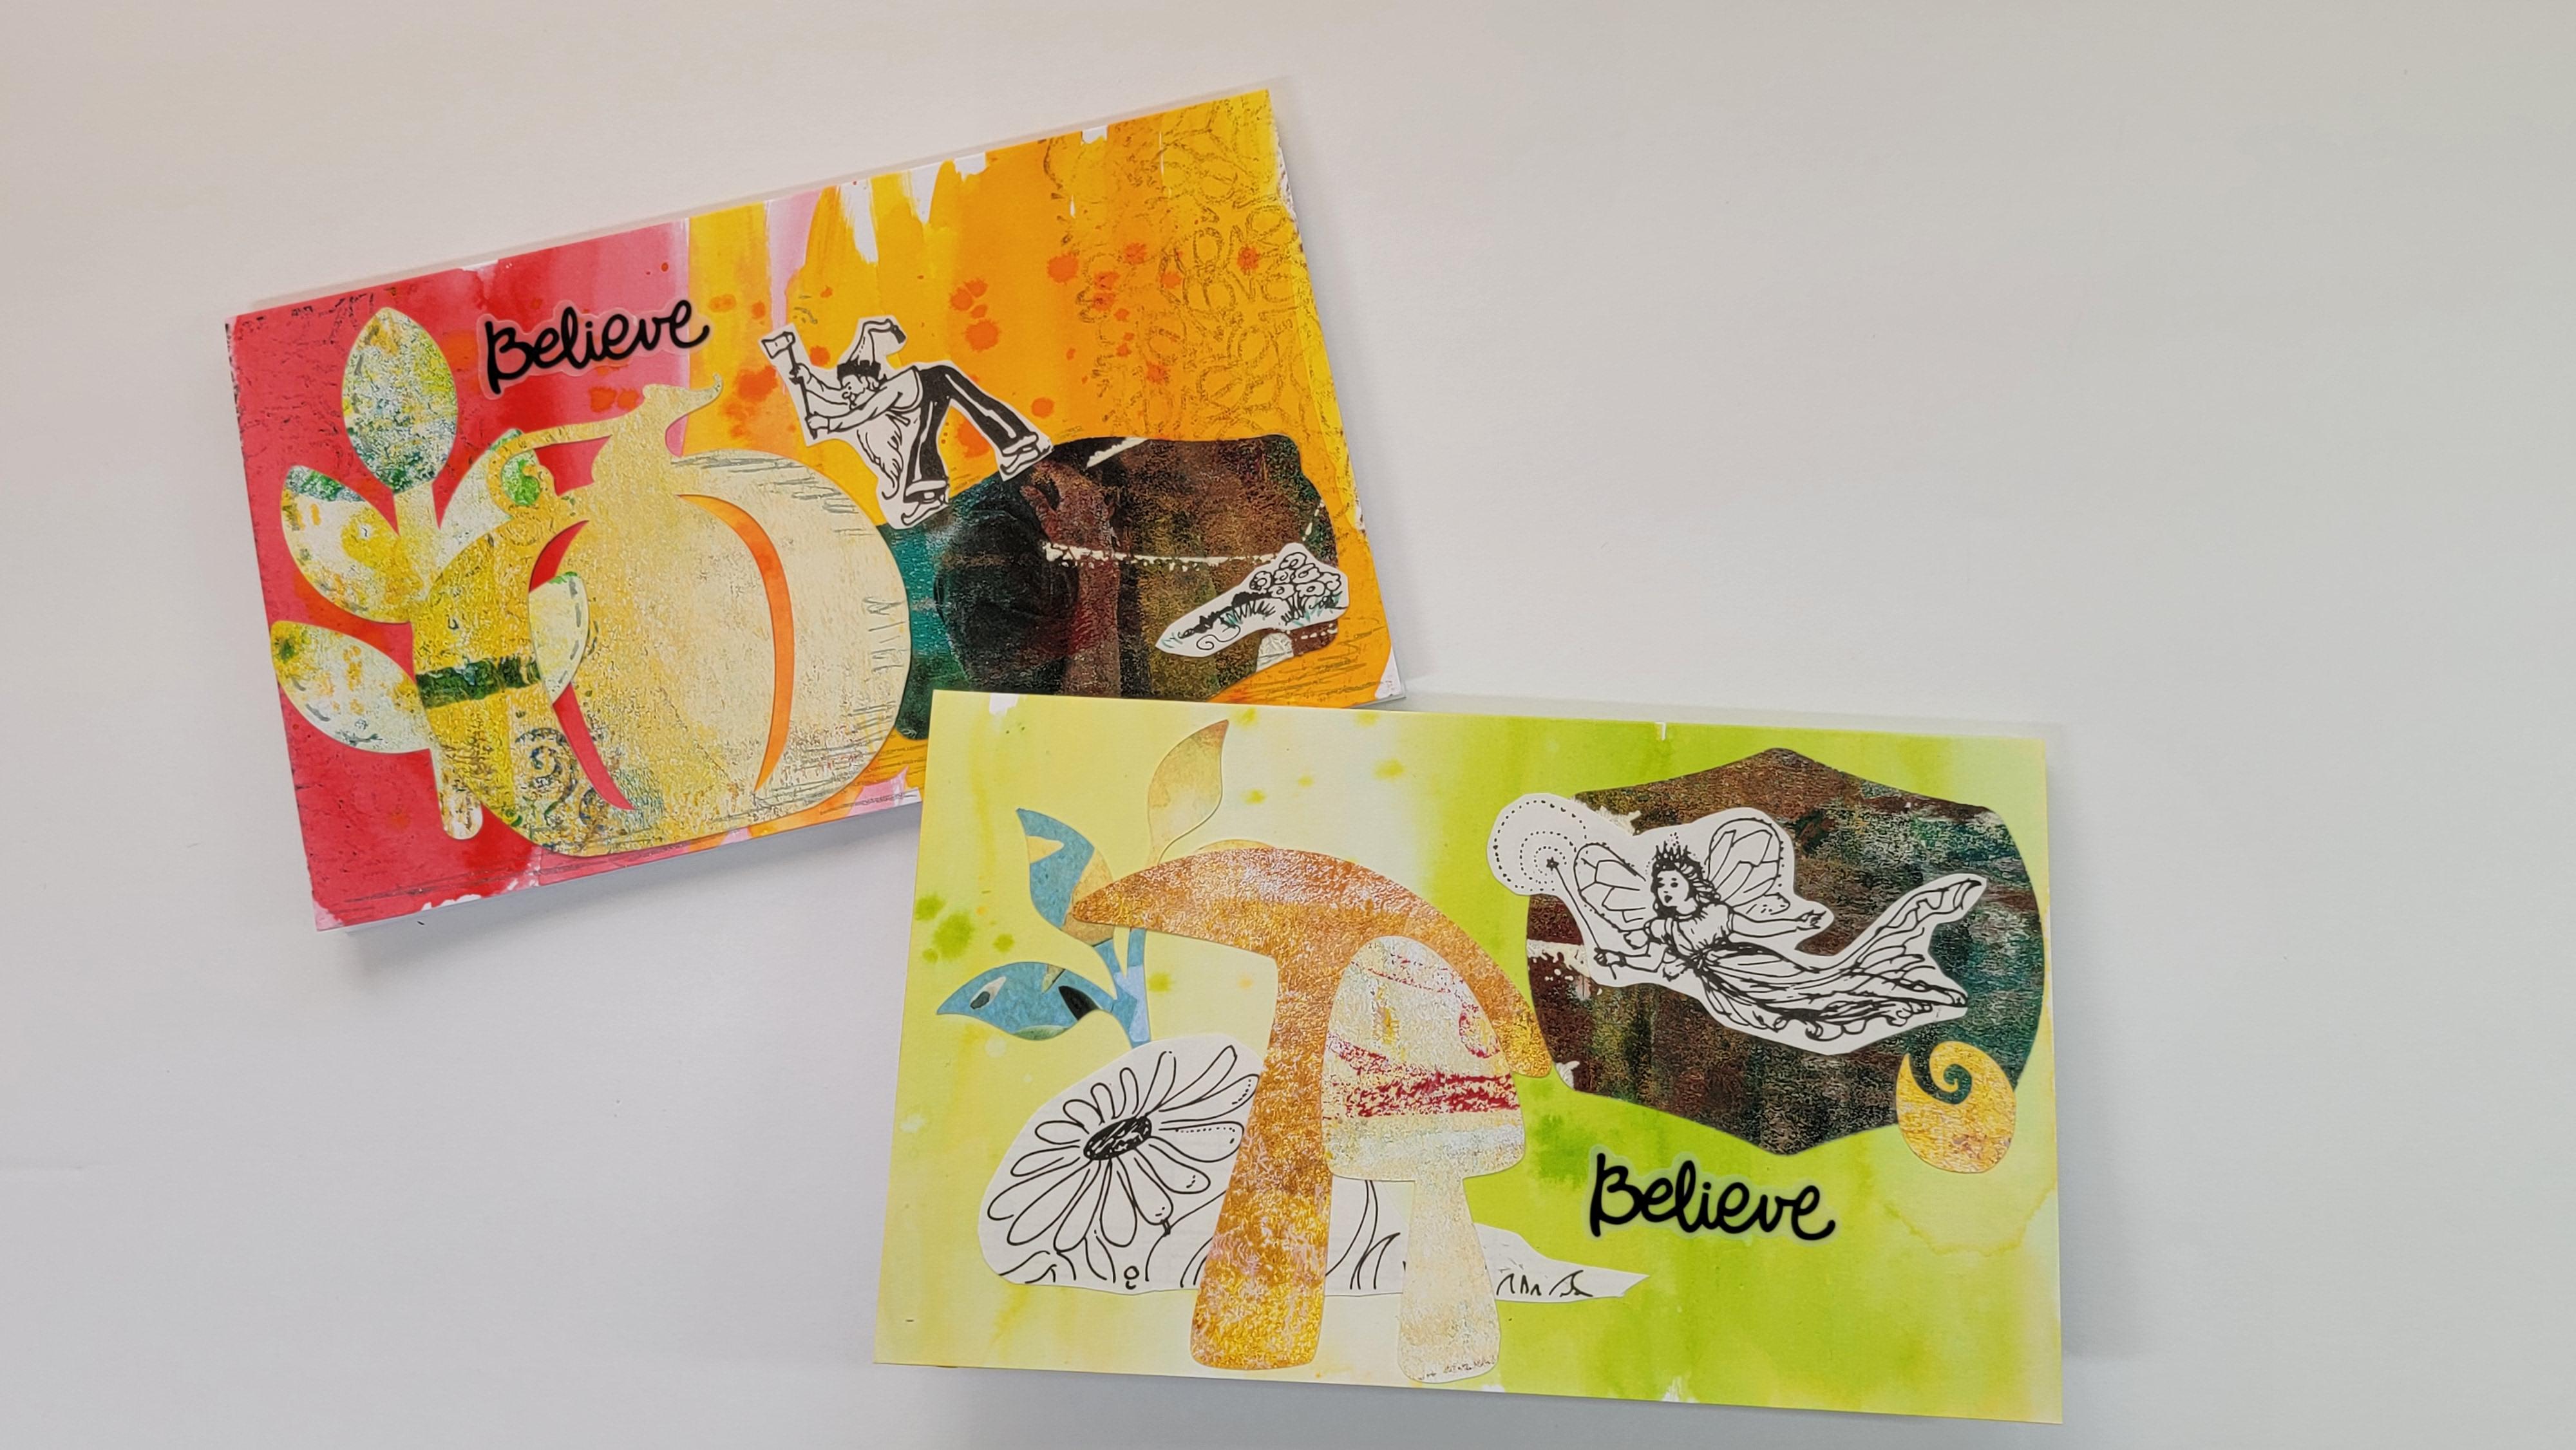
4. Collage Card 1: Sneak peek of what this card was going to turn out to be. That worked out pretty well. I also took some time to cut out some extra pieces. I also trimmed up some of my other elements. I made a few more leaves out of my scrap paper. And now it's time to this baby together and decide what is it I want to do with this background of my card. Now, I'm using Elmer's glue. I'm using a piece of paper catalog to use to put the glue on. But I thought I would share me thinking this out before I go full on and decide what it is I want to do. I'm actually playing around with my elements because this is actually, I do, I tend to have a limited amount of stuff and I play with it. I limit my amount of stuff so that I'm not overwhelmed with every single sticker ion and every single stamp by. And I just play, what would I do if I just had this or if I just had that? And I thought that was funny. The little pixie chopping on the pumpkin. Maybe federal law. This really the yellow shows up nicely on the red. And if I'm making a fall card, then that looks really good together. I could use a tag element over here to kind of highlight, outlined this mushroom so that it does pop on a similar looking background. I really am just looking for a feeling, a look, a something of coming together that makes this fun, makes this interesting. And actually I think I do want to use my little Pixies. So I kinda liked having this cherry in his hands versus the Apple he might have been holding in his hand. And maybe this yellow mushroom. And what could he be standing on? I did have this wanna be looking mushroom. And I cut out a little stem for it. And a little curly cue of a leaf, of a vine for the pumpkin. Is he standing on that? Possibly. In fact, I think I may even pull out the background of grass that he's not really standing on grass, but he is actually standing on my pumpkin or mushroom, whatever I decide to stick under him. And now he doesn't seem to fit, right. So maybe maybe my mushroom. I do like interconnecting things. So that's maybe the mushroom top. Maybe it's just the stem. Yeah, actually, I like that. I really like that. Should this be 0? What if he's standing on this piece like that? Kind of like a mountain. Oh yeah, that's really clever. Okay. And I could put the flowers down there in the corner because it is a an off-white colored paper. It would be nice on the dark background. To get here in the corner like that. Oh, that's really cool. So I found my Tim holds to stress this for PAD. And I have this rubber stamp. I rarely clean my stuff. This has got some acrylic paint on it. So I'm going to use the darker brown. And I could even get in some of the black. And I'm going to stamp this on the side of my card. Let's see. Like that. He's curlicues. That came out terrible. But that's okay. It's starting to dry out. So I'm going to grab my other vintage photo distress oxide. And I'm going to apply it on the other side of my card. Give it a little better push, I think. Okay. Maybe not my best idea. Let's look at this now. Is not bad. Little bit of texture, I guess they would say. Now this needs a little saying, kind of saying store I have hello or a welcome. Fall. Laugh. How about believe? I'm going to use believe, because I actually have a little pixie in here working really hard. And since they're so fantastical, I think I'm going to make that word fit my card so I can see more of my background. There we go. Okay. So like I said, I've got my glue stick. And starting with what's in the back, I'm going to use these leaves. And let's get my glue on here. Nice and sloppy. Oh, when that big cube peeking out of my pumpkin, I think I'm going to leave that up a smidge and go ahead and get some more glue up. I gotta do my other bag ground. Because I think my pumpkin might've been on top of this. Let's get that down nice and flat. Thank the heat from my hand or really helps the glue to set. I don't know that for a fact, but for whatever reason, I really like pressing with my hand, I'm going to bring this down as low as possible. Let's get my flowers on there. I call it sticks to the glue stick. Like it's just handed to me that there. And now from my last pixie, get him on here. Remember he's working on that pumpkin. He's going to carve that pumpkin for me. And my belief is a sticker. So I'm just going to peel that up and I'm going to put it right there. Make sure all the sides are down nice and flat. And I didn't think I might want to outline my leaves, but I'm not sure about that. And that didn't seem to stick grow well, so I'm adding a little extra glue. Now, I'm going to fold my card and see how it turned out. That is not bad. So that's kind of a clever. I have some jelly rolls and some really pretty frosted colors. I'm going to take this, it looks kinda silver Eve. A greenish silver. And I think I want to add maybe like he's been hacking that me a bit. This is my shadow side perhaps. And on the bottom here. All good, that sparkle. Now it's very light. It didn't overwhelm at all. Like I said, I think my granddaughter might get a kick out of that. Maybe some work and hard over there. And I'll put a few stitch marks on my leaves. I got a running stitch coming down. That's not much, but you hold that at the right angle and those shimmer lines definitely stick out. And and you know what, Just because it's peaking out, I'm going to add a bit right there. Oh, I do have a little green. Do you feel like coloring some days. Some days you just feel like coloring. I think show really like that.
5. Collage card 2: Hello. Okay. Hello. Okay.
6. Collage card 3: Hi. Good.
7. Class project: Did you enjoy that? I hope so. I hope you had as much fun following along or just listening in as I did creating. I hope you take advantage of the elements you have around the house to make your own collage, simple art cards to share. Please share those projects with me. I can't wait to see them. And I hope you found this inspiring. To see someone else working with pieces that and my thought process on how it all works. I hope that was encouraging and not too scary. I hope I was able to break it down for you in a simple way and you can take off from there because the sky's the limit. Have fun and I appreciate your time. Don't forget to add your project to the project section. Thank you guys. Have a great day.
 Tammy Prara, Making Matters