Transcripts
1. Hello Welcome: Welcome to today's relaxing
watercolor session. I'm thrilled to
have you here for this peaceful journey
into painting a misty morning scene together. We'll begin the
class by discussing about all the art supplies
that we're going to need. Then we will begin painting
our class project. The main class project will
be painted in three layers. The first is painting the
background sky and the mist, and then background pine trees. Later, we're going to paint
the foreground trees. Whether you're a beginner, or someone just
looking to indulge and unwind in some
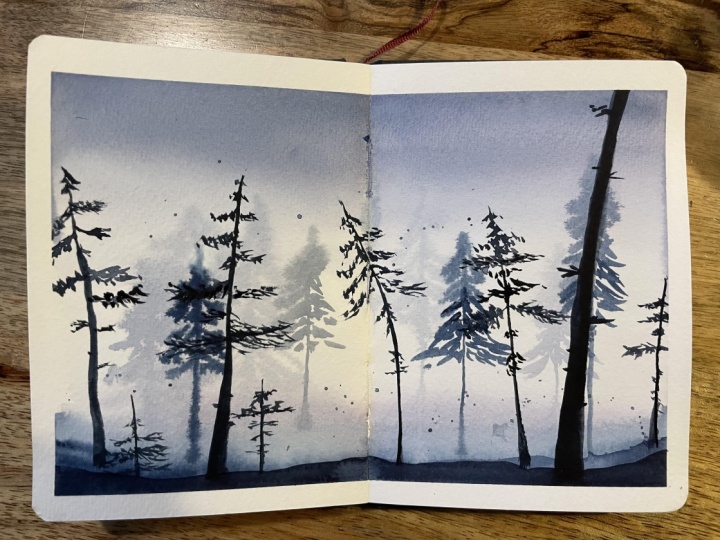
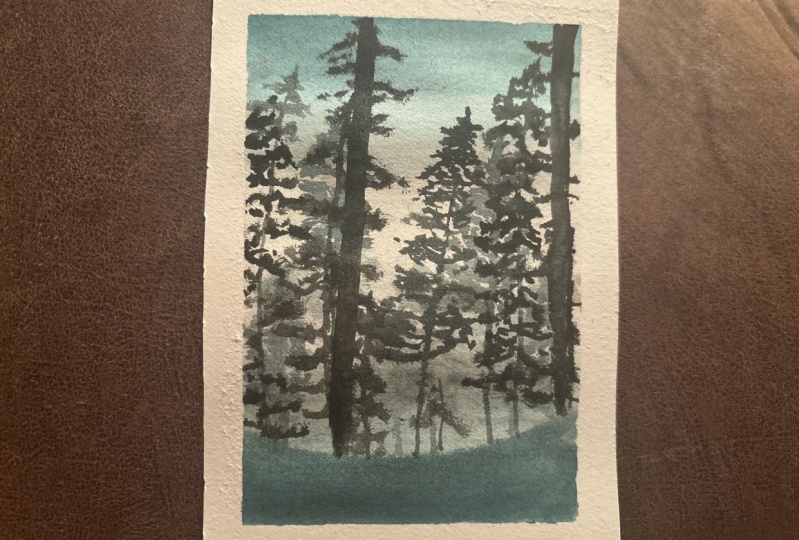
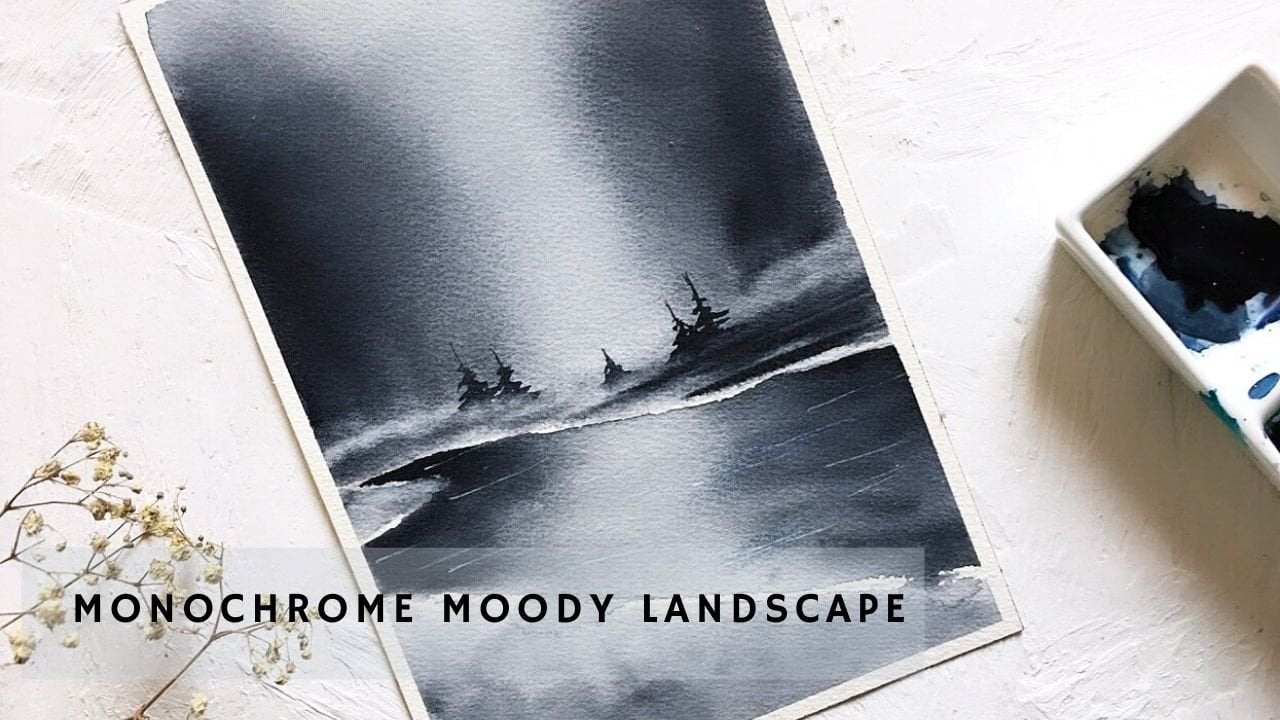
artistic self care. You're in the right place. In the next 20 to 30 minutes, we'll explore a watercolor
landscape that captures the serene beauty of a Misty morning using
eye catching colors. Hi, I'm Sekuta, watercolor
artist and teacher. Have been teaching on Skillshare
for the past four years, and I have 37 classes so far. And as always, I'm
very excited to welcome you into this
new class today. Without further delay,
let's get started.
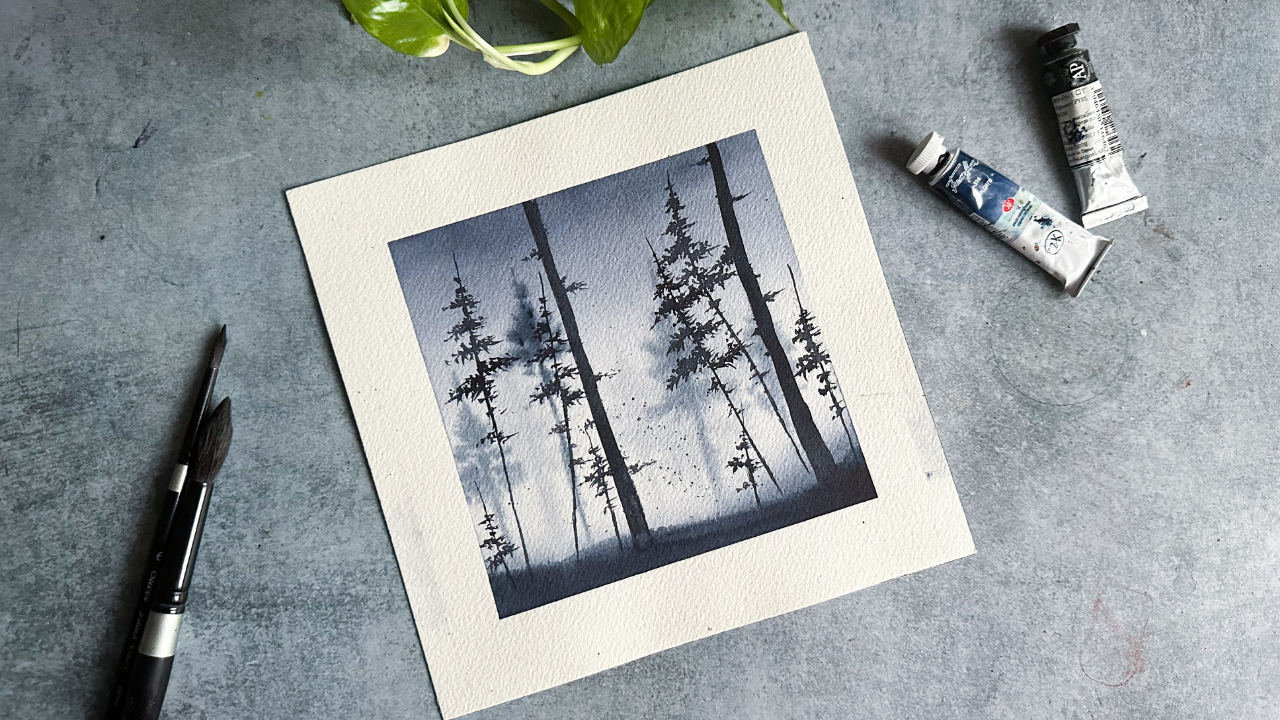
2. Materials : About the art supplies. I'm going to talk about
the papers first. This is arches, 20 to
20 centimeters block. These are 100% cotton
papers and 300 GSM. So you can use any cotton
paper that you have, make sure it is 300
GSM so that you can put more layers
onto your paper. Now, coming to the brushes, I have already, if you have
seen my classes before, you know that I use very
simple and basic brushes, basic shapes I mean. So this is a flat brush. I use this for initial
wetting of the paper. And I have, and that
brush was from a Dawnci. And I have silver
black velvet brushes. This is number six round brush. I usually use this
to paint small, detailed subjects
like pine trees, as you can see in the
final class project. To paint detailed subjects, like these trees that
you are seeing here, it's important to keep a few
extra small sharp brushes. These two are called
rigger brushes. They're extra sharp, and
both are from Dawnhi. I usually use these brushes to paint any detailed subjects. For example, you can see these pine trees with
very sharp branches. I usually paint these with
these two smaller brush, and this is silver black velvet, number 14 bruh, round brush, and I use this to paint the
background, the mis scene. Yeah, these are all the
brushes that I have. For today's class project, you can use any
brush that you have, but make sure you have
these basic shapes, the flat round and
rigger brushes. In the next video, we'll
talk about the colors. I'm going to reveal all the
colors that we're going to be using to paint
the class project. That is all about that supplies. There are a few extras, and these are very common. You might be having
them already, a water jar, masking
tape, and paper towels. They are very important as well. So I think that's it. In the next video, we're
going to discuss the colors. I'm going to see you there. M.
3. Colors: Is arches block, so I don't have to use any
other extra board. So for this block, I have put this masking
tape around the edges. Now I'm going to show you guys the colors that I'm
going to be using today. So this is Cenllar, ds in purple color. You can use any purple
shade that you have. And the second color is indigo from the brand
called White Knights. The last shade that
you saw is Pines gray, again, from the brand
called White Knights. I'm going to take these
colors onto my palette now. I am thinking to create an unique shade with a mix of these two colors,
indigo and purple. So it's going to be
an interesting color. Now, also use the pines gray, and that shade is
already on my palette, so I haven't taken any extra. And that is all for the colors. Let's move on to next video.
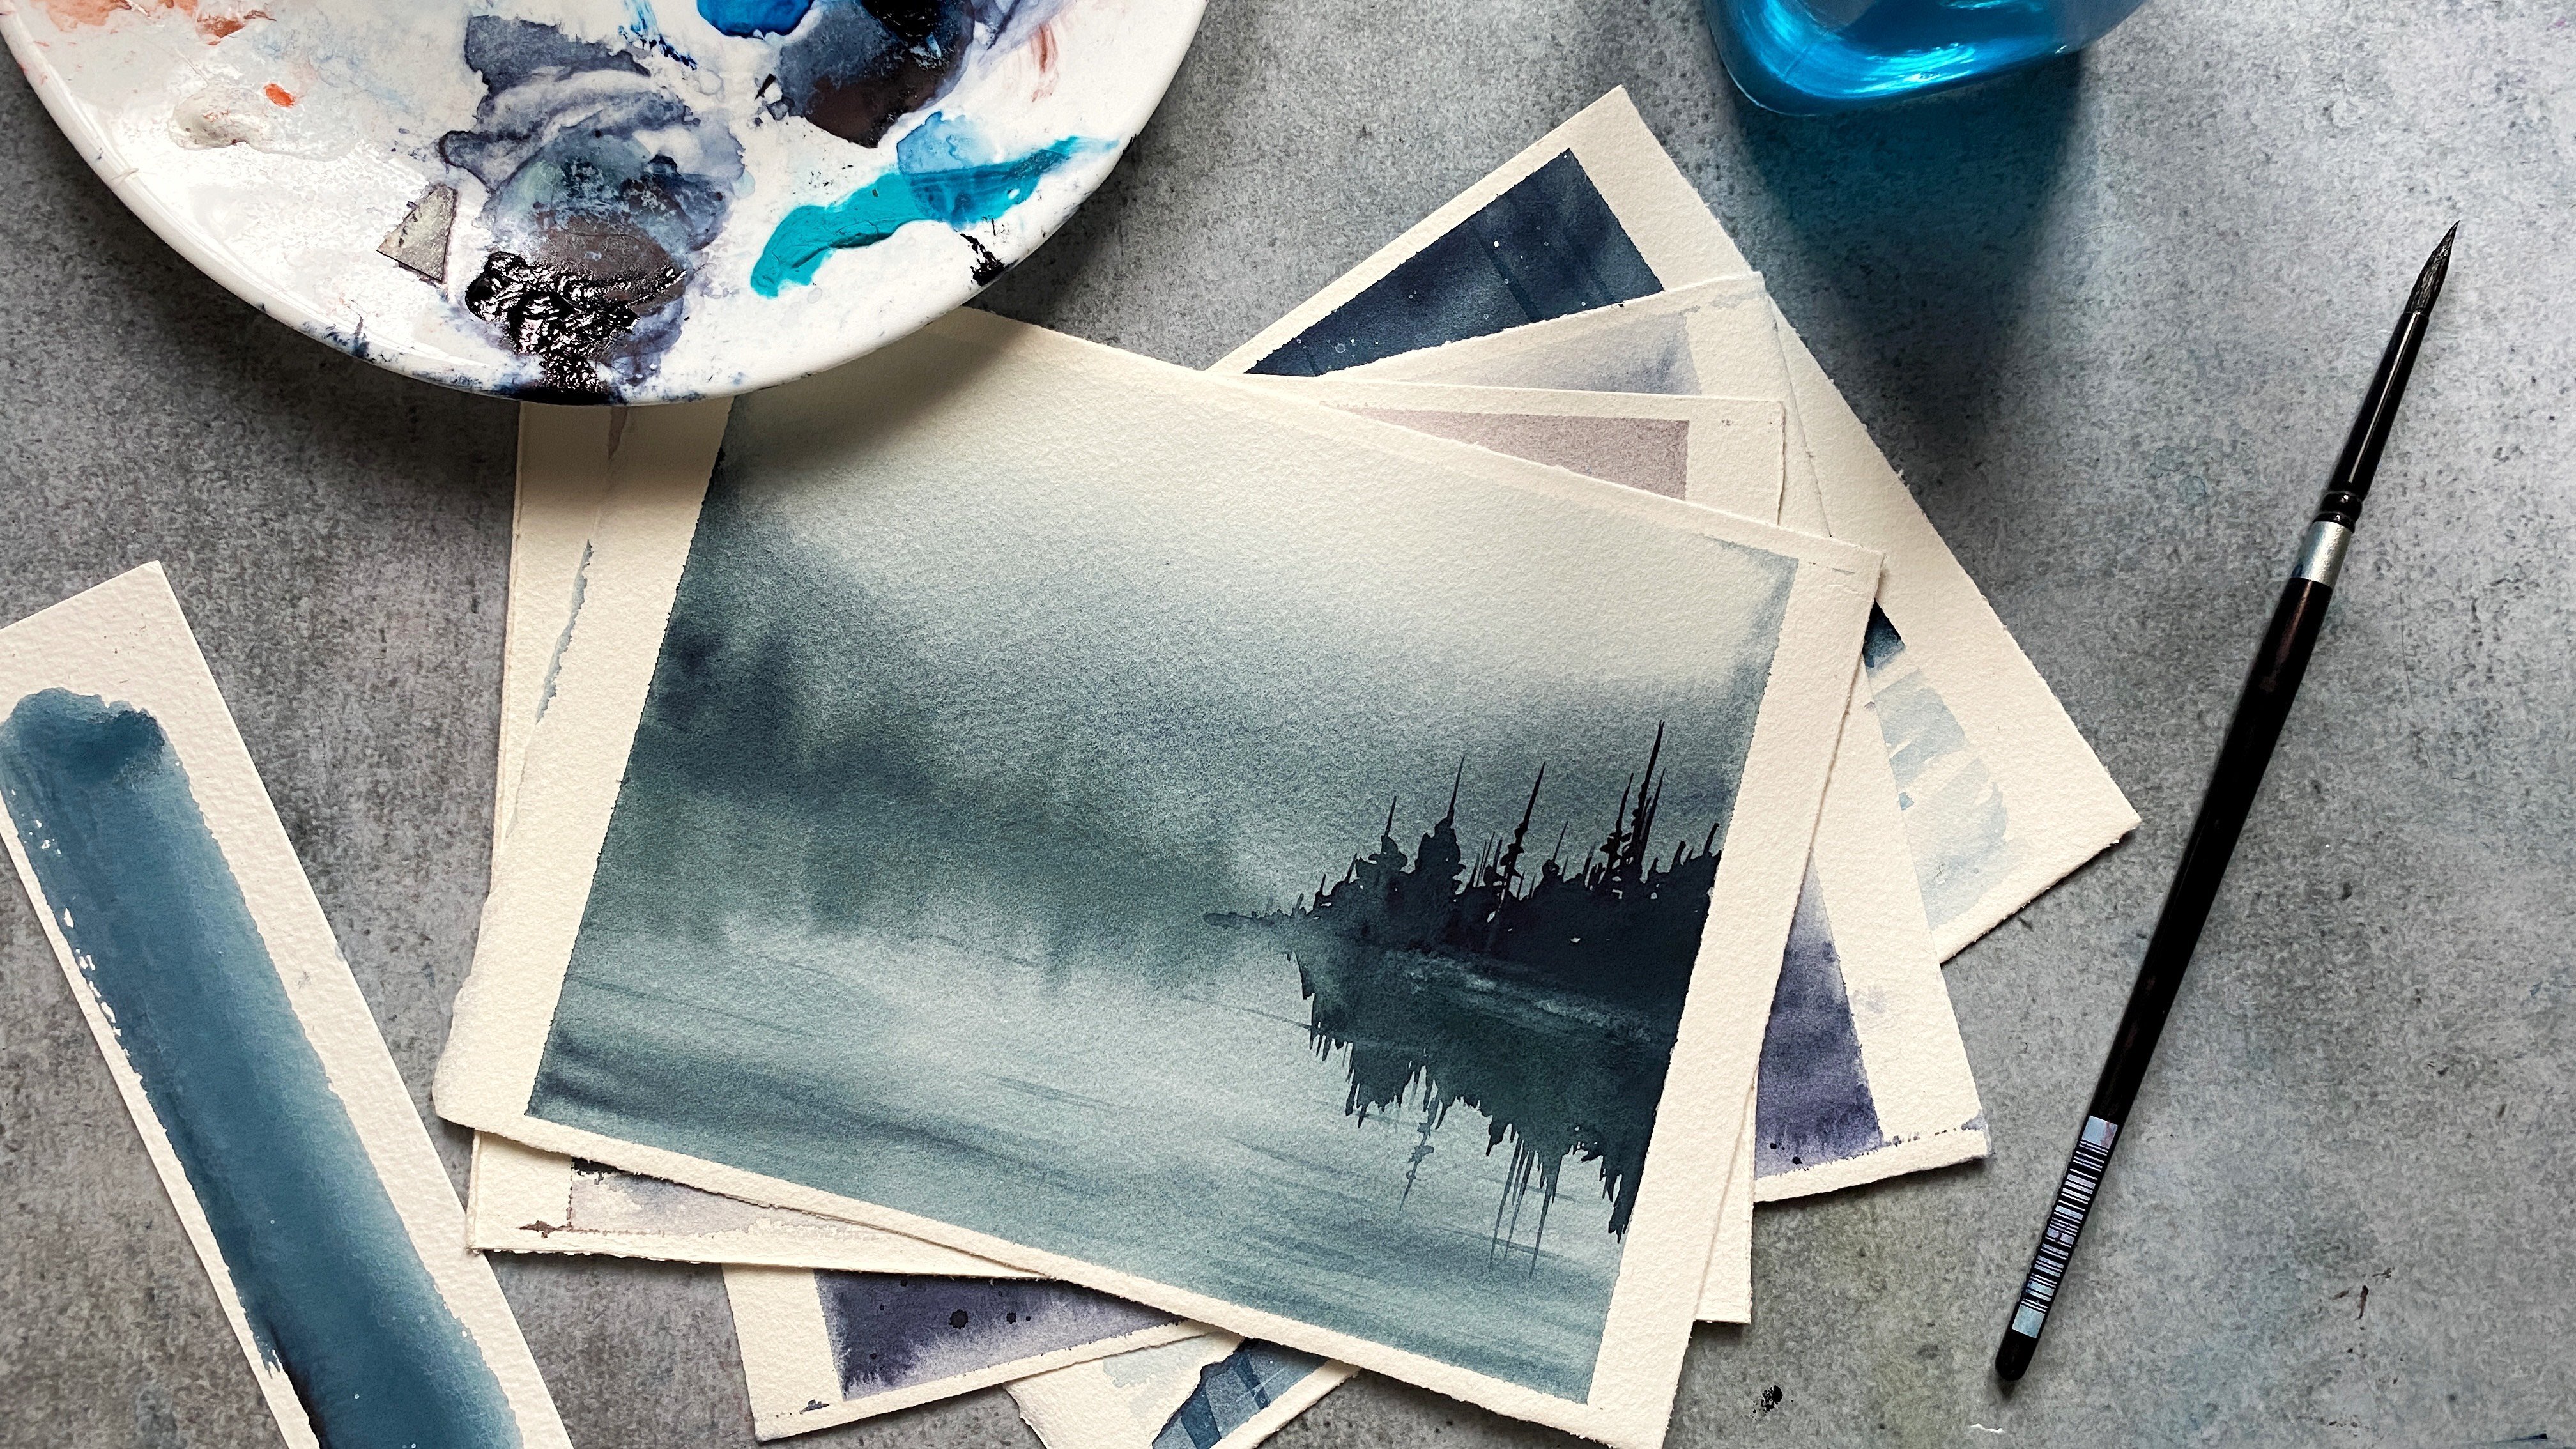
4. Background Misty Scene: Now that we have
sorted out the colors, let's begin the class project. So I'm going to start by wetting the paper
with clean water. As you can see, I'm using
my Dawnci flat brush. Make sure you're adding
the water evenly. I'm just going to
remove all the extra water with a paper towel. Now I'm going to
take a little bit of indigo and dax in purple. I've already told you that we're going to mix these
two colors together and create a very light purplish indigo color
shade, as you can see here. Color is quite light in shade because we are
painting the background. And for the foreground, we're going to be using
a bit of darker shade. So I'm going to
add this color on the top of the paper and
at the bottom as well. L et's blend these two together, and make sure you're not adding
any color in the middle. That's very important because we are creating a misty scene here. Paper is still wet. Let's add one more layer because that one
was quite light, and we have to build
this layer by layer. Again, add the color on the top and at the bottom,
but not in the middle. One more layer because this is still looking light in shade. What a color is usually
built up on layers? Sometimes your landscape will be completed in a single layer or sometimes even it takes
three to four layers. It's completely up to you, and it also depends on the intensity of color
that you decide to paint. One more thing about
the layers is, if you're using a good paper, layering should be done easily. But if you're using anything less than 300 GSM or
100% cotton paper, layering can be quite
a difficult task because your paper will not hold up so much water and
the paper will become muddy. Try to use 100% cotton paper
with at least 300 GSM. I'm going to darken
the bottom part of the paper because that's
supposed to be land. And from there, the
trees will be placed. So that has to be a bit
darker than the top part. So I'm going to take
lots of indigo for this. Now, let's paint
background trees. So since they are
in the background, they have to be very
light in shade. I'm going to take a very light
shade of digon purple mix, and this is a Tawnci
bruh rigger brush. So keep an eye on the
shade of the color. It has to be very light. And it's okay if your
paper is dried up. We're not painting any
background scenes, the trees. So you can use a
dry paper as well. And this is a perfect shade. Come now, let's paint the trees. Can see how light the shade is, and this is a pine tree. I'm just outlining the shape. You don't have to be
very detailed about this since these trees
will be in the background. Paint, at least of
these of these trees. To create more depth, I'm going to paint one more
layer of background trees. But this time, I'm going to
make the color a little bit darker than the previous
shade that we have taken. Again, I'm gonna add
four trees here as well. Well done. Now I'm going
to wait for this layer to completely so that we can paint a few more trees in the
foreground in the next dio.
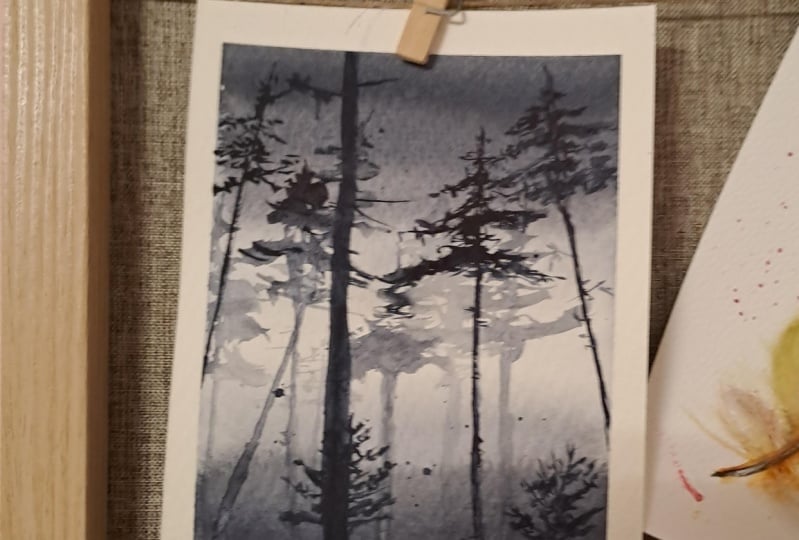
5. Foreground Scene: A step is to always
check whether the paper has tried up
or not. Mine has tried. So now I'm going to start painting the trees
in the foreground. These trees, especially on the foreground, has to be sharp. For that, we have to
take a very thin brush. I'm using my dawnci
rigger brush. And the trees here should be in darker shade compared to the one that we have
painted in the background. I'm using pines gray
with a mix of indigo. I'm just deciding
where to start first. I'm going to paint the
first tree on my right. These trees, we are
painting wet on dry. So your brush is wet
and the paper is. So they have to look very
sharp and very detailed. You paint wet on
wet in watercolor. The subjects will not be
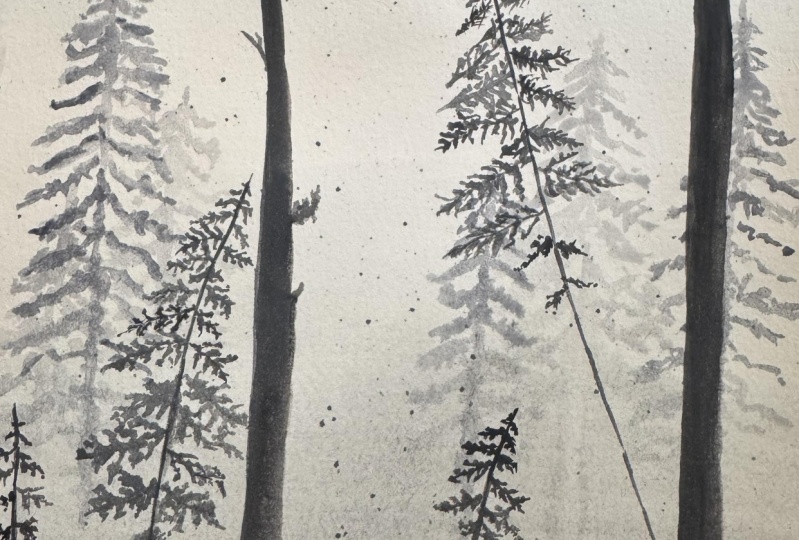
very detailed to look at. For example, we have painted these trees in the background. As you can see, they are
very blurry to look at. So that's how they have to look because they're
in the background and are covered in the mist. This is exactly how it
works in nature as well. When you look at a
picture of a forest, you can see that the
trees in the background are very light in color and
also very blurry as well. But the trees in
the foreground are very detailed and
also darker in shade. O I'm going to paint the rest of the trees, and I'm going to be
using the same color, that is the mix of
indigo on pines gray as well and the
same brush also. I tried to add things that are quite unique
to my paintings. For example, as you can see, the shape of the tree
here is not straight, and that's very intentional because nature is very
chaotic. It's not in order. O For the third tree, I'm going to just add
a big tree branch. I'm not going to add any leaves
like I have added before. Now, add one more
tree over here. One tree over here as well, and it looks quite bigger. So again, add trees
in different shapes, do not add all of them. Do not paint all of them
in the same shape or size. M. I looking quite plain
here in the middle. So I'm going to add
a few tiny trees. So I'm not following
any reference picture. I'm just making this
landscape up as I go. Go to add one more tree without any leaves
here in the middle. L et den this foreground up a little because the
trees are quite darker, so I'm going to have to
match up the intensity. I'm going to platter some indigo indigo pine scram mix
with my car brush. That is all for
today's painting. You have to let this
to dry completely, and in the next video, we're going to remove
the masking tape and we're going to
finish up the painting. That's a last step,
removing the masking tape. I'm going to see you
guys in the next video.
6. Finishing Up: First step is to check whether
the paper has tried up. Mine has tried, so I'm going
to remove the masking tape. Since I'm using
this arches block, I have to remove the
paper using a cutter. I'm going to do
that now as well. If you're not using a block, you can skip this step.
You don't have to do this. You just have to separate your paper from your board by
removing the masking tape. For those who are
using the block, be careful while
using this cutter. It's very sharp. So we are
done, and there you go. You have your class project. In the next video, I'm
going to talk a little bit about this entire class and
what we have learned so far, how you can use these techniques in your future paintings. Do not skip it. I'm
going to see you there.
7. Conclusion : Finally done with
our class project. I hope you guys enjoyed the
process as much as I did. Let's briefly talk
about what we have painted in the last 30 minutes. Class started with painting the background sky and foreground with very light
value of the colors. Then we have moved on to painting the
background pine trees. One of the main
things to remember here is when you're painting
a background scene, use very light shades
because they are in the background and they
look very light in shade. You can also observe
this in nature, especially in
forest photographs. Later we have painted the
foreground pine trees. Obviously, they should be in darker shades as
dark as it can get. I have used mostly
pine scray for this as you have seen
in the class project. That is all for this
very simple and very brief morning
mystery scene painting. We have used two techniques
in this class project, Wet on Wet, wet on dry. With this, you can paint any
of the mystery scene of your own using any reference
picture with the same process. And if you have
completed painting this, you can post your project in
the project section below. And if you have any doubts, you can start a
discussion as well. So yeah, if you like the class, please consider
leaving a review, and then I'm going to see
you guys in the next class. Thank you so much for
joining me today.
 Sukrutha Jagirdhar, Watercolor Artist I Creative Entrepreneur