Transcripts
1. Intro: Hi, I'm John gain, photographer, videographer, and editor. And if you're watching this course, that means you want to shoot and edit your own product photos. The product photo is the first thing a customer sees. So it's crucial to have a great photo that has the capacity to boost your sales in popularity online. After six years of shooting and editing photos for Amazon and eBay, I understand the importance of a great product photo. And in this course I'm going to teach you some basic methods. We do not need expensive gear. You just need a computer and a camera, or even your phone and Lightroom, Mobile and application or editing photos right on your phone. After watching this course, you will be able to shoot photos, enhance the quality of the photos in even add a pure white background behind any character. You'll be able to transform any image you take into a brilliant photo with a white background, ready to post on any ecommerce website, Instagram, or even Amazon. This course is short into the point in we're not going to get into complicated technical terms, but feel free to re-watch parts and pause whenever you need. Alternatively, I am here for you and I'm always happy to answer any of your questions. For the class project, you will take your product photos, edit them using the methods you learned and post the before and after. So let's get to work and risk. We eat some brilliant photos that will up your business and sales.
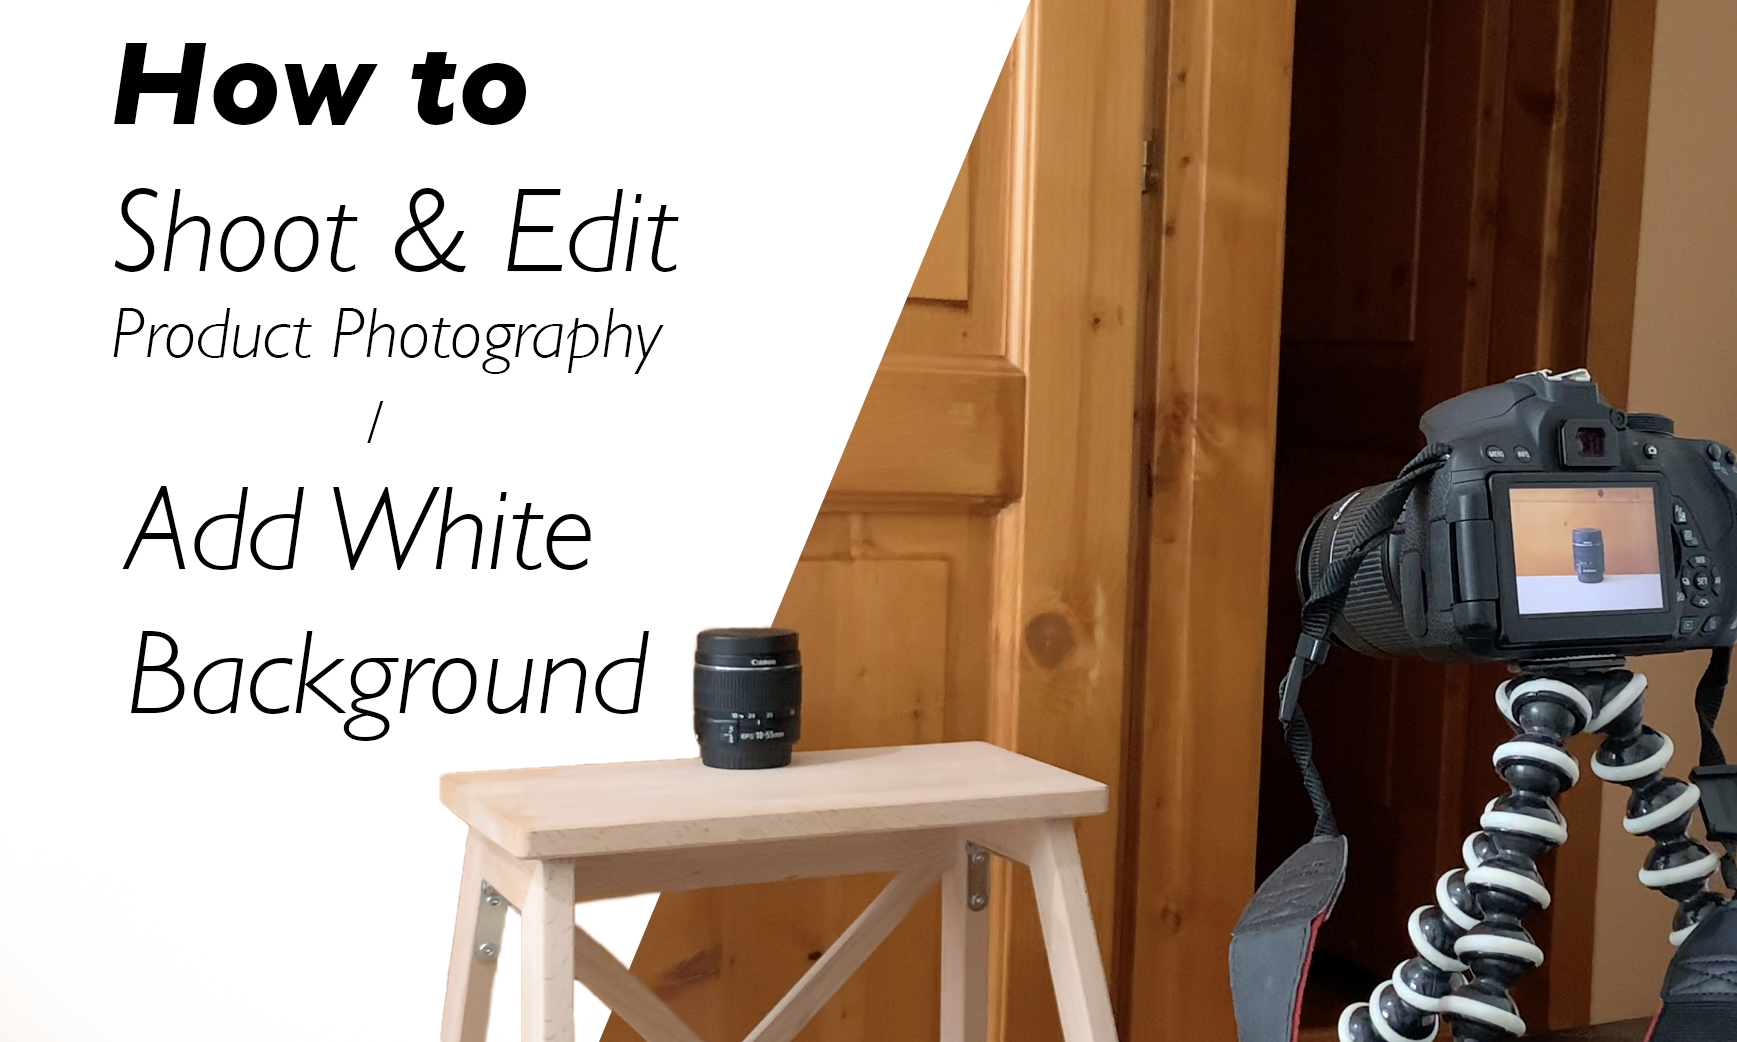
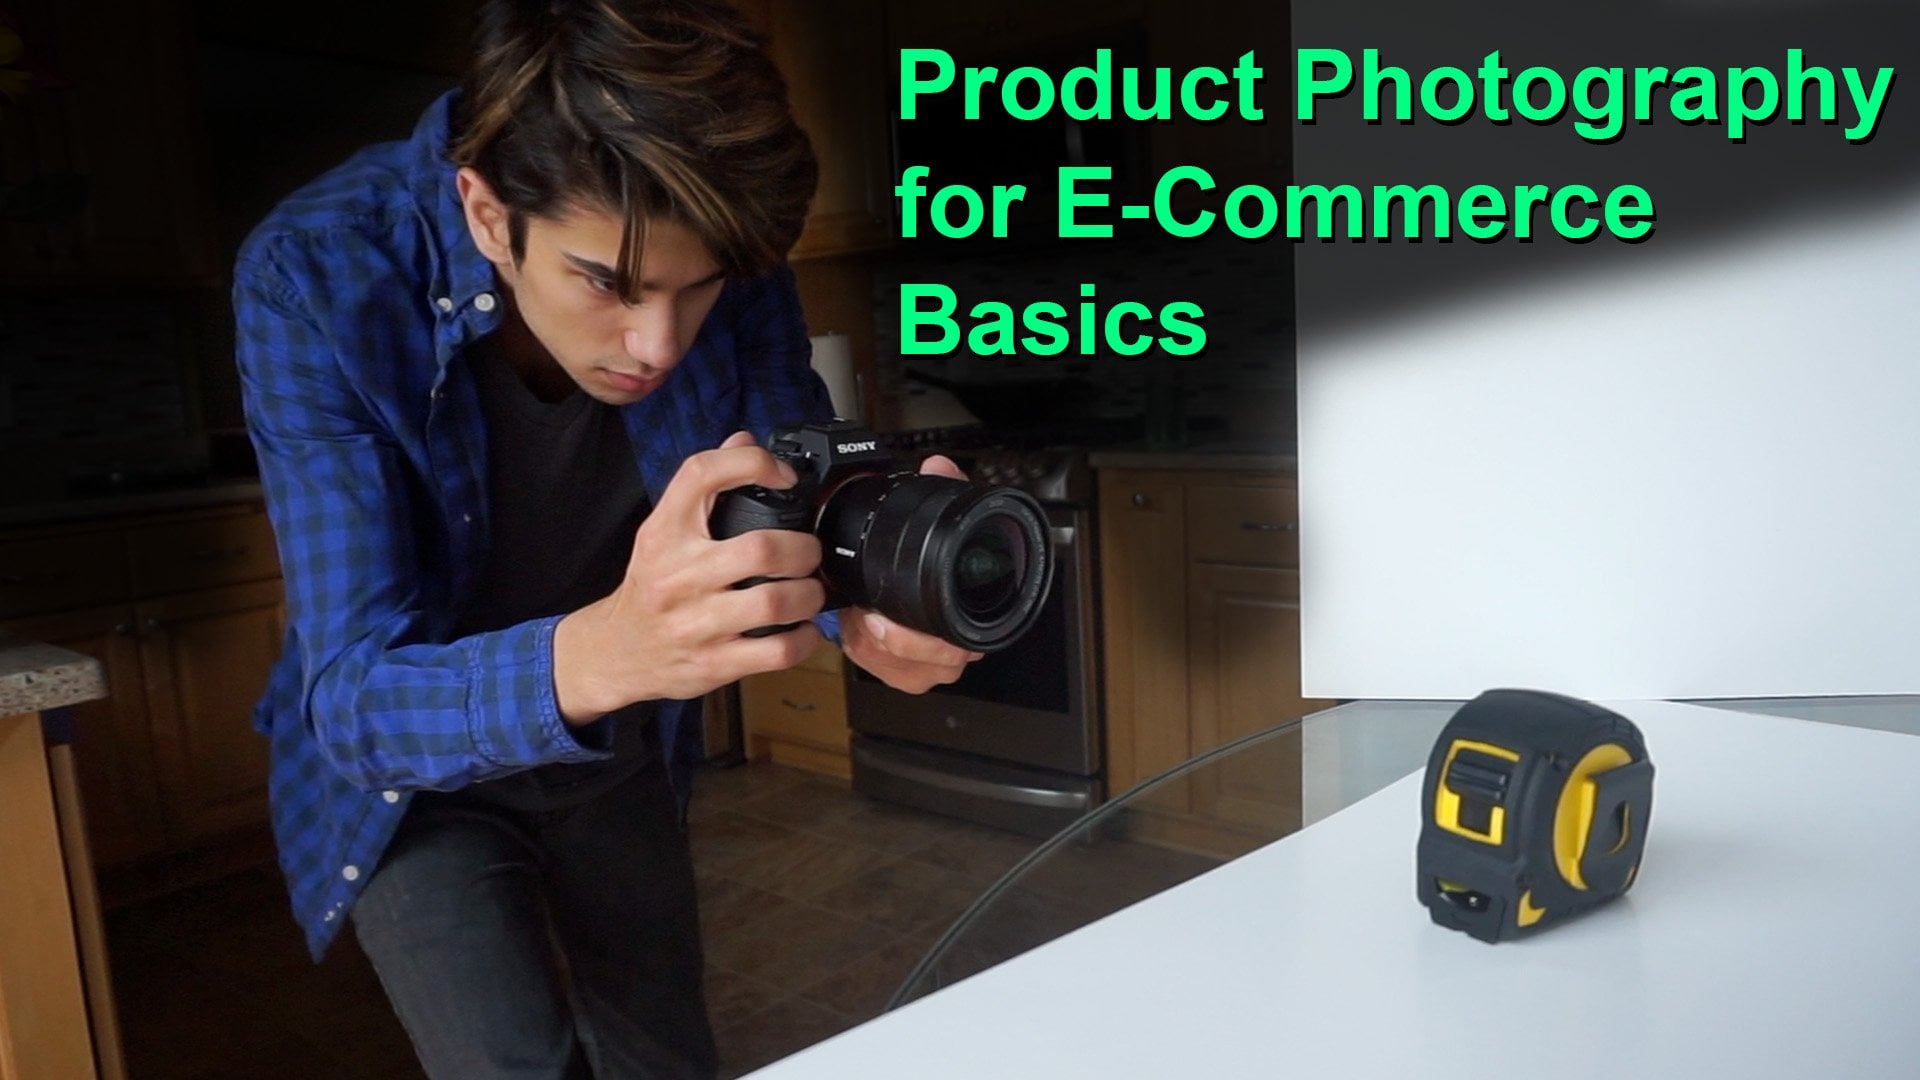
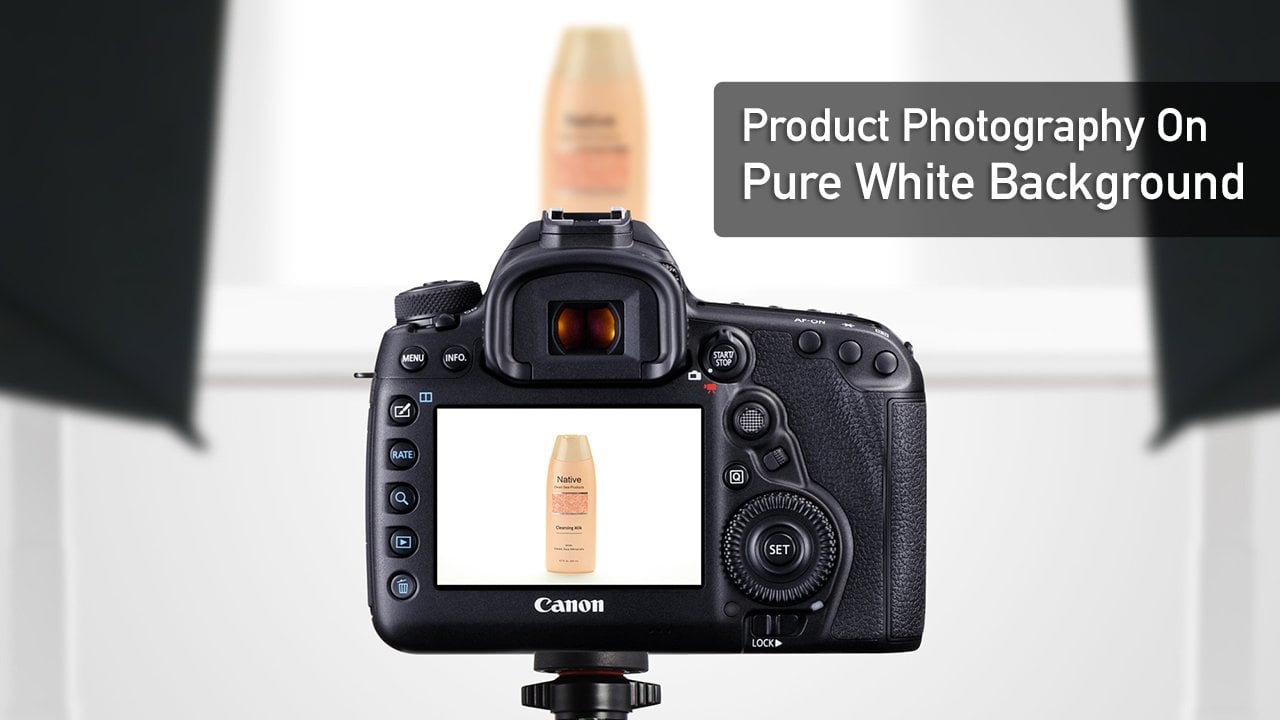
2. How to shoot products: How to shoot product photography. The main things we need to talk about are lighting, the set and the camera. In terms of lighting, you do not need expensive studio lights. Because more often than not, the best light you can get is from the good old son. So make sure you open the blinds as much as possible and that you shoot the photos in a well-lit environment. If you have the need for artificial lights or you just have lights lying around the house, makes sure the light temperature is close to perfect, white, or even a bit cooler, because warm light usually tends to not give such good results. The set is the most important part. You can either shoot the photos behind a white wall or a white piece of cardboard, or preferably using a simple sheet of paper bent in the way I'm showing on screen right now. If you don't have any of these, do not worry. In this course, you will learn how to get a perfectly white background, even if you do not shoot the photos behind a solid color, as you can see on screen right now. So after you pick one of the methods mentioned above, it's time to get into the camera. You do not need an expensive tripod, but you shouldn't shoot handheld either, because in terms of product photography, you need consistency and you need each shot to have the same framing. So the best, cheapest, and easiest way is to put the camera on a desk or a level surface, just as I'm showing right now, for better results, you can even use a small $10 flexible tripod, just like this one. And hey, you can even shoot the photos with your smart phone. Because in this course, we're going to have a look at how to edit with our smart phones. So as we're camera settings, you can leave them on auto because in my experience, least, the camera does a good enough job of choosing the best settings. So now that we have all the information we need, let's start shooting. I'm going to shoot and edit a photo from each of the circumstances and backgrounds that I mentioned earlier. And then we're going to import them into the computer and edit them using editing software.
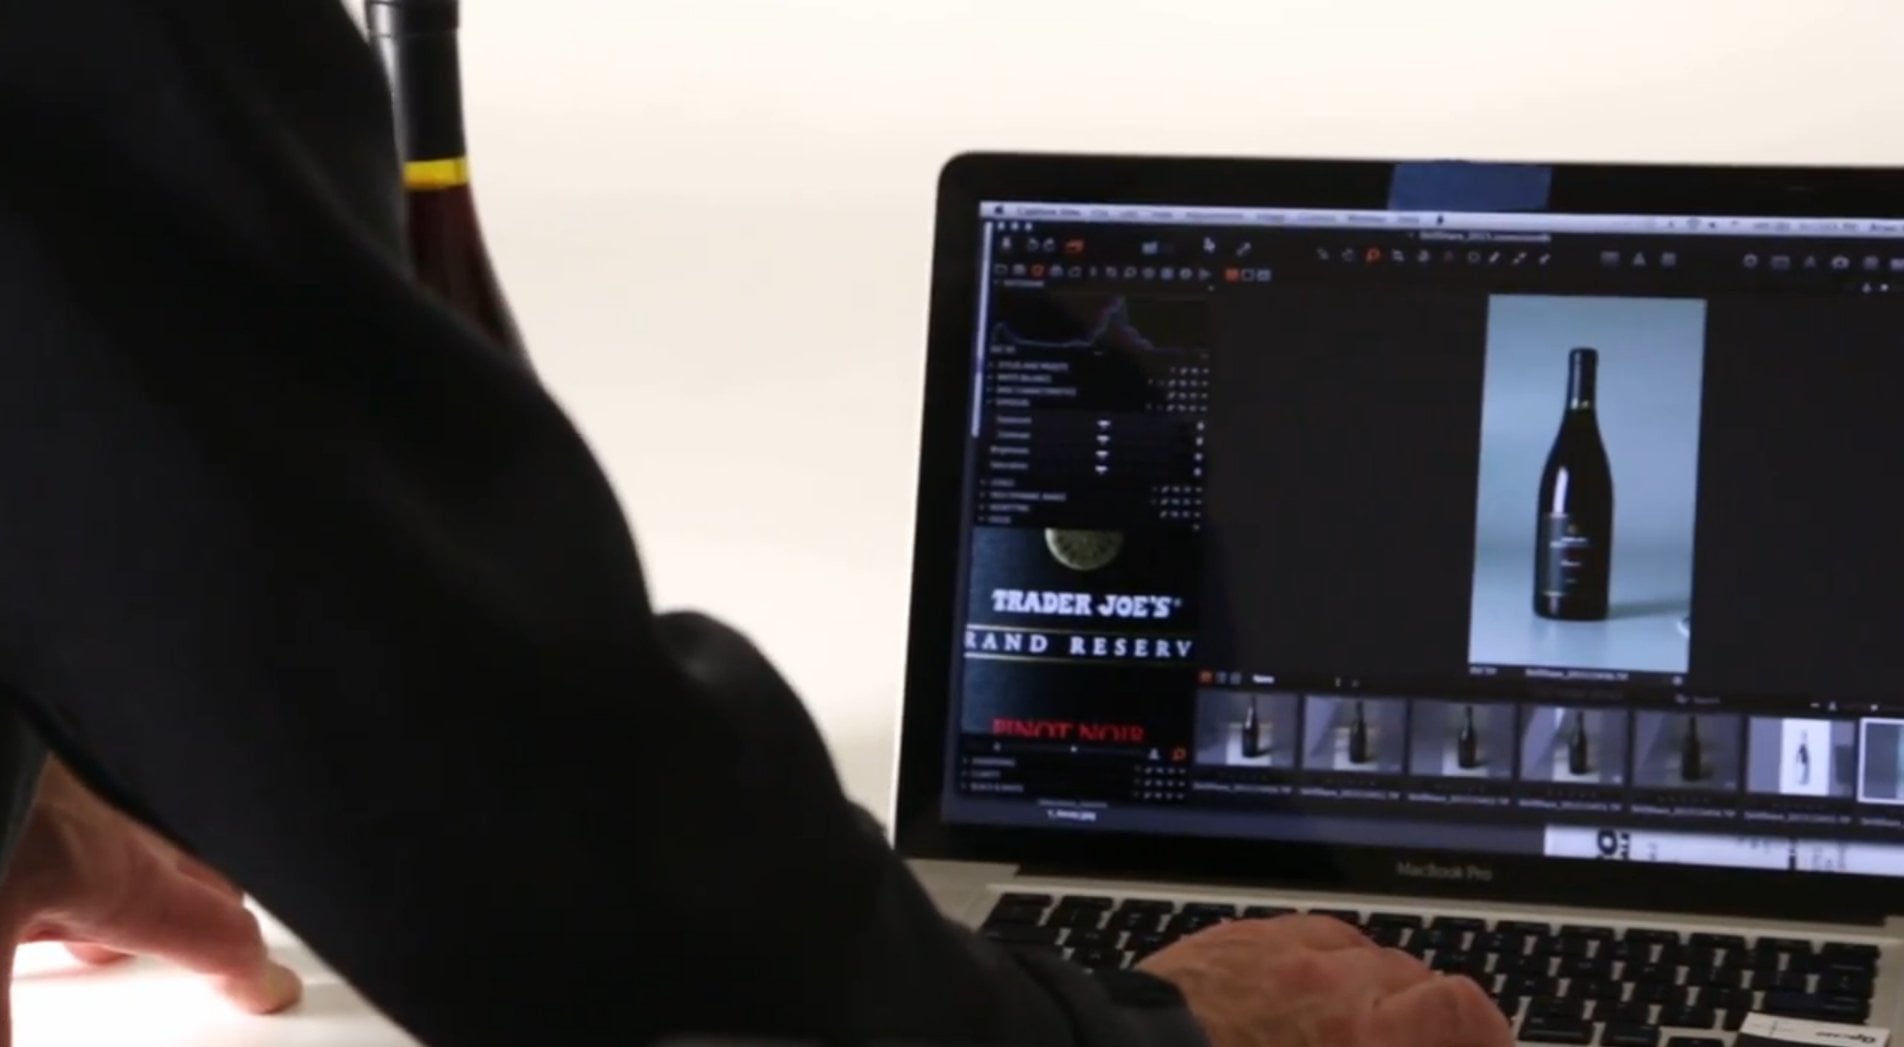
3. Editing Programs: So now that we've imported all the photos into our computer, we can start editing them. Now as you can see, I've imported all the three photos that we got earlier. The one with the perfectly white background that we shot using a white piece of paper. The one with the white wall and the one that was shot behind a non-solid background. Now, in this tutorial, we're going to edit every single one of them. And I'm going to show you specific tips and tricks into how to edit every single photo. But don't worry, I'm going to show you methods that work on all of them. Now, let's see what editing software do we use? Now? The two main ones are Adobe Lightroom and Adobe Photoshop. We are going to process all the photos through Lightroom first, and then we're going to import them into Photoshop and edit them there. Now, let's open Adobe Lightroom. Let's hit import. Let's select Desktop. And let's select all the photos that we've shot. Now hit Import. And let's take a look at our photos. We're going to hit develop over here in the top. Now, let's choose what photos we want to edit. We have this one, this one, and this one. So those are the photos that we're going to edit in Lightroom and then in Photoshop.
4. Cropping and Straightening: So now that we have our picture is imported into the editing software, we can start taking a look at the first process we need to do that is cropping, positioning and straightening. Now, to do them, we need to click this button over here on the right. And as you can see, a grid pops up. The first thing we need to do is adjust the size a bed and then move the picture behind till it is centered. This works for me. It is perfectly centered and we're going to hit done. Now, this is cropped into the right position. As you can see, the horizon isn't straight. What do we do? Well, we hit this button again. We hit this ruler icon over here. And then we draw a straight line over the horizon. Just like that. And then Lightroom is going to work its magic and is going to straighten the image for us. That's brilliant, right? Well, alternatively, if you don't like to do that, we can hit this icon over here and you can change the rotation manually. Now, we do not want to do that. We want to do it automatically. So if we want to undo, we hit Control or Command Z. Now, after we've cropped and edited this photo, we can take a look at yellow ones. So let's take a look at this. Now we are going to hit the Crop button again. We're going to take again this corner and make it a bit smaller. And we're going to position the image in the center of the shot. Now, as you can see, it was incentive before. It is centered now, and then we had done. Now, let's see the horizon. Let's click again on the ruler. And let's draw horizon from this side to this side. And let's see if Lightroom is going to straighten it, it then, and now it is perfectly straight. Now in photos like this, as you would figure out, we cannot use the horizon track because we do not have any straight lines. Now, if we want to do it, we're going to do it manually. So to do it manually, as I said earlier, you just adjusted from here manually, but in this case, it doesn't need to be adjusted. So we have three photos cropped into the right position. Now, what we need to do next is take a look at how we can improve the photos.
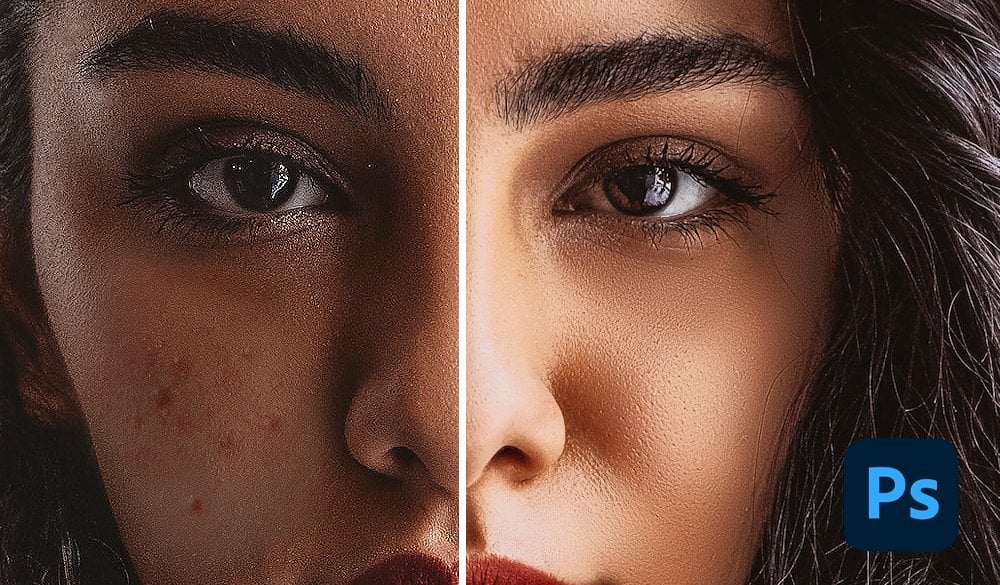
5. Improving the quality: Now, as I've said at the beginning of this class, we are going to edit all three of these pictures and we're going to put pure white backgrounds behind all of them. So we don't need to worry about that too much, but we can make our lives a bit easier if we add it and improve the quality of those photos were right here in Lightroom first. Now, the first two are going to have a similar editing procedure. But the third one is going to be a bit different but not more difficult. So do not worry. So let's take a look at the first one. Now, we have over here on the right, the Editing tab. Now we need to take a look at the white. That's the most important thing because we want a white background. Now we are going to increase the white. And as you can see, the white did indeed increase, but the image, the subject became darker. Now we can solve that by going into the shadows and turning the shadows up as well. Now, the image looks a bit flat, so we can solve that super easily by increasing the contrast. The bed. As you can see, the photo already looks brilliant. If we want to see the before and after, we can go over here into the y. And you can see that the background is pure white or close to pure white. Now, we're going to press this square again, so we will have the subject fits the screen. And let's see where we can modify it to increase the quality of the photo. We can increase the clarity of it. You can even increase the Vibrance and Saturation. In my case, I have a black and white subject, so increasing desaturation isn't going to affect the image at all. So let's scroll down a bed till we have the sharpening tab. As you can see, we have here a window with a zoomed in view of the subject. Now we're going to increase the sharpening to ten or lower. And we're going to increase the noise reduction to a two or a three. This is what I do to every single product photo that I should to increase the quality of bed and smooth down the noise. So basically, this is it. We have a photo, it is brilliant. It has a white background and a lot of detail in the shot. Now, the second image is really similar to the first one. So we're going to edit them the same. Now we do not need to do this manually. After you've edited one photo, you can just click on that photo. Right-click, go to development sayings, hit Copy, settings. Hit copy, and then paste the settings on all the photos that you want settings to be pasted at. So as you can see, the photo, paste it and the background is white. And let's see the before and after. As you can see, the photo just looks lively and brilliant. So you can copy the settings just like I showed earlier. Now, if the photo needs a bit more modification. You can modify them as you wish. So let's increase the contrast a bit. Let's increase the whites bed and we have a great looking photo. Now let's see how we can edit a photo that has a non white background. Now, we are not going to go into the white first, of course, because we do not have a white background. So we're just going to focus on increasing the quality of the subject as much as we can. Now, those depend on the subject and the lighting you have. So you don't need to copy the settings that I use exactly and precisely. You need to modify them and adjust the settings according to your photo. And now let's see what this photo needs were going to go into the shadows. We're going to increase the shadows a bit. We're going to increase the contrast the bed just like we did earlier. We're going to go with the highlights and decrease the highlights of bed. Decrease the white bed, and let's increase the blacks a bed. Okay, this looks good. We can increase the contrast even more. Now, let's go scroll down and we're going to increase the clarity. And then of course, if we increase the vibrant is going to modify the background more than the subject because the subject is black. So let's scroll down to the sharpening tab and do the same things that we did earlier. Adjust the sharpening to attend and the noise reduction to a two or three. Now, let's see the before and after. As you can see, that change isn't as drastic as before, but the change is still there. There is still an improvement. Now we edited all three photos. Let's see how to export them. So in order to export, it's really, really simple. Just select all your photos using shift. Then go into File, Export and export them onto your desktop into the Documents folder or wherever you wish. Hit Export and wait for the files to Export. Now, if you've exported the photos that way, you can use them wherever you want. This picture over here can be used on some websites or maybe on Instagram, but Amazon won't allow a photo that doesn't have a pure, perfect white background. This background, as you can see, has something over here on the left and has a shadow behind the subject. The same can be said with this. This has a wooden table and some shadows behind. So those photos can be used on your personal website if you want. But if you want to put them on Amazon or other e commerce stores, you need to have a pure white background. So we've exported the photos onto our desktops. Let's see where we can find them. So we can find them right here on our desktops so we can open the photo and put it wherever we want. We can post it on whatever social media or website we want. But if we wants to post it on Amazon or similar stories, we need to add a pure white background in this is where the second part of the tutorial comes and how to get a pure white background. We need to enter Photoshop if we want to do this. So select all your photos. Right-click. Edit in, edit in Adobe Photoshop, edit a copy with Lightroom presets or adjustments it added. And now let's wait for Photoshop to open. So now Photoshop has all three images that we've just edited with our presets and our adjustments. So now we can start getting a pure white background behind all three photos.
6. Geting a white background method 1: So now that we have all our photos, import it into Photoshop, I'm going to show you two different methods that can be used to edit your backgrounds in order to get a pure white background. Now, the first method is non-destructive and can be used on all three different photos that we've taken of our subject. The third one uses the Eraser tool, so is a destructive method and it's only recommended to be used in cases like this one. If you have a complicated, an intricate subject that doesn't have smooth continuous edges. But for now, let's start with method number one. The first thing we need to do is double-click on the background layer and hit OK. Now we've transformed the Background layer into a regular layer. Let's create a new layer by pressing the plus button over here. Let's take the paint bucket tool and let's fill that layer with might. Then let's drag the white layer beneath the subject layer. And now we can start selecting the object. Now there are two methods. The first method is by using the Magnetic Lasso tool. So you just click and you select the edges of your subject. Now this works perfectly and it's super easy to do. But in some cases, you can use a faster and better way. Now, as you can see, we can select the subject just like this. No problem. But let's try a different method to deselect, press Control or Command B. Now, let's take this tool over here, the object Selection Tool. After you've selected the object selection tool, you can just click, drag, make a rectangle over your subject, and let go. Now, Photoshop is going to do its magic and as you can see, it's selected the object perfectly in just a few seconds. So after you've selected the object, in which ever way you want, you just go over here and create a mask, hit, Add Layer Mask. And boom, that's it. You have a perfectly white background with your subject in the middle. That's all you need to do, nothing more. Now, in some cases, of course, you need to edit your mask. So double-click on the mask and you can start adjusting the mask. You can add a bit of smoothness, you can add a bit of feather. You can add more contrast which solidifies the edges of your subject. You can even shift the edges inwards or outwards. Now, this mask is perfect, so we're just going to hit OK. So now we have a subject behind a pure white background that we can post on Amazon or other web stores. This brilliant. Now, this method works great on all three photos that we've taken. So let's try it on this one. Let's again add a new layer, fill it with white, drag it down below. Select the object with the Quick Selection Tool. Let go. Photoshop is going to select the object, create a mask, and boom, we have another photo with a white background. This even works on this photo. You just, again select the object. And Photoshop is going to select the object perfectly.
7. Geting a white background method 2: Let's see how we can use the second method. So the second method is useful in cases like this one when you have a subject that has a lot of closed gaps, just like this flower. But of course it can be used on the subjects that we had a bit earlier. But it's not recommended because it's a destructive way of working because we are going to use the eraser tool. So the first steps are similar. Double-click, create a new layer and fill that layer with white drag layer down below. So those parts are the same like the ones we've talked about earlier. Now, the way this differs is right now we're going to use the background Eraser tool over here. Now, increase the size, just like I have over here. Adjust the tolerance to 40%, or of course, depending on your subject and hit delimits two discontinuous. Now, if we click the Eraser tool is going to delete all the colors that are similar to the color that we have in this center spot over here. So it's going to turn this grayish white into nothing, is going to erase that part of the photo. Now, if you click continuously, as you can see, it erases even the parts that are in-between the flower, all the little small parts that are inside this flower. If we were to select those parts and create a mask, we would've stayed here till tomorrow morning. So this is a quick and fast way of editing if you have a subject just like this one. So let's commands that are controls that and let's try it again. So let's do that a bit closer. Let's zoom in. And if you click on every white part, you just click and it erases all of the little parts in between the flower. So this is the second method. This is a destructive way of working because if we select this layer over here, you can see that we've erased that information. If we used masks, the mask doesn't erase the information, just masks it, of course. But with this method, you are going to erase that information. It works wonders if you have a subject like this one, but I usually recommend you use the first method. Now, you know. Now let's see how we can save and export our photos. We just hit file, save as save on computer. And then we have a lot of options. We can either save the photos as it DIFS, or we can save the photos as a P N g. Now let's see if the photo as a PNG and let's save it on the desktop. Now let's save the same photo as a TIFFs. And finally, we are going to save the photo as a PSD. Now, if you save the photo as a PSD, you're going to save the project. Now, if you save the project, you can come and work on it later on in your process. So this is usually recommended if you're working on a small amount of photos. If you're working with tens of thousands of photos, it is now really recommended to save the project. But right now we're going to save the project just like that. So now we have all three formats saved into our computer. We have the Photoshop project, we have the tough, and we have the PNG. Now we can use those photos in whatever east or e-commerce website we want. Now, let's see how we can do those edits on a smart phone.
8. Smartphone editing: So now we are here on my phone on Lightroom portable. Now we're going to hit the plus icon. We're going to import a photo from our camera roll. So now we have the photo that we've worked on earlier on our phone. Now let's see how we can edit it in order to have a better background. Now we're going to repeat the steps that we've just done on our computer. We go into light. Be go into whites, and we increase the whites. We increase the whites as much as we can. Then we go into shadows. We increase the shadows, a bed. We go into contrast, and we make the contrast big enough so it will repair the subject. So now it looks really good. We can even take the exposure and increase it by a little bit. Now, as you can see, the background looks really, really pristine and clean. We can go into the black, then we can take the blacks a bit down in order to further increase the contrast of the photo. Then if we have a colored photo, we can go into color. We can adjust the temperature, the tint, the vibrance, and saturation. But as I've mentioned, my subject is black and white. So I do not need to go into saturation and vibrantly. So I do not need to go into saturation environments. Now, if we want to go into effect, we can again increase the clarity a Bay, but in this case, it's not needed. So let's turn it back down. We can even add a vignette with black or with white. Now, if you want to put those images on Amazon or other web stores, you will not be able to have a colored background or a vignette. So if you want to have an artistic Instagram posts, you can add a vignette, but if you want a pure white background, it is recommended not to use one. Now you can go into details and you can increase the sharpening, as I've said, to a nine or a ten. And you can increase the noise reduction to a two or a three. You can even add the removed chromatic aberration and enable lens correction. Now, after we have our picture editor and done, we can just hit this button over here, hit exports to camera roll and wait for the photo to export. Just that simple. In less than five minutes, we've edited the photo on our phone, just that symbol, and then you can post it on wherever, store and website you want. That is super, super simple. You do not even need a laptop to edit a photo. This is really, really brilliant.
 John Game, Photographer, Editor, Designer