Transcripts
1. Introduction: Hi, I'm Brian Mahogany. I've been a professional attire for over 20 years. Now I'm gonna show you how to improve your photos skills in just a few sessions, doing some simple things. First, we will learn how to set up a simple tabletop background. We will go over some simple here like cameras, tripods, which ones work best for product photography and why I will go over the basics between tungsten, fluorescent and strobe lining and explain when it's best to use one over the other. And under which circumstances you will learn how the light affect certain objects. And you will also get a quick insight into tethering and shooting with your computer. Why it is so important. I hope you enjoy the class. Let's get started.
2. Project Overview: in this project, we're gonna be shooting something highly reflective and making it look natural and beautiful. Some of the hardest things to do in for tire fear to take wine bottles, ceramic vases or any highly reflective object and make him look natural. So if you can do this, there's nothing you can't dio.
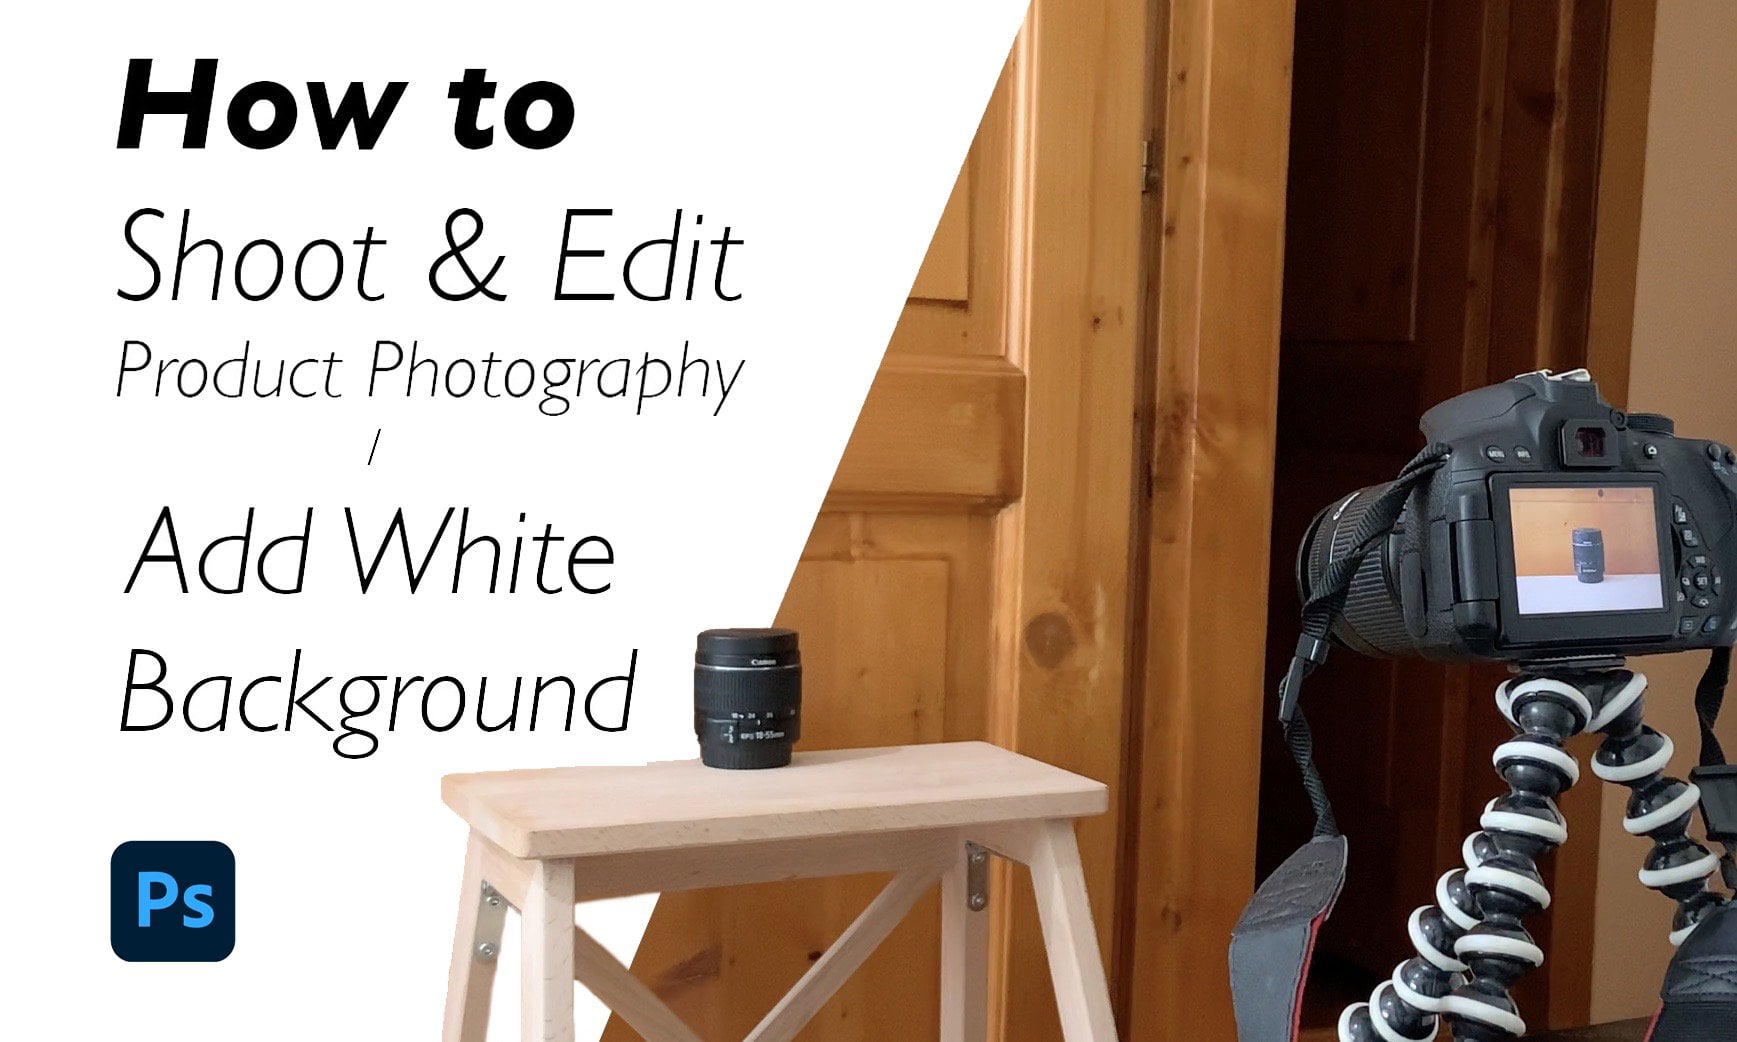
3. Building a Set: we're gonna go over backgrounds and tabletops and why they're important to a product photo shoot. It's extremely useful. And everything you did in a nice, simple set up will help you produce a great shot, even if it's for ive A or clients or anything. So what I like to do, I like to set up to simple salt horses. I have these here. I'll use a. I use a cut down piece of plywood for my sheep. You can cut it down in size, and then I would like to use a piece of or a role or Formica. Um, you don't have to use for Micah. You could use paper. You could use canvas. Anything else? But then you already immediately have a psych. This psych is kind of the idea of a psych is that you have a sweep, so there's no horizon line. One way of doing the psych is with what These are these, that we have a Cardellini clamp and the sky. Marquardt early and he was a film guy invented these amazing tools, and you can fix it to the background here. And then you could attach a sea sand in a knuckle, and then you can psych it up to whatever position you want this one. I'm just gonna leave against the wall, and that's kind of all you need to do for the background. It's really simple. So this is our for my comeback ground. It's real simple, and I like it because it's real clean. It's easily clean herbal. You can use Windex or something to clean it off, and it separates whatever object you're going to shoot from the background, and you can get these in different colors. Um, I have a black as well, or you can also do a you know you can use paper over it as well. So problem if you just use paper, it can rip and tear easily, and you kind of have to keep using the role. So if you do want to use a role, I traded like use the rolls on top of the Formica, and that's where all set up. This is a C stand here, which I'll go over later, but basically you can skewer the role and you're kind of mimic the same said that you have with the Formica with the piece of paper right so, basically, as you roll it out, it wants to Rick Earle itself so you could clamp it down here. These are just two these air to a clamp To get the hardware store and you'll need you'll need a bunch of those which are very helpful. And then you can kind of come in here, and you could can a mirror your other set up a swell? So then now you can shoot it with the paper to or the Formica. You have a nice hard service that works on that stable right, and it separates your product from the background. Another quick thing that you can dio is that I often use hand painted canvases. This one's really old and painted white, but on this what I like about the campus, it's this hard texture. You could paint it any color he wants, um, and you can texture. You could put she rock mud on it, and you can get it all kind of crackly. And that's kind of an interesting surfaces. Well, now, with this one, instead of using one C stand, I would use to see stands to skewer this through and in here at the same sweep. And I like to point the c stands arms so that when pressure is applied, it's up above. So it's righty tighty lefty loosey. So is the C stand arm tightens it. Actually, as it falls from pressure, it actually tightens up.
4. Gear: All right. This section is about gear and what type of gear you may need or want to use, and then product photo shoot. So this is Ah, key ingredient. This is a C stand of Matthew's see stand plus. And they're super heavy duty. And, um, this one's blacking. Get him in chrome, and they make him two different sizes. This is a couple different sizes, maybe three. This is Ah, normalcy stand. They also do make a short one, and they make a really tall one. And these air just workhorses of the industry and you can you know, they're extremely strong. This is actually a knuckle. So this is the actual stand here in this part. Here is the knuckle, and then this is a long arm and and I'll show you later on to what they're used for. But these air used in pretty much any circumstance, and the C stand plus has another knob down here so that this stand actually comes out and I finally in a situation I could have put a smaller stand in or what's really cool is this called eternal turtle legs. And so if it's like this, I'm able to take something beyond the ground, plug this arm and knuckle back in, and then I'm able to put in whatever I want Over here, let's say a light, A light will tach right here, and I can shoot on the ground almost instantly and fast. So here's a huge hole light, but you kind of get the idea with that. This is a mono stand, which is basically it's Ah, monster tripod. And for products stuff, it's it's essential. But most people really don't have the luxury of having one of these. Um, you can put your camera on here, and it's just you're able to go over a backdrop. You can go up and down with ease, and you could move over a subject really easily, and you can move your camera in any direction. But for the most part, these air kind of, ah, very professional, high end stuff that most people aren't gonna be able to use in the class. So for a product photography, I'd like to use a very heavy duty tripod. And since it's not location, I don't need lightweight. I want something that's very substantial that won't move. It won't be kicked um, it does weigh a lot. It's hard to move around, but it protects me on sets and it's way more stable. So this tripod, it's a huge This thing is a monster. And years, this is a get so and, um, if I do use tripods, I like a quick release. And, um, this is ah really right stuff. Ball head, which is it's a nice and this is goodbye makeshift quick, really. So boom, it's in. Then I can shoot. It's tighten it up. And if something's not right quick release, you'll always find these Are these are great. This is like I am arkus Swiss plate. This is really right stuff plate. But I think the key is all the artists was plates is the patent on these Anyway, you'll find for products you want a heavy tripod or the mono stand that I showed you earlier, and it will help you in the long run. I'm gonna go over some more gear with you and we'll start off with this. This is an A clamp. You could buy him just at any hardware store. Very helpful. Um, use them for clamping down backgrounds surfaces, and they're pretty much used for everything. So I have a bunch of other stuff here. I'm going to kind of walk through you with this well, and so this is my little thing that I had made its a plastic container. And inside these are plastic blocks and for table top stuff, you can buy it. He said, tap plastic and I give him a little You can get him all these different sizes and then this is fun tack. So when doing product, this is, like probably the one of most useful things you'll ever use is fun tack You could buy fun. Tackett Um uh, any art supply store and the fun tack you can put between these, you can build him up. Um, you can stack them. You can do whatever you want. So ideally like if you're going to shoot something that's going to shoot this clamp. But you don't want like that you wanted at an angle. So what you're able to do with the fund tack is to build a lean an object over at an angle . Shoot it and you won't see the fund tackling. You can shoot it and move it around. So you can't see it and it stays. Holds put. That's what the's air for us. Well, you can put these in somewhere. Fightem put it in use. It helps support an object and then kind of working around anyway. Very helpful. Similar to that I have. I just found his blocks. So I always, you know, these air already pre made their already sized, and you know, when you're doing something or putting a piece of paper up, let's say if you're gonna shoot straight down on objects, a lot of times you want to drop shadow on that object. So if you're shooting from overhead so you can put these down or you could put car born and meat, but immediately, if I shoot down, I have I have a drop shadow anyway. You can use these for all sorts of different things and propping up different objects behind other objects anyway. Just it's it's just a bag of blocks. I found that very helpful. This is just, ah, air in air tube, so if you're shooting something that's like a computer monitor and always getting dusty, these were great. You go get a fine bristle brush and make sure, you kind of keep it in plastic. So if you do a computer monitor brushing off lint or any of those things, this is very helpful. I kind of went through this earliest a Cardellini clamp, and it goes on the back. Toughest, too. A knuckle, which is one of these which goes into a C stand. All right, so the disk goes into the stand, you can clamp anything into this. This thing is extremely powerful. You can clamp on the two by fours on the hair, all sorts of different stuff. They come in different sizes. I have this one rigged up right here. So I have a quick release here the small little ball had and then this tiny little Cardellini clamp Aiken rig up to a ladder or a plywood little plywood. And I can kind of put this anywhere I want Shoot it from a car window. So this list my camera kind of moved in any any place I needed to go. One is to make a make this Carly and clamp, which clamps this way spins this way, has has a wider mouth. Um, have some other stuff here. So this could clamp onto something like a stand and then this as a fitting that you would put what they call fingers in these air fingers, fingers, flag, these air dots. So basically, when light comes in, this will diffuse out this portion of the light, and you can clamp this part to stand. This part goes in to this and then these air articulating arms, which I can stop wherever I wanted to go so that I could move it around, tighten it up anyway, comes in helpful when shooting small products and taking a reflection off the product. This is a moveable adjustable rigged that fits into a knuckle here and then basically ikan , put a finger on to it, and then you can adjust the light locally instead of using the other arms. So that's another cool little thing. Or you can actually this one. I've just kind of rigged it here. So this is ah, mirror, which I like, and then this gives me the armed kind of adjusting. Moved the the mere which is attached via the fun tack. Also, this these air flat plates, and you can use these as reflectors or what's nice with the flat pay plate is to put a cardboard large, heavy cardboard on it. You just kind of duct tape it onto the back, and then you would put that into the knuckle. Then you have a big reflector car that you could kind of move that's attached to. This makes it hopeful on this. Also, you could use a card. It's got a little thing in here, which is you're going to go back and pop it back in the knuckles well, or the finger kind of goes into either one of these on then this. You could use on a hard piece of board to kind of grab something and move it around. And it works that way, as well as a reflector Carter bounce card and one other quick thing, which was, which was this? Which is a which is an angle finder? And if you, if you do in a product, shoot and you have a camera and your cameras at a certain angle, let's say you have to shoot the product over and over a couple of times, or you have a day in between or you have to move your camera offset and put your camera back on set. So this is key, because what you want to do is if your cameras at a certain angle, you could mark the angle here at whatever your camera is with this little red dot here need to hand. So if it's at that angle, you would mark that, and then you'd mark the distance between the lens and your subject. You mark that in like feet and inches, and then if you have the angle and you have the distance between the front of the lens and the objects, and then you'd also probably to mark the height from the lens to the floor. If you have those angles, you can always replicate that shot.
5. Cameras: we're gonna go over some cameras really quick. I think most of everybody here will hopefully have Ah, DSLR uh, camera. And basically, it's just a digital camera digital 35 millimeter. And they typically have, ah, chip card in, um uh, CF card. And some are larger compact flash cards and on some of the smaller cameras like this one and some of these larger cameras, um, you have smaller chips, which are these little guys. And basically, that'll store your data that you either transfer over so with the canon cameras or any camera that is, you want to get the best lens you can possibly get. The lenses have the highest resale value, the better the lens quality is. So if you're going to save money, save money on the camera and get a lesser quality camera and go for the more expensive lens because you'll always be able to get your money back with the lens. And this is a five D. It's little. There's ah for product for tire of. You kind of want to try to get the best highest resolution you can. The more megapixels is much more helpful for product because typically you're gonna crop into the objects and you're gonna lose some frame. So, um, that's just for 35 DSLR. This is a little point and shoot camera, which actually works fine. This one's, I believe, 16 or 20 megapixel. It's a little Sony. Um, what I like about this camera is that it has a, um, slave shoe appear which this will come off. And the plus with that here, if I could even get this thing off here, is that, um so for me, if I'm out on a job is a professional and I need to use a backup camera, this would work because this is a pocket slave or a radio transmitter. And so if my large camera goes out, this little slave, I allows me to insert a radio transmitter, and I would still be able to use this camera, get great resolution and have my flash still go off because this would remotely trigger my flashing it. Yes, I would encourage to make sure you get the hot shoe on your little point and shoot. If you do go that route because for me it's it's it's you're gonna have to use a slave trigger at some point. This is a great backup. Okay, So if you're really serious about doing product photography, you're probably gonna want to upgrade to a larger system. That's where the digital back comes in. And this is a face. This one's pretty old. It's the age 25. Um, have lots of new ones. Now they haven't. I Q 80 takes a 1 80 takes a 80 megapixels. This one's a 25 megapixel one, which is plenty fine. And so this basically is just a large ah, digital sensor, right? The whole back of that. This is a phase capture one, and you can use this one with other kites of camera. This this is old hassle. Glad system. So these work well, if you put your you know, you can take your old camera lenses here and stuff, and basically, instead of film which would have been in here, then you can reuse that with a large medium format camera back and you'd be ableto shoot this service. You had Tillman so
6. Lights: the section. We're gonna go over lighting really briefly. There's a lot about lining, and I'm just gonna kind of touch some bases on it really quick. Um, 1st 1 we have her will start here. This is an area. This is a tungsten light and they called tungsten because of the bulbs or tungsten, or it's a hot light. So if you look in here is your actual bulb is right here and it bounces back into this, um, little silver dome here, which will be able to What's cool about this is it's a Fresnel lens. And what What's cool about the dome is that it actually is able to come forward and backwards, and that helps control the lights and spot it or flood it. So that's your tungsten or hot light. And here we have me. So that's how it kind of works right there. I'll beam it down here and, um, actually stick it on. Thats for you and I don't if you can see, but that'll flooded out, and that will spot it. The benefit of this is that you can work with this light while it's on and it's hot. It does get rather hot, but it's a constant light source, so you can see exactly what the light does, which makes it really nice to work for. The only problem is, sometimes the light gets too warm, like, say, if you're gonna shoot ice cream, it's definitely gonna melt your ice cream. And, um, also what comes with these lights? You can buy these, which are called scrims, and they're metal. So that's Ah, half. That's Ah, that's a full half. It's 1/2 half, and that's a fool. That's a hat. So basically that this takes down 1/2 stop of the light. This will take a full stop. If you popped in one of these guys. It just eliminates the light in the bottom half. Or you could spend it to wherever we wanted. This way. Eliminate the light on whatever area you wanted to. You could put double these up tones down the light. You could flood it. That's it. Okay. I can really scream the house down it. It doles it down. It's very helpful. Useful light. Okay, so that's our That's our tongue, Stone. Our next light we're gonna go into here is a strobe. This is a Speedo Tron and most all your strokes were pretty consistent. I think you know, there's definitely some great manufacture that they're doing some amazing product, But you can with these old speed Atran is you could pretty much do anything you can with anything current, and and, um, it's a little ingenuity. You can make thes do almost anything any other strobe unit can, um, costing, like, four or five times as much. Um, there's a couple of units like the u conduce do super extremely fast strobes. These can't really that there is one model. Um, I don't still make it that you were able to split off foreheads into one head and it actually had four tubes into it, and you're able to make it go sink it a super high speed to dio drop shots or liquid pours or splashes. So the basics of the strobe light if you have your flash tube and you have your your head and into here's ah, modeling light and a fan. Then here's your power source. Your power pack with transformers that hold the power. Then you have your settings, and then you have a variable power setting up top. So basically, you gonna basically plug in your strobe units into the power unit. Everything's gonna be off first. You plug in, then you could power your mouth modeling light and power on. And then the issue here is How does this sink up to your camera? So how you get these strobes to sink to a normal camera is you kind of have two ways of doing that. One is through a radio transmitter. What you have here, which would go into this unit here, you'd have your camera here with this radio control unit screws on top to your hot shoe, then this when this fires here, that sends a signal to this unit here which then in control, your flashing it, which fires this. Okay. And the the other way would be is if you just take a picture. Let's see, you had an on camera flash and you took a picture. And you have what these air called remote ultra slave eyes. So that wouldn't take the place of this here. This slave I in here would see a flash go off and then it would fire this unit. So what? This is missing right? now is a reflector. Right? So this would be a reflector. So you put this on here, and then you could take shot with that. Not just gonna leave the lights going to disperse up. So if that's too much, just open light sources. There's different apparatus. You could put this on, which is a little bit of a scrim, which is a vellum, Right. Diffuses out some of that stuff you could put grids on. So grids will bring the light out at, uh, more contrast in a little, honey, Come will take all this light, bring it into a small mawr. Contrast the pattern. You can use a flute which will really siphon the light out a really small angle. Or you can go larger reflectors, which is this one here, or, I mean, I haven't even had large, large reflectors which are kind of start to get in the room of beauty dishes, but they're very large reflector. It's pretty much the same as a small one. That's gonna it's gonna b'more like, evenly spread out. Okay. And then also, what you could do with Strobe unit is you can go into a soft box in the soft boxes come in all sorts of shapes and sizes and dimensions, and basically you're soft box is going to be well, put it together here for you. So you have a soft box there that you can put on. Take your selector off, and that'll highly diffuse your light right now. Is this clip on here they spend on and then there also what works Nice with soft box, as you have the silver in here that's highly reflective. So the light comes in, balances all around, scatters out, and then disperse is out, kind of in a nice soft pattern, diffusing the light, which makes it quite beautiful. There's so many different variables of soft box used to get another version thing is the umbrella, which everyone has seen and used umbrellas before. Sure, so I just have two examples of umbrellas. This is silver. Silver becomes a little bit more contrast e of an umbrella to shoot into, and then I have just a clear white in the white umbrella. It's a little softer. Balance is a little bit less so some of them you can shoot directly through, and some of them you could use it as a bounce so you can play around with those different contrast of the umbrellas to see which one you kind of like best. That kind of briefly kind of goes through everything. A lot of people use these the umbrellas for kind of ambient flashlight, and then they'll use more of a direct light onto something in a photo shoot. So the other light source here is a fluorescent light, and these air very similar to what's called a kino Flo Kina. Foes of manufacture of a specific foresight like these were custom made by a friend and their color corrected bulbs, and they have their specific so you can roll video through and they won't channels won't break up. And these air great lights. And I really like these, um, for the demonstration, I'll probably show you on a strobe units a little bit easier, but these air great lights as well, and a big plus to these lights is that I leave these open instead of putting cover or grid on her or honey comb, which you can do so it gives me the option to be able to use a scrim, and this is a scream This is to 16 a special filter paper that you can get it a photo store and this is basically it's like drafters of elements like a vellum. But you kind of want this, its color corrected. So Roscoe and Lee make filters, and this is a to 16 I believe. Leave filter, and it's already color corrected. And if used, drafting vellum. Um, what happens is it's quite magenta, so your image will be a lot more magenta fused that instead. But what I like to do what this is to be able to scream the light directly with this, and it gives you a great effect like and diffuses stuff out. And that's why can't leave this open toe lives me more options to work with that specific light, and this lights on AM It's called the Magic Stand made by Matthews. And if you get more and seriously involved in product for Tiger, this is a great stand. It's it's got It's got a this magic arm here, the magic, which is able to do any swivel option, which is really important, and it's ableto go up and down. It's on a it's got rollers. It's got this up articulating arm here. Anyway, this is this stand the great stand
7. Demo: So basically, we're gonna bring out the three lights that I went through before. We're gonna place them onto a wine bottle and see kind of, um, what you get and which, like, you may want to use showing you how the light works and join you, how it works on a product and what to do to kind of eliminate the highlight. You know, basically what I want you guys to do is to give me a couple examples of shooting. Ah, highly reflective object in trying to make it is natural. Beautiful is you can hopefully the lighting techniques I'm gonna show. You're gonna help you accomplish that. Basically, we want to start off with this fluorescent light here, and we're gonna kind of get it up here. And you see how it leaves this really high highlight right here on the bottle. Right. And this is what we've gotten. That's how we've captured it, right? So I'm ready to go. It feels like it might be a little bit dark on this side. So what we could try to do is to put a card in, and so the card would be in here, and it comes in and it fills in this edge over here. But typically, since this bottle, it's so dark, you're gonna see you to see that card Cummings. We pride can't do it. So But, you know, if we were shooting maybe a white wine model, we might build a sneaking in. And if this computer wasn't here, we might be able to put a white card in way back here, which would bounce in lights and you wouldn't see it is bright. So the further away it gets, it might actually work. What a big trick on this is if that this is a nice hard life, but it doesn't look really natural and right here, especially it kind of has this weird feathering. So I'd like to pull in these guys, which is the scrims develops that I kind of mentioned before. Nice thing about these, because I can scream the object and the further I bring it in the closer bring it in, the harder it is, and the further away it iss kind of more softer in this, but it feels in less space. But let's see what we get with that with our light here. What kind of bringing into here. So now we have this nice, beautiful light here, but it's got a got a hard edge here. It's a softer image than that, but I almost like this better at this point, but still has thes breaks. So we have to figure out maybe something in between these that looks kind of natural. All right, So maybe maybe we'll try to back this line out of here. Maybe with this guy. We'll bring him in here anyway. That kind of it's still a little hard here. This kind of gives you the idea of what you're going to get with this, Florissant, like with this guy. Also, try one more bringing this guy. I'm gonna bring it further away, so you can see what happens with that. Okay. Makes it eliminates it to a smaller point, but still leave it kind of hard. Let's try one more thing with the fluorescent. So sometimes if you take the fluorescent and kind of kick it off to the side and you get more ambient with it, we'll see what that gives us. All right. So that gives you a straighter line here in a little a lot softer going on here a little darker in here. Okay, That's just kind of giving you some options of what you get with the fluorescent. All right, so now we're gonna move to the tungsten light. You got to get an idea of what we get with tungsten light. This is our tungsten light. We're going to kind of see the effects of the tungsten light on the bottle. So let's power this guy up. It's gonna be pretty harsh. So typically, you don't really want to use a hot light for this. Specifically, delight a bottle, but let's let's see what happens. So I almost always shoot with the barn doors. And when I'm using tungsten, this gives me more control. My subject here. All right, so let's see. Let's see what we get. I believe it open for the most part on flood. All right, there's our light so you can see here pops off there, and you get to little speculator highlights Here. This is a CTB. It's a gel. This is 1/2. It's 1/2 Joe. Typically with tungsten, you need a full gel. But with this kind of light, and I typically like to shoot this with a with 1/2 because it leaves a little warm in it. But let's just see this way we can decide whether we want it do it a little bit warmer, which would be this shot, or we go a little cooler, which would be that one. As I showed you before we could try this vellum, we could also try these these dots and flags. So see, just by looking where that light sitting there that's really going to make much difference to us, Or if we should just go right to the right to a vellum. Let's see what that does if we go right here. All right, so that leaves us a nice hot light here, and it kind of goes dark over there. So that's an interesting shot. The one thing with the hot lights. You have to be very careful what you put out in front of the hot light, or you will it will melt it. These lights are very hot, and they will melt anything left out in front of them. These filters air made to kind of withstand some of the heat, but they will melt as well. We're in the flood position. So just really quick. If you wanted to see what this look like in a spot position, this is where we would be, and we would shoot it this way. All right, so this spot is going to give us this really hard light here and falls off really quickly compared to the one before, which would shot here, which has a lot more detail over in this area. With the hard light, the tungsten light, the bar indoors are able to move in and out. Gonna watch out cause they get really hot quick. But the benefit of that is that you can kind of see a shadow here from the barn doors and from the hot light. But I can I can really come in tying to an area. And then how I flood it will change dramatically of how it effects. I mean, just look at the label here and watch how flooding it completely affects it. So this light is amazing for detailed work and really getting in there and hitting something that can't hit with other lights, like a strobe or fluorescent. You can't pinpoint something like this. This is also great for like silhouette ing, shadows, hard shadows and what's also nice here. But the hot light is, let's say I wanna hit just the label, right? So it kind of hit the light off. I can come in here with a mirror with my mirror out of camera view. I can pop in that label, just the label part, depending on how angle it could put tape on this mirror to make the mere smaller I can put a bigger mirror on. Anyway, Get in really tight, find my right angle. Just make something pop in there like that and make that gold just blow up out of here. And you can combine this with the strobe to get both to do both effects at the same time, which is kind of so that's kind of the idea of the hard light or the tungsten light. And then now we'll move on to a the strobe light on this. We're gonna go ahead and use the strobe and with the strobe unit, I need to be plugged into a remote trigger, which is the pocket wizard which we talked about before. When the camera shudder is released, it will send a signal through this pocket was a remote trigger to the flash unit power pack , which then supplies the power to the flash head. Right. And then it all gets captured into the, um, back the phase camera back, which is essentially a digital capture. Amusing the dish this to kind of get an idea of how that looks. Alright. So with the dish, we're going to get a little separation between these two. A little a little softer down here. A little harder here. What happens when we bring our light close into the subject where we're gonna get there? All right. Okay, so we're gonna get this nice hot highlight here. A little softer all down here. All right. What if we were to take this light where it is here and at our scrim? That leaves you a nice, pretty light here. And it's pretty, pretty decent transition here, which is right there. But let's just do for fun. Let's see what happens when we bring our light out here and then we'll try the same thing. Maybe this guy in about a lot of foot, so that really darkens this up. That gives us a really pretty highlight here. Nice on the bottle. So maybe if we were to bring the light around or maybe compromise between these two, Maybe that's too bright. Maybe this too dark. So maybe we can kind of come in between there. And then maybe we would take a little that tungsten hard light. Maybe we'd kick in a little reflection off with the mirror kind of kick in. A little highlight here, that would kind of be done. Right. So maybe we'll kind of go a little in between. So it kind of gives you something in between there. I think this is still a little hard right here, but you could kind of move the light party around a little bit out more in front. Smooth that out when you have a pretty nice, beautiful, well lit bottle, right? All right, so that's our three light sources, the Florissant Tungsten in the strobe. And I didn't go over one, which is a daylight. And you may want to stay a little bit towards the shady side or kind of do things in soft shade or overcast is opposed to the hard sun. But if you can come up with something beautiful shot for the demonstration would be great.
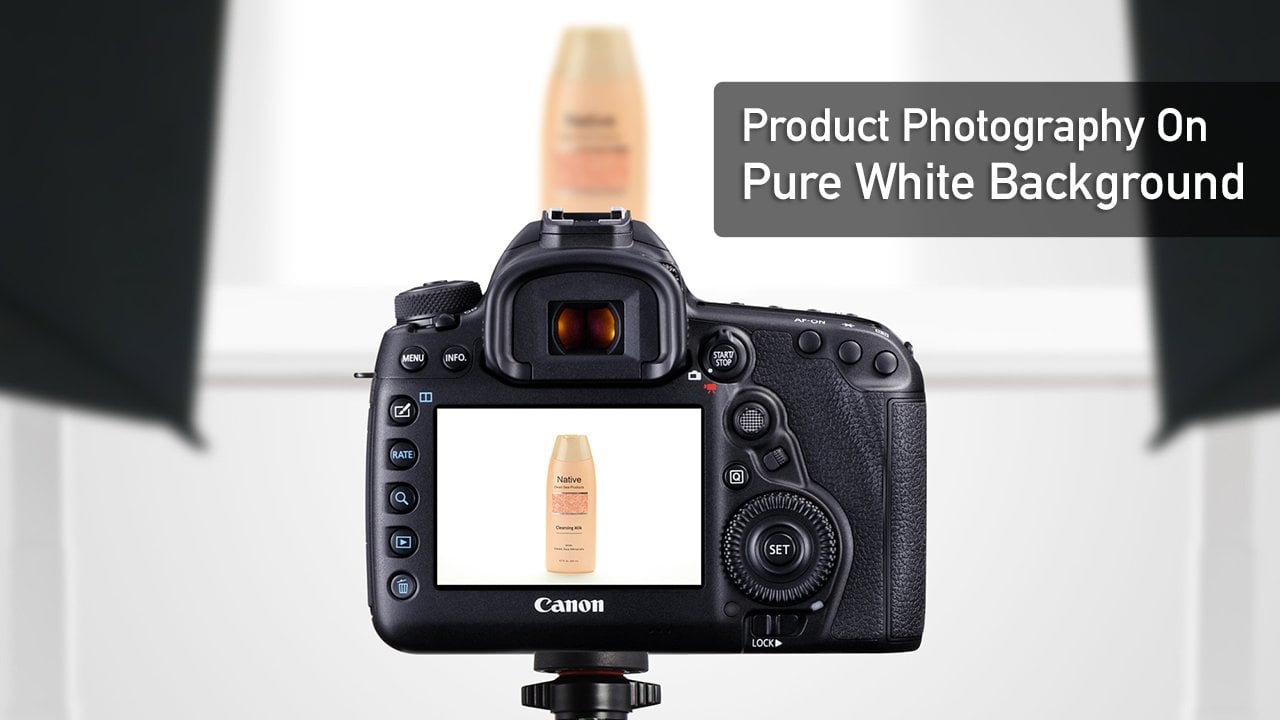
8. Tethering: So I'm gonna shoot through the camera, and then the camera's gonna read it out on the computer, which they called tethering. So the tether process is just just that basically connecting the camera through the computer. And then that'll come upon a software program. This one I uses capture one you find most your professionals all end up using the capture. One, it's just a way more refined program. I've set this up. How I like it, which is I'm basically ableto do all the commands I need to do and see everything on the left panel here. And these are all different windows, which let me access that without going to too much. Basically, this is just going to give me a direct feedback of what we're gonna dio. Okay, so otherwise I'd have to shoot, shoot it through the back of, ah, 35 millimeter deal SLR camera, and then you'd have to see that pop up on the screen. So to make it more easy, we're gonna go right through the computer, and when you can and do product, you're gonna want to be able to go through the computer to really see the fine detail and the find Eve Hills like in this the focus. I can see every nuance of what's gonna happen to this bottle. And I have a huge, much larger screen with much more fuller detail, So that's why we're gonna kind of do that.
9. Conclusion: thanks for taking the class. I hope you learned from it, and I hope it was informative. Basically, it was just trying to teach you the different types of lighting and how to work with the lighting. And to be able to use whatever light that you have and be able to get a beautiful natural highlight shot from it. Do the class projects. And I'd love to see your work, send me stuff and respond back as soon as I can, And, uh, I hope to see you soon. Thanks.
 Brian Mahany, Professional Photographer