Transcripts
1. Class Introduction : I strongly believe
that sky is one of the most important and
most beautiful element of any landscape painting. Be it a night sky
or a cloudy sky, or the sunrise sky or the
sentence guy by this guy with a softer looking just brings
the whole painting together. Although it is one of the
most difficult element, tuple love, especially when you're working with watercolors. You struggle with
so many things like keeping your paper wet for
a longer period of time, applying colors on
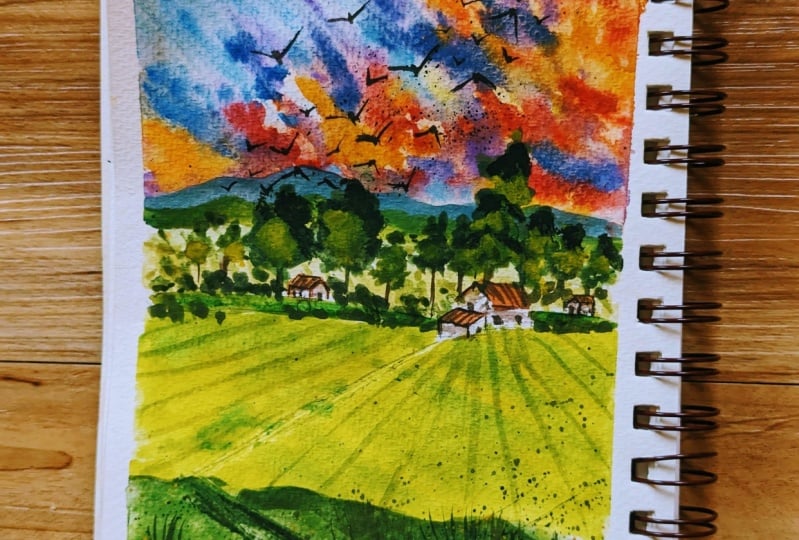
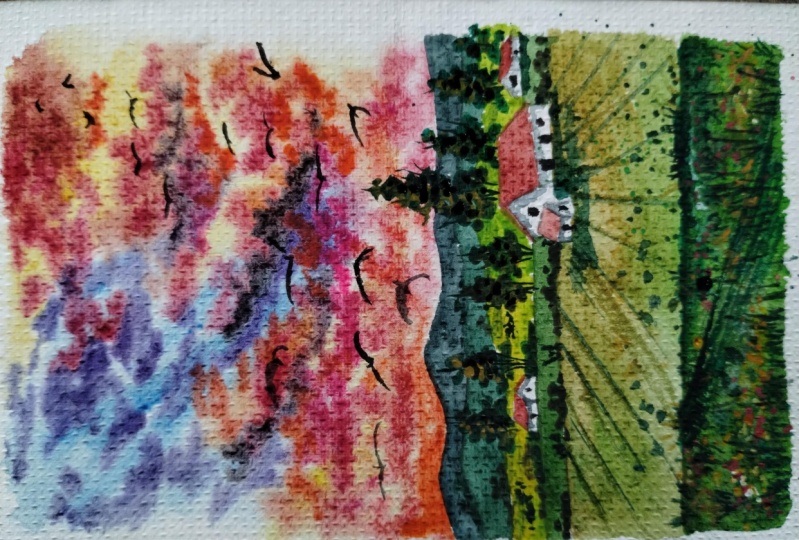
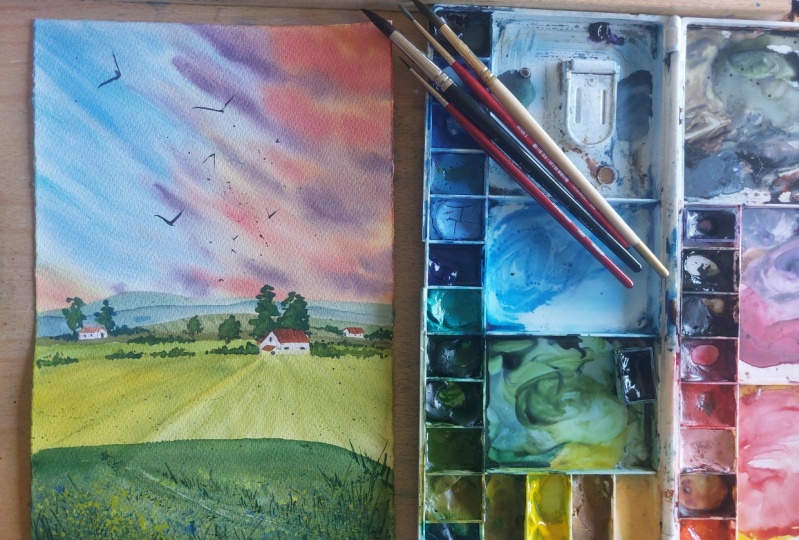
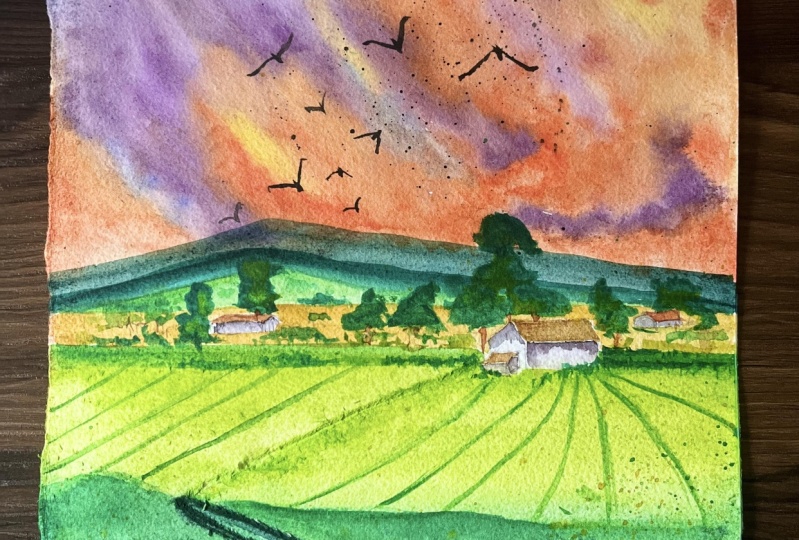
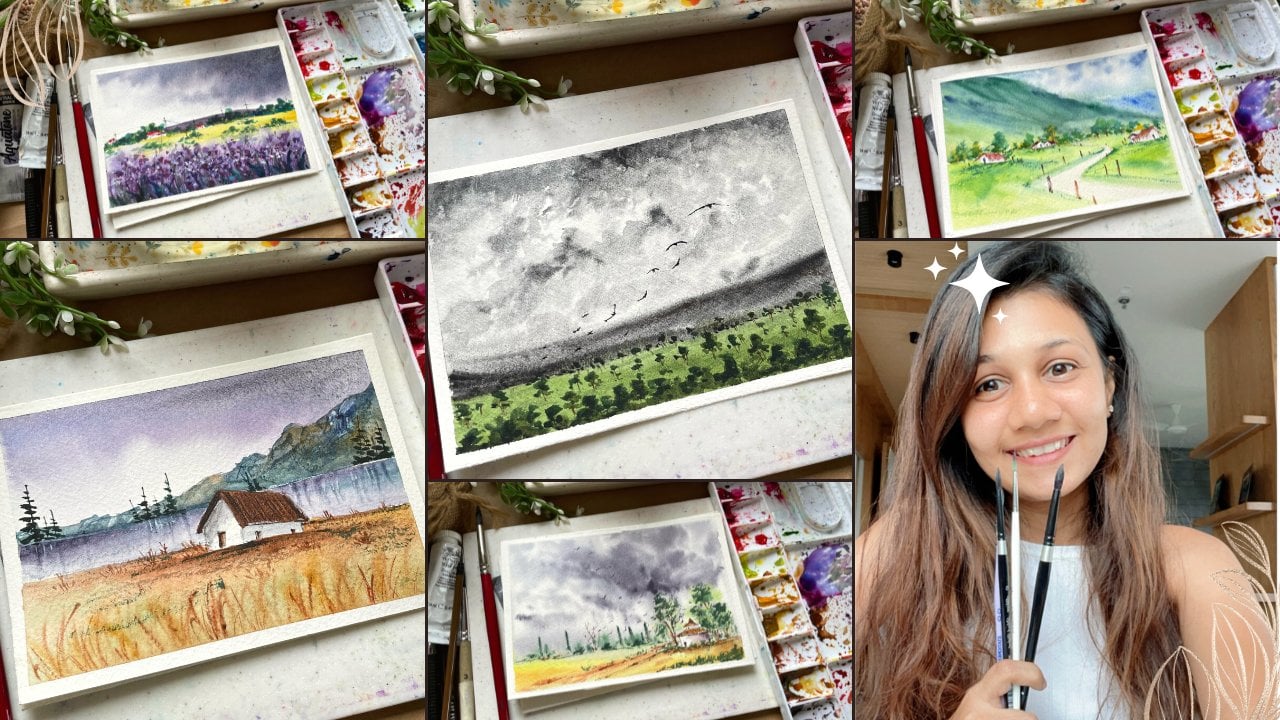
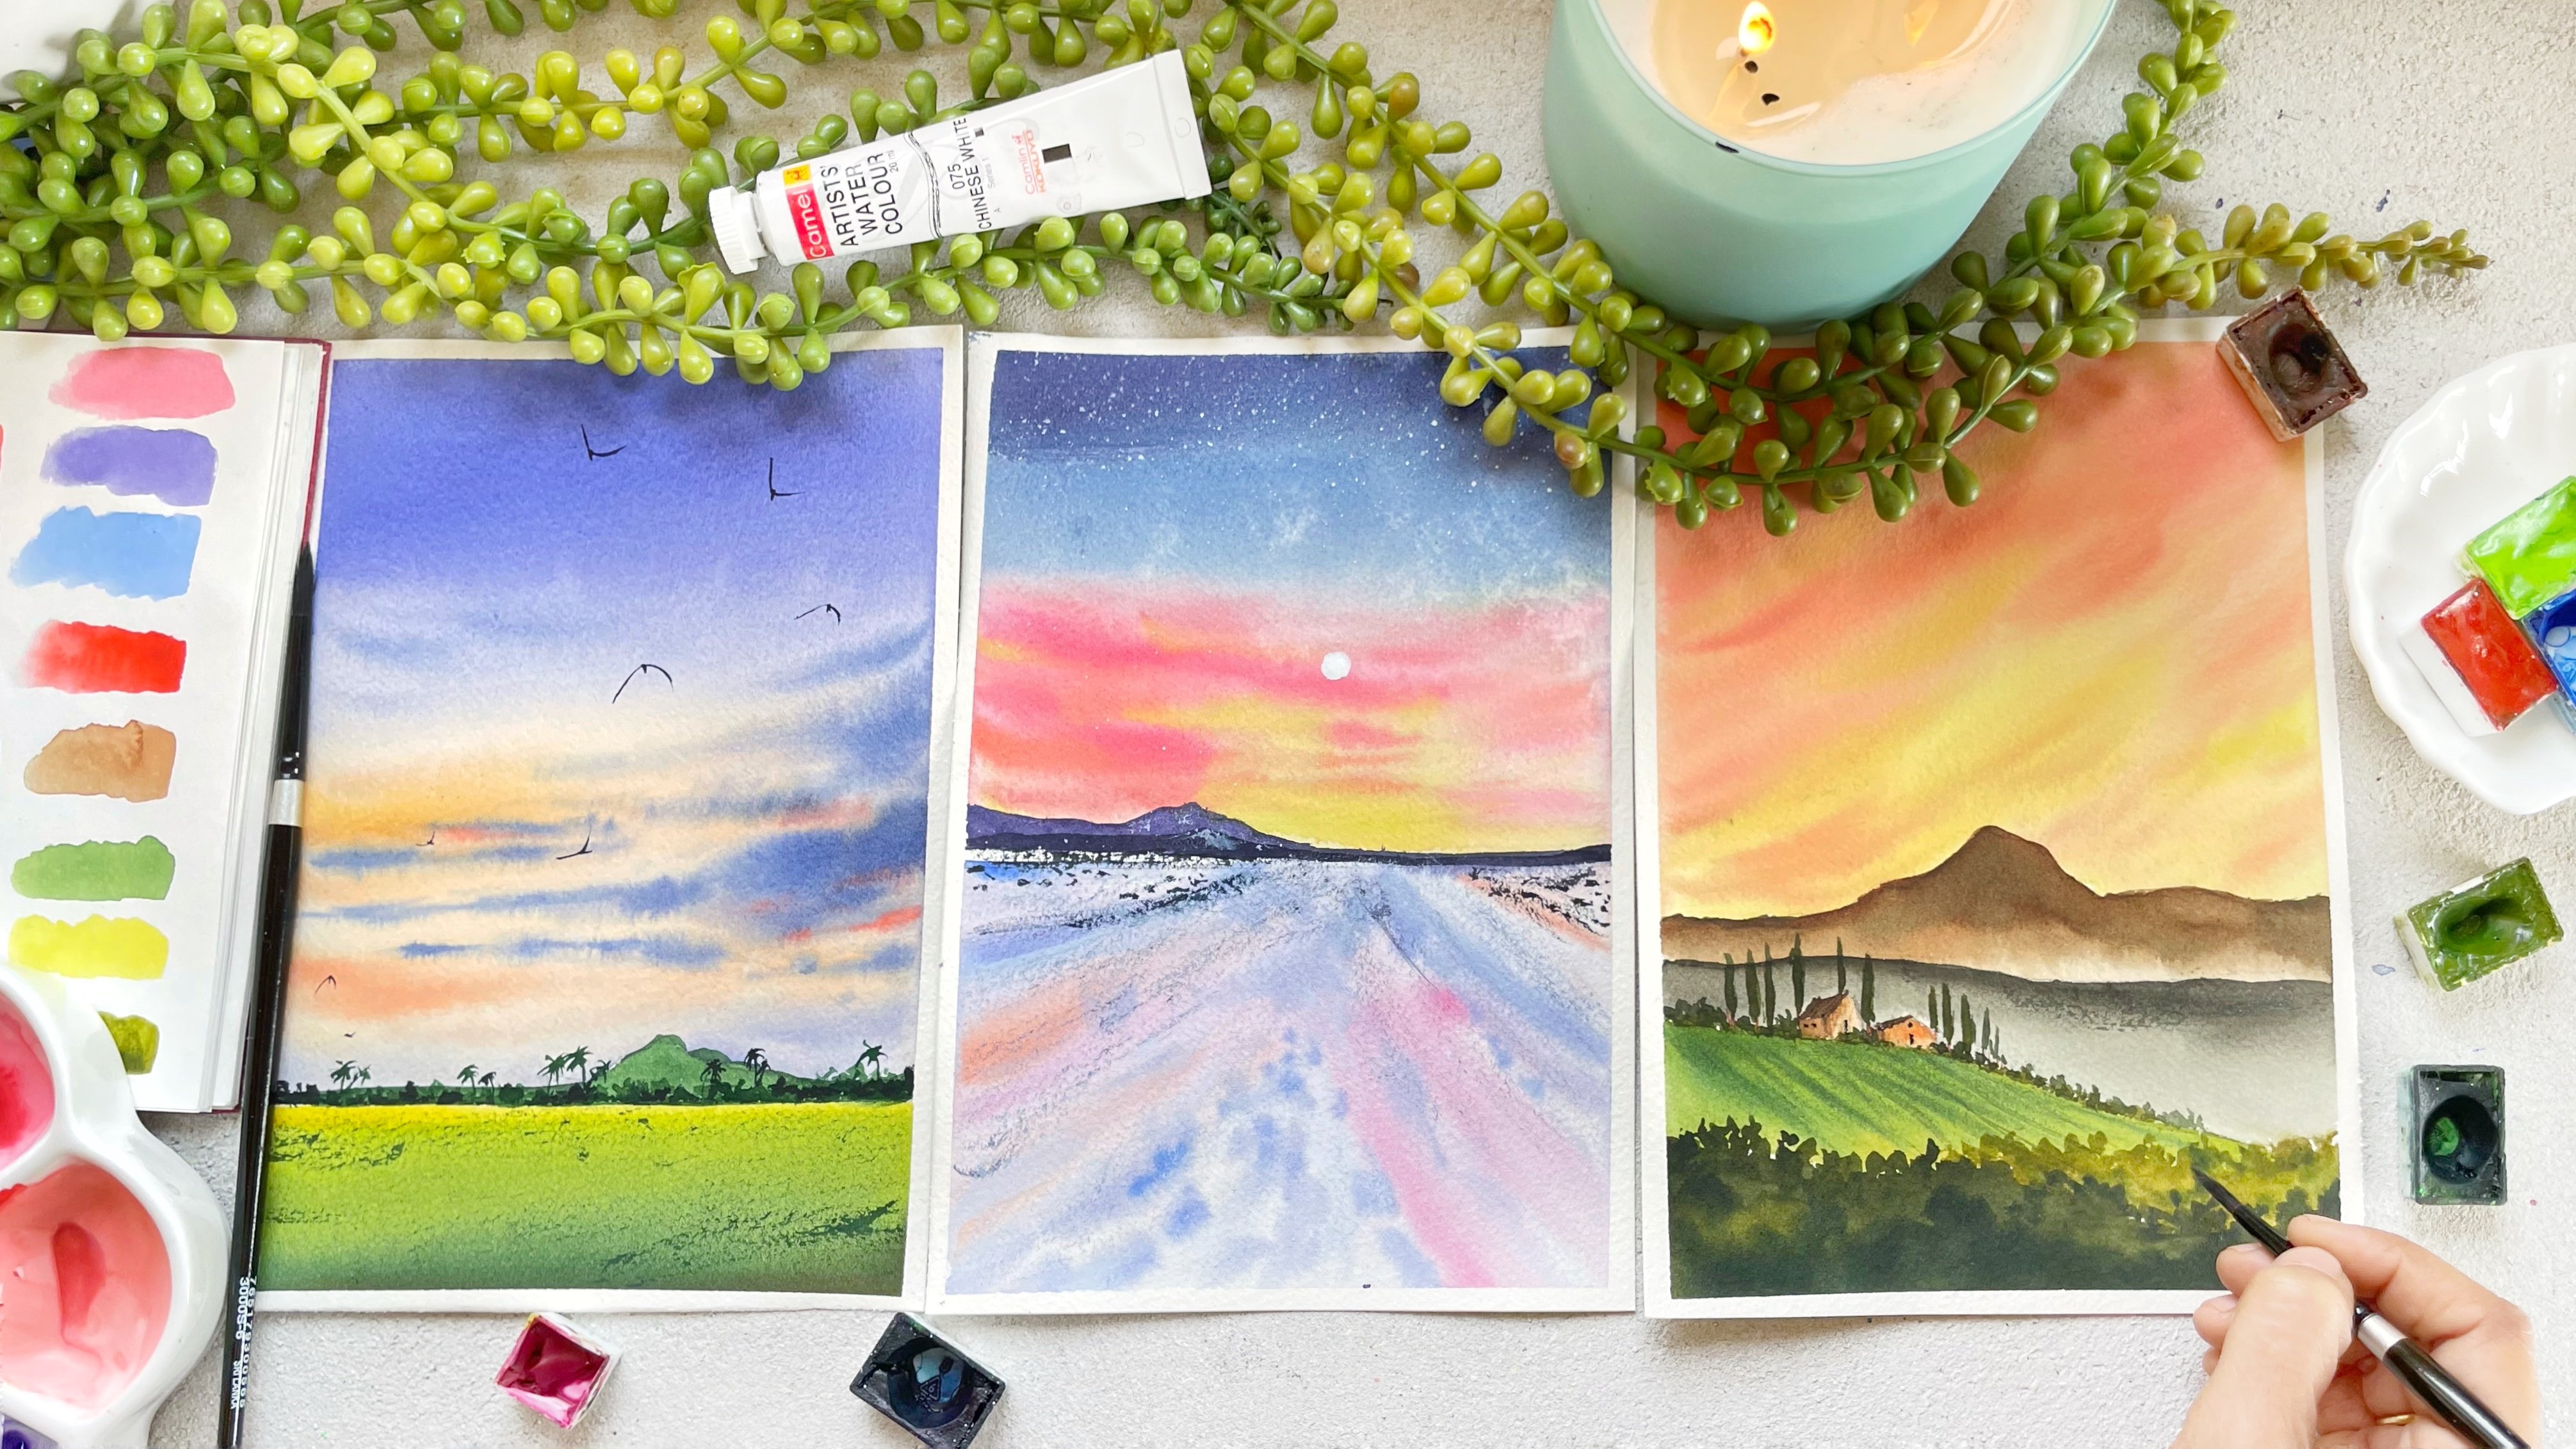
the bed, sofas. And so much more. I have been painting and experimenting different kinds of sky from quite some time. And these are few
of my best work. I love painting the sky. They just bring the
whole painting together. Painting those soft sky and
soft clouds is not easy. I do add a lot of struggle
to get where I am, but a lot of practice and experimentation on
different techniques. I have reached deal. Your I am today to share
all those tips and techniques which I have
learned in my journey. Hello everyone. I'm Surya,
a full-time artist. Either educate them an excuse
for detail from India. You can check out my
Instagram profile. My handle is at great
artistry algorithm. I'm also on YouTube. My name is paint with Austria. You can see all of
my work on that. This class, I will teach you how you can keep your paper wet for a longer period of
time so that you can achieve a beautiful
cotton candy lookings. Don't worry if you are
a complete beginner. I've walked you
through each and every step throughout the painting. So just grab your materials
and come along with me. And let's paint a beautiful
landscape together, hoping to see you in the class.
2. Class over view : I'm so glad that you
decided to join the class. And I'm super happy
to have you here. Now in this video, I will walk you through
the overview of the class. As usual, we will start
with the materials. I will walk you through each
and everything in detail. First, we will talk about the paper and why
it is necessary to use the right kind of people for the technique which we will be using for our class project. Then we will talk
about the brushes. I will also share all the alternative
options for the brushes, as well as for the colors
throughout the class. So do watch it. And then also explained, why do you need
that kind of brush. Then we will talk
about the colors. I've used way basic colors
throughout the class project, so that everyone has
those kind of band. Then we will learn how to mix our own color with the
basic primary colors. Then we will study how to
create a rough composition on a rough paper before moving on to our
final class project. Next, we will study
how to stretch the paper and how
to work wet on wet. What is the right amount of water and paint ratio
to put on the paper? We will also study how to get softer looking clouds using the same wet-on-wet technique. Once we have completed
the technique part, we will move on to the
finance class project. That is just one painting, which we will be doing
by the end of the class. And we will implement all the techniques which we have learned
throughout the class. Don't worry if you are
a complete beginner. I fought you to each and
every step in detail. All you have to do is just follow my instruction
to do that. The only thing which I
will put a lot of pressure on is using the right
kind of people. And that's on this
class project. We will study how to paint softer looking sky with clouds. We will also study how to
paint the flying birds, the bushes, far away mountain, the foreground floral Freeland, the grasses, and how to
create depth in our painting. I hope this made you all
excited to learn about this. So grab your materials
and let's get started. I'm really hoping to see
you all in the next class.
3. Art supplies required: Alright, so before we start
into the painting part, let's see what all materials we will need for the class project. So as always, let's first talk about the very important
thing that is the paper. So you will be needing
a 100% cotton, 300 GSM cold pressed
watercolor paper. I'll be using the
paper from Bruce draw. So you can see that
it is a 100% cotton. It is cold pressed
and it is 300 GSM. So this is if for size people, which I will cut it into half, that would be A5 size. And we'll be using this size to paint our final class project. Next, you will be
needing watercolors. I'll be using this to me. Watercolors. It contains 12 fumes. It has very basic colors. That is the very
primary colors that can need when you start
working with watercolors. I'll be using this kit so that everyone will have these
colors in their palette. And I've already spaced out all the colors from
this into my palette. Majorly, it is permanent yellow, which is more like
cadmium yellow. Then there's vermilion, orange, scarlet,
ultramarine blue. This one is blue,
violet, cobalt blue, permanent green, yellow, ocher, burnt sienna, and
a bit of black. So you can use these colors. I'm pretty sure
that every palette has these shades
in their palate. Once we are done with
the paper and valid, Let's talk about
other important thing that is the brushes. The first one is
the Chinese brush. I don't know what is
written the way you, but it is, I think sides one. So this brush, I'll
be majorly used to paint those sky
and the clouds. You can use any mob brush or even a round brush size four or eight to
paint the clouds. That is fine. In case you don't have this. Next we will be using this
round brush size four. I'm guessing it's size
four because there's nothing written or
what it but yeah, it is more like a size
four round brush. Next we will be using a smaller brush to
do all our details, especially the boats,
grasses part where you and, as well as the houses
and the trees. So we'll be using this size two. Brush from silver black velvet. And I'll also be using size two from stationary round brush. Next you will need
or larger brush. It could be anything
it could be or flat brush or it could
be your mop brush. This brush, you
will only need to wet your paper on
both the sides. The larger the brush, it is more critical and easy for you to wet the
paper. That's it. So you can use any large
brush to wet your paper. And I'll be using
2-inch from Silver. Okay? Then you will need
all sharper object. You're using palette knife, but in case you don't have this, you can use your cards or maybe your nails or even
a scale to do that. So I'll be using to scratch the paper and create the rule. So this is what I'll be using. Then you will need a pencil and an eraser to sketch
down your painting. Other important
thing that you will need is a clean tissue. Especially when you are
working on wet-on-wet. You will need the shoe. So I will keep one on my
left-hand side of my desk and one will be continuously on my hand to write false though, extra Carlos or to dab off the
excess color on the brush, you will definitely need more than one tissue
in your hand. So keep that and also keep one tissue which
is completely clean. I'll let you know though for their class when we start
painting about that. Then you will need
two jars of water. One for o, fresh supply and added to
clean down your brushes. I always end up using
both the Johns to clean down my brushes and I end up changing it
while I'm painting. But I tried to keep clean. You can see I've
already dipped ones. But definitely you need
two jars of water to keep the colors fresh and not
to make them look muddy. So you will definitely lead to Joseph photo are the
color which I forgot to mention is the pink color
which we will be used using to paint the sky to make
the bright orange color. So you will need this, but in case you don't have
the pink color, you can use. Hi, red color as well. Alright, so lastly, I just forgot to
mention you will need a board to stick down
your paper and you will need something which
you can move around. So don't fix your paper on something which
you cannot move. So you will definitely
need a bowl. You can use your writing pad or a cardboard or anything,
which is movable. Alright? So you will need a board, you will also need masking tape. Knock those tape down your
paper or anything just to tilt your board or little
while you are painting. So you will need that. In case you don't have this, you can use any object to
just keep lawyer board. Alright, so let's just rise. You will need April. The paper is the most
important thing, especially when we're
working wet on wet. So please, please, please
use right kind of paper. Otherwise you will not get the result which you
are looking for. So again, 100% gotten 300 GSM pressed watercolor
paper, then basic colors. I'll show you the color
mixes and everything. Once we start with the painting, then a pallet to mix down
your colors, brushes. They should pay Apple,
pencil and eraser. Tool jars of photo, a knife or a sharp object. And you will also need a
rough paper to swatch down all your colors before you put
it on your final painting. Also one more thing. You can also keep
spray bottle along with you in case you feel
like why painting this, any portion of your
paper is drying out. You can always use those
PIE portal and just pay it on that particular
area to re-wet cat. Alright, I have not used this throughout the painting
because as you know, it's monsoon right now. So the paper is anyways, digging a lot of time to drive, which is a plus point when you are working
with watercolors. So yeah, I've not
used, but in case, just keep it handy
in case you need it while you are working
with watercolors. Alright, lastly, you will need a hairdryer to make the process a little quicker
because once you the sky, you will be wetting both
the sides of the paper. So usually it will
be a little bit and you won't be able
to paint the blue part. So to make the process
a little quicker, I'll be using hairdryer
to dry it off. Alright, so that's all you
will need for the class. So grab all your materials and let's get started
in the next class. I'm hoping to see you all. There.
4. How To create Rough Sketch: So before we start painting, let's study how to make the
composition of the painting. So what I usually do
is before starting, I always create or rough
sketch on paper or on a book so that I know how my final painting
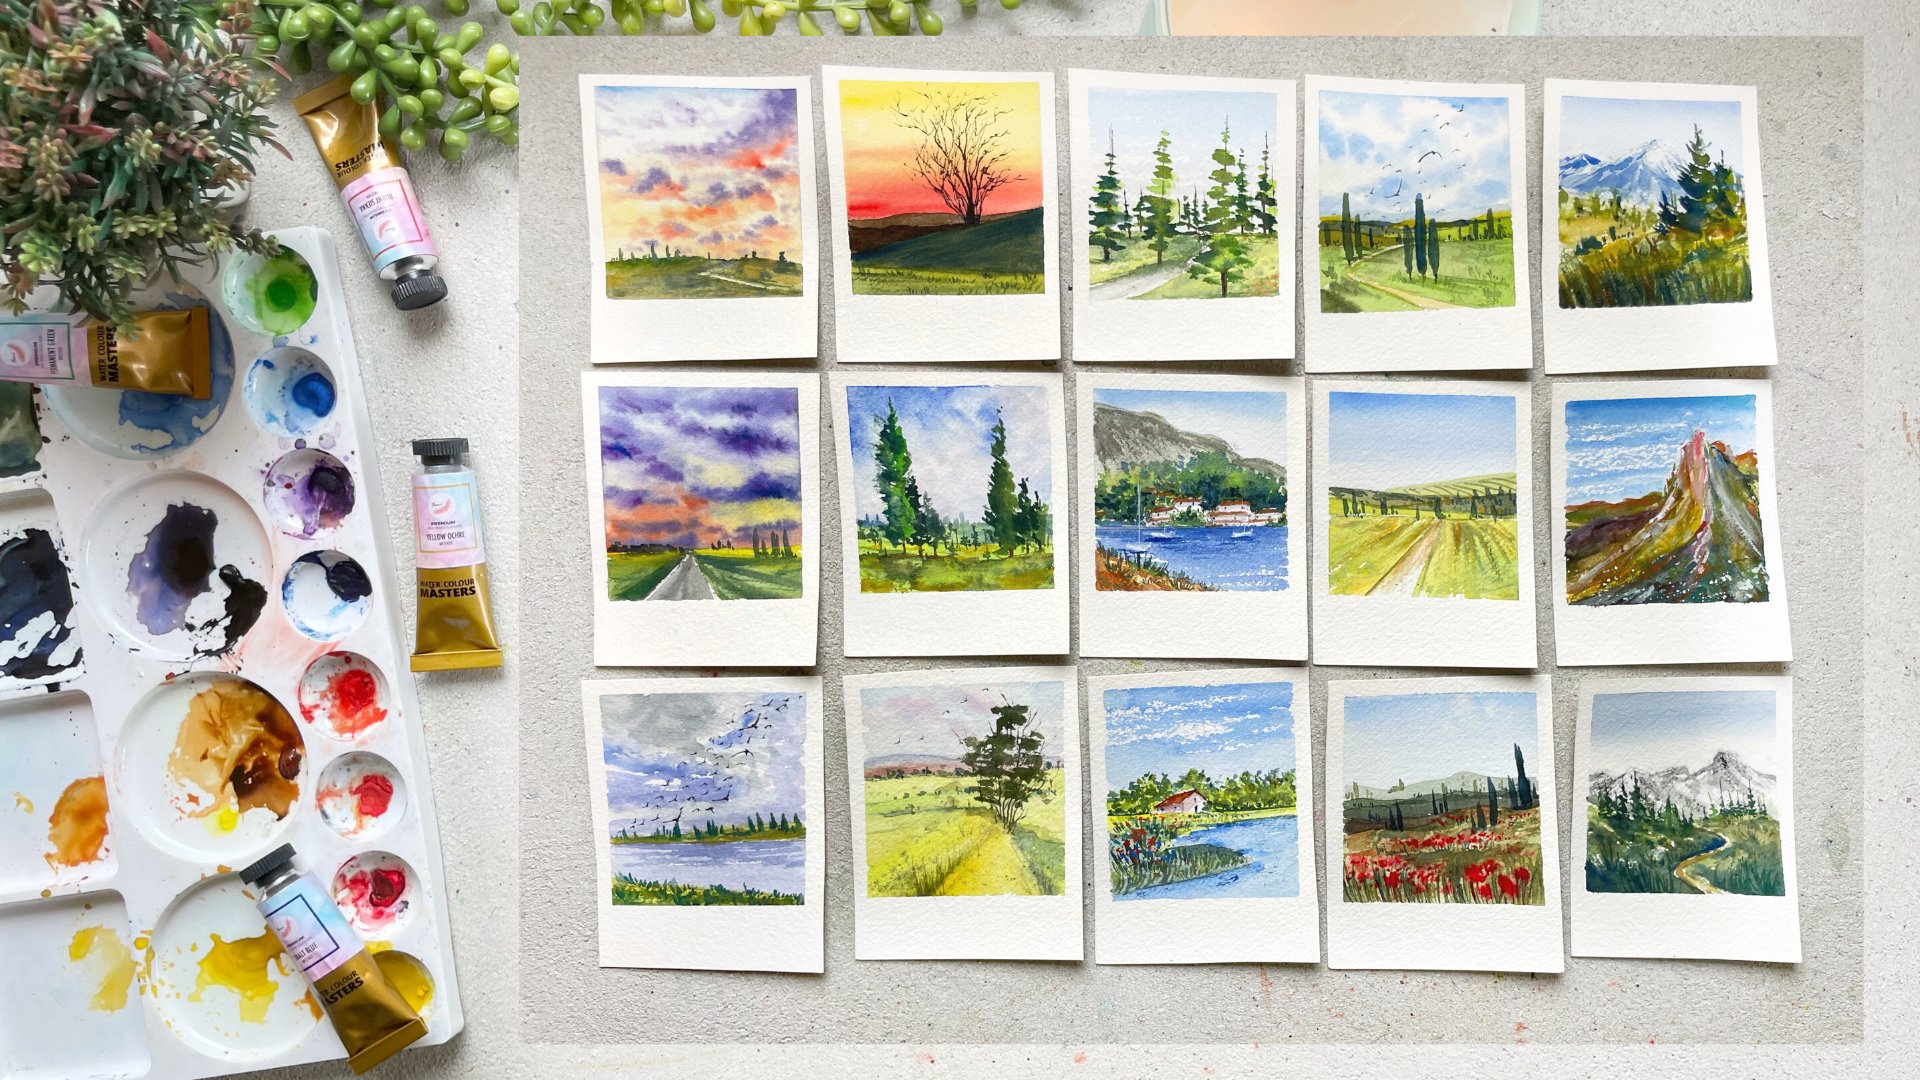
would look like. So these are the few
examples which I have done for Domini
landscape painting, which is already there
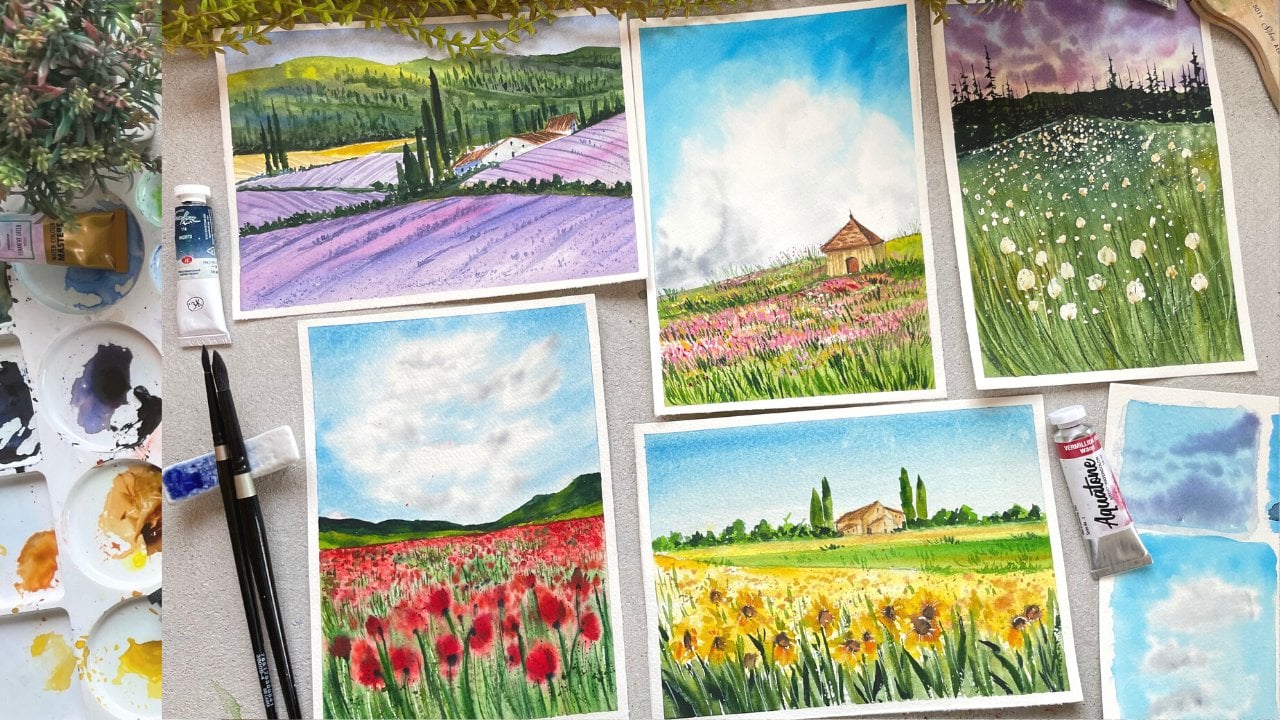
on my skill share class. So definitely check that out. And these technique
helps a lot to get all clear idea of how
your painting would blow. Plus you would also
get an idea of where to place your elements
on the papal. Alright, so let's do, you can see that I have
created this painting perform and I'm not satisfied
with Howard is looking, especially I'm not
satisfied with the tree. It is over you. I'm pretty happy with this
guy and the background part, but I'm not liking this part. So let's change it. Let's first create a rough
composition on the paper. And let's see how
to change this. Okay, so first, I'll just draw the rectangle that would
be the size or for people. Then I would first you
draw the horizon line. And you can see I've not draw
anything in the background, but I really want to create a few layers of mountain
behind the house. So just do that and
roughly draw it. You don't have to be very perfect while you are
drawing the rough sketch. It's just that you will get
an idea of how it will look. And if you're not
liking anything, you can change it. Instead of painting the whole
thing and then changing it. So that is the basic idea. Alright, so I will draw one
more line just below that. Mean, How's baby yoyo? So I'll just draw it,
roughly, drawing it, not wanting it to
be really perfect, just to get an idea
of how we can look. Okay, so once I've
drawn the main house, I want a tiny little house. And one. Moreover, you On cupboard this whole area with the Gs and this E or with the
tiny little bushes. Alright, I didn't
really like this part. So what I'll do is I'll draw
a tiny little mountain, but I'll draw a connecting rod that is the smaller
or do we use? This would be a little larger. So this is how my composition is looking and I'm
pretty happy with it. So yeah. We will then convert this
into our final painting. Alright, so I'll just show
you a little bit closer. But what I've done, it's more of like a scribble. I really got an idea of how it should look or how it will
look on our painting. Alright, so definitely
try this out. It will help you a lot. Alright. So now let's get into the painting part
in the next class.
5. Essential Techniques: Alright, so before we start
into the painting part, let's first study few of
the wet on wet techniques. And let me show you
few of the tips which will help you while
working wet on wet. As you know, we will be wetting both the size of the
paper so that we will get more time to paint as the people would stay wet
for a longer period of time. Right? So let's see
how that works, so forth. Before
working wet-on-wet. One tip is always, always, always prepare your
color before hand so that you don't waste your
time while the paper is wet. Alright, so let's prepare
fugu of two colors. I'll take the cobalt blue. I will mix it with dopa, which we already have it. A widows who just take
a little more blue and not don't worry about the colors and
everything right now, we are just learning
door technique, but alright, once we have
taken to combine blue, let's take a bit of permanent yellow and mix it
with our four-inch. Let me just add water to it
to make it a little runny. You see it is not
very thick because if I turned my palette, the colors are
running on all sides. Let me show you
one more example. What do I mean by thick paint? So I just take though
Scarlett Carlo and I will take a very
thick consistency of this pink that would be almost
like a creamy consistency. I'd put it away. I think
it's still a bit runny. So making it more TIBCO, you have to do is use less
and less off water to do that. A bit runny. Adding more color to it. You wouldn't say if I
altered my board though, these colorable flow much faster compared to this one.
Can you see that? Alright, so these
are the different consistency of paint which we will use to paint the sky. Alright? So I've created a
Johnny color and we will be using those color to paint the sky for especially
the first layer. So let me swatch it for you. So the blue color, this is how it looks. It is so transparent
because it has more water and less offbeat. Now, let me swatch
yellow, orange mix. You see it is still transparent because
it has lot of water. Now, like niche, swatch to scarlet color
and you will see, you will not be able to
see underneath paper or not because it has more
of paint and less water. Alright, so let's see how these three colors
react on people. We are working wet on wet. Before we do, let's
first wet the paper. So forth. This side. Taking my flat
brush and applying Bordeaux on all
over the faithful. Take your time while you are applying water to your people. Make sure that you have covered
the whole of two people, especially the corners because those areas start
getting dry faster. Okay. So once I've applied Bordeaux, I will switch it and start applying water on either
side of the people. Doing this multiple times. Digging my time to read the whole of the
paper was slowly. Okay. So I've already applied
water to my clipboard. Now. I will let be the papers so the water for a little
time while that is happening, I will just wipe off the
extra water on this side of the board because I don't want this water to flow
back to the people. So just taking the tissue and removing the excess
water on the sides. Alright, now let's apply
the colors on the paper. Now you see this portion. I'll just tell the board
and you will see that there's shine on the paper and you'd see that there's no
excess water on any side of the paper that is
equal amount of water on with the people. Right? So this is
exactly what we want. If you feel like you have
applied in order to adjust your board on either side and you will see that the
water will flow down. And then you can just take the drive tissue and remove the excess
water on the sides. Okay. So now my paper is wet, my colors are ready. I will first start
with the blue color. When you are applying
veteran bed, whenever you load your
brush with paint, remove the excess on the
sides of the tissue. Once we have done that, you pay for dab
off the excess on the tissue and then
started applying. You will see that the
color will spread less and less because my brush doesn't
have a lot of water. So a lot of water and paint. So I'm applying less
of paint on my people. Let's suppose I am
not dabbing off to, or I'm not removing the
excess paint on the side of the tissue or on the
sides of the pallet. You'll see that my brush is
completely loaded with color. You see the belly is to provide. And now if I start applying
that color on the paper, it will spread a lot, which will make it more and
more difficult for you to control the paint and
watching paint on the paper, which you don't want to get more of control whether you are using thick consistency
of paint or is by using runny
consistency of paint. I always make sure that you
tap of excess on the sides of the palate as well
as on the brush and then start applying
it on the paper. Alright. That way you will have lot more control
on the paint. Okay, once you have done that, you will see now I start with
two yellow orange color. Again, removing the excess
on the sides of the bottler, topping off the excess
on the tissue and then starting remember to remove the excess on the palate
as well as tissue. Okay, So this is one
of the technique which will help you control the
water and paint on the paper. The thing is, if you want your paint to
spread a lot less, or especially when you
are doing Laos, laos. Use thick consistency
of paint with each layer so that it will
spread less and less. This will spread
less because it is thick compared to this one. Let's suppose I'll
apply this runny color. And you will see
that it will spread a lot because it
contains a lot of water. But same way if I use
this color which has less of water and mode of
being, we'll see that. I'll just do it side-by-side so that you will know
that it will spread. All right, one more thing which you can do is
use a synthetic brush. That is a brush which
falseness of paint and water to switch to your
synthetic brush specially when you are
painting though clouds. When you're working wet on wet. Okay. To paint the clouds,
all you have to do is pull your brush very far away from the tip so that it will have less
and less control. Once you have loaded
your brush with paint, removes the excess
on two sides of tissue and just do
the tapping motion. Tap and lift off your brush dab. And if don't feel brush, that is the basic thing which we have to
do while painting. Clouds. Be it, any
brush doesn't matter. But this is the thing
that you have to do at liftoff your brush,
dab your brush, tap, and lift off
your brush, right? So you see we have applied one layer of clouds
that is orange. Now, let's layer, Let's paint
the shadow on top of it. So let's do it with
scarlet red color. So I'll take the red color again using thick consistency of Maine because we want the shadow
to spread less and less, dig into scarlet color, removing the excess on
the side of tissue, holding my brush very far away and starting with
the tapping motion. You see, by now my
paper is also a little bit dry and I'm also using
thick consistency of pain. So the colors are
spreading less than, less, but still you will see that you will get softer looking at this because the people
didn't say me, right? Ok. Dot, dot, dot, dot, dot, dot. Now let's apply one
more layer of shadow, again using very thick
consistency of paint. Removing the excess
on the sides of the palate and doing the
same task definition. If you find like DO colors
are blending together, what you can do, whiskey, tap off the excess
on the tissue. So now it's just a **** brush. And I use this brush to just move along the edges way softly. You will see that the
colors will blend easily. We'll be using a lot of ****
brush technique to paint the clouds and to
blend too harsh edges. Okay, so now let's just revise. Before writing the paper. Always prepare your colors. Once you have
prepared your Carlos, read the paper and
venues that painting, but don't bend on basis to move your excess color on the
sides of the palate, as well as dab off the excess on the tissue and then start applying the
color on the people. Alright, that's it. Now, we already know how
to walk or I don't bet, Let's get into our final project and let's start painting.
6. Mixing the Colors : So before we start
painting and sketching, Let's first prepare all
our colors for the sky. So always keep one love
people handy whenever you are preparing your colors so that you can always
swatch them out. I have everything
ready on my desk. That is I have two jars of
water on my right-hand side. I have my Padlet and my color as well on
the right-hand side, my brushes, my tissue, everything is all ready. Now, let's first
prepare our colors. And then we will move on
to the sketching part. First, we will
prepare cobalt blue, that is blue color for the sky. I want this color
to be very light. So I load my brush
with a little bit of blue color and then I will add lots of water to dilute it. I would suggest you to prepare your colors a little bit
more than you think you will need so that
you don't end up wasting your time while
you are painting. If it's a single
color, it's okay. But if not, if the color is a mixture of two
or three, Carlos, you we'll waste
your time or end up wasting a lot of time matching the color which
you prepare before. So I would suggest you to
prepare all the colors a little bit more than you
require. Its watercolor. If it dries off, you can always revert
and we use it. So don't worry
about wasting that. Repair it a little bit more so that you don't do
when you're painting. The second color which
I made was permanent yellow and I just added a
lot of water to dilute it. Next, we will prepare
or an orange cutoff. Your I'm taking orange color from my palate in case you
don't have this color, you can always mix your red bit, tiny bit of cadmium
yellow or permanent yellow or any warm yellow to
make a warm orange color. Alright, so you're,
I'm mixing my orange. Again, I will dilute it a little by adding a bit of water. Next, let's prepare
our purple color. So I'll be using the
purple color which is already there on my palette in case you don't have premixed, but you can always mix
your red with blue. Always try the
color combination, which you can get with
your own palette. So try mixing your
blues with your right. And if you have pink color, then try mixing that Payne
Collier with your blue color. Change the proportion
of Puerto colors and see what all purple you can get. Your I don't like the color
which is already there. Like I like it but I don't
like it for this guy. So I just mixed a bit of
ultramarine blue to it to make it much more bluish. Now I will swatch all
the colors for you. And then we will move on
to the sketching part. Always watch your
color on the paper. That will give you a bit of confidence of how it
will look on the paper. So keep one draft paper handy. Use the paper which you are using for your final
class project. Don't end up watching the
color on some different book. So your IMs watching
the compiler, do you see how transparent
that color is? You can hide these in
the blue colored in it. So that's how I want
your blue to be. Next up ice watched the adult
and it was way too light, so I added a bit of permanent
yellow to make it darker. Next I'm swatching orange color. And lastly I will swatch
toe popping color, which we made using
ultramarine blue and bourbon. Well, right now we have
swatch dark alloys. Let's move on to the sketching
part in the next class.
7. Creating the Sketch : Now let's move on
to the sketching. Sketching is pretty simple. We just have to draw a few mountains and
houses, restaurants. We will be doing it with our
brush and paint, or right? As usual. Let's first
divide our paper into two by drawing
the horizon line. The horizon line is a line which divides your paper
and to do two part. And that is, the upper part is usually
the mountains and the sky. And the lower part is
what DO or light area. Once I've drawn
the horizon line, I will draw four to five
mountains on top of it. You see, I have divided more
than half of my people for to sky and the mountain and dressed would be the line
area in the foreground. Once I've drawn all the
mountains on the horizon line, I will draw to house in
the foreground bond. Remember to draw everything
light so that you don't end up having a lot of pencil monks wants
to painting is done. I'm drawing it little darker
so that you all can see. Right, binds. I've
drawn the house. I would draw the
line below that. And one more tiny
little mountain. Now, I will connect both
of the mountain road. Next, I will draw two
tiny little houses in the background or
on the horizon line. I will draw them tiny
because they are little further away
from our viewpoint. Then we will draw tiny
little bushes and trees. You don't have to draw this. I'm just trying it very light. But even if you don't do it, that's fine because
everything we will be doing it with our blush. Also, I would
suggest you to watch the whole painting because I always end up
changing few things. So you will see those
catching would be different than the
final class project. Not major, but few
tiny little changes I do when I'm painting. Alright, so that's all with the sketching part.
It's all done. Now, let's move on to the painting part
in the next class.
8. Stretching the Paper : All right, So we have already
done the sketching part. Now it's time to
stretch the paper. This time we will not apply the masking wave on all
four sides. And pink. This time we will do a painting
completely wet on wet. So let's die. First. We will wet the
backend side of the paper. So just flip your
paper and start applying water on the backside
of the people you are. I'm thinking my larger brush, dipping it into clean water and then applying the water on the back-end
side of the people. Remember to cover each and
every part of the paper. But evenly. The weight multiple times that disrupt your brush
left and right, up and down and make
sure that we have covered the whole
area with water. Take your time while you
are wetting the paper, if you will do it properly, your people would stay wet
for a longer period of time. Also remember to
use right kind of people that is used at
least a 100% cotton, 300 GSM cold press
watercolor paper for this class project
advice you will not get the result which
you are aiming for. Alright? So once you have applied water on the black
and side of the paper, flip your paper and start
applying water on this side, again, the word
multiple times so that you have covered the
whole people with water. You will see when if you will
apply water multiple times, that people would absorb
and it will start drying, especially around the corners. Make sure that you
apply good amount of water on the corners
area of the paper. Now, I'm just letting the paper absorb a
little bit of water. While that is happening, I will just wipe the excess water which
is there on the board. So I will take my
tissue and I will start removing the excess pore two on the sides of the board. Because if you will
not do that though, water will flow on
to the painting creating the booms
which you don't want. Right now, I will
turn my board by applying the masking
tape below my paper. So if there is any excess
water on the paper, it will slow down
and I can just take my tissue and remove the
excess portal from the paper. You see while I was choosing
the brush and everything, I noticed that the
left-hand side of my people had already
started to dry. So I decided to re
wet my paper one more time that the flat
brush, I will do that. Remove the excess or just wipe the excess water on
the sides of the board. And then we will start painting the sky in the knights
glands are right. So reading the
paper one more time and removing the excess water
on the sides of the board. And then we will start
with the painting. But in the next class, I'll see you guys then.
9. Painting Cotton Candy Sky : So you see we have
our paints ready. We have already
stretched up paper. Now it's time to paint the sky. You know, I've already
tilted my board by placing the masking
tape below that. Now let's start with
the blue color. So I'm loading my
brush with blue color, removing the excess on the sides of the palate as well
as on the tissue. And then applying that color on the left corner of my paper. Same way, I will apply the
permanent yellow on the paper. You see I'm holding my brush
very far away from the tip so that I will have less and
less control on my strokes. I want to make the sky and
the clouds look as natural, as soft as possible. So that's the reason I am holding the brush further
away from the tip. That way I will have less
control on my strokes. Remember to not mix the blue and yellow color
a lot on the paper. Otherwise, you will end
up getting the green mix. Just leave tiny little gaps between the blue and the yellow. You see I've left the
white gaps in between. That way the color won't
blend to get the same way I am starting to apply
the orange color. Always. Remember the thumb rule. Remove the excess on the sides
of the palate as well as tab of extra color
on the visual. That's the reason I'm keeping
one tissue on my hand so that it is much more
easy and convenient. Once I've applied
the lighter value of two orange color here, I'm mixing a little
bit of orange with my permanent tools to make
it a little dark orange. And then I will dilute
it with a bit of water. And I will start applying
that color wherever we have applied to orange color. But remember to not to cover the whole fight with
the orange color. This is just me giving
a little bit of shadow and a little bit
of depth to our clouds. We will be applying lot of
calories on the clouds, but we will start
with a lighter value. And once we have
applied to light value, we will move on to creating the depth by adding
darker value on top of it. If you don't have this brush, we don't need this one. You can use any round brush size for size eight to paint
the sky like you see, I just switched to my
normal round brush size four and I will start painting
open Carlo with that. Again, remember to
remove the excess on the palate as well as dab off
the excess on the tissue. I'm repeating this again and again because this
is really important, the paper is wet. Your brush will also have
lot of water and paint. We'll end up spreading a lot onto paper
which you don't want. Plus, you are working with
all the complimentary colors. That is, if you will end up mixing purple and
orange on the paper, you will get the brown shade, which you don't want. To make the color spread
less on the paper. Just tap off the excess on the ballot as well
as on the tissue. Alright, so you're have
added those lighter value of purple color on this guy. I'm pretty happy with how
my sky is looking now it's time to add darker values
and create shadow of Tokyo. So what I'll do is I will mix a little bit of
ultramarine blue, as well as tiny bit of black to my purple to make
it a little darker. And then I will start applying that color wherever
I have applied to open color just on the
bottom part of the public, because that's bad
to shadow lives. Hiding a bit of
black to my Puppet, damping off the excess on the
tissue and then starting to apply the darker
purple on the Cloud. Once I've applied TO
darker pink color, I will repeat the same step, but this time I will
mix my orange color. So what I'll do is I'll
add a tiny bit of cat, permanent yellow to my Romanian to make a
bright orange color. And I will start
applying that color on the bottom of two orange clouds. We will be repeating this step. That is, we applied the first layer with
the lighter value, and we will create the shadow using the darker value
of the same color. One thing which I have noticed is a lot of things
could be explained. You will have to
observe to learn. That's how I have been learning. So I would suggest you to watch the way I am
holding the brush, the way I'm applying the
paint and the paper. The more you will observe, the more you will learn. Keep on improving in your book. So I am applying mix of
those same orange and a bit of permanent rose color to make vibrant orange color. And I'm applying that
column on the Cloud. Now, just adding final
few more patches. I'm pretty happy with
how it is looking. Just adding a little bit of darker purple color
for the shadow. Then I will also take the damp
brush and blend of colors. Better word, I feel like
that's not blended. I was pretty happy
with this guy, but I didn't like the blue part because of the
drying a little bit. It looks way too light. So I do the same color
that is cobalt blue, and I reapplied that
column on the same media. Now, I'm taking the **** brush, drying it off completely. And then just using this brush
to move around the clouds, doing it very lightly. There is no pressure
on the brush. And this will help me
blend the colors together. Don't overdo it. Otherwise, you will
end up getting the muddy mix on the paper
just very, very lightly. Lastly, I will add the same cobalt blue color using my smaller round
brush size four. And then we will lift off some things which is going
towards the mountain. So it's very simple. Clean off your brush completely
top of all the x's on the tissue and then just use the damp brush to
lift off paint. Every time you lift
off the paint, clean your brush or tap on the tissue
and do it. This way. You will see that
we will be able to drift off your paint
while the paper is thin. But right now I'm pretty happy with how
my sky has done now. While that is drying. Let's move on to
the bottom part. So I just removed the masking
deep below my people. And now I will start applying. So yellow and green mix, that is the lighter green
color onto the bottom part. You see that my
complete paper is still wet and I remove
the masking tape. Because of that, you
will notice that the green and the yellow mix, which we prepare right now, we'll start going upwards. I didn't realize at that
time while I was painting. I will try to lift it
off the damp brush. And what I'll do next is just
to reapply the masking tape below my boat to tilt it so that the colors will flow downwards
instead of going up. Alright, so don't remove
the masking tape, which we did earlier. Also, if you are not comfortable using your brush to
lift off the pain, you can always use
tissue to do the same. So you will see
that yellow color will also go onto the house. Whoever just take my tissue
and tap it over there. And you will see that
the color would be lifted by door tissue. So I will repeat the step of lifting it with the damp
brush as well as the tissue. As you go walking red dot, that is the whole paper
is completely wet. You will have to do it. Our device, the carryover flow. And if you want stop it, it will dry off. Alright, so now
I'm pretty happy. So what I'll do is I'll
create those words. So if you don't have knife, what you can do is just use your nail and just scratch
it on the paper and you will see that it will
create a tiny bit of dent which you will
make it look like. There's a reward which is leading towards the
foreground part. I've shown you both the method that is the knife as
well as the nail. You can do whichever you
are comfortable doing it. Alright, so I'm pretty happy with how everything
is looking right now. So we will just stop it
here and then I will use my hairdryer to dry the lower portion of
the sky as well as the green ADR which we painted right now so that we can paint the mountain as well
as though logo part. You'll be using hairdryer. I won't completely
dry off my paper. I will do it only on the lower parts of the sky as
well as the foreground one. And once that is done, we will move on to painting other parts in the next class.
10. Painting the Grass Fields : Alright, so now once though, sky is dry, Let's move on to painting the mountain
above the horizon line. As this mountain is very far
away from our viewpoint, we will be painting a
very dark green color. So to make the Dahlgren color, I mixed my ultramarine blue with my permanent green and
tiny bit of plaque per mode of ultramarine
blue because I want to make it the
bluish green color. Then I diluted it with water
and I will paint it with my round brush size for the mountains which are far
away from our viewpoint. That's where those sunlight
doesn't hit those mountains. Or even if it does, we are not able to see that. So to indicate the mountains or farther away
from the viewpoint, we have to paint them. With that, Carlos. And as you move forward, the greens are, any color will
get brighter and brighter. One, right? So this is something
which you should keep in mind when you are painting
any type of landscape. Once that is done, let it dry because
we won't be able to paint the lower mountains
while that is drying, let's paint the foreground part. So again, we'll be using
wet on wet technique. So I've already applied
layer of water. And then I'm
preparing my colors. I've mixed my permanent
green with a little bit of yellow ocher has been
as permanent yellow. And then I will start applying
that color on that data. You will see that I
will change my greens. That is, sometimes I
will use darker green. Sometimes I will use light
to add in some area, I will just dilute
it with water. This way. The ground won't look flat
and it will have a lot of texture with just applying different values of green color. You can mix your greens
in multiple ways. I have shown you
in detail how you can create n number of greens. I know last class. So definitely check the
colored part of class if you really want to understand how you can make the
openings, right? So once I've applied
the column was now starting to give a lot of texture to
that bottom part. So first what I did
is I just plateaued clean water using my
smallest brush size. Once that is done, I will repeat the same step, but this time instead
of clear water, I'm taking ultramarine blue. You will see whenever
you splatter clean water or the colored, it will create a bloom. And this would be
our flower field. Once it is dry, it will look beautiful. Right? So you're taking the green color and I tried painting those
times of those flowers, but people were still
a lot when I was not able to get the perfect
shape of the stem, so I just left it there. We'll do it once the
paper is semi dry. Thanks, I just
applied a little bit of ultramarine blue
with just my brush. Now I'm taking the knife
and let's create the road. It's quite simple. You just have to scratch
to people and you will see that it will create a little
bit of paint on the paper, making it look like
there's line which is going towards the foreground. So you can do this with
your needs as well. Like I have shown you
both the mentors, but you can do it whichever
you are comfortable doing it. Now you'll see that
dough portion with the lighter green color
wasn't completely dry. So the green which we applied, you're spreading towards that. They did do. Once it is dry, we will paint over it. Right. Now. Just, let's focus on
creating a lot of textures. In the foreground part. I splattered some purple
color on top of them. Blue color. And right now I'm splattering a bit
of permanent yellow. This time I'm thinking are
very thick consistency of paint so that the color
would spread a lot less. Remember, I am doing
this while my paper is still wet because I want to create blooms on
my paper because that looks so
beautiful by the end. Once it is dry, you will see how gorgeous this
blooms will look. And it looks super
natural. Right? So I'm just adding a little bit of
darker green color on the sides of the door. And then we will
let everything dry. So I'll just take my
hairdryer and dry the loop portion of the paper above portion
is already dry, so I want to run my hairdryer
with they're just letting the bottom portion dry
it with the hairdryer. Once it is dry, we
will fix that area which we on the
right-hand side on right. I'm just checking in with my
fingers advertise completely dry and I'm pretty
confident that it has. So taking the med
value of green color and creating those
boundaries with it, and just pulling that color downwards using
the dry brush strokes. Now that everything has dried, it's time to add those
times of those flowers, starting with the mid
value of green color, I will use my smallest
brush size tool. You'll see that I'm
holding my brush at almost 90 degree angle
because I just want to use the tip of my brush to paint the stem to get
the tennis stroke. Hold your brush at 90
degree and just flick your brush in upward direction to create the stem
of those flowers. Keep on changing values and
the values of two green. To create a little bit of
interest in your painting. Always start with the
lightest value of green. And as you move forward, make your green little darker. Never start with though, dark color because watercolors, you cannot leave
your lighter color on top of the dark color. That is why it is important
to go from light to dark. Now I will leave that
as it is for now and we'll come back to work
once it is completely dry. While that is drying. Let's paint the second mountain. Why we take the
lighter green color? And I will use my same for size, brush, and paint a mountain. Again, we will have to let that dry before we move downwards. So while that is drying, let's paint another layer
of field around the house. So taking the med value
of green and you see, I will go a little bit brighter. And to make a clean
brighter you, all you have to do is
add cadmium yellow, permanent yellow, lemon yellow, whichever yellow color you have. Don't add yellow, ocher burnt sienna because that will
make your queen that low. But you can add the
brighter yellows, like lemon yellow,
cadmium yellow, permanent yellow to
make it brighter. And then I will paint that. Once we have painted
done now will have to let it dry
while that is drying, let's paint to do
forced to house. You have mixed really bright
burnt sienna type of colors. So to do that, I just mixed a little bit of orange
to my burnt sienna. And I'm painting all those
rules with this color. Again, switch to the
smaller brush. It's simple. If you are doing tiny little
details on your painting, you have to use smaller brush. If you were painting on a larger portion or a larger
part of your painting, you will have to switch
to my larger brush. So you can decide that yourself, like which brush you are
comfortable painting. Right? Once we have painted the
first layer of the roof, we will have to let it dry. While that is drying, let's add some lines
on the foreground part because it's looking very
flat and I don't like that. So I will take med value
of the same green color. Doctors are mixed of
permanent yellow, permanent green and tiny
bit of yellow ocher. And I will start adding lines
on the landing. It simple. You remember with the
lavender field earlier in art class project that how you
have to paint those lines. Take one center point
on your painting and then just draw the
line towards that. Then we will again pain to behind mountains using a
very light value of green. And once that is done, we will let everything dry. So you are, I'm again
using my hairdryer to dry off quickly. Once that is done, we will move on to painting
two remaining land APR. Again, I will paint
that little light dose, mood of permanent yellow to my green mix and then
paint that data. You see that I am not rubbing my colors
on the paper a lot. I will try to finish it
with one or two strokes. So if you don't want your Carlos to look muddy or
dull on the paper, try doing it with just
one stroke event. If you have done a
small mistake, don't, you know, rectify that by dropping your brush
on the paper a lot. Leave it there because
if you won't do it, you will ruin your
paper as well as the color would look
duller and duller, which you don't want. One tip while working
with watercolors, do it with minimum brush strokes to make your painting
look brighter. Alright? So I've completed
all lowland areas. We will let it dry
while that is drying, I will add some more texture
to the foreground part. So I'm thinking very
light value of yellow. That is, I will add
a little bit of water to it to make it lighter. And I'm just flattering that. Remember to cover
the whole sky area whenever you are doing splat toys because
otherwise you will end up getting all these
ladders on this guy. I have a little bit of
control while I'm doing it, but I still sometimes have
lot of splatters and I always regret not covering the area
with a cloth or tissue. So avoid doing that. Because many will use plateau. It gets all over the aliens
who better to cover it. Now, let's continue
in the next class.
11. Adding Final Details : Now that everything has dried, let's add all the details and bring the whole
painting together. First, we will be adding large
trees behind the houses. So I took mid value of green. This is a mix of ultramarine
blue and permanent green. And I'm painting the
trees behind the houses. You'll see that I am just using loose strokes with my
brush to paint them. Not being very specific. I will keep on
changing the shades of green by adding a little
bit of yellow to make it lighter and a little
bit of blue and black to make it darker as normal. So these have the same color. That's the reason we will keep on changing the shades of green. Now, if you have
reached earlier, I am so, so, so proud of you. So glad that you decided to join the glass and
paint along with me. If you guys have any
difficulty regarding the techniques or the
paper or any material, do let me know, reach out to me in the
discussion section of this class and I will reply
to you as soon as possible. Also, I would
suggest you to watch the whole class once and
see what we are doing. And later you can again re-watch
and paint along with me. But don't paint. When you are watching
for the first time, the cost you will watch and paint that will
waste a lot of time, which will just dry
out your people. You don't want. Second
important thing which I really wanted
to focus on is using, again, the right people, use a tasty under GSM cold press watercolor paper to get the best of best result. Also, please don't
give up if you are not getting the result
which we're aiming for. I have done this painting
three times and all the time. I then I had a little
bit of improvement. Then the last one, The
first time I did was just because I loved the sky and I wanted to recreate that. After seeing the result. I was amazed with the
techniques which are used and with the colors. So I thought that this would
be a wonderful class for my skin's show students
and they would love to paint with
the new techniques. So I recreated the same
painting for you all. But when I sat to edit, one of the video was lost. And because of that, I had to recreate one more time. But with each painting, I did better and better. I've already shown you
the first painting. And you see, I didn't like
some parts of that painting. And because we decided
to do it one more time, I rectify those mistakes
in the second painting. Never get frustrated when you're not getting the result you want. Keep on practicing,
keep on trying. Keep on studying. Like why are you not
getting the result? The hunger to study
and the hunger to get the result will make
you better and better. Even if you will feel
like what I've done, even if I've done
the second painting, there is not much
more of improvement. But believe me,
knowingly, unknowingly, you would have improved
a lot in terms of your techniques in domes of
your speed and everything. Maybe you won't be
able to identify the improvement at
that point of time, but eventually you will do. Alright. So like I was
talking about all that. We painted the trees and
using the same green color. We painted the bushes around the houses using different
shades of greens. Now, I'm taking a moment
and get load directly on my brush and creating a little
light value on the tree. So I'm just tapping
that color on the tree and using my
finger to blend a little. Use the smallest brush
that is size two to do all the tiny little
details on the painting. Now, let's paint the trunk and
the branches of the drink. So I will think buoyancy and not directly
from my palette. And I'll be using the same brush to paint the branches on
the trunk of those trees. Once that is done, we'll be using this
name color and paint some lines on the roof to grid
a little bit of dimension. The roof as of right now, it is looking so flat, which I don't really
like your ion. We think the lines using the same brush and
the same color. Now, I doing events like the murders portion was
a little bit empty, so I just do the trunk of
the tree and now I will use the mid value of
green follow pain though, the age of two streets. Once that is done, let's paint the stems of all the
flowers in the foreground. So using the same brush and adding a lot of stems and
grasses in the foreground area. By this time you can remove the masking tape which
is below the board. I completely forgot
to remove it. I would so move into the
painting that I didn't realize that my
paper was tilted. So you can remove
that masking tape or anything which
we have applied below the board to tinted. I'll do it right now
because that's when I realized that there's still masking there below the board. So I'll just remove that. But you can do this
before we start detailing pod because it's not necessary to put anything
below the board. Or if you are comfortable
doing it this way, It's also fine, right? So now it's time to add
lactose, but don't try. Like always cover the upper part of the papers where you're
I'm just covering it with my tissue and then
I will plateau some permanent yellow deep
color and the foreground part. Then I'll use the leftover
color from the brush to paint some larger flowers in
the same foreground area. This will create a lot of interests because the
splatters would be smaller and the brushstrokes which we will be applying
right now would be larger. It will create a lot of
textures and dimensions. Same way I will splatter
some ultramarine blue. Now you can stop it right here. It is looking pretty
**** beautiful. But like always, I never know when to stop and I keep on
adding more and more details. That's me doing that. Like I'm adding few more
grasses and I'll also add few more dry brush
strokes in the line, the area which is
around the house. But if you feel like you are
satisfied with your work, you can completely stop here, just add the dose and the
windows of the houses. And then you can directly
skip to painting the opioids Endo later
part of the video. I'll still add few more details. Then we're going to add
the boards in this guy. So what I'm doing
right now is I took a very watery green
color names plant during the mid portion
of our land area. We are done adding
all the details now. I will take my hairdryer
and dry off everything. One center is completely dry. We will move on to
painting though. Flying birds in this guy. This time to make it
a little different, what I did is I took
the black color on my brush and I splattered
some black color on this guy. Don't overdo it just a little bit because
I wanted to create like there are boards
which are very far away and we cannot see a lot
of what they are doing. We just can see that
there are birds flying and a little tiny dots
is all we can see. So I wanted to create
that idea on the paper. That's why I, it's plateaued a little bit of black
color on this guy. And then we will be drawing the birds
which are near to us. It simple, I've already
taught you how to paint the boards in
my earlier classes. So do watch the techniques part of the earlier class
to know how to do it, but I'll explain it, right. You use the smallest
brush you have. First draw the V-shape. Draw V shape in different
sizes like small, big, large. And then you just have to draw a tiny little
dot in the middle. It's that simple to paint the
flying birds in this guy. I'll be adding a lot of work, but you can stop it
whenever you feel like we're done
adding boats, right? So this is the final,
final painting. I hoped you enjoyed painting along and you will
be painting it next. So I really want
to see your work. So do painted and do post it in the project
section of this class. Let everyone see and let
everyone inspired by your work. And I would love to
see your creation. Eagerly waiting to see that. Alright, so let's just recap of what we have done
throughout the class. So first thing first, we studied how to paint the
sky completely wet on wet. That is how to stretch the paper and how to paint
the sky wet on wet. Next, we studied how to paint the clouds and how to give a lot of depth
to those clouds. We also studied layering. That is, we started with
the lighter values and then being painted the taco
value with each layover. And next, we studied
how to paint the house. We studied how to
paint the trees. And we also studied
how to create the flower meadow and
the foreground part. Next, we studied how to paint the flying
birds in the sky. Above all, we also studied how to not make the
colors look muddy, how to paint with just
minimum but brushstrokes. We have studied a lot of
elements in this landscape. That is the grasses, the whole ground
part, the clouds, the mountains, how to paint
the background mountains, the front mountain
and so much more. Once you title with the basics and all the
elements that we have painted, you will be able to
paint any landscape. So this is our final,
final, final book. I hope you enjoy it. Now, let me just flip
the page and show you that my paper is still
wet in some areas. So all you have to do is you
see the shine on the paper. That's where my paper is stupid. So now just leave the
ward where it is and let the painting completely
dry and you will be done. So I'll see you in
the final glass.
12. Thank You: Hello everyone. Thank you for watching
the whole class and sticking with
it towards the end, I hope you enjoyed watching and learning some different
techniques with watercolors. I also hope that I made working with watercolors a little
bit easier for you. Now. See all gone to apply all the techniques
which you have learned in the class
on the people. I would be eagerly
waiting to see all your class project in the project section
of this class. So do posted. If you have any doubts
regarding the materials, are there techniques then do reach out to me on Instagram. I ended the hand in
Adelaide, artistry Haggadah. All you can just posted in the discussion
section of this class. And I reach out to you
as soon as possible. Also, if you enjoyed this class, then you can see the posting. That can help me to eat
more number of students. Now it's time to say goodbye, and I'll see you guys very
soon in the next class. Bye.
 Shreya Gada, Artist