Transcripts
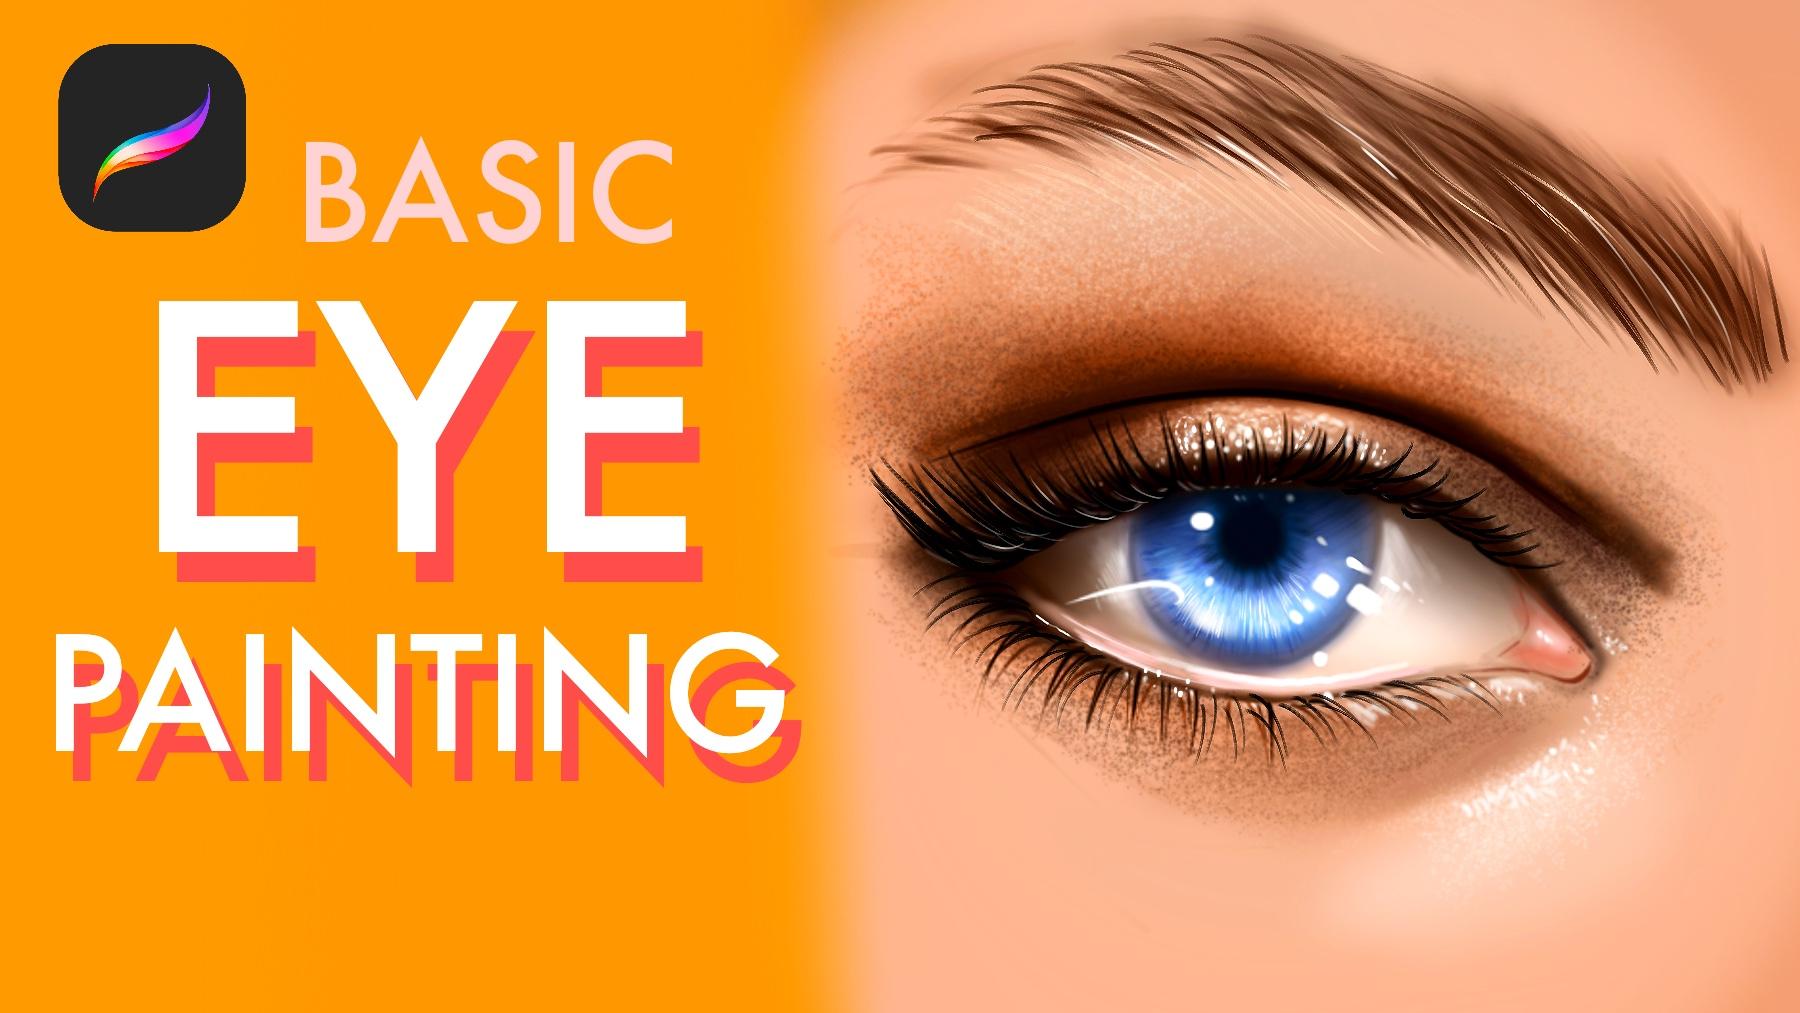
1. Introduction: Hi, I'm Isa udam. In this class, I will teach
you how to draw and paint realistic eyes step
by step in procreate. You will learn how to sketch the correct
propositions at dipped with shadows and highlights and bringing your eyes to life
with realistic details. Whether you are beginner or
intermed digital artist, this class will help you improve your portrait skills and make your artwork looks
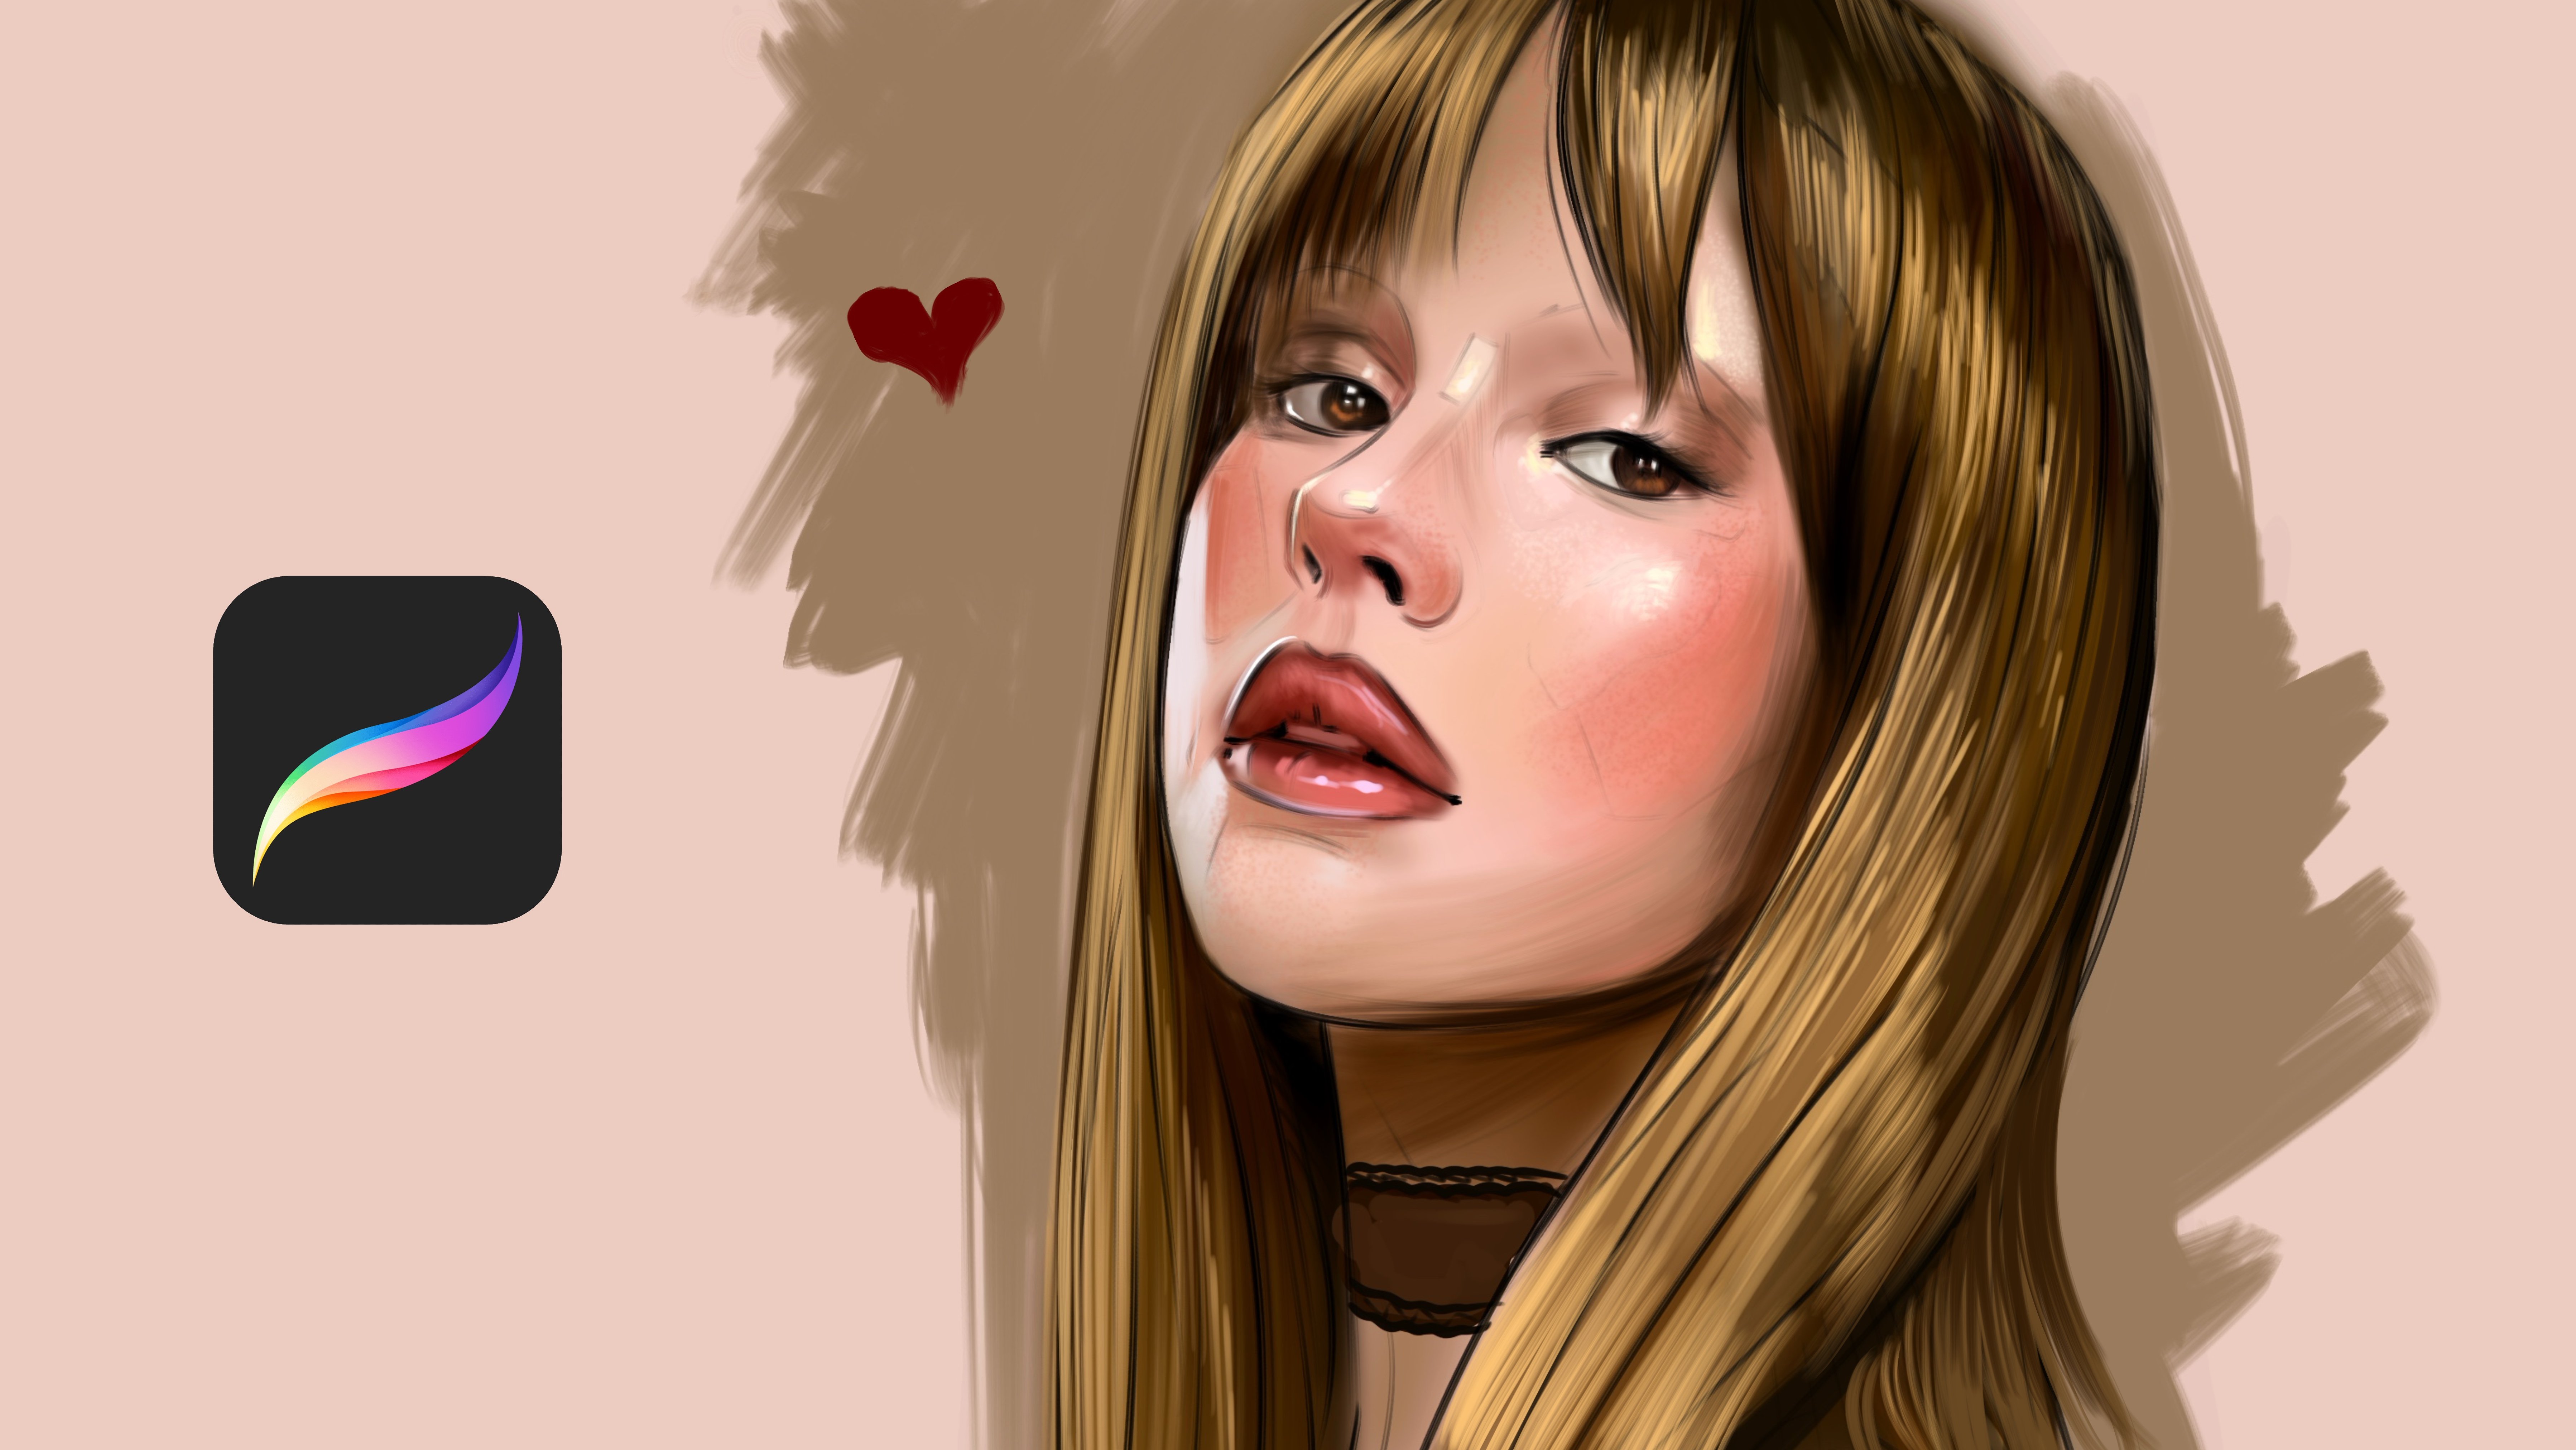
more professional. I'm Masha Wurdam and I did many works for global
brands such as Billy Elish, Adobe, Prime Video,
Wacom, and many more. Join me and let's start painting beautiful and realistic
eyes together.
2. Create Sketch and Base Color: Now I will select smooth brush, and I will create the base layer before
we put the sketch. We need to background
for our painting. Just follow the steps with
me and paint base colors. And with any kind of brush, create sketch of the eye I'm painting slowly and
defining the shape of the eye. It will be a bit
almond shape eye. And at first step, just try to build the
shape of the eye. Do not think about the
extra details of the eye. For example, I put these
corners for describe the base shape and
corners borders of the colors and this
placement for where it looks. Okay. Now, I will make it much more darker
and also this place, and eyebrow maybe
comes like this. And
3. Getting Started: Build Eye Color: Select smooth layer and
open new layer under the sketch layer and paint
under the sketch layer. I will paint under it like this. Okay. I will continue to build the white shape
right now a bit much more not poor white because
eyes are not white. It has some dark
parts like this, so I select a dark colors and you put also this
shadow. Don't forget it. And I will put shadows
of the eye right now. Also the corners will be darker. Okay. And with this smooth line, I'm also describing the shape of the eye and where
is the shadows. I'm defining it. And blue
will be our eye color. Just put the direct color in it. Don't not think about
which color it is. Just be experimental
at this step. And this place is also the
darkest place of the eye. So I will add right now a bit lights here with
different kind of value and much more darker color at the center of the
eye to define the Iris. Okay, 1 second, I will
do it again. Okay. I'm using soaked round
brush right now, and let's change the
color to much more darker for defining the eyelashes. At first step, don't
paint small eyelashes, define the shape of the eyelashes and how it
looks like like block. And after you put all the tails, then we will try to put colors Okay, I will put much more
highlights here. This is idled. You can put
some dt for reflections and the texture of the
eye is also important. And this corner also defines the highness of the skin and
connection point of the eye. So this point is also important because our eyes are
not flat or paper. So you need to give the look
of the skin with textures. And this part is also darker. And I'm putting the
dark colors right now. And now I will select skin
texture with darker color, and I will do texture here. You can use any spray brush or some splash brush to
create this illusion.
4. Build Shine Dots: Okay. Or some noise brush would be
helpful for this texture. Okay. And much more dark here. Oh. And this part will be darker. Your eye doesn't need
to be same with me, but just try to follow
the same steps with me. Now I will select
smooth shading. You can use any
airbrush at this part. And I will put this
red skin here. It is also wet, so we will
put a bit light in it later. But just for now, I'm just defining the shapes. This is the basic eye tutorial. So I hope you enjoy
this process. And let's put some line here for defining
the shape much more. And with shadows,
I will increase. And with the other part, I
will also put the shadows. Okay. I can add lights later. I'm trying to make it much
more deep at the corners. And I will put black
color in corners, but not use so much sharp. Just try to define the
edges edge of the painting. So these places can be much more darker corners like this of the center because
we need to add dipped in it. And this corner is also
darker and this corner. And these corners. And I will put highlights here. And here and highlights
the textures in it. I will build
reflected highlights, and it can be solid color or
some soft maybe like this. I will put a bit
soft brush here, and I will define the
hard edge here like this. Okay, from far away, it looks like it is shiny
and it is our goal. So okay. With smooth line, I will
create this wet edge. And let's build some
eyelashes after it. But I want to put some small highlights
here before eyelashes. You can create it
with any brush. Just try to hit and
build some dots. Okay. And with inking brush,
some inking brush,
5. Paint Eyelashes with Me: The path of the eyelashes, but don't overuse it and change the direction of the eyelashes
for create it better. For example, if you check it, every single eyelashes
have its own pad. They are not same or looking the same direction. Like this. At the bottom, it looks
like we see them in front, so we don't see okay, at the right part, it can
go to right like this. Because it would be wrong if we paint it's looking
the other side. Okay, let's build this part. You can use less lashes at this part because it
should be natural. So I will make it small here. Okay. I will paint these
corners too to define because lines
are our control points, and we create more control, and maybe I can. I will just try to
make some okay, let's maybe try like this or I will delete
it if I don't like. Okay, I didn't like it. Maybe like this. No, let's
go with natural look. It is experimental. If you don't like something, tap on screen with your two
finger to go backwards. What I do is that. Okay, let's paint some
shallows here like this.
6. Paint Eyebrow: And I will define the shape
of the eyebrow and after it, I will put details on it with eyebrows. Okay, like this. I will put the
details like this. You can use any hair
brush if you have or inking brush for
create fester lashes. And don't forget to do project and follow the same steps and share it at
the project page. I can't wait for
see your results, and thank you for watching
my video at Skillshare. Maybe much more
textures here would be helpful for create
realism in it. And I will continue to add much more detail
and shadows here. And I will paint
some shadows here.
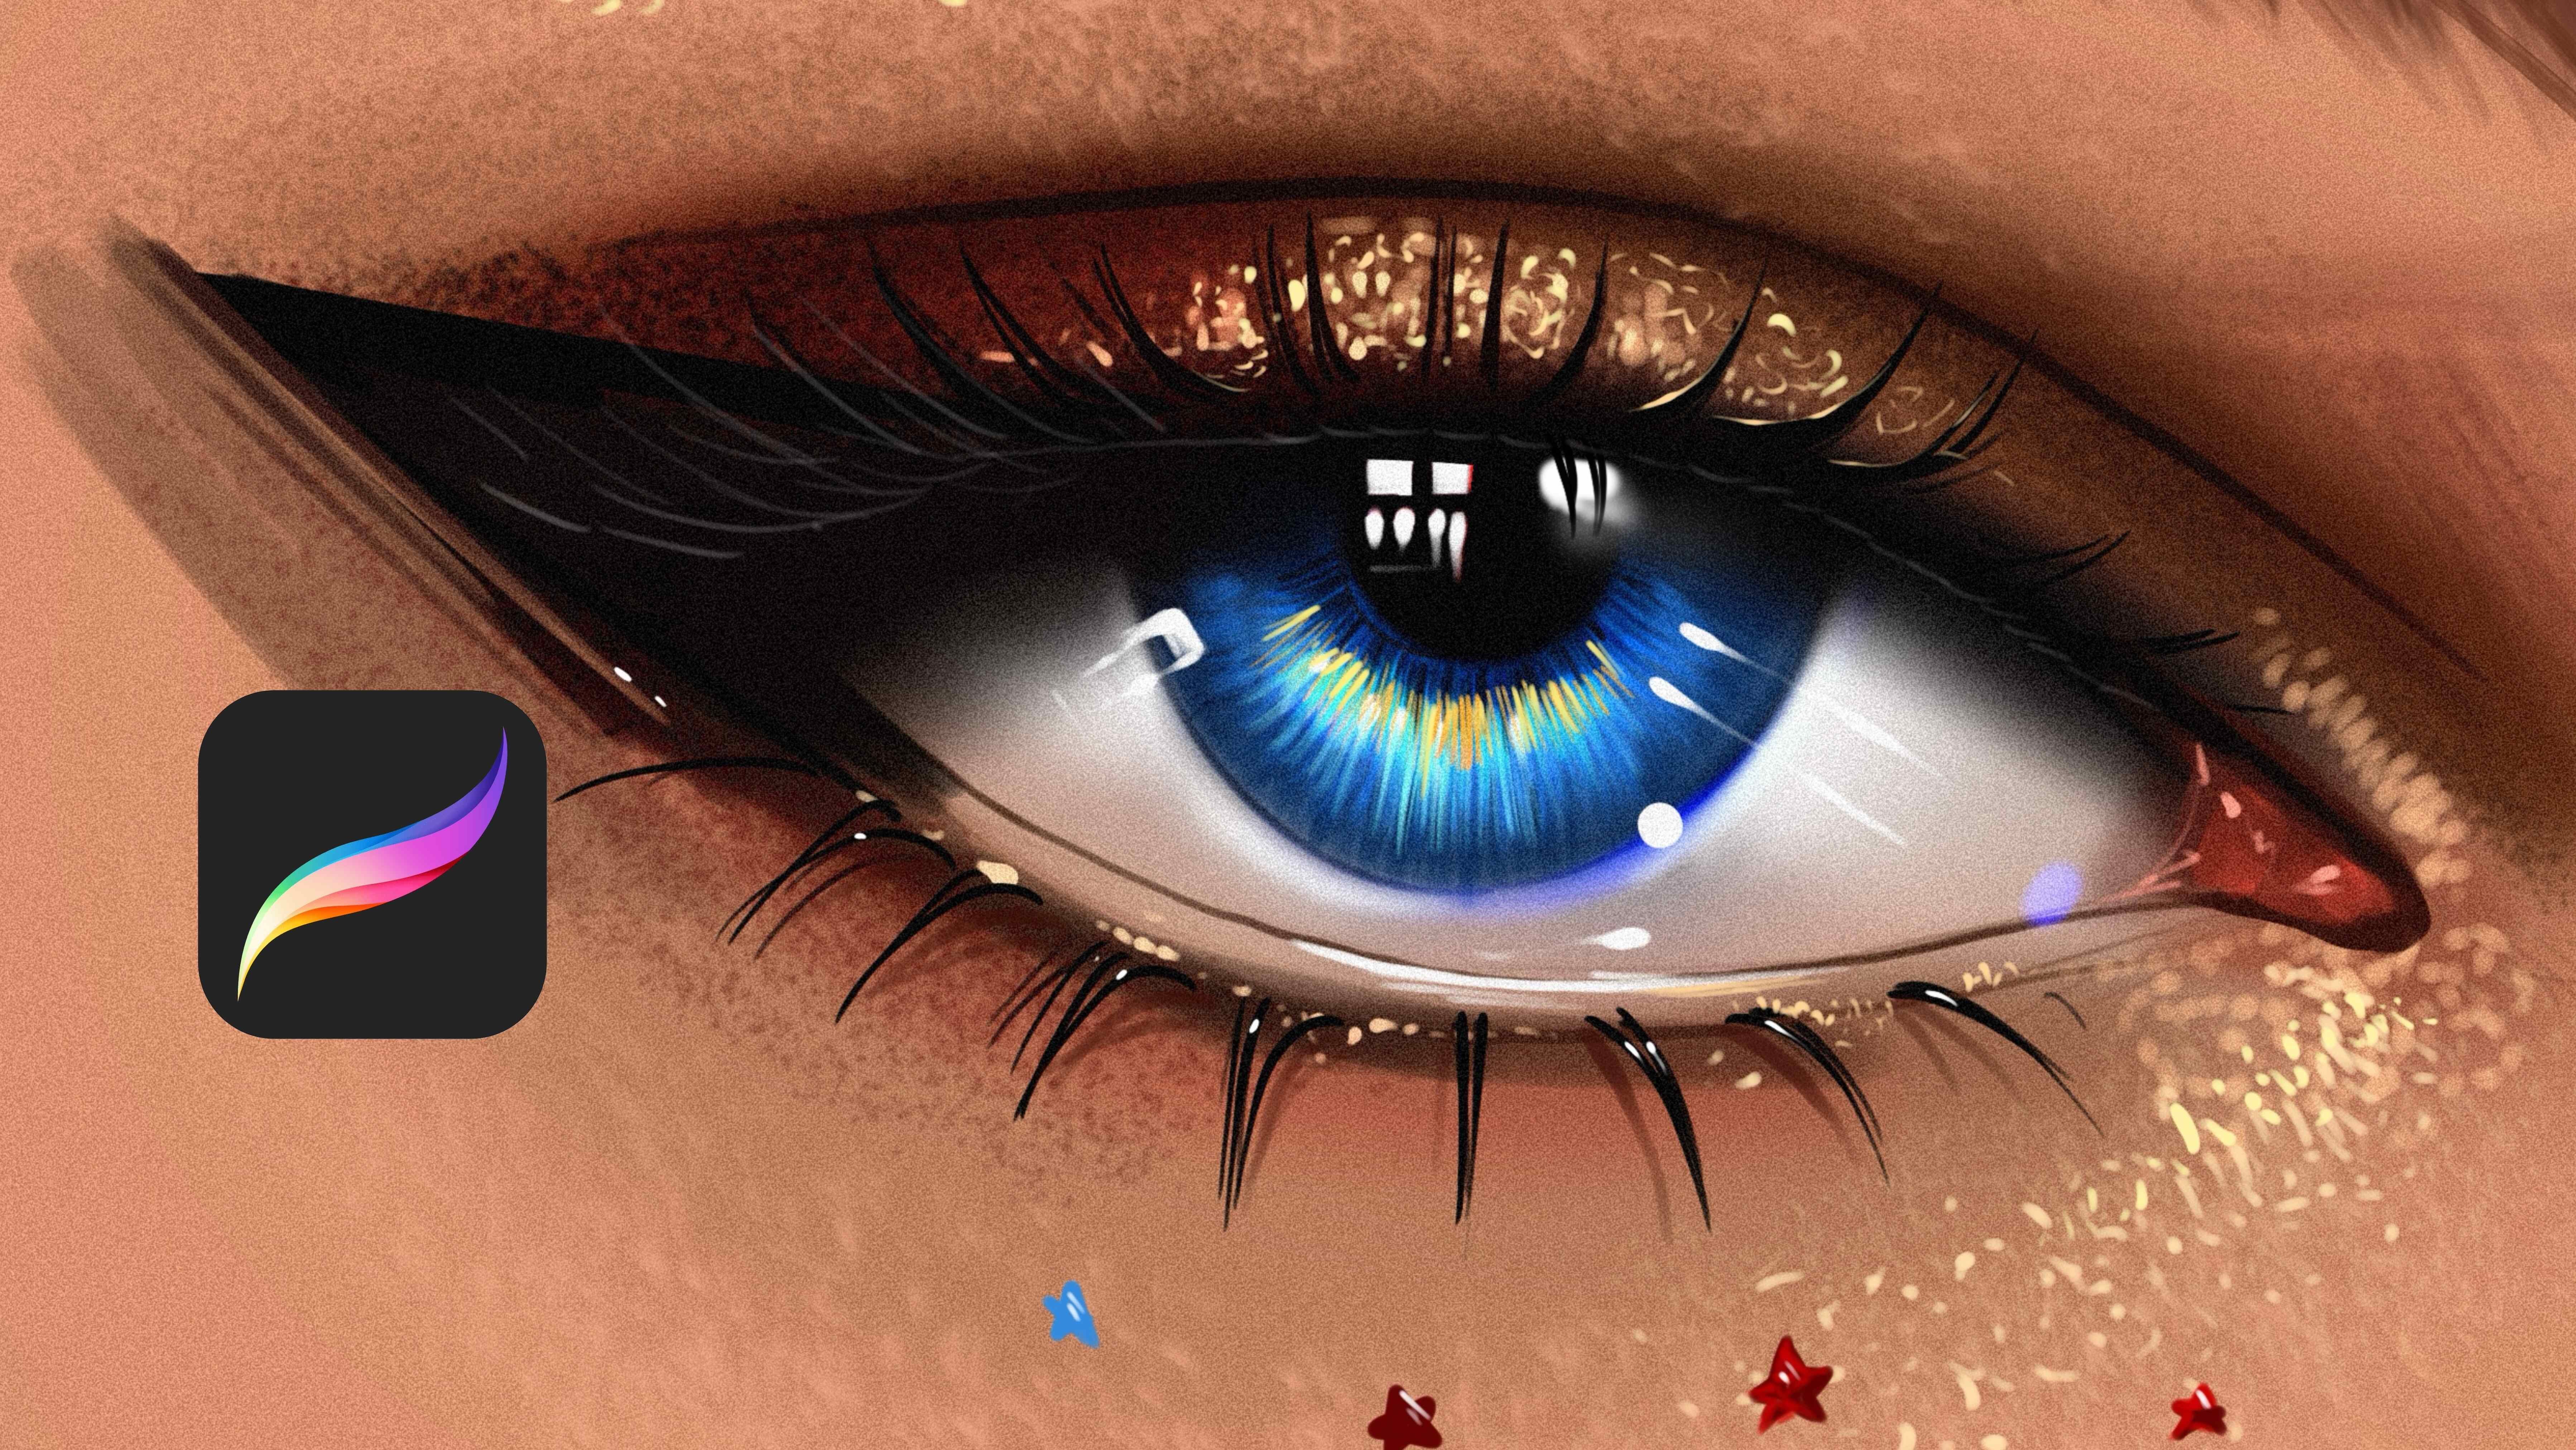
7. Add Textures: And don't forget that the most important thing
is turning the shapes. During this tutorial, I try my best to turn the
shape and add value in it because everything is have their unique propositions. For example, this part is shiny
because the reflection of the light and this part also lighter because the
reflection of the light. Because we see the
light in this eye, and it reflects and
gives us a light source. And we see large light
source in the eye. You can think these areas
I paint skin is K light. It is base color. And light parts is reflected
light from the light source. And we see the large
light source in the eyes. If there will be
different lights like maybe yellow
or red, we see it. But for now, we didn't see it. What I do is sharpening
the details right now. If you do it after
you put details, not just rendering, you will gain much more detail and
increase the detail level. And also the curve I
played with helpful. Let's open new layer
with eyebrows. And eyelashes brushes, I
will create textures of the eye right now with the
overlay mode like this. If you use overlay mode, it will help you to add deep for textures without losing
detail and add light in it. Okay. I will put much more textures. You can use overlay brush to create extra details
to your painting. And it will be helpful to
use different layer modes, but they are also experimental, so you need to try on your
own colors and define it. I'm putting some
highlights here. I'm using some hard round brush to create these details here. And let's paint black color with black, much more eyelashes. You can directly use
inking brush Okay. And don't forget to use stabilization for
your brush or create much more control over your brush and create
texture like this. Try to add much
more details as you can use the same brush or
different kind of brush. Okay, let's paint the
textures here to increase. It will help to make
much more detail. With this brush, I will put some light reflected lights under these eyelashes because
eyelashes is also not flat, and we see reflected
lights in it. Like a bit wet. I like these
details small but effective. So don't forget to add
these small details. And I will put here too
far away, it looks great. And let's make this part, too. Okay. I will continue to add
detail over here and increase the detail
level of these parts. Okay. And shadows is so
important at these steps, so I try my best to
add shadow parts. Okay, let's continue
to add details, and with the reflected
lights here, Okay. I will paint
this part too. I hope you enjoy the process. I try my best to show
you the process slowly.
8. Complete Eye: And I try my best to
explain you every step. And these lines
are for eyelashes, and under eyelashes,
we see their shadows. And their shadows
look like this. Okay. Let's continue to add
in much more detail in it. And we'll take a look. Let's continue together. Let's continue
with these corners of the eye also important
for showing the details. After this point, I will put much more visible dark at
this part for defined shape. You can change these values
depending on your choice. And if you want to
build much more detail, you can increase the shadows
and lights at this part. Okay, let's continue
to build, very good. With these black parts, our painting looks
like much more deep. If we see and look at her eyes, we see much more deep. And it is the
important part because it's the shadows and highlights. Okay, let's continue to
add extra detail in it. Okay. I'm painting
this side to define. The general look and shadows. Okay. Let's continue. If you see what we do right now, we completed the general look, and I'm thinking what we can do. Okay. I'm putting
the small details right now to eye
with zooming in it. And I'm increasing the
eye lashes at this part. Okay, it's looking
better right now. Okay. I will put some highlights here because to the
shape of the portrait, these parts should be
lighter than the other one. And I'm putting these details
to describe how it looks. Okay, let's put small
details here and here. And hope you enjoy
this process with me. Follow the same steps, and maybe we can add much
more lushes here and here. Okay. We are about to finish
the illustration, but I'm just checking the final details
before we finish it. Okay. Maybe I can put some dark
line here, like certain line. And maybe some pinkish color here to make it a bit live because our skin is
not directly white. Just pink colours
and lots of pink. Okay. Okay.
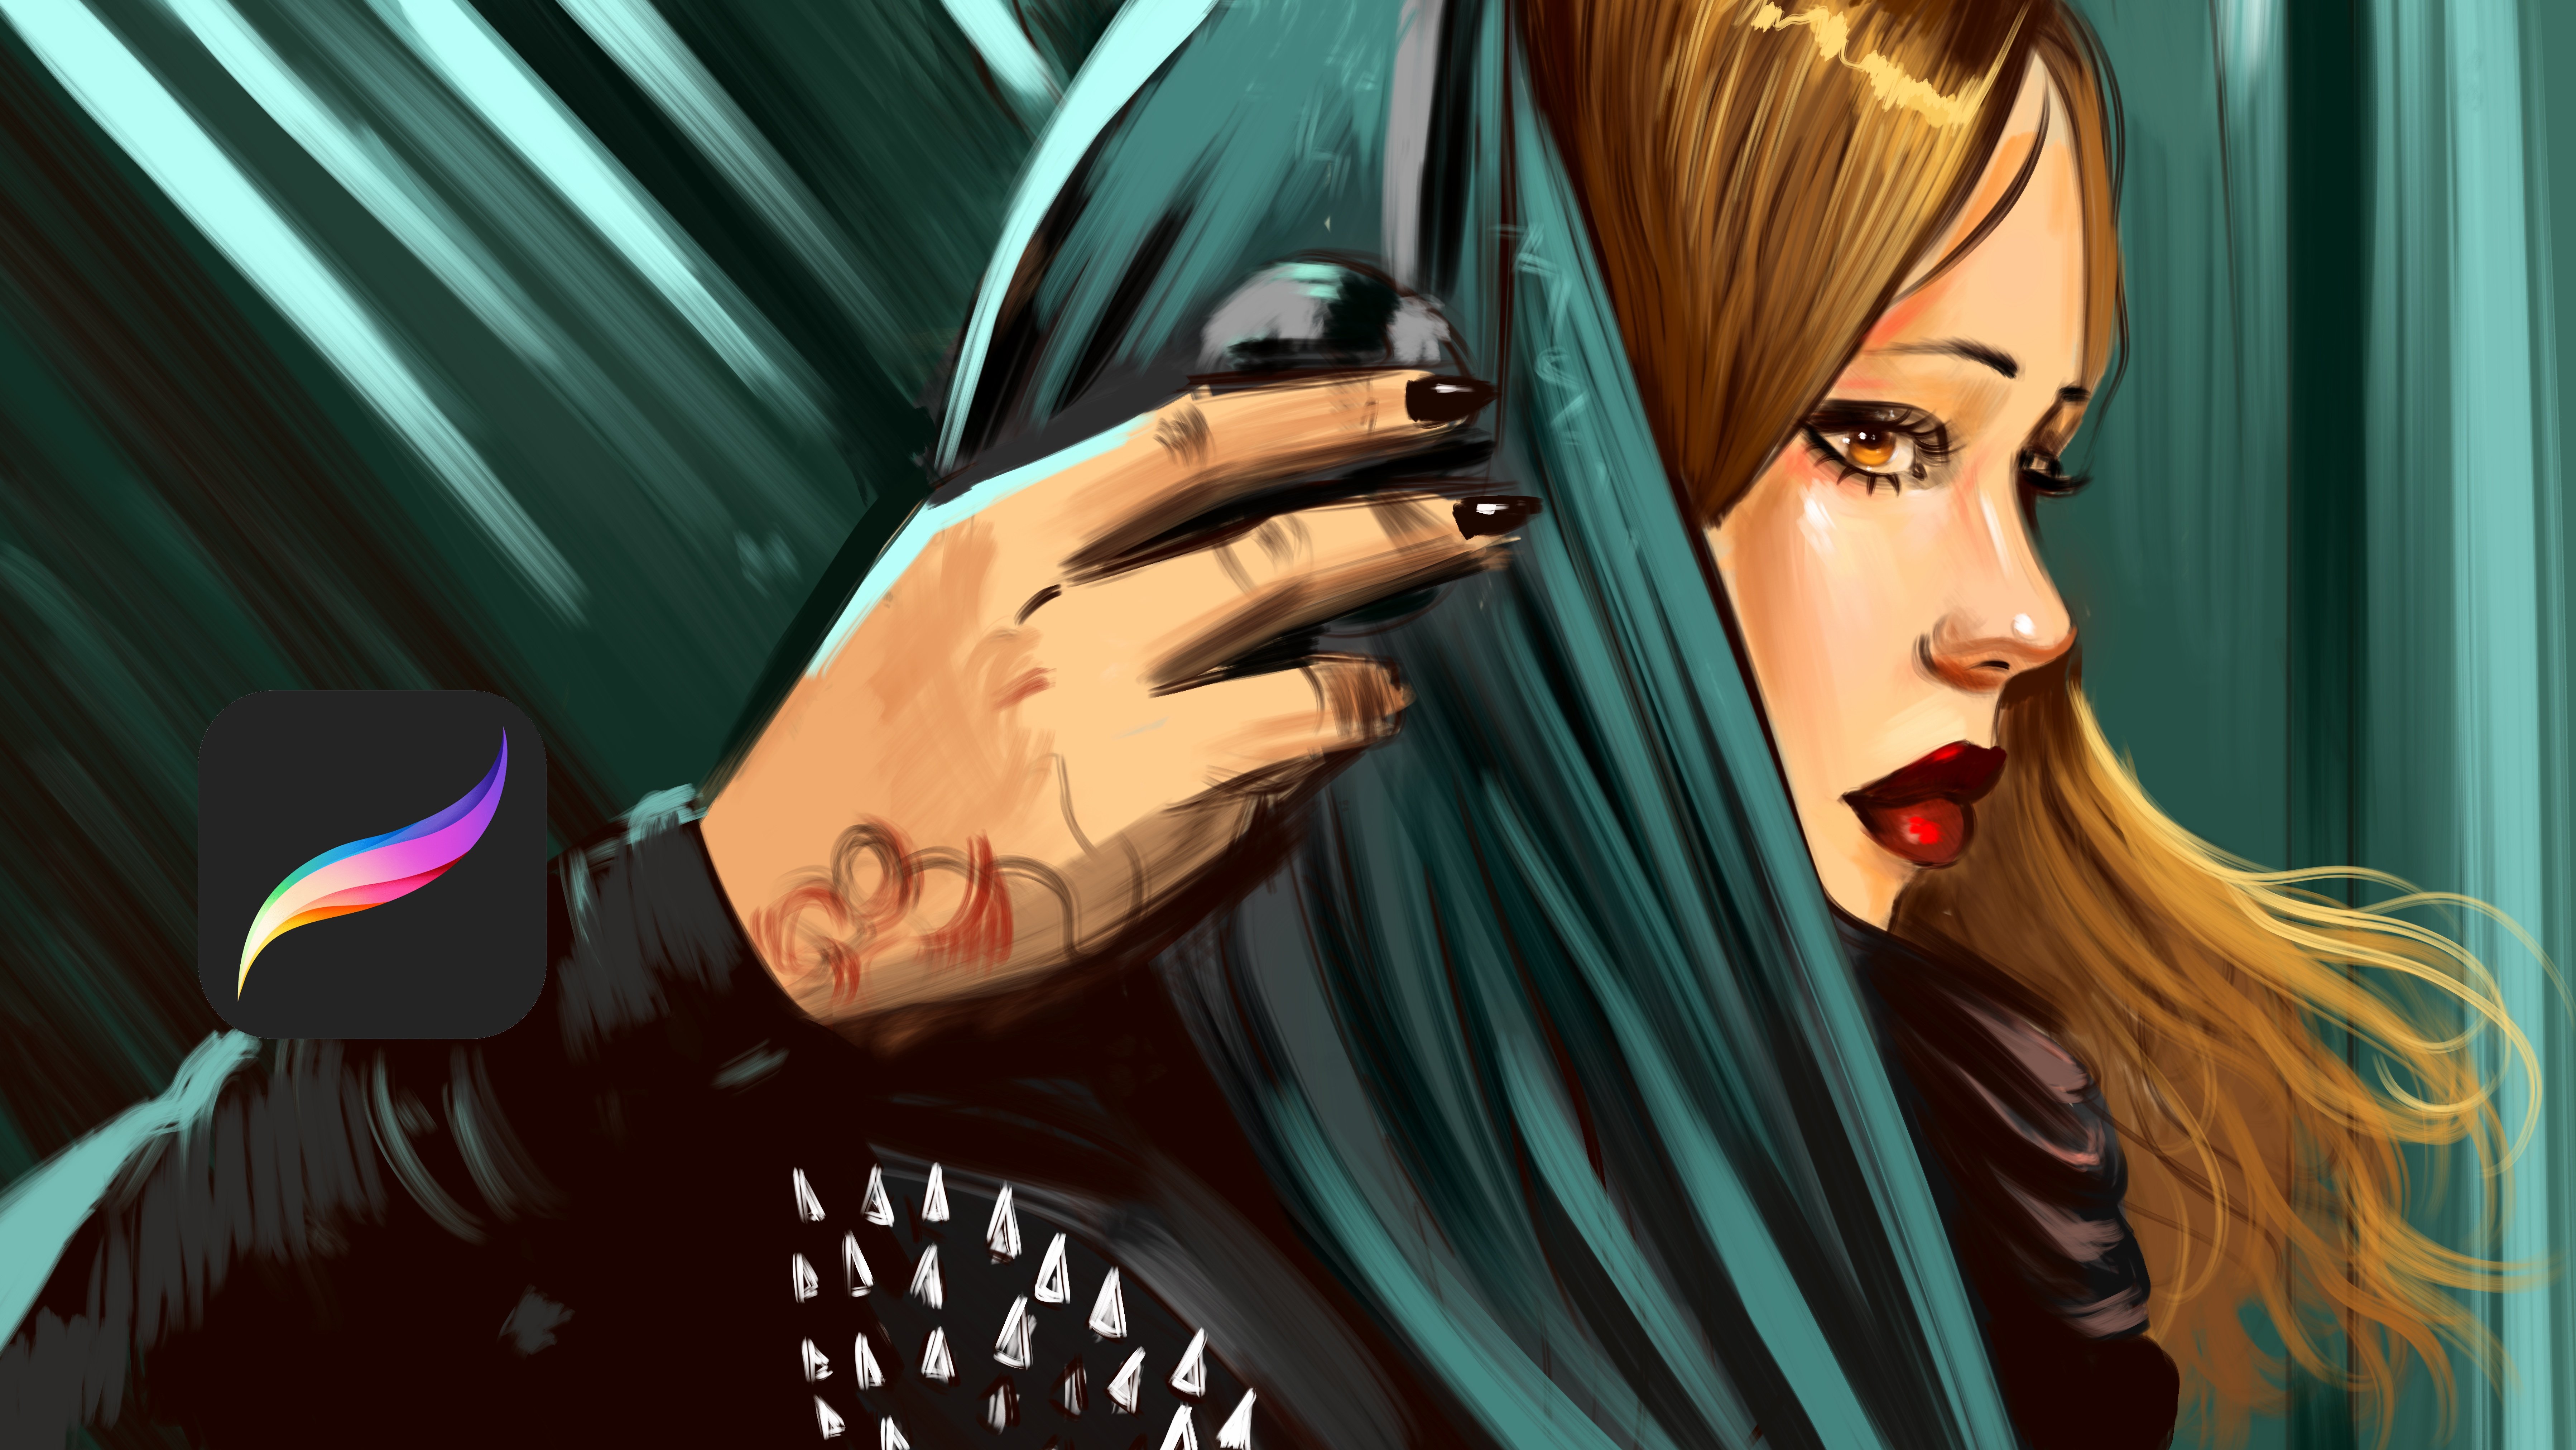
 Yasar VURDEM, Creative Art Director