Transcripts
1. Introduction: Hi, I'm Yasha Rudam. And in this lesson,
I'm going to show you how to draw realistic
eye step by step. I am illustrator. We worked with global
brands like Adobe, Eilish, and many moe. When it comes to the
portrait drawing, the eye is the most
important feature, and capturing it correctly can completely transform
your artwork. We will start by breaking down the basic proportions and
placement of the eye. Then I will guide you through
building the eyelids, the lahline and the iris
with convincing details. You will also learn how to
create depth using light and shadow and how to bring life to the drawing with
substel highlights. With simple techniques,
I will share, you will be able to create
smother transactions, stronger contrasts and more realistic textures in
your own drawings. So grab your pencil
and let's dive into the fundamentals of drawing a realistic eye in
the SL share class.
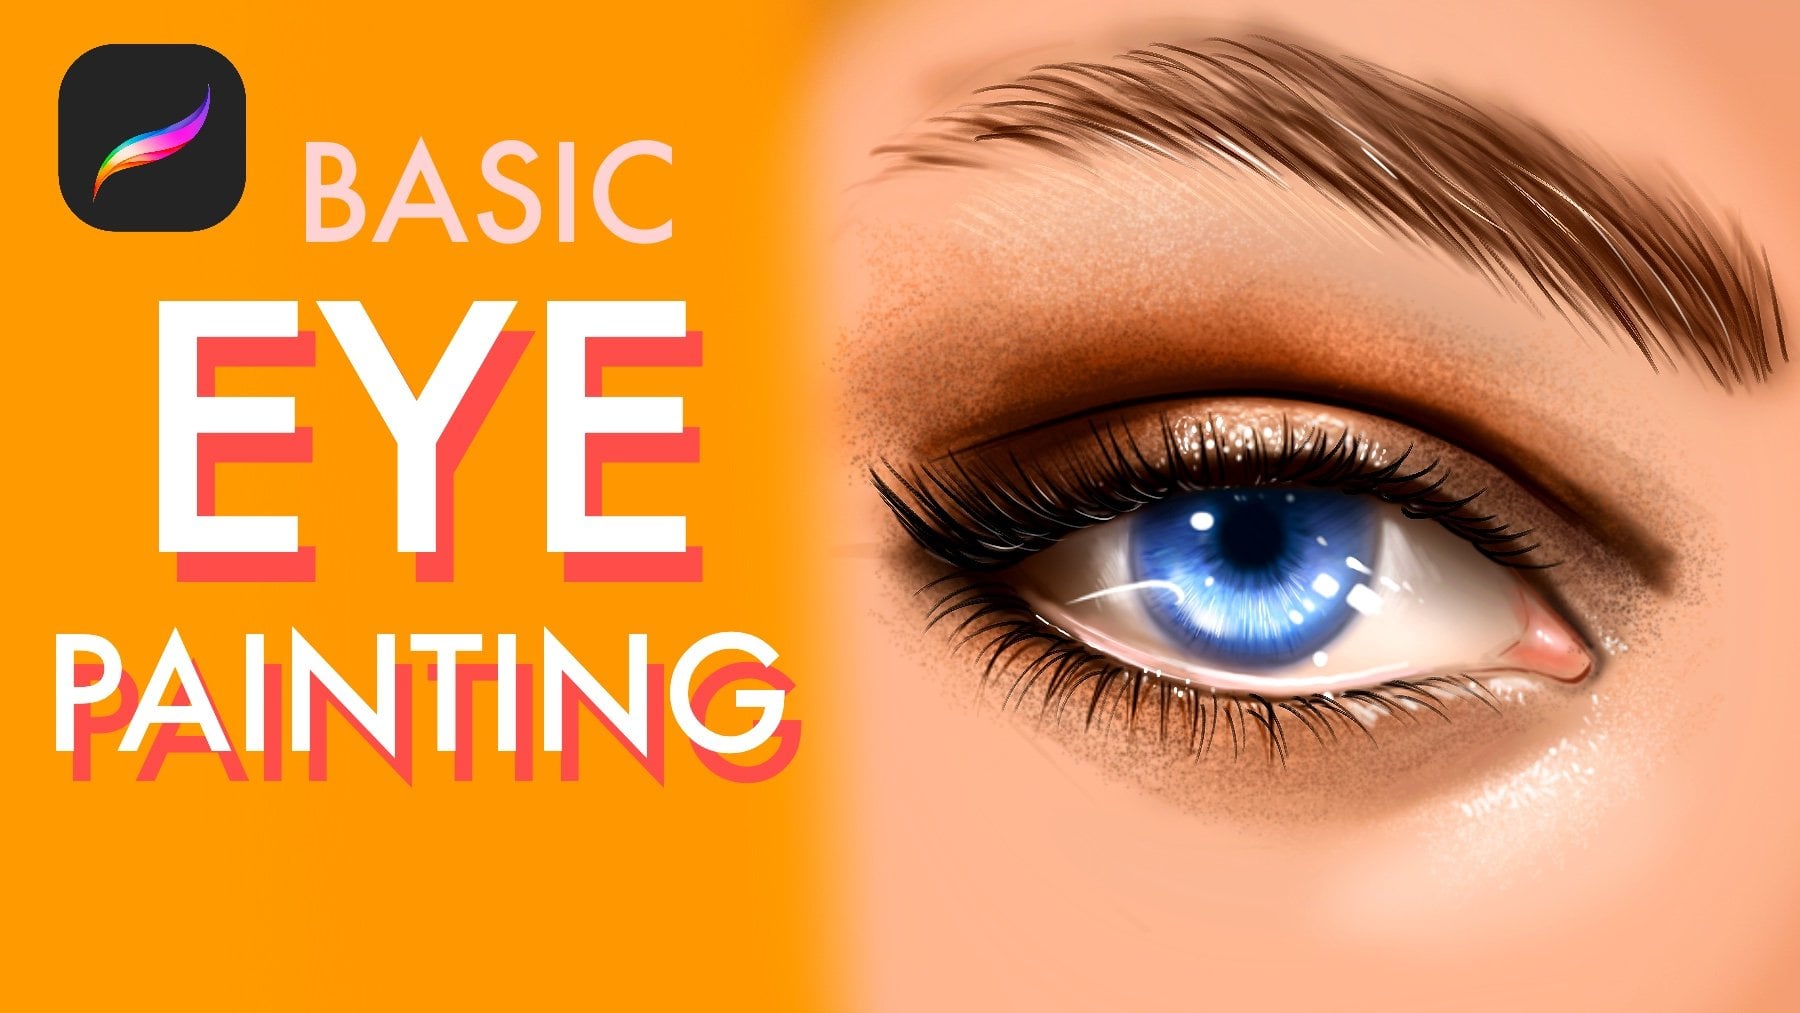
2. Paint Base Color and Sketch: Welcome. In this class, I will show you how to
paint realistic eye. At first, we need to select gray color
for our background. After this, all we need to do is create skin texture
like skin color for our background layer because a we need some
background for our eye, and I opened nib layer with Linarc brush to define
the shape of the eye. In this step, be
lousy for the lines. Donut rush. Just define how it looks. Like the shape of the eye. And after you make
the sketch of eye, go to the airbrush
and paint under
3. Describe Shadows : Open nave layer under eye
and skin color and painted. At top of it, it will be darker. And Okay. And for example, I want
to make it a brown eye. Or let's make it blue. And make shadows much more visible. Like this. And I will continue
from this part of I, and it will be darker. And after this point, I will collect all
layers and open another new layer and we'll
work on it like this. I'm defining the shapes of the the shape of the background. And I'm increasing the detail
and blending the line. At this step, do not
rush, just be slow. And I will select the
dark color again, and I will create Okay. And this part will be darker. Okay. Maybe these parts will
be much more lighter. And this end of it
will be like this. But it will end like red. Much more red. And the top of it will be h. Like this. I'm adding blending the color, and at this part also
will be much more darker. And zooming from now, we will add the
texture to the eye. For it, create new layers
with the color overlay mod with much more
lighter brush, apply over it.
4. Increase detail of Eye Irıs: Okay. And open the light of it for create much
more realism for our eye. And much more dark colors here. And corners are
much more visible. Okay, let's open the layer. Maybe we can switch the
discolor for extra colors. And we'll add some
open new layer with the colored Dutch mod
and we'll apply over it. At some points, it is
much more visible. And at this point I'm creating some wetness
in I maybe zoom here and try to add some textures over the e. Some textures are like
reflections of the image, much more detailed, much more visible like this and and Okay. I will paint line like
this because Okay, I will start from this part. And from now, I will collect the layers and zoom to
the eye a bit much more. And I will show you
the extra techniques right now like warping. I will select with
free hand tool, for example, this part, this part like this
and I will use verb, a bit much more like this. Okay. And I will collect
the other parts. What I did is make the shape
of I much more different. And after it, go to
adjustments, color balance. I mean, curves and add
some light and shadows. A who saturation add
saturation a bit. And after it, we will
continue to increase the detail level zoom in and go to brushes and select some textured brush to continue adding,
increasing the detail. At these parts, we can add
some deep details like this. Okay. I'm adding some textures here.
5. Paint Eyelashes: And here. Also, you can
use some different kind of textured brushes
for make the painting much more interesting. Okay. All right. And select the air brush again. And at corners, we can
increase the light Okay. Okay. And corners will
be much more darker. Also, this corner, I will
so much the edge at first. And after this, what
I'm going to do is we'll select the darker color for the upwards of the eye, and I will make the shape much more
visible and strong. After it, define the
other edge of the eye. For example, it will be
end like this and it starts from this part
and point this here. But it can be much more softer. And after it, again, go to the brushes and
select smooth line. Now I will add some eye lashes. Okay. And this part and this part. For the end of I, I will
use the same brush for increased detail level and
continue to add details Okay. And the endpoint, I will continue to
increase the detail level. Maybe I can add some ti
makeup here like this. It will grow like
this and like this. Okay. And I will make this I like it. And after this, I will select skin texture and we continue to add detail
with this textured brush. Because some textured
brushes like skin texture or
different kind of brushes is really great tool
for increased detail level. So I'm using it right now
to create some shiny. And for example, I can
make this area much more like dark like make
and I can also add some,
6. Add Highlights over Eye: Red colors for some
smoky red makeup. Okay. And I will continue to increase the tail level with making the brush
much more darker. And select smooth
shading again and make this area much more darker. Okay. And I will continue from this side to make it
much more darker. Okay. And after all, I will make this part
much more darker also. Okay, it is much more
better right now. And sometimes you can
flip Cavas horizontal. And for example,
if I want to make it strange strange
line from this part, I can use this shape,
like simple shape. I will make it much more deeper. And much more stronger. Okay. And at some points, we can have lights. For example, at this
part of eye can have some like skin
textures around it. You can place it with some kind of hard round brush. Also, these kind of details
is visible at these parts. Okay. And at the top
of the painting, I will use much more
idle details here. And Okay. And these little details
creates realism a lot. So that's why I added so much. And also this part will be
much more weather and visible. And you can also add light reflections like
wetness over the eye. Okay. And it's created a
really good amount of detail. And after it, let's continue
to adding eyelashes. Okay. And we'll
continue this side
7. Paint Micro Details and Eyebrow: Okay. It is much more
better right now, and I want to add
some extra color in eye to create
much more realism. For example, I added
some yellows here. And with smooth shading brush, open new layers, color touch, and use red color at some point, maybe not red color. Let's select blue and
use blue hue here, like glow and maybe this part. And select a red color and
add some reds here like this. But not much like
at some part of it. And we can use the
same red as a makeup. But for it, open
another new layer with a multiple layer mode
and add over portate. Yeah, it is looking much
more better right now. And what we can do is increasing
the shadows right now. Let's zoom here and dilate
some parts of eye reflections. And this part and the left side of eye should be much more visible and have
some lighter colors in it. And is much more darker here and add some lights
over it like wetness, create a wetness from it. And it is looking
pretty good right now, but I will continue to increase the detail level
of the illustration. At some point, you can
collect all layers and go to the noise and give it a noise because noise
makes everything textured. And if you do a bit noise here, it will turn your painting
much more detailed, but don't overuse it. And let's work on
the micro details like shadows of the each lashes. I like this. And Slec much more lighter color and apply over lashes to increase
the detail level and pop up some of them. And you can also create
random textures, especially at the light sources. For example, at this part, light is much more strong, so I'm making the
textures much more realistic and, uh, Okay. I like it. And some
points you can use this wet look in it. Okay. I'm adding this much
more skin texture over here. And with eyelashes brush, I will create maybe
with the hairbrush, I will create some eyebrows. L. Maybe I can make it
much much more brown. Okay. Like this. At some points, you can make
much more detailed eyebrows. Like this. Okay, what can we do is
increasing the highlights again.
8. Complete the Illustration: Like, for example, I'm
putting some light here, here, here, here, like little dots,
but it increase the overall details and give the painting much
more realistic look. And at some parts, you can use some
textured brushes like skin texture and apply over your painting like this to increase the detail level
so fast and effectively. I will make this much
more visible. Okay. And some parts of I can
reflect the lesces. I will show you example. For example, imagine if there
is one shape like this. It's like blurry here. And in it, we can see opposite look of
the laces like this. Maybe some of them
will be bigger, even bigger like this. Much more visible and bigger. And let's add a bit
much more detail here. And here. Okay. And maybe here. I'm putting some
small details here. And for adding a
concept to painting, maybe you can add some like stars to the
face like gliders, you know, and at first, just try to add some
stars over the portrait. And if there at the lighting, like some stars are much more visible and some stars
are much more shorter. And some stars are
much more blue, like maybe like this blue and shadows of it
will be much more visible also. Like this. And I will make some gray
line comes from this side because there is also reflected
light in eyelashes that creates much more realistic look adds a much more
realistic look to eye. And hope you enjoy this
process and thank you for joining me in this class and see you in the next videos.
 Yasar VURDEM, Creative Art Director