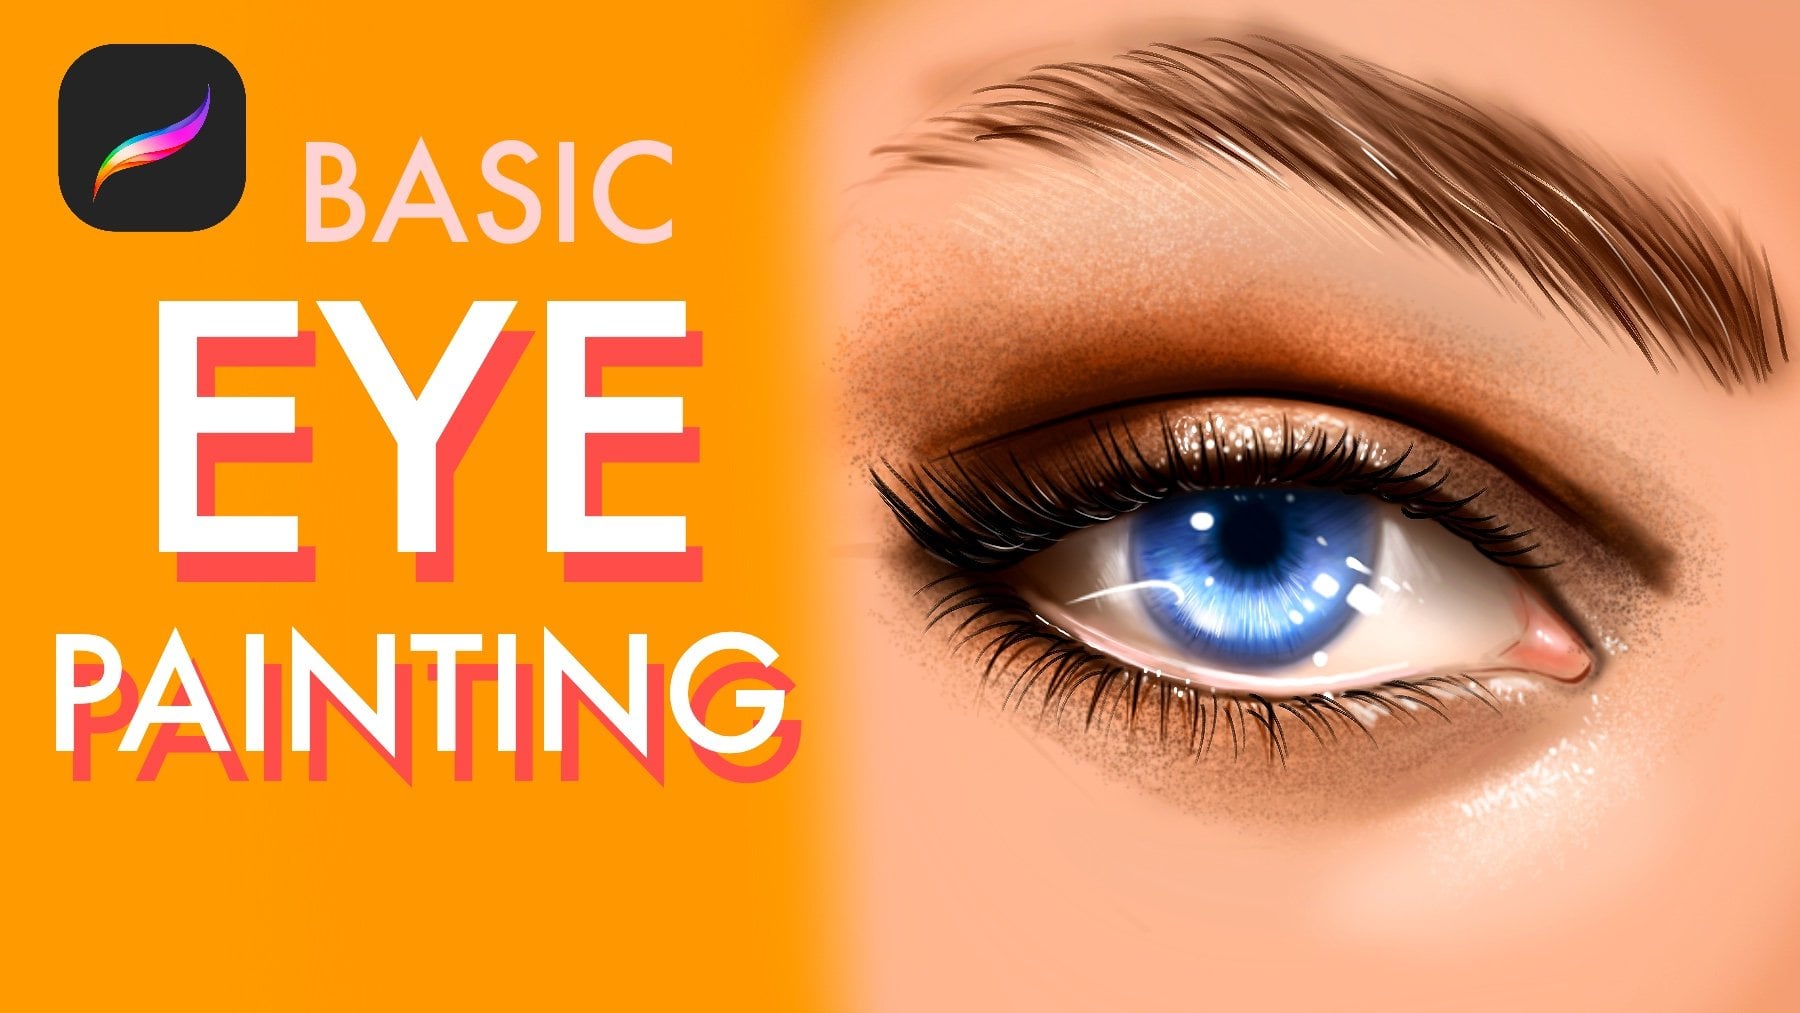
Paint with Me: Digital Portrait Coloring in Procreate
 Yasar VURDEM, Creative Art Director
Watch this class and thousands more
Watch this class and thousands more
Lessons in This Class
-
-
1.
Introduction
1:16
-
2.
Paint Base Colors
3:28
-
3.
Paint Shadows
2:51
-
4.
Add Color Layer Mode
3:17
-
5.
Increase Micro Details
3:31
-
6.
Add Highlights and Brush Strokes
2:17
-
7.
Complete Illustration
1:34
-
-
- --
- Beginner level
- Intermediate level
- Advanced level
- All levels
Community Generated
The level is determined by a majority opinion of students who have reviewed this class. The teacher's recommendation is shown until at least 5 student responses are collected.
4
Students
--
Projects
About This Class
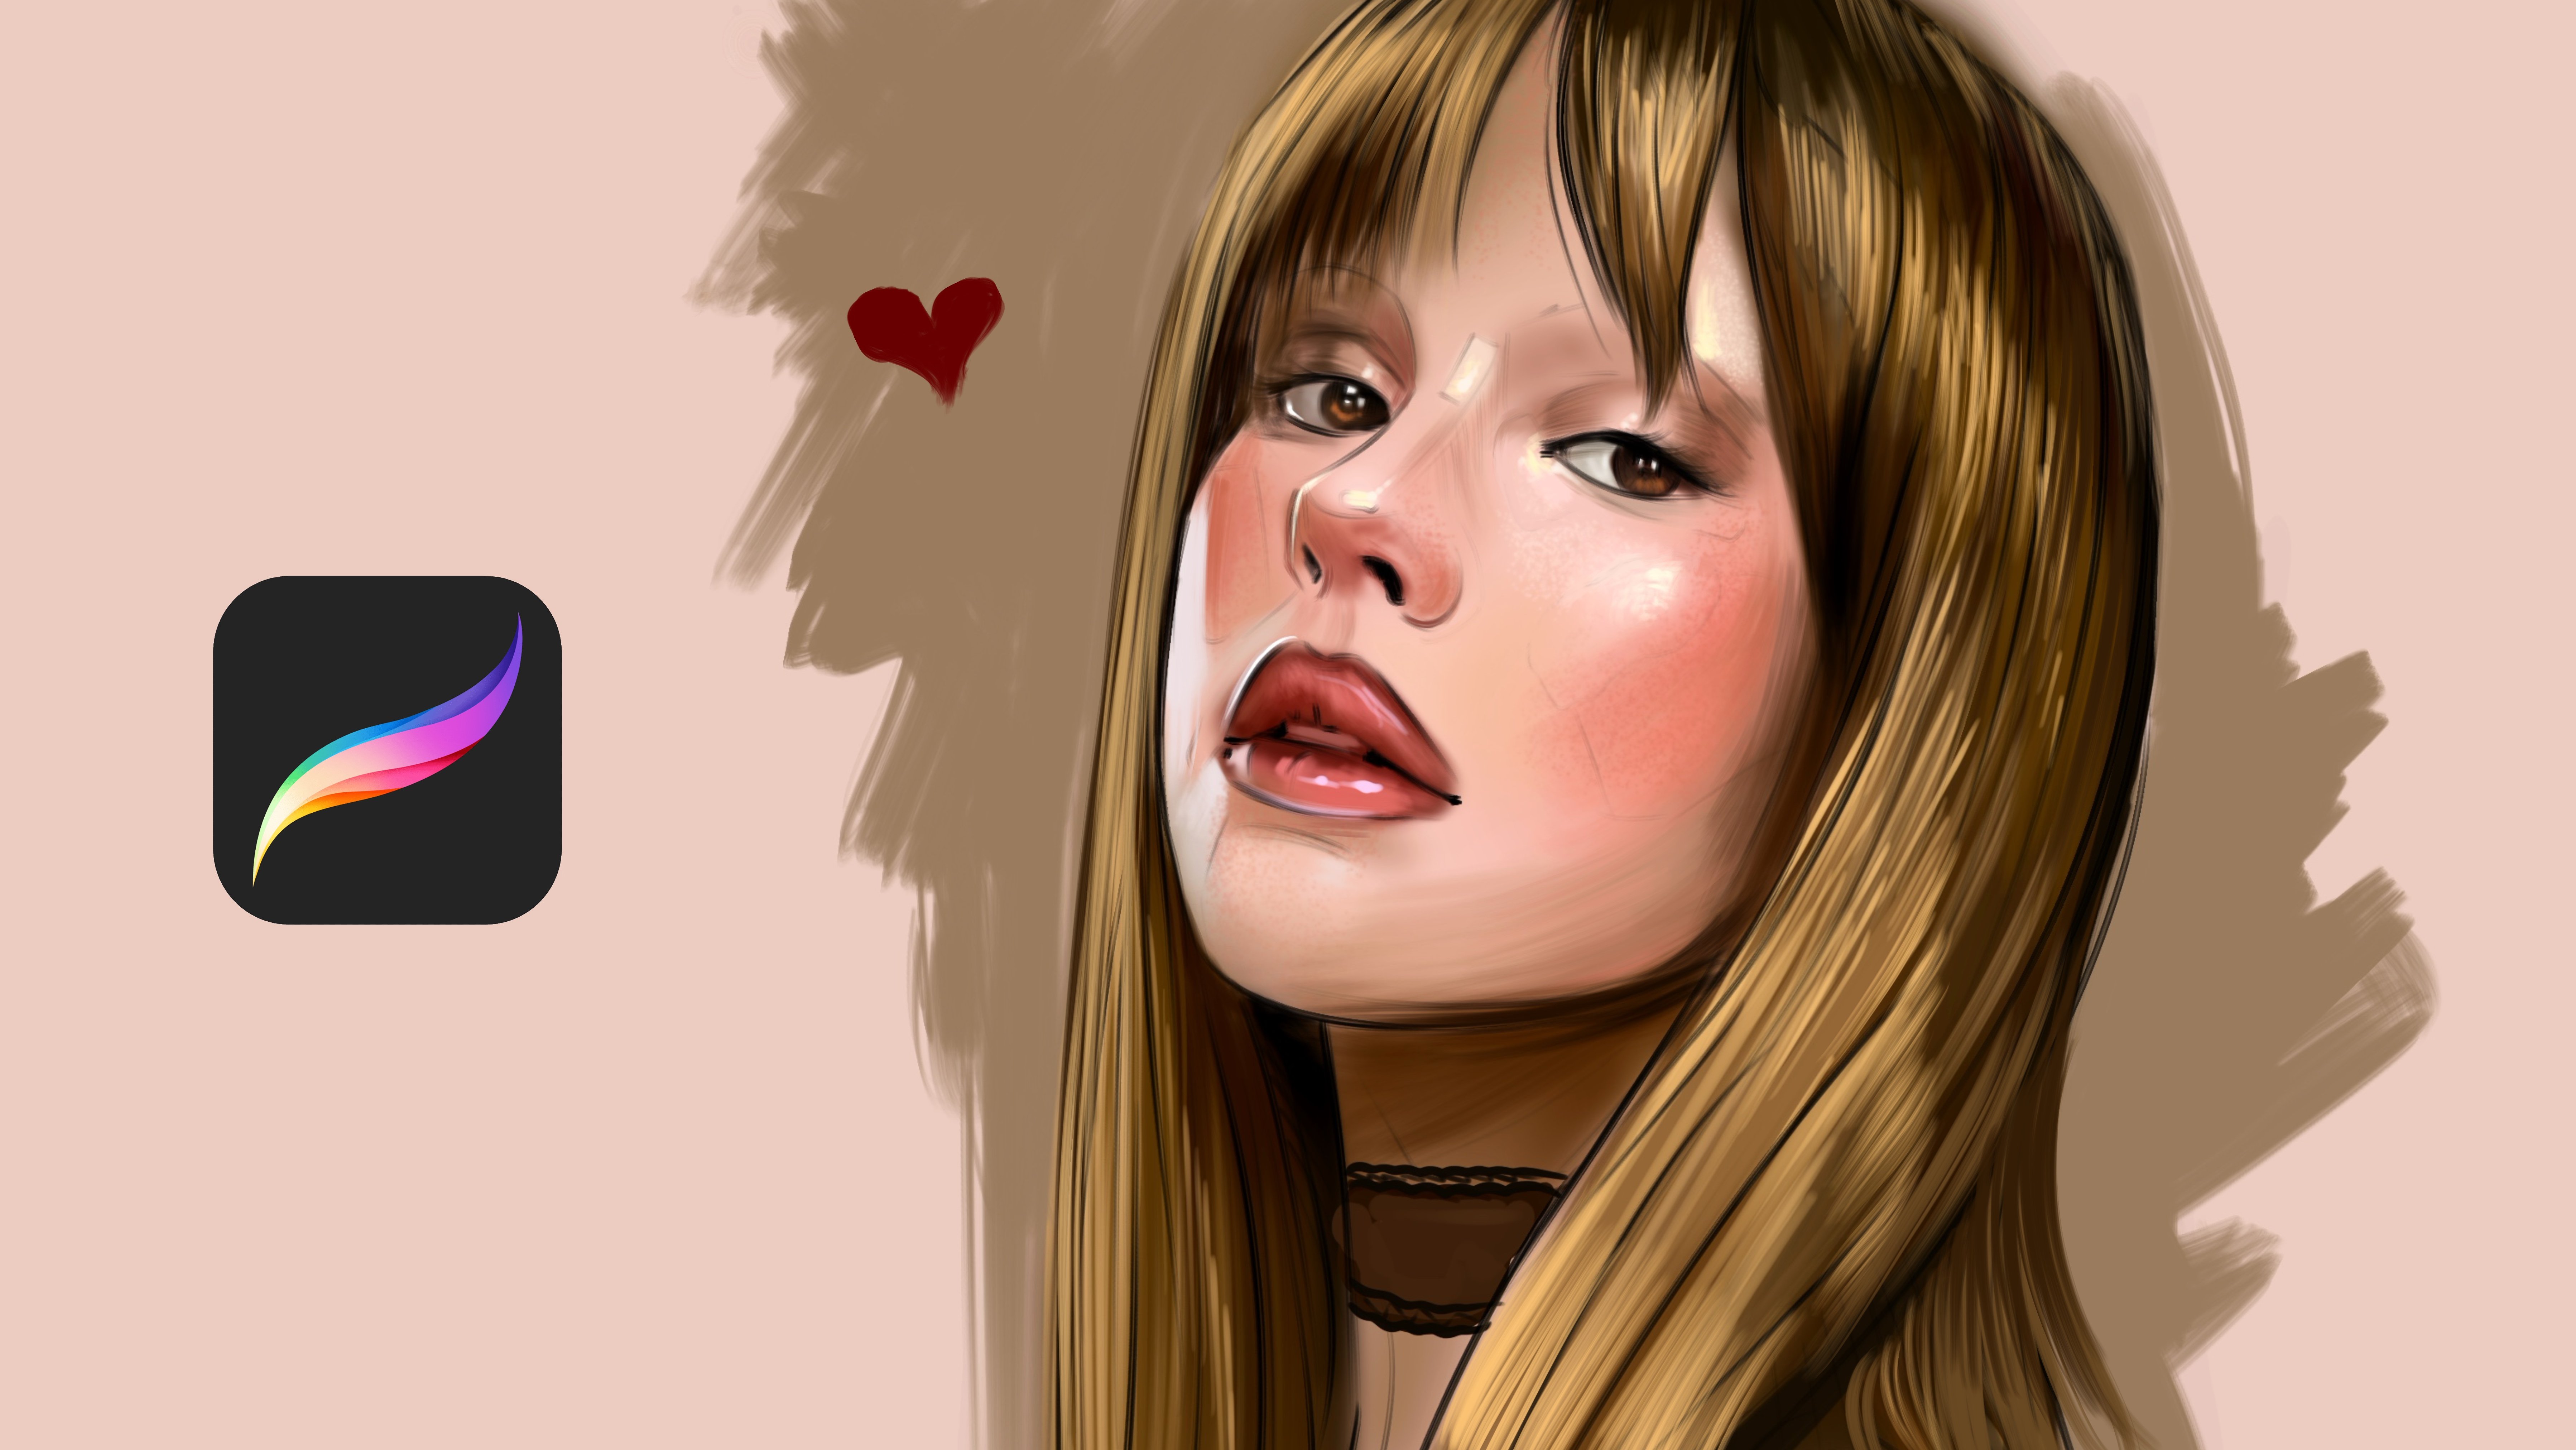
Discover how to transform simple portrait sketches into vibrant, expressive artwork in this Procreate class led by illustrator Yaşar Vurdem.
Renowned for his energetic and emotionally rich portrait work, Yaşar has collaborated with global icons like Billie Eilish, Adobe, and Prime Video, contributing to major productions such as The Lord of the Rings: The Rings of Power, The Wheel of Time, and Citadel. In this course, he opens up his professional process, showing you the exact coloring approach he uses in client projectsbroken down into easy, follow-along steps.
Designed for beginners and anyone who enjoys learning by doing, this paint-along class guides you through every stage of digitally coloring a portrait. You’ll explore how to prepare your sketch, choose foundational tones, build believable lighting, and add the painterly textures that give your work depth and character.
Why Take This Class?
This course offers both practical techniques and valuable insight into the workflow of an illustrator trusted by major entertainment studios and brands. Yaşar teaches with clarity and warmth, helping you understand not just how to color, but why certain artistic choices create impact without overwhelming you with technical jargon.
By the end of the class, you’ll have:
-
A fully colored portrait created step by step
-
A clearer understanding of how color and light interact
-
Reusable techniques for digital painting in any style
-
More confidence with Procreate’s brushes, layers, and tools
What You’ll Learn
-
Selecting base colors for a clean start
-
Building smooth, realistic skin tones
-
Shaping form through shadows and highlights
-
Adding lively, painterly textures
-
Polishing your artwork using adjustments and finishing passes
Who Should Join?
This class is perfect for:
-
Beginners curious about digital portrait coloring
-
Intermediate artists aiming to improve their color and texture workflow
-
Digital painters who want a structured, enjoyable process
-
Anyone who enjoys painting alongside the instructor
You don’t need advanced drawing skills just an iPad, Procreate, and the inspiration to create.
Meet Your Teacher

Check my Etsy Shop
Welcome! I'm Yasar Vurdem a digital artist, illustrator, and passionate instructor.
I've spent years developing a vibrant, expressive portrait style that blends realism with bold, painterly energy. Over the years, my artwork has been featured in collaborations with global names such as Billie Eilish, Adobe, Prime Video (The Lord of the Rings: The Rings of Power, The Wheel of Time, Citadel), Wacom, Logitech, XPPen, and many more.
As a professional designer and illustrator, I work across digital painting, character art, concept design, and stylized portraiture. My goal as a teacher is simple: to share the exact techniques, workflows, and artistic mindset that I use in my professional projects in a clear, practical, and inspiring way.
Every ... See full profile
Hands-on Class Project
or this class project, you’ll create a fully colored digital portrait using the techniques demonstrated in the lessons. You can use the sketch provided in the resources, or work with one of your ownwhatever makes you feel most comfortable.
As you follow along with the class, focus on applying each step of the workflow:
-
Blocking in clean base colors
-
Building smooth and natural skin tones
-
Adding shadows, highlights, and depth
-
Creating painterly texture with expressive brushwork
-
Finalizing your portrait with adjustments and finishing touches
When you’re finished, upload your portrait to the Project Gallery. Your work doesn’t need to be perfect this class is all about learning, experimenting, and developing confidence with Procreate.
I encourage you to share your progress, ask questions, and explore your own artistic style as you paint. I can’t wait to see what you create!
Class Ratings
Why Join Skillshare?
Take award-winning Skillshare Original Classes
Each class has short lessons, hands-on projects
Your membership supports Skillshare teachers
Learn From Anywhere
Take classes on the go with the Skillshare app. Stream or download to watch on the plane, the subway, or wherever you learn best.