Transcripts
1. Introduction: Hello there. My name is Nina Hidalgo, and I am here to share a bit of my knowledge on how you can paint leaves using 16 different brushes. If you've been one thing to paint leaves using different brushes but don't know how and where to start than this classes for you. In this class, I will be teaching you on how to bank a one stroke and at the stroke leaf watercolor painting using small, medium and large brushes. I hope you join me on my first skill share Class C.
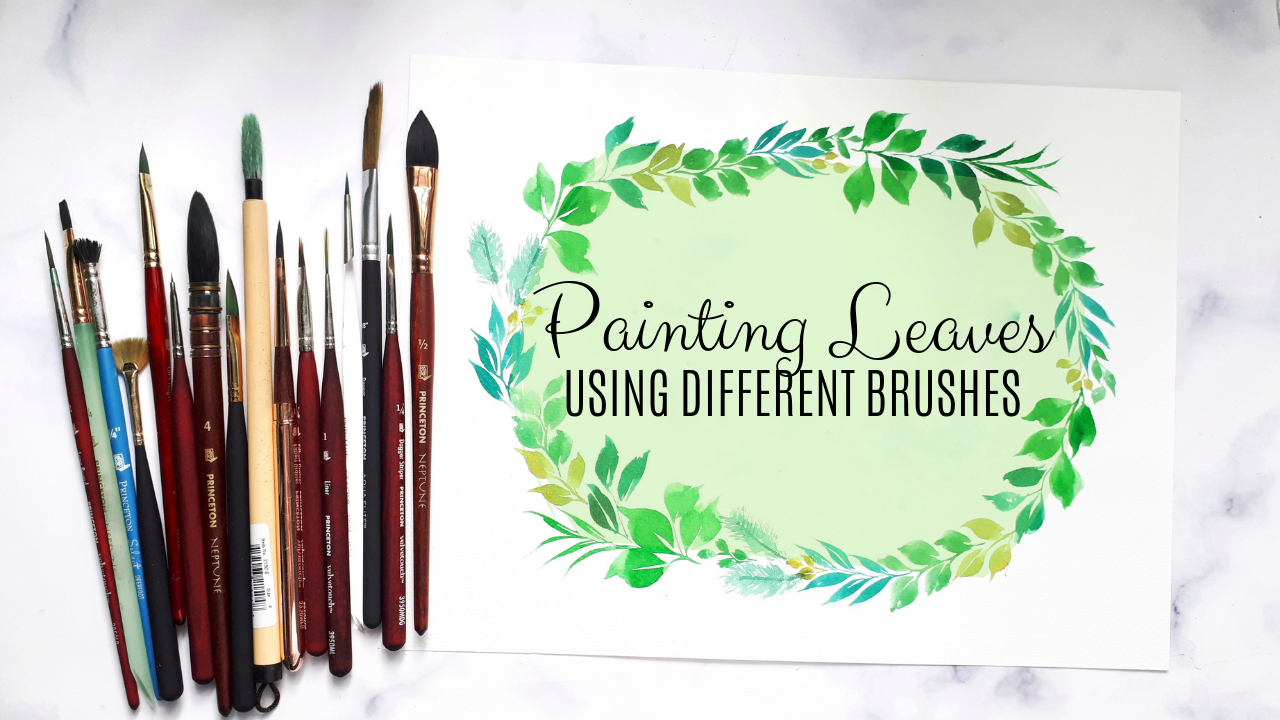
2. Materials: I will be using Princeton brushes in this class, but please feel free to use any brand of your choice. For small brushes, I picked the angle shade, er, round liner and long round for medium brushes. I chose dagger, striper, Bagger, Filbert, greener Fend, Dear Food, Cat's tongue and flat. And lastly, for the large brushes, we do have a dagger, overwash, quill and a bamboo one for watercolors. I'll be using art, philosophies, currents, watercolor confections and my favorite order color paper, Fabbiano 200 shi ism.
3. Basic Watercolor Techniques: basic watercolor techniques went on dry. The brushes went loaded with the leader paint, and the paper is dry. We paint using the loaded brush on a dry paper wet on wet. The brushes went loaded with alluded pain, and the paper is also wet. You can free wet the papers, or you can just paint on it using the loaded brush dry on dry. The brush is a bit try but has big meant on it, so the bristles first in them on a cloth or paper double the remove eggs water until it dries a bit, but not too dry. It still has to paint. If you paint on the paper and actually sees its texture, then you are doing a dry on dry wash. It is an even layering of painting, mostly done from top to bottom. Radiant. It is what we call the ombre effect, making a dark, the light or light to dark tone. This can be achieved by using a strong pigment on the first parts and removing some of the exes from the bristles by gently washing some parts of the bristles or dumping it on a cloth or paper towel. This type can be done using multiple layers. Very gated. This is a combination of multiple complimenting colors, making a wash
4. Strokes: lesson one strokes. Before we begin, we must have the lint or hand memorized the strokes by practicing or doing the drills. I am using a round brush size for in this quick demo. First, the lift. The stroke is basically creating thin lines. Using the tip of the bristles of the brush. We can achieve the thin line by letting the tip touched the surface of the paper, using a very light pressure. This thin lines will be helpful when we start to paint this demo, where leaves try to pivot your hand a little to make paintings, them's easier. Next is the pressure. It is basically letting the Verceles of your brush touch the surface of the paper, making six strokes what can be done by applying enough pressure. Take note that it doesn't need to be too much as we might ruin the Verceles just enough to make a fixture that will be helpful later on. When we start painting the leaves
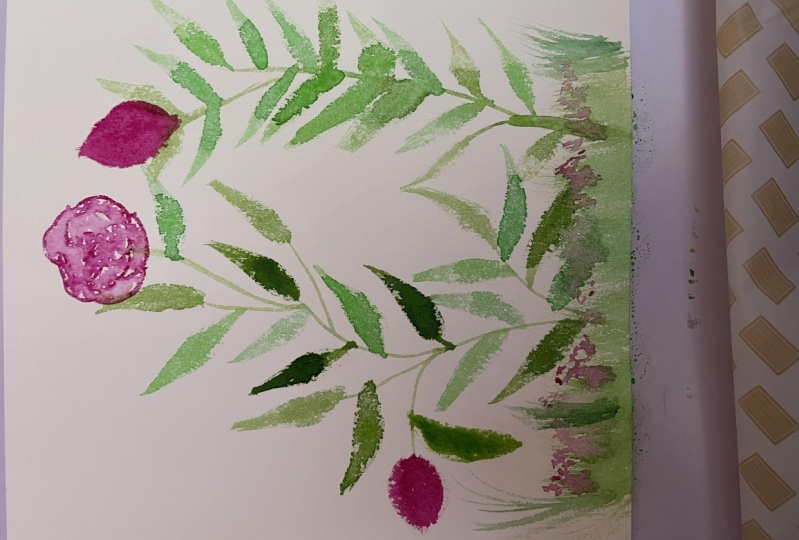
5. One-Stroke & Two-Stroke Leaves: lesson 21 stroke leaf and two stroke leaf. I am still using a round brush size for because I find it the easiest to use when it comes to painting leaves applause. It is easy to find in any art stores. I usually start with the stems branching out, so we will do the same because it is easy when we transition from thin to thick strokes. Let's do a lift by painting, offense them upwards and slowly transition it to make the leaf by bringing and enough pressure to make the body of belief, then slowly transition again. The tip. Thinner and pointy by doing the lift, take note that this drill is called the one stroke leaf, so we must make sure to practice beaming it in just one stroke. I know it won't be a piece of cake, but practice makes brokers want stroke. Leaves can be used as fillers when we have so much base but can't fit in a two stroke moving on to the two stroke leave, we're basically doing the one stroke leaf, but two times we will start with the upper and leave, and in the 2nd 1 which is the lower part of the leaf or we can call it side A or side beef when it's facing the other way. To achieve the look of the leaf, you must rethink a thin white space between the upper and the lower part of the leaf.
6. Small Brushes: lesson three Small brushes angle shader angle brushes like this one can help you paint leaves effortless. Load the brush with valued at Bain, then start making this thumb, which is a thin upstroke transitioning through a thick stroke, which is the upper or side eight at the leaf, leaving a white space before feigning the lower or side beyond belief. In order to paint the lower or side view of the leaf, we must during to brush the other way, Verceles must be phasing and touching the surface flat. You can also make a one stroke leaf by adding more pressure when you transition to the next room. Now let's do it again in a different angle. - Small round. Like what I said when we did this. Troops. I found round brushes the most worst, though, because you can actually change anything with it. Same steps, then upstroke, making this them. Then the transition to adding pressure, making a thick stroke, then leave a white space before painting the lower side. Beyond belief. One stroke leaf can also be done using this brush by applying more pressure to make it look like a whole leave liner. This brush can help you paint slender and longer leaves. Since I am using a small one, which is size one, I have to make sure that the bristles air fully loaded with valued a paint or else it will give me a try. Result. This is ideal for one stroke leaf, but I will show that two stroke in case you might need it. We leave a sense basin between the sides of the leaves, but not all the time. It's also good that we have random leaves, which have no white spaces long round. This also works like round brush. It's just longer using this brush. It will give you longer but a bit chubby leaf, which makes it look cute. We make a thin of stroke for this. Them then transition to making a thick stroke for the leaves.
7. Medium Brushes Part 1: Lesson four medium rushes. Part one dagger striper This brush is designed for botanical painting, so it will definitely give you good results. Like her mini angle, Shader Bagger striper is also an angled brush, which makes it easier to paint leaves. Make sure to load both sides of the bristles with al you're a faint. Then start with a thin upstroke, making this them and slowly transition to applying pressure as remake the upper leaf or the side of the leaf. Leave a white space during their brushed the other side and make a thick stroke for the lower or side B of the leaf. A one stroke leave can also be achieved by applying more pressure than when we did the half leak dagger. This is probably the most perfect brush he used for painting leaves as it gives Move strokes. Start with the system. A thing up, sir. Going the thick, making the side a of leaf, leave a white space and faint the side B of the leaf. We also have to turn to brush to the other side to achieve the leaf look. Phil. Birth greener. I was thinking on how to showcase the ability of this brush to paint leaves. And then I thought of the grass, which kind of looked like the bristles of the brush. This is a special one because it doesn't require much pressure. We will mostly do lifts in up strokes, start at the bottom and make then up strokes from left to right or from right to left. We don't want to leave the middle part, so we think on it as well. Fun. I've been using Fanta bait feathers, and I thought it's also appropriate to be used for tropical leaves. So what we do is we start either from left or right making strokes from inside, which is the middle part of the leaf or the bone going out. Same procedure for the other side. Now the challenging part is painting the top portion because it has to look a bit pointy to achieve that. Just used the side verceles of the brush. We can also highlight the bone of the leaf, the one in the middle to make it pop out a bit
8. Medium Brushes Part 2: lesson for medium brushes part to get stung. This is an evenly angled brush, which is best for one stroke leaf but can also be used for a two stroke leave. Start with this thumb with a thin upstroke, making the tip of the Brussels touch the surface of the paper going to fix stroke of applying pressure to make a one stroke leaf. A one stroke leaf can be a two stroke when it iss number one a bit thin from the other leaves, and number two looks awkward in between the other leaves flat. Using this kind of brush is very challenging as it has two corners, which is difficult to control. The technique and painting leaves using a flat brush is the use just one side of the bristles. We start with a thin upstroke for this, them tilting the bristles, one side transitioning to make a thick stroke for the leaves round. I used the small around in less and three, and it definitely works the same with this bigger size, which is four. I just want to show you how perfect the leaves would look like using a round brush
9. Large Brushes: lives in five large brushes overwash just by hearing the brushes name Awash is absorbent to a lot of water, so using this kind will be perfect for large paintings. We start with this time using the tip of the bristles to make a thin upstroke transitioning to making a thick one by applying pressure. This brush is also go for one stroke leaf dagger. We use the medium dagger in lesson to part born, and, as I said, it is best for painting leaves. Help her using a bigger one for me can be challenging, especially when the area that you are going to paint on is this small. I recommend for you to use bigger watercolor papers for large brushes. Quil, This type of brushes, the most absorbent amongst all. It is like a mop brush. This brush is ideal for large one stroke leaf. Make a thin upstroke using the dipper. Their bristles then slowly transition to a blind pressure in order to make a thick stroke for the leaf. Lastly, the bamboo brush. They say this is the most appropriate brush to use for painting leaves, and what they say is actually true. You would need to get to know this March 1st before you can be able to paint what you like . The bristles her super soft, which best works for thin strokes, same drill, make a thin upstroke using the tip going to a thick stroke for the leaves.
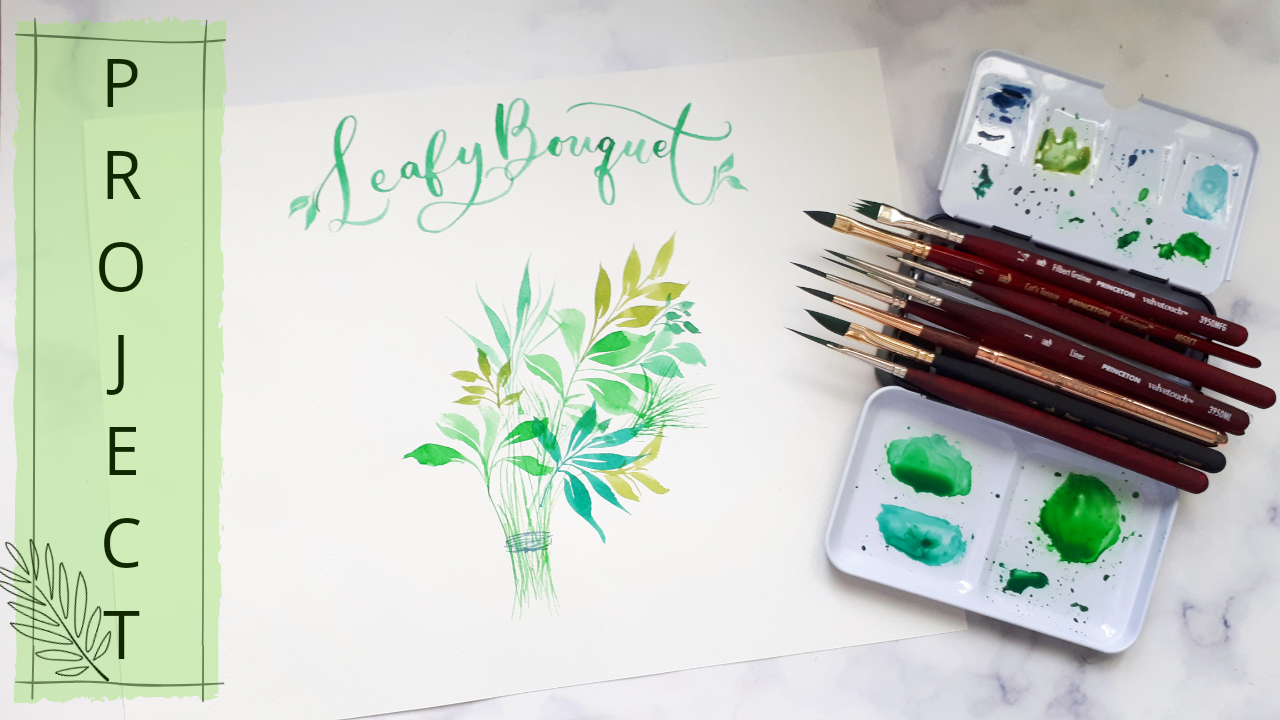
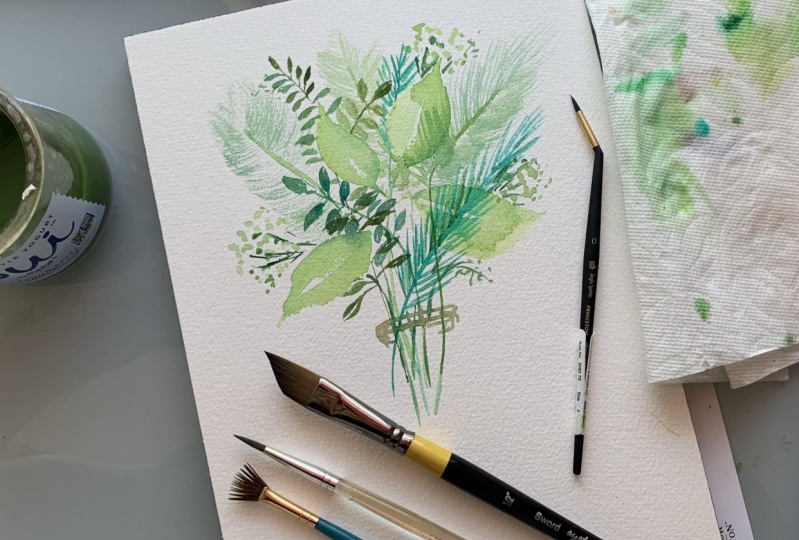
10. Project Leafy Bouquet: project. Leave he Boki. For our class project, we will be making a bow k phyllo leaves. You may use at least two different brushes in making your own leaf evoke a and showcase your newly accords. Kill a painting. A one stroke in a two stroke thief. I made an outline first of where my leaves are directed. Using an F pencil, you may up to make an outline or go directly to painting them. Okay, if you only have one brush to use, then that's OK, too. After painting the leaves, we must elongate this thumbs not necessarily connecting to the stems, which your leaves air attached. You, me randomly paints thumbs, forming it at the bottom and make it look like a bit thick. Then you can add a string or a ribbon that finds this them together.
11. Project Demo: project. Leafy bookie. Here is the demo of me using a couple of birches for my lessons to make a leafy bookie. If you want to give it a try than this demo encourages you to make your own project by making a leafy Brok using at least two different brushes, debate leaves.
12. Final Thoughts: methodical painting has been a great experience for me. And I decided to share with you for it may help you in any way. I want to thank you for taking my first kill share class. And I am looking forward of sharing more in the next weeks.
 Nina Hidalgo, Miniature Artist