Transcripts
1. Miniature Stamp Kit: Welcome to another miniature
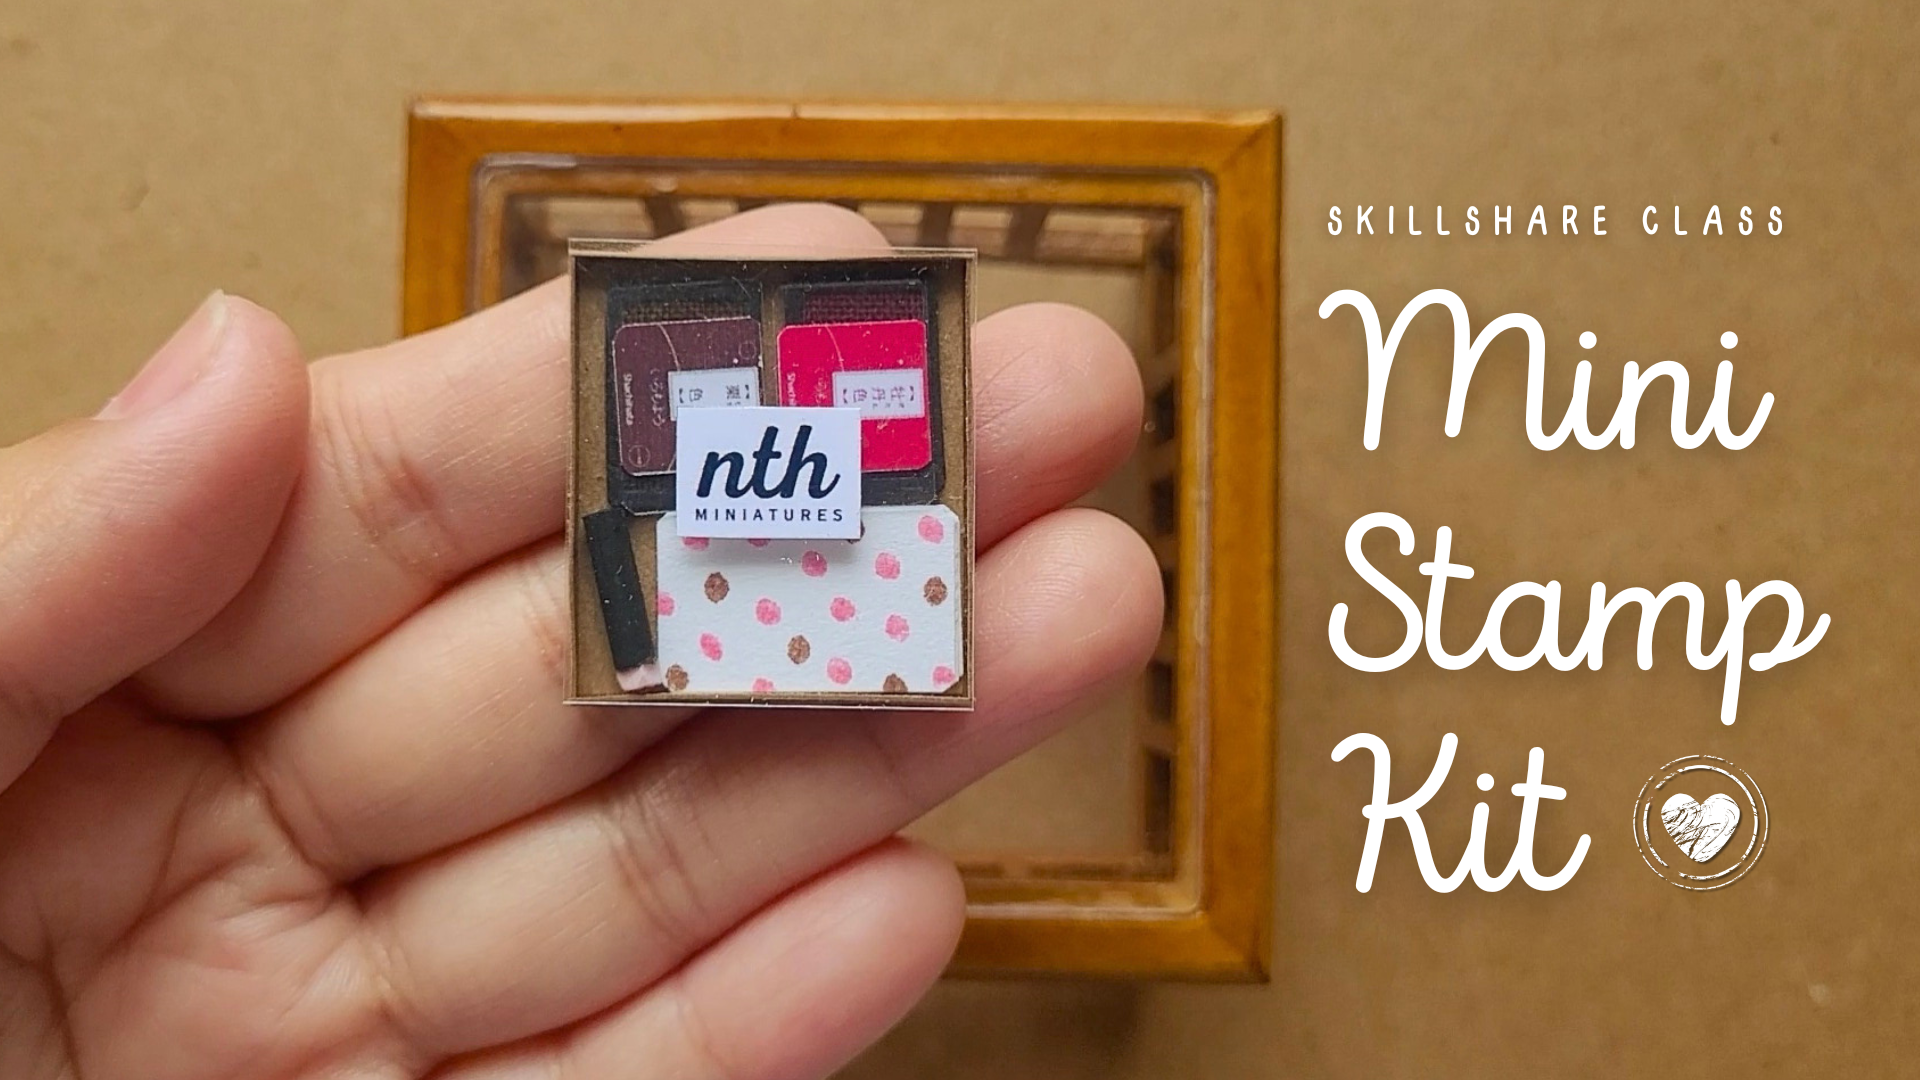
class called Mini stamp Kit. I am Nina Hidalgo, a miniature artist based
in the Philippines. In this class, you will be
creating your own teeny, tiny stamp kit that is
composed of two stamp pads, one stamp, your own
design stationary, and its own box. By the end of this
skill share class, you'll be knowledgeable about the basics of doing
miniature projects. So let's get started. Thanks.
2. Materials: Aside from patients, we
will need a cutting mat. I'll be using a small one. But any will do as
long as you have something that can protect
the surface of your table. Graft or black paper in 200 GSM, so it won't break
easily as we cut it. A ruler to make sure our
pieces are neatly done. Of course, a
reliable cutter with a grip that won't hurt the
bones of your fingers. A pencil to mark those
lines that need cutting, a pair of scissors, specialty paper for the stampad, laminating sheet, glue to
bind all these tweezers. I like this one
because it's pointy. We will also be using a
dowel or barbecue stick, foam rubber, black
paint, and a paintbrush.
3. Lesson 1 Scale: One of the most important
things when doing miniatures is to make
sure we know the scale. The most common
in dow houses are one to 12 and one to six. I made a one to six as a
prototype for this class, but figured it
might be too small, especially for a beginner
in doing miniatures. I settled for one to five. Order to get the scale, we get the dimensions
of the actual piece, then divide it
into either 12 for a one to 12 scale or six if
it is a one to six scale. The rectangular Shashi aa
stampad has dimensions of 7.5 centimeters
by 5 centimeters. And since we will be using
the scale one to five, we will divide it by five, which will give us 1.5
centimeters by 1 centimeter.
4. Lesson 2 Mini Stamp Pads: Grab either the graft or black paper and make
sure it's 200 GSM. Remember, the smaller
the project is, the sturdier the
materials must be. Use both the ruler and
cutter to cut four pieces of 1.5 centimeter by 1
centimeter rectangles. And those two rectangles, use your pencil to make 1 millimeter border on
each side. Then cut it. F f Get your scissors and round the corners of all
those four mini rectangles. You will know the
importance of using good thick papers in this part. Set those aside and remember
where you'll place them. If you feel they need
to yawn or sneeze, then look the other
way unless you want to spend your time finding
those little pieces. Getting aside, two small
rectangles of the same size, 1.5 centimeters by 1 centimeter. Like what we did with
other rectangles, we should round the corners
of the specialty papers, too. Let's not forget about
the covers of our stamps. I am basically using the things I can find
in my craft drawer, and I found some
laminating sheets that will be used in this class. I also happen to
have a heating gun, so I heated the laminating
sheet to make it translucent. Just like what we did with
the specialty papers, we'll be doing the same
with the laminating sheets. We'll make two
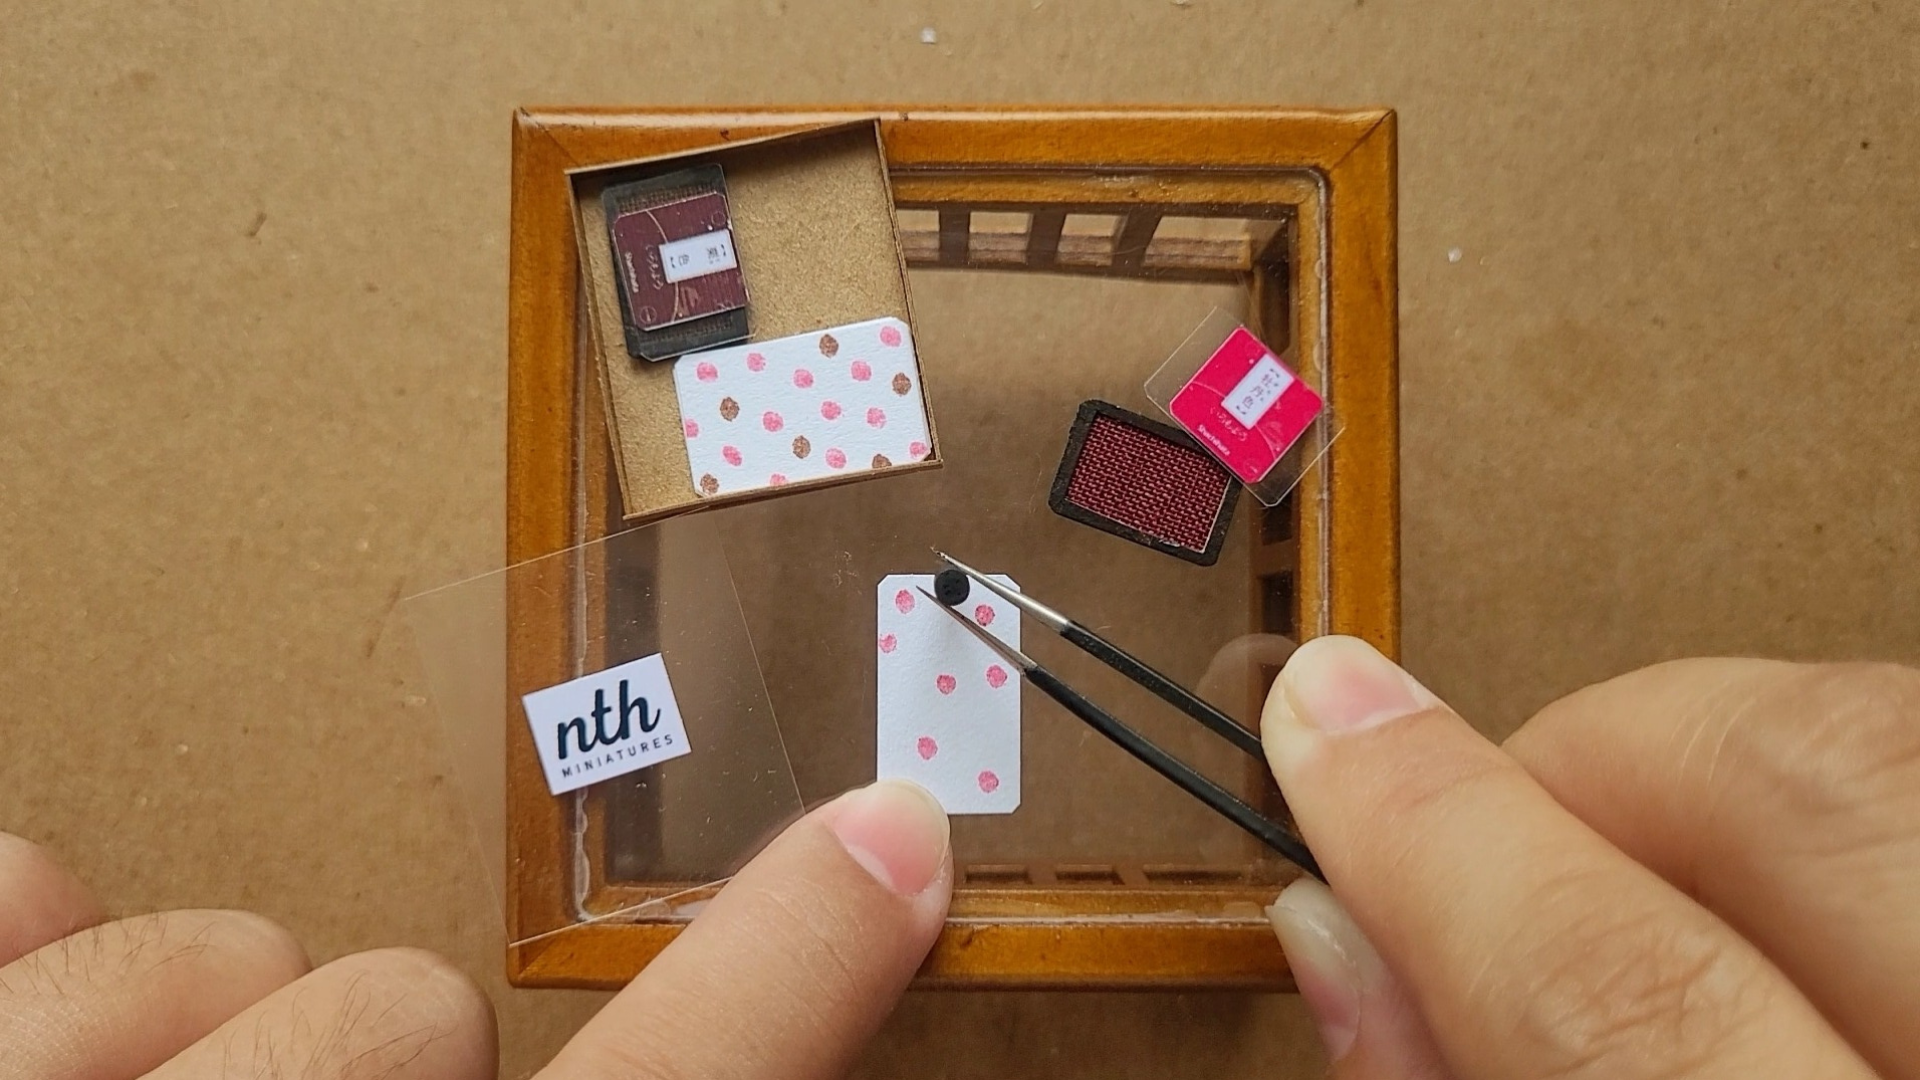
little rectangles. We will now put all
those together, starting with the base, husband. Then the specialty paper that
serves as the stamp pad. Then the border. I prepare the file that you can
download and print. It contains the Shahia
logos that need to be put on the laminating sheet
cover of our stamp pads. If you used black paper, there is no need to paint
the border in the base. But if you used craft paper, then we'll use the
black paint and brush. Don't be shy about asking
for help from the tweezers. M. Did here are your two mini stamp peds. Oh.
5. Lesson 3 Mini Stamp: Now, on to the most
challenging part, making the rubber stamp. We'll start by
making a perforation on the dowel or barbecue stick. Roll the cutter onto it
enough to make a little cut. Then break it by hand. Yes, like a kit cat. Clean both ends,
then put it aside. If no foam rubber is available, then you can cut a little
bit from the mouse pad. The thickness of the
rubber must not be greater than 10 millimeters. Feel free to use a
magnifying glass at this point as we will be working on a tight
and small area. Grab your pencil, then draw the stamp shape you
want, then fill it in. Let's do basic shapes for now. I chose a circle and
never thought it would be challenging as
it has no corners. I saved your right there. Now, pick a different shape. It's better to have long
nails in this part, as you can use them to grip
and control the rubber. Be careful. We don't want to
brick any of your fingers. Slatly cut the unmarked
areas while making sure we leave 5 millimeters as
the base of the rubber. Glue the foam rubber onto the stamp handle
and leave it dry. To match it with the stamp pads, we'll paint the handle black.
6. Lesson 4 Mini Box: Our little project
is almost done. I am rooting for a simple kit, so I will stick to
a plain craft box. Make two pieces of 2.7
centimeters by 3 centimeters. Then put one aside, which we will call base one. Take the other square and remove 2 millimeters from each side. Which is the base two? Put it aside with the base one. Cut two pieces of 2.5
millimeters by 2.5 centimeters and another two pieces of 2.5 millimeters by
2.8 centimeters. Glue base two in the middle
and on top of base one. Do you see those
pieces on each side? That's where we'll glue
the sides of the box. You may use a tooth pick to
apply glue to each side. Having light pressure when
doing miniatures is applause. Make sure to handle
it carefully. Then cut a 2.8
centimeters by 3.1 centimeters laminating sheet and put a brand sticker on it. This serves as the
cover of our tiny kit. I attached a downloadable
and printable file for our tiny stickers.
7. Project DIY Stationery: Here comes the fun part. Design your own stationery
using the tiny stamp pad. Cut four pieces of 1 centimeter by 2 centimeters
plain white paper. We did not put any
ink on the stamp pad, so don't be fooled by this clip because I used the
real Shashi ata stamp pad. You can use watercolor
or ink in any color. If you are using watercolors, then dilute them with
a little bit of water. But if you are using ink,
then it's good to go. Start making patterns on
those small papers and enjoy. Let's assemble our
mini stamp kit.
8. Thank you: Thank you for taking
this Skillshare class, and I am hoping to see
your Mini Stamp kit. Take a photo of your project and post it here for
everybody to see. Your feedback, comments, or
suggestions are welcome, so feel free to share them. You can also tag
me on Instagram at Nina Ti Dago or
Facebook, Nina Hidalgo. I hope you had fun and see you in my next
Skillshare class.
 Nina Hidalgo, Miniature Artist