Transcripts
1. Introduction: Welcome to my meaning, wetter color than
the lines class. This is mean of alcohol and miniature painter
from the Philippines. This grass, you will learn
how to paint a quick and easy then the lions
using watercolors.
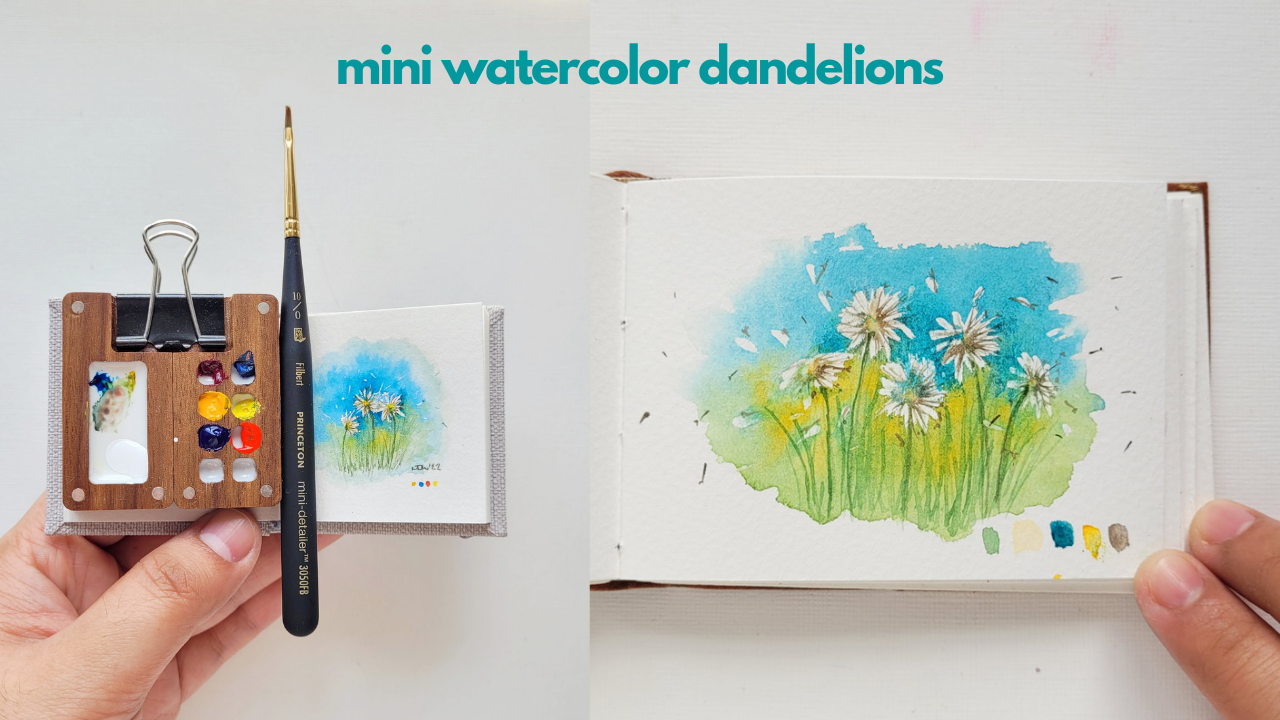
2. Materials: These are the materials that we will be using in this class. I'll be using Fabriano
watercolor paper, cold press, 200 GSM. This journal is actually
made by yours truly, you can also check out that
class called DIY journal, will also need masking fluid. And the eraser that
comes with it. Brush dedicated only
for the masking fluid, makes sure that it's
synthetic and it's not gonna be used
for watercolors. Of course, our
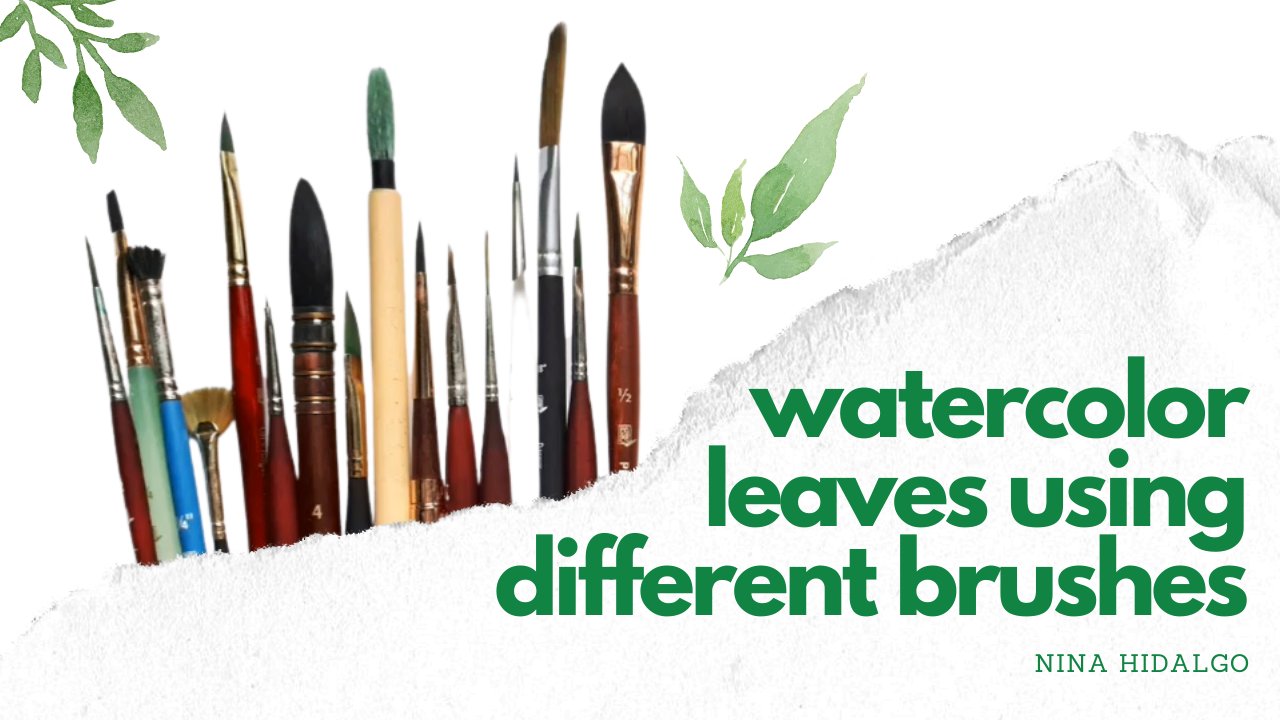
watercolor brushes. I'll be using a small
round and a medium round, as well as a liner. Watercolors on my
ceramic palette, I'll be using the
watercolors that are left in this valid name, the turquoise, blue, green, bright orange, cadmium
yellow, and sap, yeah.
3. Sketch + Masking: The sketch that we
need is simple. We're just going to draw
circles on the middle. I chose to draw just 32 ovals on each side to show the positioning
of our than the lions. Now we're going to create
small circles at the center. It will become a doughnut. And then we're going to
place some lines are replicating the iris of our eye. This is what we will be using as a guide when we actually
put the masking fluid. Later on, we're going to add some loose dandelions
on this side. The other assigned
where I will bang to ice sketch this same circles, three circles at the middle
and two ovals on each side, followed by the masking fluid. If you notice, I then even sketch on the actual area that I would because I love it when a just meant at
least sketch everything. Let's leave it that way. But if you have sketched
it already, that's fine. You can cover it
with masking fluid. Now, what is masking fluid? Masking fluid, also referred
to as liquid for escape, is a late text-based
medium that is used to resist pigment absorption on the areas that you
want to keep white. We're not painting
the actual flower, but we're going to
focus on the seeds, which is what we're covering with masking
fluid right now. Please do not cover this circle and the oval with
masking fluid hands. We're just going to
focus and covering this landing lines
that we did earlier. Don't forget to add random seeds around it
using the masking fluid.
4. Dandelion Seeds: Made sure that the masking
fluid has completely dried before you
start painting on it. From the opaque color
of the masking fluid, it will become transparent
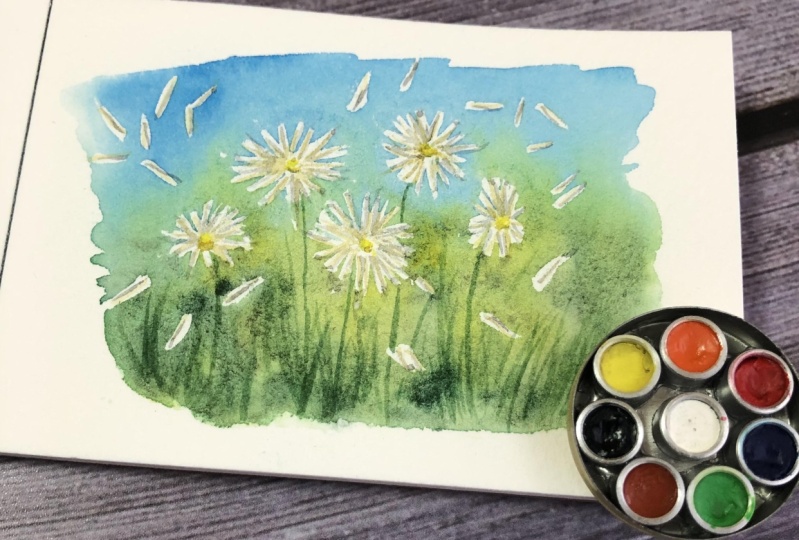
or sometimes yellowish. I wet it the area
where I will paint. And while it is wet, we're gonna be adding the torque always watercolor
on the upper half, followed by the bright
orange on the lower bottom. When these two colors
fused together, it will give us green you, which I really remain light because we have
limited palette. We're just going to make
use of the colors that's available on this ballot if
you have the same colors, good for eyes, but if he
had a separate colors, then you can also use that. I'll drop some of the bright orange and
the middle part as well, and some more turquoise
on the upper half. And after that, we're
gonna wait for it until it is completely dry. Now, since both of the watercolor background
and the masking fluid have completely dried up and
you're gonna be using this eraser to take off
the masking for way. If you don't have
this kind of eraser, that's fine because
you can actually use your fingers to take it off, which I will be doing
in a little bit. I was so hesitant to use masking
fluid at first because I know that I can just avoid the white areas
that I wanted to keep. But when I started using it, I just can't stop. It makes my life easier. That's lifted off using fingers. That's what I'm doing right now. Let's start painting it
using the cadmium yellow and the smaller round brush
that you have covered, the small circle at each center. The dandelion seeds, followed by a little bit of bright orange, which I will just put at the bottom of each
small circles. Green at the very bottom
of this small circles. So yellow over it. Bright orange and
the bottom green. At the bottom of
the bright orange. We're going to
switch brushes from this mall round to the liner that I have this as
size and one from Velvet Touch series of prints. Then we're going to
do some thin, very, very thin strokes using
light pressure to create this trends of
the band alliance. That's the same process
that we're gonna be doing on an every man the line that
we have undisputed thing. As you add more layers, Friends, Make sure you intensify or
make your mixture a little bit darker than the first
or the previous layer. This time I'm adding more strands with more
watercolor and water. If you went to achieve center, much thinner strokes,
you can always go back to this small
round you have. After filling it with strands, we're gonna be be
tailing the tip of each strand with less than the less than sign boards. We're not going to
forget the loose seeds around the painting
using the same mixture, which is our set yet, you can paint over
the white areas and, or the background as well using the green. Now we have over here
and the round brush, I'm going to create
this very thin stems. Remember to apply light pressure to achieve the thin stroke. And I'll go back
to using the liner for a much longer strokes. That said easy and simple. The next video I
will show you is a demonstration and how I
did it on a smaller area. And this will also serve as
your guide to your project. You can challenge
yourself into painting. The same subject matter. For my four inches scale
or smaller than that.
5. Project Demo: And half, half, half.
6. Thank you!: That's it. Thank you
so much for joining this class and I'm hoping to
see your projects very soon. Make sure to post it to everybody else can
see it as well. You can also visit my
other socials at mean at t Now go on Instagram or anemia Hidalgo on
YouTube and Facebook. Thank you and stay safe.
 Nina Hidalgo, Miniature Artist