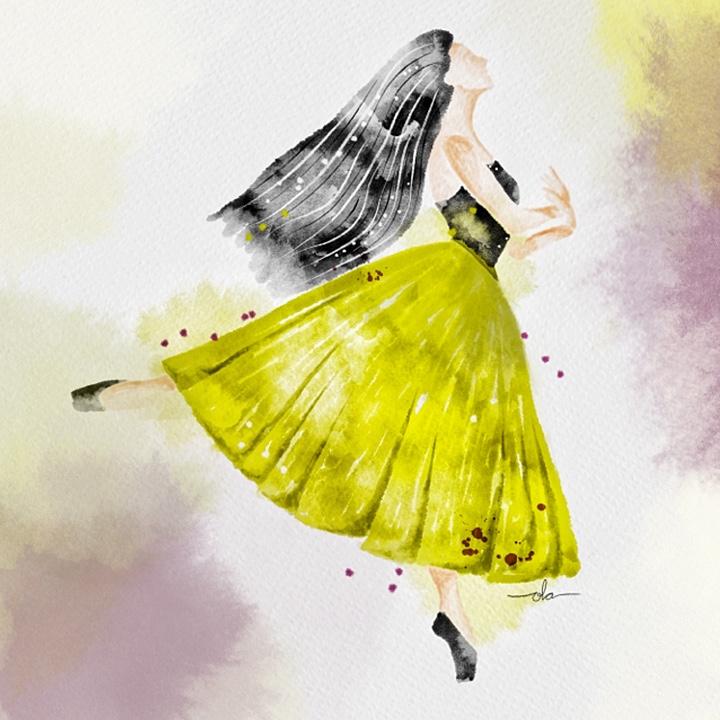
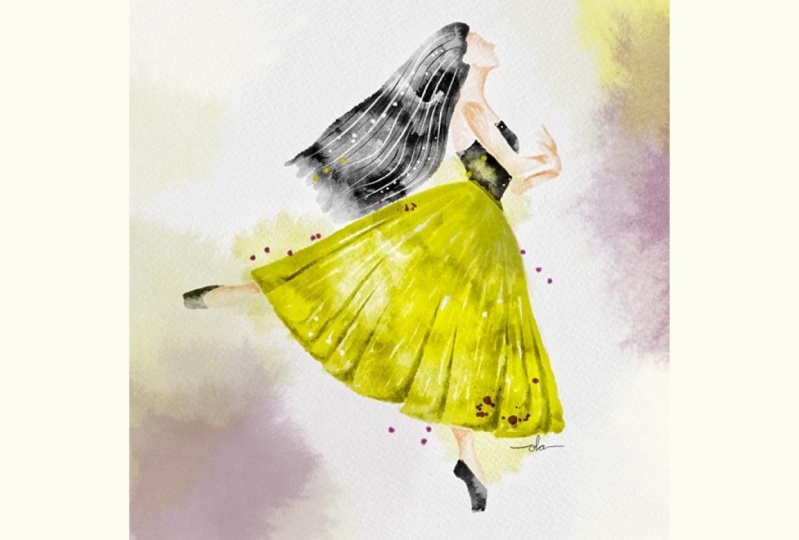
Painting In Procreate: Create a Dreamy Watercolor Ballerina
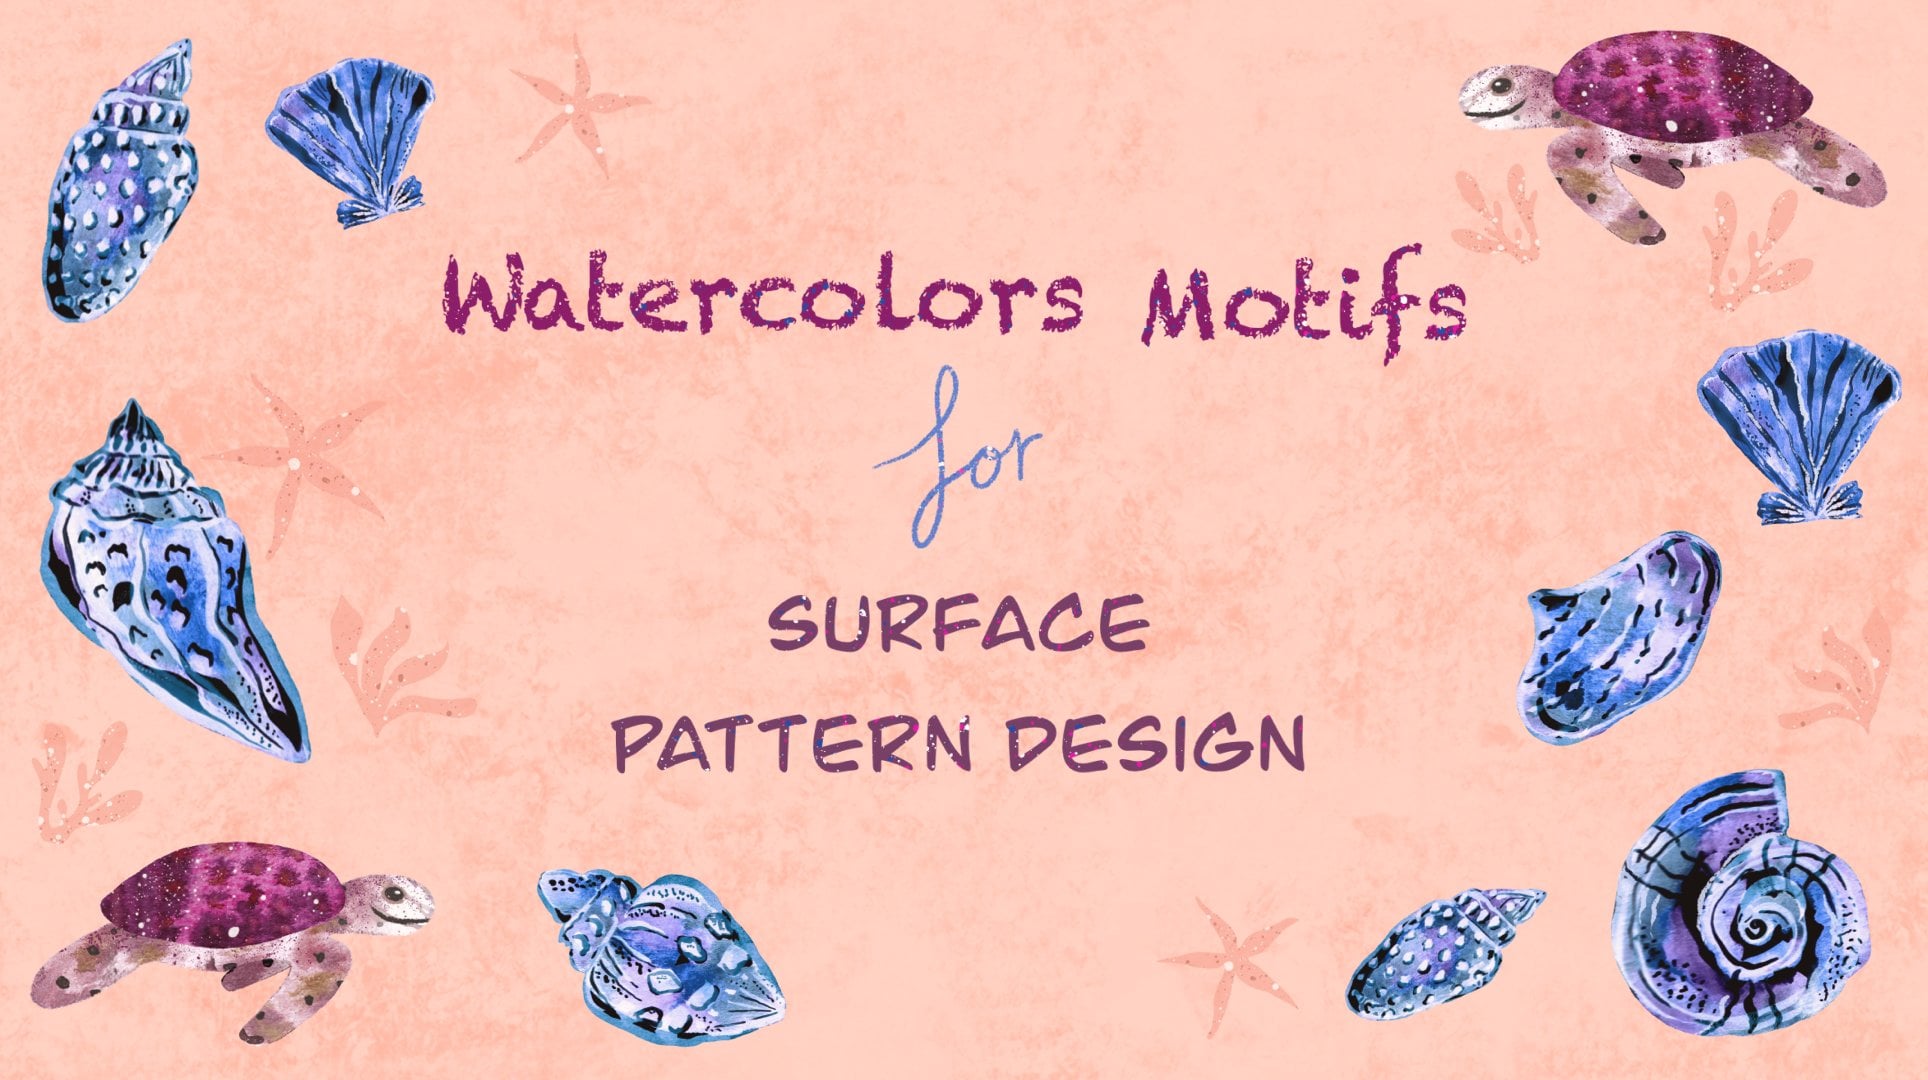
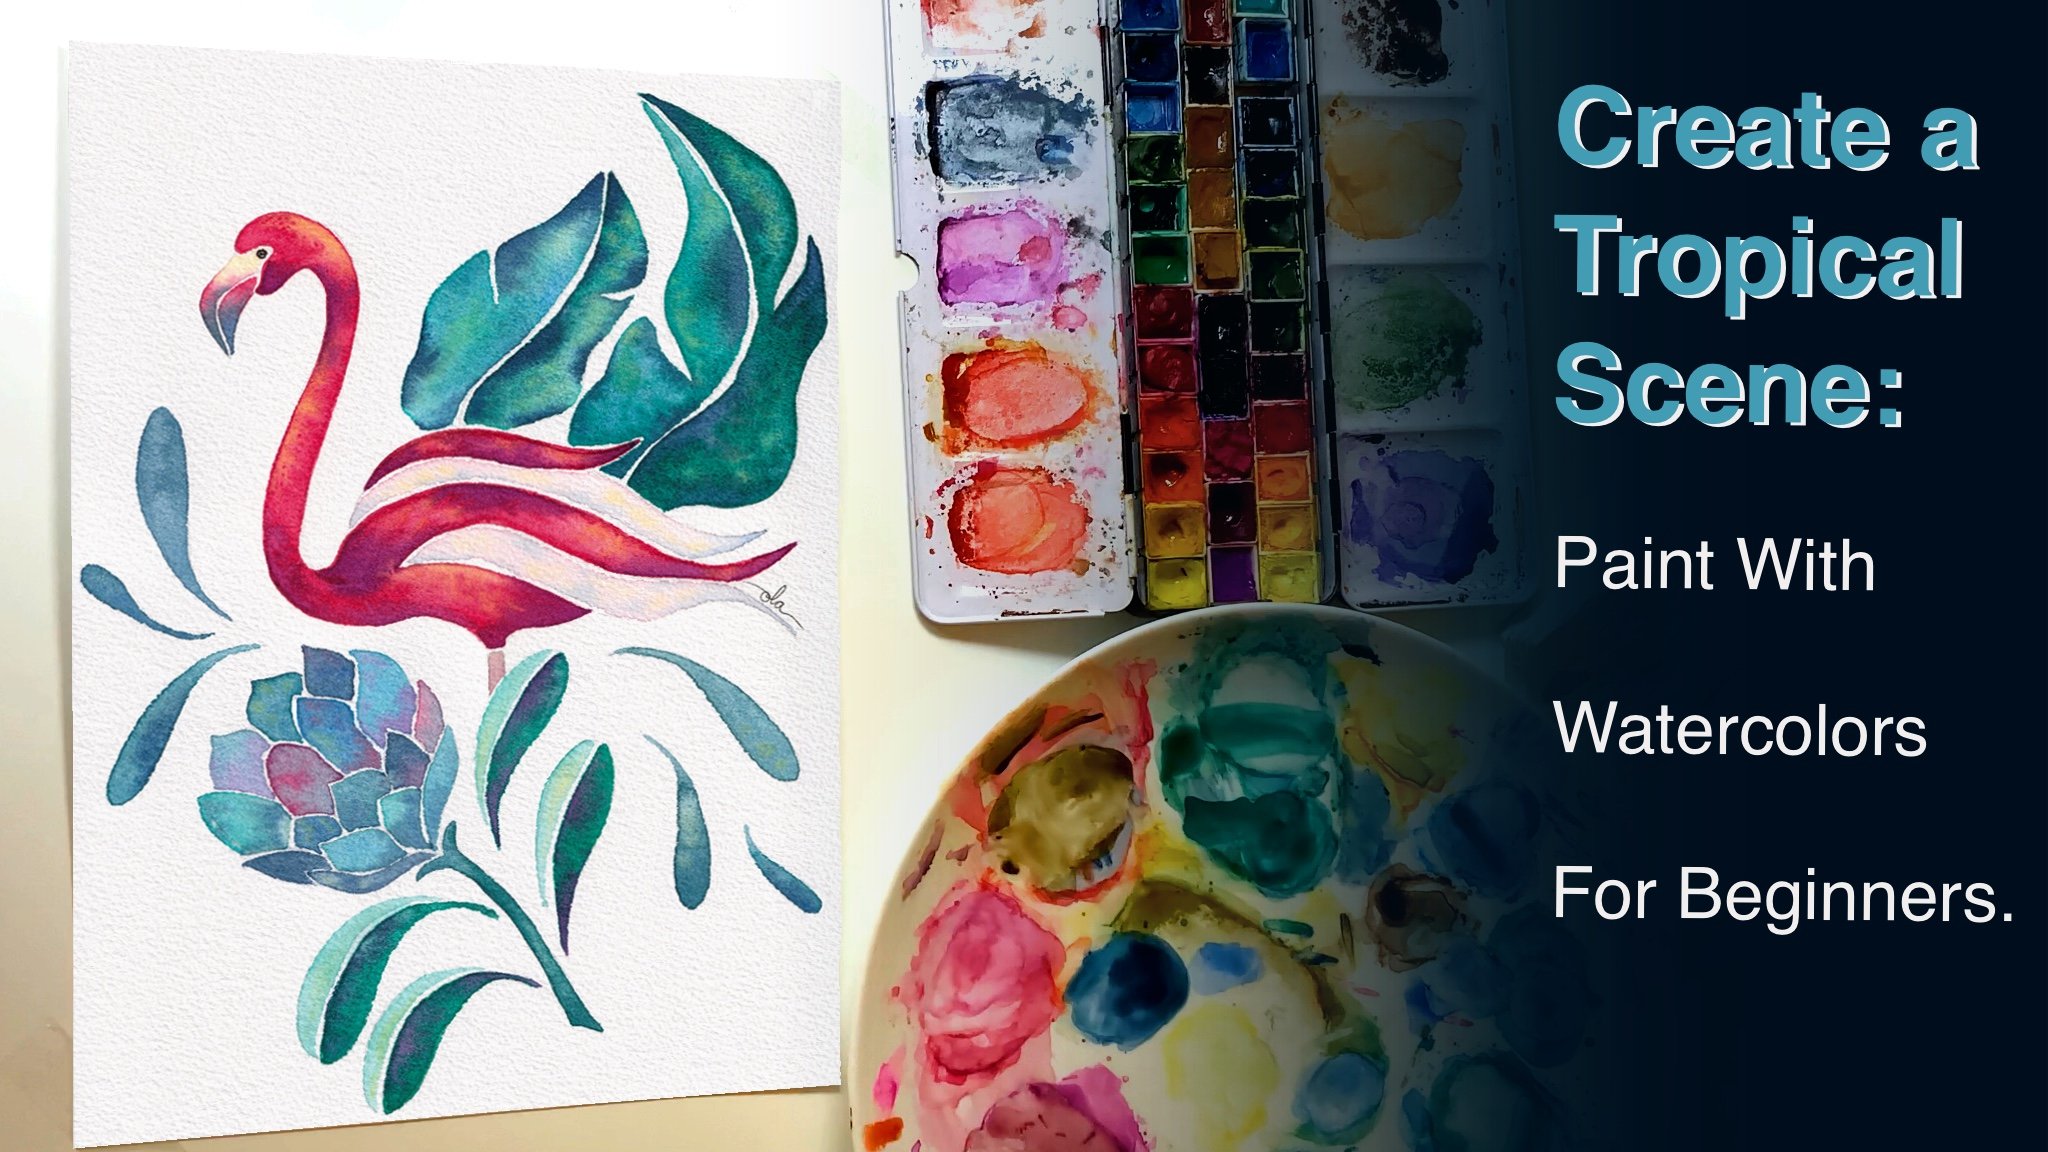
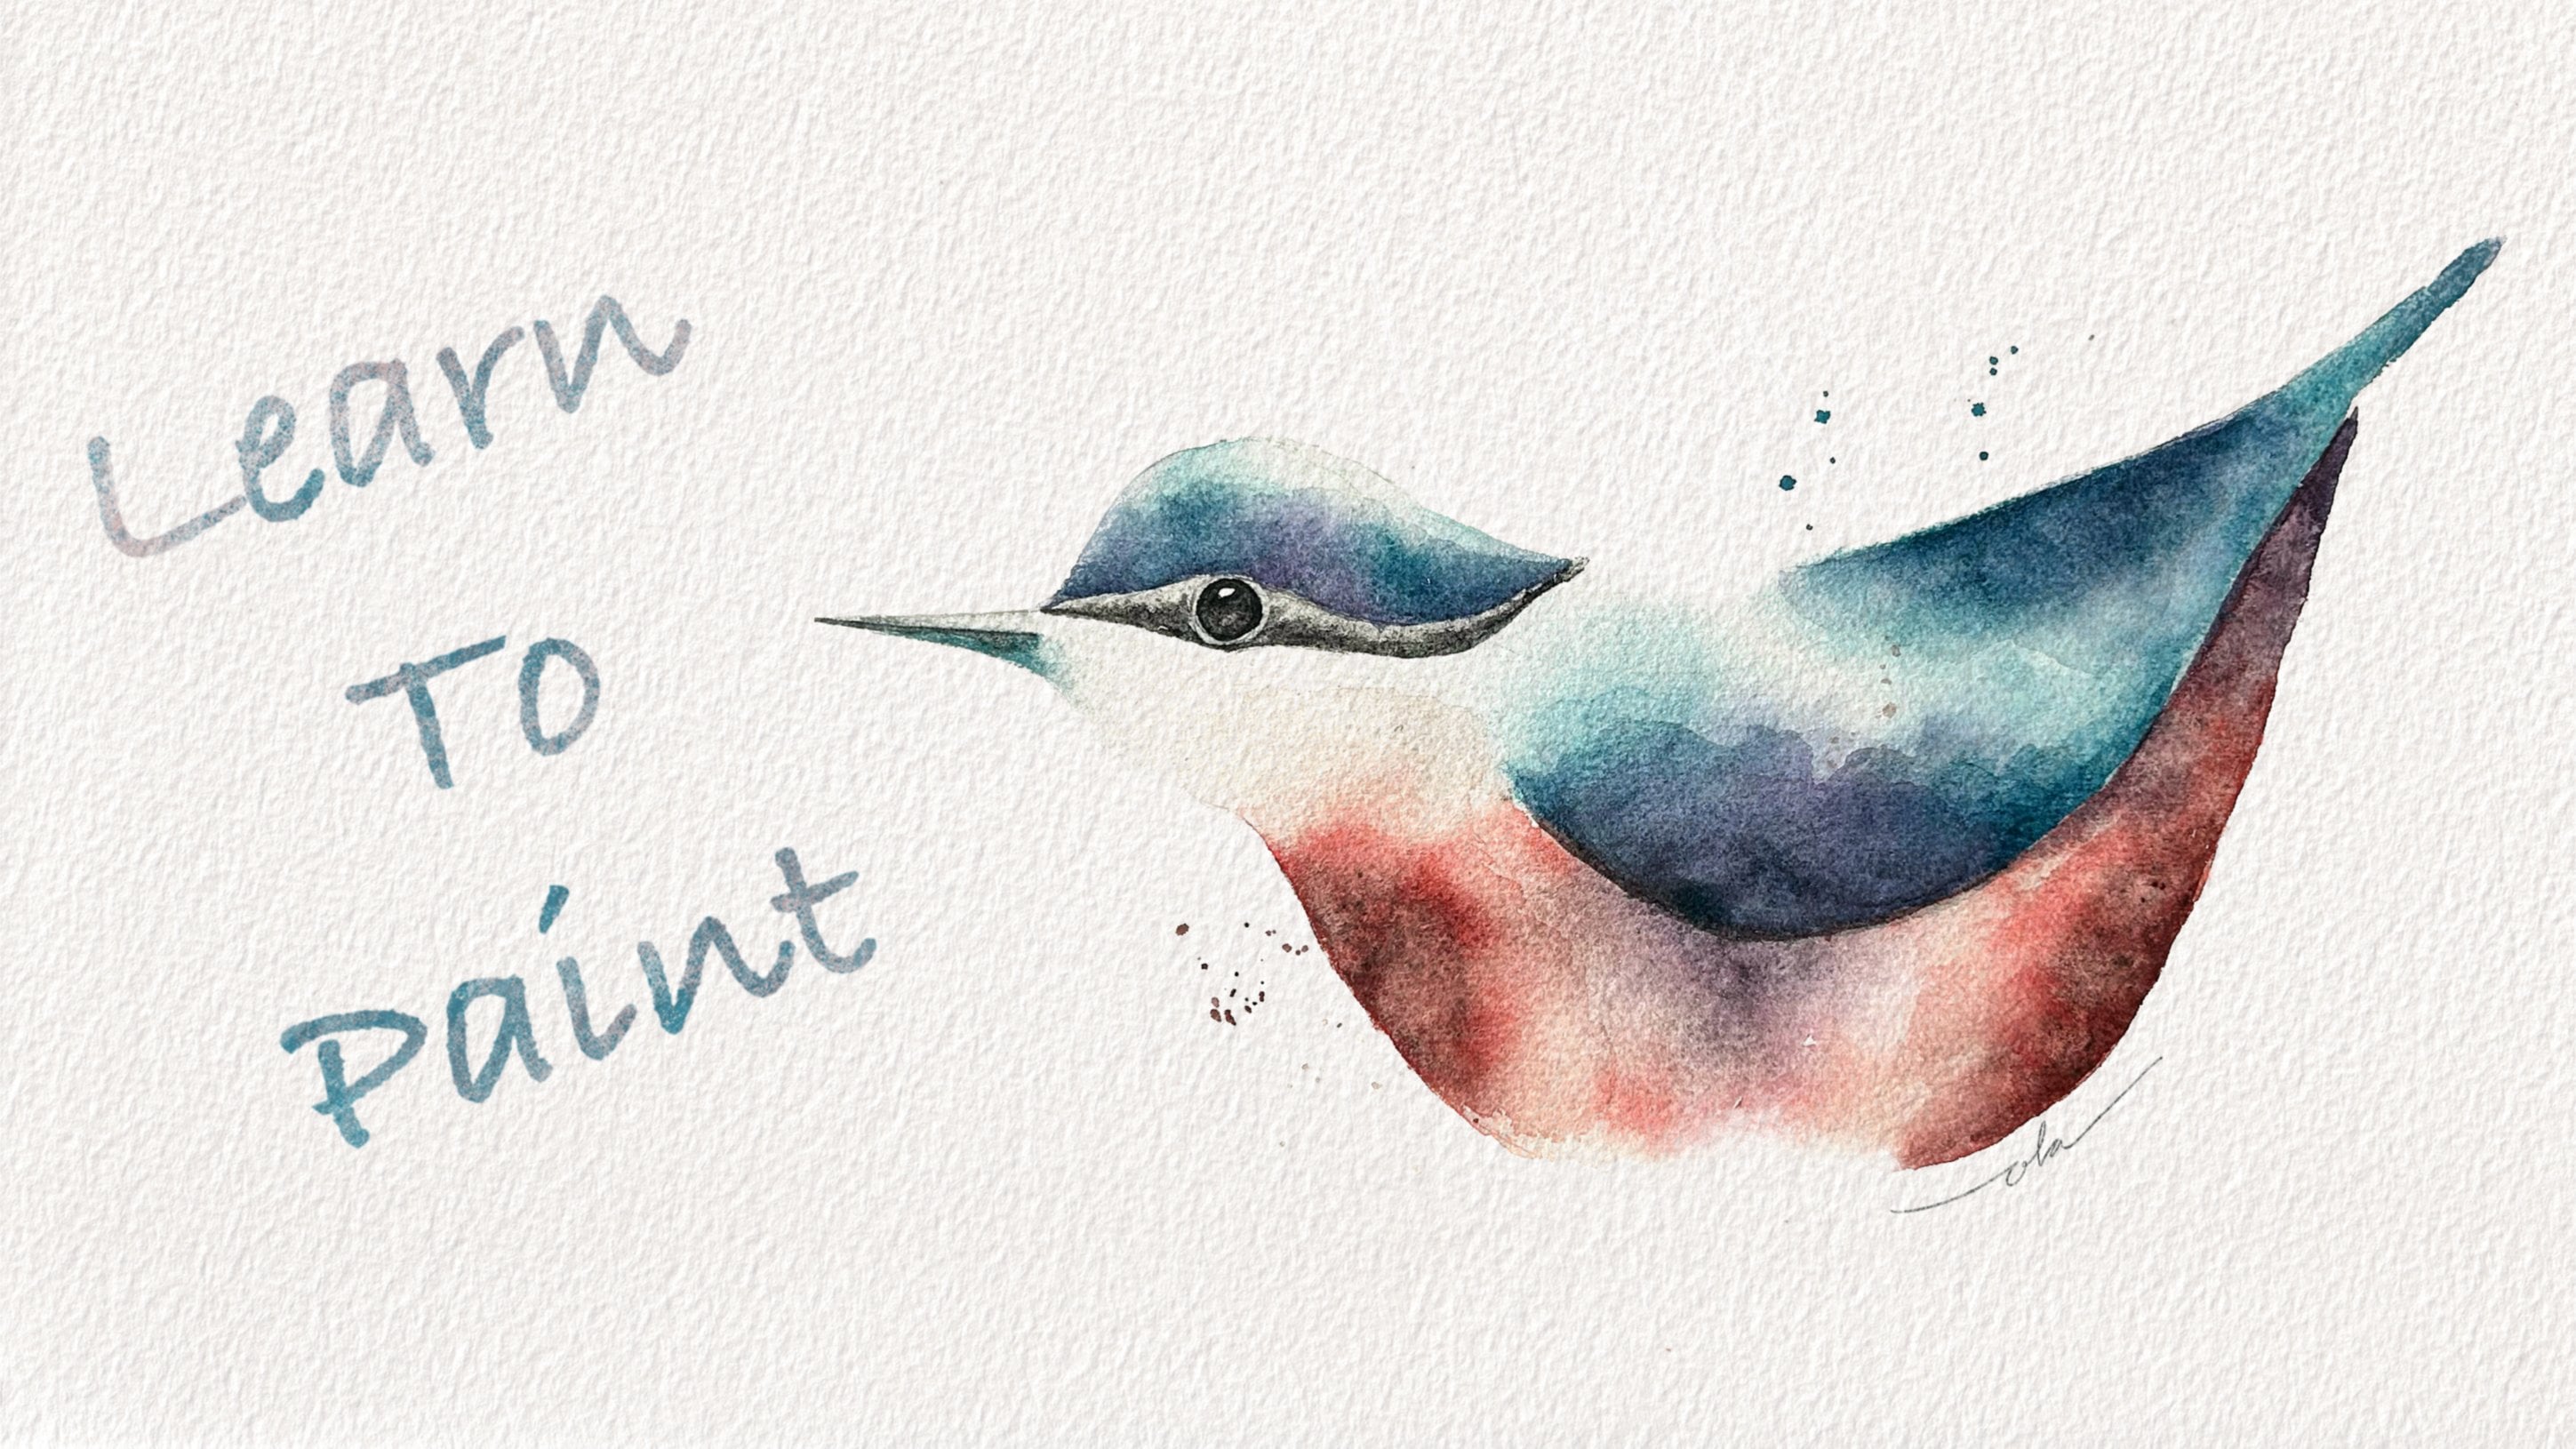
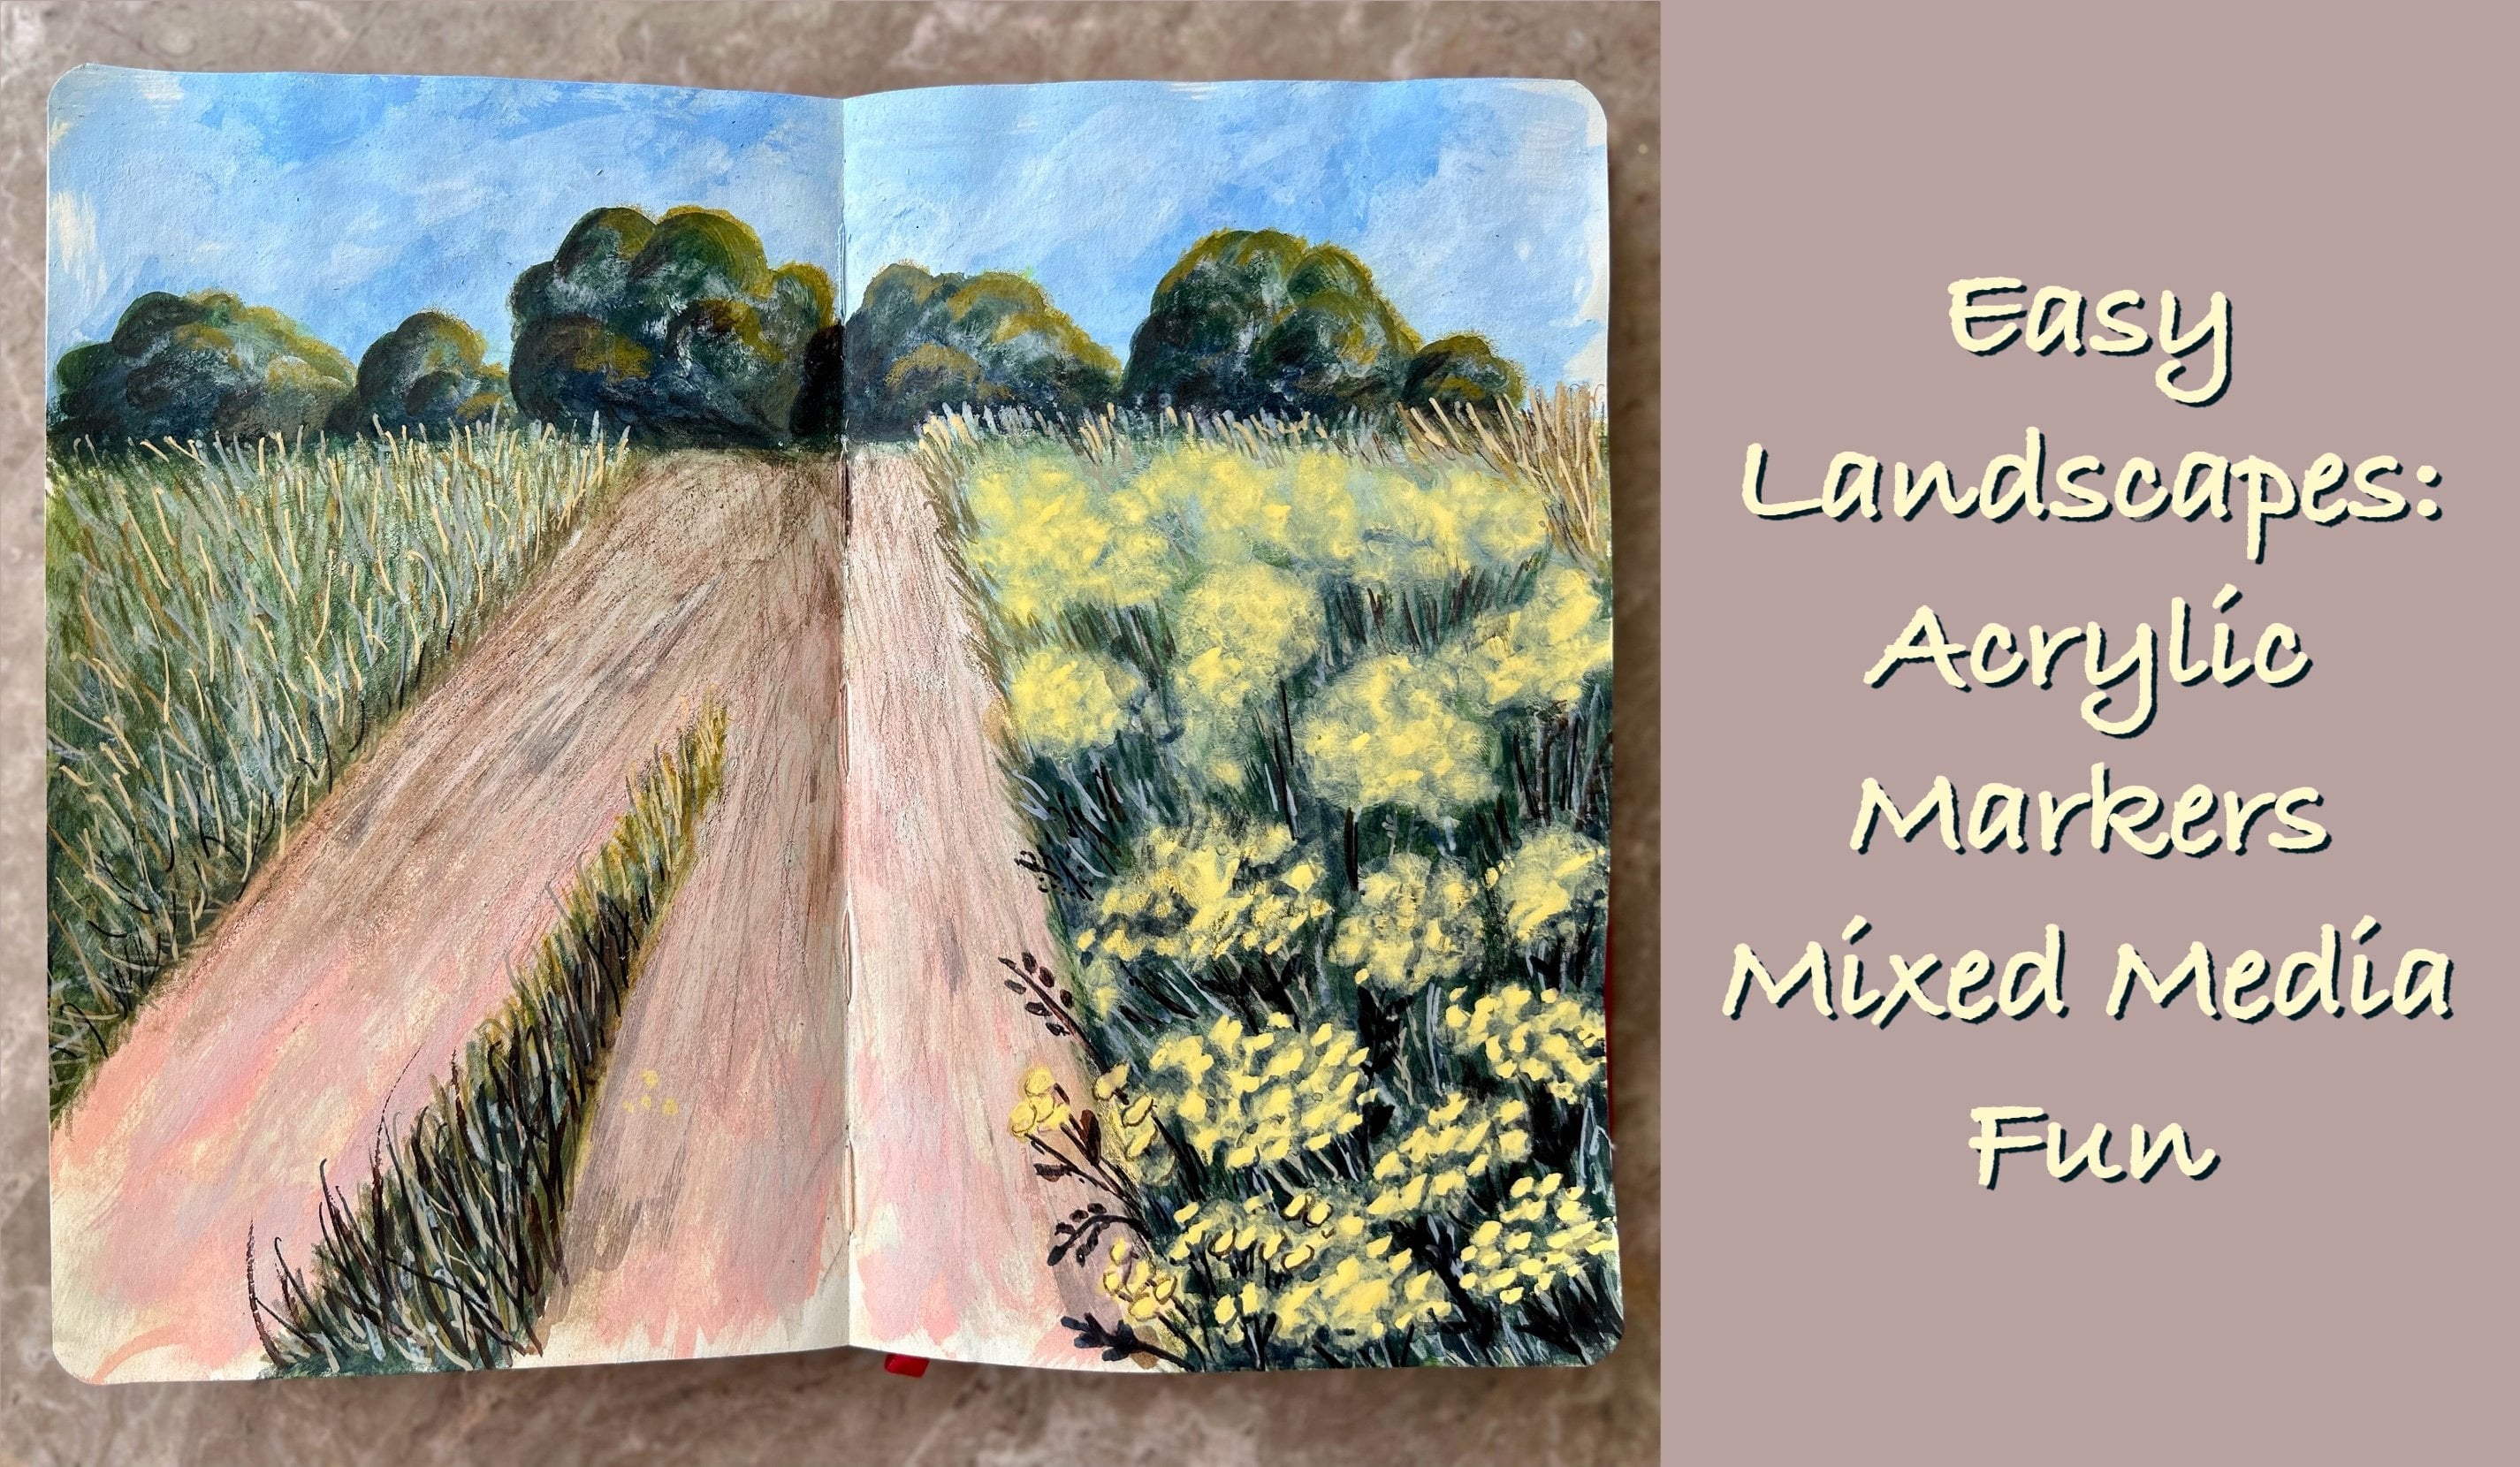
 Ola Alhamedy, Landscapes & Nature Paintings Acrylic &
Watch this class and thousands more
Watch this class and thousands more
Lessons in This Class
-
-
1.
Class Intro
1:35
-
2.
Class Project
0:30
-
3.
Materials And Resources
2:27
-
4.
Painting The Skirt
7:45
-
5.
Top And Shoes
3:35
-
6.
Skin And Body
4:55
-
7.
Hair
3:25
-
8.
Fine Details
4:24
-
9.
Adding Background
5:27
-
10.
Final Thoughts
1:04
-
-
- --
- Beginner level
- Intermediate level
- Advanced level
- All levels
Community Generated
The level is determined by a majority opinion of students who have reviewed this class. The teacher's recommendation is shown until at least 5 student responses are collected.
53
Students
5
Projects
About This Class
In this class you’ll learn how to create a dreamy watercolor ballerina in Procreate on Ipad, you will learn about layers, Compositions, Blending modes, Watercolor brushes and many useful techniques to replicate the traditional watercolor painting.
Everything is step-by-step, It’s a beginner friendly class.
You’ll be able to follow along even if you’ve never painted with watercolors before or if you don’t have much experience in Procreate.
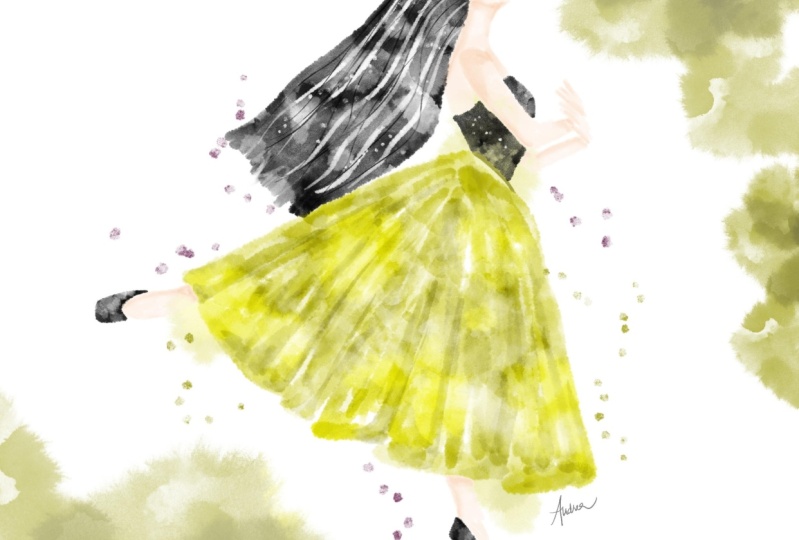
With 7 brushes, a ready-to-use sketch, watercolor paper, and a colors palette which are all included with your enrollment, you have everything you need to paint a dreamy watercolor ballerina that you can sell on your print on demand shop, or hang it on your wall.
Plus you’ll be prepared to paint any subject you’d like in the future very easily with very simple steps.
you can find me on:

Hands-on Class Project
Want to learn how to replicate traditional watercolor painting on your iPad in Procreate? We’re going to draw a dreamy watercolor ballerina “Digitally”
This project is step by step and easy to follow…
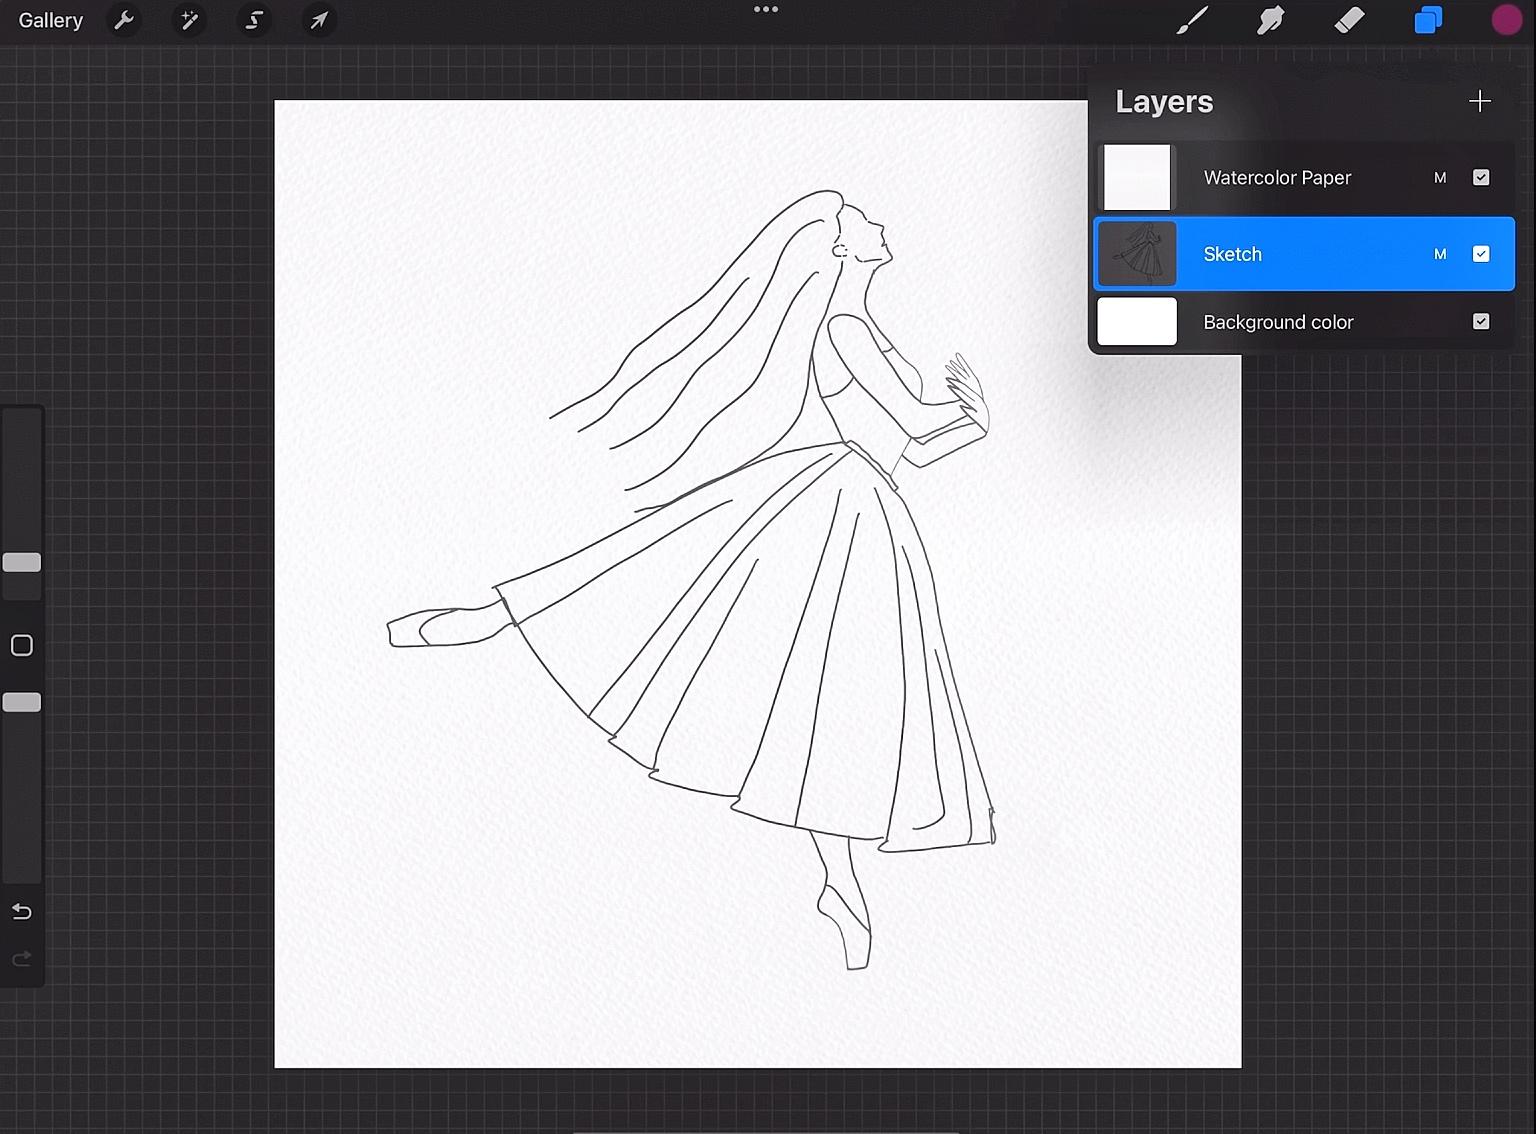
First, Prepare your canvas and the sketch… you can use the sketch that is provided to free download in the project and resources section or you can follow along with your own sketch
Step 2:
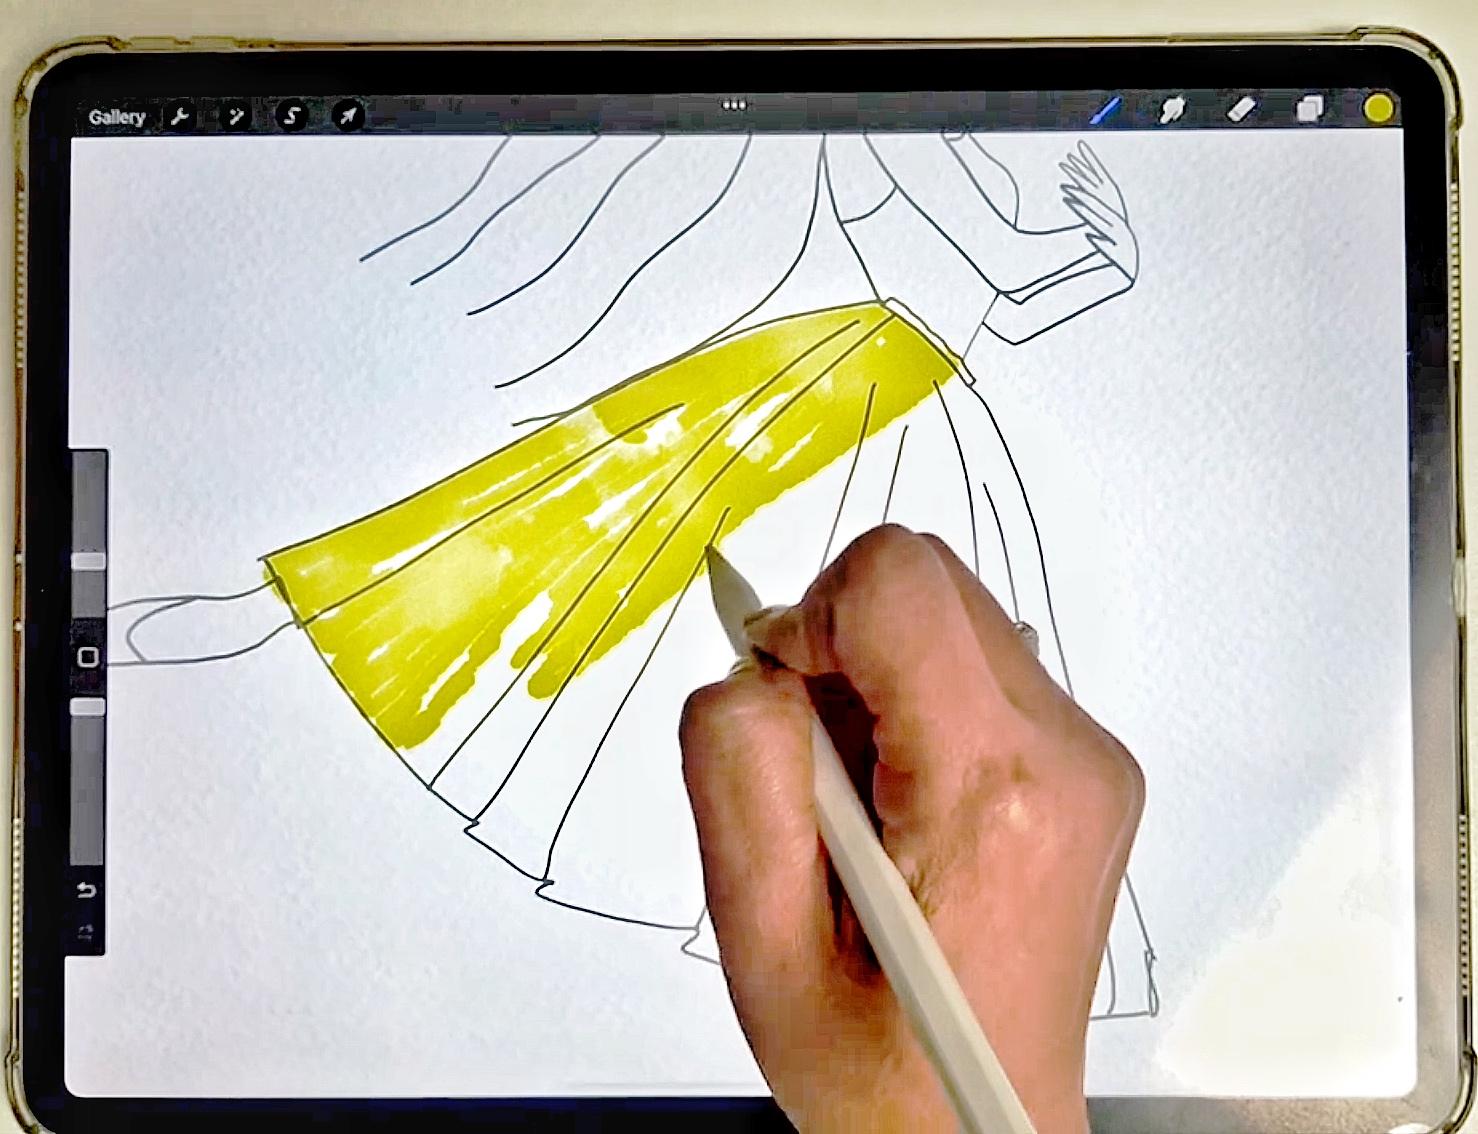
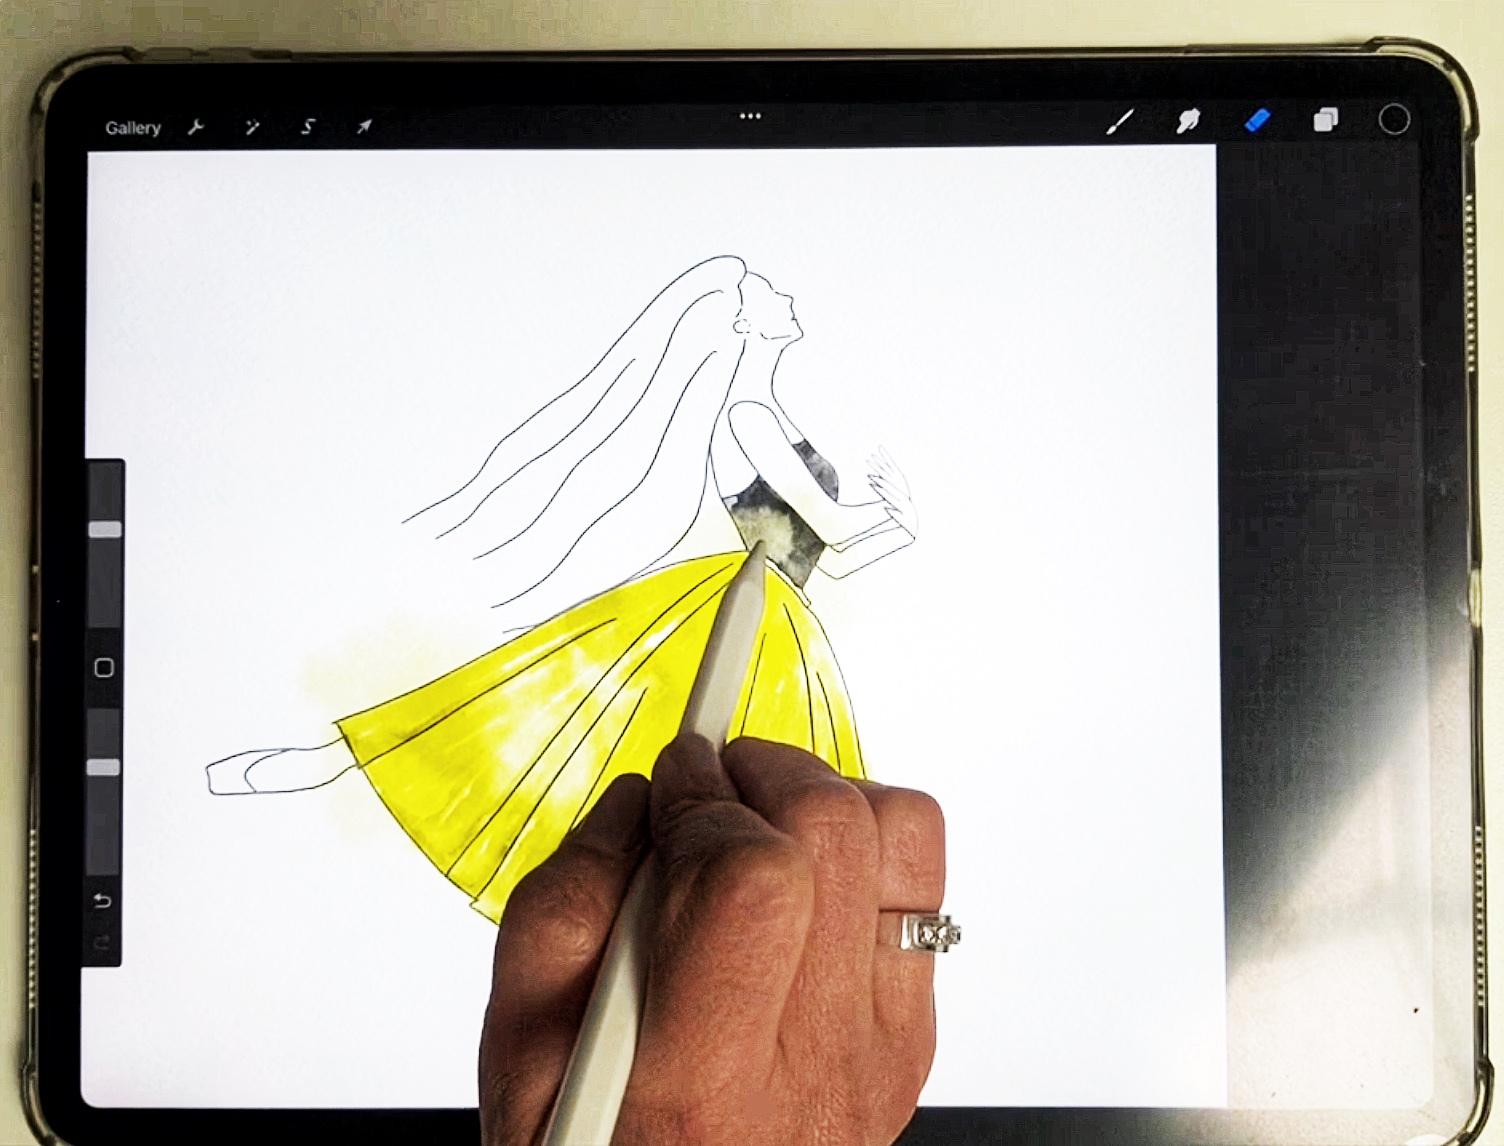
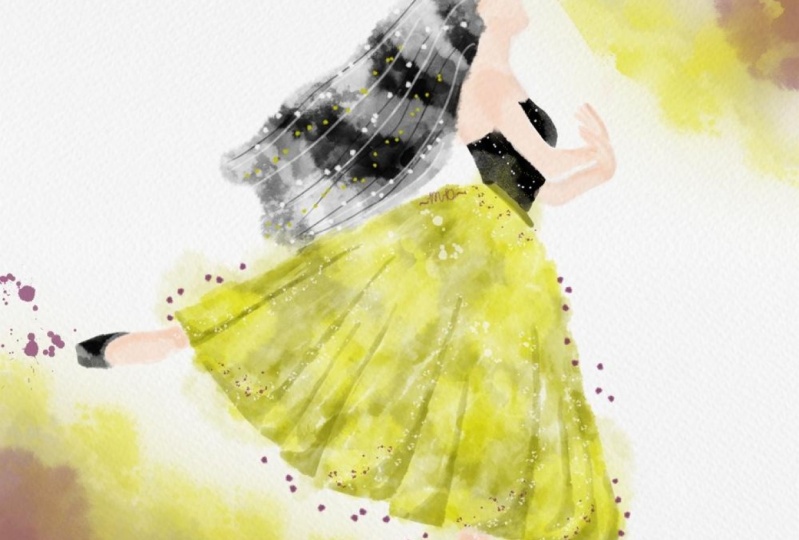
Start painting.
Step 3:
Using the watercolor brushes in the class resources to add the watercolors effect.
Step 4:
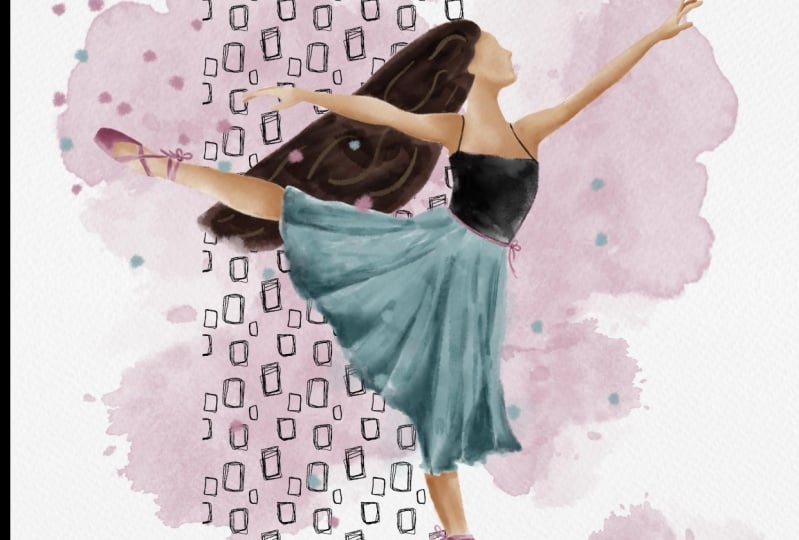
Adding background and fine details.

I'd love to see the designs that you created throughout this class!
Please feel free to share your final project.
Class Ratings
Why Join Skillshare?
Take award-winning Skillshare Original Classes
Each class has short lessons, hands-on projects
Your membership supports Skillshare teachers
Learn From Anywhere
Take classes on the go with the Skillshare app. Stream or download to watch on the plane, the subway, or wherever you learn best.