Transcripts
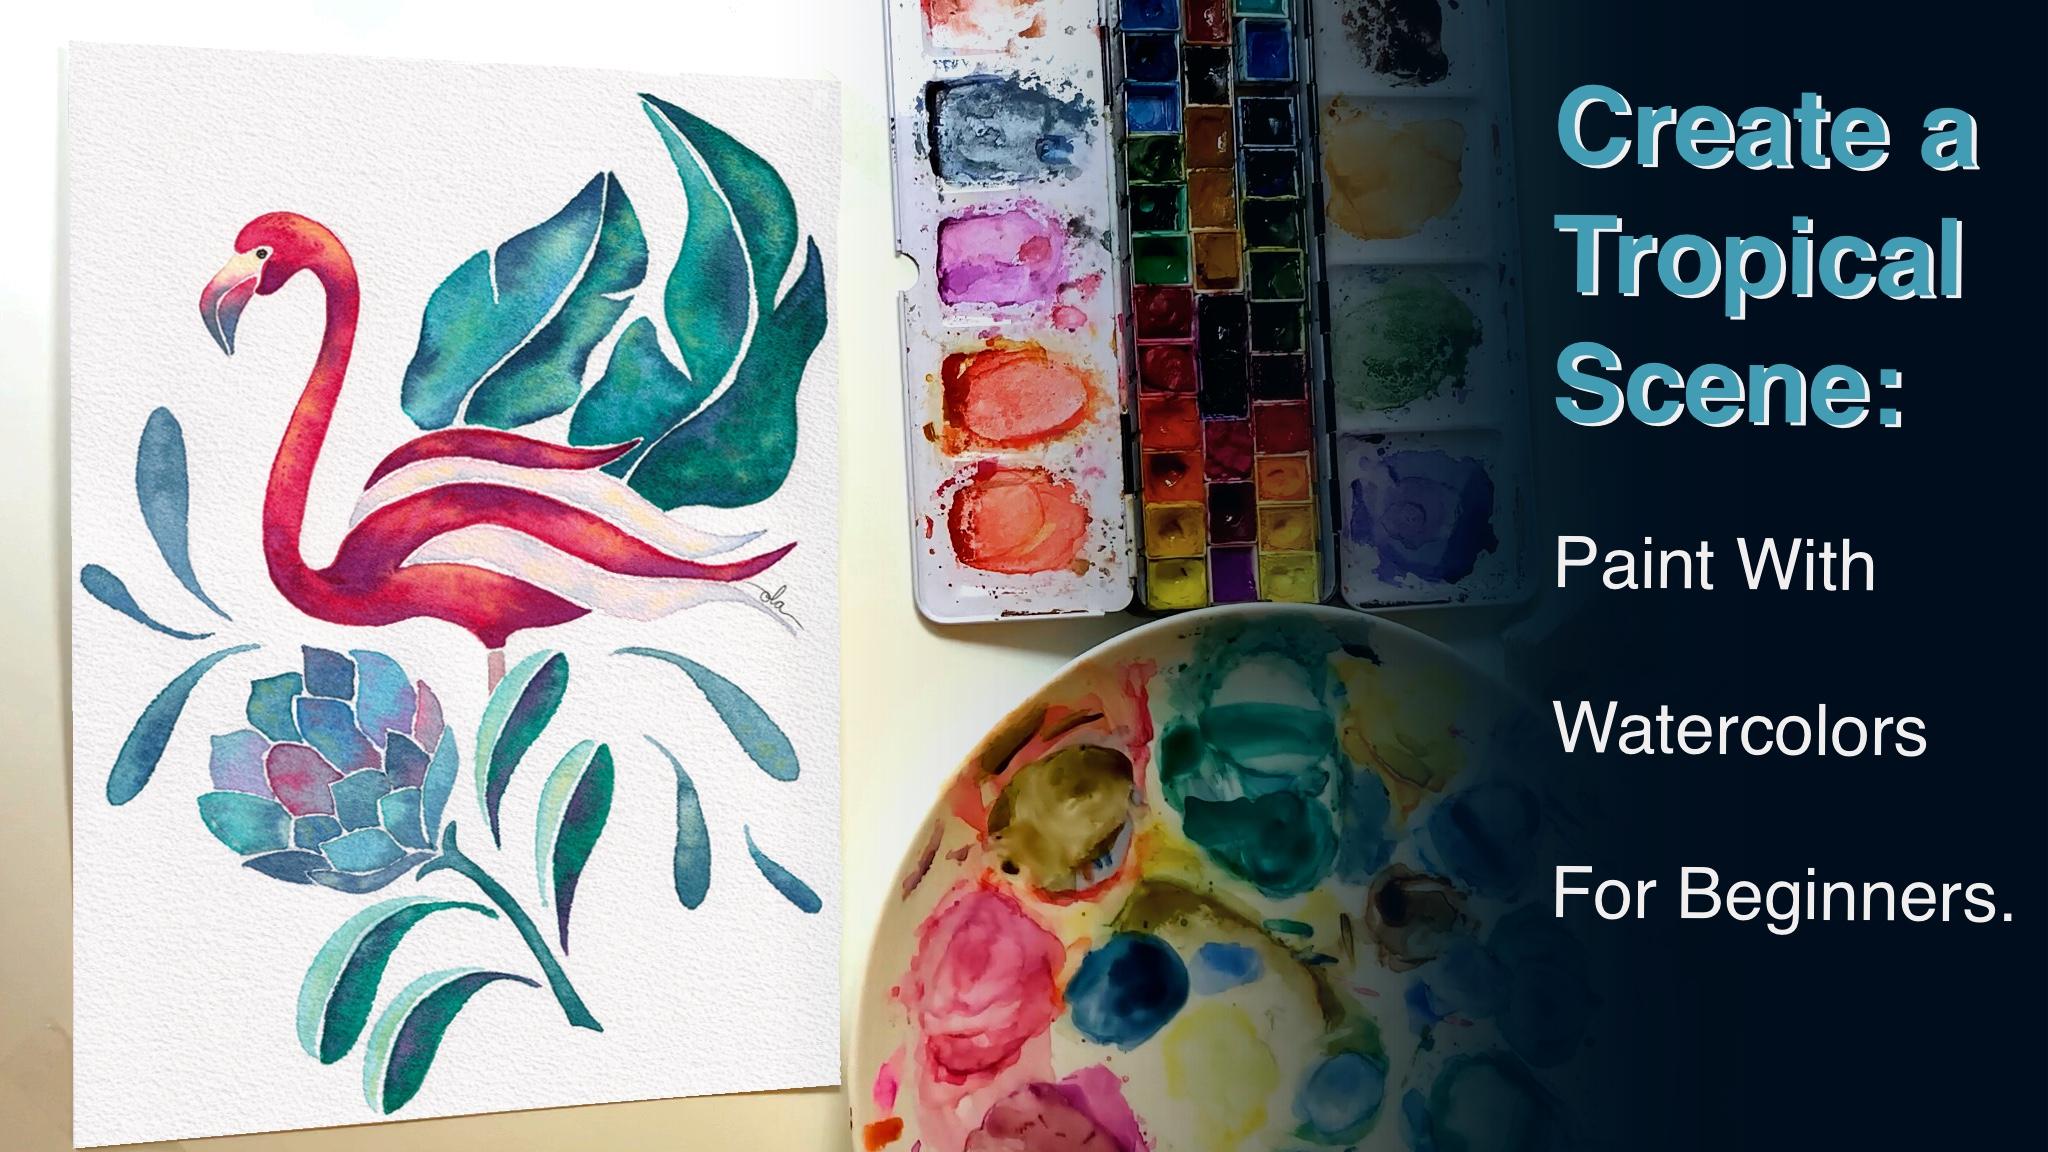
1. Class intro: Hello everyone. My name is Ola. I am a professional artist, surface pattern designer,
and online educator. I sell my art online on print on demand websites like
Spoonflower and Society6. In this class, I'll take you on a
journey to the Tropicals. We are going to create
our own imaginary scene. We're going to explore
colors and enjoy painting. In this class, you're going
to learn how to mix colors on paper and how to choose
your own color palette. You can download my scene
sketch to work along with me, or you can create
your own scene. If you want to try painting as an artist or just
as an observer, so this class is for you. Let's get started.
2. Class Project and Resources: Your project is to create a watercolor
tropical scene, using the different
techniques and tips that you're going to learn
with me in this class. I am providing you with the sketch
I used in my scene, which you can download from the class Projects and
Resources section. When you open Skillshare
from a browser, not from the app. Open the browser, go to
Projects and Resources. You will find the sketch
here under Resources. Click on the name, Download, tap on this arrow
to see your downloads. Click on the name
to open the photo, then click on " Done ". Feel free to use your own sketch and your
own color palette as well. Now, I'm going to draw my
sketch to start painting. See you in the next lesson.
3. Materials You Will Need : Hi, students. For this purpose.
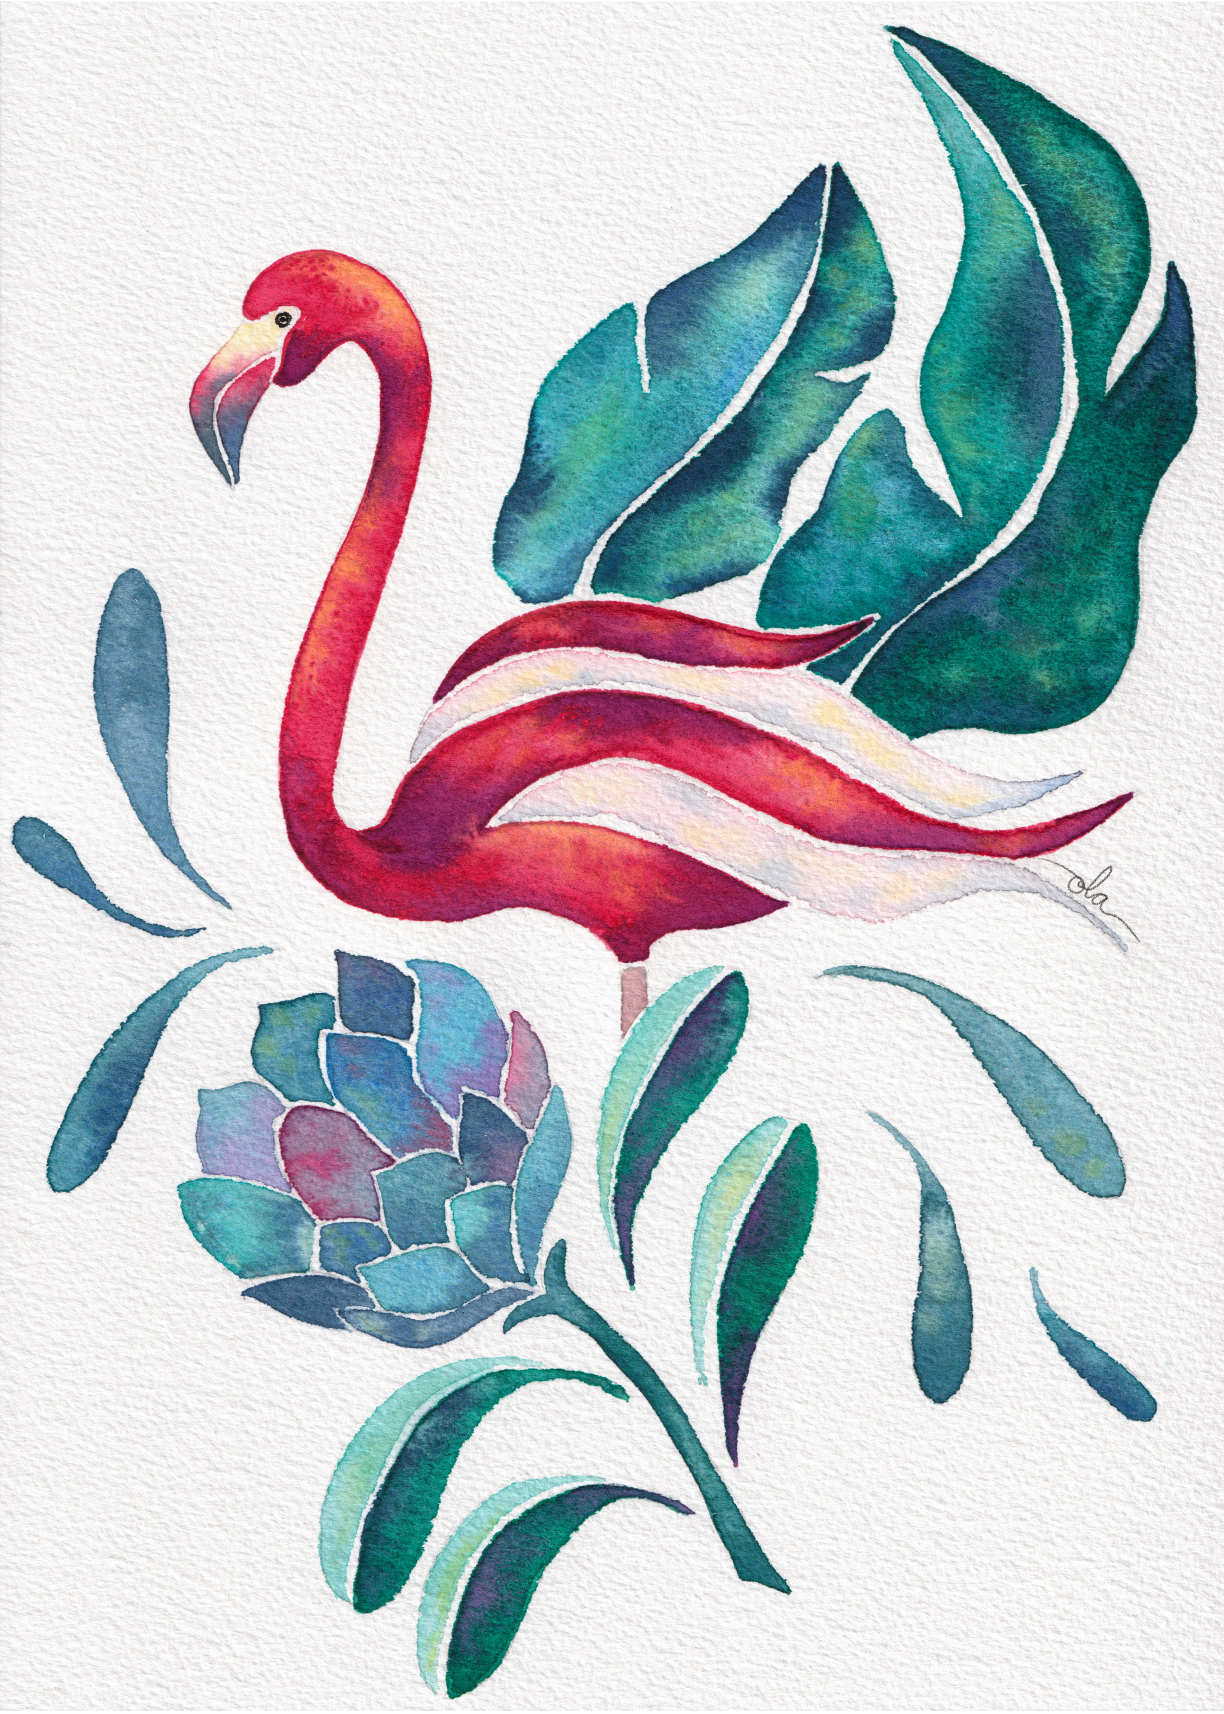
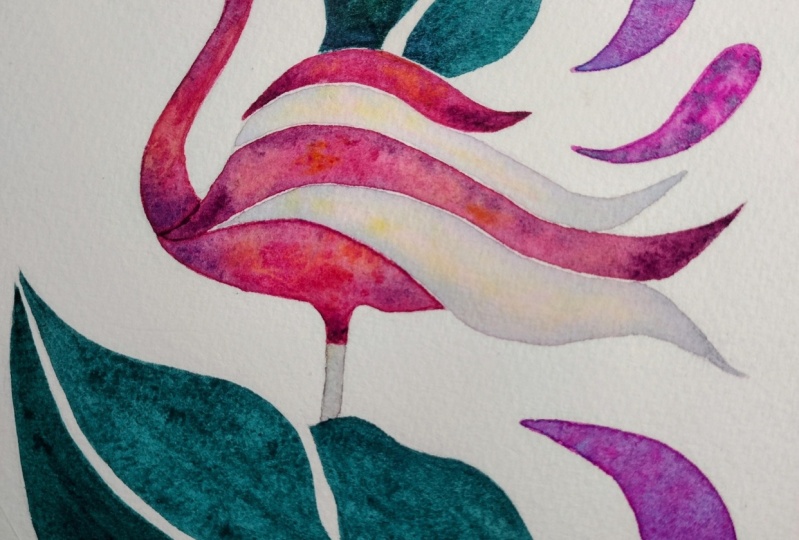
4. Flamingo: Wings And Body: [MUSIC] Our sketch is finished. Now we are ready for painting. I'm going to start
with the flamingo, the hero of our scene. I'm going to use
very warm shades of pink and mauve as I want to draw attention to the flamingo and make it very
vibrant and juicy. I'm using my size 5 round brush
to make some rose madder. I am adding water, but I don't want it
to be a light wash. [MUSIC] We need to work as quickly as we can
before our colors are dried. [MUSIC] I am giving the attention to the edges, and of course you can switch to a detail brush if you
want more control. [MUSIC] Remember to load your brush with
a good amount of water as it will be easier to
spread your colors on paper. [MUSIC] I always like to
mix my colors on paper as it makes my
painting more interesting. I'm going to add mauve color to add a nice contrast
to our flamingo. I'm switching to a size 1
round brush to more control. [MUSIC] I will make little dips here
and there wherever I like. I end this dark mauve to the corners to add
contrast and depth. [MUSIC] I don't
prefer realistic art, so I paint with no rules at all. The only rule I have in my watercolor
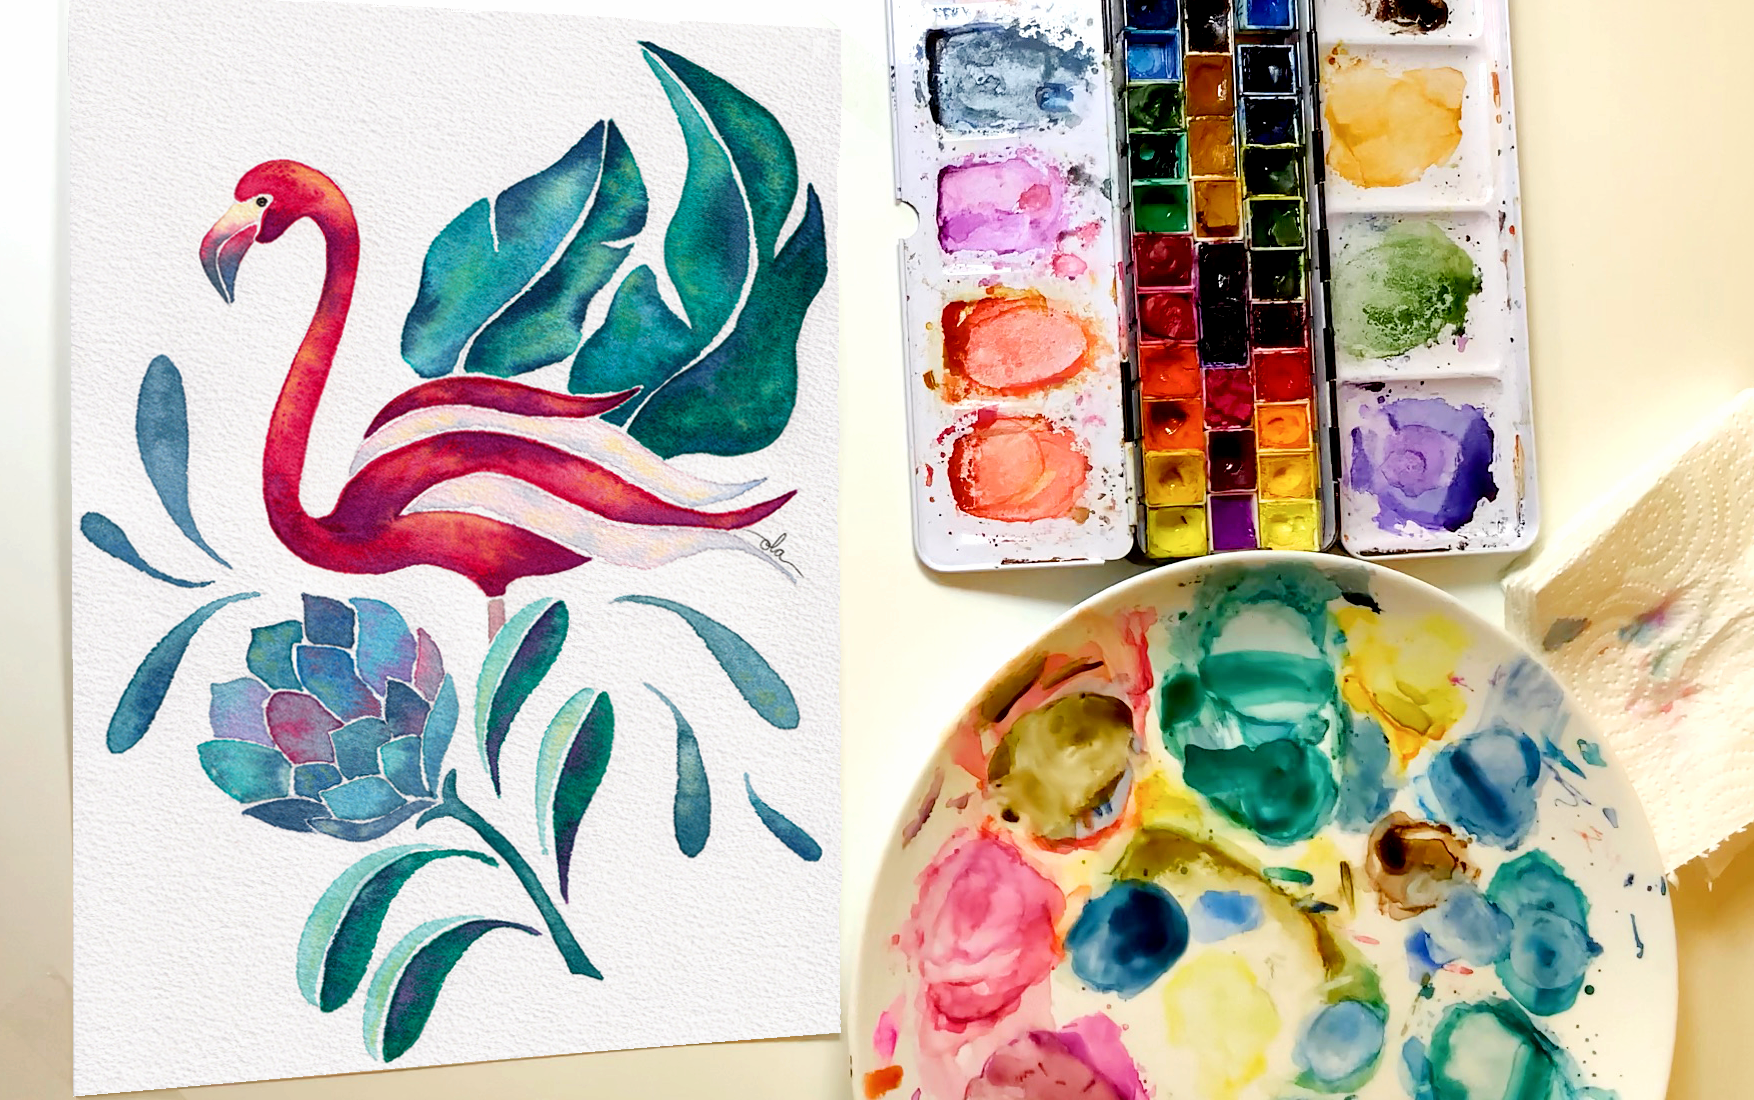
painting is to enjoy. [MUSIC] I will clean a small area in my
palette so that you can see what I
am doing easier. [MUSIC] Now, I am going to
mix some dips of lemon yellow color to make the flamingo even
more interesting. [MUSIC] I'm just touching the paper. I am going to do the
same thing here. [MUSIC] I want this section
to be more vibrant, so I'm adding more pink. [MUSIC]
5. Flamingo: Head and Neck : [MUSIC] Now let's continue our beautiful flamingo. I'm mixing rose madder again. [MUSIC] Remember to define your
edges and also try not to paint over your sketch marks as it will be permanent
in this case. I'm painting so close, but I'm doing my best not to
paint over the sketch marks. [MUSIC] If you feel your paper is dry, just add some water
to your brush. [MUSIC] Before the section is dried, let's add some fun. [MUSIC] I'm adding more
color with my detail brush. [MUSIC] Some little drops of lemon yellow as well [MUSIC]. Back to rose madder and let's complete his hip. [MUSIC] I'm sorry guys my hand is covering
the painting. [MUSIC] I like pink so much. I think I have
pink shade here or there in every single
painting I've done. But, of course, feel free to use your own
preferred color palette. [MUSIC] I'm going to define these edges off camera to have more control, as I'm afraid my head will cover the painting and you won't
be able to see anything. [MUSIC] Now, I'm going to wait
for this section to dry a little bit as I don't want
it to be soaking wet. [MUSIC] While we're waiting, let's paint the legs. So I will mix a gray color. [MUSIC] I'm mixing French
ultramarine with some orange. [MUSIC] I want it to
be a very light wash. [MUSIC] I'm painting
with size 1 round brush. [MUSIC] Now back to the head,
some lemon yellow. [MUSIC] Some mauve. [MUSIC]
6. Flamingo: Finishing : [MUSIC]. Now let's finish our
flamingo [MUSIC]. I'm going to wet the paper with clean water as I want
the colors to blend very softly in the beak [MUSIC]. Let's begin with a very
light wash of lemon yellow. [MUSIC] some of rose madder. [MUSIC]. Finally, some of indigo [MUSIC]. I'm allowing the colors to blend and give us this beautiful gradient [MUSIC]. I'll use the same technique
in the second part. [MUSIC]. First clean water. Make sure to leave a negative space
between the two parts, as we don't want the colors to bleed [MUSIC]. We're going to use
rose madder and indigo in this part [MUSIC]. Take your time and use
a detail brush as it's a very small area [MUSIC]. Now moving to the last two
parts of the flamingo, I am mixing a very light
wash of rose madder. I'll add a big amount of water [MUSIC]. We needed only transparent
with just a hint of color. [MUSIC]. Then just drop a few
little bits of yellow on this area while
it's still wet [MUSIC] and light wash of indigo to define the edge [MUSIC]. I am going to do the same thing here [MUSIC]. At this point, our flamingo
is completely finished. [MUSIC]
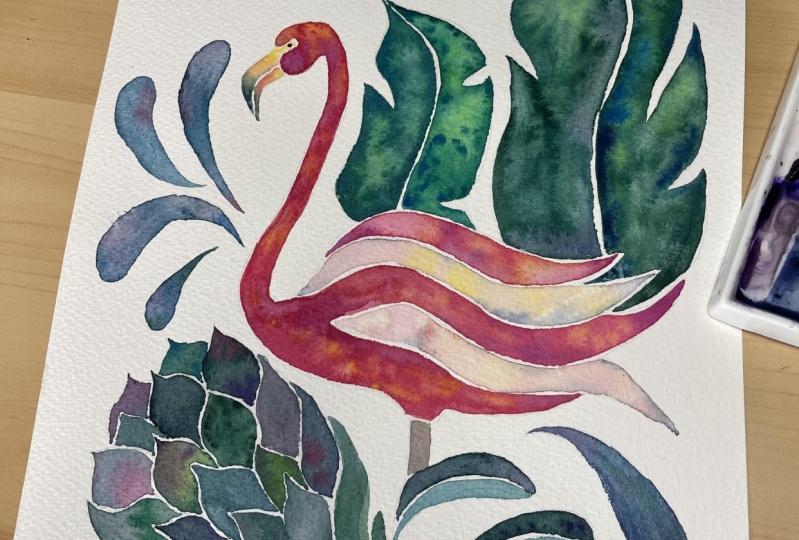
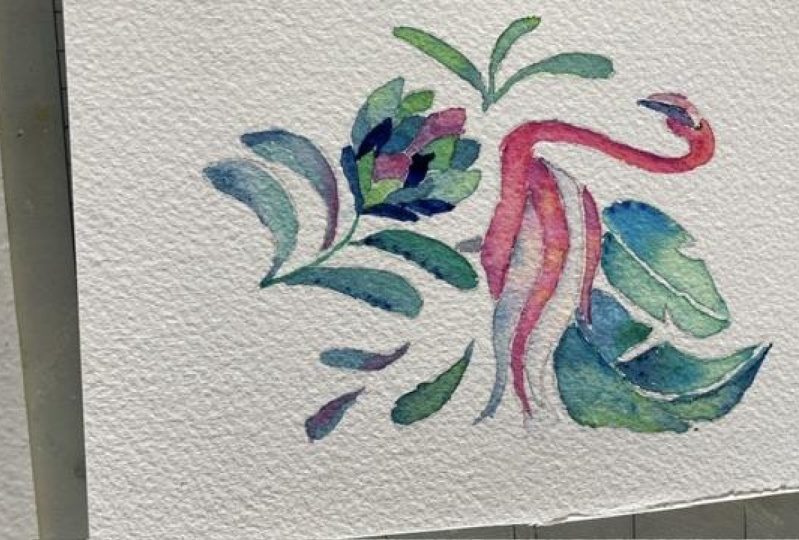
7. Leaves: Mixing Colors : [MUSIC] As our flamingo is
completely finished, let's go ahead and work
on another section. The next step is going to
be filling in these leaves. I am mixing this viridian green and some
French ultramarine. [MUSIC] I am using size 5
brush as it will be easier to fill
in this large area. [MUSIC] Take your time
defining the edges. If you need more control, you can switch to
a detail brush. [MUSIC] As you see, I am working with no
source photo at all. The only rule is to explore
colors and enjoy painting. [MUSIC] We don't want our
leaves to be boring, so let's add some fun
drops of lemon yellow. [MUSIC] For adding depth, I need to use some
darker shades. So let's add a little
bit of indigo. [MUSIC] For the smaller leaf, I'm using the same mix but with more water as I want these
leaves to be lighter. Remember, in watercolors, more water equals lighter color. [MUSIC] I'm almost adding just water to the color existing
on the paper. [MUSIC] Now a few drops of the concentrated mix to have different shades
in my painting. [MUSIC]
8. Leaves :Finishing : [MUSIC] In this lesson, we're going to continue
painting our leaves. Now, the first part of the
small leaf is still very wet, so I'll give it some time to dry a little bit before
adding more colors. In this time, I'm going to paint the second part
of the big leaf. I'm using the same mix of radiant green and French
ultramarine with just a touch of turquoise to add
a variety of colors to our painting and make
it more interesting. [MUSIC] Take your time in this area
as it's very small and, of course, it's a good idea to switch to a detail brush here. [MUSIC] I'll leave it to
dry a little bit. Now we can add some fun
colors to the small leaf. I will begin with indigo
to add a nice contrast. [MUSIC] Some lemon yellow, only a few drops. We don't need more. [MUSIC] I'll do the same in this part. [MUSIC] Now to the last part, as before, I am going
to use the same mix of colors with more
water to be lighter. [MUSIC] I am using a bigger
brush to add the water. [MUSIC] Now we can define the edges
with a smaller brush. [MUSIC] I think a few drops of cobalt blue here and
there will be nice. [MUSIC] Yes, I like it. I'll add a little more to
the first leaf as well. [MUSIC] I think it's more bluish than I want, so I am going to add
some of this mix, to make it more green. [MUSIC] Yeah, perfect. [MUSIC]
9. Flower: We're almost there.
In this lesson, we're going to paint the flower and finish our beautiful
tropical scene. Let's begin with French
ultramarine medium wash to paint some of
the flowers petals. Let's add indigo for this part where the petals are
connected to the flower. I am trying to create a balance between the petals colors, as I am going to add
more colors later. Let's try and move here. I like to add
unexpected colors to some petals as I don't want
it to be a boring painting. Let's paint some
petals in indigo. I am using the same mix
that we use in painting our leaves to create harmony between the
leaves and the flower. Let's add some rose
madder petals to create harmony with
the flamingo as well. If needed define the edges
with a detailed brush. Of course, it's okay to make
mistakes so don't panic. I am going to complete
all the remaining petals. We finished the petals, so let's paint the stem. I am mixing viridian
green and indigo. For the leaves I'm going to mix viridian green and
French ultramarine. I am going to paint half of the leaves with this mix and for the rest I'll use
the same mix but I'll make it lighter
by adding more water. [MUSIC] Now, let's add some interesting
colors to our leaves. I am going to finish the rest and see
you in the next lesson.
10. Final Thoughts : We did it, my friends. Congratulations on finishing your own watercolor
tropical scene. Don't forget to outline
the flamingo's eye with a fine line pen [MUSIC]. You can go ahead and erase
out all the pencil marks now. Feel free to explore and try different color palettes [MUSIC]. You can hang your painting on a wall in your
house to enjoy it, or you can take your
creativity to the next level. If you want to learn
how to digitize your painting so you can upload it on
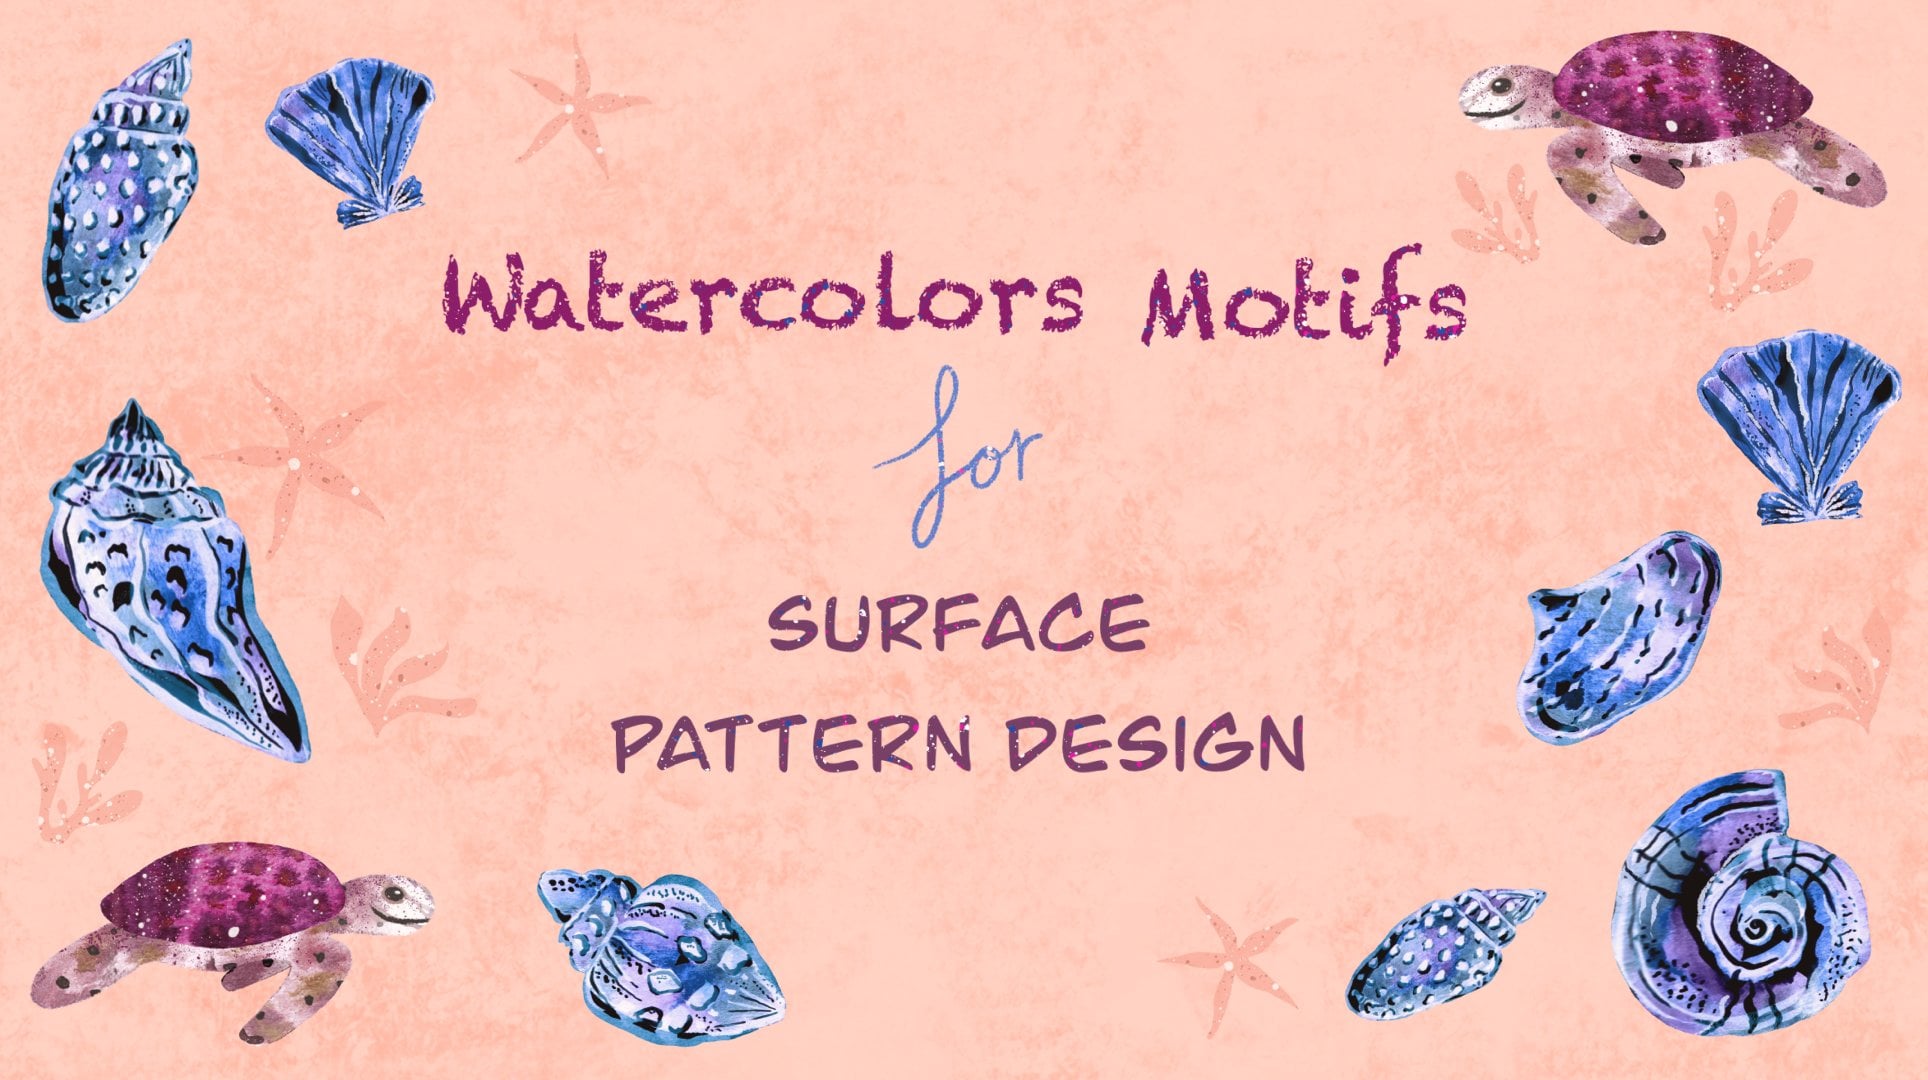
print-on-demand websites, check out my other
Skillshare class, modern watercolor motifs for surface pattern design
from then to Procreate. In this class, I'll show you
the scan settings I use, how have to remove background and editing
colors in Procreate. Even more, you can
learn how to turn your painting into a
professional pattern. Thank you so much
for joining me. I hope you enjoyed this class. Please leave a review. It means a lot to me. If you have any questions or
comments about the class, feel free to post it in
the class discussion. Follow me here on
Skillshare to be the first to know as soon as
I launch my next class. You can also follow me on Instagram @ola_al_hamedy to
see my paintings and designs. Don't forget to upload your final painting to
the project gallery. If you share it on social
media, please tag me. Thanks again. See you in my next class [MUSIC].
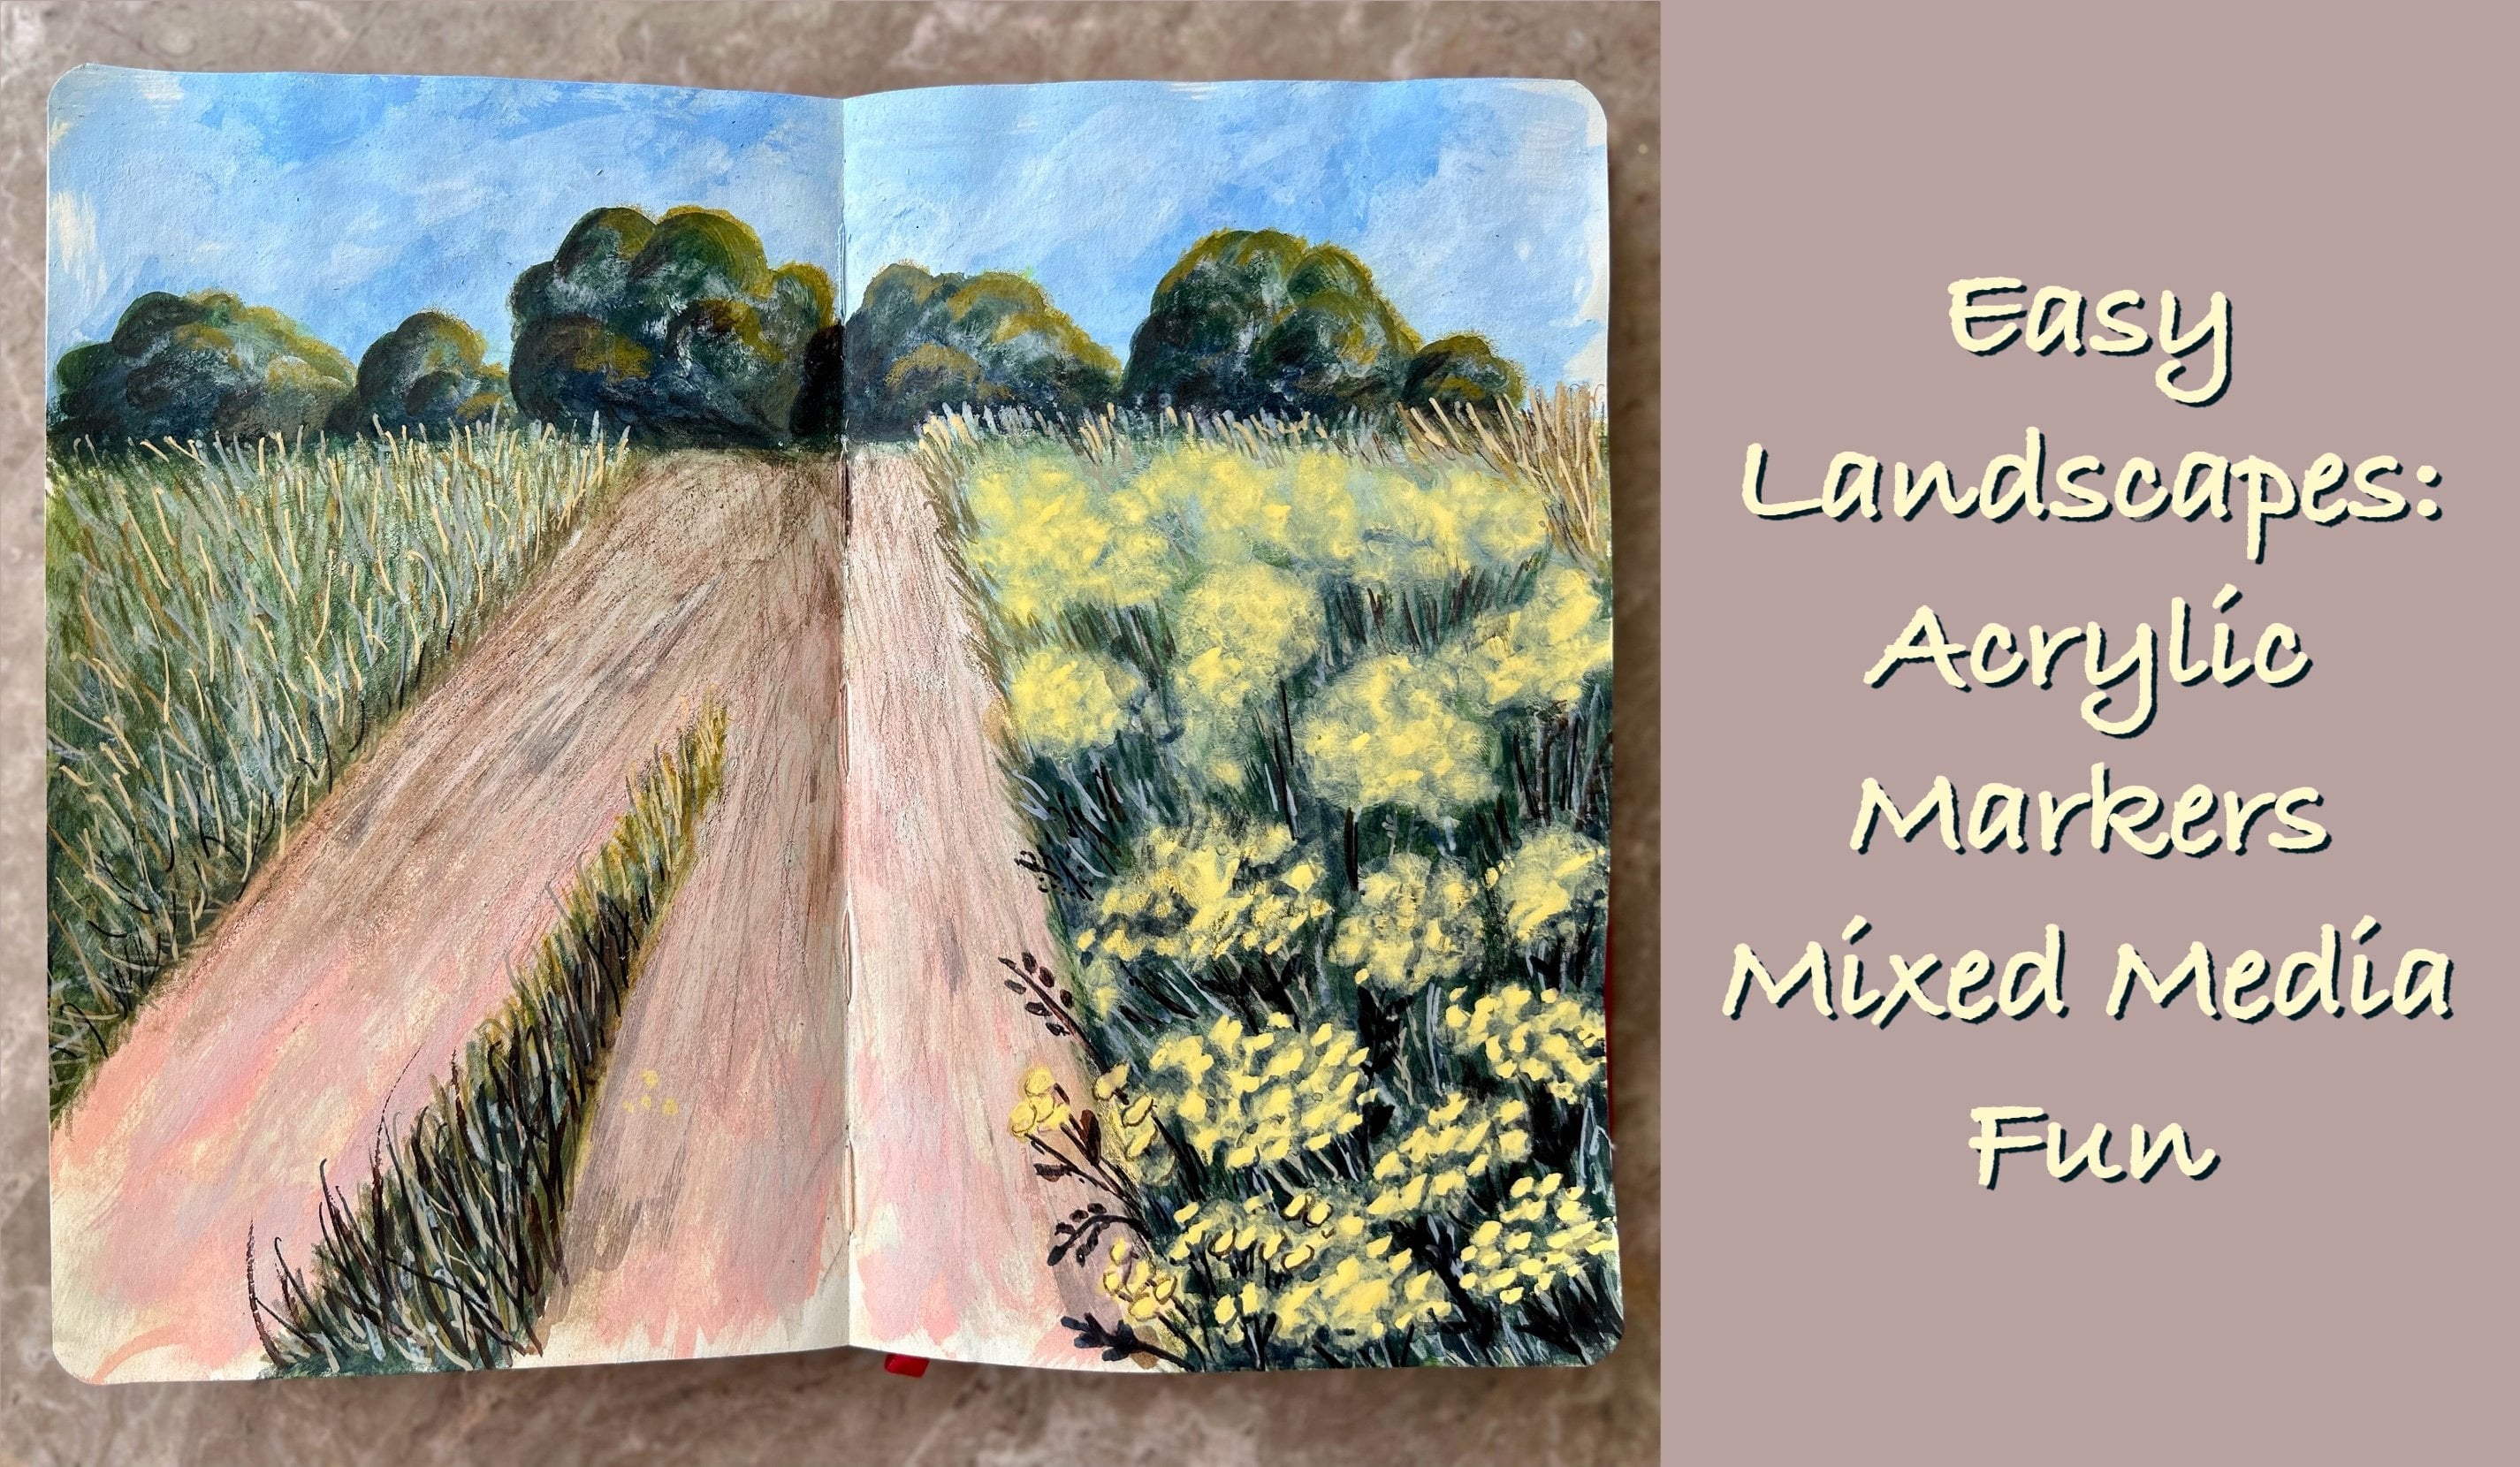
 Ola Alhamedy, Landscapes & Nature Paintings Acrylic &