Learn To Paint A Simple Bird In Watercolor: Easy To Follow Step By Step Painting
 Ola Alhamedy, Landscapes & Nature Paintings Acrylic &
Watch this class and thousands more
Watch this class and thousands more
Lessons in This Class
-
-
1.
Class Introduction
1:12
-
2.
Class Project
1:43
-
3.
Materials And Supplies
1:19
-
4.
Body First Wash
3:56
-
5.
Eye And Head
3:30
-
6.
Wing And Beak First Wash
4:47
-
7.
Second Wash
6:25
-
8.
Finishing Off
1:48
-
9.
Thank You
0:35
-
-
- --
- Beginner level
- Intermediate level
- Advanced level
- All levels
Community Generated
The level is determined by a majority opinion of students who have reviewed this class. The teacher's recommendation is shown until at least 5 student responses are collected.
90
Students
7
Projects
About This Class
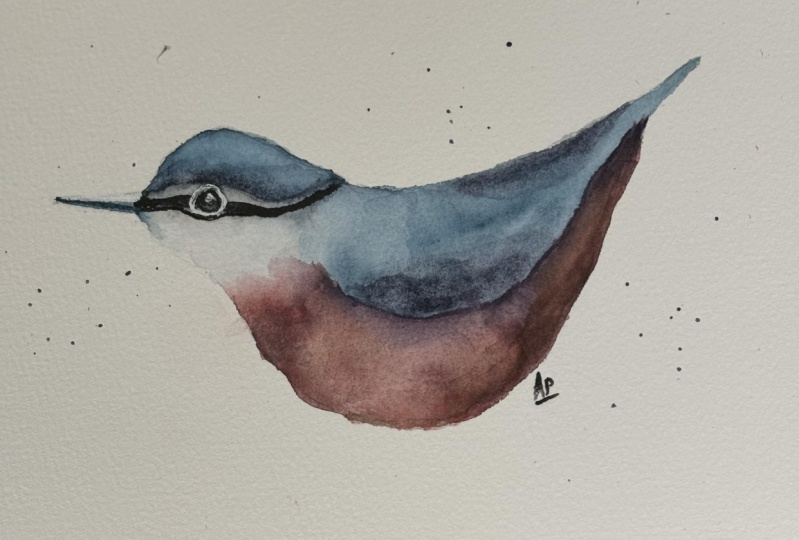
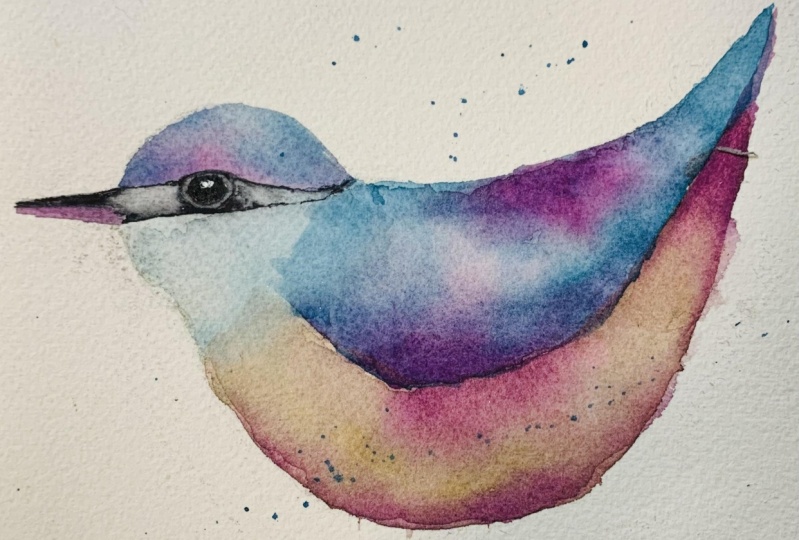
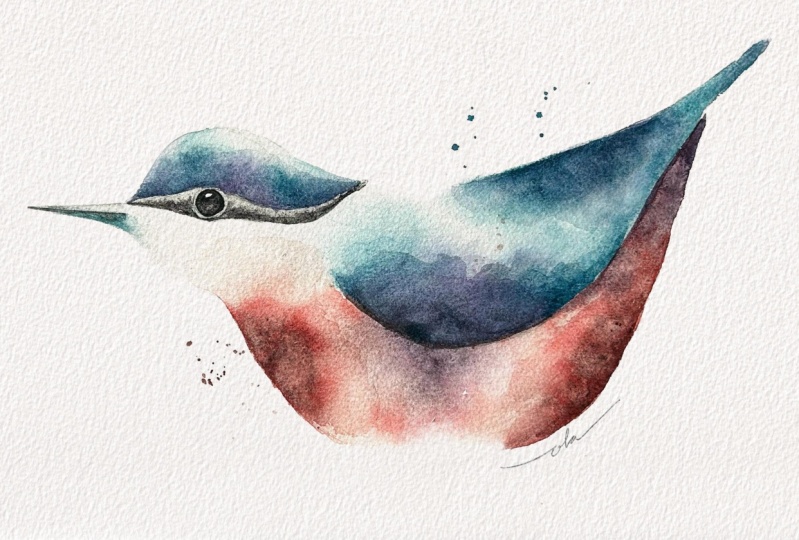
Are you looking for a relaxing and fun class to improve your skills in watercolor painting? Then this class is perfect for you! In this class, you will learn how to paint a beautiful and simple bird in watercolor, using unique techniques to add depth and texture to your painting.

I will guide you through each step of the process, giving helpful tips and techniques that will make painting easier and more enjoyable.
The class is broken down into several lessons, with each lesson building on the previous one, so you can follow along easily.
This class is the perfect way to learn how to paint a simple bird in watercolor, whether you're a beginner or an experienced painter. By the end of the course, you'll have a beautiful painting that you can be proud of, all while enjoying the relaxing.
Don’t forget to follow me on Skillshare and on Instagram

Hands-on Class Project
Proiect Description:
In this project, you'll immerse yourself in the world of watercolors by painting a soft and cute bird!

You can choose to use either the sketch provided in the "Resources" tab or create your own.
This project will allow you to apply the techniques learned in this course to create a stunning watercolor painting.
To bring your painting to life, you'll need the following materials:
- A cup full of water to rinse your brushes.
- A pencil to sketch the outline of your painting.
- An eraser to correct any mistakes.
- A paper towel or napkin to wipe your brushes.
- Watercolor paints (tube or pan paints will both work! to bring color to your painting.
- Watercolor brushes in different sizes so that you can create different strokes and details.
I recommend using a rigger brush for fine lines.
- Watercolor paper, preferably made of 100% cotton, to create a textured and vibrant painting.
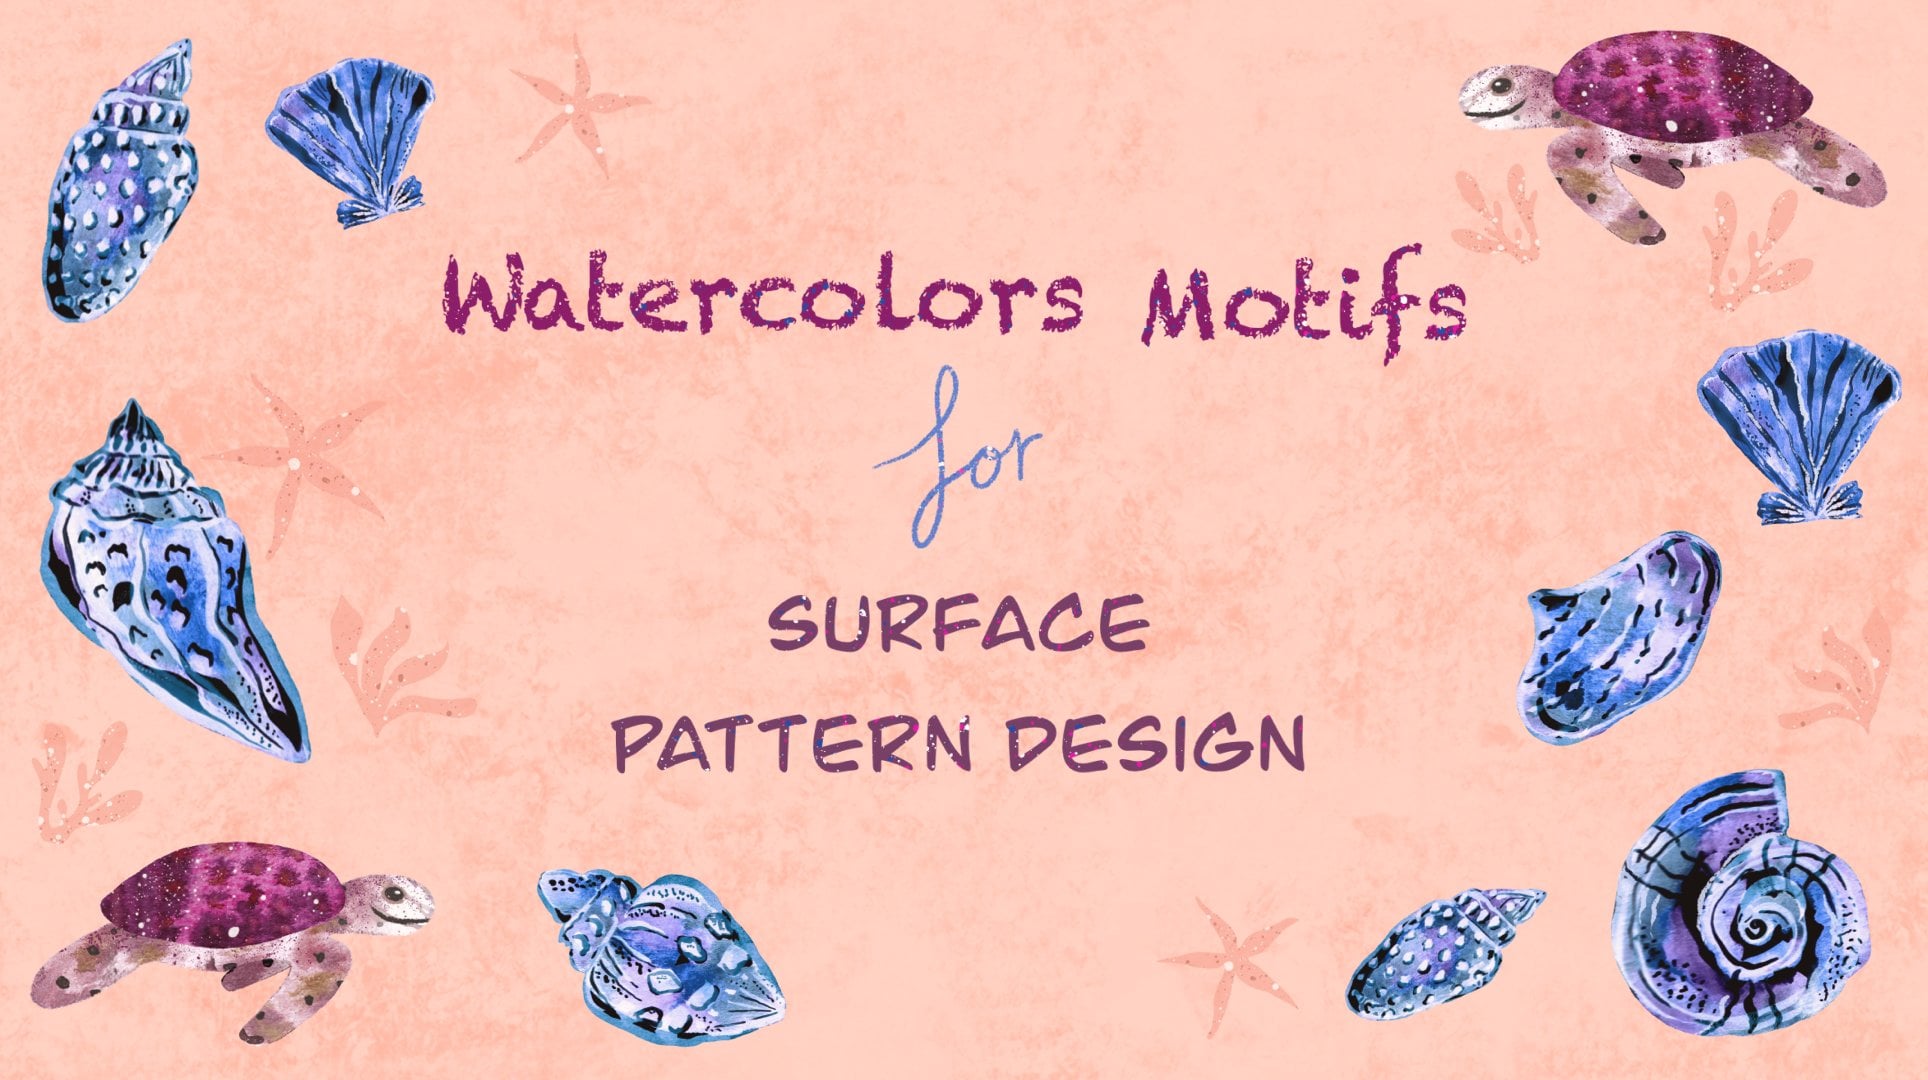
If you're new to transferring sketches onto watercolor paper, don't worry! I highly recommend watching my other class on Skillshare titled "Modern Watercolor Motifs For Surface Pattern Design". This class offers tips on how to transfer your sketch onto your watercolor paper.
Get ready to dive into the world of watercolors and create a stunning painting that you can be proud of!
I want to see your progress and final piece! Don't forget to share your project in the student gallery section so that we can appreciate and admire it.
I believe that showcasing your work creates a safe and positive learning environment that motivates everyone.
So, don't hesitate to post pictures, ask for feedback, and participate in discussions.
Your contribution matters a lot, and I can't wait to see your creativity bloom!

Class Ratings
Why Join Skillshare?
Take award-winning Skillshare Original Classes
Each class has short lessons, hands-on projects
Your membership supports Skillshare teachers
Learn From Anywhere
Take classes on the go with the Skillshare app. Stream or download to watch on the plane, the subway, or wherever you learn best.