Transcripts
1. Class Intro: Welcome to our class where
Katusha and I are thrilled to have you join us together. We will craft a stunning mixed media landscape
masterpiece. We will blend acrylic markers, colored pencils, and
fine line markers to bring our vision to life. Get ready to accept
your techniques, experiment with textures,
and unleash your creativity. I am o a mixed media artist
and surface pattern designer. I love selling my
art prints online and filling my sketch
books with creativity. Join me today and
let the fun begin.
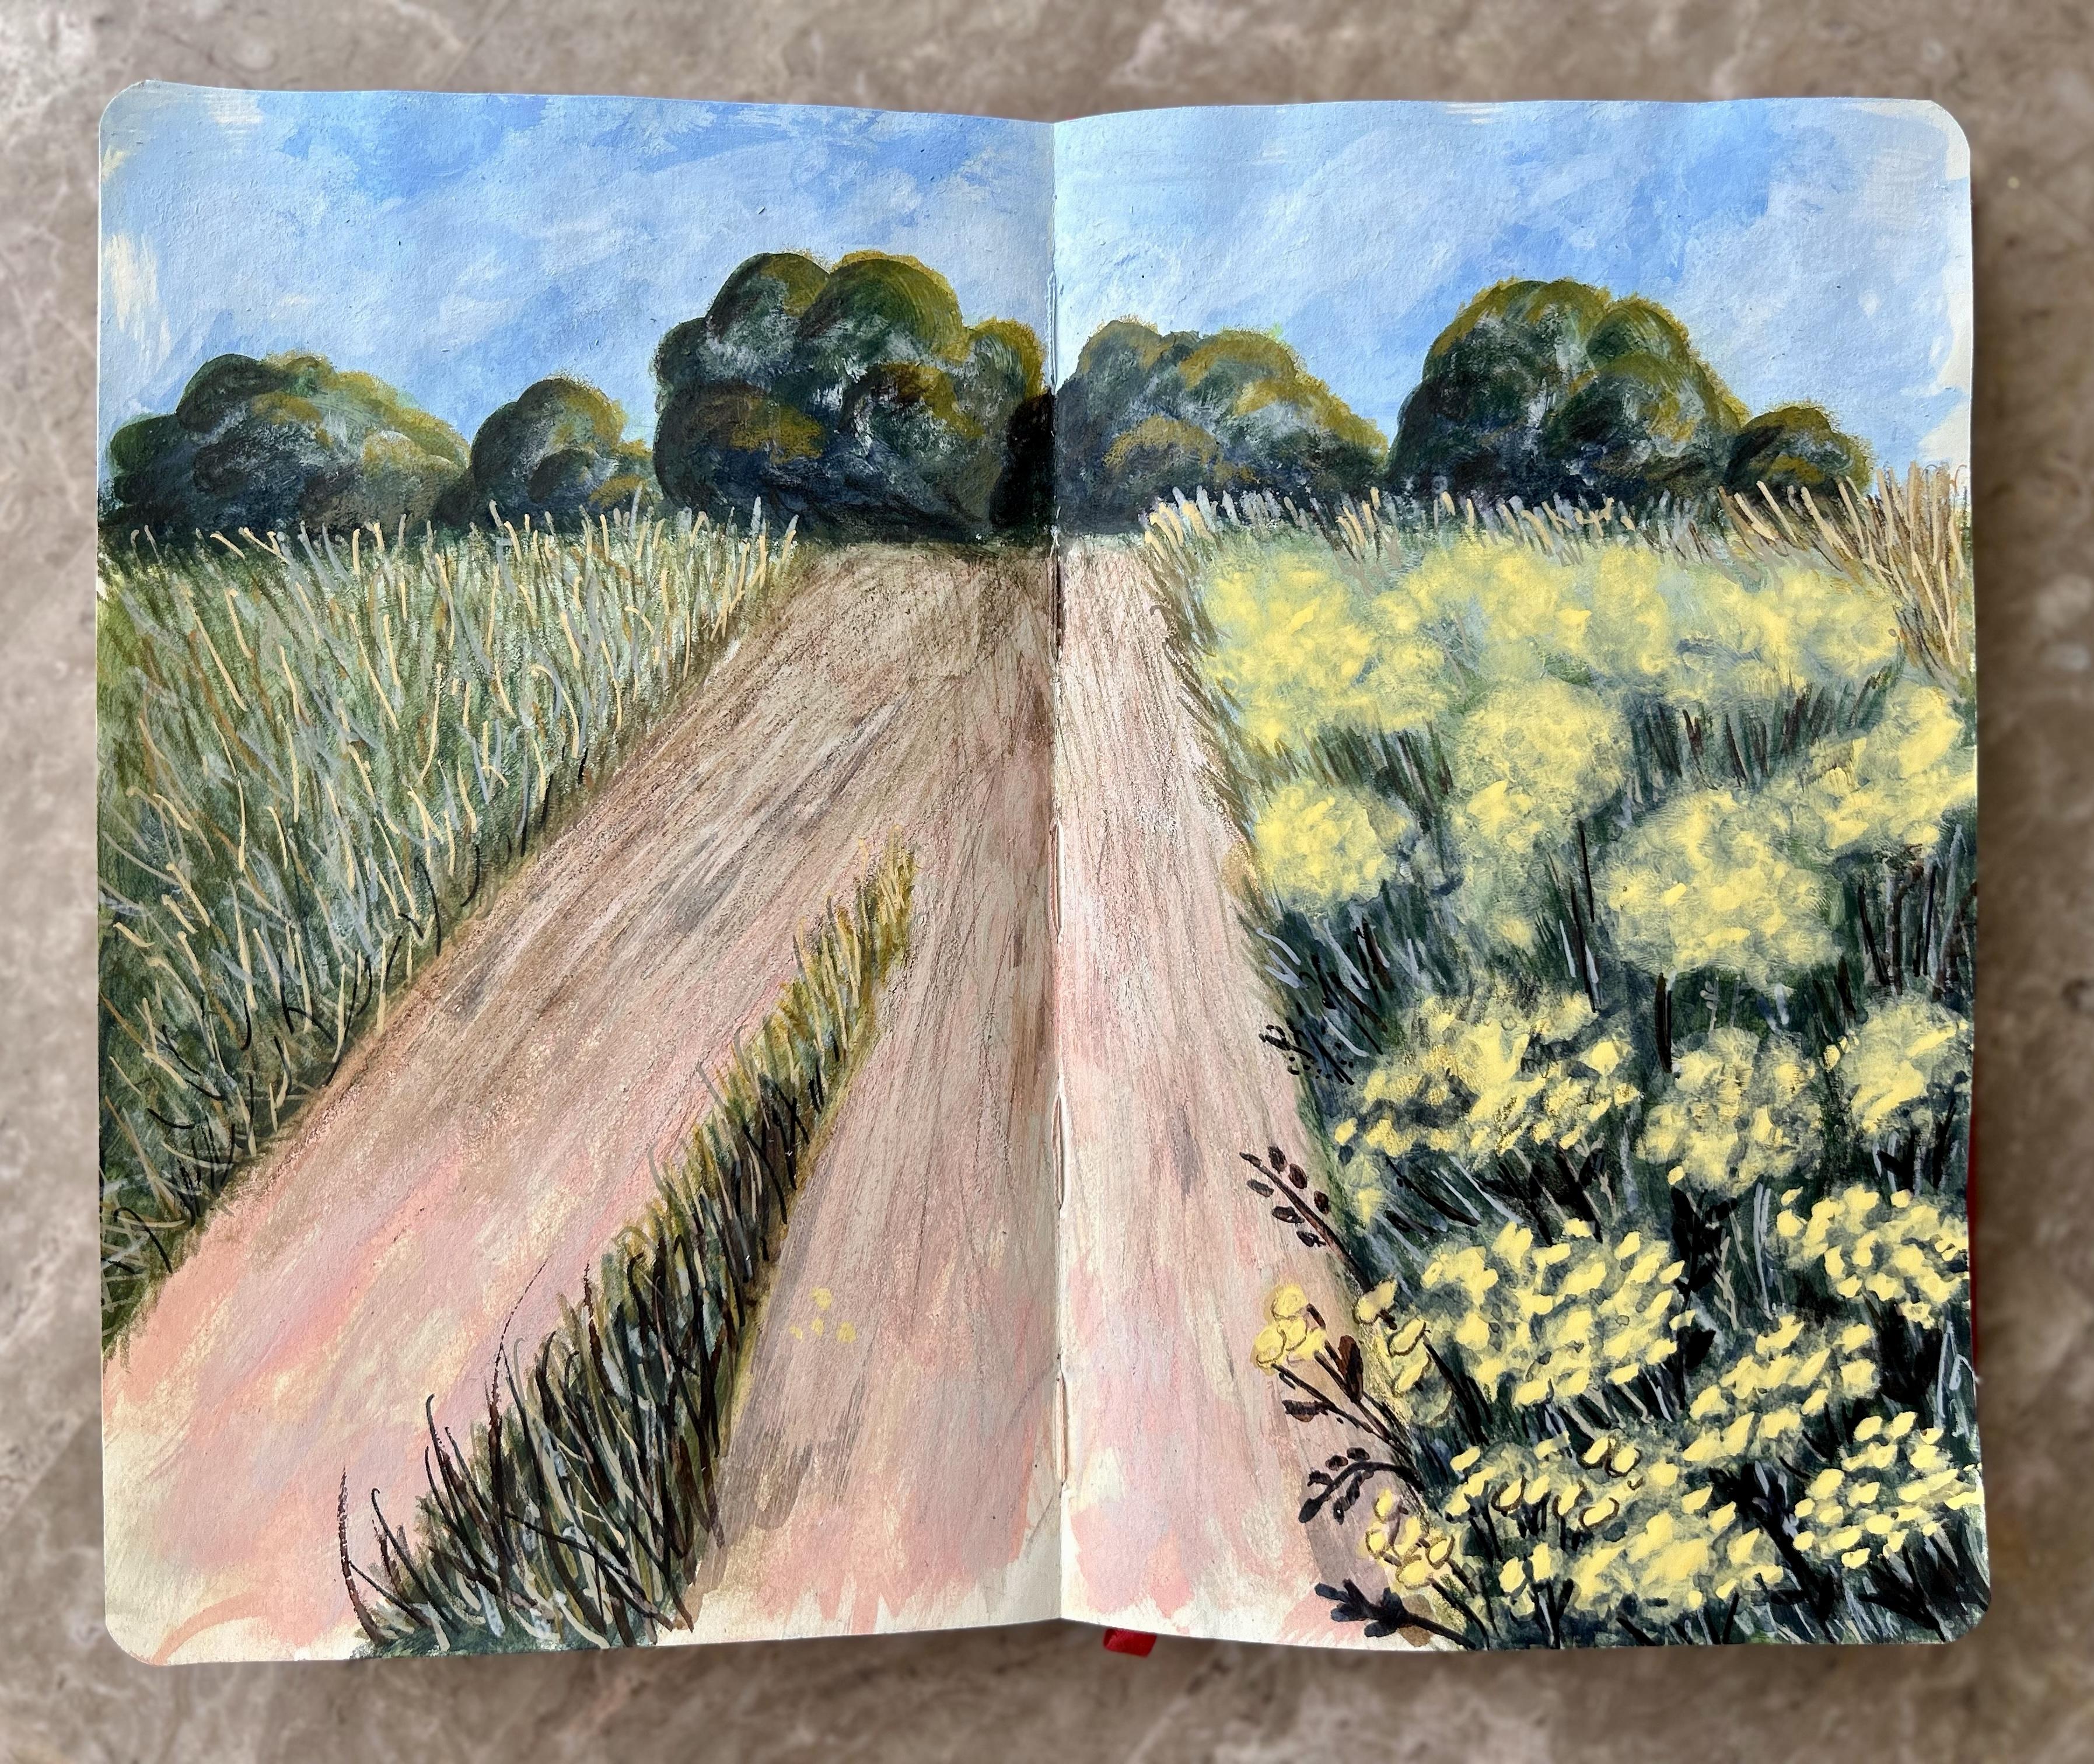
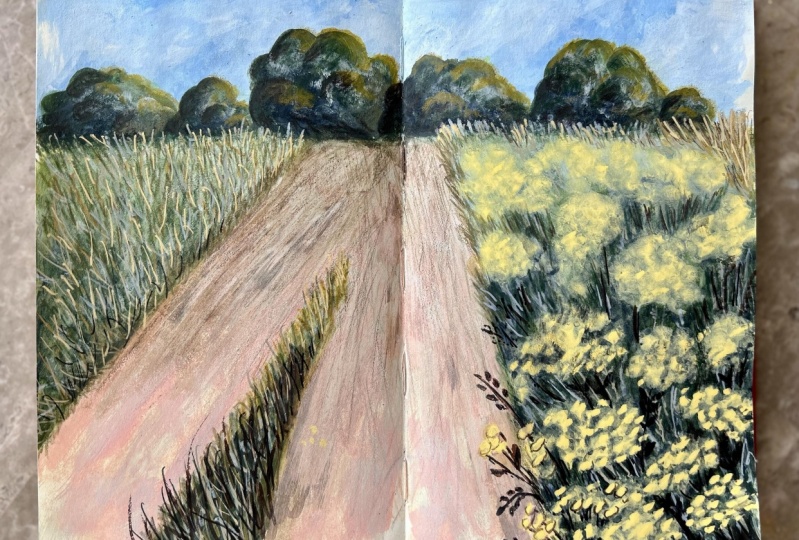
2. Class Project : Today our class
project is to create this lovely mixed media
landscape painting. I promise it will be an
easy and enjoyable journey.
3. Art Supplies : Thank you for joining
me in this class. Now let's dive in and explore
the materials I'll be using throughout our artistic
journey together today. Our main tools will
be acrylic markers, including some
I've mixed myself. I'll showcase the
colors so you can select similar ones from
your own materials. I'll demonstrate how to create your own acrylic marker
in just a moment. We have beige and
white Posca markers, Liquid ex marker and
parchment cheat. This custom mixed light
blue marker I've created. I purchased this empty
marker from Amazon. You will need to unscrew it and keep these mixing parts, they're used for
blending paints. Then fill it with any
acrylic marker fills. You prefer to create
your own custom colors. They come in various sizes. We also need a darker
shade of blue, along with two or
three shades of green. We need a light
yellow sheet and I'll show you how to use it when it's fresh out
of the package. We also need a few fine line
markers for adding details. Lastly, grab any colored pencils you have along with
your sketch book. I'll be using the Royal Talents
art creation sketch book in five sides. Now gather your materials and let's begin our creative
journey together. Go.
4. Building Your Base: Welcome to our first
painting lesson. In this lesson, we're
focusing on the base layer, the starting point
of every painting. Using acrylic markers,
we will block out colors to create
a strong foundation for our artwork by mapping
out the composition. A, laying down the
initial shapes and contours that will form the backbone of our landscape. This is our reference photo, which you'll find a link to
in the class project section. I discovered it in a
delightful challenge on an Instagram
called Draw Daily. Together, you can continue adjusting your composition
until you are satisfied. This is your opportunity to fine tune and
perfect your vision. I'll be using a light sky blue that I've mixed myself
to paint the sky. But feel free to experiment
with the colors you have. I've noticed that when
I smash the paint, it tends to dry
with a mat finish, which is exactly
what I'm aiming for. I'll use a white Posca
marker to add some clouds. I have noticed that the
painting Posca markers tends to be slightly thinner
compared to other markers. When you notice your
paper is starting to tear or become unhappy, it's best to wait a bit until
it dries before applying the next layer to achieve
more depth in the sky. Let's include a
darker shade of blue. You can soften the edges
by gently blending with a wet brush before the
paint dries completely. This isn't the typical
approach with acrylic markers, but it's my personal technique. Don't forget to clean your
brush before the pins dries on it as this can
damage the bristles. I'll begin by
applying Abs color to the road using Abs posca marker. I appreciate how the
scratchy texture of this marker enhances the
overall texture of the road. I'll fill the bees of the plant area with
various sheets of green. I'll use this peachy
color to infuse worms and additional
texture into the painting. Each layer of paint
contributes to building up the overall
texture of the artwork. Now I'll incorporate darker
sheets of green into the composition to create
a sense of perspective. I'll apply the darker sheets to the elements that are
closer to the viewer.
5. Trees and Flowers Simplified: After laying down
our base layer, it's time to take the first step in painting trees and flowers. We will simplify
this initial layer by blocking out
shapes and colors, focusing solely on
capturing their essence, without adding any
intricate details. Before adding darker sheets to represent shadows
on the trees, I use this marker to indicate the light source
within our landscape. I'll also add it here to create the illusion of it
being closer to us. I enjoy smudging with my finger to create an
intriguing texture, ensuring it dries
with a mad finish to allow for colored pencils
to be applied on top using a lighter green, I'll apply touches of
light to the trees. While you're working on this, keep in mind the direction
of your light source. At this point, our goal is
to enhance the volume of the trees without introducing
intricate details. Now let's transition to
painting the flowers, our focal point in
this landscape. I'll start with this
pastel yellow sheet. Our aim here is
to simply suggest the presence of flowers without adding any
intricate details. We'll achieve this by applying random dots of paint
and softly suing them. Remember, for objects
farther away, to create the illusion of distance, details
are discernible. Let's take a break from
the flowers for a bit. Now I'm going to grab
this molto marker in light ker brown with
a 1.5 millimeter tip. It's perfect for adding some
dry grass to our scene. I lightly it with my fingers to avoid creating harsh edges. Here I am adding various colors because grass is
never just one sheet. Let's keep it
natural by blending the grass between the
trees and the ground. Try to avoid having
a clear line there. I think we need a bit
more contrast here, so I am going to darken the
space between the flowers. I'll use my brush
for better control.
6. Adding Details to Your Painting: Welcome to the final stage of
our mixed media landscape, where we add those per size
touches to bring it to life. Here I am using
current dash Luminans, green ocher to mimic the sunlight on the
leaves of the trees. And to add shadows, I use this dark green. You might hear my little helper. She's my cat and she absolutely loves playing with
my colored pencils. Let's work on blending out the line between the
ground and the trees. Let's focus on adding
texture to the road. We want to avoid having
harsh lines here too.
7. Fine Tuning Your Artistry: All right, let's keep refining
our landscape painting. Here I am using the E drawing Solway blue to add some
detail to the grass. We're just looking to introduce
a variety of sheets and textures to enrich the painting
and make it camelized. I'm working on defining
some stems here. By playing with both
light and dark sheets, we can enhance certain areas by applying a glese of
transparent color on top. I like to use watercolor brush
pens for this technique. It all contributes to enriching the depth
of your painting. Gently outline some of
the nearby flowers. Now, I am not relying on the
reference photo anymore. I am using my artistic license to create a beautiful painting. I'll make a few final touches before considering this
painting complete. I hope you've enjoyed watching me bring this landscape to life.
8. Final Thoughts : Thank you for being a
part of this class. I hope you enjoyed
it as much as I did. I can't wait to
see your projects. If you share them
on social media, please tag me so we can celebrate your
creativity together. Lastly, if you enjoy the class, I truly appreciate it. If you could leave me a review, your feedback means a lot to me.
 Ola Alhamedy, Landscapes & Nature Paintings Acrylic &