Transcripts
1. Introduction: Hi everyone. Today I will be showing you how this scene, this is a scene from Studio Ghibli, but it is a great packed is whether or not you are a Studio Ghibli film because you will be going over color mixing how to paint trees, clouds, waters, and grass. So without further ado, let's get started.
2. Materials: For materials, I am using our TAESE wash paints and I will have a list of materials as well as reference images in the description below. I am also using watercolor brushes and scotch tape to tape down my paper. Two cups of water, one for cleaning brushes and one for clean water. Water color paper, paint palettes, and a spray bottle for when the paint dries. If you're new to wash where your paint dries, you can just spray it like this to reactivate it. I like this without paints in a weld palette and mix the colors on a flat surface. As you can see, you can clean your brushes and one cup and use water in another cup to dilute the paint. You can dry off your brushes with a paper towel or a cloth. If you need more help with color mixing. These are all the paints I used to mix all the colors of this painting. And I will go into more details about how to mix the colors on the next slide.
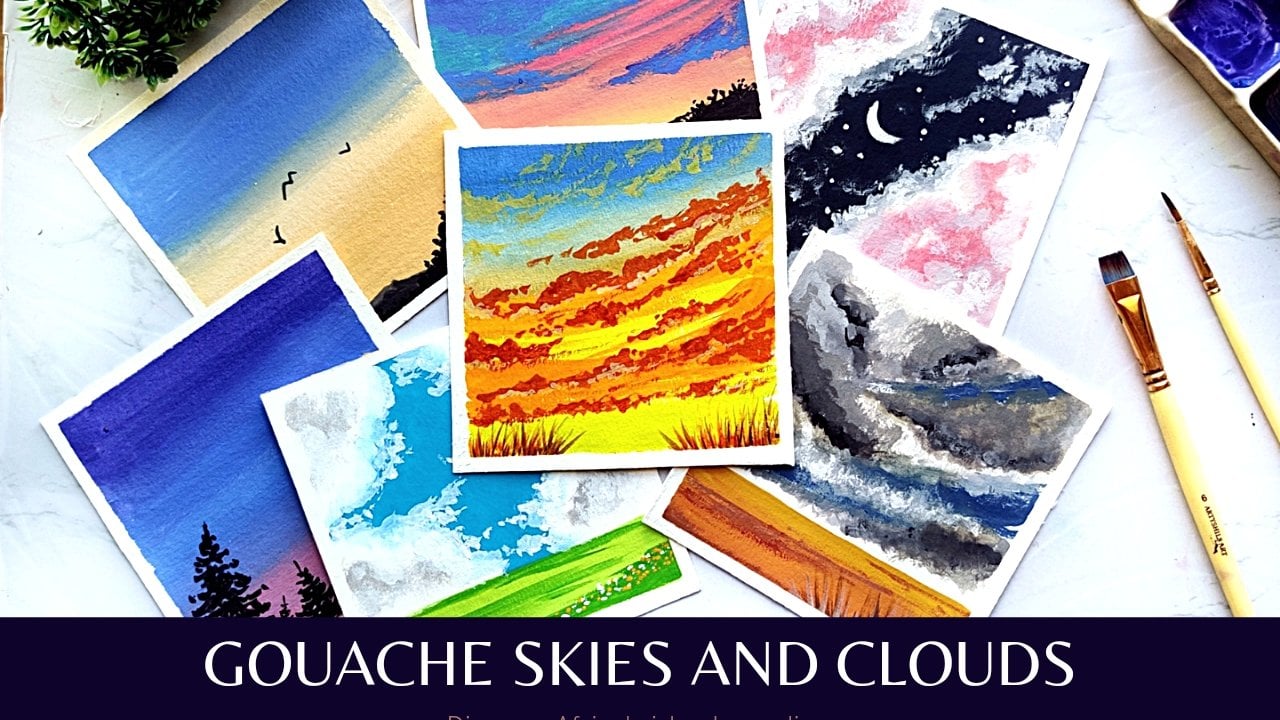
3. Sky [FREE COLOR MIXING GUIDE in each section]: We're going to start with this guy and I'm chewing which paints I used from the previous slide to get those colors. I start by covering the trees with a layer of masking fluid. And then I am just covering the upper part of the paper with clear water because this will help the paint spread out evenly. And finally, I am using diluted paints to add color books for the sky, the clouds, and it beams of light. And this color blocking stop is completely optional. As you can see, we are on I covered up most of the color blocks and you weigh. I just loved to use it because it gives me an approximate idea of where everything will be. And if you would like to use this color blocking method, it is essentially just a repeat with water. And then painting and the major colors that you see, any section of the PT, for example, here the major colors are the beams of light, the sky, the clouds, and the gray shade of the sky behind the trees. Once I am done card balking, I go in with this much darker shade of blue for the sky. And I'm actually covering up the location where the clouds will be. It is really easy. Clouds. I first dropped on some clear water to remove some of the pigments for the sky. And this leaves the whites of the paper. After removing some of the paint for the sky, I go in with the March, lighter color for the clouds. And to create depth in the clouds. I painted the bottom part of the Cloud to be the light is. And as you get higher and higher up, you see that their cloud gets a little bit darker. And once I'm done with the clouds, I'm just adding more paint to the beams of light and blending out the edges of the light. The brightness of the light actually weakens the further it gets from the clouds. So I am just adding some of that blue color I had used for the sky to the bottom of the light to create a more realistic gradient effect. To further create ducks in the clouds. I am adding some of the same color I used for the beams of light to the very bottom part of the cloud. The sky behind the trees and the island is actually a green color rather than the dark blue color. So right here I am just blending the edges between those two colors. And this green color behind the trees and the island kind of creates a glowing effect behind the trees once this has finished. And finally, once I'm done with most of this painting, I'm just adding in some details. For example, I am making the darkest part of the clouds a little darker. And I'm also making sure that all of the beams of bytes are sweating in the same direction.
4. Water: After finishing this guy, we are moving on to the water. And as always, feel free to pause the video to take a closer look at how to mix the colors. I start by adding the base color for the water, which is this rich blue and this aquamarine color. And I also added masking fluid it to the very edges of the characters. And if you don't have masking fluid, that is completely okay, just try to pay a little bit more carefully around that the characters. And here you see me using a flat brush, which is very helpful when you're trying to split up pay over a large area. Once I am done with the base layer for the water, I am going in with horizontal strokes to create ripples where the water meets the sky is actually where it is the darkest. So I am using the same color that I use for the sky and ask, the water gets shallower and shallower. The ripples actually Latin. So I am just diluting that paint with water. A shallow area, you see me switch Where the light is shining on the water, there is supposed to be reflections. And I am painting that reflection. You think we're seeing color that I used for the light beams. And at the very edge of the water ray meets the sky. I am painting the reflexive eye as horizontal lines. And as you get further down, I got reflected by as little dots. An important tip is so cute. Little highlight spray on top. So Dr. repulse because the darker repos are supposed to represent the part of the wave that's in the shape. And the little dots are, the little highlights are right over the edge where the light is hitting the water. Here you see me, I re-sing the masking fluid and you can just use error surface. After finishing the water, I am creating the reflection of the trees in the water. And the reflections are just composed of two halves. So the last hop of the reflection is this bluish color and right half is this greenish color. After Katie the reflections, I am doing the same thing I did earlier by using dots for the light that's reflected from the wire.
5. Island and Trees : After finishing the water, we are moving on to the island. And the truth. For the island, I am starting with the lightest heart. And as the land curves down, it gets darker. And the part where the land meets the water is the darkest parts. And after finishing that base color, I am just going in with a darker green to paint the grasses and add more texture. After finishing the island, I am moving on to the pine trees, which are composed of a darker area in the shadow and a lighter area lit up by the Sun that's on top of the shadow area. And you will see me using masking fluid. So cover up the areas that are lit up by the Sun. And here's the very important tip. Certain colors like yellows and greens don't always have the best coverage. So if I first take the entire tree in that darker color and then attempt to keep the lighter areas on top of that using a dirty yellow mixture, it won't show up very well. So as a result, I have to cover up the areas that will be lighter with a masking fluid. And if you don't have masking fluid, that's okay. Just came around the light areas where you're painting that dark areas. Here. I'm just editing the background to make it a little bit darker. I'm done with the lightest curve. The tree. I'm just going in with some darker color is a little bit more texture. And now I'm just finishing up the rest of the trees for the shadow area, I am starting with a mid tone green. And then you say dots, I've darker color to add more texture and to darken. Once I'm done with the shadow area, I am erasing the masking fluid it and adding in the very light parts of the tree. Okay.
6. Grass: We are going to move onto the grass and the flowers next. Sorry the grass I am going in with the lightest color. Thoughtless serve as the base layer. And I ended up fill I like this color was too saturated so I removed some event with water. While the paper is still wet, I am going in with a darker green to add more texture. And it's really important to do this when the paper is so much. Once I have established way the lighter parts and darker parts of the gospel be, I am using colorful dots to represent that flowers. As you can see here, I am not putting the flowers directly on top of the dark blue clusters, but rather situating them a tiny bit above the darkroom clusters. That's because the dark green, these are supposed to represent grass and the leaves of the fibers. So if you put the forest right on top of the darker and clusters, that will diminish some of the three-dimensional effect. After I finish the fires, I am using a colored pencil and a very thin brush to add more details to it. Right? Now I'm moving on to the shadow is on the grass. And it's important to remember to not make the outer edges of the shadow to fruit they, because this is in grass. And if you make a Lego jacket and a little random, it'll actually look more realistic. Hello. And here I'm just erasing the masking fluid at the outer edge of the characters. And when you do this, I really recommend using a smaller research, like the ones on the back of pencils, just so that you don't raise the keys held under Character series.
7. Characters (Markl) and Table: Now we're going to move on to the characters which may seem a little scary because of all the colors you need. But they are actually much simpler than the background because you're literally just filling in the car box. So with the background and other parts of my painting, I usually like to get off my colors mixed and ready to go before I start. But with the character is just because they are made up of so many different little areas of color. I felt it to be more helpful to not pre-mixed my colors butt to squeeze out all 24 paint colors from my palette beforehand, and just mix the colors as I go. Taking note of how the characters differ from the background can be really helpful. For example, all of the things in the background are mostly painted using color gradients, but the characters are painted using color blocks. For example, everything including the hair, the clothing, the skin, the furniture are all painted using mostly two blocks of a shade of color. For example, with the hair, the shadow is shown using one shade and the highlight is shown using another shade. And there really is it not much blending going on between different colors fit here. I'm just painting the vases and the bulls on the table. And again, I am using two shades of colors for these. Adsense the other parts of the characters and the furniture follow the same rule of color blocking. I won't need to do as much explanation for the section. Okay. I'm just adding the little details. Like the button that turned on their face and the bow tie. Chair, I am adding more experience and you see that same orangey reddish color for the jam on the bracket. Here we are moving on to this song, which is currently in the sun and partly in the shadow. I'm using the same colors I use for the soil for the table. Hi. Okay. Hello.
8. Characters (Sophie): And now I am going to move on to painting Sophie, and I'm just doing the same thing I did earlier by adding blocks of color. So the heart we just painted in two shades with a darker and the lighter parts. And it's really important to remember here to make the shadow of the ribbon align with the shadow of the hats. And now I am just painting the shadow part of the cloak. And the shadow part is through some weird abstract shape because of the recalls in the fabric. And when you're drying beds, don't try to think of as recalls, but try to think of that as an abstract shape when you are sketching out the shape of this, because that will help you tremendously. Another important tip for when you are painting is to try to figure out what you want, what you want to keep last. For example. Because the clothing is behind the chair is more helpful to the clothing. Fairness and anticipate the cherry on top of Bache was the chair. I'm using a very similar paint mixture as the P I used for the table and the stall. And the chair is most of the parts that big tall, which is the majority of the share. A light highlights, which is on the outer edge and the top of this share, and a shadow part which is on the leg of the chair.
9. Picnic Basket: Finally, we're getting to the picnic basket. Starting elicit that is part of the picnic basket that is in the shadow. Here. I'm just using a colored to thoughts of blockage, the location, peak checkers. The picnic basket is really interesting because part of it is in the shadow and part of it is in the sun. So some of those pig checkers are darker and some are lighter. And the same goes for the white checkers. Checkers are in the sun and are just whites, and the other ones are kind of gray because they're in the shadow.
10. Outline: If I'm finally for the most fun part outlining, I am using a Pigma, my current black pen, which is really nice because it's waterproof and it's okay if you don't have it, you can always just use black wash paint on a very said lighter brush. Or you can use another black marker. Furniture. It can be a little hard to draw straight lines. So I'm just using this clear plastic sheet. And I really recommend using something that's clear because that helps you see both sides and it prevents you from misplacing about light. Hey there. Hello.
11. Final Thoughts: Thank you so much for watching. You can share the painting you thought you had created in the project section. And in addition, I would love to hear that feedback. So please leave me a review and I would be really happy to read them. Thanks again and see you soon in the next video.
 Alice Gong, Gouache Artist