Transcripts
1. Introduction: I love flowers and I
admire their beauty. Most of my designs or
illustrations are flowers, Hi! I'm Phuong Lempinen I'm a surface pattern designer and illustrator based in Finland. I'm a digital artists and I use Procreate to make art
in my daily life, from illustration
to pattern design. What I love about digital
painting is that I can edit every time I
want and change color. Digital watercolors still
gives me a watercolor look, and it saves me time. I don't have a scanner at home, so it is convenient for me to export in share my
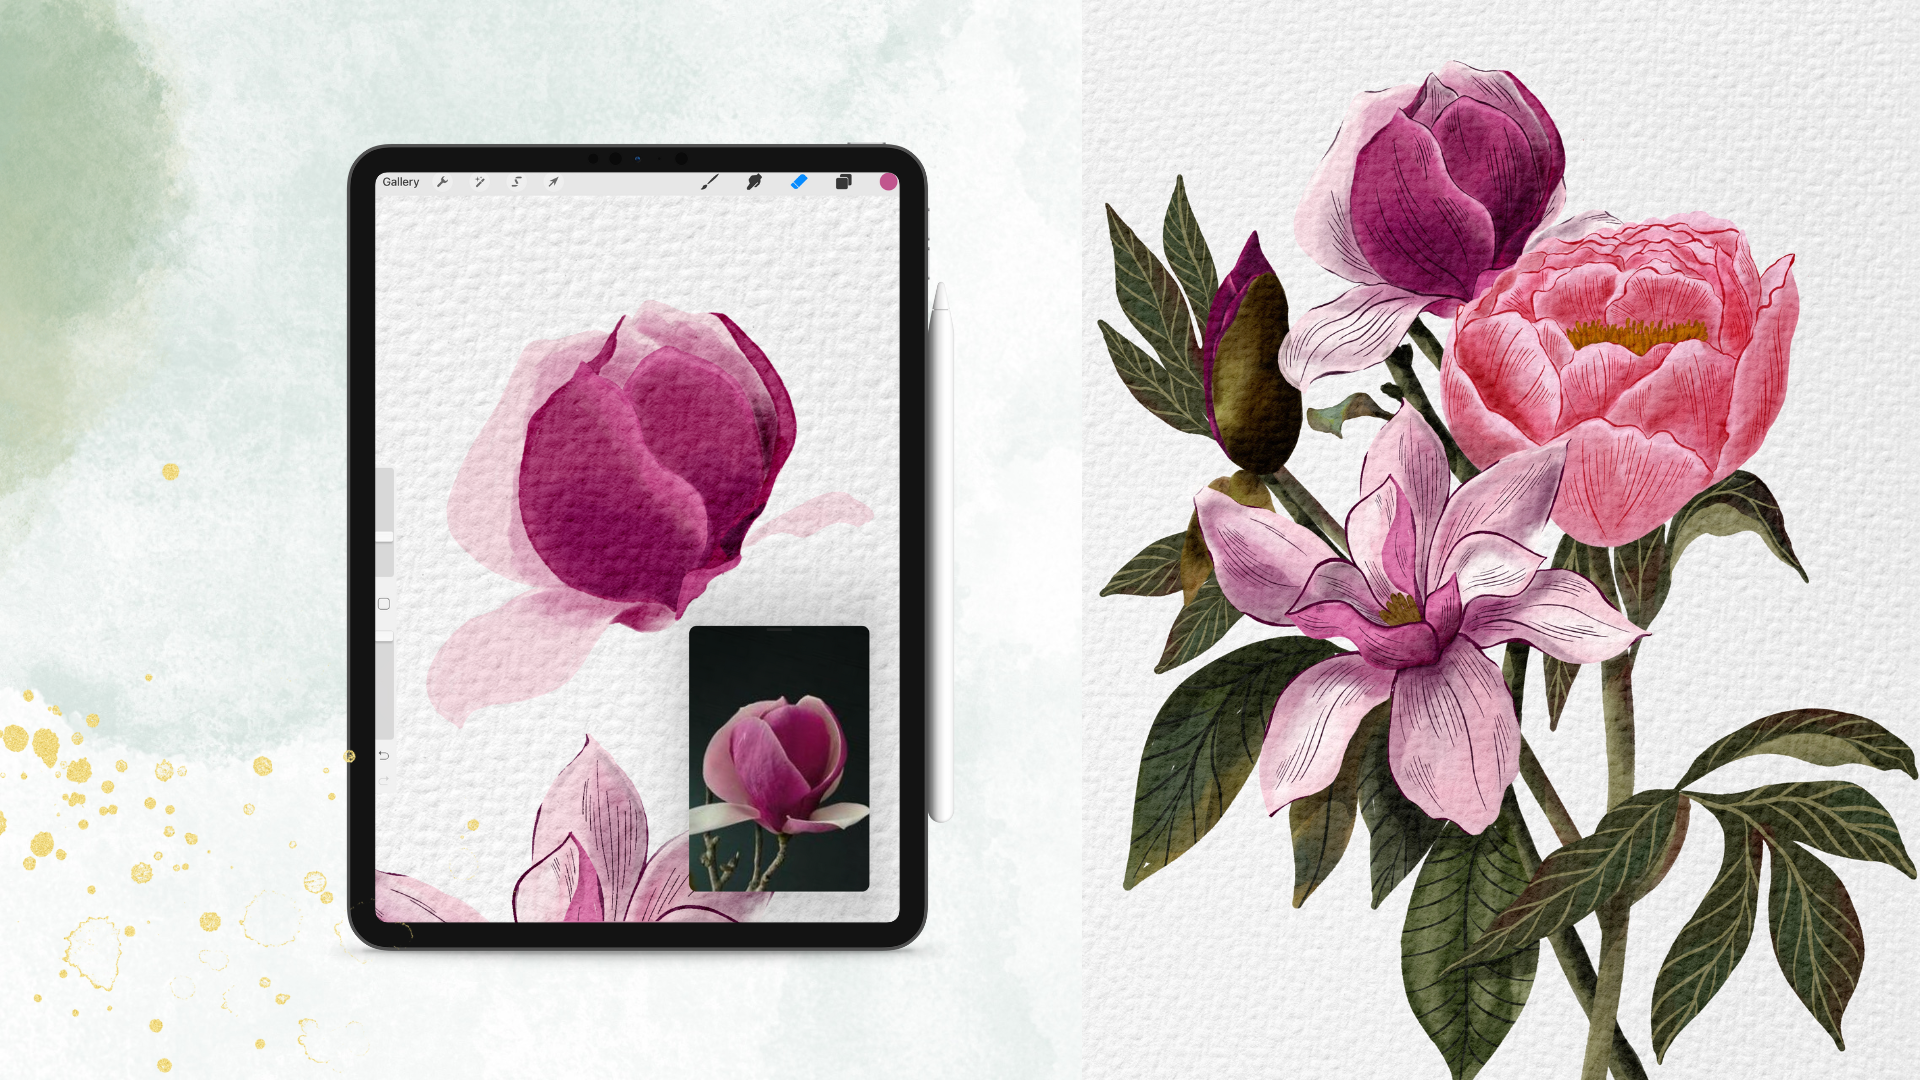
artwork on social media. In this class, I want to
show my technique to draw and paint digitally with
my watercolor brushes. First, we will find inspiration
of flowers together, then put them into the
layout that work for us. And then we're going to
sketch them on paper and import our sketch into
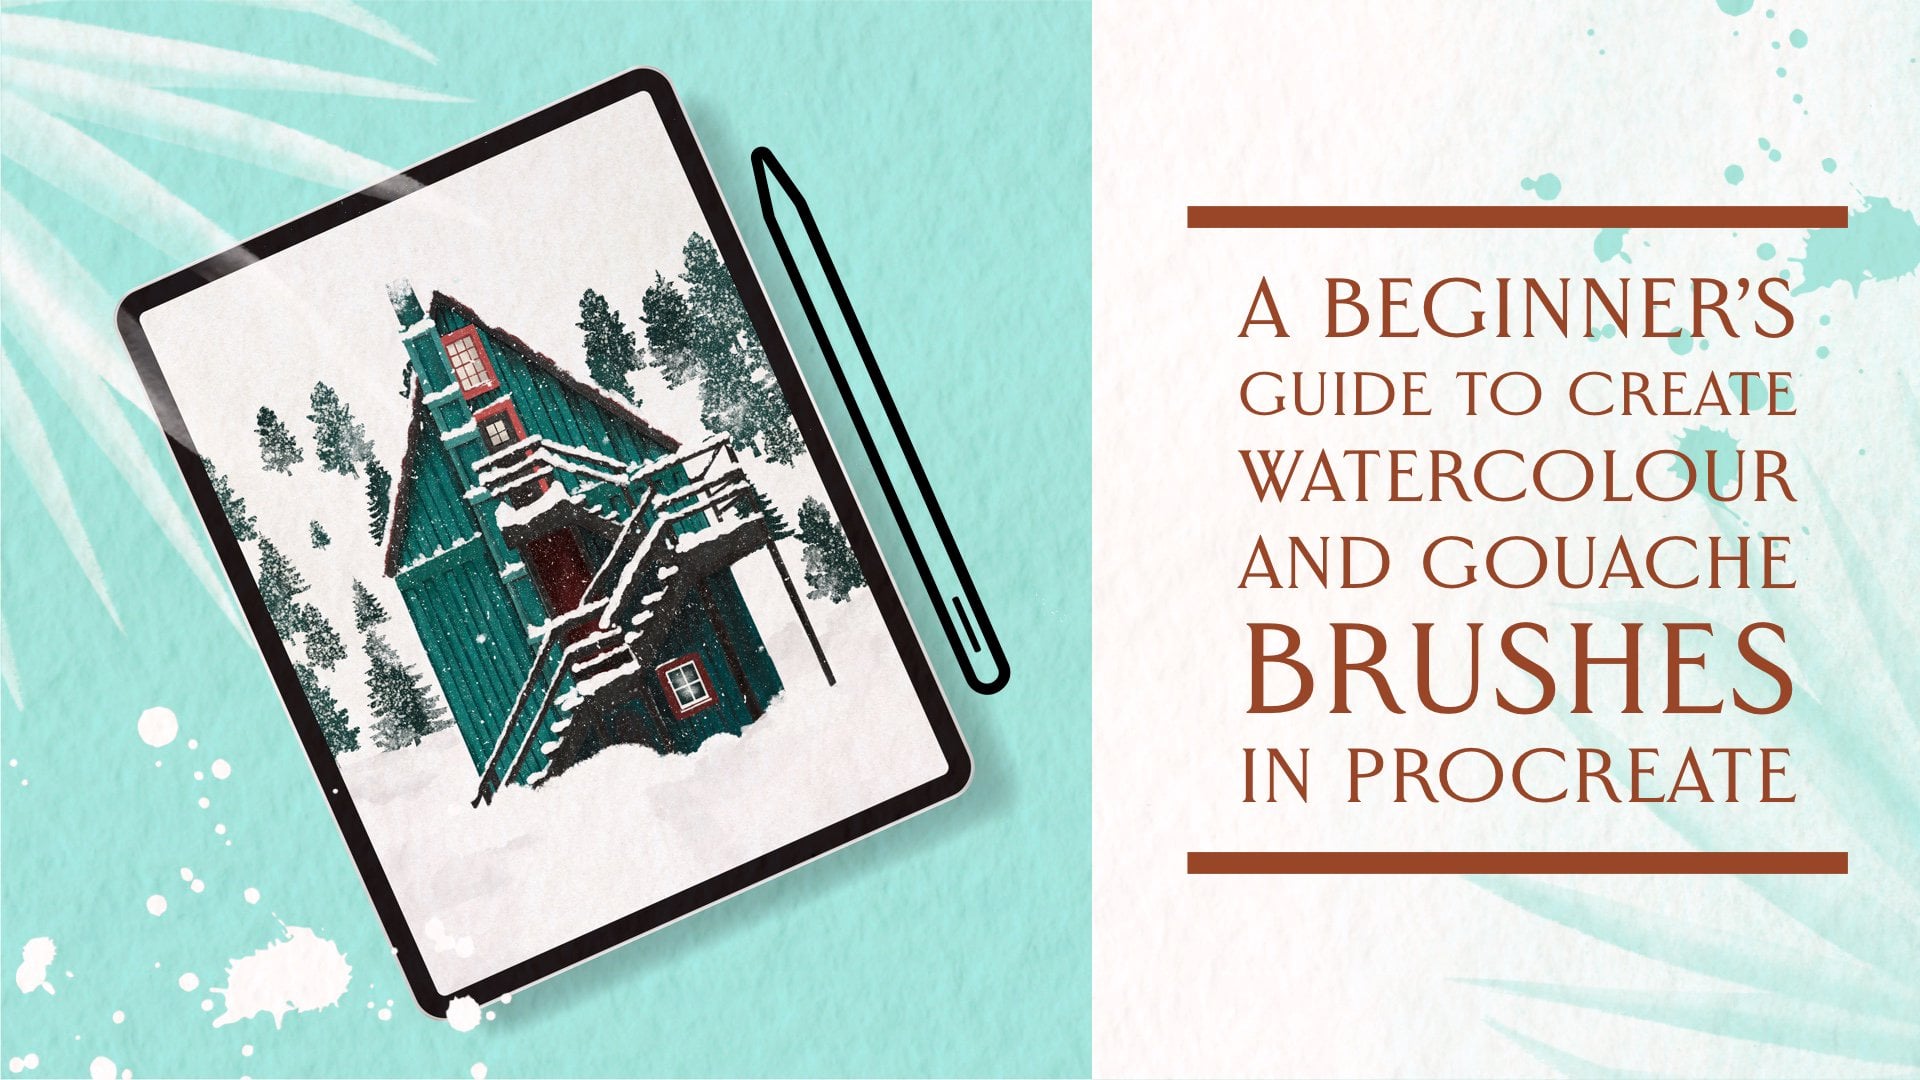
Procreate and start painting. When you take this class, you will get a pack of watercolor brushes
and paper textures. You get to started. Tips and tricks for sketching Tips for adding
paper texture to Procreate, to have a watercolor look with digital painting
Tips for choosing a color palette and using the watercolor brush to paint and still have a real
watercolor look. By the end of this class, you will be confident
to draw and paint digital
watercolor by yourself. I think we will have a
lots of fun in this class. So let's happen together
and see you in the class!
2. Class project: In the class, I'll show
you three main processes. Creating layout, sketching and drawing flower and painting. Your class project doesn't
need to be your final work, is also can be the process of creating layout or
your photo of sketch. And you can also share your final projects by
uploading your photo with PNG or JPEG file in
the project section. Now to make sure that you know
how to upload your photo. Let's go to the Class Project section In the class project section tap to create project, then you need to upload the cover image. So, it can be anything. And then you need to write project title, then project description,
then upload your image. And the final step is just hit the Publish button And well done!
see you in the next lesson!
3. Materials: So this is the materials for this class. In this class we're going to
use papers or sketchbook, sketchbook to sketch
and a pencil. So you can choose from paper
or sketchbook for sketching. And then after sketching, we're going to take a picture of our sketch and import it to Procreate. So, this's just the way I work. Sometimes I refer sketching on my iPad, but often I want to practice on paper. So sketching on paper is just the way that helps me practice For digital watercolor painting. You're are going to need your iPad
and your Apple pencil. Now, let's go to the next lesson!
4. Inspiration: So what to paint? That is the common question when an artist starts creating an artwork. So here is some tips for you to find inspiration to start creating. Take a look at your phone. Maybe you can find some interesting photos that you have taken some time. Then choose what appeals you most. Take a walk around and take pictures
from your environment. Pay your attention even to the smallest creature. Maybe you can find something that's interesting to you most and get you started. Take a look on Pinterest where all artists often seek for the inspiration.
Save as many pins as you can then put them into a board name your topics that you
can easily find when you need. Another place you can find
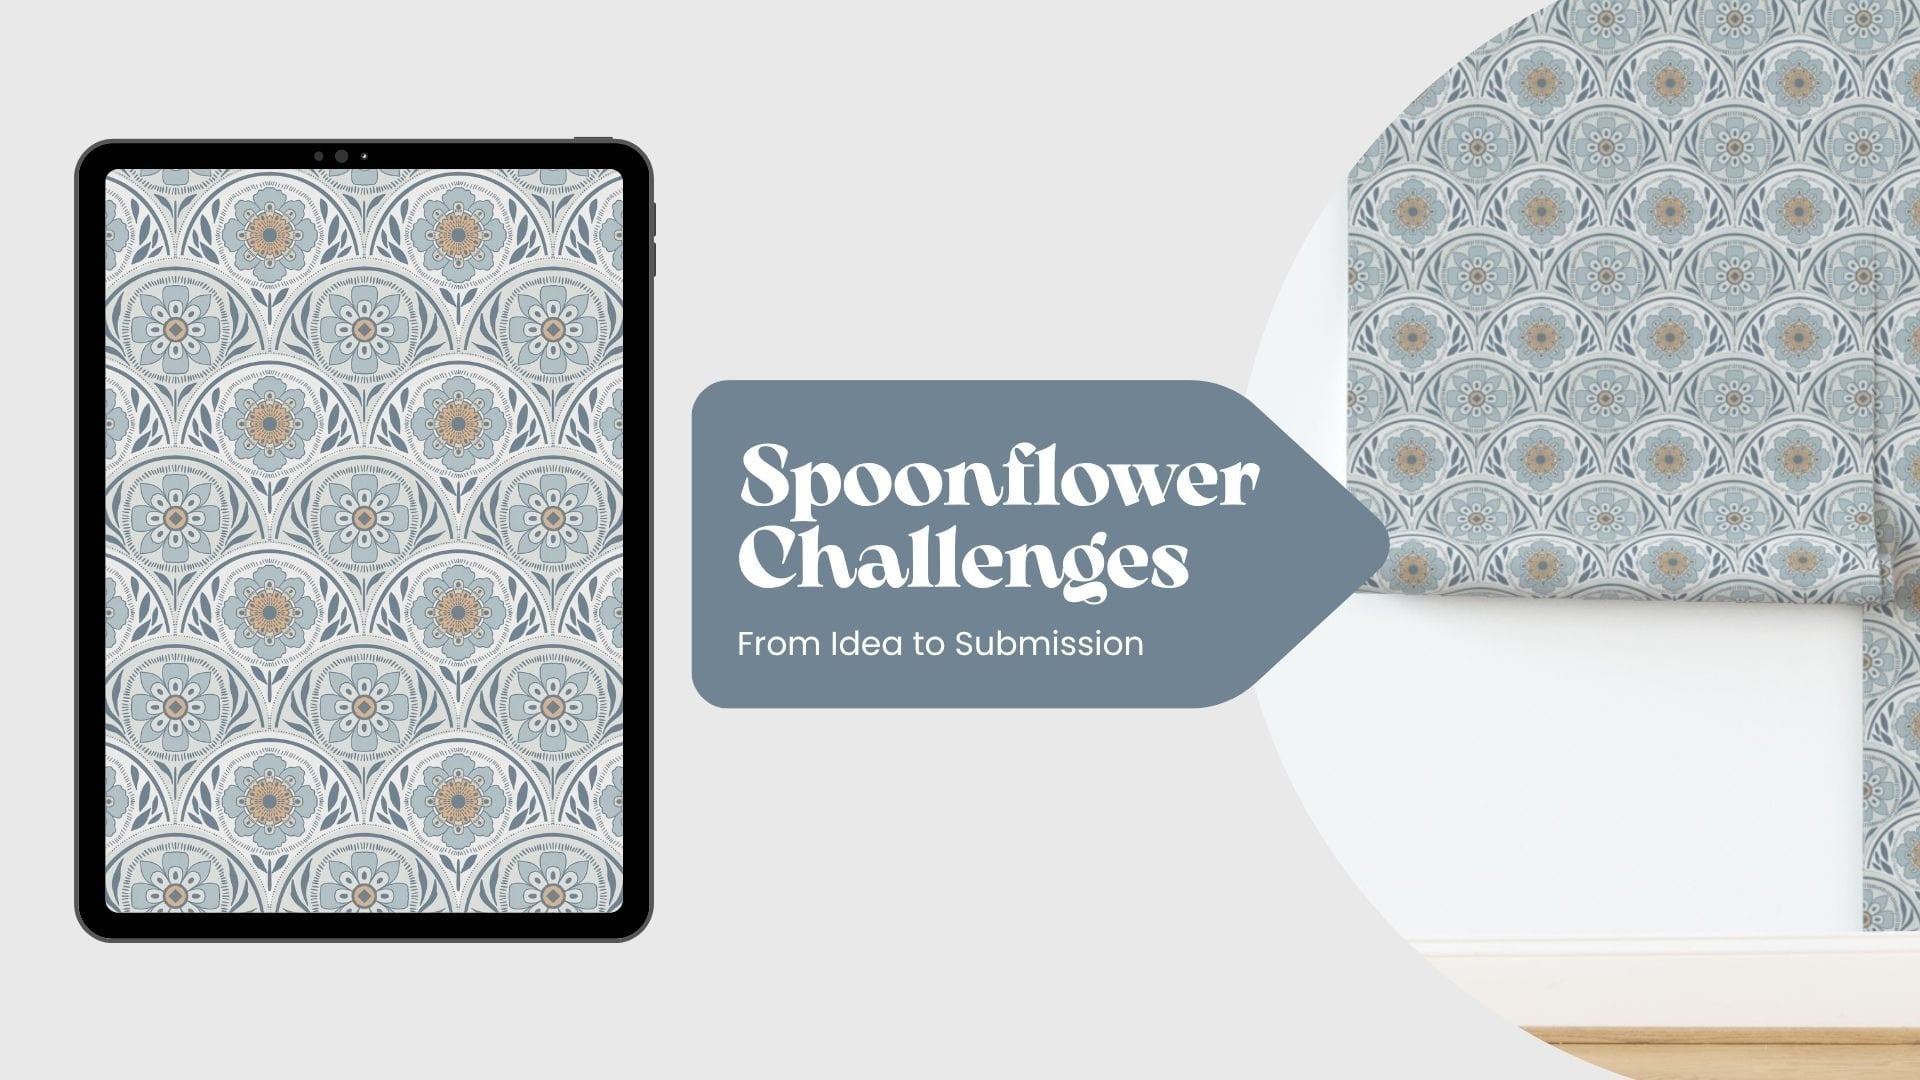
inspiration is on Instagram. There are many challenges from artists around the world and their challenges prompts can also give you ideas about what to draw or paint. But remember, just choose one or two challenges at a time and take your time to make art. But it's not actually something you have to do. So if you miss a day that's also fine. So just take part in another day. After you have your topic, you can go to seek for inspirations or photo inspirations from Pinterest or unsplash.com, or even on Google.
5. Creating composition : So here what we need paper, pencil and eraser. I have my reference photo on my iPad. After seeking for inspirations, I got these flowers. And you can see we have four subjects here: two big flowers, and one middle and one small. My first layout would
have no big Magnolia. I just try to add a quick circle to see how the composition would look. As we work through the sketching phase to find our composition, just make sure that you don't work over it. Remember that you can keep thing really loose and you can erase and work again, as much as you want. Even if you need to start over on a new paper, if you need to We just use this phase to play with all different composition ideas
that we can come up with. This phase also helps you get to know the subjects better. I will try another one layout with that big Magnolia Peony maybe should look to opposite side. Okay, so let's try to make some adjustments with the photo. I'm going to flip it horizontally. I like the second version more. So I think I'm going to choose this version to sketch. So let's go to the next lesson!
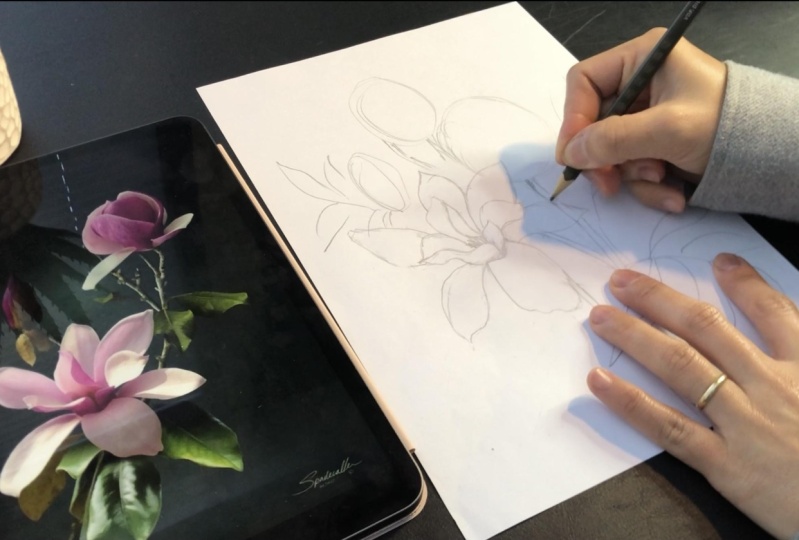
6. Sketching Big Magnolia : So here we have worked in the last lesson. And for the sketching, we're going to use this version. Well, we're going to start with the big Magnolia. So this one. You can see it has two parts. The first part has 1,2,3,4,5,6 petals, and the second part has 1,2,3,4. This is where I'm going to put my magnolia. And I'm going to draw a small circle here. That's where the second part is gonna be. It doesn't need to be perfect either. And then we're going to draw the outside petals first I'm going to erase the leaves that we can see our petals better. The first petal will go from here. It doesn't need to look like in the photo 100%. And then the second one here. Now I'm going to draw this petal of the second part, because after that is going to be easier to draw this, And then this petal and then this, and then this one, and then this one. Okay, I need to
speed up the video a bit or you will have to watch this long. Okay, So I don't know what inside this. So I think I'm gonna go with my version In the next lesson, I'm going to guide you to draw other magnolias and see you there!
7. Sketching other Magnolias: This middle magnolia is rounder than mine here With this flower, I'm going to start with the left petal outside, then one by one from left to right. And lastly those lying petals. I'm gonna erase these leaves and the small circle here. Let's draw them later We need a place for those lying petals Doesn't need to look like in the photo 100%. Here will be the peony so we just can draw a little part of the last magnolia's petal. The last smallest Magnolia, this is the easiest. I think you can even draw it yourself without my guide. Okay, Let's add some leaves of Magnolia. One little leaf and another one just come like that. And I'm going to bring this leaf to another side. I think it will work better in another side. The branch goes like that, but you can make it go like you want. Okay, let's draw a peony in the next lesson.
8. Sketching Peony: Now we're going to start. Peony would be complicated to draw, but here we go. So you have the circle here. I think I'm going to make
it a bit bigger and rounder Now let's make the form of this peony. You can see is formed like this. So that what we're going to do first. then we will draw from outside in I'm starting to make the form of peony. So we have the form of peony. Now, I'm going to start to draw this petal outside first, then this and this, I'm making a line for those petals at the higher level. Now, the first petal from the center. Okay, just do after me and I'm going to speed up this process a bit, Make sure you don't feel it boring. Now just make wavy lines for those petals at the highest level or the other side of the peony With the stamen, No need something fancy, just go simple like that. Now time for other elements, for example leaves I erase these leaves because
we don't need them anymore. I'm starting drawing leaves
under the peony at first. Now, these leaves just draw the form of them and don't worry if
it looks exactly or not. Now another branch
with leaves go to another side of the smallest magnolia. Adding more details. Here we are done.
Let's go to the next lesson!
9. Taking photo of your sketch : I actually took a copy of my sketch, then I realized the copy one isn't clear and not to see. So I used my pen to make inking lines Then I made a copy of the inking sketch version because I'm afraid that I'm going to ruin this sketch. What I want you to do here is just make some shadows, based on the photo. So you can see it later when you paint on iPad. I'm trying these pen to see what I'm going to use. Okay, the light gray actually looks better. Draw the shadow quickly. You don't actually need it to be perfect because you can change it digitally on iPad anyway. We have two difference photos So you should remember to make the shadow on on the Paeony photo with the same light direction with the magnolias photo Then after finishing it, you just use your iPad or your phone to take a photo of it. I will take a photo with my iPad because I'm going to work on my iPad anyway. So here is the photo. Now let's go to the next lesson.
10. Adding paper texture: Before I'm starting painting on iPad, I'm going to show you where you can get your paper texture. Now go to the class project section and make sure that you use your browser rather than your Skillshare app. Then you find your class resources with the paper texture file. To download the file Just tap it and then you need to wait. After it's downloaded just tap the file. And it's bringing you to the folder. Tap the zip file. And if it's going to unzip for you, here you can see these different paper textures. And actually they have different sizes too Now to save these paper texture, just tap and hold the file, or just, just tap and hold the paper texture that
you want to save to your photo gallery on your iPad. If you want to save all of them, that's fine. But if you don't want to see all of them, that's also okay, so just make your choice. Okay, now, let's go to Procreate. To make a new document. In Procreate, just tap the Plus button on the top right, and then the new Canvas window open. You can see they are different sizes that procreate offers. But you also can make your custom sizes by tap the black button here. Here, you can give your
information and then tap Done. But in this class we're going to use A4 paper file that is available in Procreate. So cancel. And then A4 paper here. Tap it. So this is your new document. Now, do after me. We're going to click here, then insert a photo. And here is your photo library. And then tap the paper texture that you
want to add to your Canvas. So you can see because
our canvas size is smaller than this photo. So we can actually make
it fit to the canvas or you can scale it up
to fit to the Canvas. But we shouldn't do that if our Canvas is bigger than our paper texture photo because it's gonna cause some problem of resolutions. Now go to layers. I'm going to bring the opacity of this layer down to 75% and then Linear Burn. Now I'm going to duplicate this layer and I'm going to choose Color Burn mode and bring the opacity of this layer up to 80 per cent because I want my paper look a little bit brighter. Now I'm going to lock these layers. Now, we're going to draw and
paint below these layers. Here. Here is our Canvas with our paper texture. So if the canvas see bigger than our texture photo, In that case, we can use the texture brush instead of papertexture photo. And in another lesson I'm going to show you how we can do that. So see you in the next lesson.
11. Choosing color palette : In this lesson, we're going to learn how to pick up colors from photo in Procreate. Now go to Procreate. Let's look at the color circle at the top right. That's where you can find your color palettes. I have a lot of different color palettes here. Now, tap to the Plus button. You have different options here to choose from. And these actually depends on your iPad. So we're going to choose the first option because everyone has that. You can even name your palette if you want. But honestly most of the time, I don't name it actually. Now we're going to
bring the photo to Pocreate and you know how to do that. I'm going to skip this step. Here is our photos and what I'm gonna do it just tap the screen and hold or move my finger to the place that I want to get the color I want. And you can see that change at the color circle at the top right. When you get the right color you want, just go to palette and add it. I often get as much as tones of colors that I want from the lightest to darkest. For the leaves. I just pick the color in the photos But sometime I could come up with unrealistic colors for the leaves, or I can change to other colors in my process. Now let's put color on paper and see how they look. In the next lesson, I'm going to show you how to import the brushset to your Procreate. See you there!
12. Importing brushset: So to import your brushset to your Procreate, It's actually the same process with paper texture. Go to class project section on your browser. Class resources to download brushset. After it downloaded, tap the file and it will bring you to your download folder Now I just tap the file and it will be imported to Procreate automatically if you are on your iPad. And you can find it in the brush library. So here are different brushes from this brushset. Now see you in the next lesson.
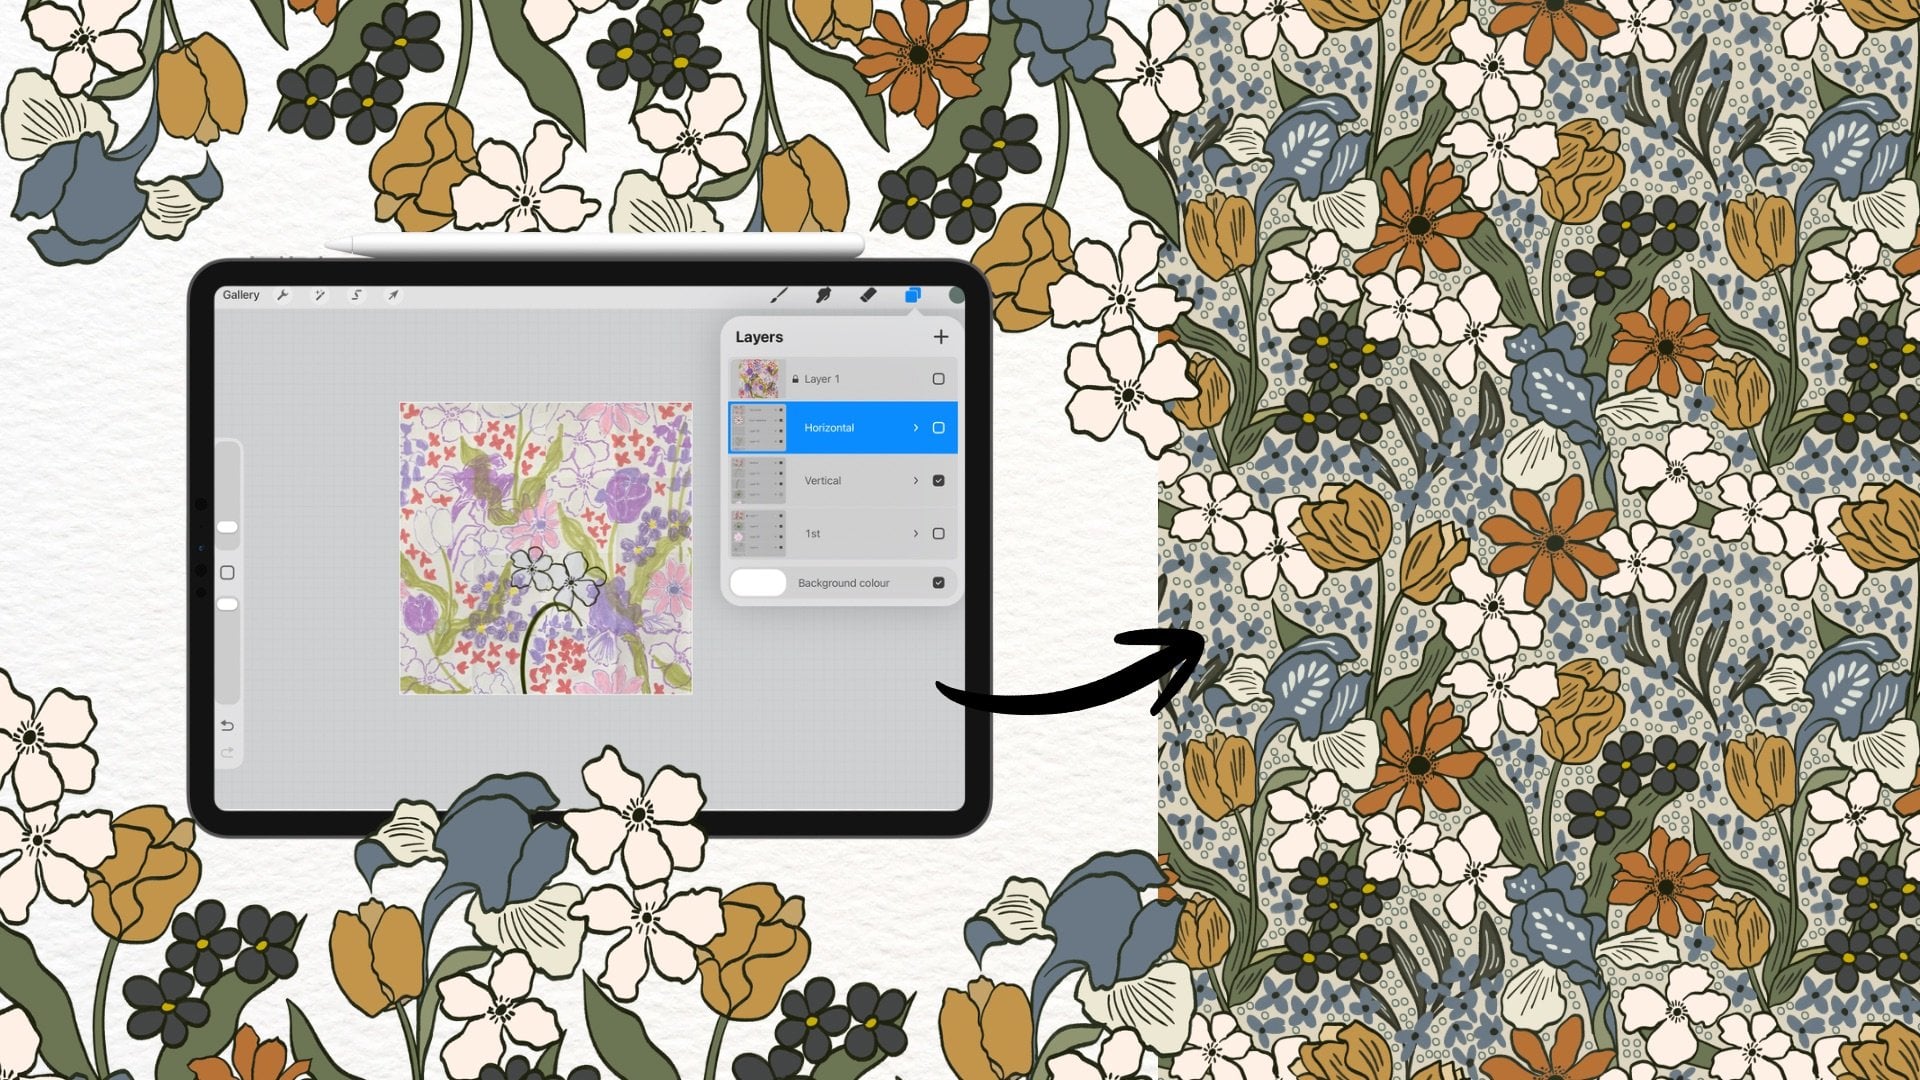
13. Preparing your sketch: In this lesson, you're going to learn how to prepare your sketch for digital painting on iPad. We're going to duplicate this document because it has already the paper texture. Now you need to delete all the layers that you don't need except two paper texture layers. Here you can add some layers that are ready to use. Now at your photo of sketch to your Canvas and you can do it yourself. After photo appears on your Canvas. You need to adjust the size of your photo that it can fit your Canvas. Sometimes you need to check the snapping setting. Makes sure that magnetics and snapping off then you feel easier to adjust the size of your photo. After you get the size you want, go to layers. We will turn down the opacity of our photo layer and change this from Normal to Multiply mode. Okay, so we are ready to paint. See you in the next lesson!
14. Painting Magnolia: In this lesson, I'm going to show you detailly the way I paint with watercolor brushes To start painting, you need your reference photo. You can use your phone or your computer to see your reference photo. Or you can go to Actions menu, then Canvas, and turn on the reference. Now you can import your image by tapping image. Then import and choose photo from your library. You can move this window to a side and adjust the size of this window too. Now go to the color palette. We're going to start with the big Magnolia. I work with layers, even with digital watercolor. The first layer of this big magnolia is the base of it For the color of the base, we're going to use the middle tone of pink. Block the reference photo layer that we don't draw on it by accident. For the base layer, I'll choose the Hard edges watercolor brush. This is my most favorite brush that I have made If you're interested in making brushes in Procreate checkout my first second classes on Skillshare. Now when you use watercolor brush to color, remember that you don't lift up your pencil from your iPad, then you get a smooth base, or the base now consists of one layer of color because the edges of this brush has texture, so it can make the edges of your pedal, some kind of wavy lines. So make sure that the edges of your petal have straight lines. When you draw the edges with the line, then you choose color again, the inside of the petal so the colors can stay the same everywhere in the pedal. I do the same thing with other petals of this magnolia until it's full of color. Sometime I turn off the layers of reference photo to see how my painting look. Now let's choose the darker pink for those places that have the darker pink, you see in the photo. You should color in another layer. That helps you change color for your painting faster when you want to. So we need to choose the color that pinker than the base. You can use the Blur watercolor brush or watercolor and pigment brush. Now we need a darker pink for the bottom of this petal. as you see in the photo, that petal has a bit darker pink at the bottom. Another tool that I also use often when I paint with watercolor brush is the blur, the blur tool. It has the same brush library, as the brush tool. When you choose this tool, make sure you choose the same brush with your brush that you're using. Or I often use my blur watercolor brush because it makes the column mixed naturally. Okay, so here I actually brought the layer of pinky places down and made it Clipping Mask. What the Clipping Mask does is it makes sure you don't paint outside of your base. So let's continue adding details in the next lesson.
15. Painting Magnolia - Adding details: So we have the base. In this lesson, we're going to add more details to the big magnolia. I'm going to choose the dark purple for adding darker shade to those dark pink petals in the center of the flower. Make another layer and then clipping mask. I also adjust the opacity of my brush. I'm still using theBlur Watercolor brush. I color the bottom of these petals and add more colors to the edges by moving my brush many times at the same place. I also want the center to heve darker shade. Now I pick another color with
the dark pink or the pink with some gray color for the shadow on the light pink petals. You can even pick a color from your reference photo and you don't need to add photo again to your Canvas to pick up color. Now, make a new layer and turn it into a clipping mask. You can follow those shadows in sketch photo or you can look at the reference photo. Remember that you can always turn off your sketch layer to see how your painting looks. And sometimes adjust the opacity of your brush to get the look of shadow you want. You can use the blur tool to make your shadow soft. After you've finished coloring shadows, you can also decide if they look too dark or too light in turn down or turn up the opacity of that layer. Now adding highlight to those petals, I'm going to choose this almost white color, and then make a new layer. Make sure it's not too white. So I turn down the opacity a bit. I'm applying to those places that I see white colors in the photo. I still want to add more shadow, the dark purple to some places. There's some places just darker than other. I make a new layer and bring it up. I'm choosing the very dark purple and using the same Blur Watercolor brush. Now, It looks okay to me, I will change my brush to Tinderbox Edited and add some paint to the pedals edges. Just give them some character. And I stay on the same layer. You are on a clipping mask layer so just keep your pencil outside the flower, that the pedals just receive a bit paint. With the petals inside the flower or the base. I often draw a lines to see the petals better. Just at very thin lines. So it's actually done if you don't want to add more lines or making some line art like I do. But if you are interested, then let's go to the next lesson.
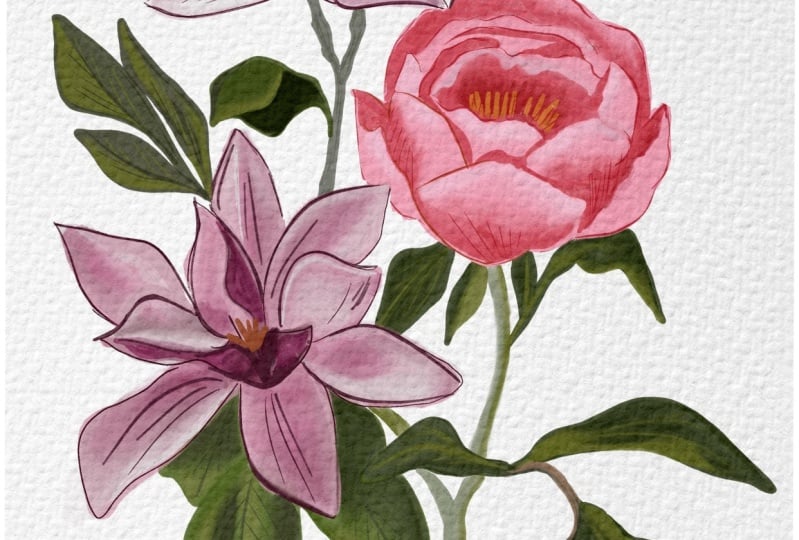
16. Line art: I forgot to talk about the center of this flower. actually, I don't know how to call it, is it pistil or stamen? But anyway, to make a new layer, I draw them with a darker yellow color and then color inside with the brighter color. You can add shadow for them too, but I just leave it like that. Now let's jump to the line art. I choose the Heavy Dark Line brush to draw lines Here you see I first use the Tinderbox Edited brush, and then found out that the Heavy Dark Line gives us a better look, thenI changed to the Heavy Dark line brush and redraw those lines that were made in the other petals I don't use a lot of linesfor painting just some lines to highlight the curves Or just give my flower or character.
It's hard to make those lines to please me. Often I can erase and draw again many times until a feel it look right Now the same with the other flowers too. But actually this step, it's just optional. If you want, you can have your way to add character to your painting to you. Maybe you can add dots or big lines or wavy lines or even dotted lines or dashed line too
It's depends on you, your art, so you decide what it will be.
17. Speedpaint of flowers painting: You have learned the flower painting process. Now, it's time for you to practice with other flowers. When you have more elements, then you need to group them in different groups. That it doesn't look messy. Painting with the layer, painting with layers. The first one is the base, than the pinky shade, than the shadow and other darker pink. Here you just speedpaint video of my paintings. So it is just option not to watch
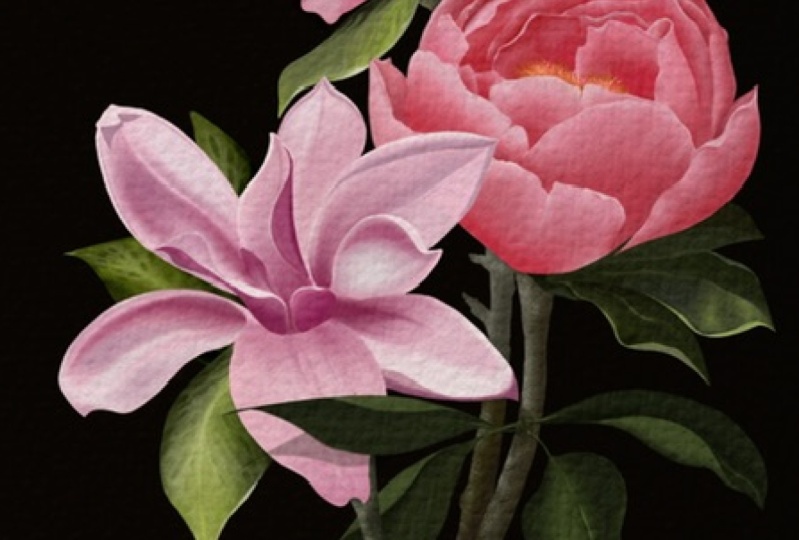
18. Leaves painting : This is also the speed paint video, but for the leaves. So for the leaves painting, you will do the same with flowers. I use my phone now. You see reference photo. First, I also paint the base and then some darker shades, and some shadows and some highlights. I love to add some different green shade to the leaves to have the interesting look. You can see on the photo that peony has some brown shade. So I also add some brown color that I have on my palette. On the leaves and on the stem. I don't add lines for the leaves. Just add some simple and basic vines for leaves. Make sure that you paint anything on the separate layers that you can make the change whenever you want. The same for the magnolia leaves. I also add some interesting
shades and some basic veins. And the shadows from flowers on the leaves.
19. Texture brush: In this lesson, I'm going to
show you another way to add paper texture to your painting
with your texture brush. First, I hide those paper
texture photos layers, then I make a new layer and bring it up. Choose a gray color that is somewhere here in the middle. And the color needs to be dark enough to see your texture. Now, in the brush library, you can see the last three brushes. They are from photo textures that you've downloaded. I used them to make texture brushes. I choose the last one. It has the same texture that we've used in this class. Bring the size of your brush to maximum. Make a new layer, then paint everywhere in your Canvas like I do. Make sure you don't lift up your pencil from your iPad. After finishing, go to the layer and duplicate your layer. I also change the modes of these layers to Linear Burn and Color Burn. This method really helps you keep the high resolution if your canvas is bigger than the paper texture photo. Go to the Actions menu and Share. You can see you can export your work in different files. I often export my works in JPEG or PNG file Tap to the file you want and then Save image. When you see "exports successful" means your photo now are in your photo library.
20. Final thoughts : Yayyyyyyy! You did it!
You've just finished this class. I'm so proud of you. So you have just learned how to make a layout, how to sketch, and draw flowers and how to paint flowers with digital watercolor. So I have a question for you. Which part is the most
interesting to you? You can answer my question in the discussion section, or you can also answer my question when you upload your class project to the Project section. And I'm so excited to see what you come up with. So please make your class project and upload it to the class project section and share it to the world! And if you like this kind of illustration class from me and you want to see more this kind of class. So please give me a review in the review section that I know this class useful. And it also helps other students can see if it's worth take this class. And I hope you had fun with this class and please remember to make your class projects then upload it to the class project section. See you next time! Thank you for your watching!
 Phuong Lempinen, iPad artist| Surface pattern designer