Transcripts
1. Introduction: Hi, I'm Phuong. I'm a surface pattern
designer based in Finland. I like to call myself a freedom designer
because I create in my own rhythm in
the own space and for people who I want to
reach through my works. My ideas can start anywhere
sometime on my sketchbook, sometimes directly on the iPad, and sometimes on the paper during a quiet
moment with my kids. I love taking these
simple beginnings and growing them into
patterns for fabric, wallpaper, and home decor. In this class, I'm
excited to take you behind -the - scenes of one
of my favorite workflows, transforming a hand - drawn
florals sketch into a clean, recordable digital
pattern in procreate. If you enjoy the tactile
feeling of drawing on paper, but you also want
the flexibility and freedom of digital tools, this process is going to feel really natural
and enjoyable. You don't need to
be an illustrator or a procreate expert, but you need to have
basic knowledge about procreate for
joining this class. All you need is a
simple floral sketch, something you made during your free time or
even a quick doodle, you drew with a
kids, and together, we'll turn it into a versitile
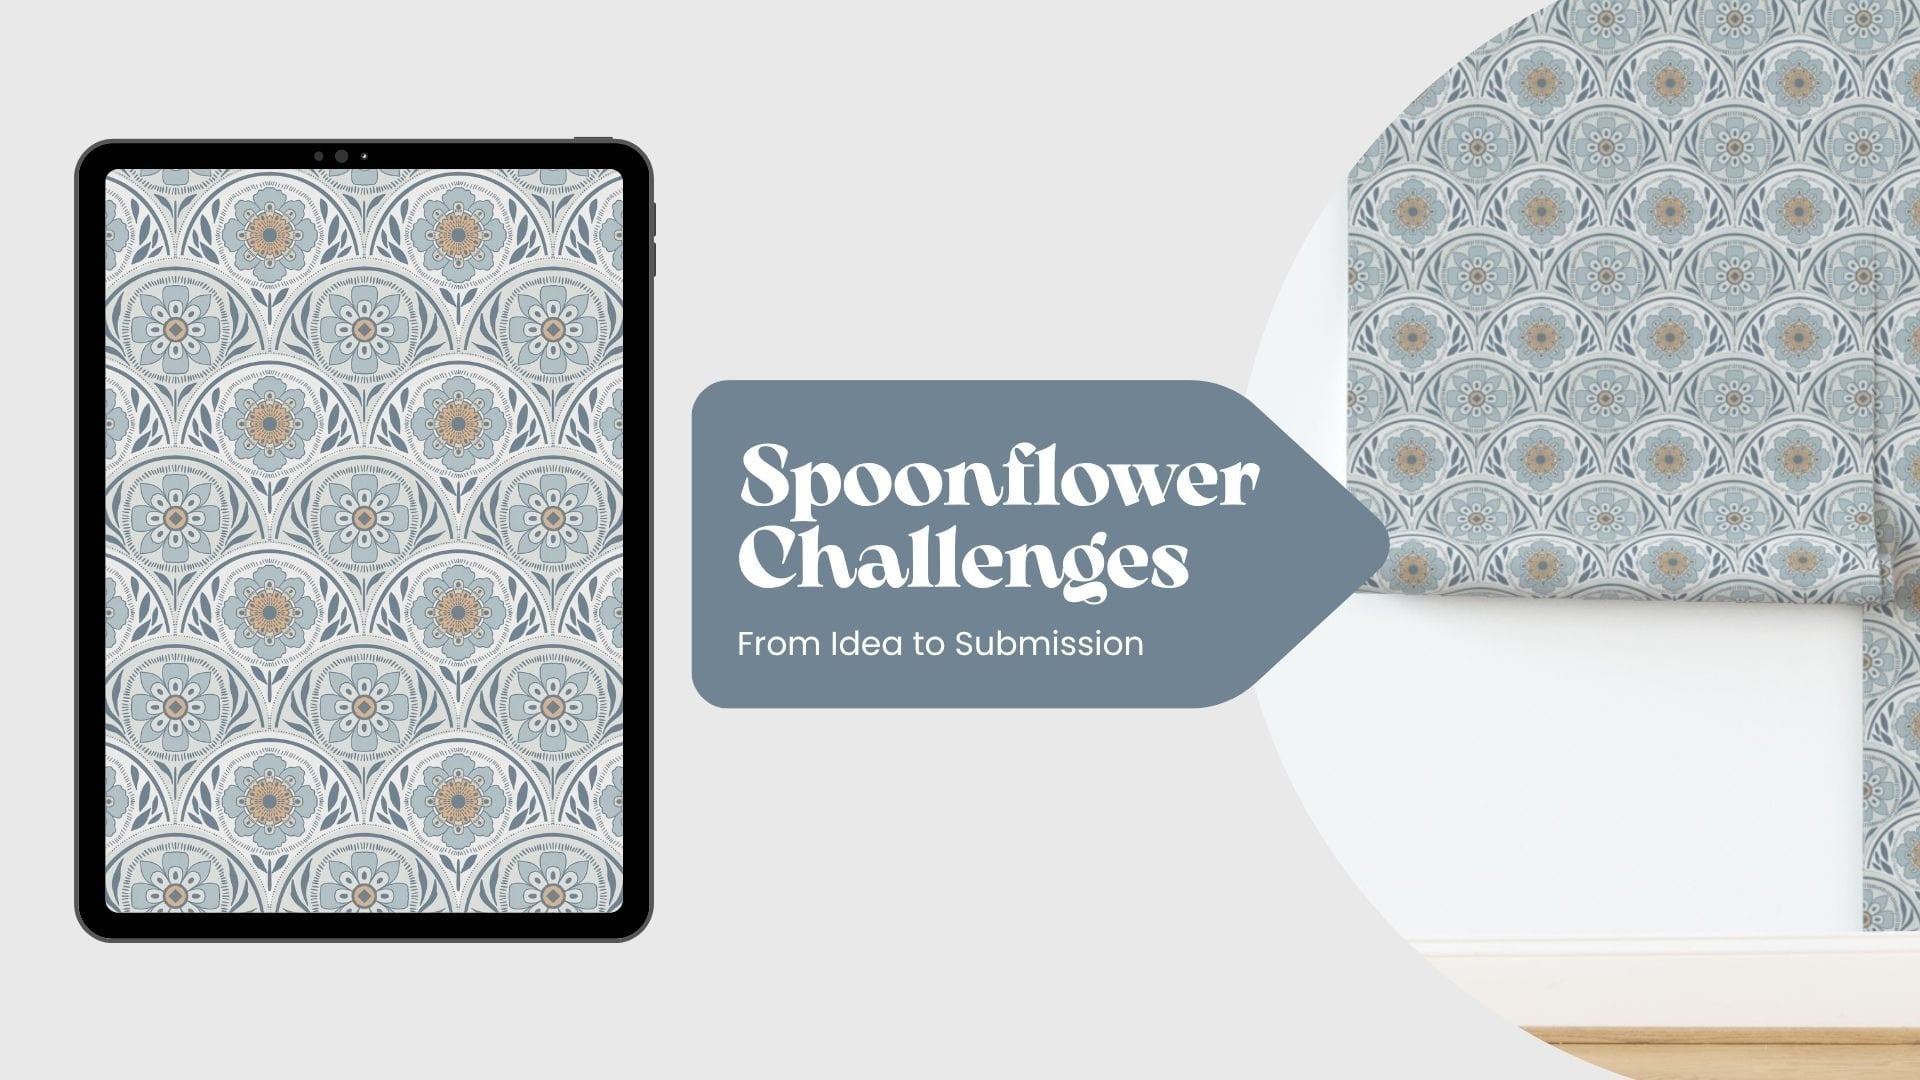
digital pattern you can use for your surface design porfolio your spoonflower challenges and for your own creative projects. I can't wait to show
you how accessible and relaxing this paper to
pattern workflow can be. So let's get started.
2. Class project: For your class project, you'll be creating a digital version of your own hand draw
flower pattern. It doesn't need to be perfect, detailed, or even planned. A simple sketch on
paper is enough. If you already have a
florals doodle you like, feel free to use that or if you want to make
something fresh, take a few minutes to draw a small cluster of
flowers or leaves. Nothing complicated. Once
you have your sketch, bring it into Procreate and follow the steps I
show you in the class, trace your lines,
built your shapes, and add color using a flexible layers structure that lets you create multiple
colorways quickly. When you are finished, you have a clean
digital floral pattern that reflects your
personal style. While still keeping the charm
of your original drawing, I would love to see your
progress in the project section. You can share your
both paper sketch and your final digital pattern. And if you experiment with
different colorways, feel free to upload those two. It's always inspiring
to see how each person transforms their own
sketch through this workflow. So take your time,
have fun with it, and remember this process is all about creativity
and exploration. I'm excited to see
what you'll create!
3. What You Need for This Class: For this class, you
don't need much. The whole idea is to keep
things simple and accessible, so you can follow along
with any pressure. First, you need a piece of paper and something
to draw with. A pencil, a pen or even a simple marker
is perfectly fine. Your sketch doesn't need to
be detailed or polished, just a small flower doodle or a loose cluster of
flowers and leaves. If you already have
a sketch you like, you can use that too. Next, you need an iPad
with Procreate installed. Any recent version works and you don't need advanced
brushes or extra tools. I'll be using basic brushes and a very
straightforward setup, so you can recreate the exact
workflow on your own device. If you have an Apple pencil, that will make the redrawing
process easier, and that's it. Paper for your sketch, your iPad, procreate,
and Apple pencil. The goal is to show
you that digitizing your hand drawn floral doesn't
require complicated setup, Just simple tools and little
time and your creativity.
4. Optional: Creating a Simple Paper Floral Pattern: This lesson is
completely optional, but I wanted to include
it for anyone who enjoys creating patterns
directly on paper. It's a simple and very
satisfying method that allows you to make a simple repeat by hand using a piece of paper and
a pen or pencil. Start with any
piece of paper you have square or
rectangular, both work. Begin by drawing a few floral elements
in the center area. These can be loose flowers, leaves, or small
decorative shapes. Keep the edges empty for now. Well, we'll come
back to them later. When the center
are filled enough flip the paper around
and work on the edges. The idea is that
whatever touches one edge should continue
on the opposite edge. The pattern connects
seamlessly when repeated. You can fold the paper lightly to see where
the edges meet or simply rotate it and place your next floral element
in the marching position. There is no need to be perfect. This is a playful process
meant to keep you in the flow. Continue adding small
details around the boders. Always think about how they will connect when
the tile repeats. Once the the edges
feel balanced, you can fill any remaining
gaps in the middle with tiny accents or leaves
to create a nice rhythm. The result won't look like
a finished pattern yet, but it will give you a handmade tile that
repeats cleanly. And if you like, you can use it. You can use this paper as the sketch you'll digitize
later in Procreate. Again, this step is optional. It's simply a fun and tactile way to
explore pattern making, especially if you enjoy drawing with your hands before
moving into digital tools. If you're ready, let's move on to bringing your
sketch into Procreate.
5. Bringing Your Sketch Into Procreate : In this lesson,
we're going to bring your paper sketch into Procreate, so we can start turning
it into a digital pattern. This step is simple, but setting it up carefully will make the rest of
the process much easier. Okay, let's start by
creating a new canvas. I like to work at 4,000
by 4,000 pixels, which gives me a plenty of
space to draw clean lines and enough resolution for printing or using the
design on products later. So open Procreate, tap the
plus icon in the gallery, and create a new custom canvas at 4,000 by 4,000 pixels. 300 DPI. You can choose the dimensions that are available
in your device or just tap the plus button
and make a custom canvas. Make sure that you
choose Pixels and then make sure your
color profile is sRGB. At the untitled Canvas, you can choose it and change title for your
Canvas if you want. When your blank Canvas is ready, it's time to bring
in your sketch, tap the wrench icon at the top left to open
the actions menu. In my previous classes, I often used insert a photo
from the camera roll. But today, I want
to show you how to import this from your file in case you like to
organize your images there and tap "insert a file". This will open the files app. Navigate to the folder where
you saved your sketch photo, tap on it, and procreate, will place it on your canvas. You should now see your sketch with a blue bounding
box around it. If you don't see the
blue box and handles. Tap the arrow icon
at the top left, the transform tool to
make sure it's active. This arrow needs to be on for us to move and
resize the sketch. Now use your fingers to pinch and zoom the
photo gently resize it until it sits nicely on the canvas because we are
working with the pattern. I like to make the sketch
as large as possible, it almost fills the canvas, but without cropping or losing any important
details at the edges. You find difficult to
move your sketch around, so you can turn
off the magnetics or snapping in the
snapping settings. That will let you slide
the image more freely. You can turn them
back on later when you actually need the canvas
to snap into the alignment. Take a moment to zoom in
and out, move it around, and make sure everything
you want to keep from the paper version is still
visible inside the square. Once you're happy with
the size and placement, tap the arrow again
to set it in place, your hand draw pattern is now on its own layer inside Procreate and ready
for the next step. In the next lesson,
I'll show you how to prepare this sketch layer so it becomes easier to trace over and redraw cleanly without feeling too heavy or distracting
on the screen.
6. Setting Up Your Sketch for Redrawing: Now that your sketch
is on the canvas, we're going to
prepare it so we can start redrawing it clearly
and comfortably. We're not editing
the sketch itself. We're simply arranging our layer so everything feels organized
and easy to work with. First, go to your
layer panel and tap on the layer that
contains your sketch. Tap the little letter N icon, on the layer and change the
blend mode to Multiply. This makes the sketch
behave like tracing paper. The white areas become transparent and the only
lines remain visible. It's a really easy way to draw above your sketch without the
background getting in the way. Now I'm going to lock
this layer just to make sure I don't accidentally
move or draw on it later. Next, I'm going to
add a new layer, drag this new layer
below your sketch layer. This keeps our drawing clearly separated from
the original sketch. Later on, if we want to turn
the sketch layer off or reduce tranparency or compare before and after, everything
will stay clean and organized. Now let's talk about the
brushes. On my Procreate I actually have two libraries, one from the older version that I have been
using for years, and a second library from
the new Procreate update, which includes a lot
of fresh Brushes. You might have something similar depending
on your version. Take a moment to explore the
brushes you already have. Any brush is fine because this part is completely up
to your personal style. Think about what kind of
line's quality you want. Do you prefer thick
or thin lines, smooth or textured and a
strong solid stroke or something with a softer, slightly
transparent look? There's no right or wrong just what feels
good in your hand. For my redraw, I want a
brush with a stable stroke, something that gives me
confident clean lines while still keeping a handmade fill. So I usually look inside
the inking category, but this time since Procreate
released a new set brushes, I'm going to try something
from their new library. I'm using the Nowhere Else brush. Before using it, I like
to duplicate the brush. That way, I can make
small adjustments without affecting the original
version. To duplicate, swipe left on the brush
and tap duplicate. Now let me explain the small
adjustment I usually make. I often tweak the brush under the Pressure and
Expression settings. This controls how the brush react to the pressure
of your apple pencil. If you press lightly, the light gets thinner. If you press harder,
it becomes thicker. By adjusting these curves, I can make the brush feel more stable and
predictable when I draw. I like my lines to stay steady
and not change thickness too dramatically when I
apply different pressure, so I tighten the curve slightly
to give me more control. You can experiment here
as much as you want. But even if you leave the
brush exactly as it is, it will work perfectly fine. The goal is simply to
find the brush that feels right for your hand and helps you redraw your
florals completely. Once your brush is ready
and your layers are set up, we are ready to start
redrawing your pattern.
7. Redrawing Your Florals Digitally - step 1: Before we start redrawing, I want to give you
a quick overview of what we'll be
doing in this lesson. We're going to break
the process into clear, simple steps, so it's
easier to follow, and you can work
at your own pace, no matter what your sketch looks like or how detailed it is. We'll start by tracing all the full flowers
inside the canvas. Then we'll prepare
the vertical seam, redraw the flowers
along that seam and repeat the same process
on the horizontal seam. By the end of these steps, you have clean digital linework
that connects correctly on all four sides and forms the base of
your repeating tile. Remember your sketch
might be more detailed, more minimal or arranged
differently from mine. That's completely normal. Just follow each step with your own artwork and
take the time you need. Allrigh! Let's begin with step one. Let's start by
checking out layers. Make sure your sketch
layer is at the top, set to multiply and locked.
This keeps the sketch visible like tracing paper and prevents any accidental shifts. Then add a new layer
underneath the sketch. This will be our
first tracing layer. Now, choose the brush
you prepared earlier. Zoom into the center. Of the canvas and begin
tracing the main flowers. I like to stay
organized by keeping each type of flower
on its own layer. For example, I trace all the
large flowers on one layer, then medium flowers on another
and leaves on another. You don't have to be
too tricked with this, but separating your elements
will make coloring, recoloring, and creating multiple colorways
much easier later. Follow your paper drawing, but feel free to
refine these shapes. Make the pedals smoother, adjust the curves or
simplify a messy lines. You are not copying
the sketch perfectly. You are giving it a clean digital version while
keeping the hand made feeling. If your sketch looks
different from mine, maybe more detailed, more simpler, that's completely fine. Just focus on the full
flowers inside your canvas. You can always pause the video or rewind until you
are comfortable. Continue tracing
until you'll finished all the flowers that are
fully inside the canvas, including the ones
near the edges, but not cut off. I'm going to speed
up this part of the video because your
scketch is different from mine, and you can take as much time you need with your own flowers. When you're done, select all the traced layers for
these flowers and group them. I'm calling this group First, but you can name it
whatever helps you stay organized or even you don't
need to name it at all. And that completes Step one. In the next step, we'll prepare the vertical seam and
redraw the flowers along that edge so the
left and right sides connect perfectly in
the final repeat.
8. Redrawing your florals digitally - step 2: Let's begin step
two by preparing the artwork we need
for the vertical seam. Start by duplicating
a clean sketch layer once just to keep a backup. Then duplicate it
two more times. These two new copies will help
us reposition the sketch, so the side edges meet in
the center of the canvas. I'm going to rename both of them Verticals so it's
easy to identify. Oh now select the 1st vertical sketch layer and tap the arrow
icon at the top left to activate
transform stool. At the bottom of the screen, make sure the both snapping
and magnetics are turned on. This ensures
procreate will guide the movement and help
the edges align exactly. With the arrow tool active, drag this 1st vertical
layer straight to the right until it snaps
exactly to the center. You see the yellow guidelines appear when it locks
into the place. Next, select the
second vertical layer, tap the arrow again and
drag this one straight to the left until it snaps
to the center as well. Now, the left and
the right edges of your sketch are meeting in
the middle of the canvas. When the edges meet like this, is completely normal
if some flowers look broken straight or
a little bit strange, that's just what happens when we shift a flattened sketch around. But the good news is we're working digitally
now so we can fix those distortions easily by drawing clean complete
versions of those flowers. Now at a new layer above
these moved vertical layers, but still below your
main sketch group. This is the layer where we trace the flowers along
the new centric seam. Zoom into the middle
vertical line and start redrawing the flowers
that sit along the seam. Draw them as complete, whole flowers following the
general shape of your sketch, but adjusting and
refining where needed. so everything looks
natural and connected. These flowers will eventually
become flower that sits on the left and right edges
of your repeating tile. I'm going to speed up
this part of the screen because your seam will
look different from mine, and depending on how
many elements you have, this step may take longer, but just follow
the same idea with your own shapes and work
steadily at your own pace. When you are done,
select the layers, you 've just traced and
group them together. And naming mine Vertical, but feel free to use
your own naming system. And that's complete step two. In the next step, we'll repeat the same idea
horizontally by moving the sketch up and down so we can redraw the top and bottom
seam of the pattern.
9. Redrawing your florals digitally - step 3: Now that our vertical
seam is finished, we're ready to repair the
horizontal seam like before, the goal here is to shift our sketch to the top and the bottom edges
meet in the center. That way we can redraw the flowers that need to
connect across those edges. For this step, we're going to duplicate the
vertical seam sketch. That's helps us maintain accuracy across both the
direction of the repeat. So I'm going to duplicate that vertical sketch once,
rename it horizontal, and then duplicate
it one more time, so we have two matching
layers to move. Next, select the first
horizontal layer and activate the transform tool by tapping the arrow
at the top left. Make sure snapping and
magnetics are both still turned on. Now drag this layer straight up until it snaps into the
center of the canvas. You see the yellow guidelines appear when it's
perfectly aligned. Then select the second
horizontal layer, tap the arrow again and drag this one straight
down until it snaps. Now the top and the bottom edges of our sketch are meeting
right in the middle, just like you saw in
the vertical seam is completely normal if some
flowers look stressed, broken or distorted
when the edges met. This is simply how the
flattened sketch shifts when we reposition
it. But don't worry. We're going to redraw clean natural version
of this flower on top. Before we start tracing, I'm going to flatten these. two moved
horizontal layers and then make new layer
and drag it below its horizontal layer just to
stay organized and also creating a new group and name it horizontal now instead of
waiting until the end. Now, zoom into the
middle horizontal seam and start tracing the flowers
that sit along the line. Draw them as full
complete shapes. You can follow the
sketch closely, but feel free to adjust light where the
distortion happened. What we want is a set of
clean flowers that will sit on the top and bottom
edges of the repeat tile. I'm going to speed up
this part of the video because your seam might look completely
different from mine. And depending on
how many motifs you have near the top and
the bottom edges, you might need more
or less time here. Just take your time and
work at your own pace. In my case, while chasing, I noted
something important. I had accidentally drawn two different types of
flowers on the same layer. If that happens to you, don't worry, it's
really easy to fix. To separate them top
the selection tool, the a shaft icon at the top left and make sure the mood at the
bottom is set to free hand. Then draw around the
motif you want to move. Make sure your selection doesn't touch any
other elements. After that, use three fingers to swipe that on the screen. A small menu will appear and
you can tap "cut and paste". Procreate will automatically place that selection onto its own
layer in the layer panel. This trick is really useful
whenever you need to reorganize your artwork
without redrawing anything. Once you've finished tracing the horizontal seam and separated your motifs
onto the layers you want, that
complete step three. At this point, you should
have your full flowers, your vertical edge flower and your horizontal edge flowers all cleanly drawn and
organized into groups. In the next lesson, we'll move into coloring and start
setting up a clean, flexible system that makes flat coloring and recoloring
our pattern really easy.
10. Coloring Your Florals: Flat Colors: Now that all of your flowers are traced and
organized into groups, we can start adding flat color. This method is simple, fast, and extremely flexible. We are not trying to choose
the perfect palette yet. We are only building a clean
color base that will make it very easy to create
a new colorway later. Before we begin filling color, zoom in and take a close look at your line work. For the drag
and drop method to work, each pedal or leaf must be a
completely closed shape. Even a tiny gap in
the outline will cause the color to spill
across the whole canvas. Now let's start coloring. Go to the layer panel
and select the traced ouline layer for the flower type
you want to color first, tap the layer and turn
on the reference. Reference tells Procreate to use this layer is
the online guide, but it will not put any
color on that layer. It simply allows you
to fill color on the separate layer while
still following the oulines. Next, add a new layer
underneath the reference layer. This will be your color layer. If you like, you can lock the reference layer so you don't accidentally fill color on it. Choose any temporary
color you want. I truly doesn't
matter at this stage. Pick up the color from
the color circle, drag it into the closed
shape and drop it inside. If everything fills with color, that means the
shape isn't closed. Zoom in fix the
gap and try again. When you drop a color
into the shape, a small menu appears at the
top labeled continue filling. If you tap it, procreate
stays in the filling mode. This means you can simply tap
on the other closed areas and to fill them with the same color without
dragging the color each time. This can save lots of
time when you are filling many petals or leaves
with the same base color. As you work, try to keep similar colors together
on the same color layer. For example, if you
want all the buls of one flower type to share
the same base color, put them all on one layer. This keep things clean and makes recoloring
much easier later. Once you finish coloring, that flower group,
move to the next one. Turn on reference that
groups ounline layer, add a new color layer underneath, repeat the same process, drag and drop flat colors
into all the closed shapes. Again, you are not
choosing the final palette. You're simply
assigning every shape its own solid color so
we can build on later. Continue until every
flower group in your pattern has its
own base color layer. The wonderful part about this method is that when
we start using clipping mask, you'll be able to change the entire palette with
just a few adjustments. It makes experimenting
with mood, style, and colorways
incredibly fast. Once all your flowers
have their flat colors, your pattern is ready
for the next stage. Creating colorways. In the following lesson, I'll show you how to use clipping masks and
currated palettes to transform the
simple flat base into multiple versions
of your pattern, soft, bold, vintage, modern,
or anything you want.
11. Creating Multiple Colorways: Now that all of our
flowers have flat colors, we're ready to create
multiple colorways. This is one of my favorite parts of the process
because it allows you to explore different modes and styles without
redrawing anything. Before we start recoloring,
here's a quick tip. If you'd like to keep
things organized, you can duplicate your file now and use one file per colorway. That's why each version stays clean and easy to
save or export later. You can also work
everything in one file if you prefer to. Both
approaches work. Before we start recoloring, there's one important
thing to check. Go to your layers
final and make sure the reference is turned
off on all outline layers. Earlier, we used reference to help with the flat coloring, but when recovering using clipping masks and
drag and drop fills, leaving reference on can
cause Procreate to fill unexpected areas or
behave unpredictably. Turning it off keeps everything
clean and controlled. Now, let's start
creating colorways, choose one flower group and add a new layer above this
flat color layer. Tap on that new layer and
turn it into clipping mask. This ensures that any
colour we drop in will stay neatly inside
the shapes below. To make things
easier for you, I've already created a set of color palettes that you can download and use with
your own pattern You find three palettes
included: a bold colorway, a soft patel colorway and a vintage inspired colorway. You're welcome to use
them as they are or treat them as a starting point
for your own experiments. To import the palettes simply to tap the
downloaded palette file, Procreate will
automatically add it to your colorpalette library
and you'll see it appear in the colors panel. Pick a color
from your alerted palette and simply drag and drop it onto the flower because we're
using a clipping mask, the color stays
perfectly contained. If you don't like the color, you can quickly drop
in the different one, undo or switch to
another palette, all without affecting the
original flat color layer. This is exactly why the previous lesson we grouped similar colors
in the same layer. By organizing our
flat colors this way, we can now change or replace
entire color areas quickly when creating a new
colorway instead of recoloring each
shape one by one. Feel free to pause
here and experiment. Try all three palettes mix colors between them, or adjust individual shades until the pattern
feel right to you. If your pattern
has many elements, all of these clipping masks
and color layers can add up very quickly to reduce
the number of layers, you can start merge layers. For example, you can merge
a clipping mask layer down into its flat color layer once you are sure
about the color, just pinch the two
layer together. This keeps your artwork
visually the same, but makes your file much
lighter and easier to manage. Demanding mois. When you're done, you have multiple colorways built
from the same artwork, giving you a plenty of options to explore different
moods and styles. In the next lesson, we'll take these colorways and turn them into a finished
repeating pattern, making sure everything tiles seamlessly and is ready to use. See you in the next lesson.
12. Making Repeat Pattern: Now we're ready to turn our artwork into
repeating pattern. This part is all about
checking balance, testing, the repeat, making
small adjustments until everything feels right. I'll start by looking at my layers panel and
cleaning things up a bit. If I'm confident about
the color and structure, I usually merge some
elements together so the file feels more organized
and easier to read. This also helps later when
we start duplicating groups. Oh Next, I check the placement
of my elements. I'm asking myself
if everything feels balanced or if something
needs to move. For example, here I want the Iris to sit slightly
below the tulip. The iris stem isn't very
flattering when it's higher up, so I'll nudge it down a bit until the composition
feels better. This is a good
movement to trust your eye and make
small adjustments. Once I'm happy with the layout, I duplicate my main group, the First group, and
flatten the copy. These flattened version
will be used for testing the repeat while the
original groups stay editable in case I need to
go back and fix something. Before we start moving anything, I want to explain a simple technique I use when building
repeats in procreate. I like to use what I call
a placeholder this is just a temporary visual
guide that helps us see how the pattern
connects when it repeats. To create it, I add a new layer and drop
in a solid color, then I lower opacity of this layer so I can still
see the artwork underneath. This semi - transparent layer
makes it much easier to spot where elements repeat overlap or create
visible seams. Now I group this placeholder
layers together with the flattened pattern group and then duplicate
the entire group. We need two copies so we
can move them side by side. Then moving these groups, make sure snapping is turned on. Snapping helps the
layer align precisely and prevents tiny gaps or overlaps
that can break the repeat. I'll drag one group to the left and another to the right
until they snap into place. At this point, I look closely at the area where
the two copies meet. If I don't see any
visible seams, breaks, or awkward lines
where they touch, that means the pattern is repeating vertically
without any problems. Once I'm confident about that, the placeholder has done it job, so I can turn it
off or delete it. I'm not merging the
two halves yet. I want to keep things flexible in case I
need to make changes. Now I turn the
vertical group back on and check the
pattern more carefully. Here I noticed flower repeating in a way that
feels distracting. This kind of issues
often only becomes obvious when you test
to repeat to fix it. I go back to my
original first group. Your artwork will be
different from mine, so you may not need this step, but I want to show
you the process in case it happens to you. I'll undo what I just did
and start again. First, I need to separate that flower from the
rest of the group, tap the selection tool. The S shaped, I can at the top left and make sure
it's set to freehand. I carefully draw
around the flower making sure not to touch
any other elements. Then I swipe down
with three finger to bring up the menu and
choose cut and paste. Now that flower on its own layer, which means I can
hide it for now or move it later without
affecting anything else. I'm going to speed up
through the next part. It's the same process as before. You can skip to the moment where I turn the vertical
group back on again. This time, don't rush
to merge two halves. I leave them as they are so
I can see if I want to make any final adjustments after turning the vertical
group back on. Once everything looks good, I duplicate the vertical group, flatten it, and place it below
two halves of the pattern. When I'm happy with the result, I merge things together
and make a fresh copy. Now I use the place
holder technique again, but this time to test
the horizontal repeat, I group the flattened
pattern with a semi transparent
placeholder layer, duplicate it, use snapping
to move one copy up and the other down until
they meet in the center. Just like before, I check the
seam carefully if there are no visible gaps or akward
overlaps along the center line. The pattern is repeating
horizontal layer as well. Next, I duplicate the
horizontal group and take a moment to decide where
those elements should sit. I'm looking for balance,
avoiding awkward cluster, and making sure nothing feels
too repetitive or empty. Oh In my case, I didn't follow the original
paper sketch exactly. I noticed an empty area here
that feels a bit awkward. This is a good opportunity to add something new
and I'll also use this moment to show
you how to move an element so it repeats
correctly along the edge. I start by creating a
new layer and drawing a new element to fill that empty space and
balance the pattern. Once I'm happy with it, I duplicate and merge group so everything
stays organized. If I want to reuse that
element elsewhere, I can duplicate it
again and just like before to move the elements so it repeats
properly at the edge. I use the placeholder layer. I add a new blaze holder
croup it with the elements and move it following the same logic you are
already seen on the screen. You can adjust how
the element repeats along the edge depending
on where you place it. After that, I take one last
look at the composition, taking what sits above, what sits below, and whether everything
feels balanced. Once I'm happy, I
merge those layers Once I'm happy, I much do layers. At this point, if your pattern
looks good and there's no empty gaps or the repeating spot
that feel distracting, the repeat structure
is basically done. You can test it one
last time to be sure. From here, you can move
on to adding details. If you already know exactly
what details you want to add, you can do that
earlier to save time. Personally, I usually
don't know yet, so I prefer to add the
details at the very end. Once I'm confident the
repeat itself is solid. And that's my
process for building a repeating pattern in
Procreate testing as a go, keeping things flexible and adjusting until
everything feels right.
13. Optional: Adding details to your repeating pattern: Now, that's the main
repeat structure of the pattern is finished. We can move on to
adding details. This step is optional, but it's a great
way to add depth, texture, and personality
to your pattern. When I add details, I always work for new layers. As a general rule, details that share
the same colors stay on the same layer. This keeps things organized and makes recoloring
much easier later. If you prefer a
cleaner workspace, you can duplicate your file at this point in the
duplicated file, keep only the final
repeating tile and use that version specifically
for adding details. This optional but very helpful if your pattern
has many elements. I'll start by creating
a new detailer and adding details to the
center elements first, suggest a small lines or texture on the
barrels and leaves. At this stage, I'm not
worrying about the edges yet. Once the center details
are in place, we need to make sure these
details also repeat correctly. To do that, we'll use the same placeholder
technique again. I group the detail layer together with the
pattern layer and also include a semi transparent placeholder
in the same group. This way, when I duplicate
and move the group, I'm testing how
the details repeat in relation to the actual
pattern not in insolation. First, I duplicate
this group and move the copies left and right with snapping and
magnetics turned on. This allow me to test
the vertical repeat. I look closely at the center area where
the two copies meet. If I don't see any
visible breaks, jumps or misaligned details, I know the details are repeating vertically
without issues. Once the vertical
repeat looks correct, I pause here for a quick
cleanup before moving on. I group detail layers
together by type or color and if I confident everything
is repeating properly, I merge the layers
that belong together. Doing this at this stage helps reduce a total
number of layers and keeps the file
much easier to manage before testing
the horizontal repeat. Now that things are clearer, I use the same group again to
test the horizontal repeat, I duplicate the group, then move the copies up and
down with snapping turned on. Just like before, I check
the center seem carefully. If the details connect smoothly and there are no visible
gaps or mismatches, the horizontal
repeat is working. When both of the vertical and horizontal
repeats look good, the placeholder
has done his job, so I turn it off or delete it. While duplicating
and moving groups, I often turn off any layers or groups that
are needed at the moment. This helps snapping
and magnetics work more accurately and keeps
the canvas easier to read. I repeat the same process
for each type of detail I want to add and draw
details in the center, test the vertical repeat, cleanup and merge layers, then test the horizontal repeat. At this point, if
all the details repeat cleanly and nothing
feels distracting, the detailed work is complete. From here, you can move on to final checks or
export your pattern. That's my process for adding detail to a
repeating pattern. It follows the same logic as
building the main repeat, just apply to the
smaller elements. Working this way ensures that even the finest details repeat seamlessly and stay organized
throughout the process.
14. Exporting Your Digital Pattern: Once your pattern is
finished, let's export it, tap the wrench icon
at the top left, go to Share and choose JPEG or PNG. Both formats work perfectly for saving and
uploading your pattern. Choose where you want
to save the file, and that's it, your
pattern is exported. If you'd like to scale
up your pattern, you can do that
easily by bringing the exported file
back to Procreate create a new canvas or
use the same canvas. Then import your pattern tile four times and arrange
them into a grid. You can see on the screen
or you can repeat after me. Once all the four tiles are in place, you can scale them
together toward the center to create
a smaller repeat. When you're happy
with a new scale, you can export again
using the same steps, simply save it as a JPEG or PNG. This gives you
different scale options of the same pattern, ready to use wherever you need.
15. Final thoughts: Thank you so much for taking this class and spending this
creative time with me. I hope this favorite
pattern workflow has show you how
simple and enjoyable it can be to turn your hand draw florals into a clean
digital artwork. Even the most casual
sketch can become something beautiful
when you give it a chance to crow and procreate. Now that you've seen
the full process, I would love for you to
complete your class project, share your original paper
sketch, your linework, your flat colors, or
your final repeat, anything you feel proud of. The project gallery is such
an inspiring space and your contribution will
help other students feel encouraged to create too. So if you enjoy this class and
it brought you some value, it would mean a lot
if you could take a moment to leave a review
in the review section. Your feedback helps other
students discover the class, and it also helps me create better lessons
for you in the future. Thank you again for being
here for drawing with me and for allowing me to be a part of your creative journey. I can't wait to see
your class project, and I hope to see you
in another class soon. So, bye bye.
 Phuong Lempinen, iPad artist| Surface pattern designer