Painting a Monkey Illustration: Learn Fur Detailing and Texture in Digital Art | Yasar VURDEM | Skillshare

Playback Speed


1.0x


  • 0.5x
  • 0.75x
  • 1x (Normal)
  • 1.25x
  • 1.5x
  • 1.75x
  • 2x

Painting a Monkey Illustration: Learn Fur Detailing and Texture in Digital Art

teacher avatar Yasar VURDEM, Creative Art Director

Watch this class and thousands more

Get unlimited access to every class
Taught by industry leaders & working professionals
Topics include illustration, design, photography, and more

Watch this class and thousands more

Get unlimited access to every class
Taught by industry leaders & working professionals
Topics include illustration, design, photography, and more

Lessons in This Class

    • 1.

      Introduction

      1:04

    • 2.

      How to adjust colors

      1:38

    • 3.

      How to Render Details

      3:02

    • 4.

      Start Adding Fur

      5:02

    • 5.

      Increasing Details and Colors

      3:14

    • 6.

      Complete Illustration

      1:55

  • --
  • Beginner level
  • Intermediate level
  • Advanced level
  • All levels

Community Generated

The level is determined by a majority opinion of students who have reviewed this class. The teacher's recommendation is shown until at least 5 student responses are collected.

3

Students

--

Projects

About This Class

In this class, you will learn how to paint and detail a monkey illustration step by step. We will focus on building texture, painting expressive fur, and adding depth and personality to a character illustration using digital painting techniques.

This class is taught by illustrator Yaşar Vurdem, known for creating character illustrations and collaborating with artists, musicians, and creative projects. His artworks have been shared across various creative communities and connected with projects related to companies like Adobe, productions on Amazon Prime Video, and pop culture inspired artworks including themes connected to The Lord of the Rings: The Rings of Power and artists such as Billie Eilish.

Throughout the class, you will follow a clear process from sketch to final render learning how to add believable fur details, control lighting, and create strong visual depth in your illustration.

By the end of the class, you will complete your own detailed monkey illustration and gain techniques you can apply to many other animal or character paintings.

This class is suitable for beginners and intermediate artists who want to improve their digital painting and illustration detailing skills.

Meet Your Teacher

Teacher Profile Image

Yasar VURDEM

Creative Art Director

Teacher

Check my Etsy Shop

Welcome! I'm Yasar Vurdem a digital artist, illustrator, and passionate instructor.

I've spent years developing a vibrant, expressive portrait style that blends realism with bold, painterly energy. Over the years, my artwork has been featured in collaborations with global names such as Billie Eilish, Adobe, Prime Video (The Lord of the Rings: The Rings of Power, The Wheel of Time, Citadel), Wacom, Logitech, XPPen, and many more.

As a professional designer and illustrator, I work across digital painting, character art, concept design, and stylized portraiture. My goal as a teacher is simple: to share the exact techniques, workflows, and artistic mindset that I use in my professional projects in a clear, practical, and inspiring way.

Every ... See full profile

Level: All Levels

Class Ratings

Expectations Met?
    Exceeded!
  • 0%
  • Yes
  • 0%
  • Somewhat
  • 0%
  • Not really
  • 0%

Why Join Skillshare?

Take award-winning Skillshare Original Classes

Each class has short lessons, hands-on projects

Your membership supports Skillshare teachers

Learn From Anywhere

Take classes on the go with the Skillshare app. Stream or download to watch on the plane, the subway, or wherever you learn best.

Transcripts

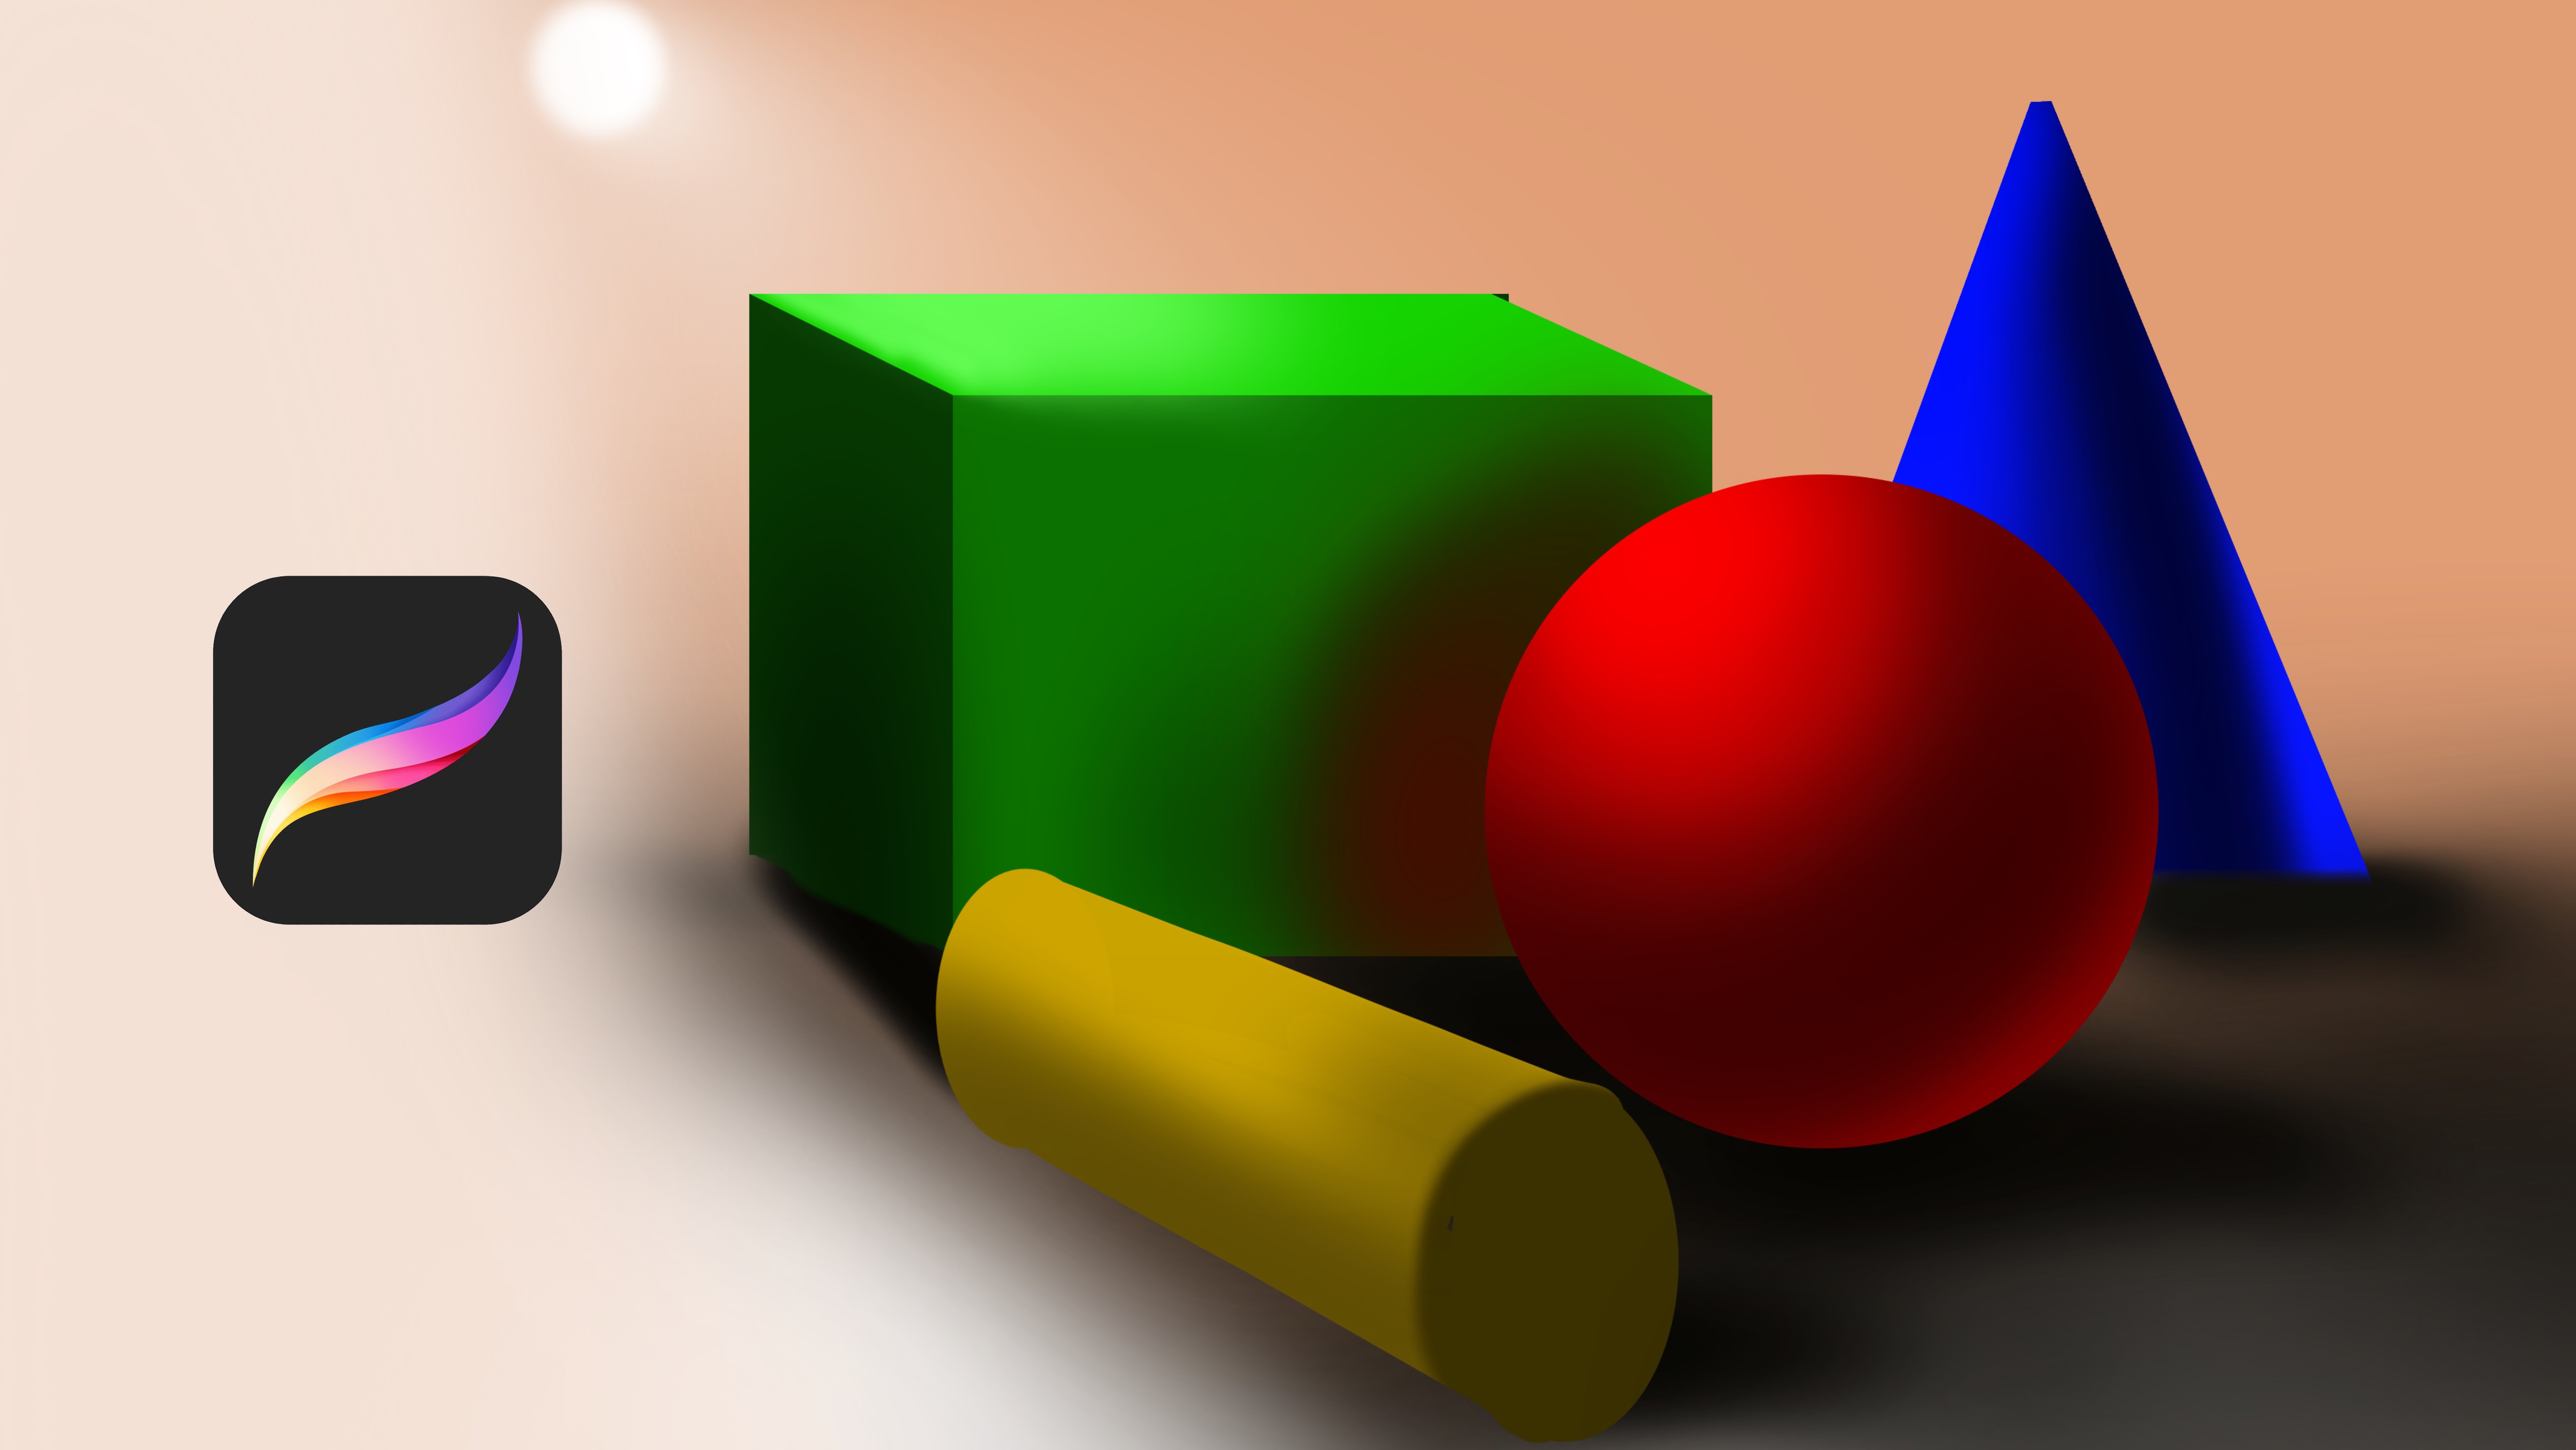
1. Introduction: Hi, everyone. In this class, we will dive creating a dynamic character illustration using Procreate. I will guide you step by step from sketching the base shapes to refining the linework and changing the details that make driving pop like textures, lightings, and expressive features. This class is perfect for beginners and intermd artists who want to improve their digital illustration skills and learn how to add deep and personality to their artwork. We will not start from the start point, and we will paint over the sketch and try to improve the details of it. And all you need is an iPad, Procreate and your creativity. By the end of this class, you will have a complete illustration with polished details that bring your character to life. We will paint the lovely monkey punch together. Let's get started. 2. How to adjust colors: Welcome. I will show you the basics of render with the colors in this part. If you imagine ellipse like this and lights come from the left top, and this point will be the highlight area, and this is the most lighted area of the painting. And this is the second part like medium light, like halftone. And this is the core shadow. And this is the reflected light. And light fluids like this and go back to the reflected light point from this part. And you need to if you imagine like one, two, six, like one is the higher level of the light, and it is down, and it will be one, two, three, and this one will be four or six because reflected light can't be much more like lights and highlights. But if you have the second light, it is possible. But if we have one light, this will be less saturated and less light. Thank you again and see you in the next videos. 3. How to Render Details: Welcome. In this part, I will show you how to shade effectively. At first, we create ellipse, and I will put the middle tones of the ellipse. And then we will go to the layers and alpha lock the layer. And after this, we need to define the core shadow area. And core shadow basically the four points of the light. And I determine it like this from this side and the left top will be light side, for example, like this. But you need to make sure you are making the middle tones. For example, these tones are middle tones, and this is the highlight point. And I switch it to do a bit yellowish color here to catch a natural color switch. And the right point will be reflected light, and it will be a bit white because background is white, and it will be like this. And detail level, will be much more visible at the highlight area. For example, if we have one texture here, it will be much more visible at the light area because light makes detail pop up much more detailed. And we see shadows through the light and different kind of color watch at the light points. So don't forget to add these details over the highlight area. And at the middle tones, you can use less details just like this to keep balance and create the details much more visible. And if you wish, you can make the core shadow less strong to make it less black because Blake makes everything look so boring and at art, try to avoid using so much black, especially at port plaits and other paintings. And always watch at the color wheel because it is really important for get and add much more details over your under. Thank you again and see you in the next video. 4. Start Adding Fur: Welcome. In this class, I will show you how to create realistic details in character design. It is basically about how to create much more detail in character. So I opened new layer and started to create full details on the character. For it, don't focus on small details, but try to read the light source and how to for flows. So in my painting is going like this. I'm like, adding small lines, following the four source and select much more lighter color and diving. And this time, I'm adding like light details for painting. Because if you just focus on the darker tones, it will be so dark. We need to put some much more details in the middle of it, just like this. For example, I leave it like, much more sketchy. So I will add much more light effects here, just like this. And like this. This part will be flow like this. Always try to follow the anatomy, just like this. Zooming. I leave the eye like this, but now I will select much more light color and we'll put some lights here and here. And maybe these parts have reflections here like this to look much more dramatic. And near the nose, you can use much more light colors because it is in the light. As you can see, it added really dynamic light over here. But don't do it like overdo it. Just try to do it in certain points. For example, I added like this, and I will add much more warm colors to blending because light make the things much more saturated in natural light. So like this. I'm adding it much more Yeah. And I will select darker color again and we'll add some force here just like this. And this part will be in the dark. But I will make this place much more vibrant and for years, I will make it much more darker here and here. At some areas of painting have subsurface effect. It means you can see the translucent light. So you can put really warm colors to the nose areas or hand fingers and ears like this. 5. Increasing Details and Colors: And it looks much more sweet right now. And for force, I will add much more lighter color here and we'll add as you can see, I'm not making the details like everywhere is detailed, but only certain points have much more details because details determine where you focus your eyes. So some points need to be detailed and other points should be less detailed. Because we are the illustrators and painters, we give the vision. So some parts will be dark, some parts will be light. By the way, I will share the sketch with you to your painting, and I can't wait for see how you detail the monkey punch painting. He's really adorable, and I selected the punch monkey for our class. And for example, we need to make this part really darker and this part like this. And I will make the part much more darker. And even these parts with the shadow, it will be darker. And this part. And after putting these details together, I can make it another light here, just like we put to the monkey punch and open another new layer and select a smooth shading brush with really brand brush and apply it like this and select it the screen like this or color Dutch. Color Dutch is much more better choice, but we need much more darker color to make it look better. For example, like this. 6. Complete Illustration: And much more. Let's collect the old layers and open new layers and select color Dutch again. And we'll apply here just like this. Yeah. And I will select the hairbrush again to give a rim light to do painting. From the corners, I will give a rim light here, just like this. And some lights effects here. And here. Yeah, it looks much more detailed right now. And hope you enjoy this process. It was for showing how to give the detail to the sketch. And I try my best to show you the process. And some parts should be darker. But I will open another new layers and we'll make this much more dark here, just like this. And these parts. Hope you enjoy this process and see you in the next videos and stay happy like monkey punch.