Transcripts
1. Course Introduction: As Christmas is drawing close, I was thinking back
last year about some of the gifts that I made
that were so well received. I think they were appreciated more than any gifts
I've ever given. And painted glass
ornaments on Canvas. Some of them were fairly
elaborate and complicated, where there were multiple balls. But the one that
I'm going to show you how the day-to-day is a single ball with a ribbon with the reflection
on the table. And I think sometimes
glass and things that are highly reflective can look a little intimidating
to an artist. But I'm going to show you
how easy this is to do. We're going to
identify the shapes, the colors, and values. It's just like a jigsaw puzzle. And when you put those
things in the right place, then voila, it just
reads correctly. I have found that this is such
a gift from the heart that the people that I
have given these two have just appreciate it so much. This is something that you can customize with your own colors, your own color ribbon. This is on a six by six, but you could do
a larger painting that could be hung
on the wall and can be used for decoration for
your home or as a gift. But I guarantee if
you give it away, it's going to be a really
special, well-received gift. And it's a lot easier than it looks if Christmas has
already come and gone. This would be a great
project for you to do to get ready for
next year and have a really special lineup of gifts for the people
who are closest to you. Stay tuned. I'll show
you how I did it.
2. Supplies Needed: We're going to
learn how to paint a glass ball with the ribbon. But please don't feel
limited to this drawing. You can change the position
of the ball and ribbon. You can change the colors. Really once you learn
how the day this, the sky's the limit. I had such a good time preparing these special gifts for
friends and customers. I'm going to put some free
photographs for your use from paint my photos under the Project and
Resources tab below, along with my paintings. Feel free to download them
and use them as a pattern. But also feel free to
add your own dots, stripes, checks, whatever
makes your heart jump. For brushes, you're
going to need two sizes. A flat brush, a
small, and a medium. Depending on massage
painting you're doing, you'll need an angled brush
to put in the background, and then you'll need
a small round brush to put in those
all-important details. I use a super simple
color palette for this. I'm using Liquitex heavy body. I have a cadmium yellow medium, a sap green, black
and titanium white. If you don't have sap green, you could use hookers green, I use Mars Black, but any black will do. If you don't have
cad yellow medium, you could try cad yellow light.
3. Painting in the Ball: Alright, starting off,
I'd like for you to start with a fairly
large flat brush. We're going to put in our
darker screens first. So I'm just going to go into this sap green,
moisten my brush. It's good to have a paper towel nearby just to control
that moisture. And then I'm just going to I'm
going to identify on this. We're gonna go by the
original painting. It's easier to see
than the photograph. And I'm just going to look
at where the darkest darks. And I'm going to look
at these shapes. And I'm going to just
mimic the shapes. Keep in mind as you're
putting shapes in. Because this is a ball, things need to be going around. You don't want them going
kind of an odd places. So you might want to even get your little
outline in first. If your paints to dry
off, it's dragging me. I might need to add
a little water to it that I'm looking at how wide that is,
it doesn't have to be. The more you do
these glass balls, the more you're going
to realize they don't, you don't have to match
anything exactly. Everyone's gonna be
a little different depending on the
light that it's in. You just need to get these
general principles now. You need some dark, darks
going in a circular motion. And then you'll need to
get in some white lights. I went outside the line
a little bit on that. You can keep a wet paper towel. I like to just spit on mine. And I'm just going
to reclaim that. I just went over the
line a little bit. We can also fix that when
we put in the black. So I'm going to put in this
dark place that's right here. I'm just going to darken
this one more time. That nice and dark. If you don't get your
darks dark enough, you won't get the contrast
when you put in the lights, it just won't read. It won't be as dramatic
as it could be. And we're gonna do
the ribbon lighter, so we're just
focusing on the ball. So we've got our darkest darks. Now I'm going to look at
this next darkest green. And you notice it doesn't, where this light is green, you can tell they're
yellow and white in it. This green, it doesn't
really look yellow or white, but there is actually
a tiny bit of yellow. So I'm going to take just the smallest amount of cad yellow. And I'm going to add it in,
but I don't want much and I want it to stay fairly dark, but lighter than our darkest green and go ahead and
get that outside edge. And this is one of those times where even
a subtle difference can make a lot of difference. Where I'm just trying to
get that next value up. My go ahead and do
this outside edge. If you can do that
in big strokes. You don't want to
get in there and dab with a little brush. If you'll go in and put in
some big expressive strokes, you'll find the paintings
want to read better. Alright, and then
we started getting into much lighter greens. And I'm just going to accomplish that by adding more yellow. We want to save the
white for the very end. The white tends to
make it look chalky. And we don't wanna do that. Alright, we're gonna just
put in a big stroke. Again fall when the shape. I could have put in some of
that middle dork up in there. I'll go back and do that. Put in some white down
here at the bottom. We get in here, it gets
back a little bit darker. So I'm just taking that
same power with yellow. I'm just, I'm just tweaking
it just a little bit. I'm gonna back up in here. So here you've got one value, there's a little bit darker, There's a little bit darker
and there's lighter. So you've got these four
different values in there. There's subtle, There's not
that big of a difference. I got outside my line
up there a little bit. It doesn't take much
when you're doing a circle to get off. Where it looks a
little sloppy job, but the good news
is we can fix that. And here I'm just doing
some shorter strokes, but I'm being mindful
that this is a circle. So each stroke because has
that kind of direction to it. You wanna make sure you get all your little places covered where that white
canvas is peeking through. Alright, so I've got this
first layer on there. And you can tell that this
looks more finished than this. So I'm gonna go back
over this one more time. I'm just going to re-establish
those darkest darks. I'm gonna get, just kind of go over this one more
time and then we're gonna go in and put in our
reflections and light spots. So again, I'm gonna
get back in to my, my pure sap green
and I'm just going to re-establish some
real super darks. I liked how this is connected, that, that shadow
shape is connected. So I'm going to connect these two and enlarge that shadow shape. I encourage you, if you're
looking at a real glass ball, just put the shapes
that you see, even if they don't make sense. Trust the process enough. Just put in what you see, right? And then we've got
that middle value coming right through here. We've got that middle value
right underneath layer, a little bit of
it in the middle. And then we've got
some real white places paints getting
a little dry. I'm just going to
lightly spray it. And don't be afraid to just
play with these mixtures. I think it's more
interesting if you have more values
than just three. I'm just going to put some single spots in here and there. I'm gonna go get this a little
more yellow. I'm short. Places. Its place right there. Place right there. Okay. I think that's good.
4. Painting the Ribbon: All right, I'm
gonna zero in right here and let you see
how I'm going to put this ribbon and say We're going to it's got to
be rural small, right? As it's coming into this hook. But then once it goes away, it can go up, it can move. You could have it go up
in here however you want. But we do want it to get wider. So I'm letting it go all
the way down to the bottom. So it's gonna, it's gonna
look like a very wide ribbon. Then when it goes through here, we're just going
to paint kind of a tough did ball as it
comes out on this side. Again, it's going to be
very small as it comes out. And it's going to
start to get bigger. We could even make that
look a little smaller. I think the smaller looks, the more you get that illusion
that that's a big ball. It's a big piece of
ribbon crammed into this. And then we'll we'll do a
little bit more with that. Okay. So I tell you
what we could do next. Let's go ahead and put in the
green stripes that are on the ribbon since we've
got our grains mixed, I'm going to step down
to a smaller flat. And I'm going to start out
with the darkest green. I'm gonna get back into just
that pure Hooker green. We're gonna be lightening it and adding highlights and shadows. But for now, I'm going to start with that ribbon
right at the top there. Don't overthink it. Just kinda keep it loose. Try to keep the spaces
in-between the ribbon, in-between the lines
about the same, can have a little curve
to it since the ribbon itself is curving and bending. Remember that Ruben is getting
water as it goes down. It can just catch the edge that may be made that over just a
little bit more. Easy peasy piece of cake. Don't overthink it. Right there. Okay, Everybody, good. So it's looking good already. Alright, the next
thing we're gonna do is let's work on this
little cap we're gonna do. Just use black and
white right now to mix these very various
tones of dark gray, light gray, and it's
going to look like metal. It's kinda look like
a light reflecting. Alright, I'm gonna take a
little of our black and some white rather than
trying to mix a big pile, I'm just going to have the
white off to the side. And as I need it darker, I'll just move into that edge. So let's look at the
darkest place first, which is right here
and right there. So we're going to
just drop that in. Again, be mindful of the shape. You've got a curve there
in a straight line. And another straight line there. The circle at the very top of it where the ring is going
into is just pure black. So just do don't try
to make it to round. Just make it kind of
an oval, big slit. Now we're just kind of add
in a little more white. And we can go back over this. We don't have to do all this. Absolutely correct in
the first go through. And we're there's a little
curve to the bottom of that. We've got our wire there. Okay, I'm gonna actually that
goes under on a little bit. It's important that the cap go all the way down to the ball. You don't want it
to look like it's just floating in space. It needs to be making contact. Like right here, that's not
really touching the ball. It needs to come down further. So it's making contact. If you're drawing isn't right. Which mine is not. I'm just going to
widen that space and correct it that way. Alright. Now for the areas of white, all I've done is I've used some pure white where the
light's hitting at the top. And then I've used
a medium value gray and a dark
gray at the bottom. And it gives you the
illusion that that's white ribbon that has been folded and has some
twists and turns in it. It's just, it's
super easy to do. Again, don't overthink it. I'm gonna go back
to my smaller flat. And I'm just going to take
some medium value gray. And I'm going to drop it in. If you wanted to, you could just do all of your
white area in the medium gray and then go back in
and add the highlights. And the darks in my
green is not quite dry. I think I'm going to give
this a few minutes to dry. And then I'm gonna go in and
put that middle value in. I decided to put
a hairdryer to it and I can move this
along a little faster. So I'm just taking
our black and white. I'm mixing a medium gray value. Not too light, not too dark, just kinda right
there in the middle. And I'm going through, I'm filling in all
the white area, the ribbon with the same value. Go back over this one. I think it's more interesting. You could have your ribbon
just straight across, but I think having some curve to it gives it a
little more interest. But feel free to do it
however you'd like. Alright, and if you notice, this looks like a real
puffed out gathered piece. So I'm going to make
what I did to this is I just did a big ball
inside that hook, pretty big circle,
and then I went in and added some shadows to it. So let's do a pretty
good sized ball. Bigger than I meant
for it to be, but you can go
back and fix that. Okay. So now I'm going to
take make a darker gray me go ahead and
mix up a little more. So it's just black
with a touch of the white that's too dark. I'm just going to randomly
put in some folds. It's generally going to
be darker at the bottom. But it's good to
have some folds that go up through that give the illusion that that ribbon
is got some movement to it. So you want to, you want
to leave some darks and medium and some light on HP's. If you can think that again, it just makes that
more interesting. I'm gonna go ahead and drop
some, some dark shadows. Keep in mind that ribbon
is going that way. So we want the shadows to go in the same direction
as the ribbon. They don't have to be the same. They can be varied. Alright, now we're gonna
go back in with just, you can use pure white. I think I might rather
than pure white, I'm going to put pure white
on top of my widest gray. So it's gonna be
almost pure white, but there'll be just the
slightest gray tint to it. And I'm just going to drop
some of that n across the top. I'm going to vary that a
little bit here and there. Once we get the black in, that'll really pop and
it will make more sense. We can always go back and
tweak this a little bit.
5. Putting in the Background: I think what I'd like
to do next before we put the highlights and before we work on
this ribbon anymore, Let's go ahead and put
the black background and I think that's
going to help you. It'll help us see
what we need to fix and see how
things are reading. I'm going to use this
angle shader brush to put in this black. It's great for doing outlines. It's just great. Now over here, I've gone
outside the lines a little bit, so I'm going to try to
correct that with my black and just kinda
try to even that out. You notice I've got a line here. I'm probably just going
to paint over that. I'm just going to
paint all this black. And then we're going to
go back in and we'll put a little bit of a
shadow and very slight, but right in front of the ball, we're going to put a little more paint
and that's going to make it look like a slit
kind of reflection. So let's get your solid black. Mars Black or any kind of
black that you've got, put a fair amount on the brush. I'm probably going
to speed this up. But Let's just fill that in, be sure and fill paint the
outside edges of your canvas.
6. Highlights for the Ball and Ribbon: Alright, we've got the black
background and I think that helps a lot to sort
of see where we are. Now it's time to go in and
put in the highlights. One thing I'm gonna
do with this ribbon. I think I got it too
small right here. I'm going to make
it a little water. I'm gonna go in and where we have a real
clear distinct wire right here with some space
and that sort of lost here. I need to go in and clean
that up a little bit. But let me talk with you for a minute about these halides. Some of the highlights
are going to be just a small little
dot of white. But if you'll notice
some of these, There's almost a halo of white. You don't have to
do it that way, but I think it makes for
more realistic halite. So we're going to put
some white with a, with a little bit
of a damp brush so we don't want just
appear thick white. We want to water
down a little bit. We're going to put
a spot on there. And then with my finger, I'm just going to
softly rub that into the canvas and do
that in a couple of places until we get this
sort of lighter, soft edge. And then we'll go
back in and put in a little stronger highlights. So here we go with my little flat and I would recommend that you
get some clean water. Don't use the water
you've been using with your block and and green. So I'm gonna get my
brush is fairly wet. And I'm going to put
it in a little place there and we'll place there. You don't have to
do it that way. That's just how I'm
choosing to do it. So I'm just going
to take my finger and I'm just very softly. I'm not putting a lot
of pressure on there. I'm just moving that color out. So let me do that again. And you can leave that as
transparent as you want or if you want more color to it. They can join each other. So I like how you're
getting that little, if you can see the little
dotting around it. And then we're going to
just go in and put a little bit more solid
there in the center. That's pretty wet. Might be
too wet. Let me try it again. Still sort of transparent, still has some water in it. Then I'm going to
take a dot over here. So when we look at this one, it has a little halo but then
a little more solid place. So let's do another little
halo. Just a little one. And then we'll have a little
more of a solid dot there. Once this dries, you can
always go back in and put a, a stronger highlight right in the center of it and put
a little dot up there. Doesn't take much. Put a little dot here, just some random
dots here and there. So let's let that
dry for a minute. I'm gonna go back in
and work on this area. I'm just going to clean
this up a little bit. I'm going to
re-establish my wire. I'm going to widen that
ribbon up right there. Just really lost that
definition of the wire. And I think that's kind
of a cool feature there. So I want to make sure
I get that answer. I may speed this up, but that's what I'm
going to be doing. I'm going go ahead and
drop that wider center. Very light hand with that. But nice little halo. This is one of those things that just the tiniest little
bit of detail really help. Something sort of
gets set apart. And I'm going to give a little bit
darker line right here. And right here. I think I'm going to put a little black right in here just so you see a little space. I didn't mean to
cover that fabric. So if you mess it up, just wipe it off, you can
clean it up with the black. So I'm going to do that
rang again and be careful. Like I really liked
this smaller ring. This ring is getting
pretty large, but I think I'm
going to leave it but just try to keep it in proportion to the cap. Alright, I do think I'm
gonna go in and widen this ribbon just a little bit more and then
we'll take a look. Alright, One of the final
things I want to do is go in and add some highlights
to the green ribbon. And I did that just like I added white to the top
of the white part. I added a lighter green, and I did that by
mixing yellow into it. So let's just go in
with a clean brush. And we're just going
to take some some of this yellow little
bit of the green. This would be a place
where you could make some little white in
if you needed to, but that's looking to light. Let's just drop this in and
see what that looks like. Now, the first painting I did, it was more white mixed in
rather than say, yellow. And I think that looks better. So I'm just going
to wipe this off. And I'm gonna get back in. I'm going to take my white
and add some of the green. That looks very cool and
we'll add just a little bit of the yellow mustard. See how that looks. Still pretty yellow. Let me turn a little
more wine in. It. Still looks way to yell at me. It makes it really stand out
so much more than the ball. We're on this painting, the ball and the ribbon dummy
have about the same value. This to me that the ribbon is sort of
taking over the scene. So let me go back and cool
it down with more white. And try dropping
some green back in. See what we get. Let's try right there. That looks like it needs a little more
yellow will get it. It's kinda nice having
another one to compare two. I think that looks more like it. Go back in and add some
grain back in to that. Have a middle value. We've got the dark
and the light, but not much in-between. So let's just, I'm just putting some of this
pure sap green on my brush. It's blending in with these lighter colors and
giving us a lot of variety. I think that's pretty
and softer looking. If you do it while
it's still wet, It's almost like using
oils and it gives you a nice soft look. I
think that's pretty. You can just continue
to play with this and experiment with it. And I think that's quite nice. You could even go back
and do a little more of a exaggerated high white
along that edge. Not know that you need it, but just an extra little kick. That looks very nice. I hope you're
pleased with yours. I'm gonna get back in. I'm just looking at the
original thinker month. Just experiment with a
few more highlights. You don't wanna get
too many highlights or it starts looking artificial. Let's look at this one compared to the larger one
that I did here. You can see that was
a more solid halo. And I think that's kinda pretty where these did
not have the halo. I think I might try
this 11 more time just so you can get a little more of a halo That's a lot of paint on there. It's probably I'm going to
try to pull some of that off. If you just mess it up, you can always get back
over it with the green. I'm pulling some of
that paint back off. I just got too much on there. I think I like this painting
better where there was one isolated one rather than
these two side-by-side. I'll let that's kind
of how the reflection was in the photograph. No one's going to
know that but you, So here's another salt as you're putting highlights
on instead of pure white, you can mix a very light green
or a light yellow green. So it's not quite
as stark white. I think that's kind of pretty, I might do that again up there. Actually, I think that's
prettier than just the white. It's a little softer and Let's go ahead and push this out to
see what happens. It might be kinda pretty with
that dark green around it. I'll think. After looking at this, I think I'm gonna go in
and take this one out. I'm just gonna go over
it with some green, see if I can kind of, you know, it's okay to
have very abrupt edges. If you look at your photograph, there are very abrupt
edges and I think that can maybe best brush. I think I like that better. I think I like that better. So I'm gonna go in
and put a little lighter.in the
middle of that halo. And then I think
we're gonna be done. I think I'm going to
just leave it there. Let's get some yellow and
makes him that's okay. Maybe a little pure, more solid, something more white than anything else. Right
in the center.
7. How to Paint a Reflection on the Table: Okay, one more little
detail that we want to put in that makes
a big difference. And how this reads
is I'm want us to go in and put in the reflection. That does a couple of things. Number one, it makes it look like this is sitting on a table. It's not sitting out in space. And if you can see there's the slightest Wash
of dark green. That's the shadow being
cast by this on this table. But as we get right
in front of the ball, it's a much brighter green and it's reflecting on this table. So I want us to just add
that little detail in. It's going to make
a big difference. Let's get a brush
that's large enough. Let's get back to
our large flat. I'm gonna get, I'm
going to dip my brush, pen it on the paper towel. I'm gonna go into my dark
green and I'm going to kind of wipe some of that green off. And then I'm gonna go back, figure out where my
line is going to be. I think it's gonna
be about right here. And I am just barely putting
some pressure on this brush. If you can tell
there's not hardly any paint that's
showing up there. I'm letting the
black Shea through. But when we get down
into the front, That's where we want
to get lawyer because we're reflecting
this light green. So I've just put
some light green on the corner of my brush. And I'm going to, like in the cartoons
with the toothbrush, I'm just going to
go back and forth. I'm not putting much
pressure on that. And I'm going to pull that
forward a little bit. I'm want to connect it a little bit closer up
underneath the ball. But we don't want it to
get too wide or too big. And I think that's
gonna be enough. It's very subtle. If he wanted to
take that and we'll mix it back into my dark green. And I'm going to kind of
push it back and do that, but I'm going to keep
this subtle back there, keep that dark, and
let this just sort of blend into the black
line, it come to an end. I think that's perfect. I hope you replaced with yours. Please post your pictures below. I would really love
to see your results. I'm sure they look great. And again, if you want to try doing something with
the ribbon at the top, or even just doing a
ball without a ribbon, I would love to see just
playing with the reflections. The markings don't have
to be exactly like these. You can experiment with
them, kinda like clouds. They are 1 million ways to do it and it would
still look right, so I hope this was fun for you. I loved painting with you. Till next time. If you've enjoyed this course, would you mind leaving
me a good review? Good reviews are so important
for success on Skillshare. Thanks so much.
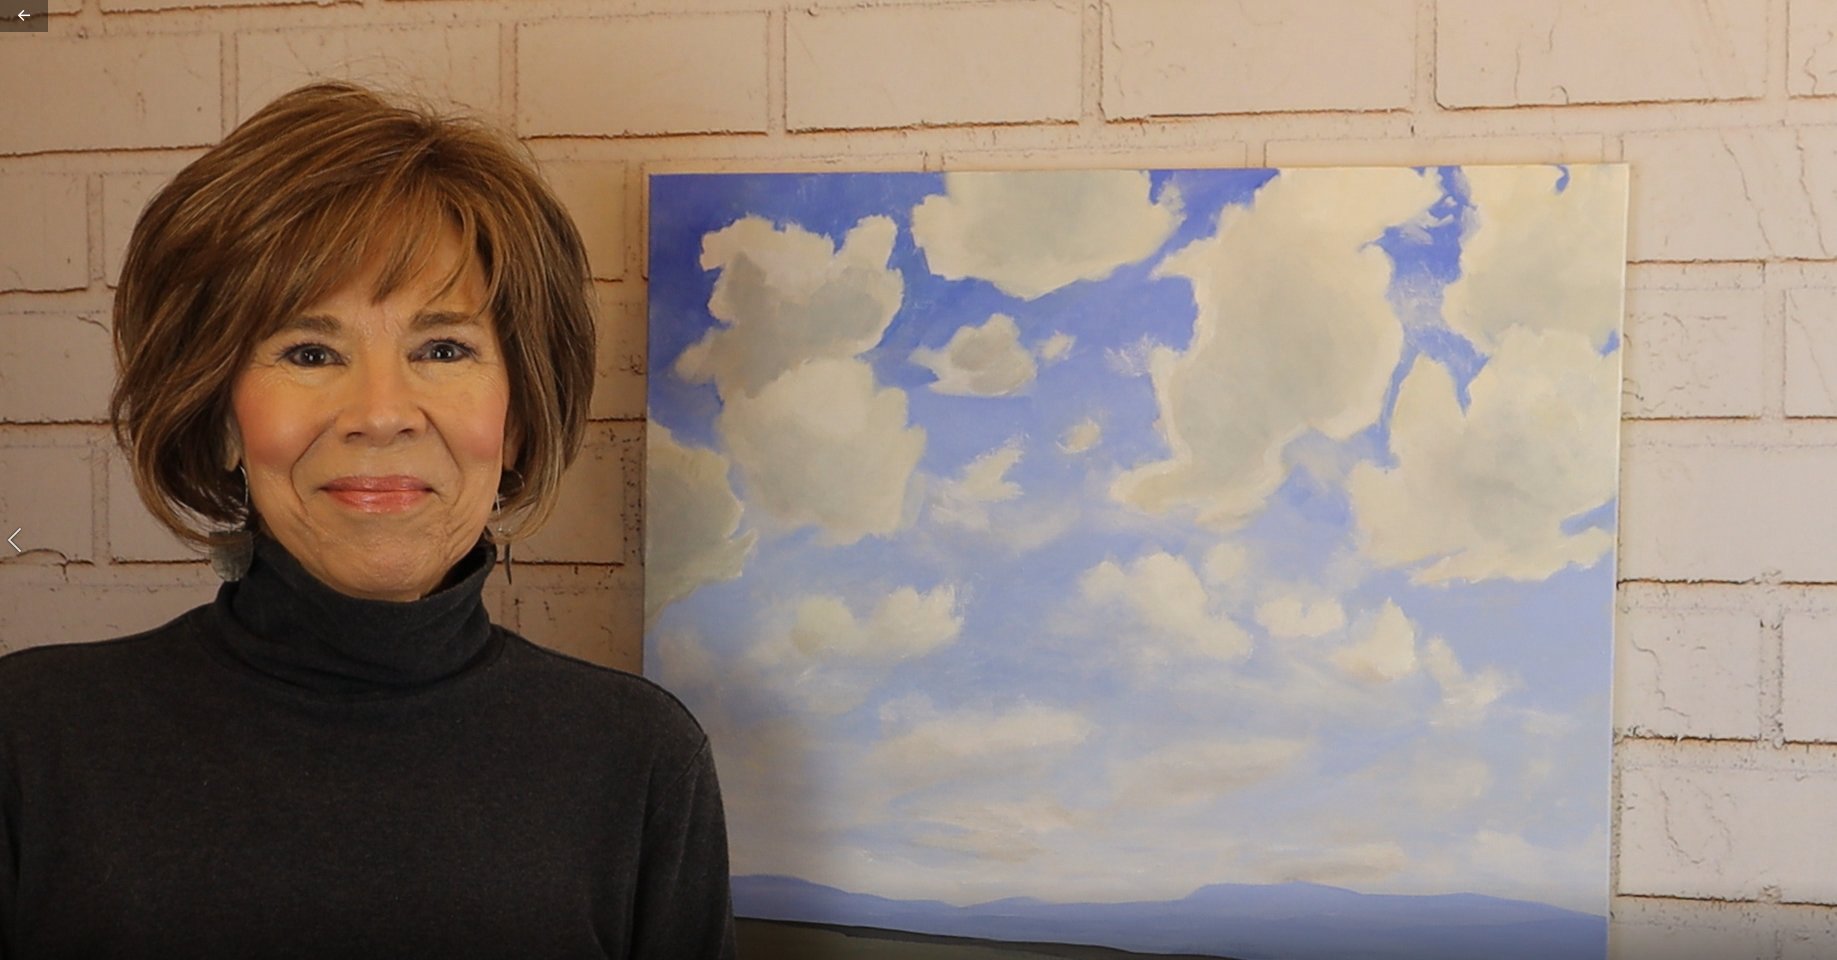
 Victoria Hagaman, Joyful Art