Transcripts
1. Introduction: Hi, I'm Asha ordam, a digital artist who had
chance to work with brands like Ado primevdoVc com and
Logitech and many more. In this short class, I will guide you step by step through my paint ily portrait
process in Procreate. If you have ever wanted to paint realistic and expressive
portraits but didn't know where to
start this class for you. We will begin with simple
skagEplore shapes and values, and I will show
you exactly how I use brushes to build
texture, light, and dipped. The goal is not
just a copy phase, it is to paint with confidence and develop your
own artistic touch. By the end of this session, you will have finished
digital portrait and a clear understanding of how
to create more on your own. Grab your iPad, open Procreate, and let's start painting together at this
Skillshare class.
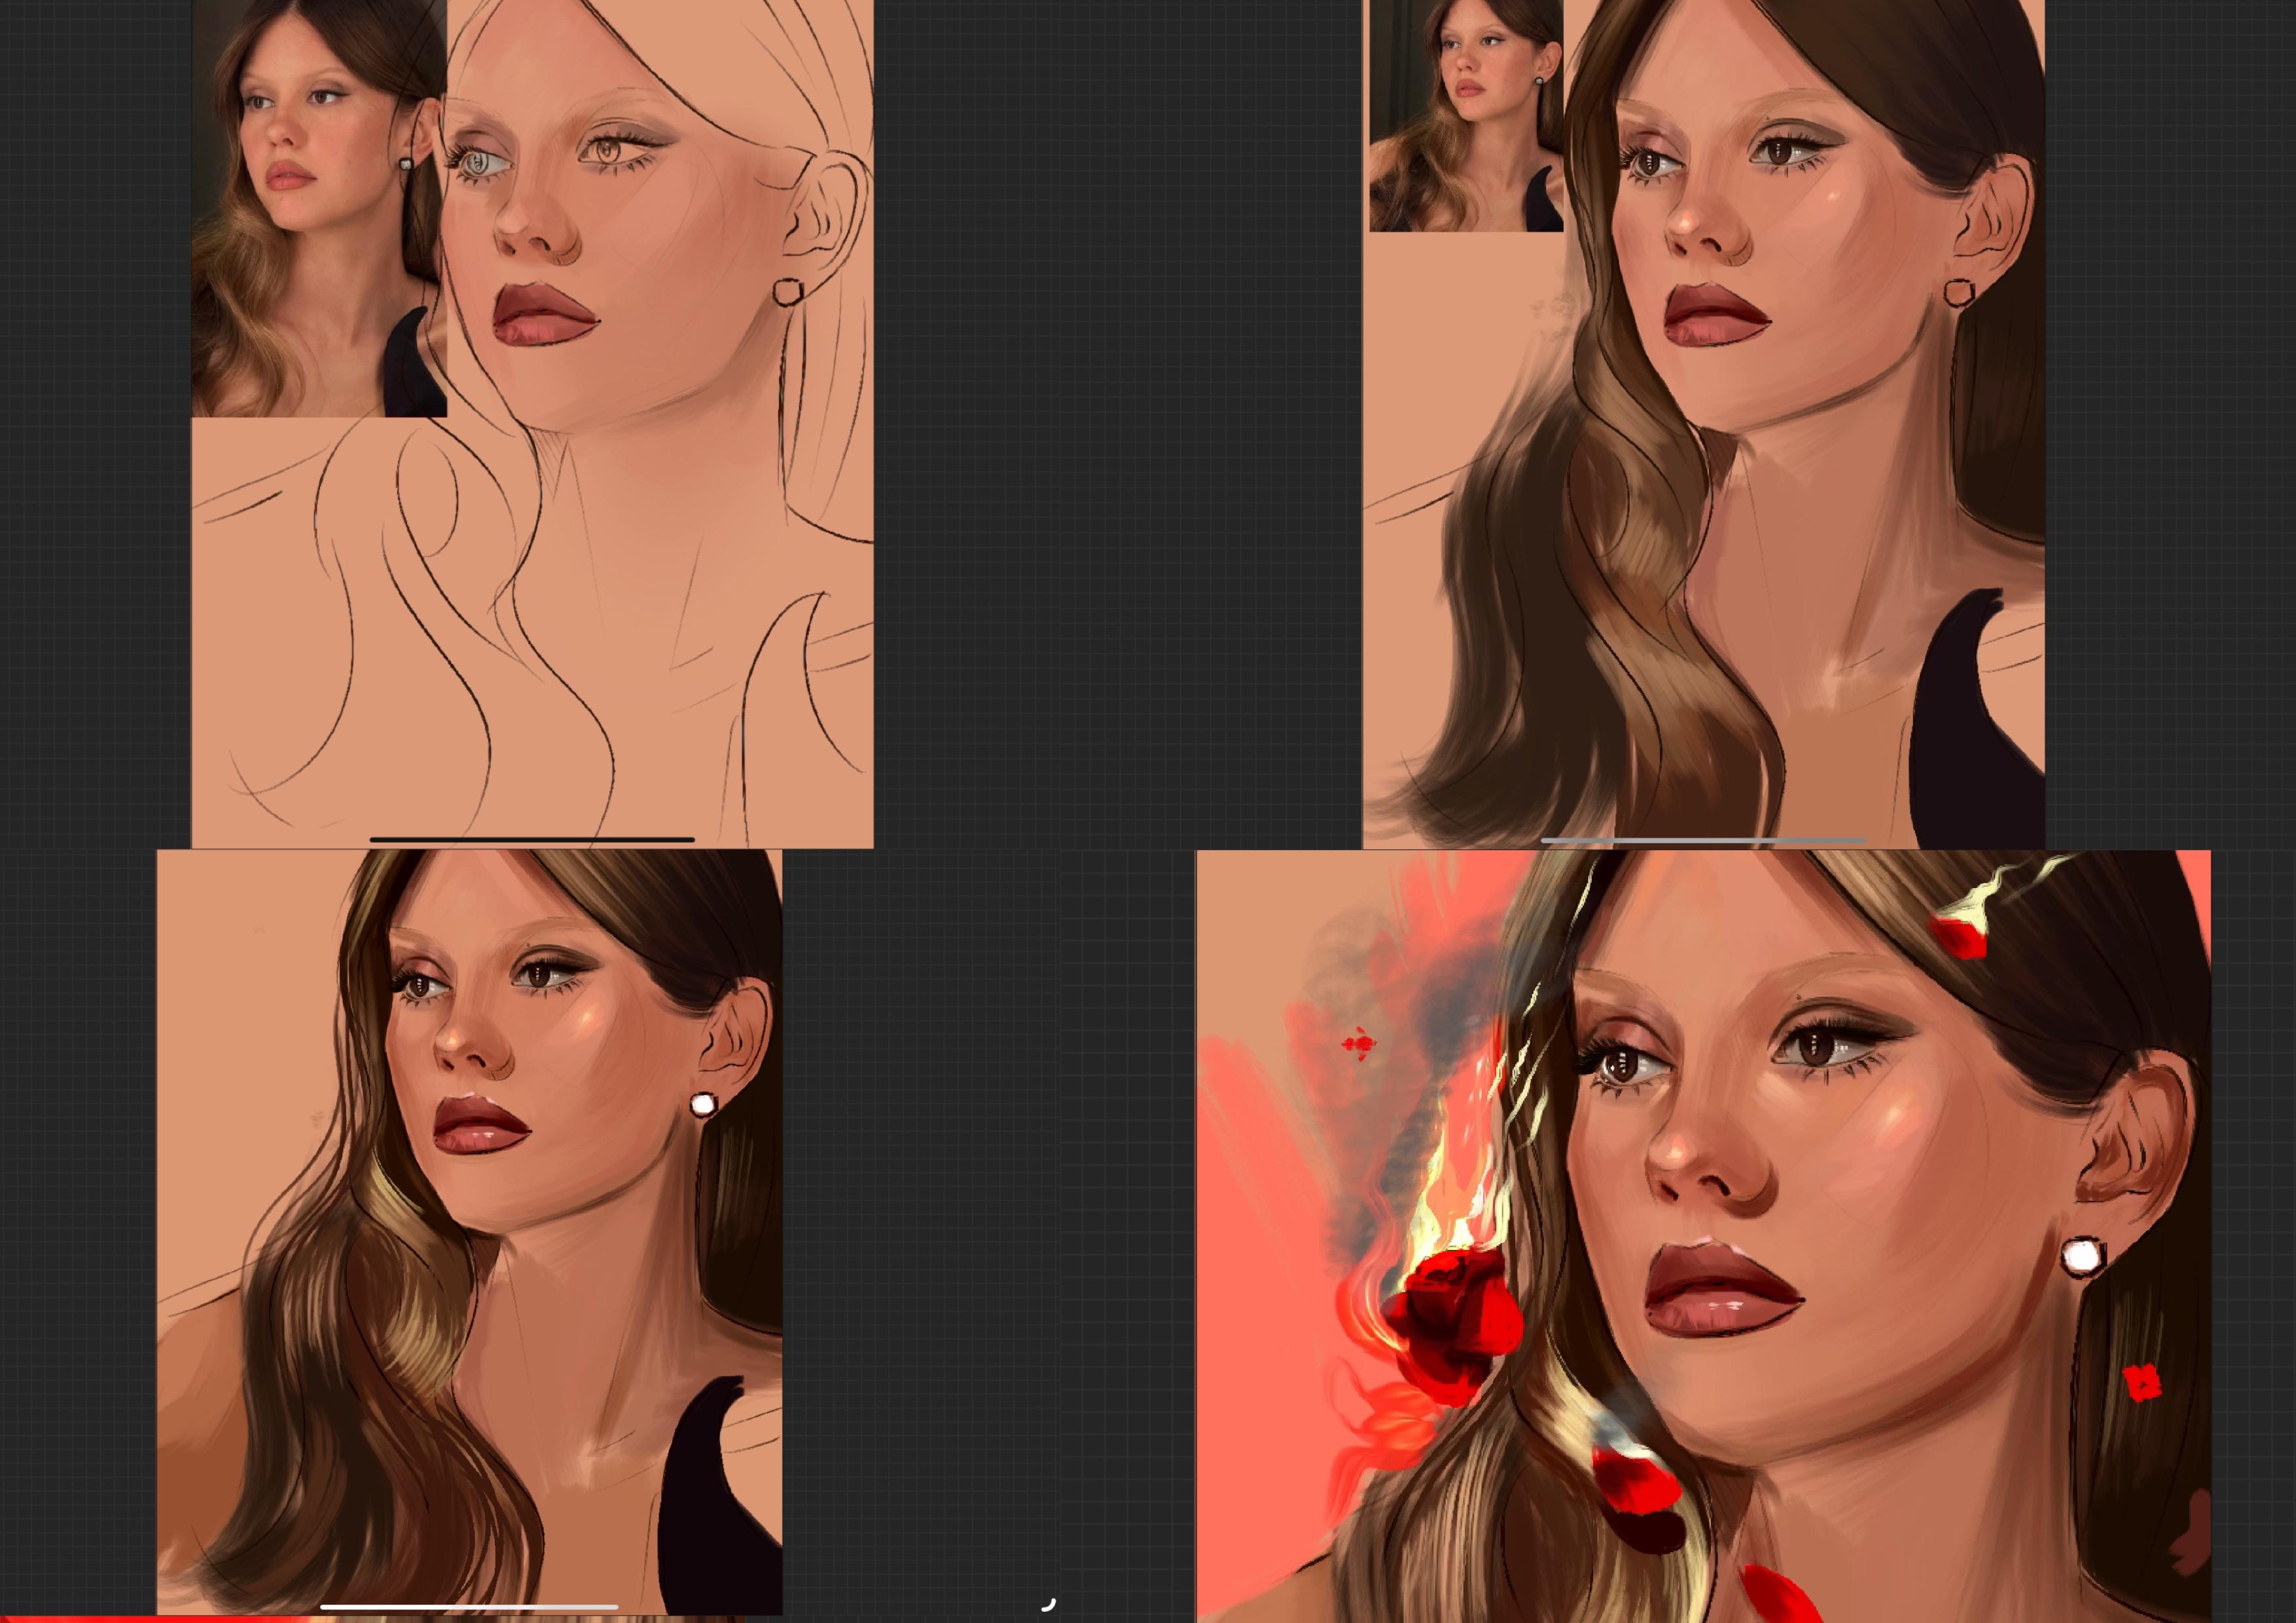
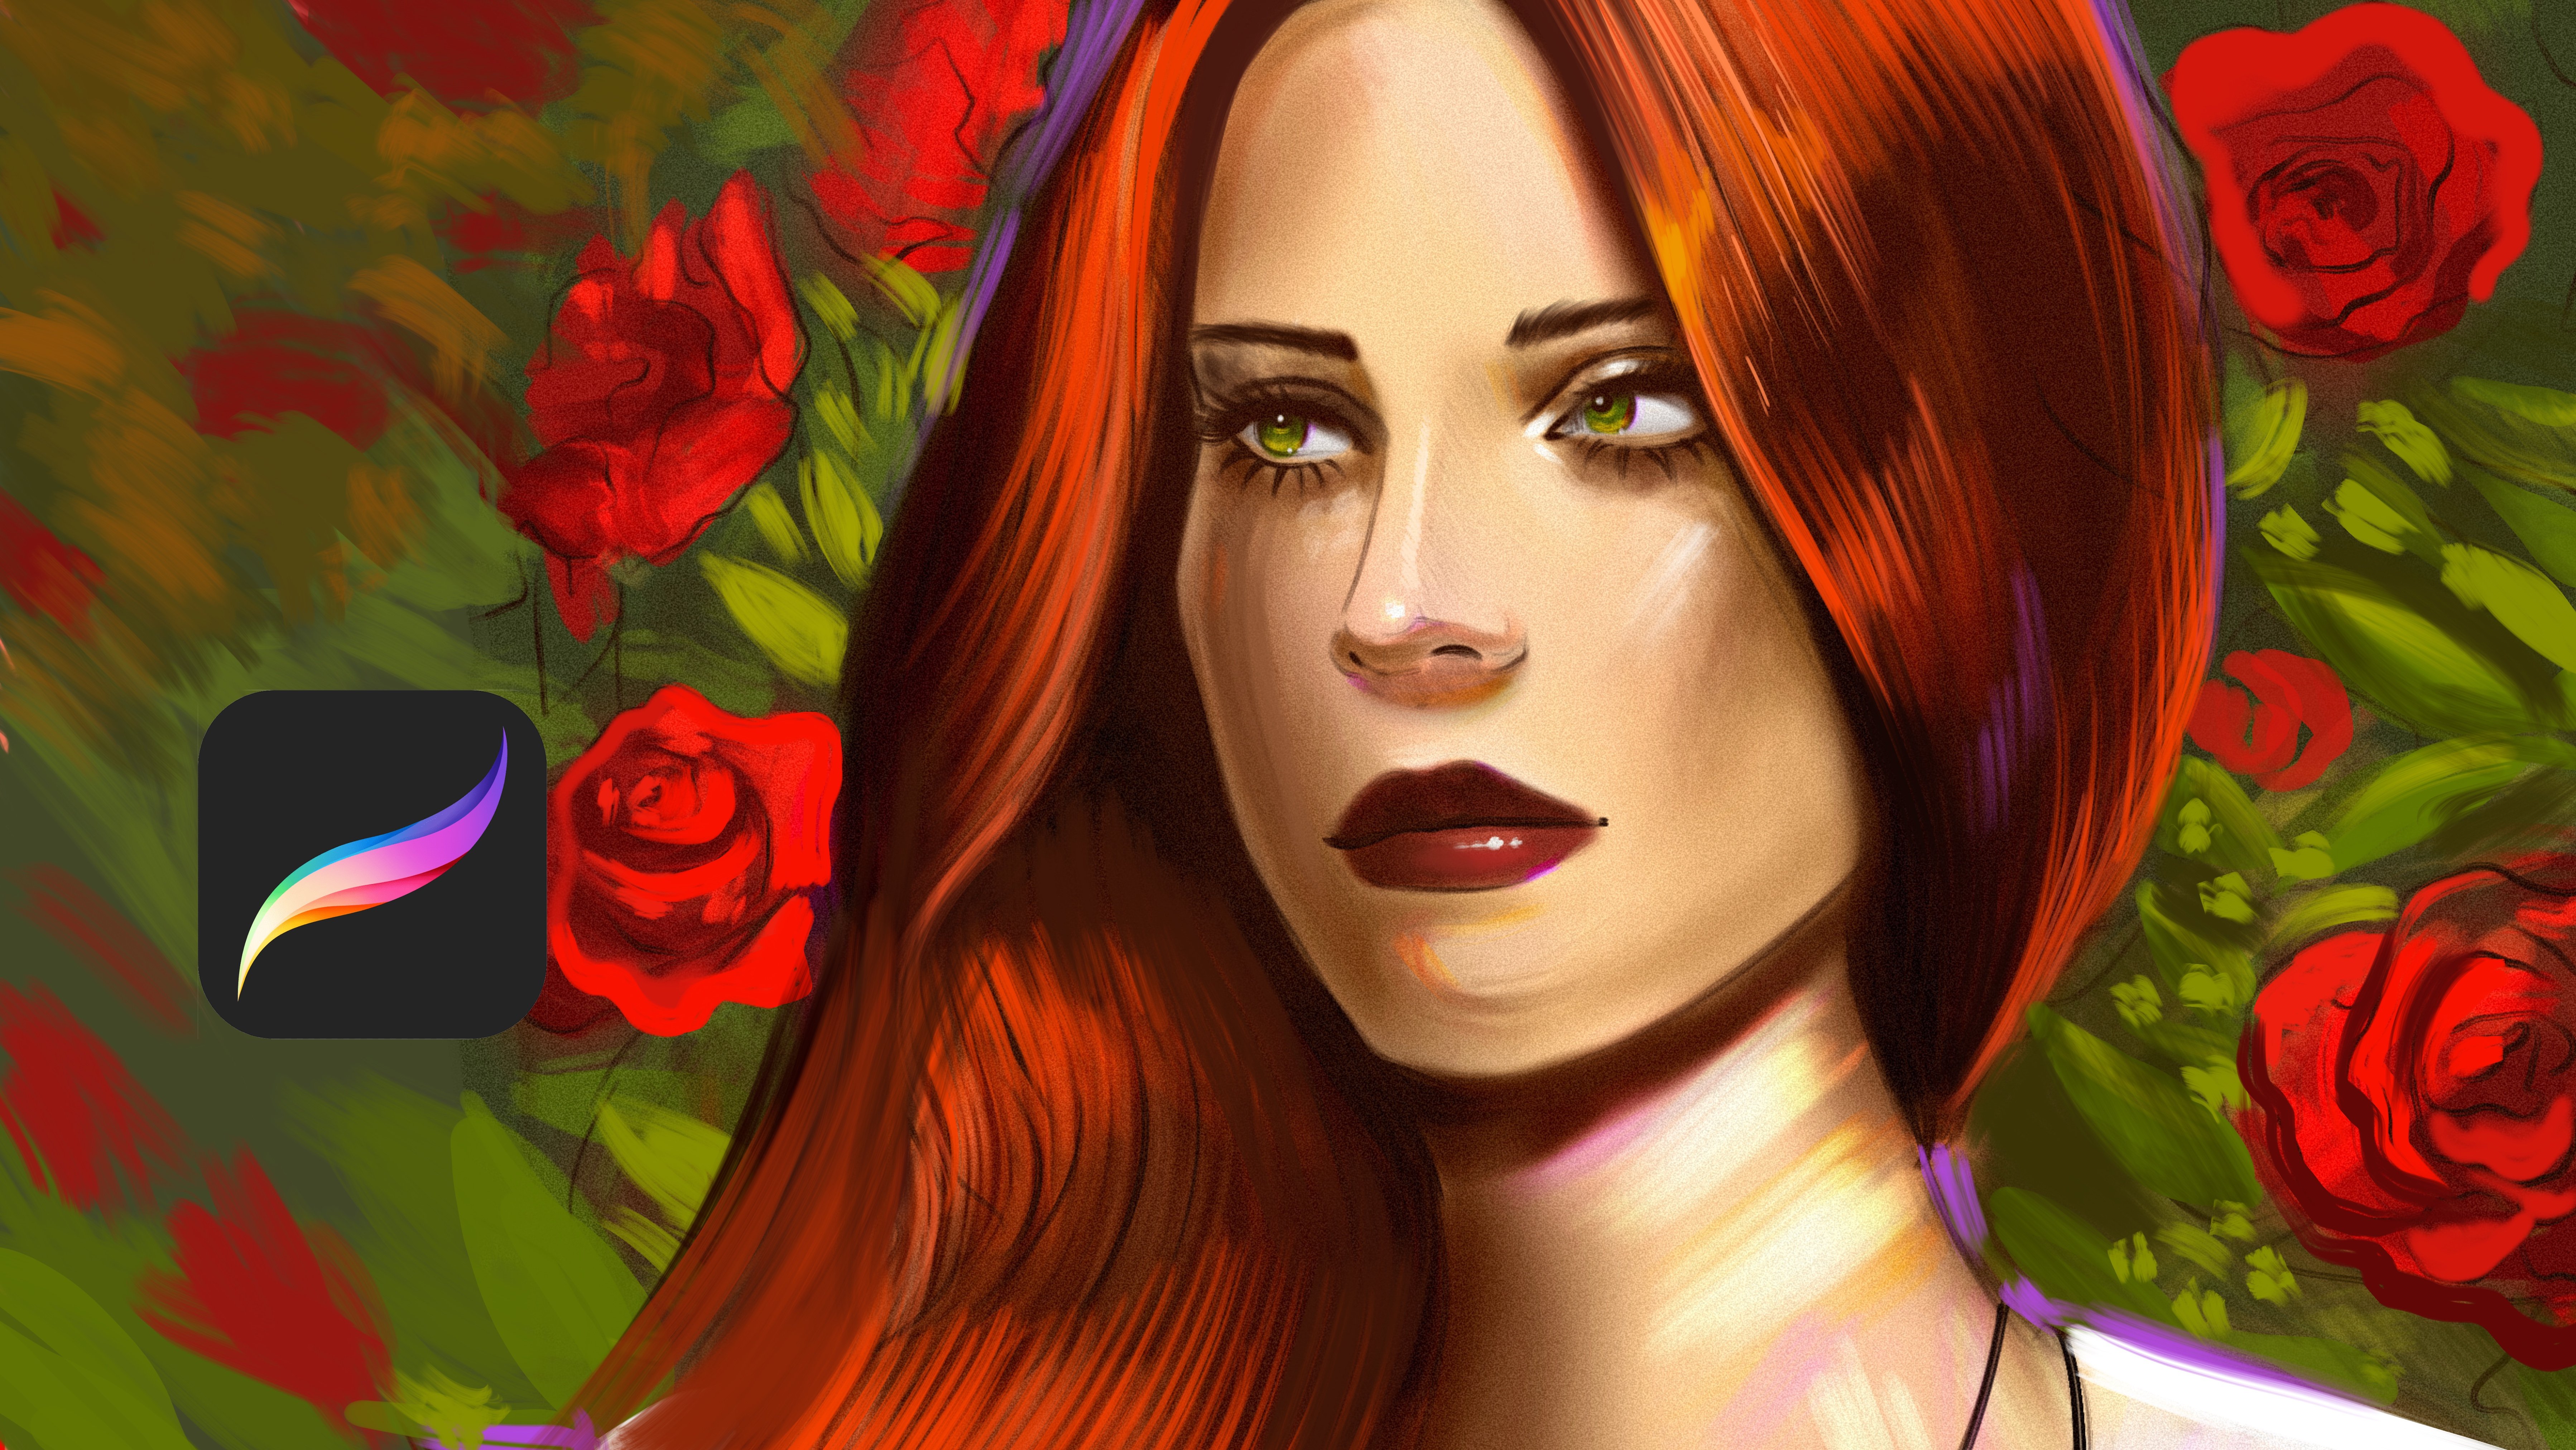
2. Create Sketch: Welcome. In this part, I will paint this portrait. But I will show you how
to paint it quickly. It is one technique you
can use for your artworks. I will select the skin color, and we'll drop the color and put the layer the top of it and make the layers
less visible like this. And go to some brush. You can use ear brush or
some kind of sketch brush and open new layer over the reference layer and
paint the general shapes. During this process, the
most important thing is painting the general
details and the outlines. Because outlines creates the
illustration's general look, and I will make it like
this and like this. And this part will be like this. I'm taking the shape of the eye. And these parts
will be much more darker like this, like this. I'm creating the outlines
of the portrait. For example, there is a shape
of shadows and highlights. Not all of them are
dark or visible. For example, let's
continue from this eye I continue to adding
details over it. Okay. And let's continue
from this side and paint the shape of the lip and
the details of the eye. Okay, let's continue to adding
the general details here. Okay. We are going good
and adding to the tails. For example, the
outlines will be much more visible here like this. And this part will be like this. Because all of the
most important thing is trying to get
the details done, like the general details
of the portrait, I need to be clean
and it needs to be uh separated to details
like shape as a shape. Sorry. And this part in the shadow and this part
in the shadow also here. And here, here, like this. And this part will
be like separated. And also this part
will you need to define the whole hair flows
or how the portrait looks. This is the most
important thing for the portraits to
defining the shapes. After the all details is done, you can make your reference much more shorter, like shorter.
3. Painting Base Colors: In. And you go to under layer
and select the base color of the portrait and try to place the shadows
and the tails on your portraits like this. For example, where the
dark places visible. For example, at these
parts, it is visible, and at this part, it is also visible like this. And cheeks also will be darker. At first, do not
rush and do not do not try to be slow, define the general colors. You can always use so much tool to make your painting
smoother like this. And the most important thing is catching the
light and shadows. For example, this
part is in dark, and this part is
lighter, a bit lighter. And the right side
here are darker again. And under the I will put some
lights and shadows here. And to the left side, I will put much more shadows. I'm defining the general shapes, and I will put the
I detail later. But at first, I'm just focusing
on the general details. For example, the nose is much more have light parts
and dark parts. But I'm trying my best for wild the general look like this. And here, maybe I will put some shadows here and here. Like this. And, or it, I will paint these places it's much more darker than
the general look. And like this. And at this
4. Painting Base Hair: It will be much more
darker and darker, here and here and
here, like this. Like this, and this part. Okay, maybe I will blend it like this and put the detail of the dress
like shortly like this. And after these all details, I will focus on the ear. And after putting
the general look, I will add highlights over it. And okay. After these all details, I will continue from this nose part and will
increase the detail levels. For example, she has dark hair. So at first, I will put
the shadows much more stronger here and under under the no I mean, ear area. Okay. And from other side, we need to make this
place much more darker. And this part is also darker. And this part is darker. And for now, I will move my
reference a bit far away like maybe this part or 1 second
at the top of it like this. And I will paint this
area because I can see this ending of the portrait. Okay. And after this part, I will add lights here
and here and here. And after it, I will make
this he much more lighter.
5. Painting Eye Details: And oops, maybe I need much more this reference
here and much more smaller, here, maybe much
more smaller than and zoom zoom in and
select the eyecolor. And I will put to
eyecolor on my portrait. From the both side, I will bring the
colors like this. And let's zoom in here and
select the white color. And this time, I will place
the lights over it like this. And for the other side, I will do the same thing to put the shadows
of the portrait, and we'll continue to adding the dark parts of the portrait. Like, because
everything is about the dark parts and the
tails of the portrait. And other dark parts here. And let's paint the eyebrow. Okay, it looks better right now, but we still need
to add much more detailing because what we
did is the general details. And at the end of today, we need much more shadows here. By the way, I hope you
enjoy this process, and I try my best to
show you the process, the oil process, I mean, like, the most possible way to paint
much effectively and fast and let's put the shadows
here like this and like this. Okay. And this place
will be like this. And this part is darker.
Also, the parts. And let's continue to adding the general details
because these details makes our portrait much more
realistic and detailed. Let's zoom here.
6. Rendering Face Details: Okay. Let's zoom here and put the tail in here,
much more darker. All we need to do is
adding the details at this point because the
tails creates the realism, and realism creates
the great render. So all we need to do is continue to adding
the tails over and over. And for example, let's
zoom here and take the color and add extra
reflections over the portrait. Like maybe extra colors here. And I'm using some yellow and the different colors
together combination for make the painting
much more realistic. And I'm trying to add
and improve the details. For example, at this part, it can be like this. And on the other hand, it need to be dark place here
and also dark place here. Okay. And let's continue
from the hair part. Books. Okay, I will continue to adding details over
here like this and we'll add much
more highlights and maybe at this part. Okay. And on the other hand, there is skin texture
on her shoulder. H Okay. Now, I added so many details
with the photo reference. But now, what I will
do is adding detail manually without any
reference and anything. I will collect the layers
and go to the adjustments, hue and we'll add
some saturation here maybe a bit much
more and curves. And I will add curves
and tan zumin m. Okay. Let's use much
more shadows here. And this part may be
much more dark colors. And this part will
be much more darker.
7. Rendering Micro Details: Like this and Like this. I will put some
lights here and here. And let's continue from the
eyesight and put the color here and color here
and the like this. Okay. And for here, 1 second, I will
make this like this. For here, you can use different
kind of hair brush like I will show you this brush is two handled brush and great
for creating textures. So I'm using it right
now for creating hair. Okay, it's better right now. For the other hand, I will continue to create
hair strokes here like this. Much more fair stroke. Okay. And after it, you can select the paint tie brush and
continue on the working continue to working on the
details like highlights on the face and this part and maybe much more
open leaf layer and change the layer
mode to colour. With this option,
you will be able to add much more detail
in your portrait. For example, I will create a bit much pinks here
and here and here. And of course, you need
to down the opacity and make it less visible
because we don't want to our painting ruined
by so much colours. Okay, let's continue to
add much more shadows. Much more orange and like, dark colors here and
8. Rendering Micro Details II: Like this and Like this. I will put some
lights here and here. And let's continue from the
eyesight and put the color here and color here
and the like this. Okay. And for here, 1 second, I will
make this like this. For here, you can use different
kind of hair brush like I will show you this brush is two handled brush and great
for creating textures. So I'm using it right
now for creating hair. Okay, it's better right now. For the other hand, I will continue to create
hair strokes here like this. Much more fair stroke. Okay. And after it, you can select the paint tie brush and
continue on the working continue to working on the
details like highlights on the face and this part and maybe much more
open leaf layer and change the layer
mode to colour. With this option,
you will be able to add much more detail
in your portrait. For example, I will create a bit much pinks here
and here and here. And of course, you need
to down the opacity and make it less visible
because we don't want to our painting ruined
by so much colours. Okay, let's continue to
add much more shadows. Much more orange and like, dark colors here and
9. Adding Final Details: Like this, and I will
continue to add hairstrokes like this and like this. Okay. And I will continue to increase the detail level a bit
much more and finish this tutorial like class, and I hope you
enjoy this process, and I can't wait for see yours because I need to see
your portraits, too. Please share with me, and I can tell you
what I think about your works after
this lesson class. And for example, I will make
this part much more darker. Okay. Like this. Let's add some shadows on this part and
finish the tutorial. Hope you enjoy and
like this process. And I can't wait for
see your own artworks. Thank you for joining me in my class and see you
in the next video.
 Yasar VURDEM, Creative Art Director