Transcripts
1. Introduction: Hi, I'm Maha Wurdam. I'm a professional
digital artist who worked with top runs
like Adopt Prime Video, Wacom, Logitech, and
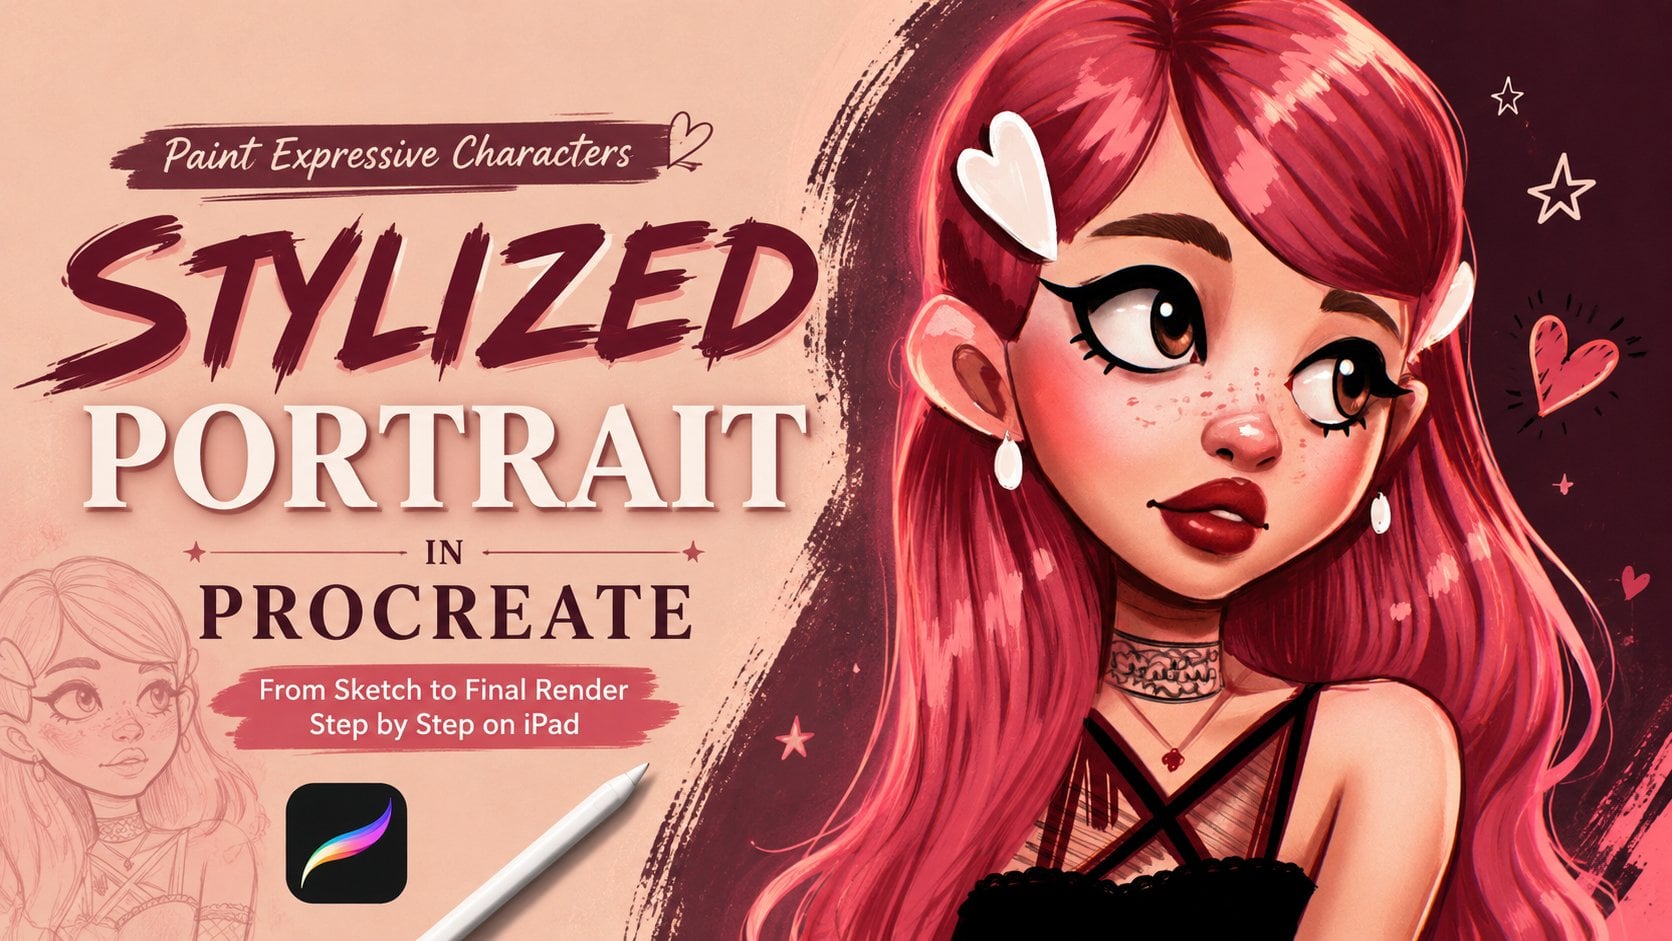
Tubi Soft and More. In this Skillshare class, I will guide you step by step through painting a realistic, expressive basic
portrait in Procreate. Whether you are beginner
or experienced artist, you will learn techniques. Workflow tips and
creative strategies I use in my own
professional projects. This is Procreate course. Class. If you don't worry, you don't have Portrat, you can follow along
any medium you like, just following with my steps. By the end of this class, you will be able to create
portraits you are proud of while developing your
own artistic style. Let's get started and bringing
your portrait to life.
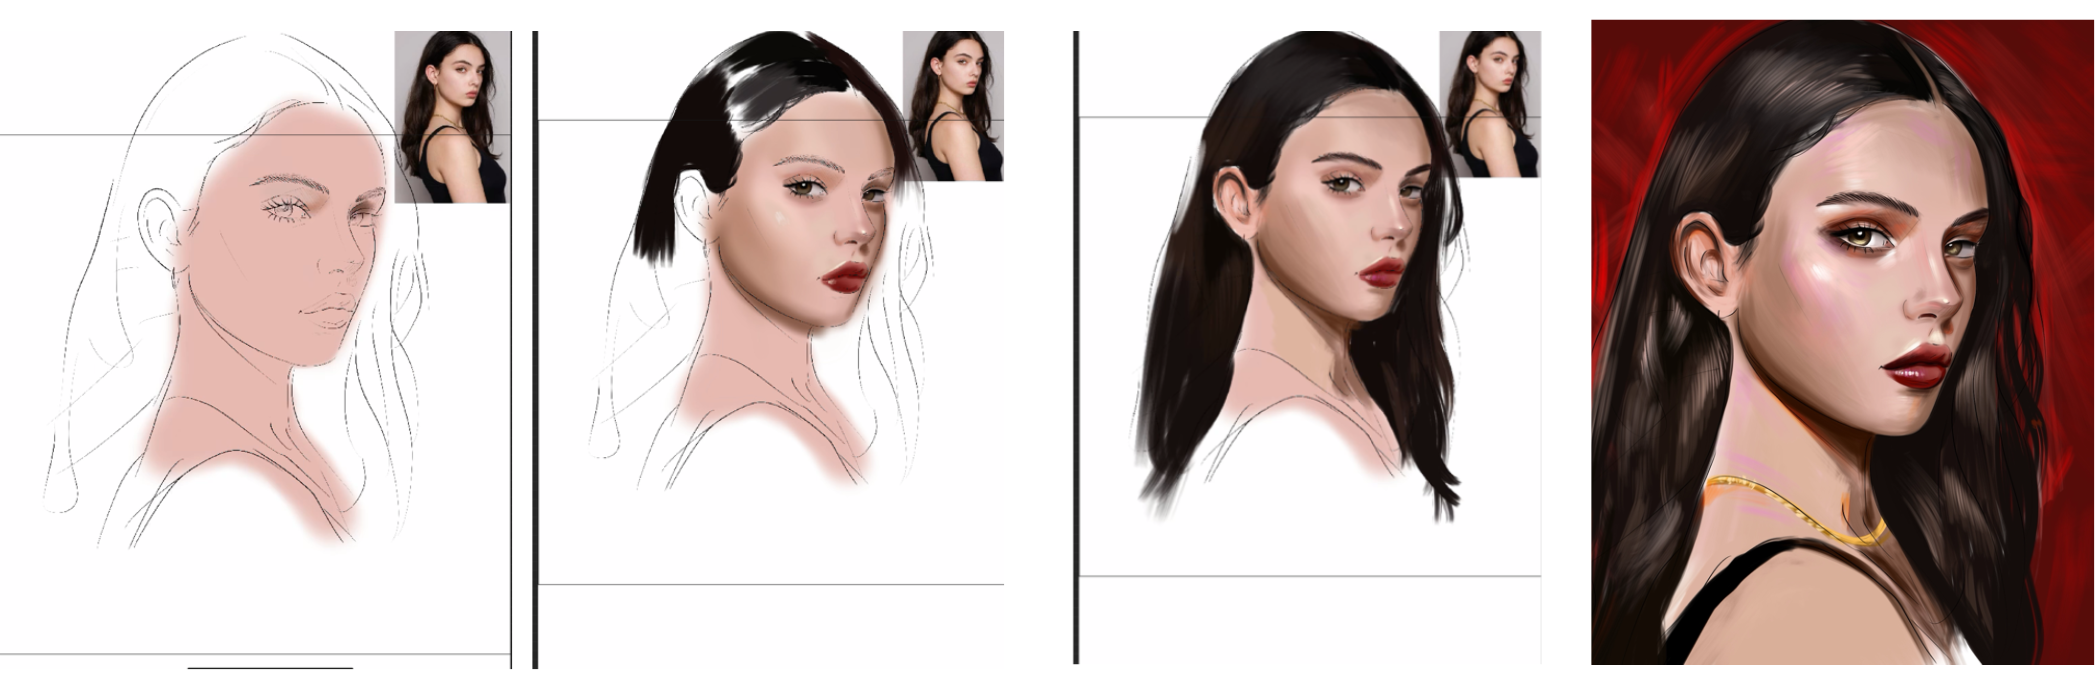
2. Let's Sketch: Welcome. I am Yasha. And in this Skillshare course, we will paint this
portrait together, and you will follow the
same steps with me. We will use tracing tactic because it is beginner
friendly course and I will also share the sketch
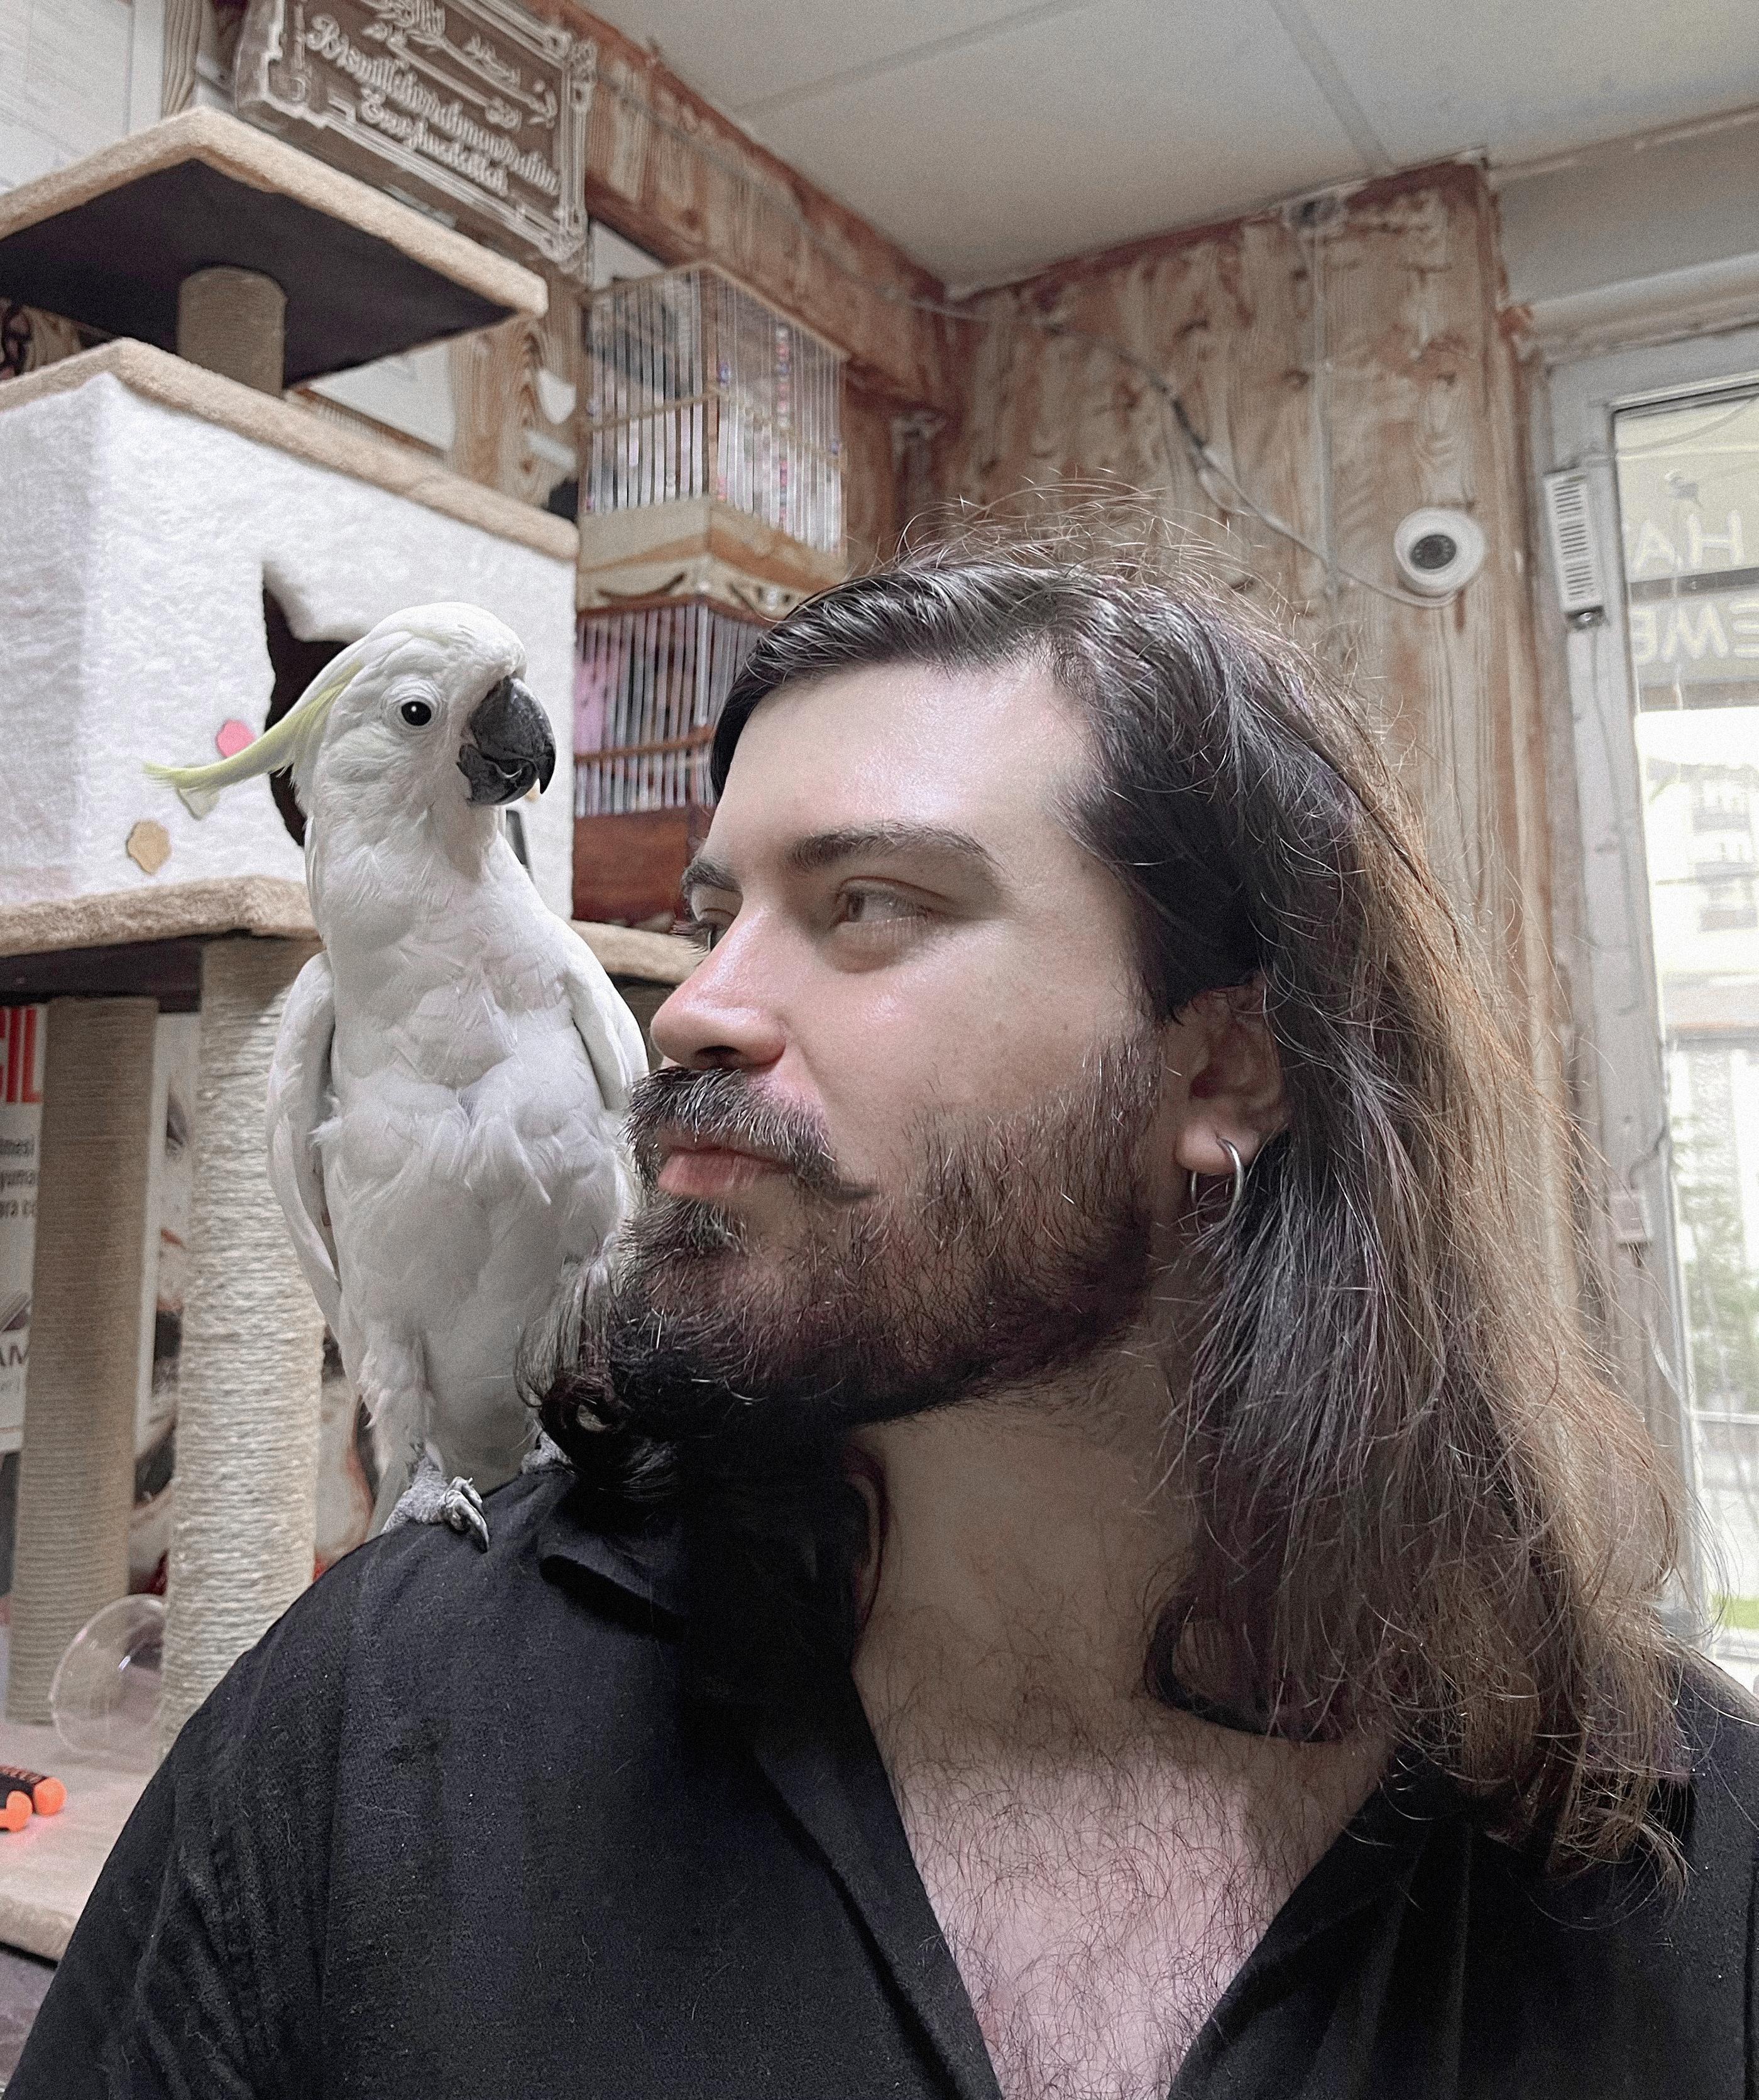
layer and reference with you. If you wish, you can use my
template and color with me, or you can trace yourself or paint yourself
for try yourself. It is totally on your choice. At first, lower the
opacity of the layer. Because with this method, you can see the details while you're painting over it
and open another new layer. This will be our
line art and zoom in and with some
smooth line brush, continue to trace the
portrait details. You can even trace the
eyelashes like this. And it's like this. And I will paint
the eye part. Okay. And underpar this part. And don't forget to
paint every line you see because everything
creates the portrait. For example, I will make this place much more darker
because it is in the dark. If you trace very well, your portrait will
be better while you painting I will add eyebrow line. Okay. If you tape the
screen with forehand, your hand, I mean, forefinger, you can make your
application full secreen with this option, it will be better to
add details because the larger screens
are better and I will put this
sketch like this. And I will define the pattern
of the eyebrow like this. Okay. And let's paint the nose again. Oop, like this. Maybe nosline can be
much more less visible because it is soft
edge like this, and there is shadows. You need to also
define the shadows. And I will trace slip right now. Okay. And this end point of the lip will be
much more darker. And like this, there will
be shadows under it. And I will continue
to at chin like this. And let's continue
from the ear part. Like this. And if we look from far away, I seek every important
point of it. For example, this
part will be darker, and he comes like
this and like this. Also, let's paint
the other part of hair and the corner of the hat. And these details this part. Okay. After you sketch all the tails, you can define the highlight
points of the hair. And if you close the layer,
check your painting. It is looking great. And if you,
3. Put Base Colors: Don't want to use this, you can just close or dilate it, but we need another
layer under it. If you're beginner, you
can select the skin color, select some color not dark
like this or light like this from middle and apply
all over your portrait. Be sure that you using the this color under
the inart layer. And also, you can make your portrait smaller
on screen on somewhere, maybe here, or here or
maybe much more small here. To use it as a reference. For example, you can
zoom here and select color and apply
over your portrait. For example, these
parts is darker and this part is lighter a bit. And right part is also have some shadows in here. And if I check the other details of the
portrait for the eye, I need to make this place much
more darker at this place. And I want to put the color for eyeballs for both
of the eyes like this and don't over think about details for now and try to focus on the color changes. For example, this
part is darker. By the way, use the
airbrush color for these steps because if
you use part round brush, it will be harder for you
to blend because we need to blend softly at these parts and this part
of the face in the dark. So I will make this
part much more darker. For example, under nose, there is dark place, but also this place is
the most dark place here. And zoom here and select
the darker color for in eye in nos shadow here
and here and here. Also, this place will
be much more darker. Okay, let's start to add
shadow here like this and it is better because we see portrait smaller and we
can easily select colors. For example, this part will
be much more highlight and here is shadow also here
will be much more darker. And especially upper
eye have shadow. And this part also
has these colors. A, you need to put
some We brand color here and here and
zoom on the nose. And you put light here.
4. Paint Eye and Lip: Here like this. And
another light is here. And I will put the color of eye. You can directly paint the eye and then select
the lighter color. And if you make your
portrait smaller like this, you will see much
more less colors with less pixels because it
defines it with less pixels, so it is better for
you to understand and create this part will be like this and come to the other side
and paint the other eye. And you can use the
other eye colors for make it because it is the same eye,
same person's eye. Okay, it's going
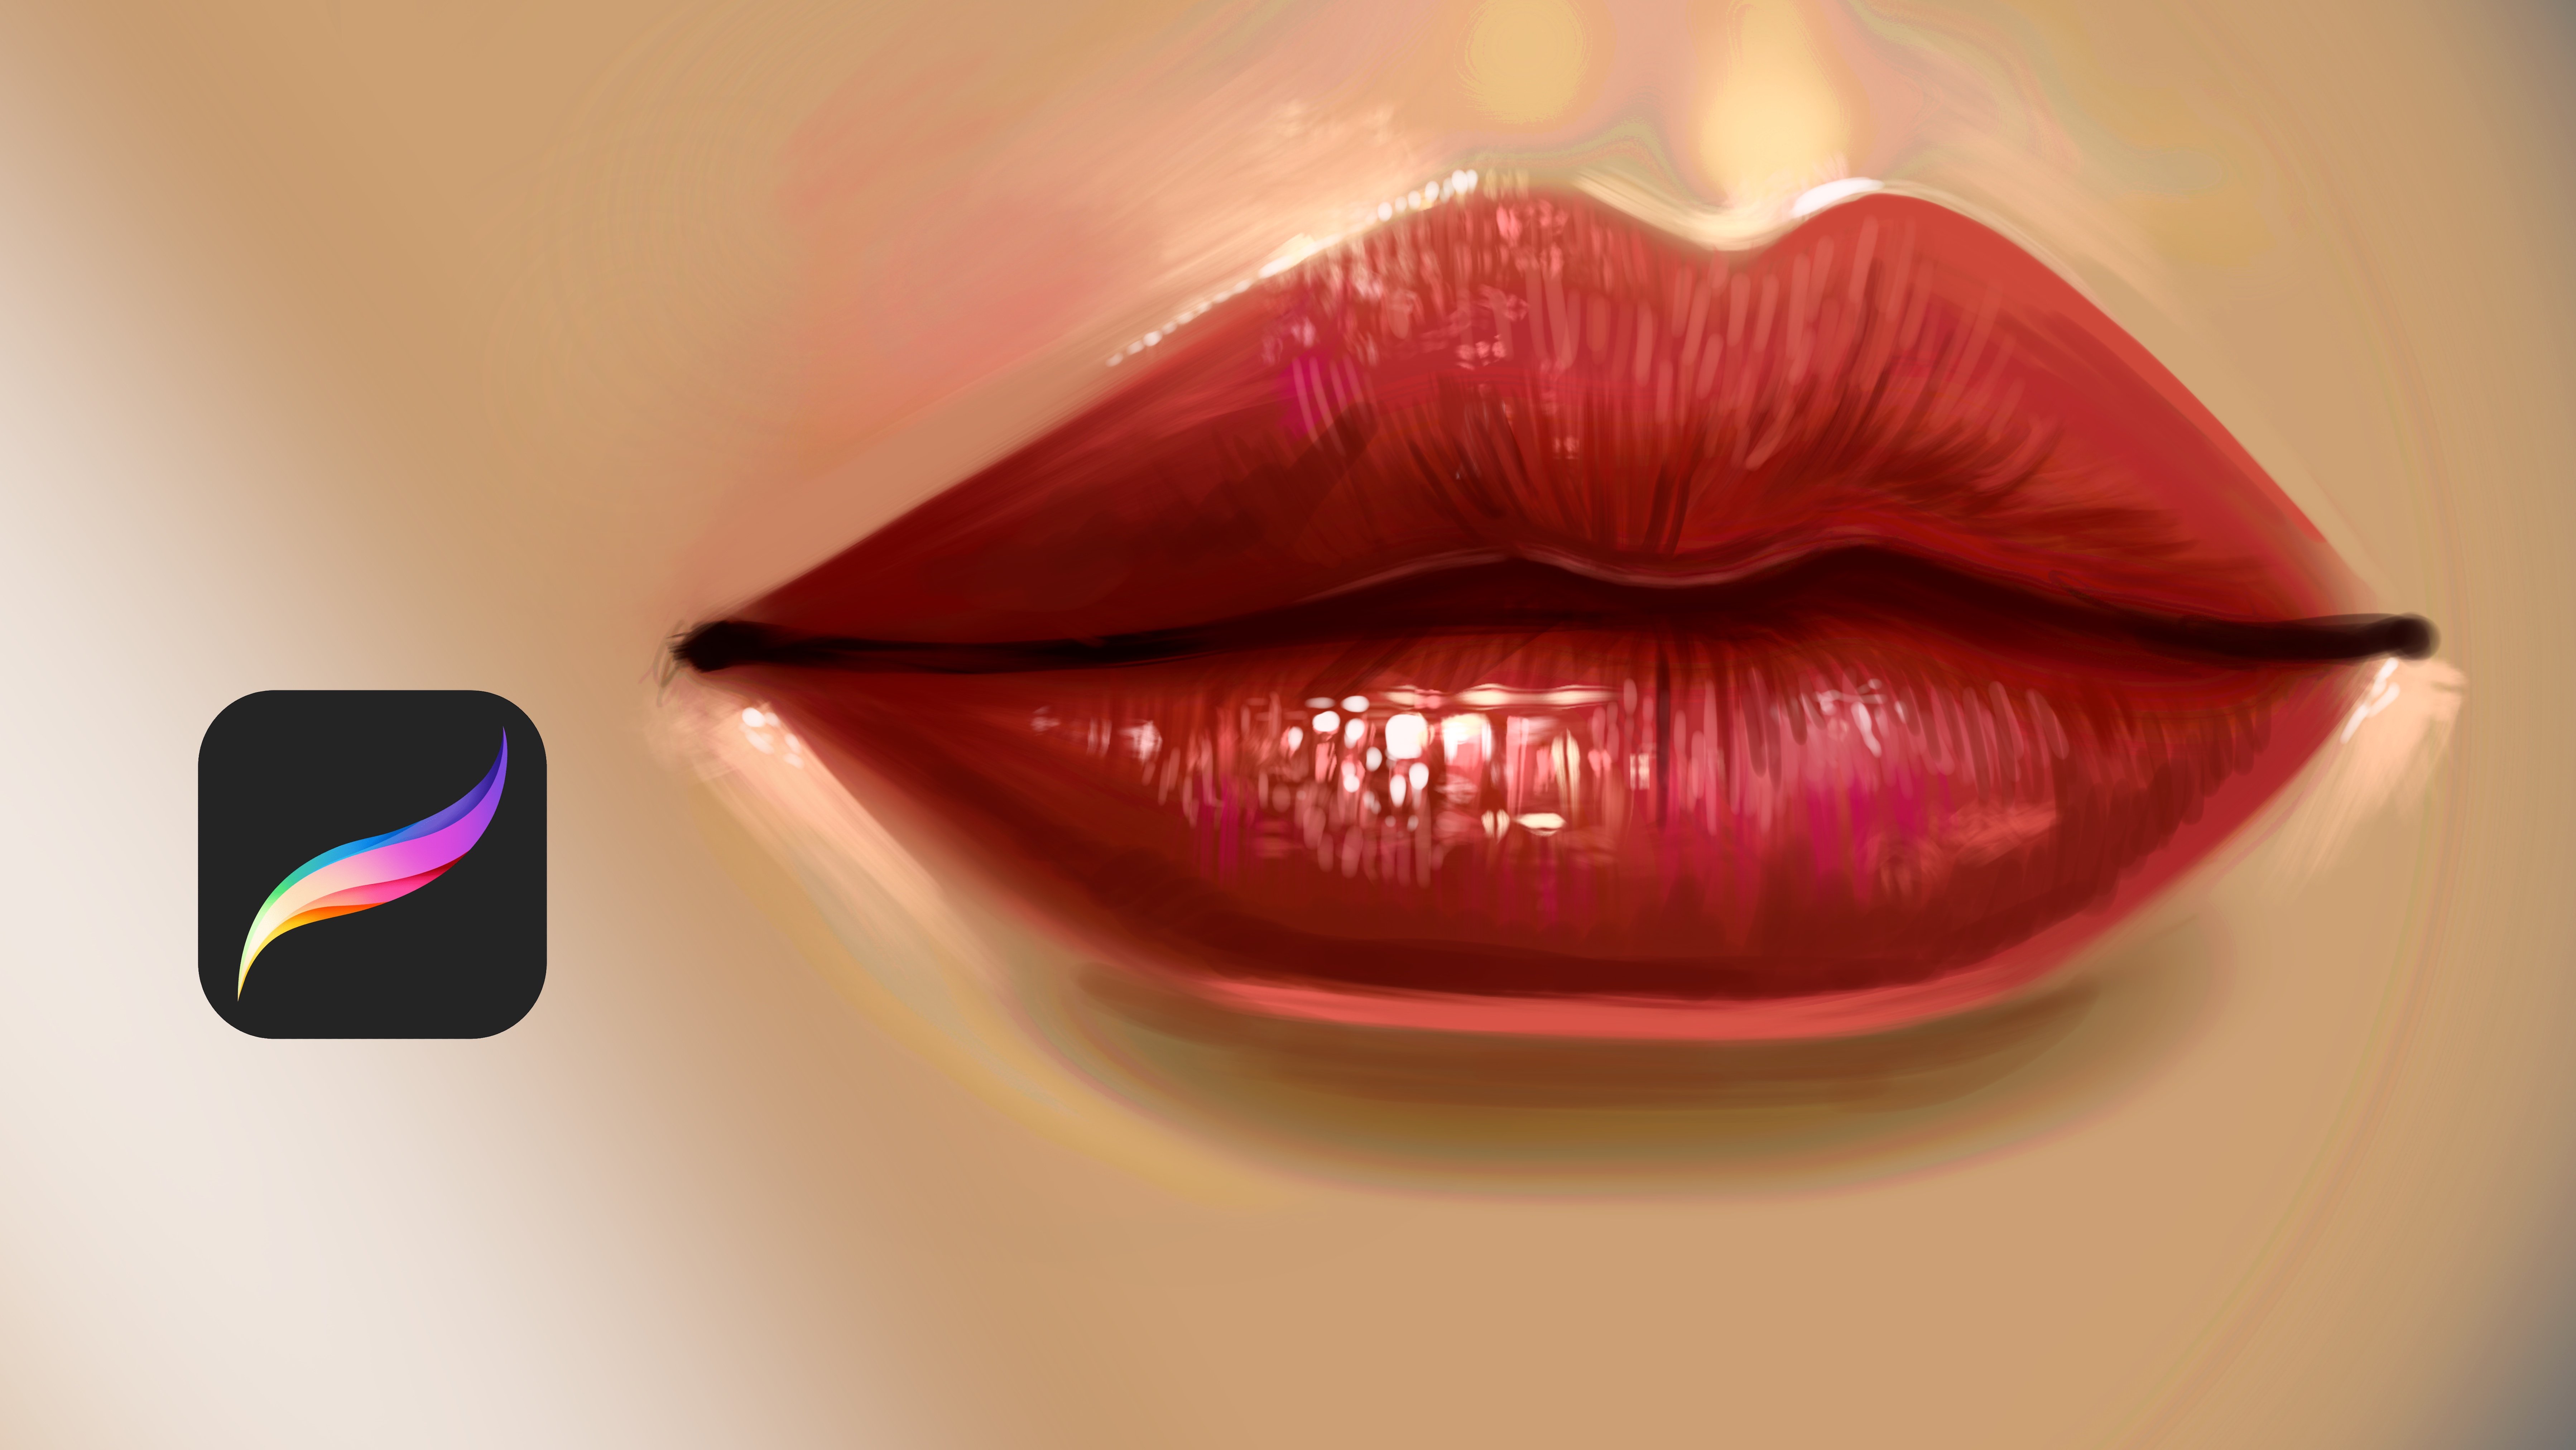
really great and fast. For lip, just paint the
background of lip like this and it's much more
lighter this part. Also, this part is lighter. And this part is also lighter. And these parts
also darker a bit. Of course, I will make it much more visible after I put
all the tails of it. And for now, I will select the middle tone again and
will apply, like this. I can make the cheeks
much more darker. Also, if you check her neck, there is a shadow comes
like this with alum, and it is not flat also. Okay. And for the nose, there is soft corner
like this and like this. And for lip, the inner part of lip is much more
saturated like this. And especially this part. And this part. And this part will be lighter. And for eyebrows, you
can make it much more darker to identify the
volume of the eye. And this part also this part h.
5. Paint Base Hair: And I will put some
highlight over nose. And here, other details
a bit much more. And maybe I can put some
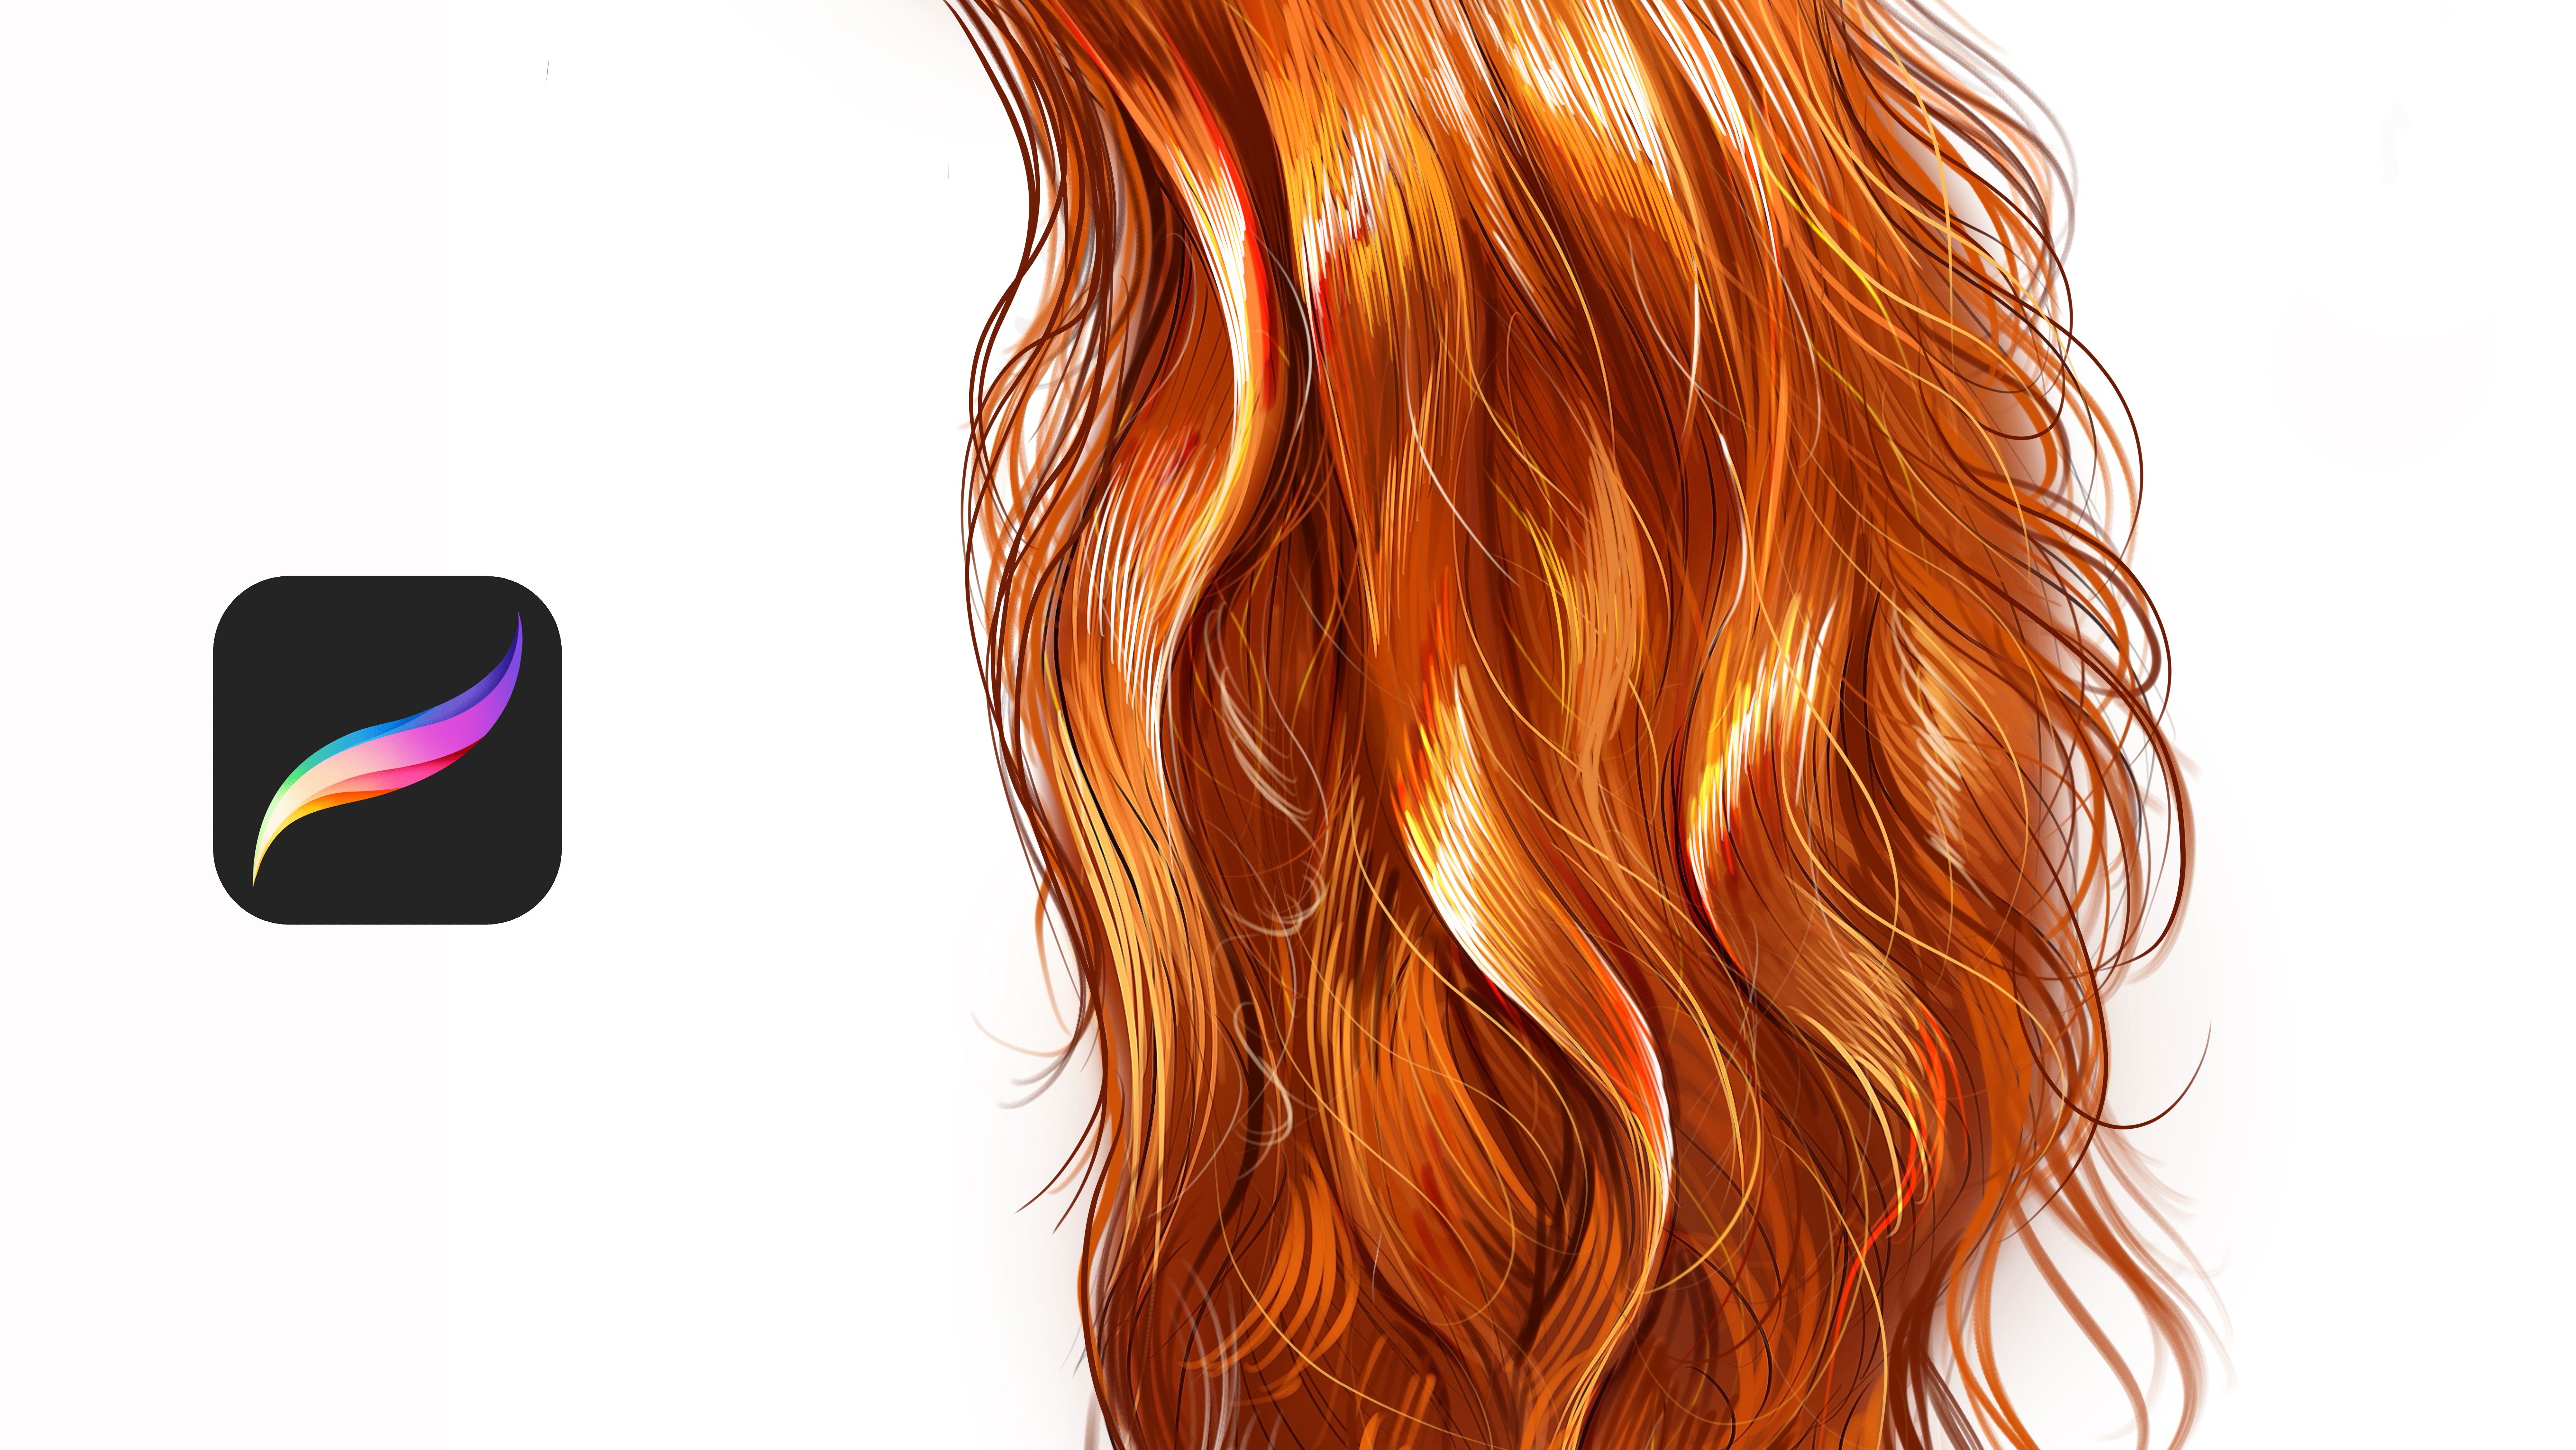
highlight here and here, of course, because Okay. Now I will use hairbrush. You can use any kind
of brush you have. If you don't have hairbrush, you can go to materials
and you can use fine hair. It is also will be helpful
for this step because we need to paint hair with a quick step. So I'm using textured brush, and I will start from
the top part of hair. It is a bit black hair, but not fully black. We see some reflections, grayish he and singular
hair particles here. And comes down like
this from here. And I will collect and connect layers like this. Okay. And I will continue to
adding here the tail. And these details will be like this. And I will continue to
add the tail slowly. And the parts. We'll be like this. Okay. And this part will
be much more longer. And I will make it better later. But for now, I will focus
on the top parts of the hair and give detail
to the shadow of the neck.
6. Paint Textures: Okay. And zoom into ER. Just paint the background of ER. After you put this detail, add lights in it
and shadows maybe. This part would be helpful. Okay. And now I will add some shadows here and
highlights from the nose. And this corner also smaller
with the hair, the tail. And these corners of foreheads
have much more shadows. Okay. Zoom in face and
select the darker color. There is a color
block like this, and I will try to paint eyebrow. Oops, sorry. Maybe I can use some small brush and continue to adding
detail over portrait. And this place will be darker because it
is in the shadow. And also, it has a shape like
this under eye like this. And if I look here, we need to make this corner much more darker because
it is in the dark. And let's continue. We are going really
fast and good, but we still need to put details Okay. And the top of the
hair is also black, and maybe this
corner have value, and this corner is
in the black again. And maybe these corners will be much more shadow here and here. And under the lip,
there is shadows. So I putting these
shadows over here and here and blending the colors and this part is lighter and Zooming here, you can use some pinkish color. Like this, and I will select these
colors and make it much more brand
and I will apply. This corner can be
darker, like this. End of the lip is
7. Paint Highlights: And you can put much more
shadows under the lip. And let's come here and there
should be light like this. A bit much more. And these parts also will be much more lighter. And maybe these parts will
have small details like this. And after you put the details, zoom into eye and select lighter colors and
apply your brush. It will have some Okay. And so Zoom here. And here Okay. And you can sometimes open your I mean, you can Oh, wait, sorry. I will move and zoom a bit much more to
understand how hair looks. I will apply here, and I can't wait to see your
artworks from my class. Please use the template or paint yourself and share the
illustration with me. I really can't wait
for what you made. And don't forget to check
my other Skillshare class. I try my best to teach you the tips and tricks
of procrt paintings. And this part, I will
make it like this and Okay. And for here, she has some golden necklace. I will make it like this with putting the lights over it a bit as
sketchy, but good. And again, I will continue
to add details over it. For example, what we
can do right now. You need to make these
corners much more shadow because we don't
see this part of portrait, and it is in the dark, so it will be darker. Especially this point will
be much more like this. And if I paint the nose, it is have really, really dark shadow
here comes like this. And we see the light here a bit. And at this place, also maybe here comes
downs like this. And I will increase the
shadows here like this. And here I will make
the shape of the nose. And you can put some pinkish
colors to the cheeks because she have warm colors at
her face at these parts, especially, and maybe
dark tones here. And this part. Okay. And if I check the portrait, I see that this part should
be much more lighter. And also this part like this and comes like this,
the hair particles. Also, these parts is in the dark
8. Add More Highlights: After you paint portrait, you can open new layer over your portrait and select mode. With this mode, you can increase the lights and create really
good subsurface effects. So I will make it a bit
much more like this. For the hair, I will open I'll select and open the
color of the hair, and I will apply all over the hair. Okay. And maybe we can see forehead a bit gives us the tip the
hair starts from this part. And with the light, I'm defining the hair and creating the shadows
and core shadows. Okay, we are going good and
hope you enjoy the process. I try my best for show you to oil press process
I create with you. And this place also can have Okay. I will make it a bit
much dark here and here. And here, maybe I can put
some highlights over lip to give brands and maybe zoom here with a small
brush and paint this line. And also, you can some
great textures over here to make it much more great. And I will add much
more vibrant color here because I don't want to load the brains of the eyes because eyes and nose
and lips are the most
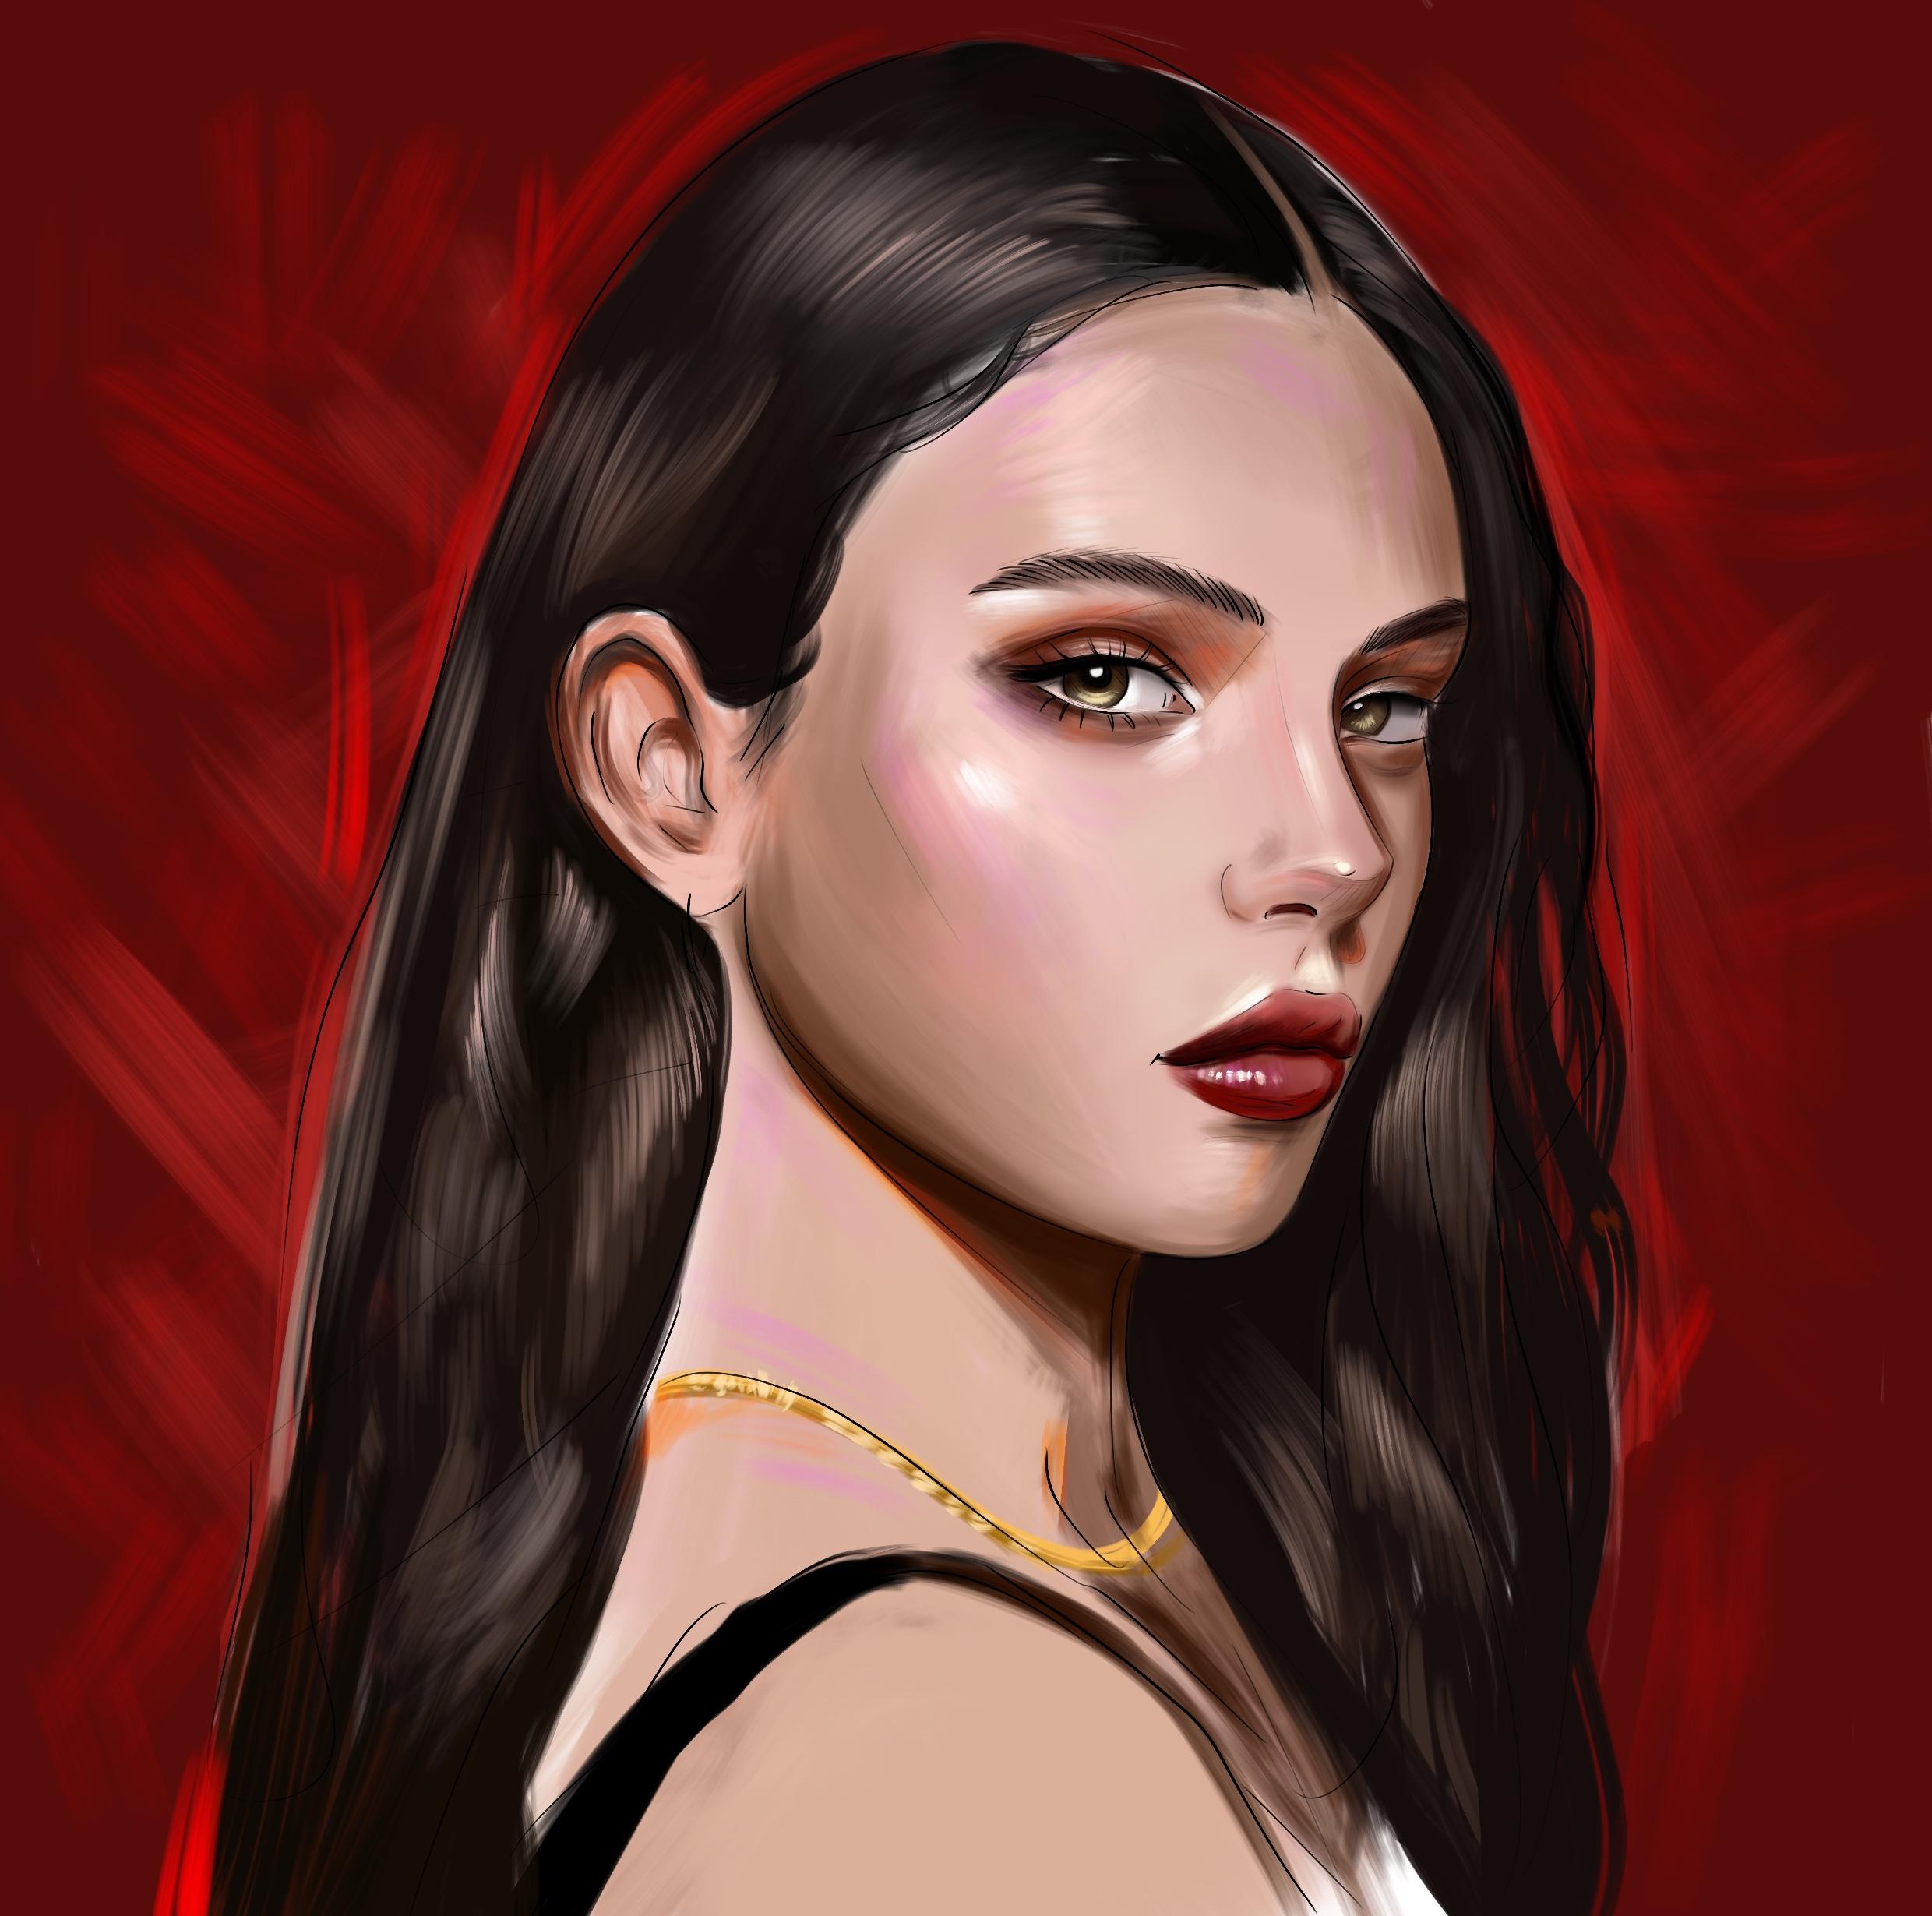
9. Add Background: Parts to show detail
and attention. And I will use the red
color for background. Okay. Oh, I delayed the
here by mistake here, and I will paint again. Okay, I will complete this part.
10. Complete Portrait: I try my best to show you the
process and maybe I can use some brain threats for create the B light
from here and here. With Blight, portrait looks much more attention on her Okay, thank you for joining me in this video stole
Skillshare class, and thank you very much. I
 Yasar VURDEM, Creative Art Director