Paint a Realistic Rose in Procreate | Yasar VURDEM | Skillshare

Playback Speed


1.0x


  • 0.5x
  • 0.75x
  • 1x (Normal)
  • 1.25x
  • 1.5x
  • 1.75x
  • 2x

Paint a Realistic Rose in Procreate

teacher avatar Yasar VURDEM, Creative Art Director

Watch this class and thousands more

Get unlimited access to every class
Taught by industry leaders & working professionals
Topics include illustration, design, photography, and more

Watch this class and thousands more

Get unlimited access to every class
Taught by industry leaders & working professionals
Topics include illustration, design, photography, and more

Lessons in This Class

    • 1.

      Introduction

      1:15

    • 2.

      Creating Sketch

      2:54

    • 3.

      Adding Shadows

      3:23

    • 4.

      Adding Lights

      3:42

    • 5.

      Adding Highlights

      3:57

    • 6.

      Adding Micro Details and Colors

      1:56

    • 7.

      Complete Illustration

      2:23

  • --
  • Beginner level
  • Intermediate level
  • Advanced level
  • All levels

Community Generated

The level is determined by a majority opinion of students who have reviewed this class. The teacher's recommendation is shown until at least 5 student responses are collected.

8

Students

1

Project

About This Class

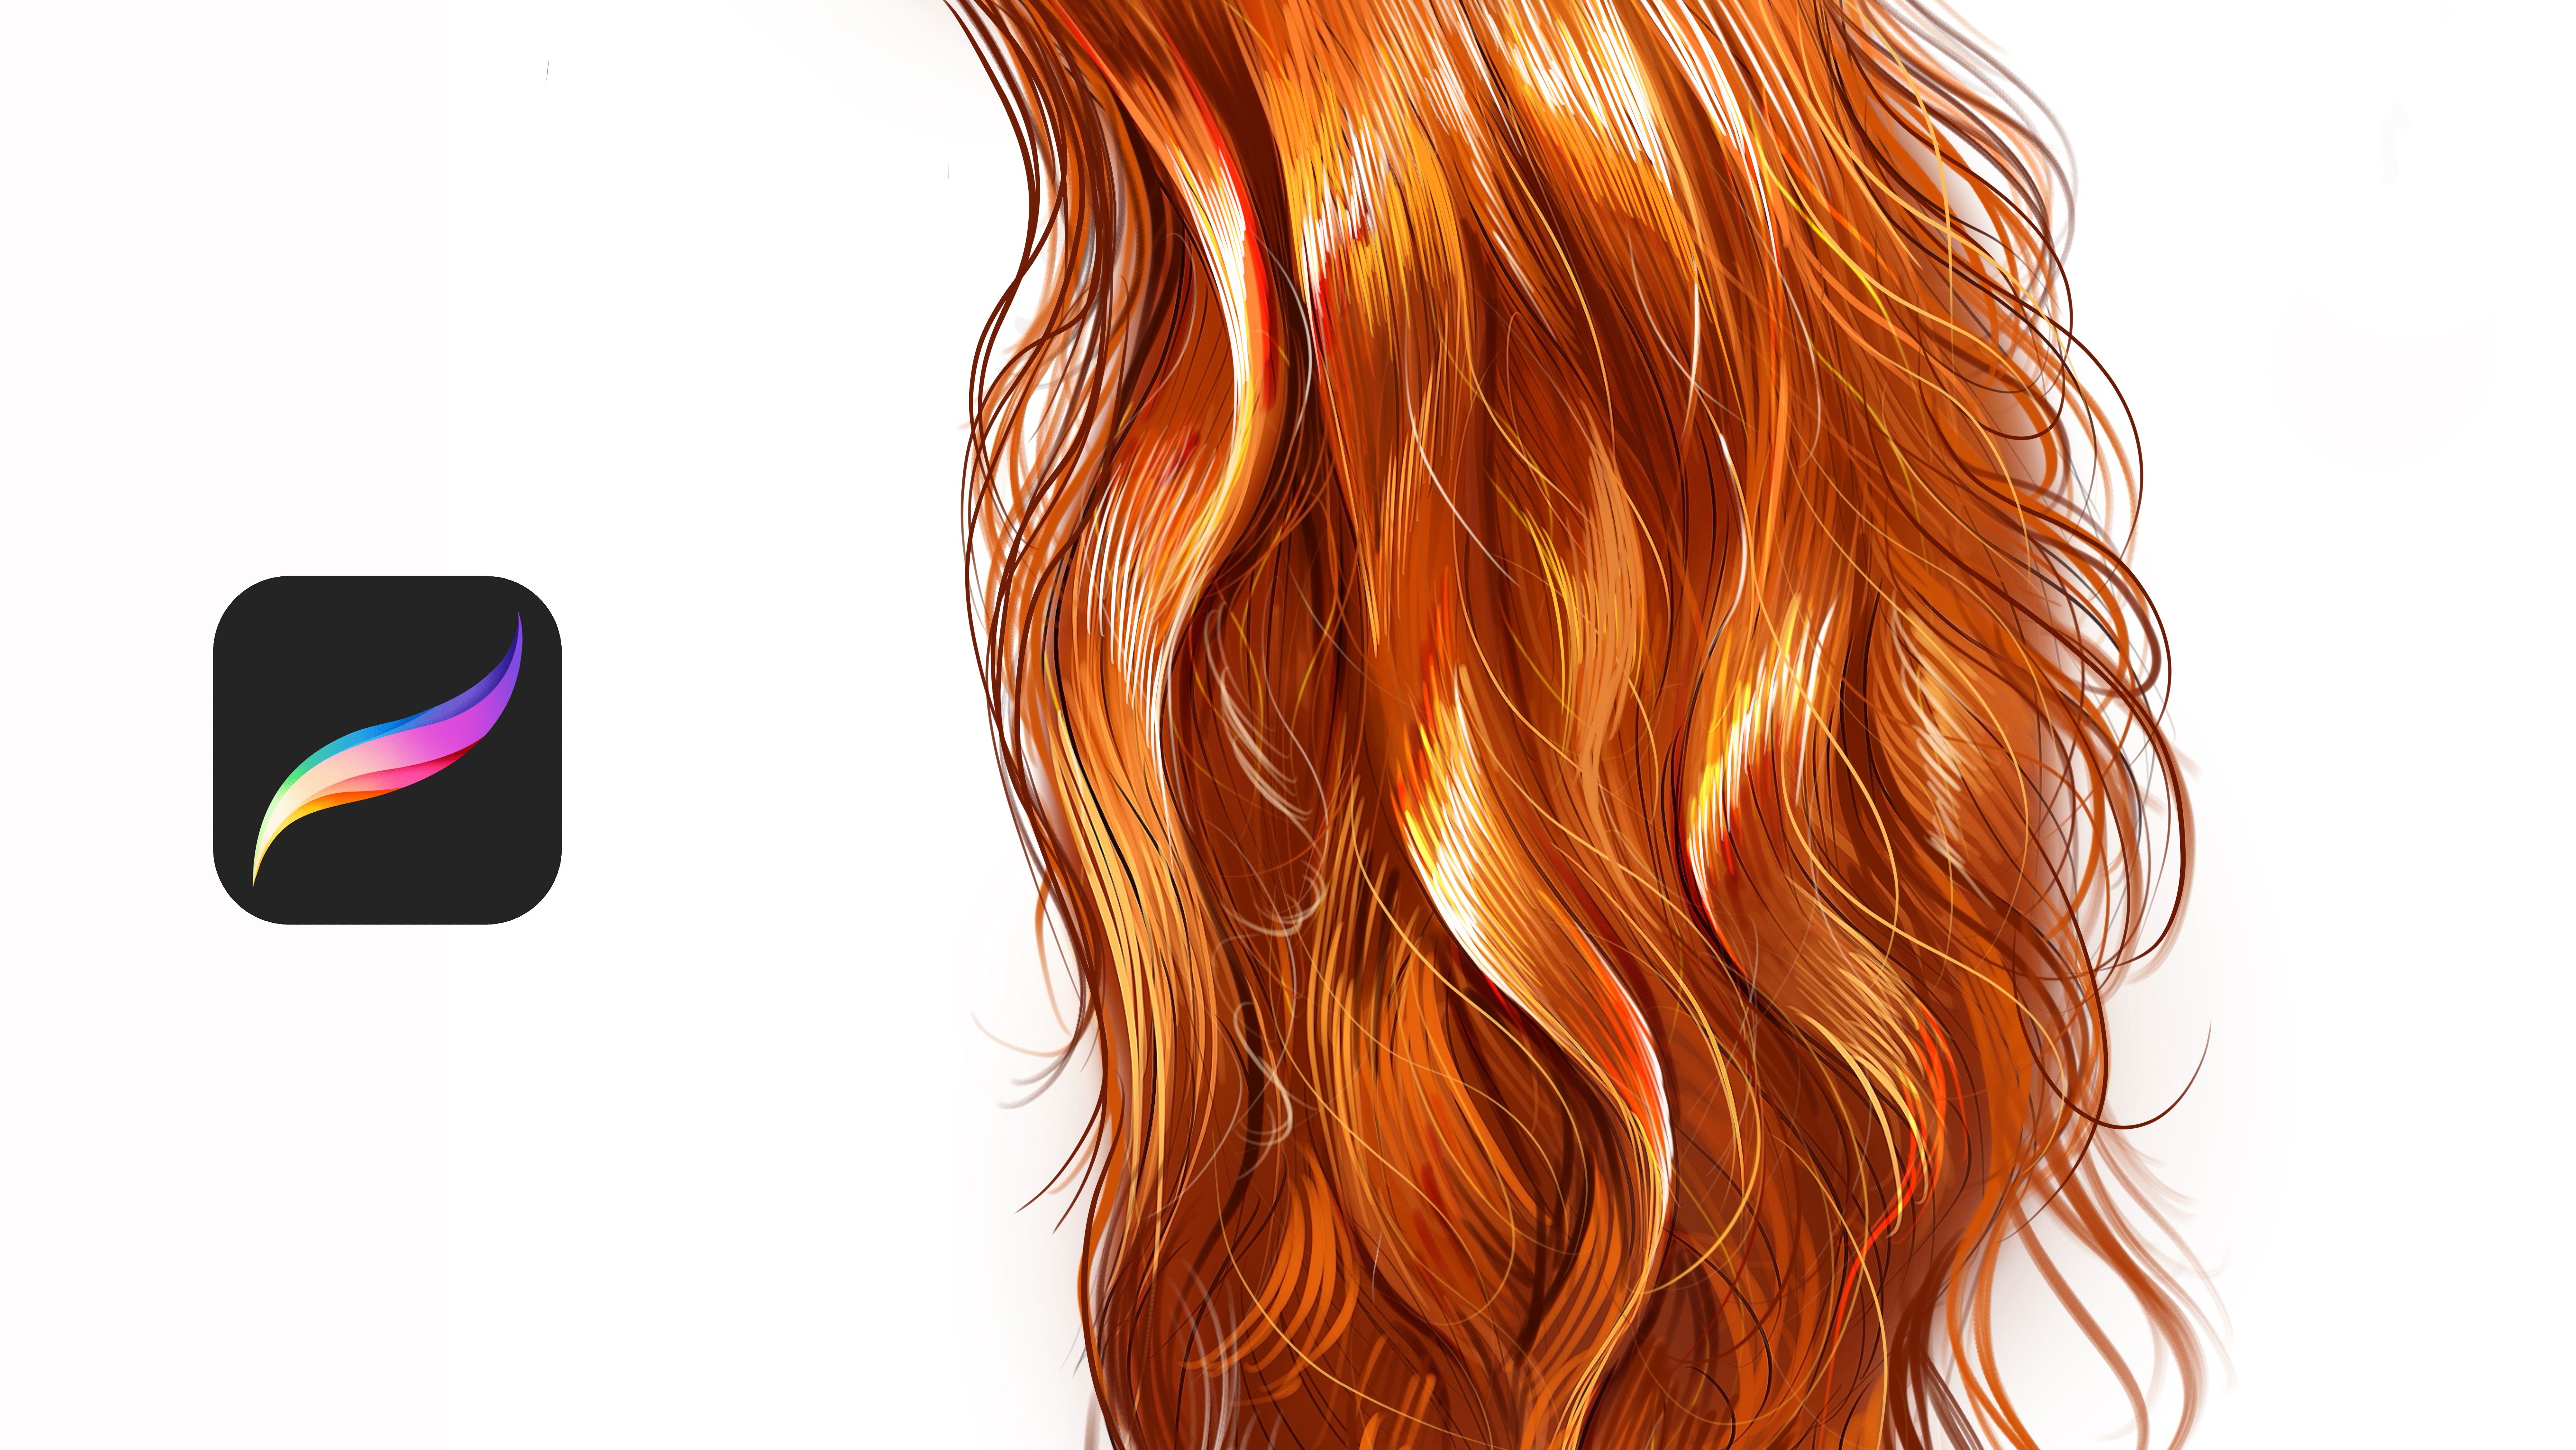
Learn how to paint a realistic rose in Procreate with illustrator Yaşar Vurdem, known for his portrait work and collaborations with Billie Eilish, Adobe, and Prime Video. In this class, you’ll discover a clear, step-by-step workflow for creating soft petals, natural lighting, smooth gradients, and lifelike textures even if you’re new to digital painting.

Yaşar will guide you through building the structure of a rose, shaping each petal, blending colors for soft transitions, and adding the final touches that make a rose feel delicate, dimensional, and alive. This class focuses on simple techniques that create professional-quality results.

Why This Class

Roses look simple but are one of the hardest subjects to paint realistically  and mastering them instantly improves your understanding of color, light, texture, and form.

This class gives you a complete, beginner-friendly system to paint flowers with confidence. You’ll learn the exact techniques Yaşar uses in his professional work, making it easier to produce artwork you’ll be proud to share.

Perfect if you want to elevate your Procreate skills, build your portfolio, or simply paint something beautiful and relaxing.

What You’ll Learn

  • How to sketch and structure a realistic rose

  • Building soft, clean base colors

  • Blending techniques for natural petal transitions

  • Adding highlights, shadows, and depth

  • Painting realistic petal textures

  • Creating final details for a polished, professional look

By the end, you’ll have a completed realistic rose  and the skills to paint more flowers and botanical pieces with confidence.

Meet Your Teacher

Teacher Profile Image

Yasar VURDEM

Creative Art Director

Teacher

Check my Etsy Shop

Welcome! I'm Yasar Vurdem a digital artist, illustrator, and passionate instructor.

I've spent years developing a vibrant, expressive portrait style that blends realism with bold, painterly energy. Over the years, my artwork has been featured in collaborations with global names such as Billie Eilish, Adobe, Prime Video (The Lord of the Rings: The Rings of Power, The Wheel of Time, Citadel), Wacom, Logitech, XPPen, and many more.

As a professional designer and illustrator, I work across digital painting, character art, concept design, and stylized portraiture. My goal as a teacher is simple: to share the exact techniques, workflows, and artistic mindset that I use in my professional projects in a clear, practical, and inspiring way.

Every ... See full profile

Level: All Levels

Class Ratings

Expectations Met?
    Exceeded!
  • 0%
  • Yes
  • 0%
  • Somewhat
  • 0%
  • Not really
  • 0%

Why Join Skillshare?

Take award-winning Skillshare Original Classes

Each class has short lessons, hands-on projects

Your membership supports Skillshare teachers

Learn From Anywhere

Take classes on the go with the Skillshare app. Stream or download to watch on the plane, the subway, or wherever you learn best.

Transcripts

1. Introduction: Hi, everyone. I'm Isa Wurdam. I'm professional artist and illustrator. We collaborated with Ado Play Eilish, prime dos, Lord of Rings, strings of Power Series, Destadal and Lord of Rings strings of power series. And in this lesson, I'm going to show you how to draw beautiful realistic roles step by step. If you have ever struggled with petals, shading or creating that soft neutral flow of the rose. This tutorial will make it simple and enjoyable. We will start by sketching the basic structure, then build the layers of the petals and dipped with clean shadows and finish with substel lighting that brings the rose to life. You don't need advanced skills, just your tablet or pencil and few minutes to follow along. By the end of this class, you will understand how to shape petals create smooth gradients and achieve polished elegant final result. Get ready. Open your Canvas, and let's paint with me. 2. Creating Sketch: Welcome. In this part, we will paint rose. At first, we need to remove the opacity like a bit much down, and after it, we will take the sketch of the flower, open new layer. And at this part, what you need to do is just trying to find the edge. Like how it HID looks. For example, dark parts will be defined with this technique. For example, let's make it like this and like this. Okay, like this and like this. I'm defining the shape of all shape of this rose, but only focus on the lines, like the outlines of the layers of the flower. Like this. These parts are darker. You okay. And these the tails will be like this. And after it, all you need to do is fold the opacity of the sketch layer and make it small, maybe at this area, and don't forget to change the layer mode like the background color, much more deeper like this. And maybe this one can be here. And after this point, let's open another new layer. 3. Adding Shadows: Sketch and select hairbrush because I want to work painterly at this paint. Okay, maybe let's use hairbrush. Airbrush creates smooth lines. So it is really good for our painting. And at some parts of Ros it is much more darker, like so soft and dark like these edges. Also at these parts will be much more darker. Yeah. And this part also either. Okay. And these parts also darker like this. And this one. Okay. And these parts of painting will be much more darker. Also, this part, a bit much more. I'm just trying to define the shapes and shadows and details of the illustration. Okay. And this part is much more visible. Also, these parts, I'm adding the light parts right now and the micro details. For example, the parts darker and these parts lighter. I'm defining the actual shapes and shadows and highlights. For example, this part of the rose is darker. 4. Adding Lights: And maybe I can smooth the reference here. And let's look at it. At this part. It can be darker, much more darker. And also, these parts will be lighter, much more at every layer, we need to put shadows like this. And this part because they are separated from each other, and all of them has its own unique layer. For example, check the left side. At this part, we have like shadows here, and it continues from the parts. As it is really, really dark at this side. Like this. And like this. Let's continue by adding much more detail. And this parts lighter. And we can add lights at the leaves here, here and here. Like this. After this part, I will close the reference because I already painted the rose and will colate the layers and go to the adjustments and curves. At curves, you can create color balance and from hue at a bit saturation and zoom in now. And what we're going to do is open new layer over it and we'll select hair brush hairbrush, but I use it for creating textures. You can use any textured brush for this step. And at this step, we will deep dive into adding small details. Like micro details, at some parts, it is darker and some parts lighter. And let's continue from this part. These parts. Okay. And at this left 5. Adding Highlights: Okay, let's continue from this part. And continue to adding details. Okay. And this part will be much more darker. Okay. And this part of the rose will be much more darker and with the dark textures. I'm continue to adding the tails over here and over here. Okay, let's zoom into these details and select the light pink and upgrade the vibration and much more vibrant color and apply over your painting. Especially at these parts. Okay. And at this part. Okay. I'm increasing the tail level of the corners, and we'll add some textures here, like with big brush strokes. And maybe we can even make this part much more darker, much more darker. Okay. And this part will be either. Oh, okay. And after this part, I will continue to add increased details, collect the layers together, and go to the bloom and, okay, not verbs. Maybe chromatic abrecation a bit much more. Okay, I added a really good effect on our painting, and after now open another new layer with colored Dutch layer mod and continue to adding details over it. 6. Adding Micro Details and Colors: Okay. And these parts. At this part, we are increasing details and we adding some highlights because highlights is really, really important for our painting because it pop ups every detail and increase the balance. A. Okay. And we can even add some water drops to make it much more realistic like this with litle dots. It looks really, really good right now with these tiny details. And maybe we can even add some rim light from the corners like this Okay. 7. Complete Illustration: And the other parts. Okay, open another new layer with smooth shading brush and multiplier layer mode and add extra shadows for your painting. For example, at these parts, it is darker and it is at this part, it is darker and it is darker. Okay. And maybe these parts are also darker. And we will add some lights here at corners. Okay. Maybe some highlights here and here. And thank you for joining me in this class, and see you in the next classes.