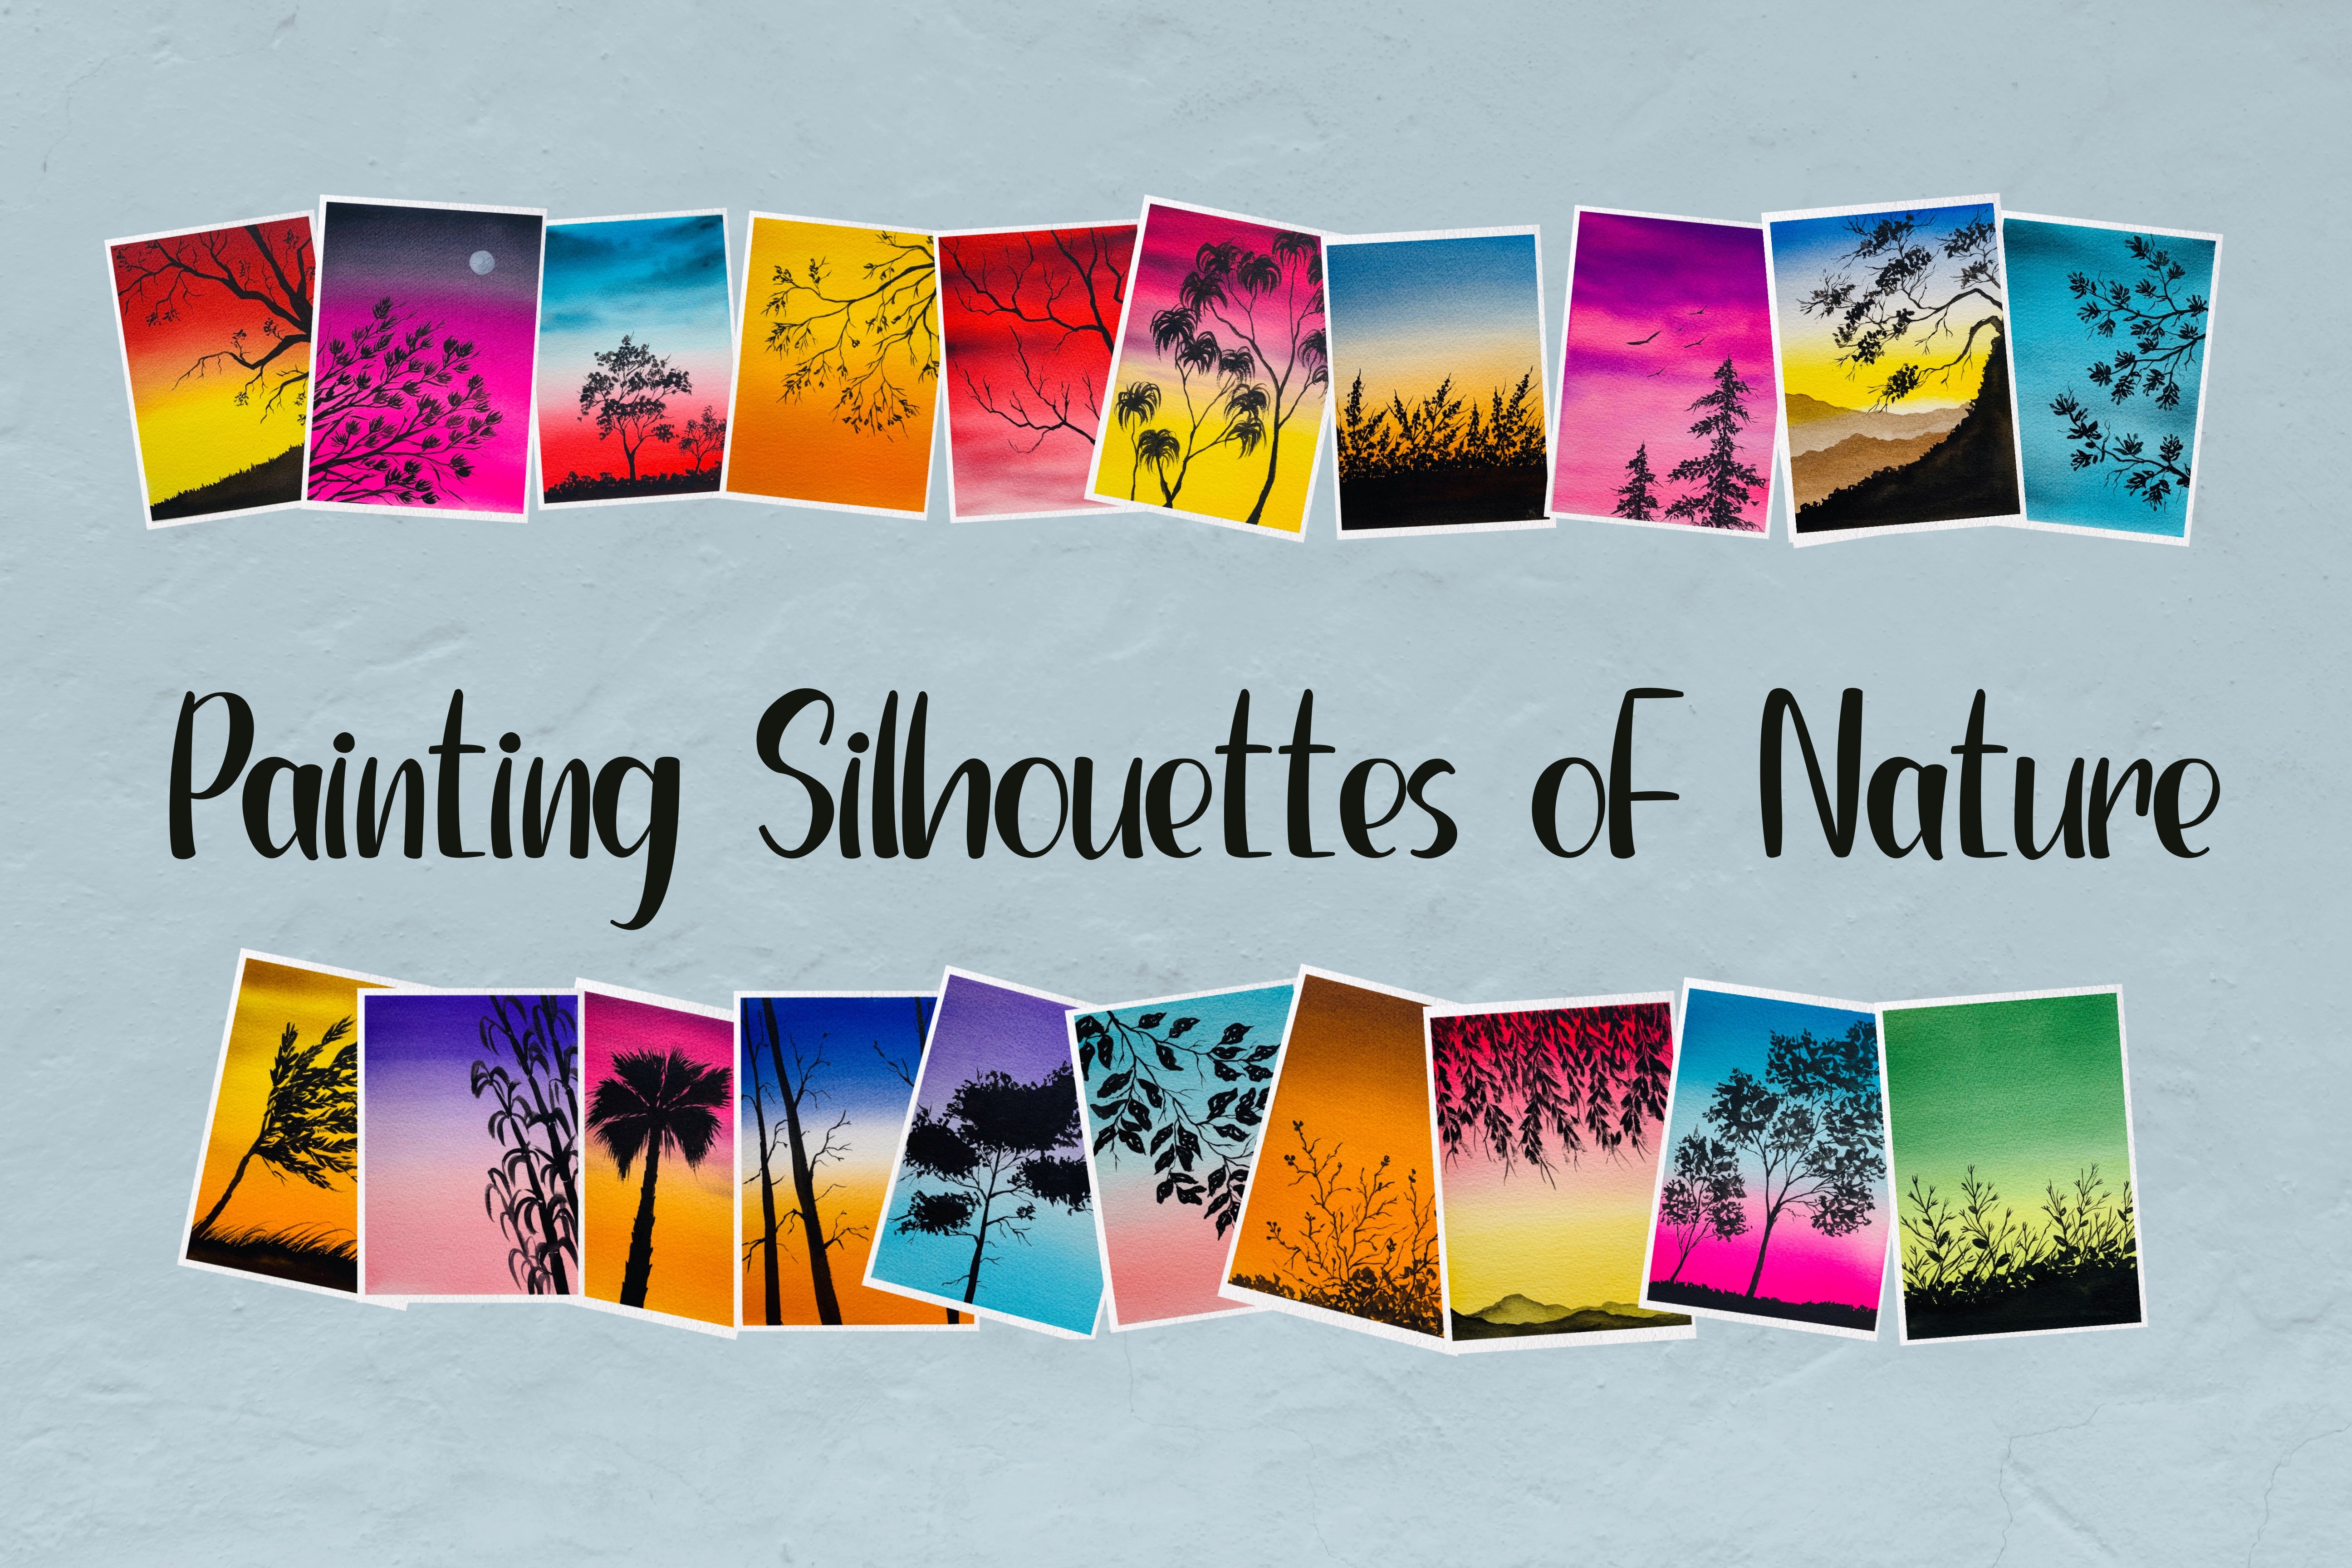
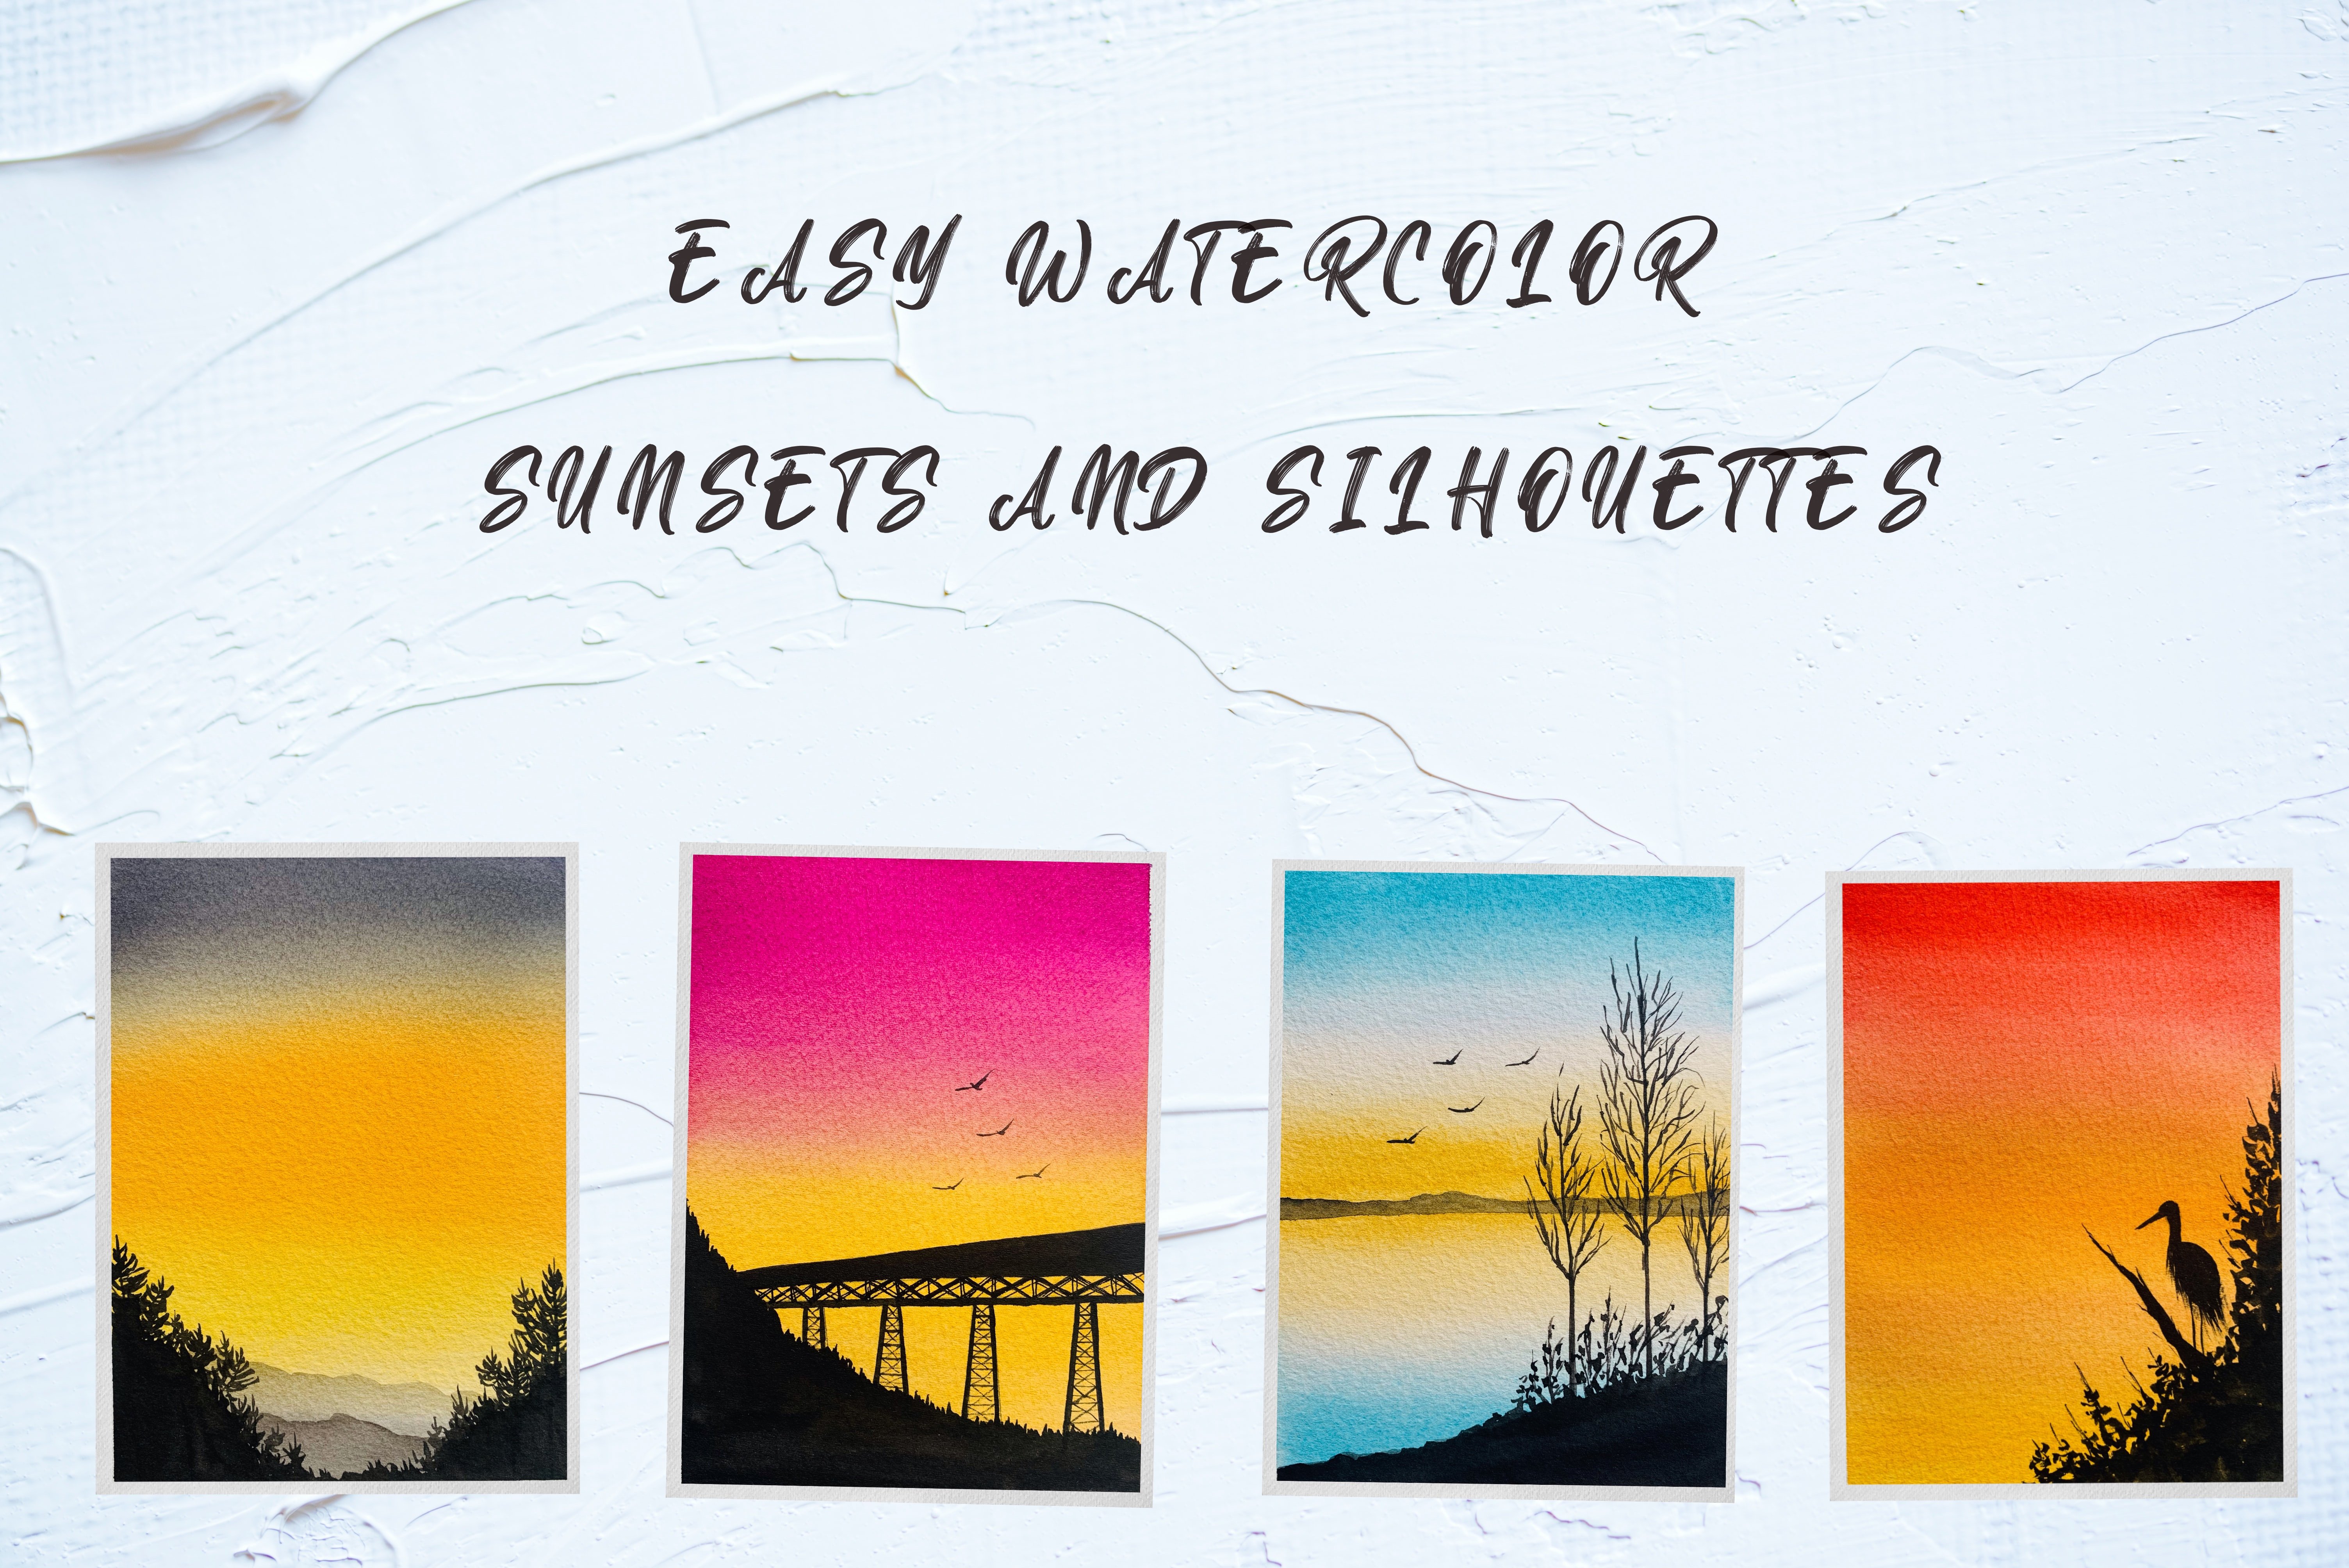
Transcripts
1. Introduction: When you get tired
from the mundane, everyday life, it is important to take a break and
recharge yourself. There's nothing
quite like hitting the open road trip and
exploring new territory. You can enjoy the scenery
while driving through standing landscapes and
breathtaking views. It is a 32 eyes and
it's therapeutic. Hello, and welcome to
my Skillshare class. In today's class,
Let's try to paint few simple and easy CMYK roads
scapes using watercolors. We will be painting
for standing and vibrant projects
using watercolors. And I will walk you
through everything that you need to get started with your watercolor journey. We will talk about each and every material that
you need to get started, like watercolors,
papers and brushes. We will also learn few basic but important
watercolor techniques that every beginner
must know about. And finally, we will be painting
for beautiful projects. This class is absolute
beginner friendly and each project can be done
in under 20 minutes. So if you are excited to
join me in this journey, let's hop on to the next
section and look at the materials needed
to start the projects.
2. Materials Required: Now let's quickly look
at the materials that we need to get started
with the projects. I will walk you
through each material that we will be using
in the projects. Let's first talk
about the colors. I will be using colors
from White Nights. That is, I'll be using fill
colors from White Nights and fuel from the Indian
brand called two-week. Before we begin
with the project, I will swatch the colors that we are going to use
for each project. Have also mentioned the colors used for each project and the
project resource section. So you can find the details
about the colors or the alternate colors in
case you do not have the exact shape that
I will be using. Apart from these colors, we would also need we would
also need white quash. I'm using this dollar
Ronnie, designer gouache. If you do not have white quash, you can also use white watercolor that comes
with your watercolor set. Coming to the brushes. These are the three brushes that we'll be using
for all the projects. We would need a flat brush, down brush and detailing brush. I will be using this half
inch flat brush from Bristol, which is a Kolinsky
imitation blush. I will be using this round brush from
Princeton Heritage Series. This brush is of the size
n lawn brush, size ten. Finally, I'm going to be using this detailing brush
or the round brush, which is of size three by 0 from Princeton
Heritage Series. All you need is a flat
brush off any size around, brush preferably of size 1008. Round brush off
some smaller size. Or maybe you can use a detailing
brush in case you do not have a size 0 or size
one round brush. Now, let's talk about
most important material. That is the watercolor paper. He'll take for the projects. I will be using the Fabriano
artistic traditional bike, 100% cotton paper with just a cold press paper
and 300 GSM or one foot. The LPS. For each project, I will be using Paypal of
size 15 by 15 centimeter. I'm using a square
shaped watercolor paper for each project. You can use watercolor paper
of any size, any brand. But it is recommended
that you use a 100% cotton paper
and 300 GSM or elbow. You also need
watercolor palette, made up of plastic or ceramic. In this case, I'm using
this ceramic palette. I will be using
two jars of water. One would be to
clean my brushes, and the other one is to use
clean water to mix the paint or to dilute the paint so you would need to
dust off water. I will be also using this masking tape that I got from the local
hardware shop. It does not necessarily
to use a masking tape in case you are not worn off
clean edges on the paper. We will also need a pencil to do the light sketches who need
an eraser and a ruler. You would also need a couple
of paper towels to wipe the excess paint or excess water from your
brushes or the paper. Now, if you're ready
with these supplies, Let's move to the next
section and on to basic watercolor
techniques before we begin with the
actual projects.
3. Watercolor Techniques: Now before we begin with
the actual projects, I want you to show few important but very
basic watercolor techniques that every beginner must know. The techniques that we are
going to discuss today. Wet on dry, wet on wet, dry brush and lifting. Let's discuss each of
this technique in detail. The four techniques
that we will be using in projects today. I've loaded my brush
with wet paint, that is paint mixed
with some water. And I am applying or laying
the color on the dry paper. Let's begin with the first
technique which is wet on dry. As the name suggests, it is the wet paint
on the dry paper. This is a very basic technique and you might be doing
this all the time. But the technique is
called wet on dry. Now, this technique
is perfect to add Laos or to add the details. The next technique that we are discussing here
on wet technique. So in the first step, I am applying a layer of
clean water on the paper. So this is the wet paper. That is, paper is wet with
a layer of clean water. And on top of that, we are applying wet paint. That is the paint
mixed with water. So this is wet and wet paint. So this is wet on wet. This is one baton wet technique. In other words, it can also mean that as wet paint on wet paint. So that is I am laying
a layer of blue paint, wet paint on the paper. So here we have a wash
of flesh blue paint, wet paint on the paper. And on top of this, I am going to add
some other color. For example, here, I will use black wet paint and drop it on this wet wash. You can see how beautifully the color
just spreads on this wet layer of watch. So this is another
wet on wet technique. Wet on wet technique can be
used to create soft effect. Extinct me that I am going to discuss here is the
dry brush technique. I am using a paper
towel and wiping my brush is removing the
excess water from the brush. And I'm going to load the brush with the freshly squeezed paint. And I am just dropping
my brush onto the paper. So phase, and this is
the dry brush effect. Now the way that you can
use a dry brush technique is load your brush
with the wet paint and then wipe off the
excess paint from your brush using a paper towel and scrap the brush onto
the paper. So phase. And this is another way to
achieve the dry brush stroke. This is a great technique to
add extra to your paintings. And the final technique that we following for the project today
is the lifting technique. And what I'm doing
here is I applying earlier of wet
paint on the paper? I'm just going to
create a nice wash of blue paint on the paper. I'm spreading the paint evenly and creating a nice wash
of this blue color. Now while the paper
is still wet, you can see that the
paper is still shiny. So the paint has
dried completely. I am going to wipe
my brush using a paper towel and lift
the paint from the paper. So this is basically the
lifting technique or you have to do is use a dry
brush or use a brush, wipe off the excess water
from the brush using paper towel and lift the
wet paint from the paper. This is one technique. You have to make sure that
the paint is still wet on the paper when you are
using this lifting technique, it is impossible to lift the paint from
fully dried papers. So you can only do this while the applied layer of
paint is still wet. Another technique that you
could use for lifting is use a clean paper towel and just
dab the paper towel will own the paper and wipe off the
excess paint from the paper. This technique can be used
to correct the mistakes in your watercolor painting or to lighten the
value of the color, or to add clouds
in your painting. I want you to try all these four basic
watercolor techniques and get familiar with
these techniques before we begin
with the projects.
4. Project 1 - Night Sky Roadscape - Painting the Sky and Road: It's time for the first
project where we are going to paint the
night sky root skip. First step is to tape down the watercolor paper because
tip cell face using, using a masking tape. Make sure to run your
fingers through the tape so to ensure that
there are no gaps. And watercolor doesn't
leak through the tape. Once you're ready
with the paper, it's time to do a light sketch. I'm going to use
pencil and start by drawing a line which is going to be the distinct
trees or the mountains. And then I'm going to
draw a curvy road. Making some adjustments to this. I'm drawing an S-shaped
curve on the left and we'll see shaped
girl on the right, which is going to be the road. Going to erase as not very happy with the sheep
and redo it again. Making a sharp pointed tip. At the end. We are going
to be painting pine trees. So I am just adding bill tree trunk of where I
want to place the pine trees. Dollar and some
shorter tree trunks. This said this A's, they'll very simple sketch. We will add more details to it. Now, let's watch the colors that we will be using
for this project. First color that I'm
swatching here is cobalt, turquoise in case you do
not have this exact ****. I have mentioned that
alternate colors that you can use
instead of this. Next color that I'm swatching
here is ultramarine blue. You would also need indigo. And finally, swatching
this black color, which we will be using
to add the silhouettes. So these are the
four colors that we will be using
for this project. I'm going to start by writing the paper using a flat
brush and clean water. Make sure to evenly
spread the clean water on the paper using a flat brush. I'm just wetting this
top section where we are going to paint
or add the colors, which is going to
be our night sky. Once that is done, I am going to use my size ten, brush and load it with this cobalt turquoise color and use this color to paint the
bottom section of this guy. We will be using three
colors for this guy. So the bottom section is
using the cobalt turquoise. Next, I'm going to
load my brush with ultra marine and filling
the next portion. But this color that they suggest right about the cobalt
turquoise color. And finally the top section, I am going to load my
brush with indigo. And I'm going to paint the
top section of this guy with this color and blend it with though middle section,
which is ultramarine. So you have a night
sky of three colors. We're going to create a nice gradient for
these three colors. I'm going to clean
my brush and I'm going to blend these
three colors really belt, starting from the
lightest color, which is the cobalt, turquoise, and bringing it towards the top and blending the
three colors really well. Now, if you think that
the colors look to, you could go for another
layer of colors. I'm going with the second layer. Carlos and
intensifying this guy. So I will start again with
cobalt, turquoise first. Next, I'm going to load some ultramarine and blend it together with the
cobalt turquoise. And finally, I'm going
to load some more indigo and blend the three
colors together to create a nice gradient of
colors for this guy, night sky. Make sure that you blend these two colors when
the paper is still wet so that it is easier and
easier to blend the colors. And also you do not get those
streaks or the brush marks. And there you have an
ice cream in night sky. Now, we will wait for
this layer to dry. Before we add in more details. Lying be paid for
that layer to dry, we can get started
with the rule. So I am going to load my size
ten round brush with black, not using a very
concentrated plane, you're going to dilute
it with a tiny amount of water being no rotation here. You want to distinguish the road with dorsal
back so you cannot use black on the road
and the silhouette. So I'm using a lighter color, a diluted version of
black paint for the road. And I will use the more
concentrated color for this and make sure you fill
in all the gaps if you find any with
the black paint. Now, we can get started
with the next section. We can now paint the
meaning by pushing. That does lead with black paint. I am going to load my size ten brush with
concentrated black color. And I'm going to fill in this white section
that you'll see here. But the speed to I'm
first going with the outline and later I will fill in the
remaining section. Make sure to keep this Gabi
and not a straight line because we will be adding some foliage to
this AVR later on. Technique that we are
following here is wet on dry, wet paint, on dry
watercolor paper. Use the tip of the brush
to outline the area here. And then fill the
rest of the section. Repeat the same step on the other side of
the road as well. Use the tip of the
brush and draw the outline first and then fill in the remaining
section with black paint, making sure that there are no
white gaps left in between. And in case if there is, just use the black
paint to cover it.
5. Project 1 - Night Sky Roadscape -Adding the Silhouettes and details : It's time to add some foliage
to those mountains section. So I will use to
take both my size ten brush loaded with some
black paint and that bit on the paper like this to add the foliage so that it looks
like some distinct trees. Bush. We can use any pointed round brush. I had this foliage using
the tip of your brush. We're going to fill in
the remaining portion here. That's it. We are done with
adding the foliage. Now it's time to paint
the trees, which are Dad, I'm going to fill
in any gaps that I see here. With the black paint. I will now use the
size three by 0 John brush to add the pine trees or to
paint the pine trees. I'm going to stop by
painting the trunk first. Then once it is done, I am willing to add the
branches and the leaves. By adding the foliage in a triangular shape
to the tree trunk. You can paint pine trees
in many different ways. But this is the technique that I followed to paint
the pine trees. My go-to technique is add or slanting branch
to the tree trunk. And then adding the
leaves to that branch. I'm going to draw a tree
branch like this and then add the foliage to this branch and fill in the tree or the branch. You can check my class
painting setbacks of nature, where I teach you how to paint two different
kinds of pine trees. You can refer that
class or you can paint. You have your own
technique of painting. The pine trees can
use that as well. Trees. Now I'm going to repeat the same step. That is, I will start by ending the tree trunk first and then add the branches
and the foliage. Those branches and
fill in the tree. In the similar manner, you can fill-in or bank older tree trunks that we
have sketched earlier. Since it is a liability to step off painting
the pine trees, I am going to speed
up the process here. But you can always
go to your Settings and watch it at the speed
that you're comfortable. Finally, moving on to last pine tree that
I have sketched by starting by painting
the tree trunk first and then adding the branches and the foliage of the leaves
to those branches. And filling the gaps in-between. And that's it. We are done
the painting, the pine trees. Now, let's move on to the
final part of this painting. It's now time to add some
details to this room. So we will be adding white solid lines on
the sides of this rule. We will be using white
gouache. For that. I am going to squeeze some white gouache
onto the palette. Or if you do not
have white gouache, you can also use white
watercolor paint. I haven't used my size
three by 0 round brush loaded with white gouache
and add those white, solid white lines on
the sides of this rule. If you're not comfortable adding these lines using a brush, you can also use a white gel pen to add
the solid white lines. I'm going to intensify the colors and make
it more bright. I'm going to keep
the line very thin. And keeping it picked the, bought them off the beat. Repeat the same step on the other side of
the road as well. So it's better to use
detailing brush or a size 0 brush to add
really thin line. I'm going to widen the line. Once you're done painting
the white lines. Since it is a night sky, I am using the same brush and I'm going to add a
tiny moon in the sky. I'm painting, or crescent moon. And that's it. We are
done with this project. It's time to peel off the masking tape and
make the final artwork. This is my most favorite
part of painting, draws a link though masking deep to see
the final artwork. And here's the final artwork. I, and I hope you enjoyed
painting this. Read me.
6. Project 2 - Desert Roadscape - Painting the Sky and Mountains : It's time for the next project. I am going to tape down my
paper using a masking tape. Once that's done, let's look at the colors that we would
use for the project. So I first color that we
need is again, meant LOD. Next color that I'm
swatching here as 4 million. This is burnt sienna. And finally, lacked the
pain, the silhouettes. These are the four colors that we will be using
for this project. Now, let's begin with
the sketching part. Again, I am going to use a ruler and draw
the horizon line. And this is the point. I'm going to take the
center point and jaw or Gabi road and draw another curvy line on the
other side for the road. So this is still no, no. It is encouraged to
make some adjustments. We're going to paint a
curvy road in this project. Not happy with this.
The road ending. So I'm going to
erase and he do it and make it a little pointed. This looks much better. Now. I will now draw a
sketch, the mountain. So we are going to have
three layers of mountains. And this is the first
layer that I am sketching. I will now overlap my second layer of mountain
with the first one. Always make sure to keep your sketch where the
light not too dark. Then finally, sketching the
third layer of mountain. And that's it. We are done
with the sketching part. Let's move on to the
painting part now. First step is I'm going
to use a flat brush and I'm going to invite paper
evenly using clean water. Applying a layer of clean water
does is this guy section. Once that is done, I'm going to load my size
standard round brush with a low deep. And I'm going to paint the bottom section of
this guy using the Scala. Clean my brush and I'm going
to load it with Boolean. Top section of this guy using this color and blend
it with a look alone. You're not looking for uniform blending of
the two colors here. I am going to add some orange to the
yellow section as well. When the paper is still wet, I am going to add some
orange strokes randomly. When you add this vermilion
color to the low section of this guy is going to create
a nice shade of orange. In this guide. This will
create a lot of drama. And this guy, now, I'm going to load
some burnt umber. Add some burnt umber to the sky when the
paper is still wet. So we are following
the wet-on-wet technique and adding some
darker shade to this guy. I'm adding this horizontal
strokes randomly on the sky. Item drama. So we are going with
it, dramatic sky here. Using the colors permanent, yellow, deep burnt
umber and woman in. That's it. I'm going to
stop with this guy here. Rebate for this
guy layer to dry. I use my size ten brush
loaded with burnt umber, and I am going to paint
the first layer of mountains using the
tip of my brush. I'm going to outline
it first and later I've been filling
the rest of the mountain. Now I'm going to clean
my brush and I'm going to drag the color using the water that is
retained in the brush. Clean dry brush to wipe the excess paint from
the paper like this. And then use a paper
towel to wipe off the excess paint
from your brush. So we are following the lifting technique
that we learned. This will add a lot of
depth to your painting. Instead of keeping the
mountain in a single color, we are using variations of the color and add some
depth to this mountain. I'm going to lift off some
more pink from this paper. Now you have to wait
for this layer to dry before you begin with the
next layer of mountain. So I am going to
intensify the color of burnt umber by mixing it with a tiny amount
of black paint, load my size ten brush
with a darker shade of burnt umber and fill in the next layer of mountain
using this color. Again, I am going with
the outline first. And filling in the
rest of the portion. You can clearly see
the difference in the color between the first and the second
layer of mountain, where I have used a
more intense color, that is o mix of burnt umber and tiny
amount of black paint. Now, I'm going to
make some black with this burnt umber
and I'm going to add some shadow to the
second layer of mountains while the
layer is still wet. And that took me are done
with the second layer. And now we have to
wait for this layer to dry before we begin
the next One.
7. Project 2 - Desert Roadscape -Painting the Road : Now while we wait for the
second mountain layer to dry, I am going to pick
up some black paint. And I am going to make
some white goulash to this black paint to
create a shade of gray. And I am going to use this
color to paint the road. So we are going
with the gray mix, a darker gray.
Make sport though. Again, I will use my size ten. Brush, the tip of my
brush to outline first. And going to fill the
rest of the group. Or the red section of this
road using this color. You can create this
dark gray mix by mixing black paint with
white watercolor as well. In case you do not have
white gouache with you. Once this color dries, it is going to
look a lot lighter than the color that you
see while it is wet. Make sure to fill in
any gaps that you see. That's it. We are done with
painting the road here. Now, let's move on and
paint the remaining. But now it is time to paint the white section that you see in this painting. I am going to load my size ten round brush using
concentrated black paint. And I'm going to fill in the third layer of
mountain first. And also failed though. White portion that you see
on the side of the road. Make sure that you use concentrated black paint
and this white section. Again, using the tip
of the round brush. I'm going to outline the sites off the road and then fill the
rest of the portion. So make sure that the
Lord George layer is dry before you start with
this black paint because you don't want it
to blend with the road. Wait for it to dry completely, and then start painting. Those sites. Repeat the same step on the other side of
the road as well. What we're doing here is
wet on dry technique. That is, we are applying
wet paint on the dry paper. Well, Linda Yeah. You see the black paint. I'm going to continue filling in the rest of this white
portion with black paint. Am I doing in some
fine adjustments? And that's it. We are done
with this section now. It's time to move on and add
some details to the road. I'm going to load my brush
with the gray mix that we previously created and apply it to the bottom
section of the road. Now, I am going to
load my brush with some black paint a
tiny bit and blend it with road and intensify the color of this road
and the bottom section. Since the road layer
has already dried up, it is necessary to re-vector
LEO to blend it with black, to create a seamless blend
with the black color. Now you can clearly see
the difference in color of the road made for the paint to dry before you
add those solid white lines. I'm using a pencil and
drawing a sketch of it. I want to place my
white solid lines. Similarly, adding the sketch on the other side of
the road as well. You can skip this step
and add white goulash directly using my gosh
all using widely Ben. Once this is done, I will use my size three by 0 round brush
and load it with some white gouache paint or white watercolor paint and add the white solid lines on
either side of the road. Adult, obeying the line really slowly because you don't
want to mess it up. And the line should be really repeating the same step on the other side of
the road as well. Keep in mind to keep
the line really thin. You're pretty happy with this. I'm going to widen the line. You're in the bottom
section. The sides. Making it a little more lighter by going with the
second layer of paint. Doing the same thing on
the other side as well. This is sector, we are
done with this project. Now it's time to peel
off the masking tape. So here is the dry
desert mountain scape.
8. Project 3 - Evening Sky Roadscape - Painting the Sky and Road: Let's start by breaking down the paper using
the masking tape. You can skip this step
if you do not want the clean edges and paint without using the masking
tape, without the models. Once you have secured
your paper too, stiff surface using
the masking tape, lead the sketching part. It's not a complicated sketch. We are just going to
sketch the outline of where we want the road Bibi and where we want the
mountain sanctuary to be. So I will use a ruler. And I am going to draw
us land page lines. This is the adult sketch
and just double it. I'm going to draw a line where
we're going to add them. Trees are the mountains. And I am going to draw a sketch of the tree silhouette that we are going to paint. More details to this tree. It'd be added when we painted. So this says, it says the
sketch of the painting that we are going to be
that we are going to paint. Now, let's quickly
summarize the colors that we will be using
for this project. First as golden yellow, or you can go for
cadmium orange. Next, be cobalt blue. Next, I am going
for burnt umber and trying to lead lag for the
silhouette and things. So these are the
four colors that we will be using
for this project. Once you are ready
with the colors, the first step would be evenly back to your people are using
a flat brush or any brush. So I'm using a flat brush and spreading the water
evenly on the paper. That is first I'm going to paint this guy so I'm just evenly
spreading the water. The Skype voucher. Once does this ready, let's move on to paint the sky. So I am using my size
ten brush and loading it with the golden color or
the golden yellow color. And I'm going to start
applying horizontal strokes like this and take it from the bottom and move
towards the mid section. Since the paper is wet, it helps hello to spread
easily on the paper. Next, I am going
to clean my brush and loaded with cobalt blue. And I'm going to start from the top section
and bringing it to the mid section where the
colors are going to blend. And I'm going to
keep the color very light in this mid portion
because you do not want to mix these two colors and end up creating a
different color on this guy. So I am going to
load my brush again and intensify the
sky colors here. I'm going to slowly blend
it with this golden color. In the mid portion. I'm going to keep the
intensity very light in the midsection and
do not want to mix these two colors and end up with my detail in the
mid portion here. Now I'm going to intensify
the golden color as well. And see how beautifully
the two colors. I am applying the wet
on wet technique. And I'm going to add
some drama to the sky. Make sure that though intensity of this blue
color is really light red, these two colors are
mixing together. That does when you get it
down to the orange section. Made for this guy layer to dry, we can get started
with the next portion. I am loading my
brush with black. And I am going to fill in this potion that
we have sketched. I am using my size ten brush. Mix black paint with some
water and dilute it the sheep. And not keeping it. Very intense here because
we're going to add another layer of trees
here below this layer. So I'm going to keep the
shape a little light, not going with a very
concentrated color. Here. I'm going to
fill in this section. We are going through
the distinct trees. I'm going to use
the tip of my brush and I'm going to add the
three peaks like this. Shorter and some longer
three peaks here, so that it looks
like distant trees. And now we are ready with the first layer of
distinct trees and rebate for this layer to dry before we begin with
the next layer. Meanwhile, while we wait
for this layer to dry, I'm going to use my
size ten brush and load with some brown paint. And I'm going to paint the road. I am going to fill in the blank pain between the two lines that
we sketched earlier. I am going to intensify
the color here, but going with by going with
my second layer of paint. Next, I am going to take
some black paint and mix it this brown color and add
some black sheet to this. While the paper is still wet. I'm adding some shadow this route and not
keeping it clean. So adding this black paint while brown color is still wet, we'll add some
depth to the root. So I'm basically
intensifying the color on the sites or edges of the
road to add it some depth.
9. Project 3 - Evening Sky Roadscape - Adding the Silhouettes : I'll weekend More
ahead and paint the white portion that is
left with the black paint. So I'm loading my size ten round brush with
concentrated black paint. And I'm going to fill in this white portion
using this black color. Make sure to fill all the gaps that left with the black paint. I will use the same size ten, brush and go with
my second layer of distinct trees using
concentrated black paint. I will just do the
outline first and then do the distant mountains
or the distinct trees. I will add a curvy line on the outside and then use my pointed tip to
add the three peaks. Now, I will use the tip of my
brush to add those pointed three peaks at some longer and some
shorter treat pigs do. Make it look more
real or interesting. Just dab the tip
of your brush on the paper to add
based tree beaks. So make sure that this layer is now wipe the excess paint from the brush using a
paper towel and use the leftover paint that is on the brush and add
some texture to this road by following
the dry brush technique. Using the leftover
paint from my brush. I'm just dragging my brush onto the paper surface and
adding this type extra. Now it's time to paint
those side tree silhouette. So I'm going to use
my size 0 brush. And I am going to load it with black paint and start by
painting the branches first. Adding really thin
branches, this main branch. So it's better to
use a smaller size or a detailing brush to add
this really thin branch, this side tree silhouette. I am going to add this
branches in all direction. I'm going to keep it batteries. So I will be only
adding the branches, and I will not be adding
any leaves to this tree. So add as many branches, tiny branches as you can, or you can keep it very minimal by adding just
the main branch and few branches on the sides. And that's it. We are done with the side three, bad silhouette. Now it's time to add some
details to the road. I'm going to use
a ruler and draw a line to indicate those
lines on the road. I'll use open cylinder
ruler to draw us, get to know where I want
to place the lines. Once this, Let's
paint the lines. So again, I'm going to use my size 0 round brush and
load it lead white gosh. And I will end this
lines on the road. I'm going to repeat the same on the other side of
the road as well. That is a moon to load my size three by 0 round brush
with some white quash. Or you can use white
watercolor and add the lines. I am going to widen the line, your doors, my light side
and keeping on the left. So if you're not comfortable using the brush and
adding this line, you can also use a white gel pen or white pen and add
this lines on the road. Once you're done adding the solid white
lines on the sides, I am going to add broken white lines in the
middle of the road as well. So again, I will use my size 0 round brush to
add broken white lines. I want you to notice
that the size of this broken lines are
decreasing as I move towards the left side and
keeping it longer on the right. Adding some final adjustments. And that's it. We are done with this project. It's time to peel off the masking tape and
will the final artwork. So here is to find the artwork. And I hope you enjoyed
painting this beautiful scene.
10. Project 4 - Dramatic Sky Roadscape -Painting the dramatic sky : Welcome back, and let's
start the new project. As usual, I am going down
the paper to a step, so face using the masking tape. Make sure to run
your fingers through the tape so there is no gap. And being is not cheap. Once that is done, Let's move on sketching, but I'm going to use a ruler and draw the
horizon line somewhere. You're going to mark the center point and I am
going to sketch the root. As you can see, the
road is going to be in the sheep a triangle. I'm leaving a tiny gap from the center point and drawing
this line, third line. So that it is, we
have the root ready. And I am going to do
a light sketch of where I want to add the
trees on the sides, as well as some buildings. All I'm doing is drawing some lines in the
shape of buildings. A very simple building
structure, as you can see. I'm also going to
use a ruler and add some light poles
between the buildings. So these will be the light
poles. And that's it. We are ready, but though easy, the painting, and now
it's time to look at the colors that we
need for this project. The first color
that comes watching your is permanent, yellow deep. This is bright throws. Next color would be lilac. And finally, black to
add the silhouettes. So these are the bright
and beautiful colors that we would be using
for this project. I'm going to start
by applying a layer of clean water on the
paper using a flat brush. So I'm going to bet
only the sky section. Make sure that you
spread the water evenly on the paper and there
are no more abundance. Once that is done, I am going to use
my size ten brush. And I'm going to pick some lilac and spread the paint
evenly on the paper. Next, I'm going to clean the
brush and load it with some bright choose color and
blend it with the lilac. Finally, I'm going to fill the rest of this
guy section when this Elo deep color
and blend it. But the bright rose color. If you want an even
more brightest guy, you can go with the
second layer of paint and intensify the colors. So I'm going to load my
brush with some lilac and intensify the color and blend it with the bright trues and create a seamless blend
of these three colors. Once that is done, I am going to add some clouds using my size
three by 0 round brush. I'm going to load
some bright truths. And while the paper
is still wet, I am going to add some bright rose colored
clouds to this guy. So here we are doing the wet
on wet technique where we are adding wet paint
on the wet paper. So add the clouds right? Randomly. Pick a shape of its own because
the paper is wet. All I'm doing is adding
some horizontal strokes. And it is going to create the magic because
the paper is wet, taking its own shape. All you have to make sure
is that your paper is still wet while you are
adding these clouds. So using 100% cotton paper is the advantage so that the paper stays
wet for a longer time. It's at the setting
sun to the sky. So I'm going to use my size three by 0 round brush and load it with some gouache paint and draw or paint the tiny circle at the center
of this guy like this. And that is our setting sun. Now, I am going to squeeze
some white gouache onto the palette and mix it with some black
paint so that we have a shade of
gray for the road. I'm going to take some
black paint and mix it with white gouache to create
a shade of gray. That's the color
that we would be using to paint the road. Going to make some
more black because this color looks very light. I'm happy with the color. So I am going with
this gray mix and I will paint the road
using my size ten brush. Linda's complete section with the gray mix that you just made. If you do not have
white gouache, you can use whitewater
color and mix it with the black watercolor
to get shade of gray. And I'm going to load
some black paint. And I'm going to while
the paper is still wet, I'm going to add some black
mix to the bottom section of the road to add some depth. Blend the colors really
well so that that is a smooth transition of Carlos from gray to a darker shade. So that's it. We are done
with the road section now. It's time to add the silhouette.
11. Project 4 - Dramatic Sky Roadscape -Adding the Silhouettesand details: Again, I'm going to use
my size ten brush and load it with some really
concentrated black ink. And I'm going to
fill in this section where we will be adding the building and the
tree silhouette. The complete life
cycle that you see is going to be filled
with the black paint. I'm doing the outline first. And then I will fill the remaining section that
you see with the black paint. Use the tip of the brush to add some foliage to this trees on the sites and fill the remaining section,
but the black paint. Now we'll repeat the same step
on the other side as well. I'm going to fill
the outline first and then using the
tip of my brush, I will add the foliage. Make sure that you do not make a lot of water to
this black paint. It has to be like jet blacks. So use a concentrated color
to add the silhouette in all the gaps. No, to beat the same step on the other side of
the road as well. Use the tip of the brush
to paint the outline. No, I did not do the tree. So I am going to use
the tip of my brush and add some foliage
on the other side. Just adding that being
the tip of my brush on paper in John Donne direction
to add this foliage. Adding some more
about the links. I think I will stop at I will use a micron pen. It will add those street lights because the lines have
to be really thin. You can use a liner
brush loaded with that black paint and
paint this Street bulls. I'm using a 0.6 micron pen to add those street
lights, light pole. Now I'm going to
use a white gel pen to add the street
lights to this boy. Just adding a tiny dot. You can use white watercolor or Gosh to add this light as well. Now I'm using a ruler and
using a white gel pen. I am going to add the white solid lines on
the sides of the room. Again, you can do this
using a jelly band, wide gosh, whitewater color, whatever you're
comfortable using. Now, I'm going to use my size three by 0 round brush and load it with some gouache paint. And I'm going to widen the line, the bottom section and keep it as it is going further away. It somehow turned it to be
a wiggly line rather than a straight line.
But that's okay. I'm going to make
some white goulash. Read this bond length
L0, deep color. And I'm going to add the broken alone
line and the center of the room or in the
middle of the road. I don't know the traffic
rules on how the colors are, what color should be, all this lines that
you see on the road. But I'm going to
go with the shape. That is the mix of white gouache and permanent yellow deep. Using a ruler, I'm
going to add the lines, keeping it smaller as
we go further away. And that's it. We are done with this bright and
vibrant evening sky. Now it's time to peel
off the masking tape. I hope you enjoyed
painting this with me.
12. Thank You !: Thank you so much for
joining me in this class. If you have dragged
this projects to upload them to
the project gallery, I am eagerly waiting to see all the lovely projects
that you will be creating. If you have enjoyed this class, to not forget to drop a feedback
about it when you finish it and feel free to reach out for any kind of
doubts that you have. Have a nice day and take care.
 Sheetal Shetty, artjauntwithsheetal