Transcripts
1. Introduction: Hello everyone and welcome to my Skillshare class. Mountains, please. Majestic structures have been inspiring many artists, including me. Thanks to that awesome size and incredible beauty. There may be green, dry or governance nor, but each has the beauty of its own. In today's class, I will be showing you three best methods of mung beans, step-by-step instructions to capture some goofy on Canvas. So let's get started.
2. Importing tree stamp: Once you have downloaded to the stamp from the resource section, just stack on it and it opens up in Procreate drink this. It would have been the import section in rush laboratories. Just go ahead and being a myth history stamp and we are good to go. You can check how to import the color swatch in my previous Skillshare class.
3. Setting up the canvas: Open the Procreate app. First, we need to create around Canvas. And for that, tap on the plus icon on the top right corner, select a square canvas, which is of the size to 48 by 240 Excel. Now, we will use this to create a round Canvas which we will be using for all projects. Advice every time we create a new canvas, the size of the canvas may differ. So in order to maintain the same size, we will use this one as a reference Canvas for all the projects. Go to the layer and change the background to a different color other than white. As it could be confusing if both the background and the canvas out of the scene white candles, this is done. I am not looking by going to the brush library. Go to the inking section and select a crash. Draw a circle using this brush and dab two fingers and adopt the shape to create a so-called, I'm going to drag and drop this right to fill the circle. You can adjust the size of the Silk Road by clicking on the arrow icon. I am edges down to size to fit this graph can lose against that due to a new size you prefer. And we will use those same size for all our projects. I am now going to the Nios and let us call purposely by clicking on the action I can add and copy. So around Canvas Leo is now called beat. Then go to layer on the background colors, so only wrong Canvas as visible. Now, let's go back to the duality. Now on the plus icon and create a new square canvas. And uncheck them background-color. Now, the action icon and paste it on Canvas. So Canvas is now ready for our first project. Let's go back to the gallery and keep the first stroke and list that we created as a reference for all the other projects. Let me name this as Project 1 and keep the other one as a reference.
4. Practice Exercise: Before we begin with that project, I will explain in simple steps how to draw mounting. So we can resolve any site. Go to the Padlet and select black from valid, or I'll go to Dash library and select the franking credit. Now draw triangle or an inverted before the outline of the mountain v. Once this is strictly, we will take this set of friends and add some zigzag lines along the string lens by creating another layer. Now draw some dotted lines or where the straight line so that it appeals like baby rigid. This is a good local blank, makes it look like a real mountain. Now, layers and uncheck layer one. So we have among themed 3D. Now let's do it one more time. First draw of that triangle or an inverted V like that. Well, it this asset of fence. Now we will add some darker lines over the straight lines so that it appeals likely among thing. And now you don't have to worry about the shape or the size of the mountain. The beauty of nature is that nothing is perfect, so your mounting can be imperfect. I'm joining the list end of the mountain to the starting point so that it becomes a closed area. I will now show you once again how to feed appeals mountain. So we'll back. You can drag and drop the color. First, draw the inverted V. Now add some Coby lines or inverted V, and join this end of the mounting to the starting point. So it becomes a closed point. Now we can drag and drop the color to the month. We will be doing the same thing in our project. So let's get started.
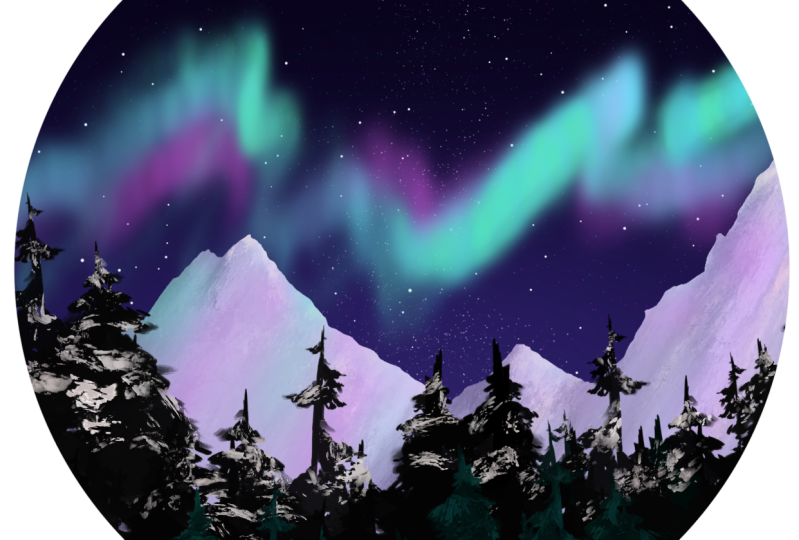
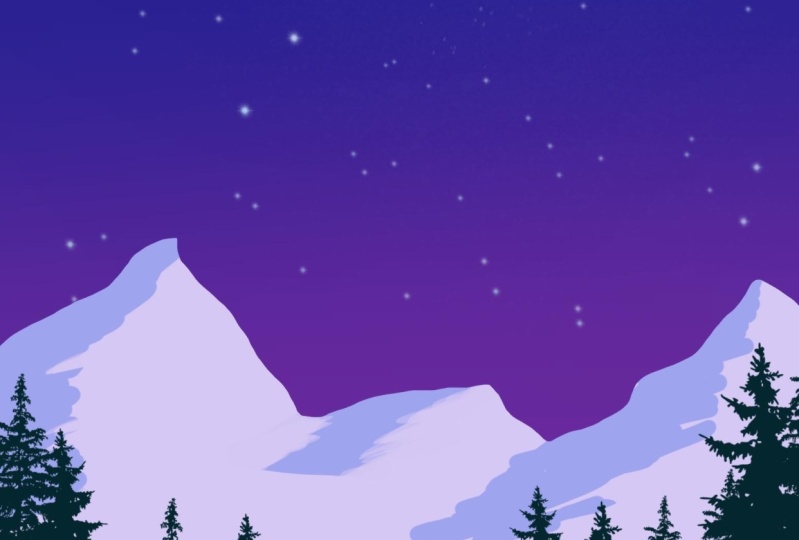
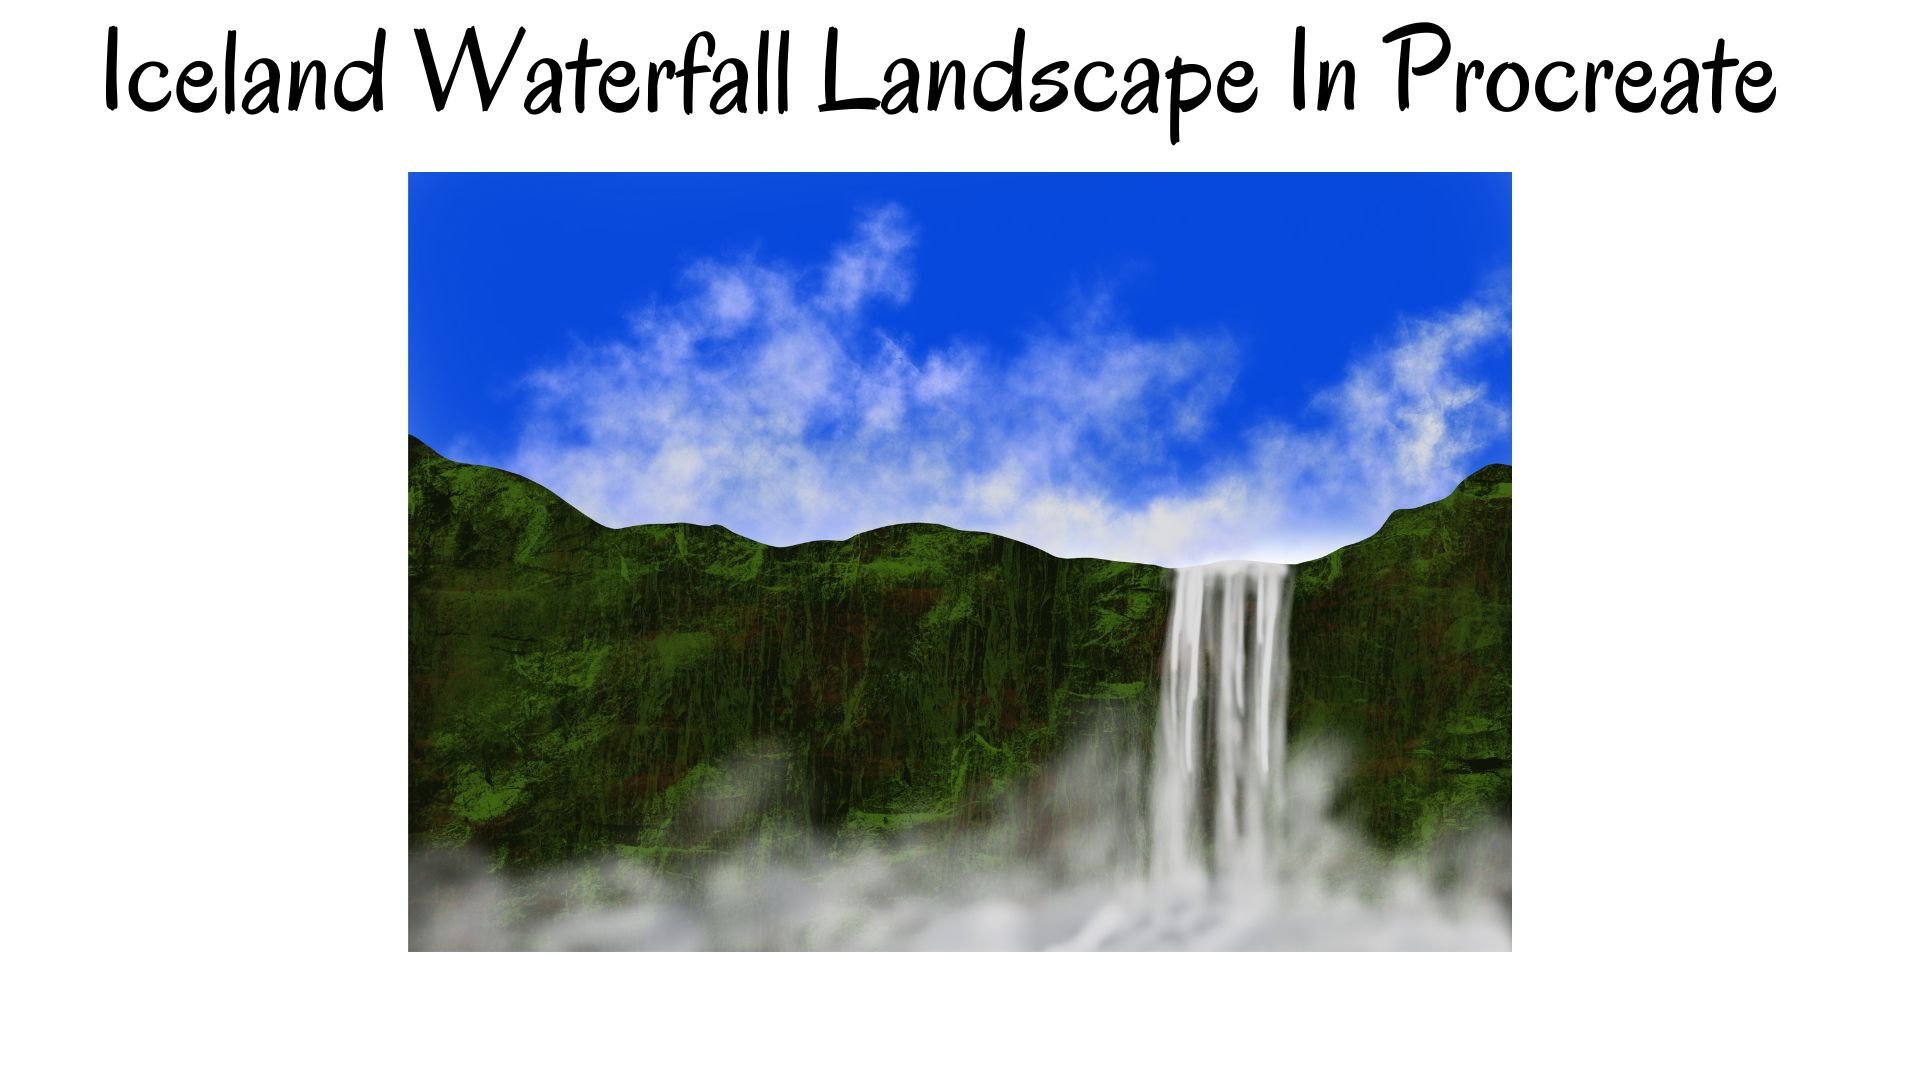
5. Project 1 Snowy mountains: Now first project we'll create snowy mountain peaks with gala full background sky and bind trees in the foreground. Let's first paint the background sky. So backbone the layers and rename this layer one as background Skype. I'm going to the Padlet and picking colors from the project one color palette, I have included pilots in the resource section. You can download them before you begin with the painting. I've been an outbreak this blue from project 1, Padlet angle to the Brush Library, airbrushing, and select a soft brush at just the size of the brush to about 20 percent. And for the big canvas with the Gullah, you see the goddess outside the canvas as well. Now let's fix this by undoing the pain stroke trust. Tap on the layer background sky and select Alpha Lock 1 fourth of the canvas. But the color, and you see the gorilla is staying within the Canvas and it's not going outside. Now I'll go to the pilot project 1 and selling the pink and the rest of the canvas. But this think, now, don't worry about the blending of these two colors. We will fix that. Typo on the adjustments. I go Schindler layer and drag your brush to the right like this to say about 60 percent or until you're happy with the black. The blending now looks perfect and I'm happy with it. And our background sky is nowadays. Now let's move to our next layer that is small in LEO by creating another layer, by tapping on the plus icon. Now, this new layer has to follow background sky layer that is motivated by a drill, has to stay within the DOM canvas. So Backbone Leo will be updated and layer and layer. It has to follow the bearing. So it may have to click on the layer and select clipping mask. Let's rename this layer to as mounting. Now let's go to the color palette and select right from the project one, and go to the Brush Library and engaging and select the fine tip brush. Now let's do the outline of our mountains by drawing some baby. I've done like this. Now make sure to join this end to this starting n by taking the line below the canvas like this and join it to the stopping point. You can pinch out the canvas to see that the points are Join. Now, drag the color and drop that. If we do not join the ends of the mounting and dropping the color, it is going to fail the complete. And add some shadows to the mountain to give it some depth. I'm going to the color palette and selecting green from project 1, o to the Brush Library inking section. And select studio. The opacity to about 50 to 60 percent and apply this rule to see the strokes up getting outside the mung beans. So let's first go and select Alpha Lock. Could have blinked starting from the mom came to one side of the mounting without lifting the pencil. If it is going to create another darker shade. It'll just callable at one corner of the mountain like this without lifting the pencil. It does not have to be uniform or has to be off. Just make sure that one side has some zigzag like this and I've got n covers the mountain. Now would it be the same step of adding shadows on all the peaks? The shadows are now done. Let's now add some trees in this area by creating the new layer, icon Plus and create a new layer. This layer has to follow the guy. So apply clipping mask. I will now go to the pilots and select black from project plan valid. Now go to the best library and select the tree stamp which is included in the resource section. Now, I just DO size to about ten to 15%. And tap on the screen and place the streets in the bottom portion of the canvas. And decrease the size of this tree stem to create a smaller tree. And then in the bottom section like this, we complete our first brush.
6. Projet 2 Rocky Mountain: Second project is a documenting the WFD full background sky and buying trees in the foreground. Again, this is called Baby. Go back to the gallery, select the plus icon on the top right corner, and select this gray canvas. First rename this canvas as Project 2. Now let's get into this canvas and uncheck the background and paste our main John Campbell. What do the actions I can add? And our canvas is now baby, and let's start painting. We will be using the colors from violet, which is included in the resource section. At those first three mean this Layer 1 as backbone Skype color palette, select the blue from Project 2, color palate, and crashing, and select star brush. If the size of the brush to above 20 percent and applied the brush tool. Either strokes up getting outside the canvas. Let's undo the paint stroke, go to the layer and select Alpha. Now go ahead and apply those strokes and for the dark portion of the canvas. But this next group to the palate and select a low from project to Pilate. So the bottom portion and bring it up to the blue portion. Once the system, let's blend these two colors. By tapping on adjustments. I can layer and blend the colors by setting the blurb about 30 percent. Now it's time to add the rocky mountain by creating a new layer. Tap on the layer, on the plus icon and create a new layer. This layer has to remove the background sky. So apply the clipping mask and Sue applied the clipping mask. Let us rename this layer to as mounting. I will now select black from the project to go to the brush library inking and that breath. I will now sketch single peak mountain. Unlike the last project, using my fine tip brush, makes sure that the mountain doesn't look like an inverted V. Instead, it should look like a curvy and inverted. That the mountain from the middle of the canvas. And also notice that I'm joining one end of the mountain to the other end. That is the starting point so that it is a closed shape and you can draw, drag and drop that color. Remote demos now ready, it's time to add some texture to it and make it look more interesting. Let's go to the moon thin layer. Tap on the layer, and I'll follow. Now go and pick brown from the project to color violet. Go to Brush Library, organic. And that inspires brush now set to 100 percent and mesh size to about when people sin and start applying strokes all over the mountain layer like that. In already see amazing rocky texture on the mounting. Now let's go and add a tiny input of snow on the mounting. Go to the color palette. Select white from the project to palette. Now using the same brush, apply some texture to this portion of the mountain like that. Don't fill it completely, just add it to one side of the mounting. The other portion of the mountain remains dark, so it looks like shadow on the mounting. This layer is now complete. Now let's go and add some trees in the foreground. Now let's go and create our financially York and make sure that Leo follows the background sky and apply clipping mask. Let's rename this layer as trees. I will now select black from the project to color palette and go to the Brush Library. And three stamp brush. Let's adjust the brush size to about when people sing. And some trees here and dad and bottom portion of the canvas like this of a defined laid off trees project. Do.
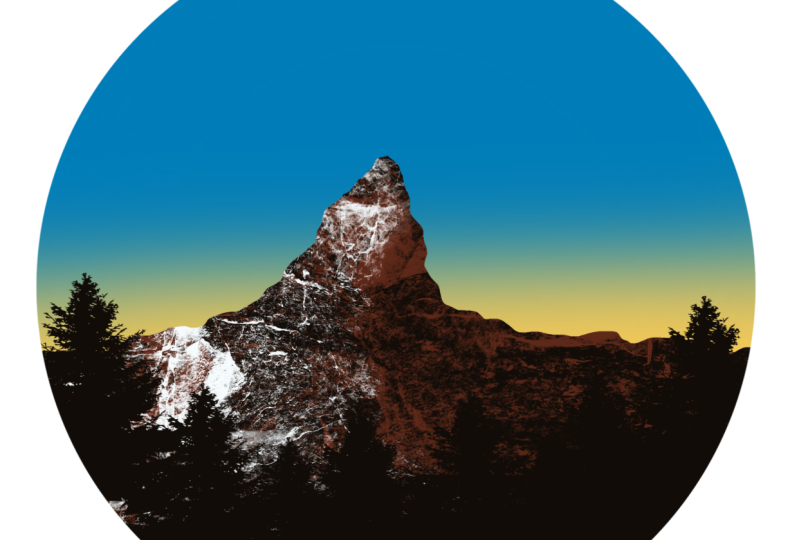
7. Project 3 Desert Mountains: Now for our next and final project, Let's go back to our main canvas and copy the layer. Tap on the Actions, Add and copy. Go back to get back on the plus icon and create a new escape square canvas. Now, uncheck the background color, go to the Actions icon and paste the canvas. I'll go back to the gallery and rename this as Project 3. We are now ready to start our final project. And this project we are going with some warm sheets for the background sky. And we are painting some dry desert mountains for the background sky. And let's rename this layer one as backbones guide and apply. Nope, so that more deBroglie gained stays within the Canvas. We will be using the colors from project tree caliper late included in the resource section. I'm selecting deck from this Padlet and go to the Brush Library, airbrushing, and select Soft Brush. Now set the brush size to about 20 percent and fill 1 fourth of the Canvas link that I've been now fit orange from project 3 palette, and the next one, full red orange. Next goal that L0 from project 3 palette and fill the desktop, the Canvas. Let us now blend these three colors beautifully by clicking on adjustments. Gaussian law, Leo, and set the blood to about 25 percent or until you're happy with the blend. Now it's time to add them on things by creating a new layer, by tapping on the plus icon and cleaning a small dense. And this project we will have two layers of mountains. So I building in this layer as long thin layer one. And again, like other projects, this layer has to pollute appearing Background sky Leo. So apply clipping mask. I will number to the color palette and select Orange County Project 3 palette. Go to the Brush Library, the inking section, and select the fine tip brush. Sketch the first layer of mountains going high and no wave motion and random manner like this. Now joined this and often mounting to the starting point and make it into those abs sold that to gain drag and drop the car load to this layer. First, multimedia is now done. It's time to add some texture to this layer by tapping on the layer and take the Alpha Lock. Now go to the color violet and select the brown from project 3 palette, go to the Brush Library, calligraphy and that one chalk brush to reduce the opacity of the brush to about 25 percent. Now to add some textures using this brush at some slanting strokes in one particular direction like this. I'm adding slanting strokes in random places using the tip of the pencil. And just a pleasure on the tip of the pencil to apply thicker and thinner slanting strokes. Firstly, it off mountane looks good. Let's go for the next layer. New layer by tapping on the plus icon and gene name.
8. Thank you!: Thank you so much for watching my class. I hope this class has helped you to learn how to being this wonderful politics. And you can now confidently add more things to your art globe. I will cloud to see all your beautiful projects. Please share it in the project section. And so if you have any questions, please feel free to drop them.
 Sheetal Shetty, artjauntwithsheetal