Transcripts
1. Introduction : Hello, everyone, and welcome
to my first Kel She class. I'm Shetl a digital and
watercolor artist from India. In today's class, let's
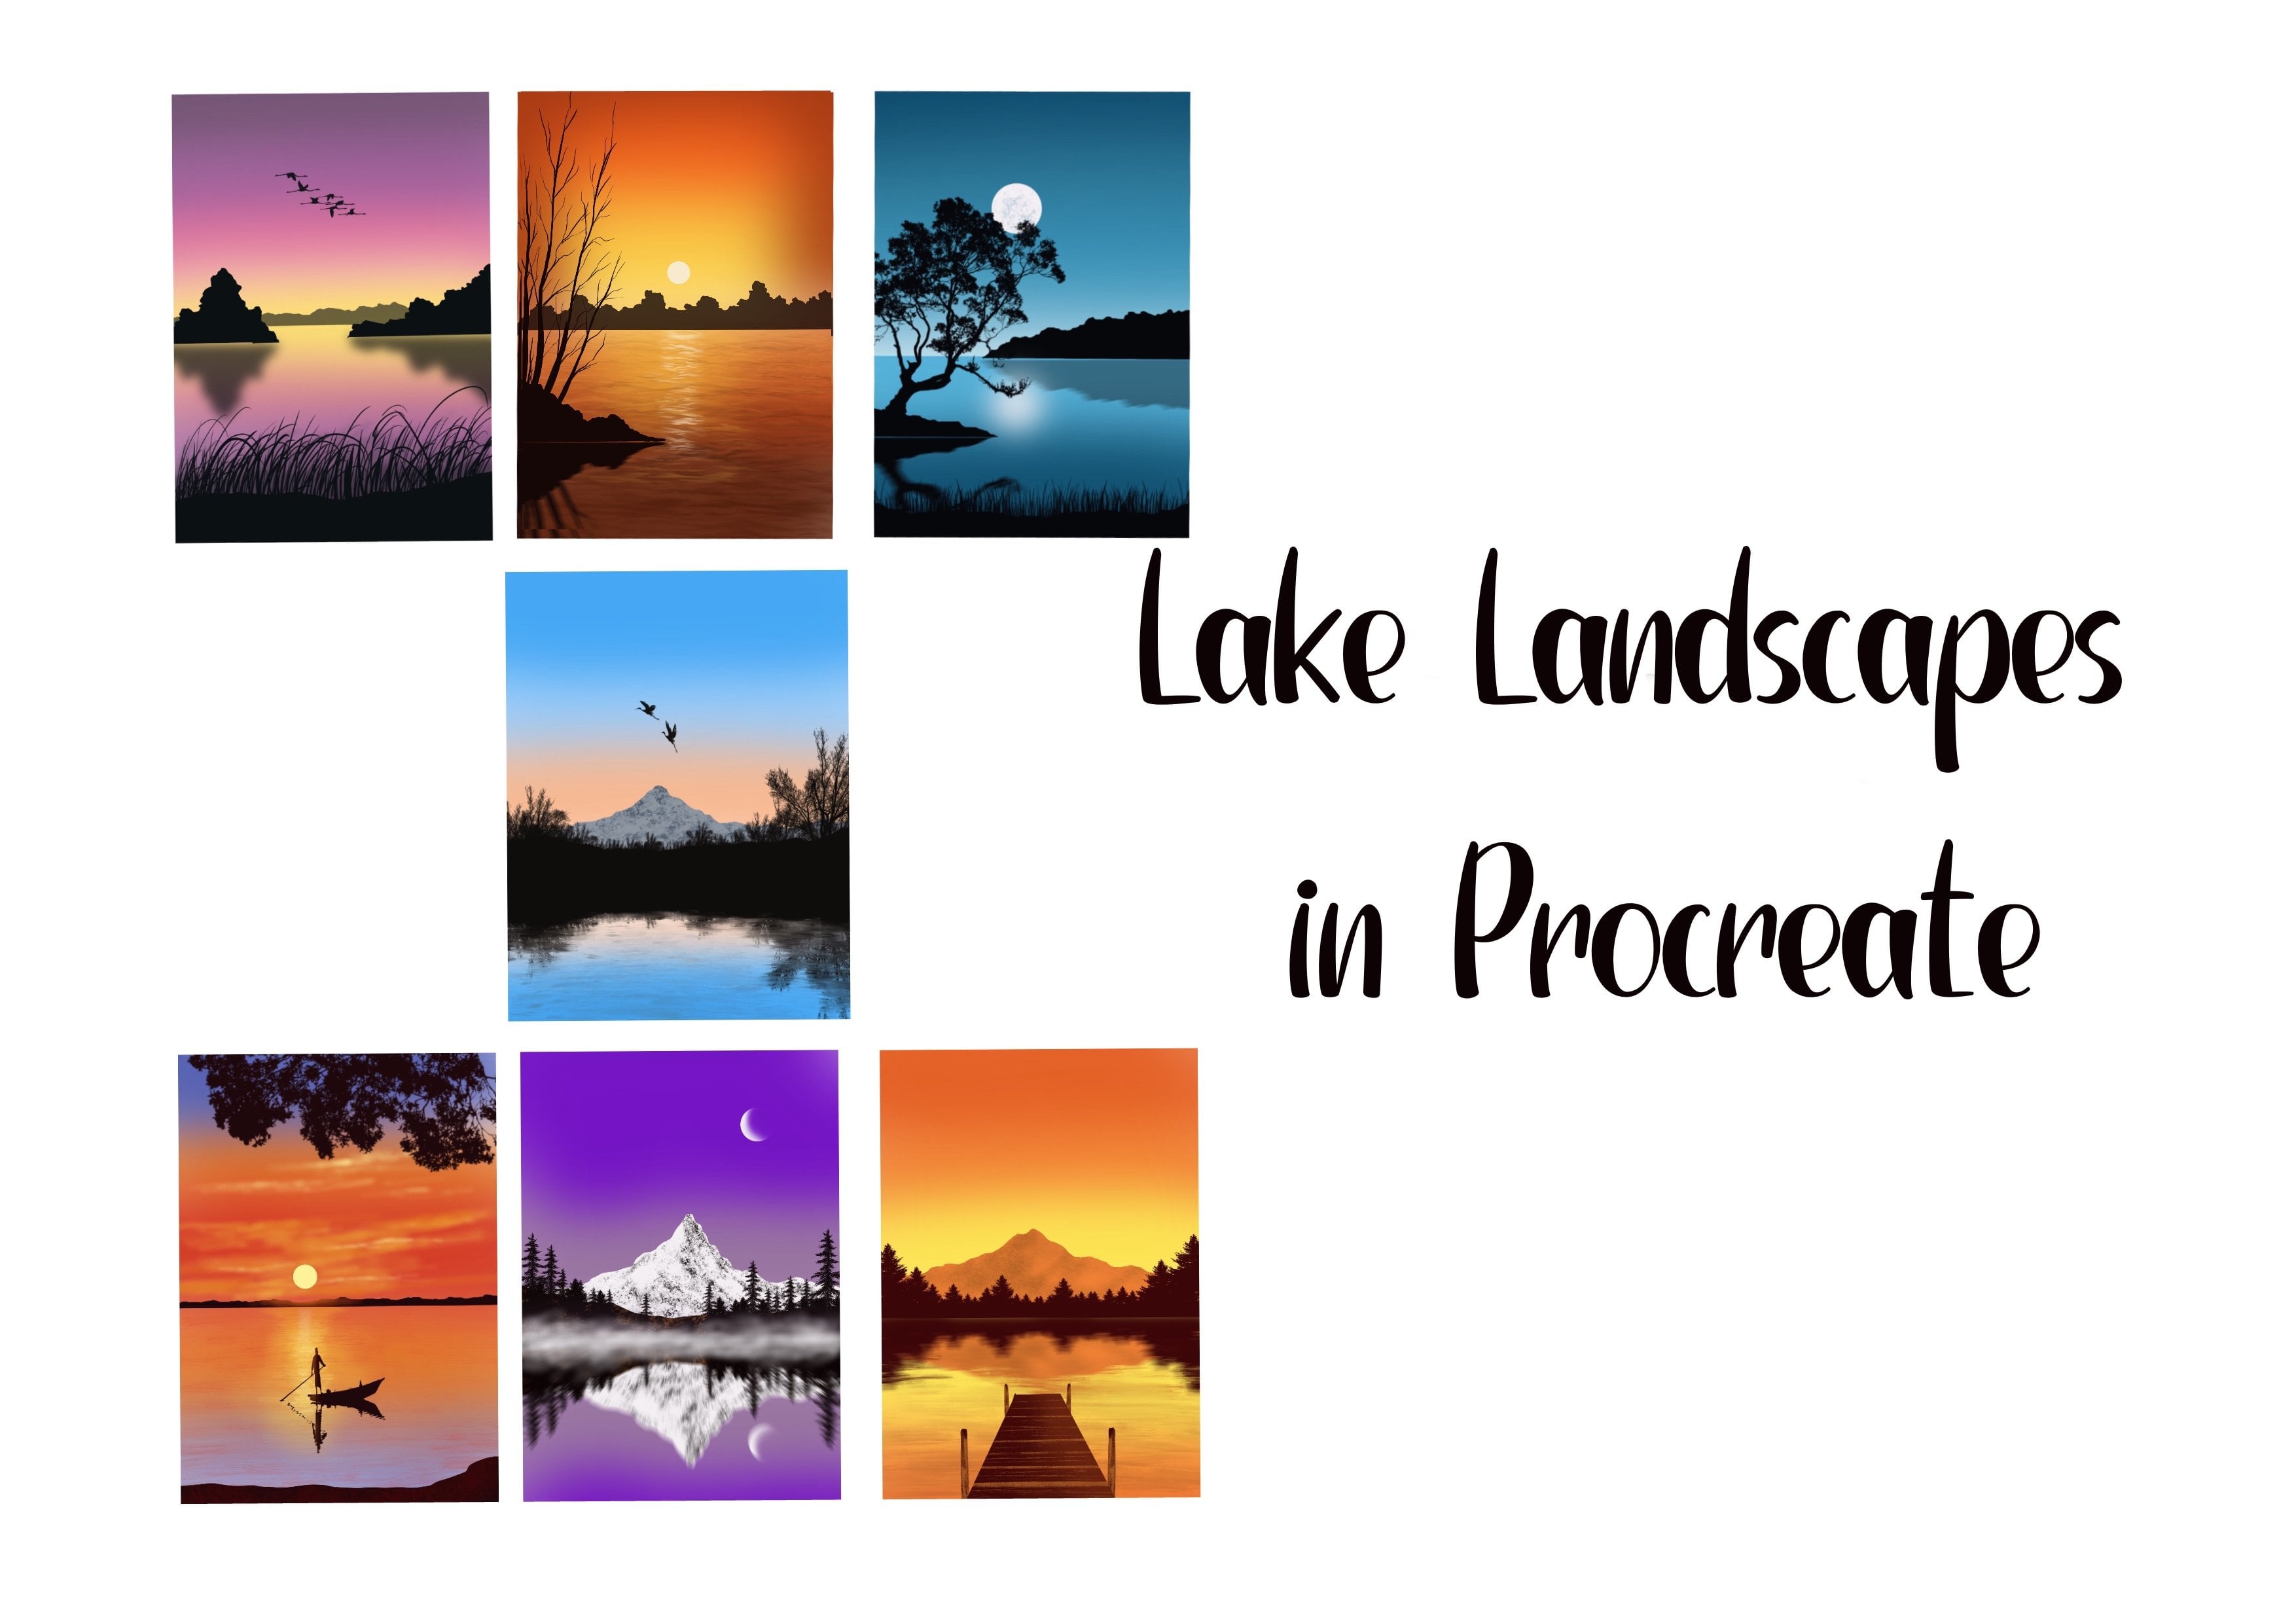
paint a beautiful, simple, and easy sunset
landscape and procreate. Grab your iPad and
let's get started.
2. Tools : I'm using iPad seven en and
Procreate version five. Okay.
3. Setting the canavs: Okay. Let's begin by downloading the Procreate
application from the app store. If you do not have it already, you can download it from
here by typing Procreate. You will have to do
a one time payment for this application. I have already installed
the application on my iPad. Once you have
downloaded the app, open the Procreate
app and you will find a plus icon on the top
right corner here. When you click on the plus icon, you can find different
kinds of default canvases. But you can choose your
own canvas by clicking on the black plus icon and specify the details
about the canvas, be it in pixels, inches, centimeters
or millimeters. For example, type in the
pixels and click on Create, you have a canvas ready. But I'm going to choose
the default canvas, which is A four size that is two ten x 2907 millimeter
in width and height. You can adjust the
size of the canvas to fit to the screen
like this she. This is how I want it and
our canvas is now ready.
4. Adding the reference Picture: Okay. Let's now add the
reference pick in this frame. Click on the action icon on the top left corner
next to gallery. Turn on the reference
and click on the image, import the reference
image from the gallery. You can adjust the size of
the reference pick and place it wherever you want it on the screen by moving
it like this. The reference picture and
the canvas is now ready. Okay?
5. Importing the swatch: I'll be using a custom
color palette for painting and not exactly the
colors from the reference. I have included
this color swatch in the resource section. So before you begin,
please download the same. Once you have it downloaded, I'll now let you
know how you can use the downloaded swatch and use
it in your current project. Click on the plus
icon here a new from pile and select
the downloaded swatch. Your palette is now ready. I'm going to delete
the duplicate swatch.
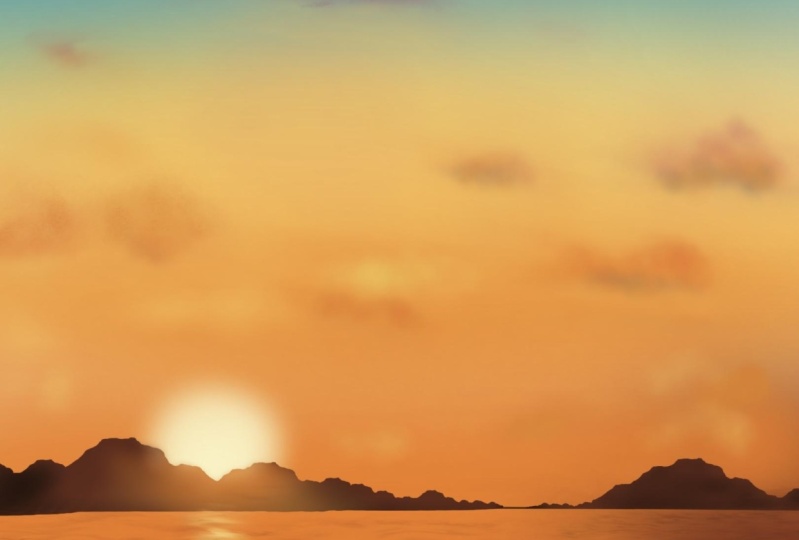
6. Background sky : Now that our reference
by palette is ready. Let's begin painting. Let's first create
the background sky by creating layers here, going to rename this layer
as the background sky. I'll be using the blue
from the color palette. We will be mainly using the air brushing from
the brush library, and we will use soft brush
for the background sky. You can increase and decrease
the size of the brush here and increase and decrease the opacity
of the brush here. Let me say the opacity of
the brush 200% and size to about 25% and apply gentle strokes like this
in circular motion. The top part of the
sky is going to be darker and the middle portion
is going to be lighter. Make sure you do not apply
too much pressure like this. Now let's color the
bottom of the sky by selecting orange and applying the gentle strokes like this. And for the mid part of the sky, I'll choose yellow and
setting my brush size to 15% and apply the gentle
strokes like this. Okay. Do not worry if the colors do not look perfectly blended
with each other. We will tackle that
in the next step. Here's how you can achieve
the seamless blend. Click on the adjustment icon
and select caution blur and select layer and adjust
the blur by dragging your brush like this and
setting it to about 33%. And there you have a perfectly
blended background sky.
7. Sea section: Now that our first layer, that is the background
sky is ready. Let's move to the next section, that is the river
or the sea section. Let's rename this
layer to C section. I'm choosing orange
for this section and going for the
sop brush again and setting the size of the brush to about 15% and applying to
the bottom part like this. I will now select
the light brown or the orange brown from
the palette and use the same brush and start
with the gentle strokes from the bottom right corner of this layer and blend the
two colors like this. Again, if you're not
happy with the blending, go to the adjustment section, selection and layer and track the brush towards the
right to adjust the blending. I'm setting it to about 30%. It doesn't have to be a perfect 30 plus or minus here
and there is okay.
8. Clouds: Let's now paint the
cloves by creating another layer and
renaming it as cloves. I've selected pink,
and I'm going to air brushing and using a soft
brush for the clouds. I'm setting the size
to above 40% and opacity 200% and start
with gentle strokes. If you apply too much pressure, this is what is going to happen. You want the soft cloud, go for a gentle circular
motion to create the softness. Again, do not worry too much about the
shape of the cloud. You do not have to create the exact replica of
the reference image. Just adjust the size and the opacity of the brush
and go with the floor. We can also spot some
orange clouds here. So I'm choosing orange and adding some or soft
clouds here and there. Adding some yellow
clouds as well. If you see a lot of sharp
edges on the clouds, select a soft bland brush from the A brushing and
set the size to about 10% and edges like this in the circular
motion could to create the soft
blended edges. Again, do not apply
to much pressure. It has to be really
gentle stroke to create realistic soft clouds. We can also spot some
gray clouds in between, so select gray from
the palette and choose the soft airbrush
and set the size to about 40% and add
some clouds under the pink and orange clouds
in circular motion. I'm adding some more pink
clouds in the cir cloud motion. I'm happy with the clouds, and I think we are done
with the cloud layer.
9. Sun: Now, let's move on to the
next layer that is the sun. So let's rename
the layer as sun. I'll now select the
pale yellow from the palette and soft airbrush from the airbrushing section. Okay. Start by applying a
bit of treasure on the tip of the pencil
and move slowly in circular motion
like this without lifting the pencil to
create a perfect round sun. Now, create the glow
around the sun by applying gentle strokes and
circular motion like this using the same brush. There we have the
warm glowing sun. Also, when you work with layers, you can select the
part painted on the particular layer
by clicking on the arrow icon here and move it and position it
in desired area. You can also alter the size of the selected
area like this.
10. Mountains : Let's paint the mountains in the next layer and
name it as mountains. I'm selecting the dark brown from the palette
and for the brush, I will go to inking and
select the fine tip brush, which is a thin tip brush. I'm painting the
mountain somewhere below the sun by creating a straight line
like this by just dragging the line from one side of the
canvas to the other, and then tap the two fingers and there you have a
straight line created. You can use the grid
in the background to check if the line is
straight or slanted. Now, draw some curvy
mountain line on top of the straight line without
lifting the pencil to make sure that there is no gap
Once this is ready, you can simply fill in
the color by dragging the color from the palette and dropping it here like this. If the top and the bottom line of the mountain is not closed, when you fill the color, it is going to fill in
this layer like this, so make sure it is a closed
area when you fill the color. Let's go back to the sun
layer to position that behind this mountains by clicking on the arrow icon at just the
size and the position. I'm going to place it here like it's hiding behind
those mountains. Let's go back to the mountain there and the part of
the mountain where the sun is hiding
is going to look lighter because of
the light rays. I will pick orange from
the palette and go to the air brushing and select
the soft blend brush. Now, when I apply the color, it's coloring the sun area as well and not
just the mountains. But I want to blend the color only to the mountain layer here. In order to do that, let's go to the mountain layer, click on it, and you see
so many options here. Select Alpha lock to
lock the mountain area. When you apply the color, the color stays
within this drawing, that is within the mountains. I'm selecting this yellow
and blending that as well. I will now select black for the ends of the mountain
and blend that as well, making it a little darker by applying small
amount of pressure like this. This layer is now ready.
11. Waves: Now, let's paint
our final layer, that is the waves or the
ripples in the C section. I'm going to name it as C, you can name it as waves. You can see some calm
waves in the reference, and we have the perfect
brush for that. Select the light brown and go to the brush library elements
and select the ocean brush. Okay. I'm setting the brush size 200% and starting from
the nearest view, which will have weaker waves. As you go further away, it will appear smaller. So I'm starting from the bottom by setting the brush sides to 100% and filling
a little portion. Next, I'm going to decrease the size of the
brush by a bit to say about 70% and filling
the next portion. Again, reducing the size to say about 45% and filling
the next area, keep repeating this step until
you reach the mountains by decreasing the size
of the brash bit by bit until you fill
the area completely. Now, selecting dark from
for the area in the right, which appears a little
darker in the reference peg. Sect the brush size to about
50% and color the area. Okay. Let's now paint the reflection part using the same brush and selecting
yellow from the pallette, setting the brush
size to about 10% and applying strokes like
this in a straight line. Slowly increase the stroke
as you come nearer. Now pick the pale yellow
and repeat the same step. Our painting is now complete. We can now combine all the
layers to a single layer by clicking on the layers icon and pinching it
together like this.
12. Exporting the artwork: Okay. Now, let's see how you can export your image and post
it on social media. All you have to do is go to the actions icon on the top
left corner, click on share, and then on JP save it to your files or gallery or
wherever you like it. I'm going to save
it on my gallery. So click on Savemage You will now find your
artwork saved in the gallery. If you want to place
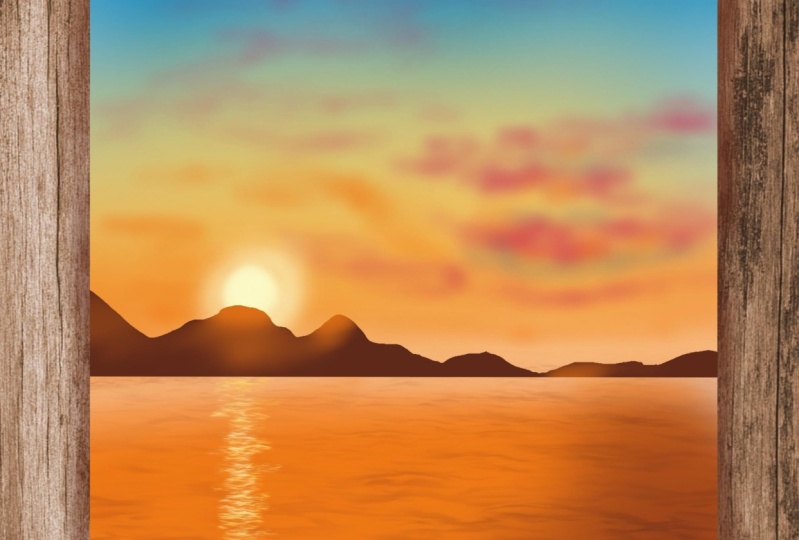
your work on a flat lay, you can download
any background or a flatlay pick from
copyright free sites, or you can click your
own background or a flat lay and import
it here like this. Now add your artwork by
clicking on the actions icon, add insert photo and select your artwork and position
it wherever you like it. To give it some realistic look, I'm going to add
some shadows below the artwork by creating a new layer above the
background layer. I will now go to the part, pick the black color, go to the brush library, airbrushing, and
select soft airbrush. At just the size and
reduce opacity to say about 40% and apply gentle strokes like
this to create shadow. Click on the eraser and even Outer shadows by
adjusting the opacity. Let us now save this image by performing the same
step that is go to the action C share and save it as to a
file or to the gallery.
13. Thank you!: Thank you so much for
joining this class. I hope you enjoy painting this
beautiful sunset with me. I would absolutely love to
see you finished painting. Please share it in the project
section or on Instagram. Also, in case you
have any question, please feel free
to drop them here. I would also love it
if you could leave a review about the
class. Happy painting.
 Sheetal Shetty, artjauntwithsheetal