Transcripts
1. introduction: Hello. My name is Mike. I have been painting in this
style for over 20 years. My art captivates viewers
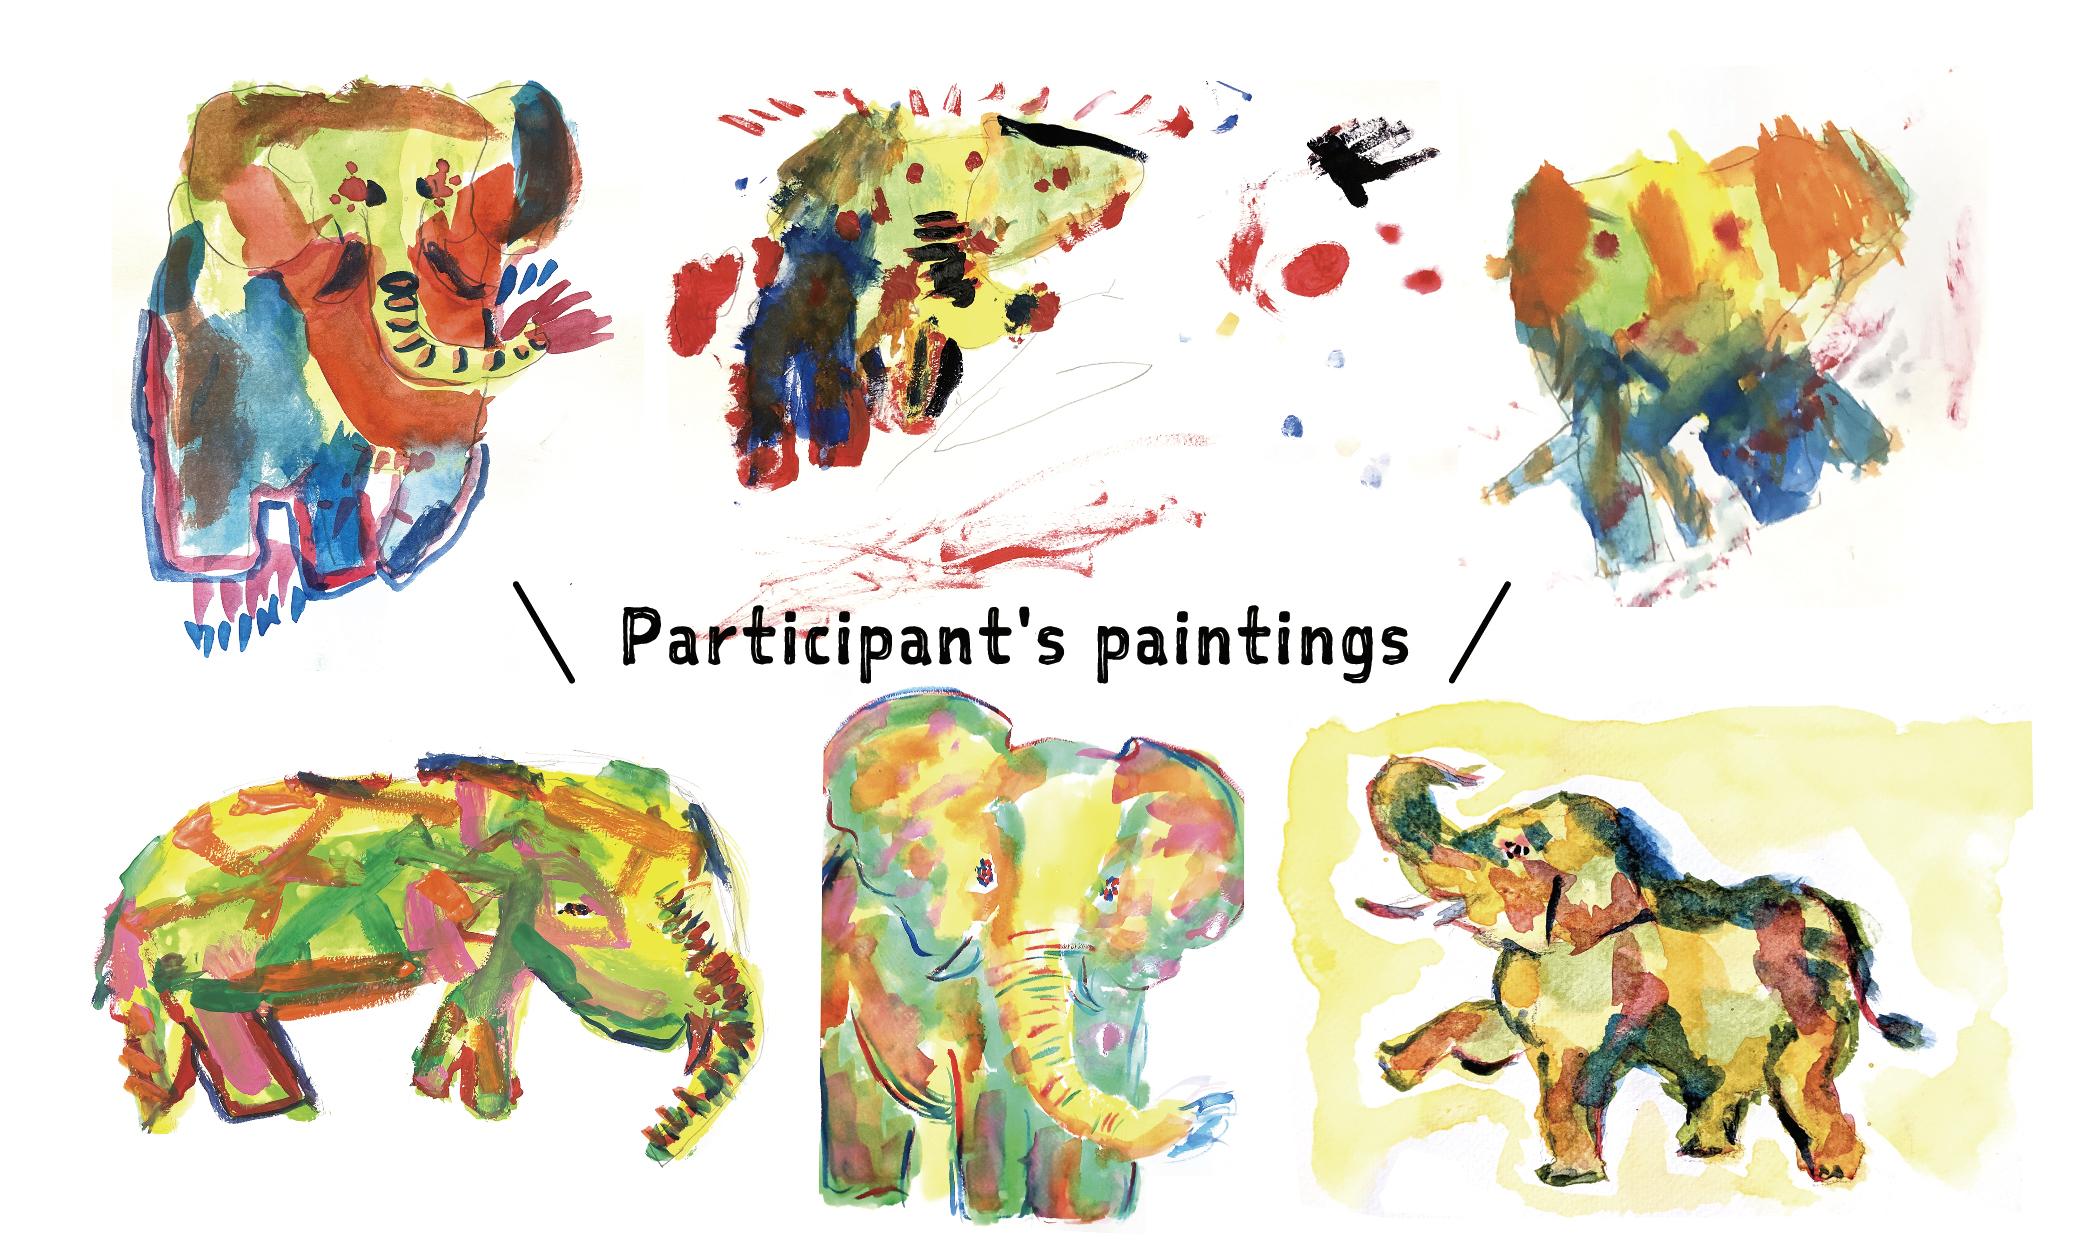
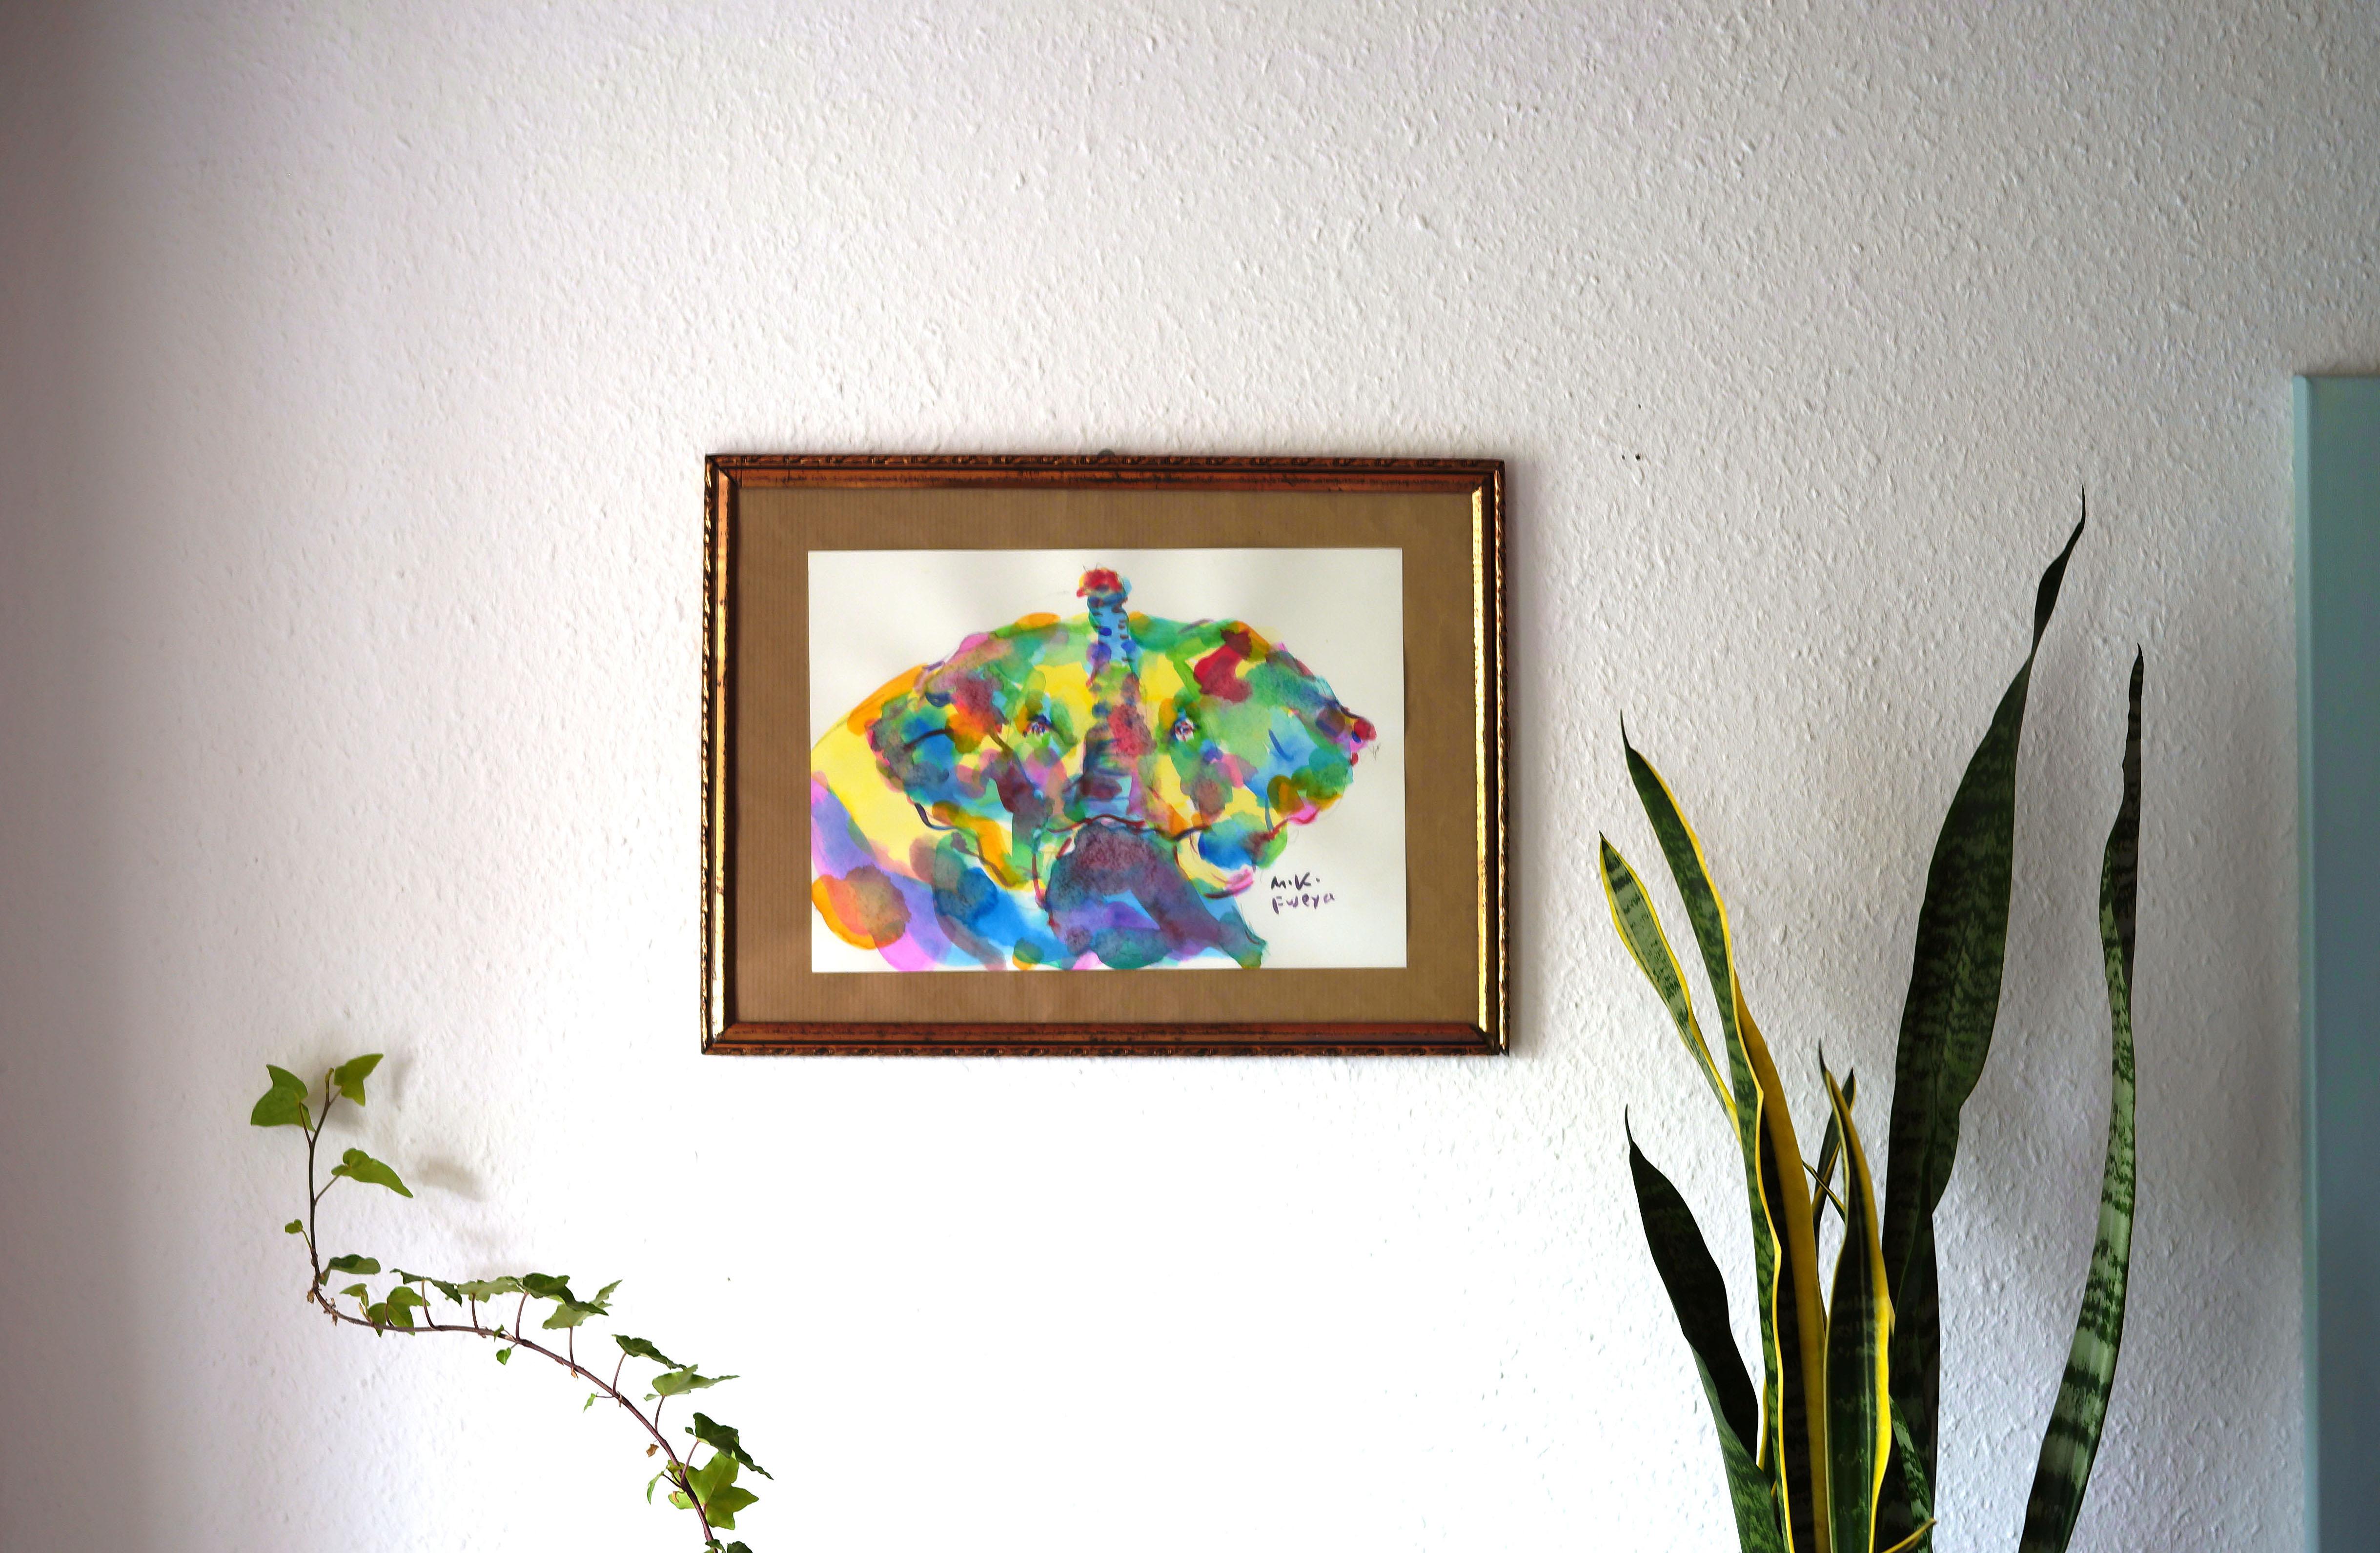
and has a positive impact. In my painting class, we paint together one color at a time, There is no confusion, but in the end, each person's unique art emerges. Especially children's works are extraordinarily interesting. Anyone can join this class, whether you are beginners or experienced, handling the colorful palette lifts your mood. Let's try a new style of art. Some offices, hair salons, and clinics have rented and exhibited my paintings. Since we regularly exchange paintings, the atmosphere changes each time, and the colorful and energetic art attracts people's hearts. I hold sold exhibition every year in my
home country Japan, but also in Germany, where I currently lived. I also hold painting classes
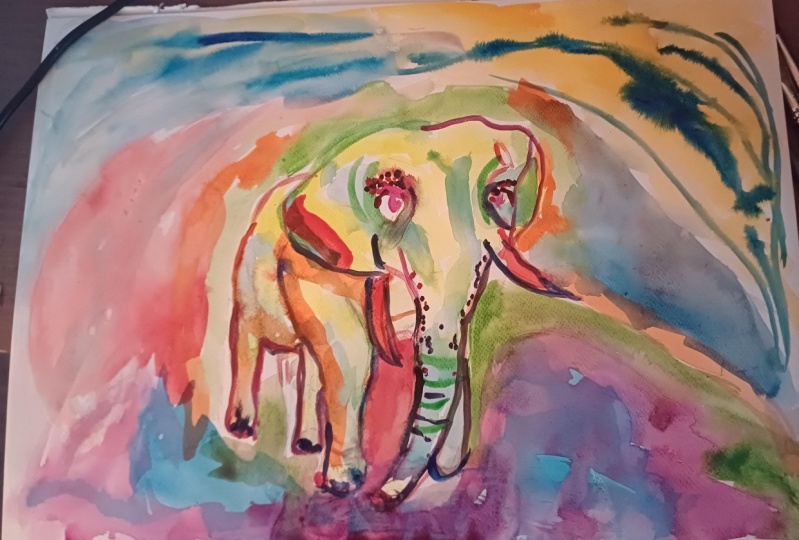
and participate in markets, I painteds a portrait and sold art. My art is appreciated by many people regardless of nationality and brightens people's spirits. My paintings with dynamic brushes in colorful and abstract styles have reasons for where and which colors are used. In this class, I explain how to distinguish between light and dark colors and convert them into vibrant colors. The interesting thing about this style is that even though everyone paints the same image with the same colors, in the end, each pieces becomes a unique artwork. You will have colorful art filled with your personality. Please upload your finished artwork to the Class Projects. By objectively viewing art created by your own hands, you can discover a new self. Enjoy the differences with other participants. And decorating your home with your art will make your daily life more enjoyable and lively, and you can also print it into postcards to send to friends and family. It's also good to use your art as social media icons. In this class, we will be painting one of the endangered species, the "elephant". By painting an elephant, which we don't often see in our daily lives, I hope to inspire thoughts about their life and our shared environment. Let's create a colorful world together, and make it a more vibrant and beautiful place.
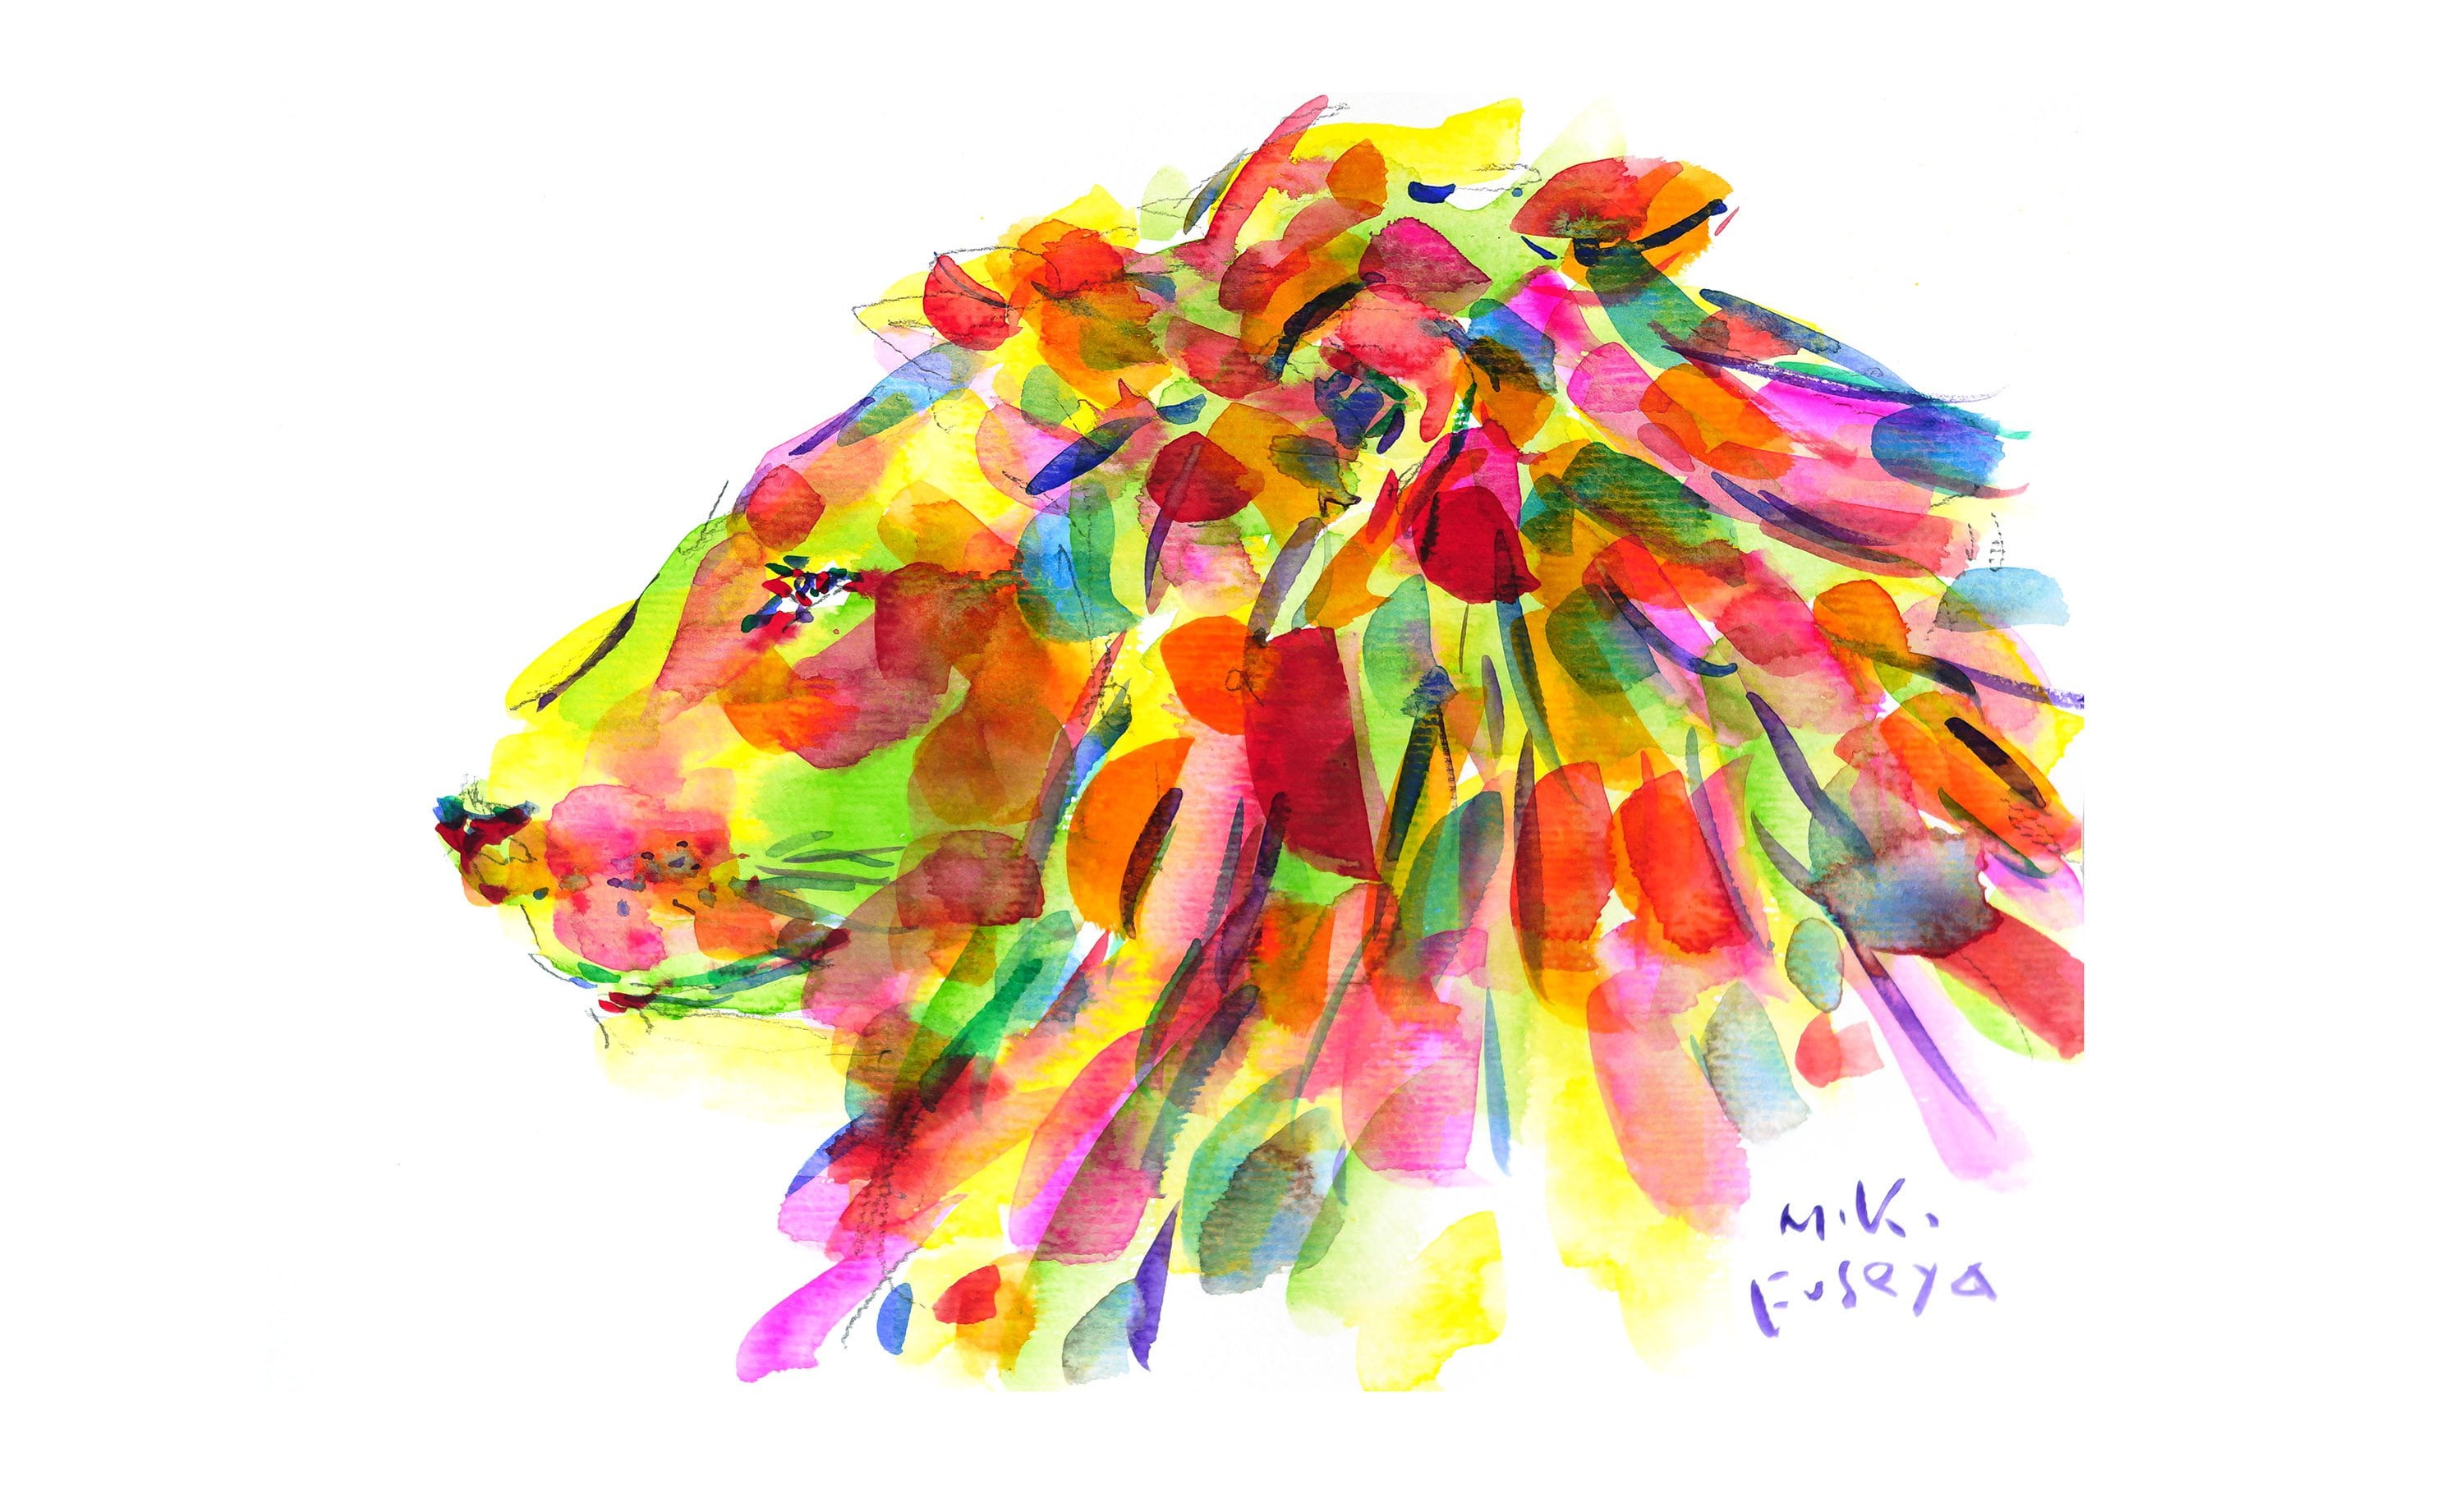
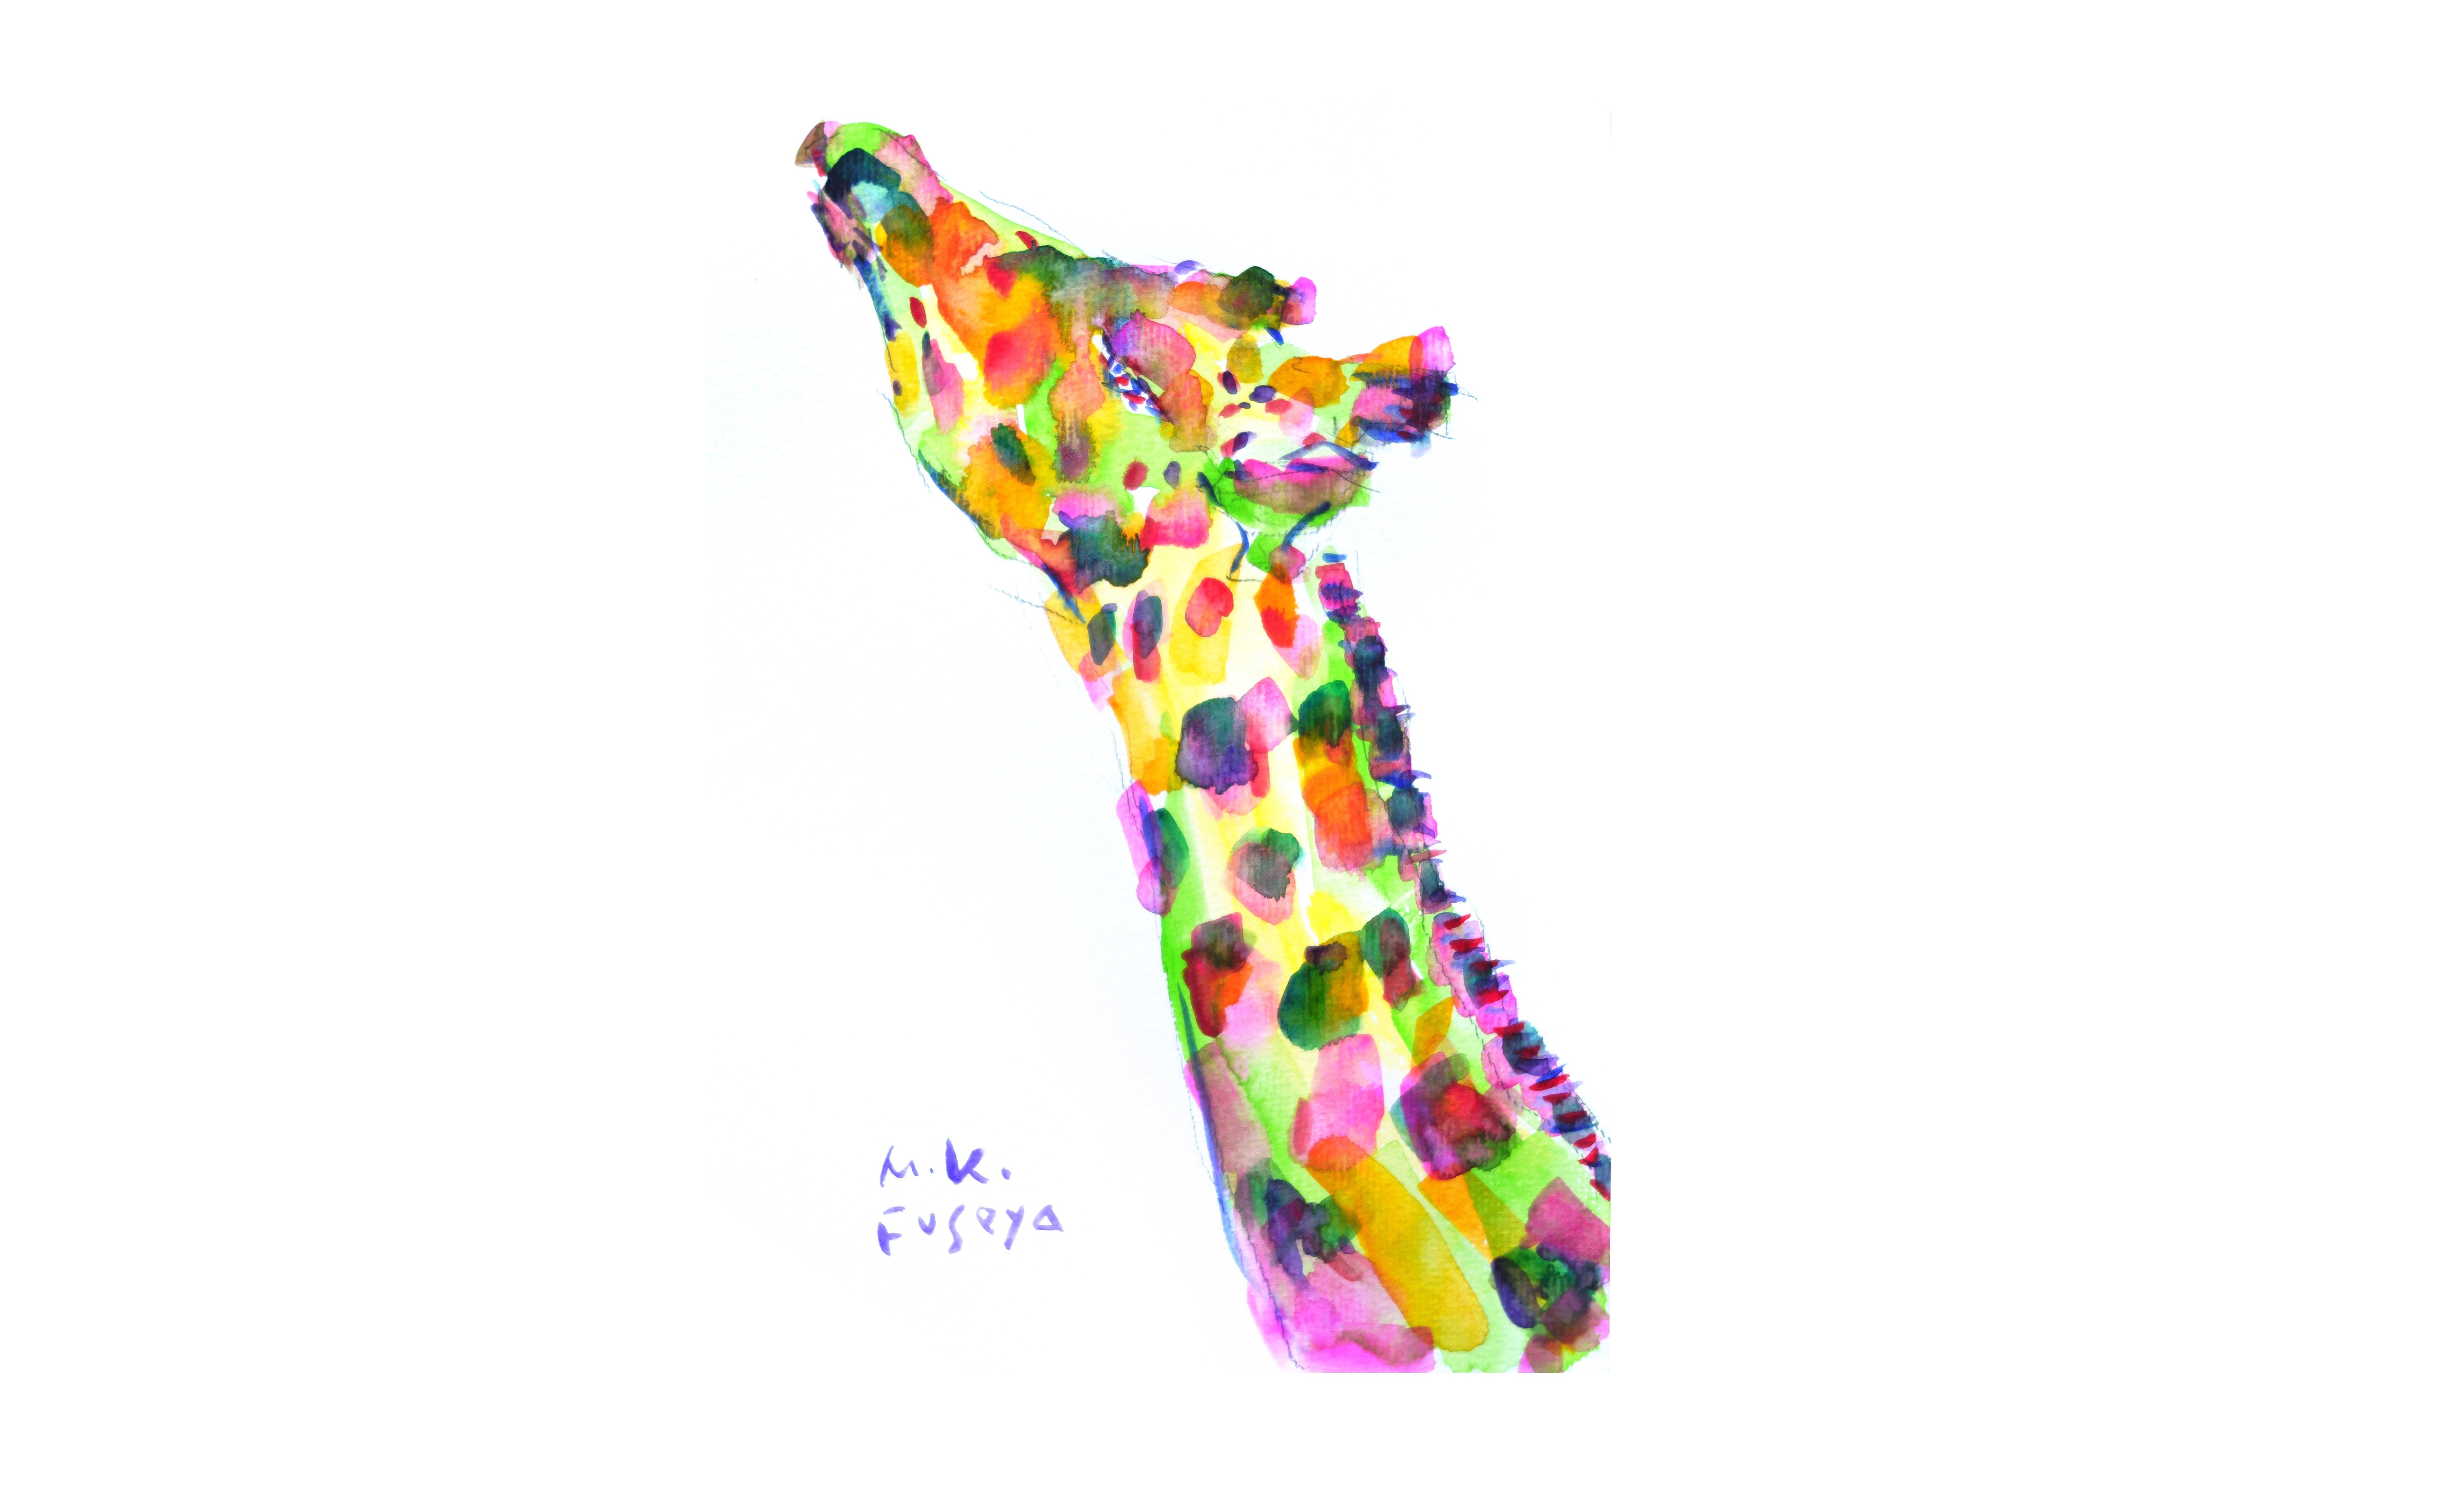
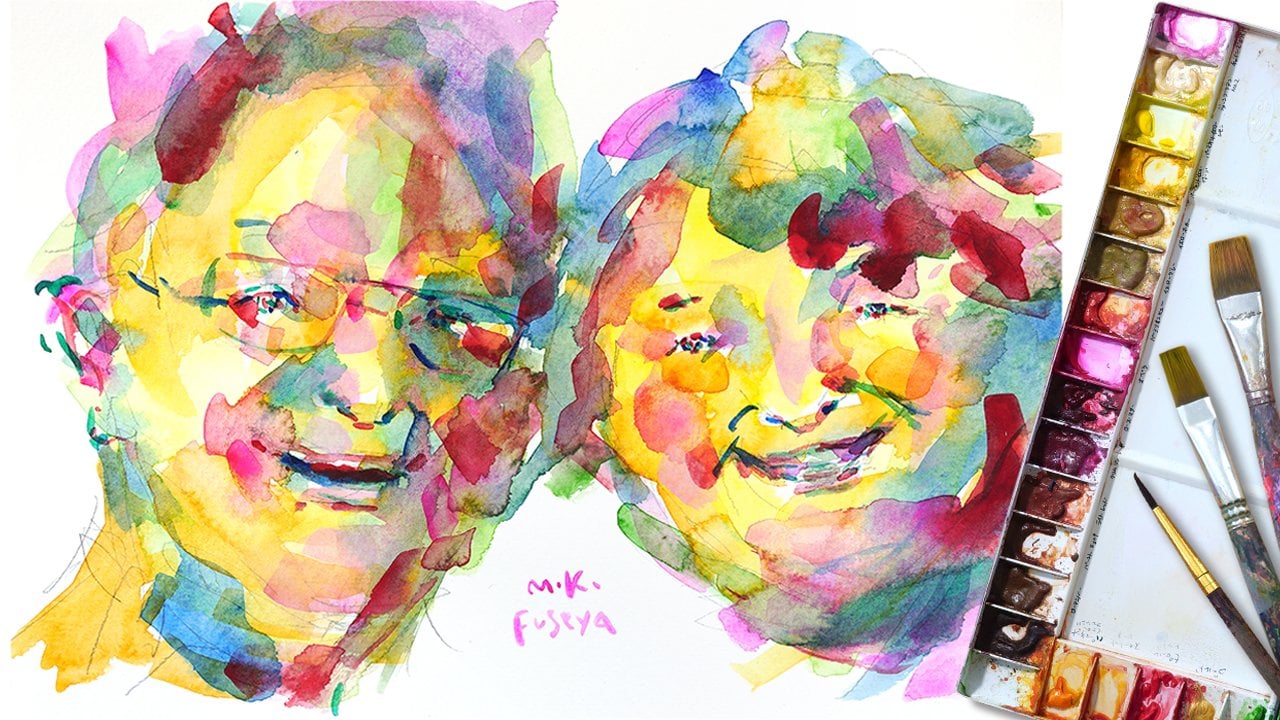
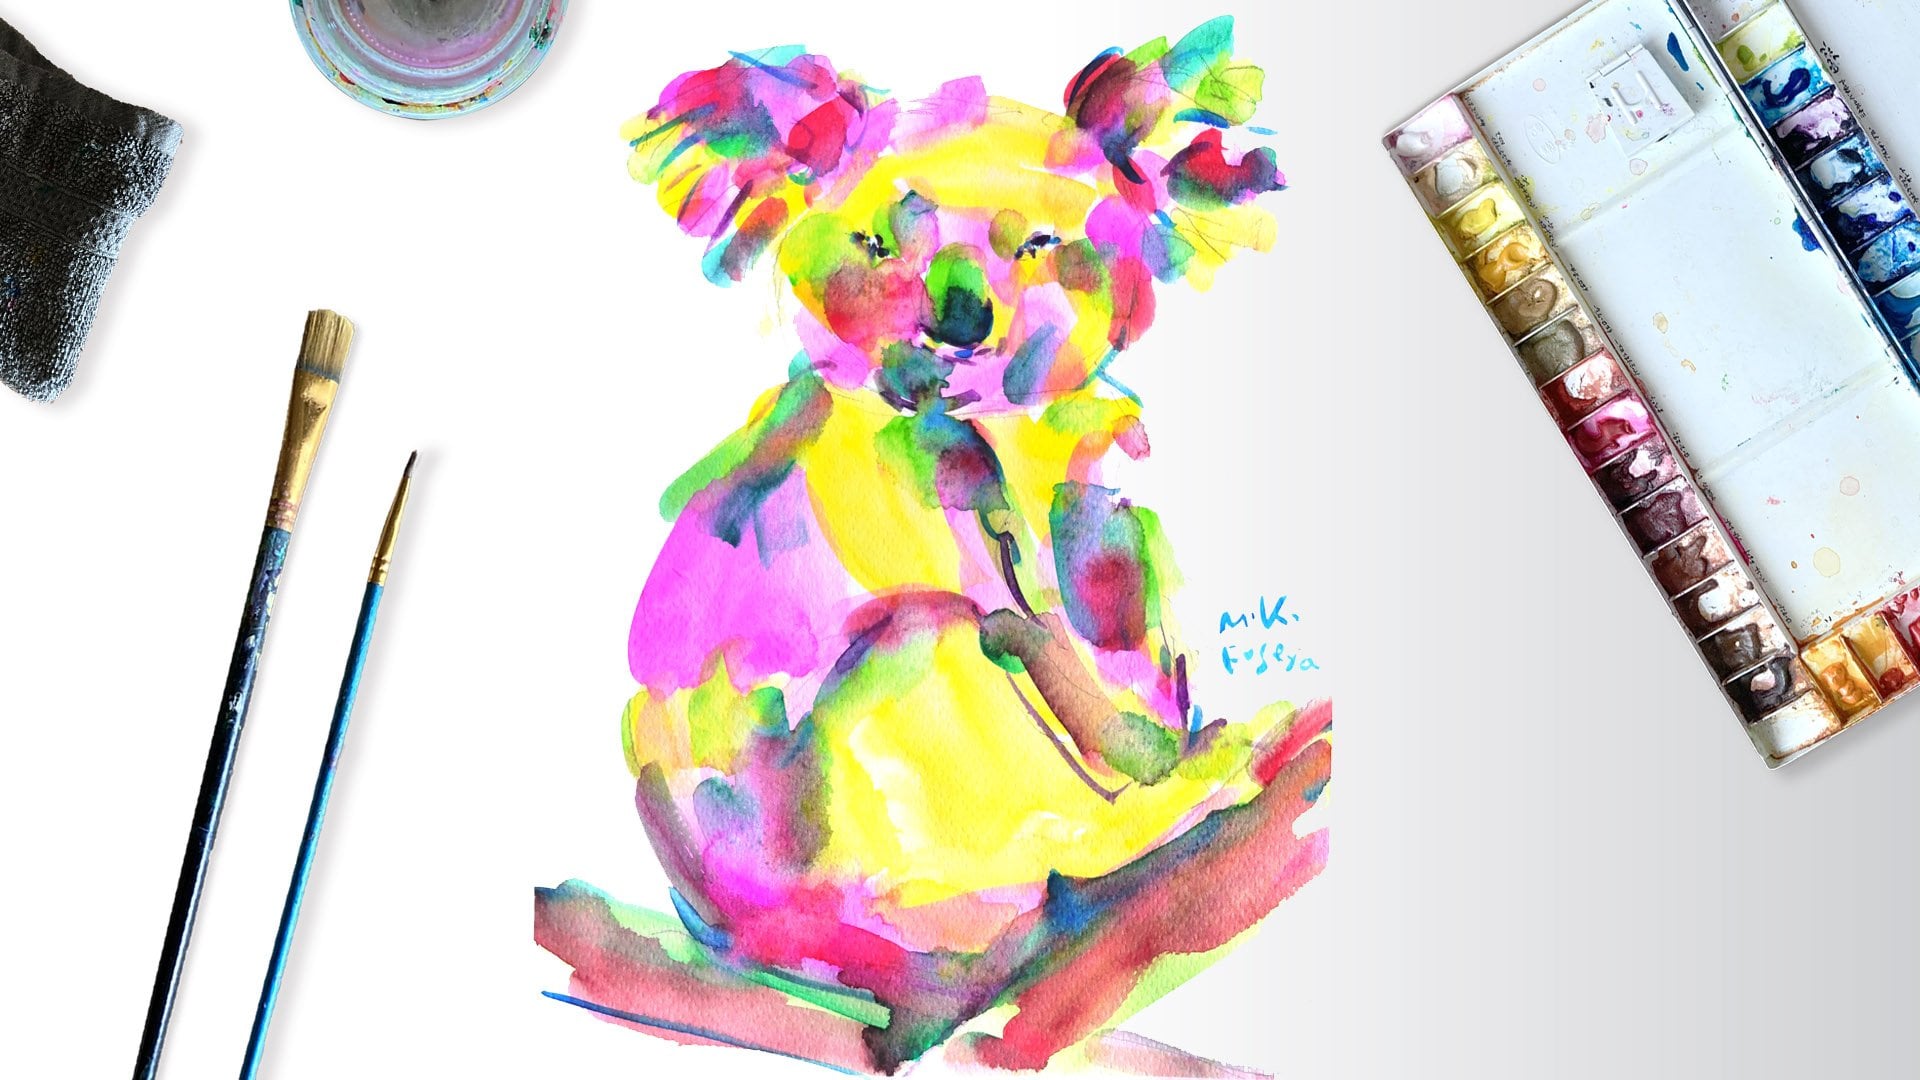
2. Project: Thank you for joining this class. Let's have fun together. As you watched in the introduction video, today we will be creating the elephant. My style uses vibrant colors and doesn't focus too much on details, so there's no need to feel stressed. If you use the same colors as I do and follow along one color at a time, you'll end up with a stylish painting. Of course, you don't have to follow me exactly. Feel free to create your own unique art based on your imagination. You can download the reference photo. You'll be download from the Project & Resource tab. You don't have to draw it exactly as it appears in the photo, But if you find it difficult, you can copy my sketch. My sketch can be downloaded from the same place. In this class, we'll be creating the elephant, but in my other classes, I created various animals, the couple who are my landlords in Germany, flowers, and more. I encourage you to try creating different things in this colorful style. No matter which class you take, I'm excited to see your results. If you have any feedback, please let me know. After you finish the class, scan or take a photo of your creation and upload it to the Student Project Gallery. You can find the Create Project button on the right side of the Project & Resource tab. Clicking it will take you to the page where you can upload your artwork. Please add a title and description. I want to know what you felt during this class. Once you've uploaded your project, you'll be able to see the works of other participants. Enjoy the differences between their art and yours. I recommend to like and comment on their work as well. It would be wonderful to build a supportive network. Your artwork can bring joy and learning to others. Now, let's start by explaining the brightness that are characteristic of my style.
3. Brightness: There are some rules
for using colors. Here, I will explain those
rules on how to use the brush. The elephant is painted
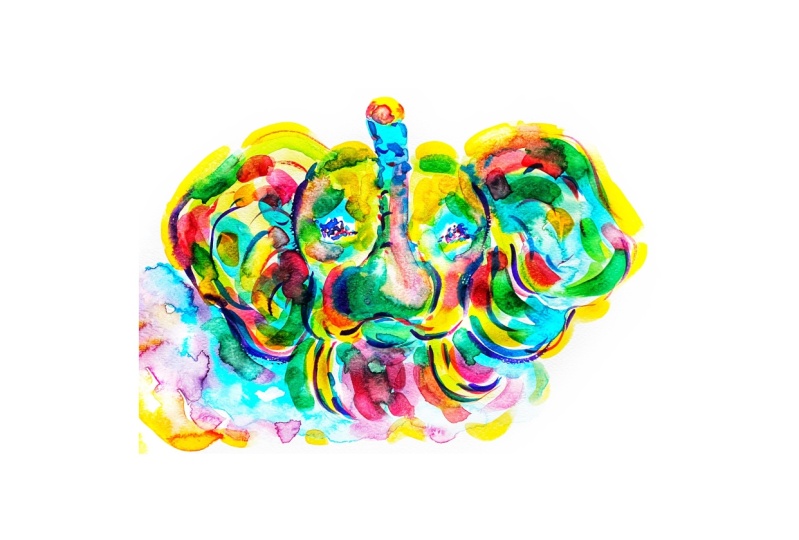
in a colorful way. At first glance, it seems the colors are applied randomly, but if you convert it to monochrome, you can see that it is brighter at the top and gradually gets darker towards the bottom with the darkest part at the bottom of the body. This is because the sunlight hits from above, creating shadows as it goes down. The next elephant is also colorful, but if you combat it to but if you convert it to monochrome and compare it with the photo, you will see that the light and shadow are almost the same as in the photo. In this class, we will
use yellow, blue, red, yellow green, pink, dark blue, green, orange, and purple. If you don't have all the colors, you can mix them, and you don't have to use exactly the same colors as I do. When you convert these colors to monochrome, you can see that they each have different levels of brightness. In this class, we will not use the exact same colors as in the photo, but we will use colorful colors with the same brightness as in the photo. By doing so, we can paint a three-dimensional elephant using colorful colors that are different from reality. Lastly, I will explain a bit about how to use the brush. In this class, we will
only use three blushes, middle & large flat brush and a small round brush. The flat brush is used to paint along the shape of the surface. For the rounded parts of the body, move the brush along the curve. I prefer to use plenty of water on the brush. I think the unexpected blending of colors makes the painting more interesting. A life where everything goes as planned is boring. Enjoy the unexpected events and make use of them. With the fine brush, use darker colors and paint the eyes by layering small dots. The overlapping colors create a sparkling impression when viewed from a distance. Then, paint wrinkles and outlines to clearly define the shape. I think you kind of understood my style. In the next lesson, I will explain what we need for this class.
4. What We Need: In this lesson, I will explain the materials needed to paint a colorful elephant. Watercolor Paints I use Holbein watercolor paints, a Japanese brand. I like their vibrant colors and the way they blend, but you can use children's paints or any watercolor paints you have at home. Palette.
This is the palette I always use. It has many colors, not just the ones we'll be using this time. For this class, we'll use only these nine colors, so any palette you have at home, or even pan paints, will do. If you don’t have all nine colors, feel free to mix colors or use different ones. Brushes.
In this class, we will only use three brushes, large & middle flat brush and a small round brush. With just three brushes, you can create amazing art. I use A4 size paper, about 30cm x 21cm. The large flat brush is size No.16, middle one is No.8 and the small round brush is size o.0. Use brushes that match the size of the paper you want to use. If you already have brushes at home, start with those. Paper.
I use paper that is 190 g/m², which is not very thick. Rather than aiming to create a masterpiece on a single sheet, let's relax and paint many paintings. The painting you create will reflect your subconscious at that moment, helping you understand yourself better. Pencil and Eraser You probably have these at home. Water dish.
This is, of course, for washing your brushes. There’s no need to prepare anything special. You can use empty jars from jam, chocolate spread, honey, or anything you have at home. Cloth
Use this to wipe the water from your washed brushes. You can use an old cloth or kitchen paper you have at home.
Reference photo. When I paint, I almost always
see the reference photo. From there I refer to shapes and shades and atmosphere. Usually, I have it on my iPad. You can print it out or save it on your mobile. Even though my painting is not photo-realistic, t's still nice to have a photo to help my imagination get more lively. We're ready to start.
In the next lesson, we will start sketching.
5. Sketch: We will start with sketching. First, consider how large the elephant will be. Starting with the details might cause the drawing to exceed the paper size, so let's look at the overall picture first. Decide on the position of the nostril at the top and the mouth below, then make marks. Once you've determined the position of the tusks below, move on to the position of the ear on the right side. After deciding on the position of the left ear and making marks, you will get the sense of the overall size of the elephant. Then, start connecting them. Draw the shape of the trunk. The curve from the head to the ear.
Around the mouth. If something looks wrong, erase it immediately and make corrections. Connect the mark and make a contour. Also, clarify the shape of the trunk. The curve on the underside of the ear. Once you have the general outline, decide on the position of the eyes. You don't need to draw every detail Since we'll be adding color, let's sketch loosely and comfortably. If you find sketching difficult, you can also start with color, or you can download my sketch from the Project & Resource tab. Let's start coloring in the next lesson.
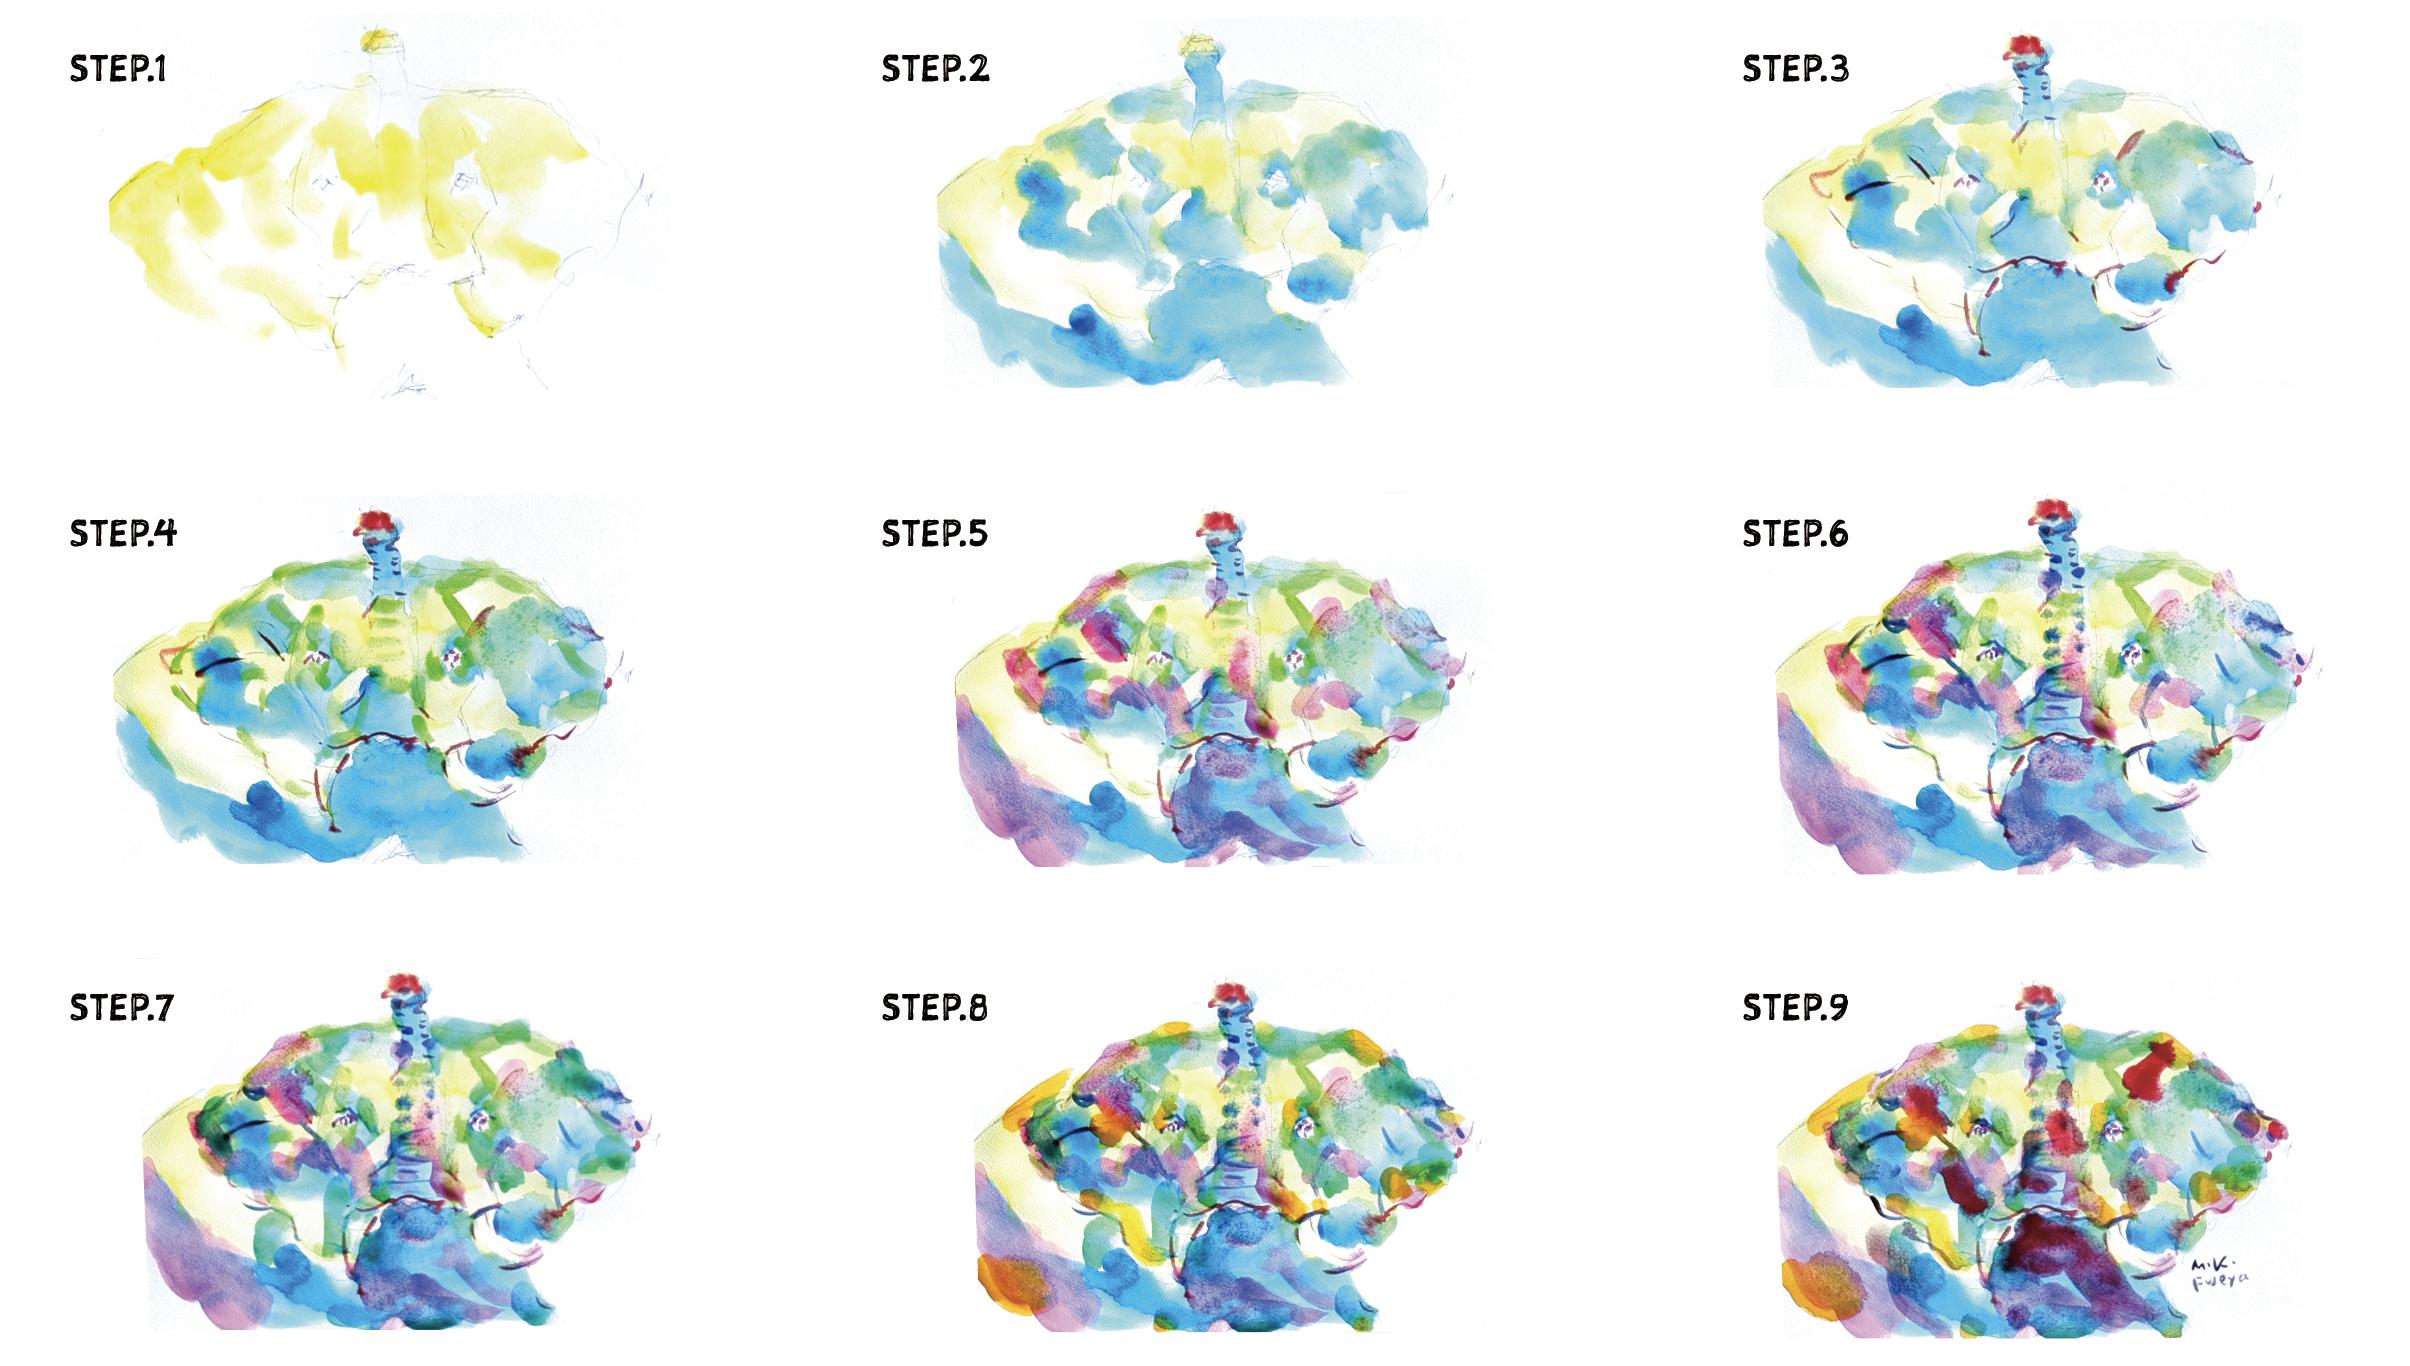
6. Yellow : We'll paint with yellow using a flat brush No.16. Let's paint the bright areas where the light hits. But you don't have to be exact. We paint along the shape of the surface. The tusks also be yellow. I will also paint the bright parts of the upper ears and the left ear. There is no need to be precise. Let's enjoy the movement of the brush. The top of the body is also bright because the sunlight is shining there. The area middle of trunk and around the nostrils at the top also receives light, so we paint there too. First, we've painted the bright areas where the light hits in yellow. In the next lesson, let's paint the dark shadow areas.
7. Blue: Thoroughly wash the thick brush, and next, we will use blue. Paint the shadow areas. The shadows on the underside of the trunk. Paint the shadows on the body parts under the face. Also, paint the shadow areas on the sides of the ears. Shadows form in the recessed areas, so paint those. Do the same for the right ear.
And paint the shadow under the ear. Around the eyes, there are no bones, so shadows form. Leave the inside of the eyes and paint around them in blue. The top of the head has slightly recessed sides, so paint those areas blue as well. Then, paint the shadows on the lower parts of the body. When the brush is filled with plenty of water, the color spreads more easily. The contrast between light and dark areas has become clearer. In the next lesson, we will paint the details with red.
8. Red: Using a fine brush with red, let's paint the details. We paint the eyes with dots, not filling them in completely but leaving small gaps. Paint the nostrils and the wrinkles on the trunk. You don't have to match my paintings exactly, just follow your passion. Let's clearly outline the shape of the tusks. The shape of the ears becomes more defined as well. Rather than painting a precise outline, let's paint the points. The elephant's expression is starting to emerge. Next, we will use yellow-green to express mid-tone shadows.
9. Yellow Green: Brush No.8
Yellow-green is slightly darker than yellow, so we will use it to add shadows and define shapes. Let's paint the wrinkles on the trunk and add shadows around the eyes. Scatter yellow-green throughout the painting, clarifying the shapes. Applying it to the top of the head helps to express roundness and depth. Adding yellow-green has broadened the gradient of light and shadow. In the next lesson, we will use pink to add vibrancy.
10. Pink: Returning to a thick brush, let's use pink. Pink is vibrant but has a darker value, so we apply it to the shadow areas. First, we paint the shadow where the ear connects to the face. I like to add pink to the cheeks as it gives a cute and lively impression. The edges of the ears are slightly folded and cast shadows. We also paint the body parts under the face that are in shadow, as well as the area under the trunk. Also with a thick brush, I have a habit of painting with dots. We scatter pink throughout to add vibrancy, including the shadows at the top of the ears. Let's layer pink over the blue on the underside of the body, adding depth by directly overlapping the colors. We apply pink to the dark shadow areas of the body. We sprinkle a bit more pink here and there, paint the wrinkles on the trunk. The gradient of light and shadow has expanded, adding more vibrancy. Next, we will use dark blue to add more details.
11. Dark Blue: Using a round brush No.0 and dark blue. We add dots to the eyes and wrinkles above them to make them more defined. The other eye is the same Paint a little on the inner and outer corners of the eyes. We also add outlines around the tusk to make them clearer. And wrinkles to the trunk as well, making the details more distinct. Paint wrinkles on the ears and clarify the shape. You don't need to
paint it precisely, You don't need to paint it precisely. But if you want to paint it precisely, go ahead and do so. Add wrinkles at the
base of the art. And also paint fine shadows around the face and eyes. Using dark blue and a fine brush for details has made the shapes more distinct. Being the complementary color to pink, it enhances the contrast between the colors. Next, we'll use green to deepen the shadows and add more contrast to the entire painting.
12. Dark Green: Using a flat brush No.16, we add green. We apply green to the deep shadow areas throughout. Around the eyes, there are no bones, so hollows form easily, then it creates shadows. We boldly paint these areas with green. We also add green to the body parts under the face where deep shadows are, making the colors even deeper. Since there are shadows on the sides of the trunk, we paint them green as well. The idea is to add green to the darker areas. We also add green to the shadows of the body and the around the top of the head. With the addition of green, the overall contrast is enhanced. Next, let's use orange the complementary color to green, to make the painting even more vibrant.
13. Orange: Next, we thoroughly wash the flat brush No.16 and apply orange. First, we paint the shadows at the base of the ears. We use orange to depict the shadows wrapping around the ears and the back of the top of the head. We also add shadows around the eyes and the edges of the ears. Paint the curves of the body. Although we didn't use much, the warm color has added a touch of warmth. Next, we will return to a fine brush and use dark purple to sharpen the details.
14. Purple: Returning to a fine brush, we use purple. We add dots to the eyes to give them expression, But please leave as much white space as possible. Of course, you don't have to do it exactly like me. I think your original expression will emerge. Don't be too nervous. We also add contours, such as wrinkles on the ears and above the eyes, to make the shapes more defined. Check the overall balance and add purple where appropriate. When you are somewhat satisfied, let's sign the painting. I thought I was finished, but I feel it needs a bit more flair, Next, we will add red throughout.
15. Red again: Finally, using a thick brush No.16, we add red. We apply red to the shadow areas, scattering it throughout. We add red to the shadows of the ears, the trunk, and the darkest parts of the body. By adding red, the depth of light and shadow has increased, adding a touch of vibrancy. I would like to take a moment to reflect on the colorful art of today.
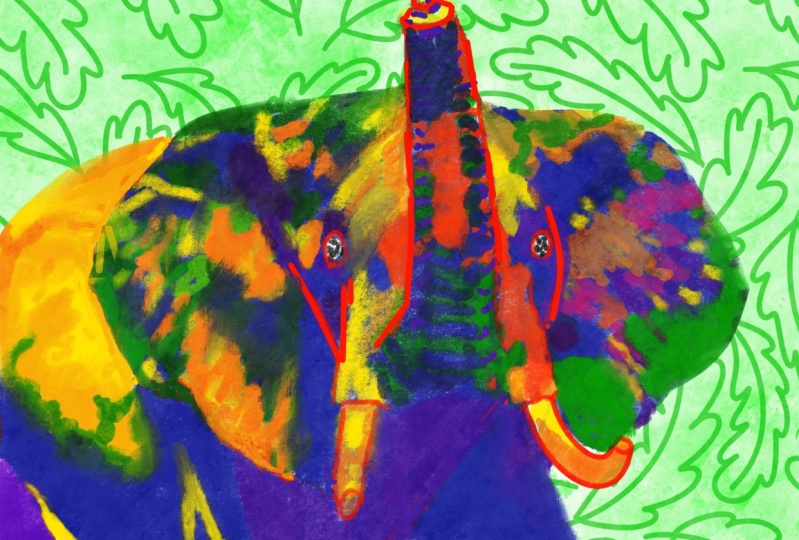
16. Final Thought: I believe your colorful elephant painting is now complete. How do you feel about it? If you think it didn't turn out as well as you hoped, are you really sure about that? When you step back and look at it from a distance or after some time has passed, you might find that the impression of your painting changes. Using bright colors can lift your spirits. Try to paint more intuitively and without overthinking it. You may find that your inner world, which you weren't even aware of, gets expressed in vibrant colors. Please show me your art.
You should take a photo or scan of your painting and share it in the student project gallery. I'm looking forward to seeing your elephant. It's easy to forget, but elephants are an endangered species. By painting animals that share our planet, I hope to spark thoughts about a sustainable future. And when you take a photo or scan your painting, You can also set it as your mobile phone standby screen, print it to create original message cards, and it is also possible to create custom products. And if you share your artwork on instagram, please go ahead tag me and Skillshare. That way we can like and comment on social media. If you share your work in your Instagram stories don't forget to tag me so I can re-share your story to my own one as well. This is my fifth class for Skillshare If you would like to create more brilliant artwork with me. By cricking my name up top, you can find my other class. And please don't forget to follow. Thank you very much for joining me today. I'm looking forward to seeing your artwork. Let's create a better future together. See you next time.
 Miki Fuseya