Transcripts
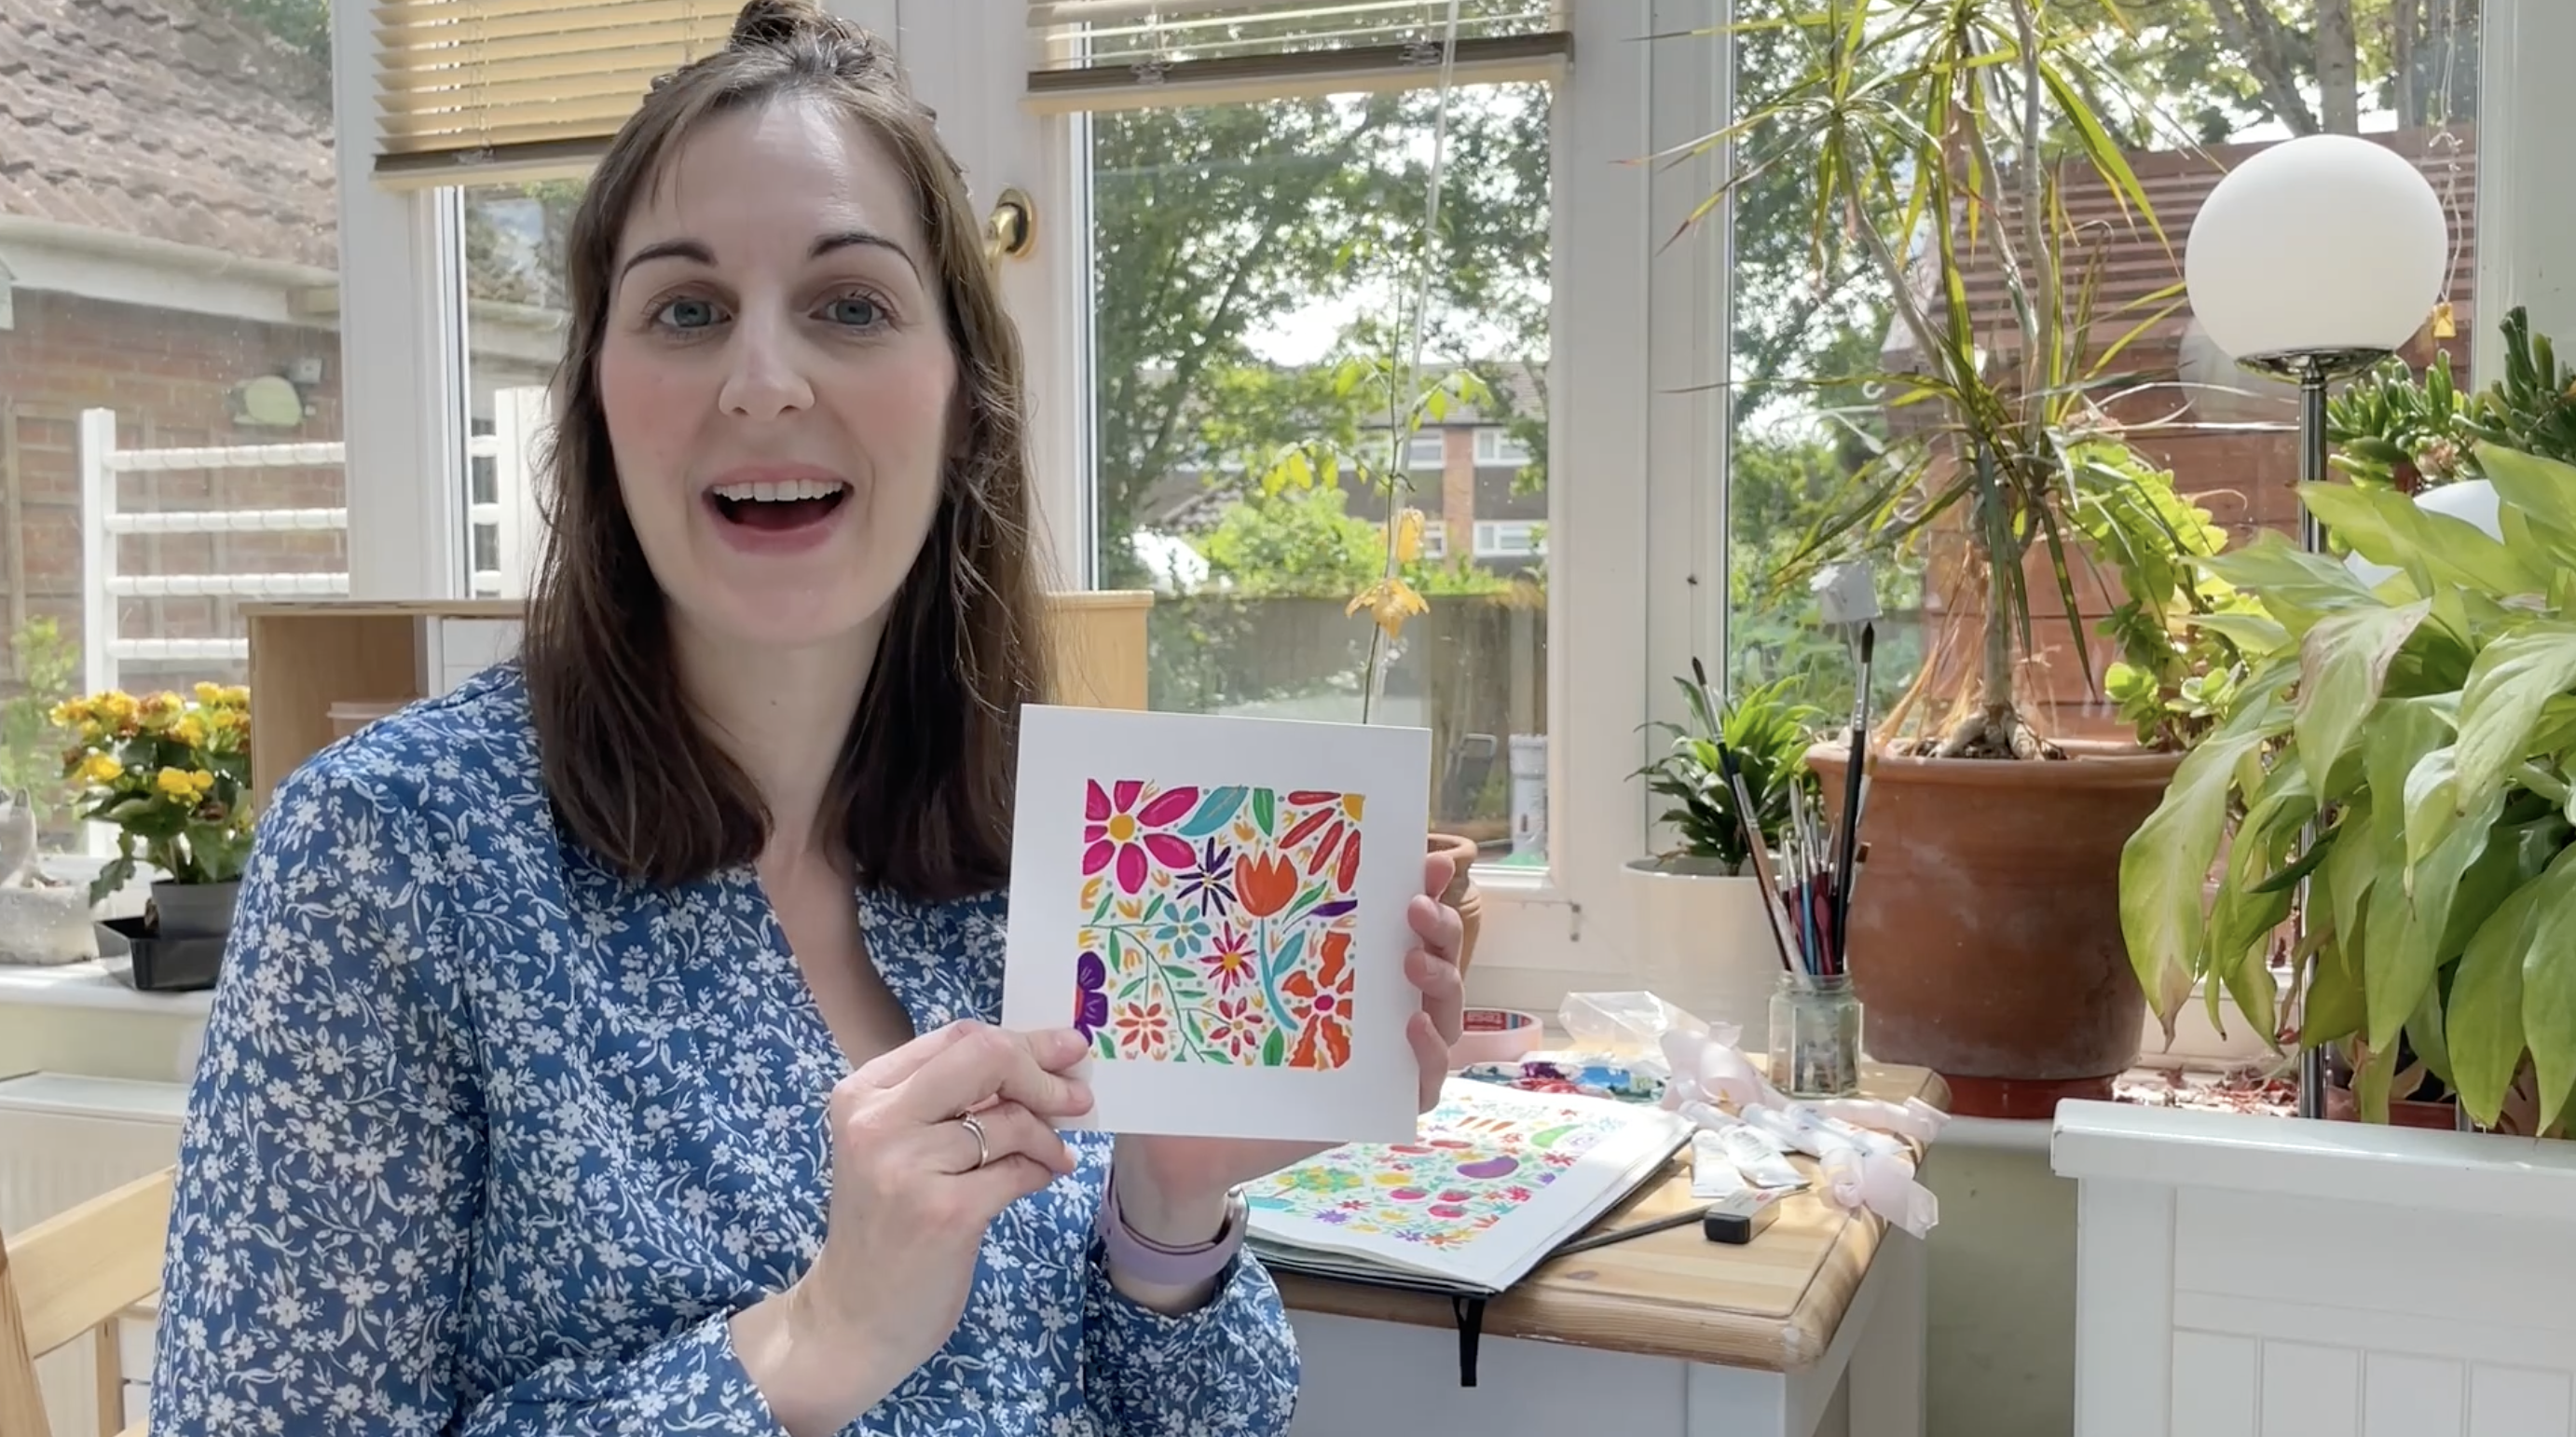
1. Introduction: High School chef ends. In this Skillshare class, I invite you to
join me to create a bold and beautiful hand painted card using
gouache paints. This is a fun and
relaxing project with the aim of allowing
you to enjoy the feel of the smooth paint on
the page and revel in the boldest and brightest colors of gouache that you can find. I'm Sarah Douglas,
a designer and illustrator based in
Berkshire in the UK. For nearly ten years, I've been designing and illustrating my own ranges of cute and contemporary papercraft
and plant supplies, and I've been making handmade
cards for even longer. As part of my creative practice, I love drawing and painting, and gouache is my
current favorite medium. This class is suitable
for beginners. You'll need some quash
paints, a brush, a palette, water, masking tape, and a car to paint on. We'll sketch out a simple design of flowers and leaves
and then paint it, adding small details at the end. This class is also suitable for intermediate and advanced
painters who want something a little bit different to mix
up their creative practice. By the end of the
class, you'll have a beautiful hand painted card ready to use for
family or friends, or you can even
make a series and sell them online or
at craft markets. You'll also have gained
confidence using gouache paints, getting the consistency right, practicing finer brush strokes, and hopefully you'll
also be feeling pretty blissed out from your half
an hour of fun painting. Are you ready to
start? Let's dive in.
2. Class and Project Overview: I'm so glad you decided
to join me in this class to create a bold and
colorful hand painted card. We'll start by looking at the supplies you'll
need for the project, and I'll give you some
alternative options too. Then I'm going to show you a bit of sketchbook inspiration from my own exploration
of this theme and then we'll move on to
sketching designs, painting the card, adding
details at the end, and then there's an
optional extra bit to add some highlights
with No Colors. I'd love it if you could take a photo of your finished card at the end and upload it to the project gallery
here on Skillshare. It's really inspiring to see everyone's different
designs and I'm very happy to give
you feedback on your project if that's something that would
be helpful to you. Don't forget you can also use the discussions tab to
ask questions as you go. Remember, creating art is not about making the
perfect finished piece, it's about enjoying the process. It's okay if you smudge
your paint or things look wonky or it doesn't
come out how you pictured. Just keep going and keep
creating and enjoy yourself. Next up, let's have a look
at the supplies you'll need.
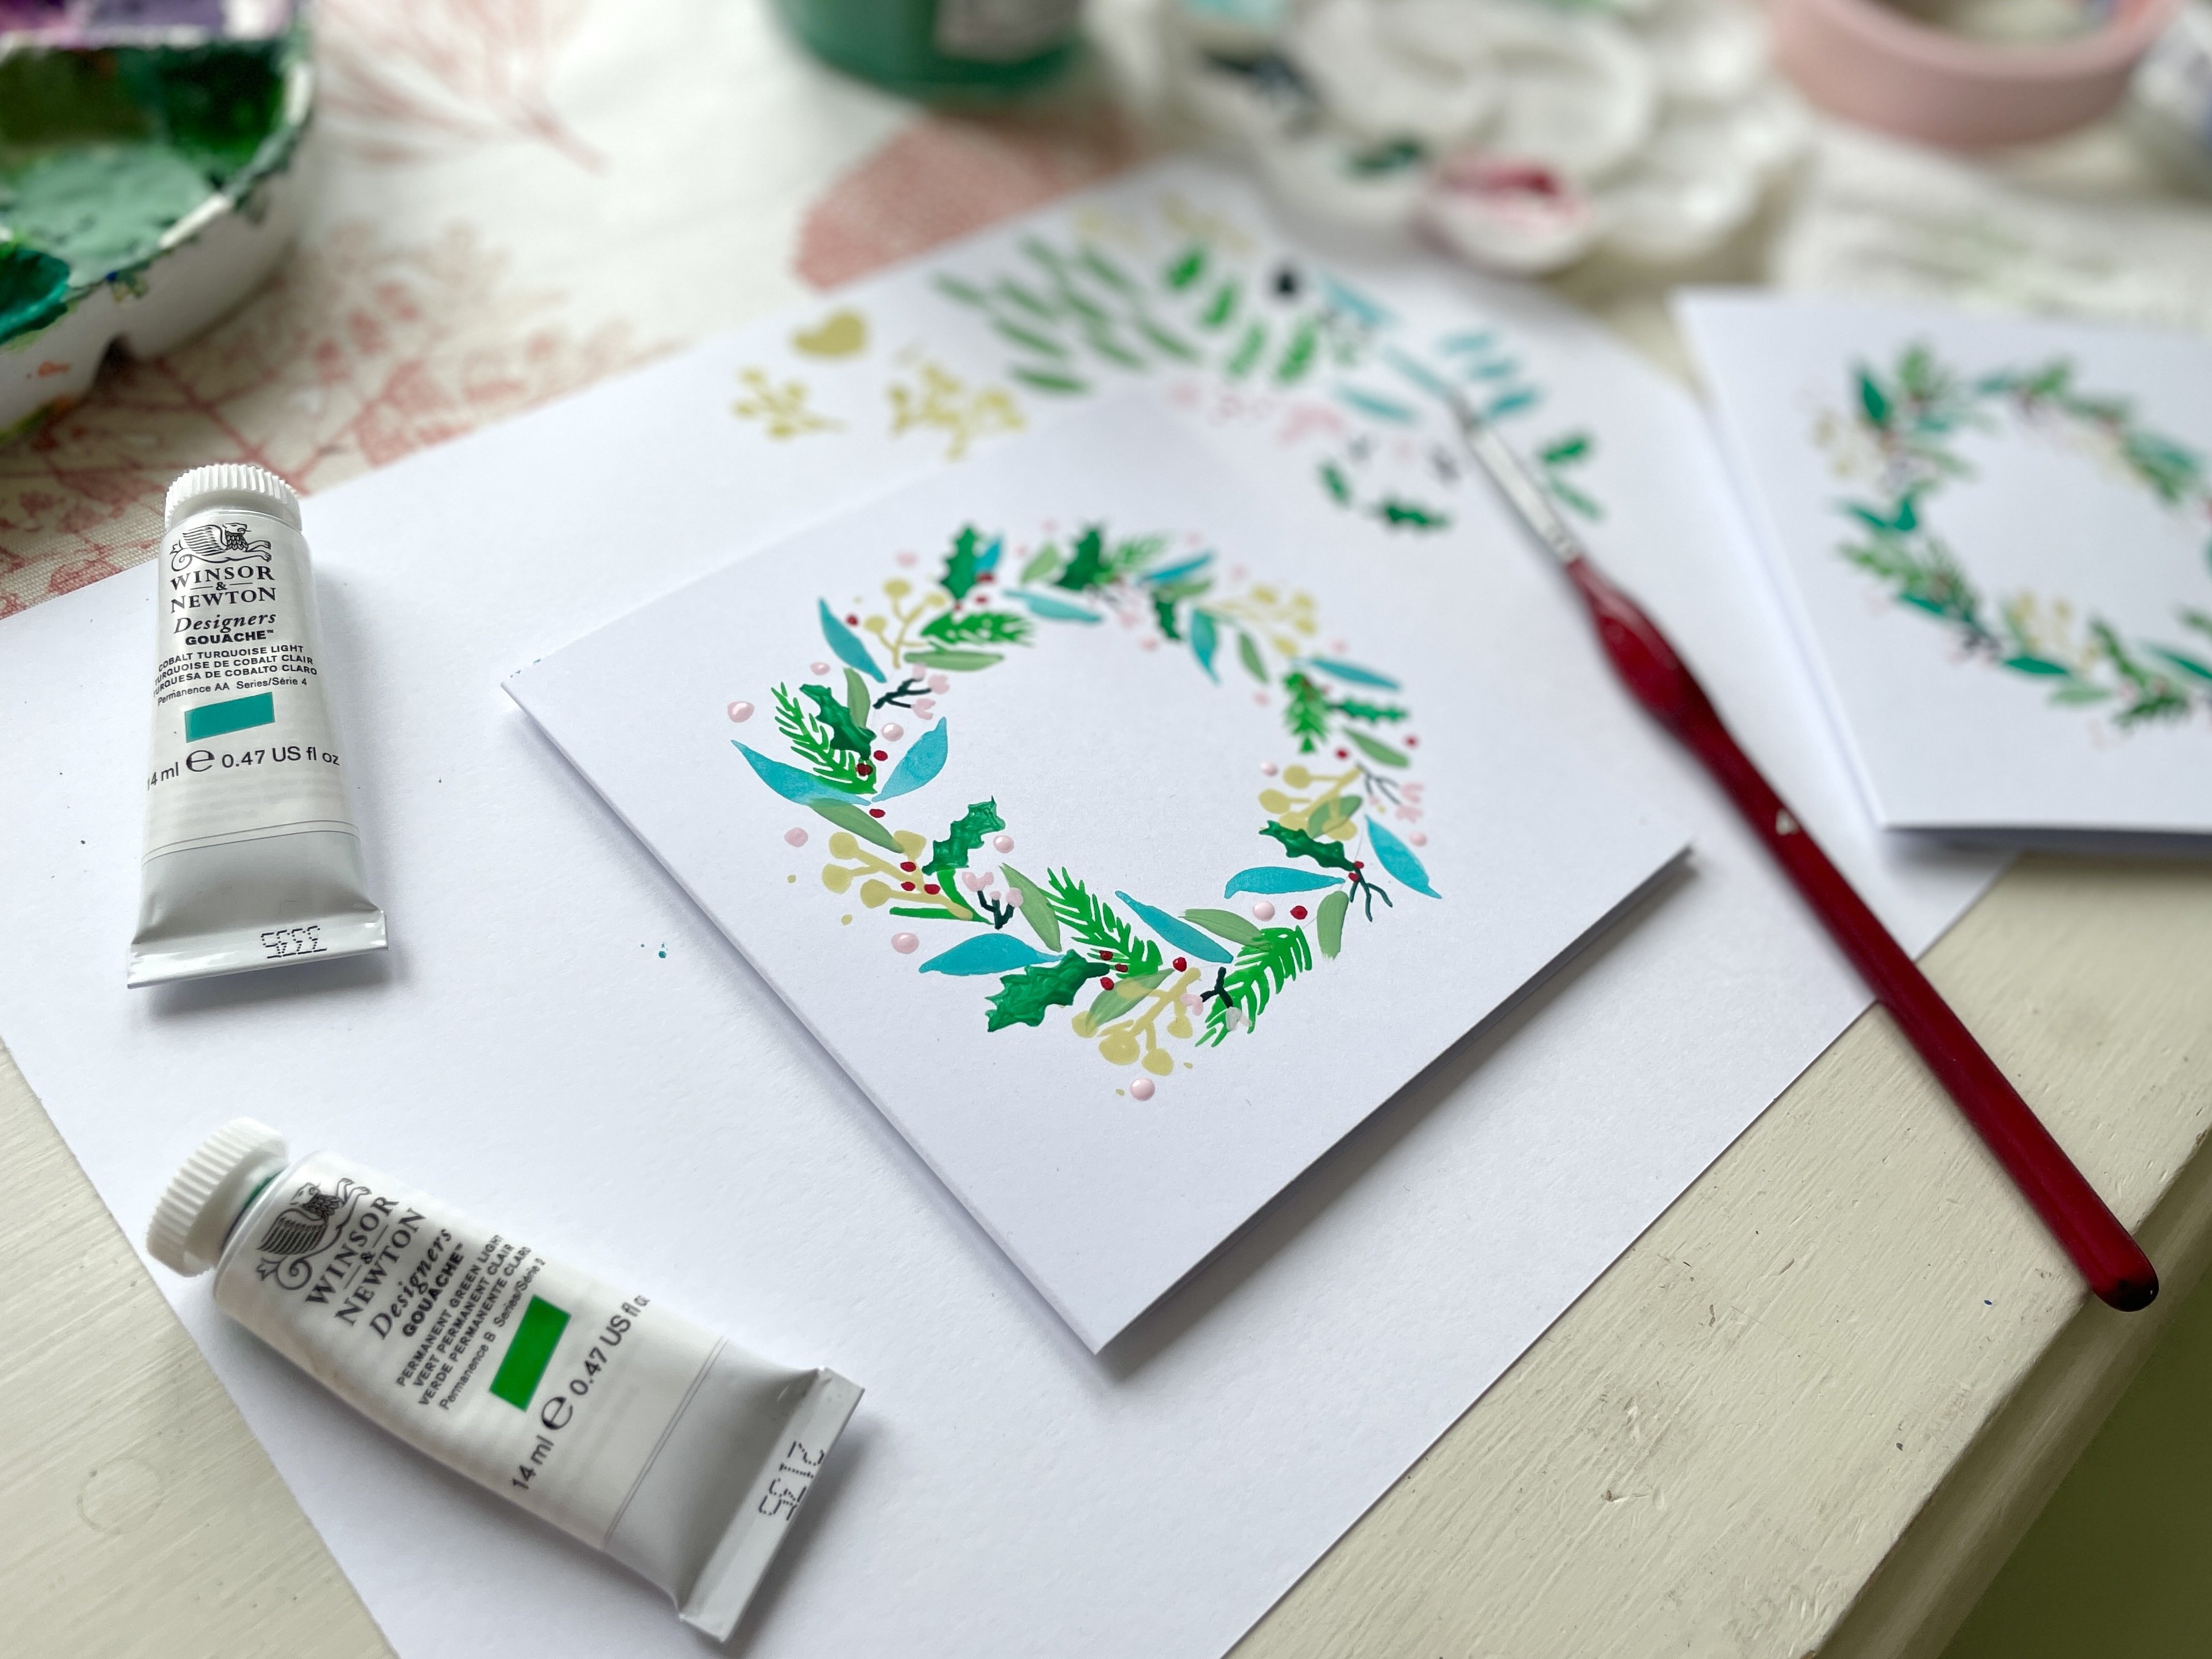
3. Materials: Let's talk about materials. For this class, I'm using Windsor and Newton
designers gouache. I've tried a few
different brands and I really like the
quality of these paints, especially the bright colors. They go on really smoothly, and that's one of the things
I find most enjoyable about painting with gouache
is that really smooth, opaque feel to the paint. The colors I have are light purple, cobot turquoise light, permanent yellow deep,
permanent green light, Bengalos, flame red
and orange lake light. Now, you don't need
to rush out and buy these exact colors, but if you do have some
lovely bright colors in your paint stash,
then get those out. You can mix some nice shades, but in this class, I won't
be covering color mixing. I'm going to be
using the colors as they are from the
tube because I really like these shades
and I really like the texture that they produce. So I do recommend this brand, but of course, follow along
with whatever you have. Next, for brushes, I recommend a number four
or five round brush. I'm using a number five. It's a Windsor and
neat and brush, and even though we'll be
painting small details, I've actually found that a brush that's smaller
is harder to use. The paint tends to blob on the end and it's difficult
to get that fine point. Whereas a number five brush, you can use the tip really
finely to get some thin lines. So after much experimentation, I found that this is the size that works
best for me right now. You'll also need a paint palette to squeeze out and
mix your colors. This one is one that I
got from Hobby craft. It's just a plastic one
when I paint with gouache, I tend to just keep using the same palette over and over without
cleaning out. Guash is water based, it's water soluble so
you can keep rewetting the paints and it doesn't cause any issues with
the consistency. It doesn't dry out
like acrylic does. I've had this in use for
probably over a month now and the colors
are still vibrant. I just keep adding more on top. You'll also need
some water to clean your brush and to loosen up
your guh paints a little bit. I've just filled an old jam
jar with water for mine, and some kitchen
roll will be handy too to clean up your
brush in between colors. For card blanks, I'm
using this pack of watercolor card blanks and
envelopes from South field. These are a nice thick texture. They're designed
for heavier media, so they'll take the
paint really well. If you just have
regular card blanks, that will be fine, too. The way that we're using the
gouache isn't too watery, so it shouldn't soak through regular card stock if
that's what you're using. Or you could also try watercolor paper scored and folded to use as your
card base as well. May find it useful to have some scrap paper to
test your paints, the consistency in
the colors as you go. I'm probably going to
use my sketchbook. I got a new one
recently, Royal talons. It's got quite thick paper.
It's a creamy color. I'll just be using
this on the side to test out my paints before
I put them on my card. Finally, optionally, you can use neo colors at the end to add a little bit
of detail to your card. I won't be using these too much. These are a water
soluble crayon. It's a wax pastel. I'm just going to use maybe the pink one or maybe one of
the yellow ones to add a few highlights to the flowers and the petals and the
leaves at the end. If you want to do
that, that's all you can do, but, of course, don't feel obliged to rush out and get ahold of some neo colors if you
don't already have them. I find that these are
actually quite pricey. You'll also need some
masking tape to mask around the edges of your card if you want to do the same
design as I have. I'm using this brand, which I found on Amazon. It wasn't too expensive. It's really light tax, so it comes off the
paper nicely and it's an excellent pink color,
which I very much enjoy. Okay. Now that we've talked through what
materials we'll need, let's have a little look at some inspiration for
flowers and leaves.
4. Sketchbook Inspiration: It's summer right now in the UK as I'm filming
this and I've been really inspired by everything floral and everything
garden themed. I've been painting
with these colors in my sketchbook using
the same technique of taping around the edges. I loved experimenting with different designs
and different ways to finish off the pieces. This one has some
colored pencil on it. This one has some
neo colors on it. I've taken inspiration
from different sources, mugs I've seen that
I've seen when I'm out and about a tea towel
I found on a shop. I've done my own
different sketches and designs and ideas. And there's really not too much to it when
it comes to florals. I've just pictured
different types of flowers in my
head and leaves, I tend to paint a
similar way each time. If you want to
make sure you have some really varied and
interesting designs on your card, then you could have
a look on pin dress for different types of flowers, or you can go outside
in your garden, or in your local park
and take some photos. But if you just want some
quick and easy ideas, then I've done a
mix of long petals, blobby petals, maybe
something like this, which is more of a tulip
shape with some stamens. You could do
something like this, which has small buds to it. I mean, you can tell
I'm not a gardener. I don't know the
names of the flowers that I might have drawn, but also maybe a mix of something which is a
little bit more trailing. If you want to before
you start your card, you can have a play
around in your sketchbook with some different ideas for flowers and some
different designs and practice painting
your leaves. But for this class,
we're just going to dive straight in and get
on with our cards.
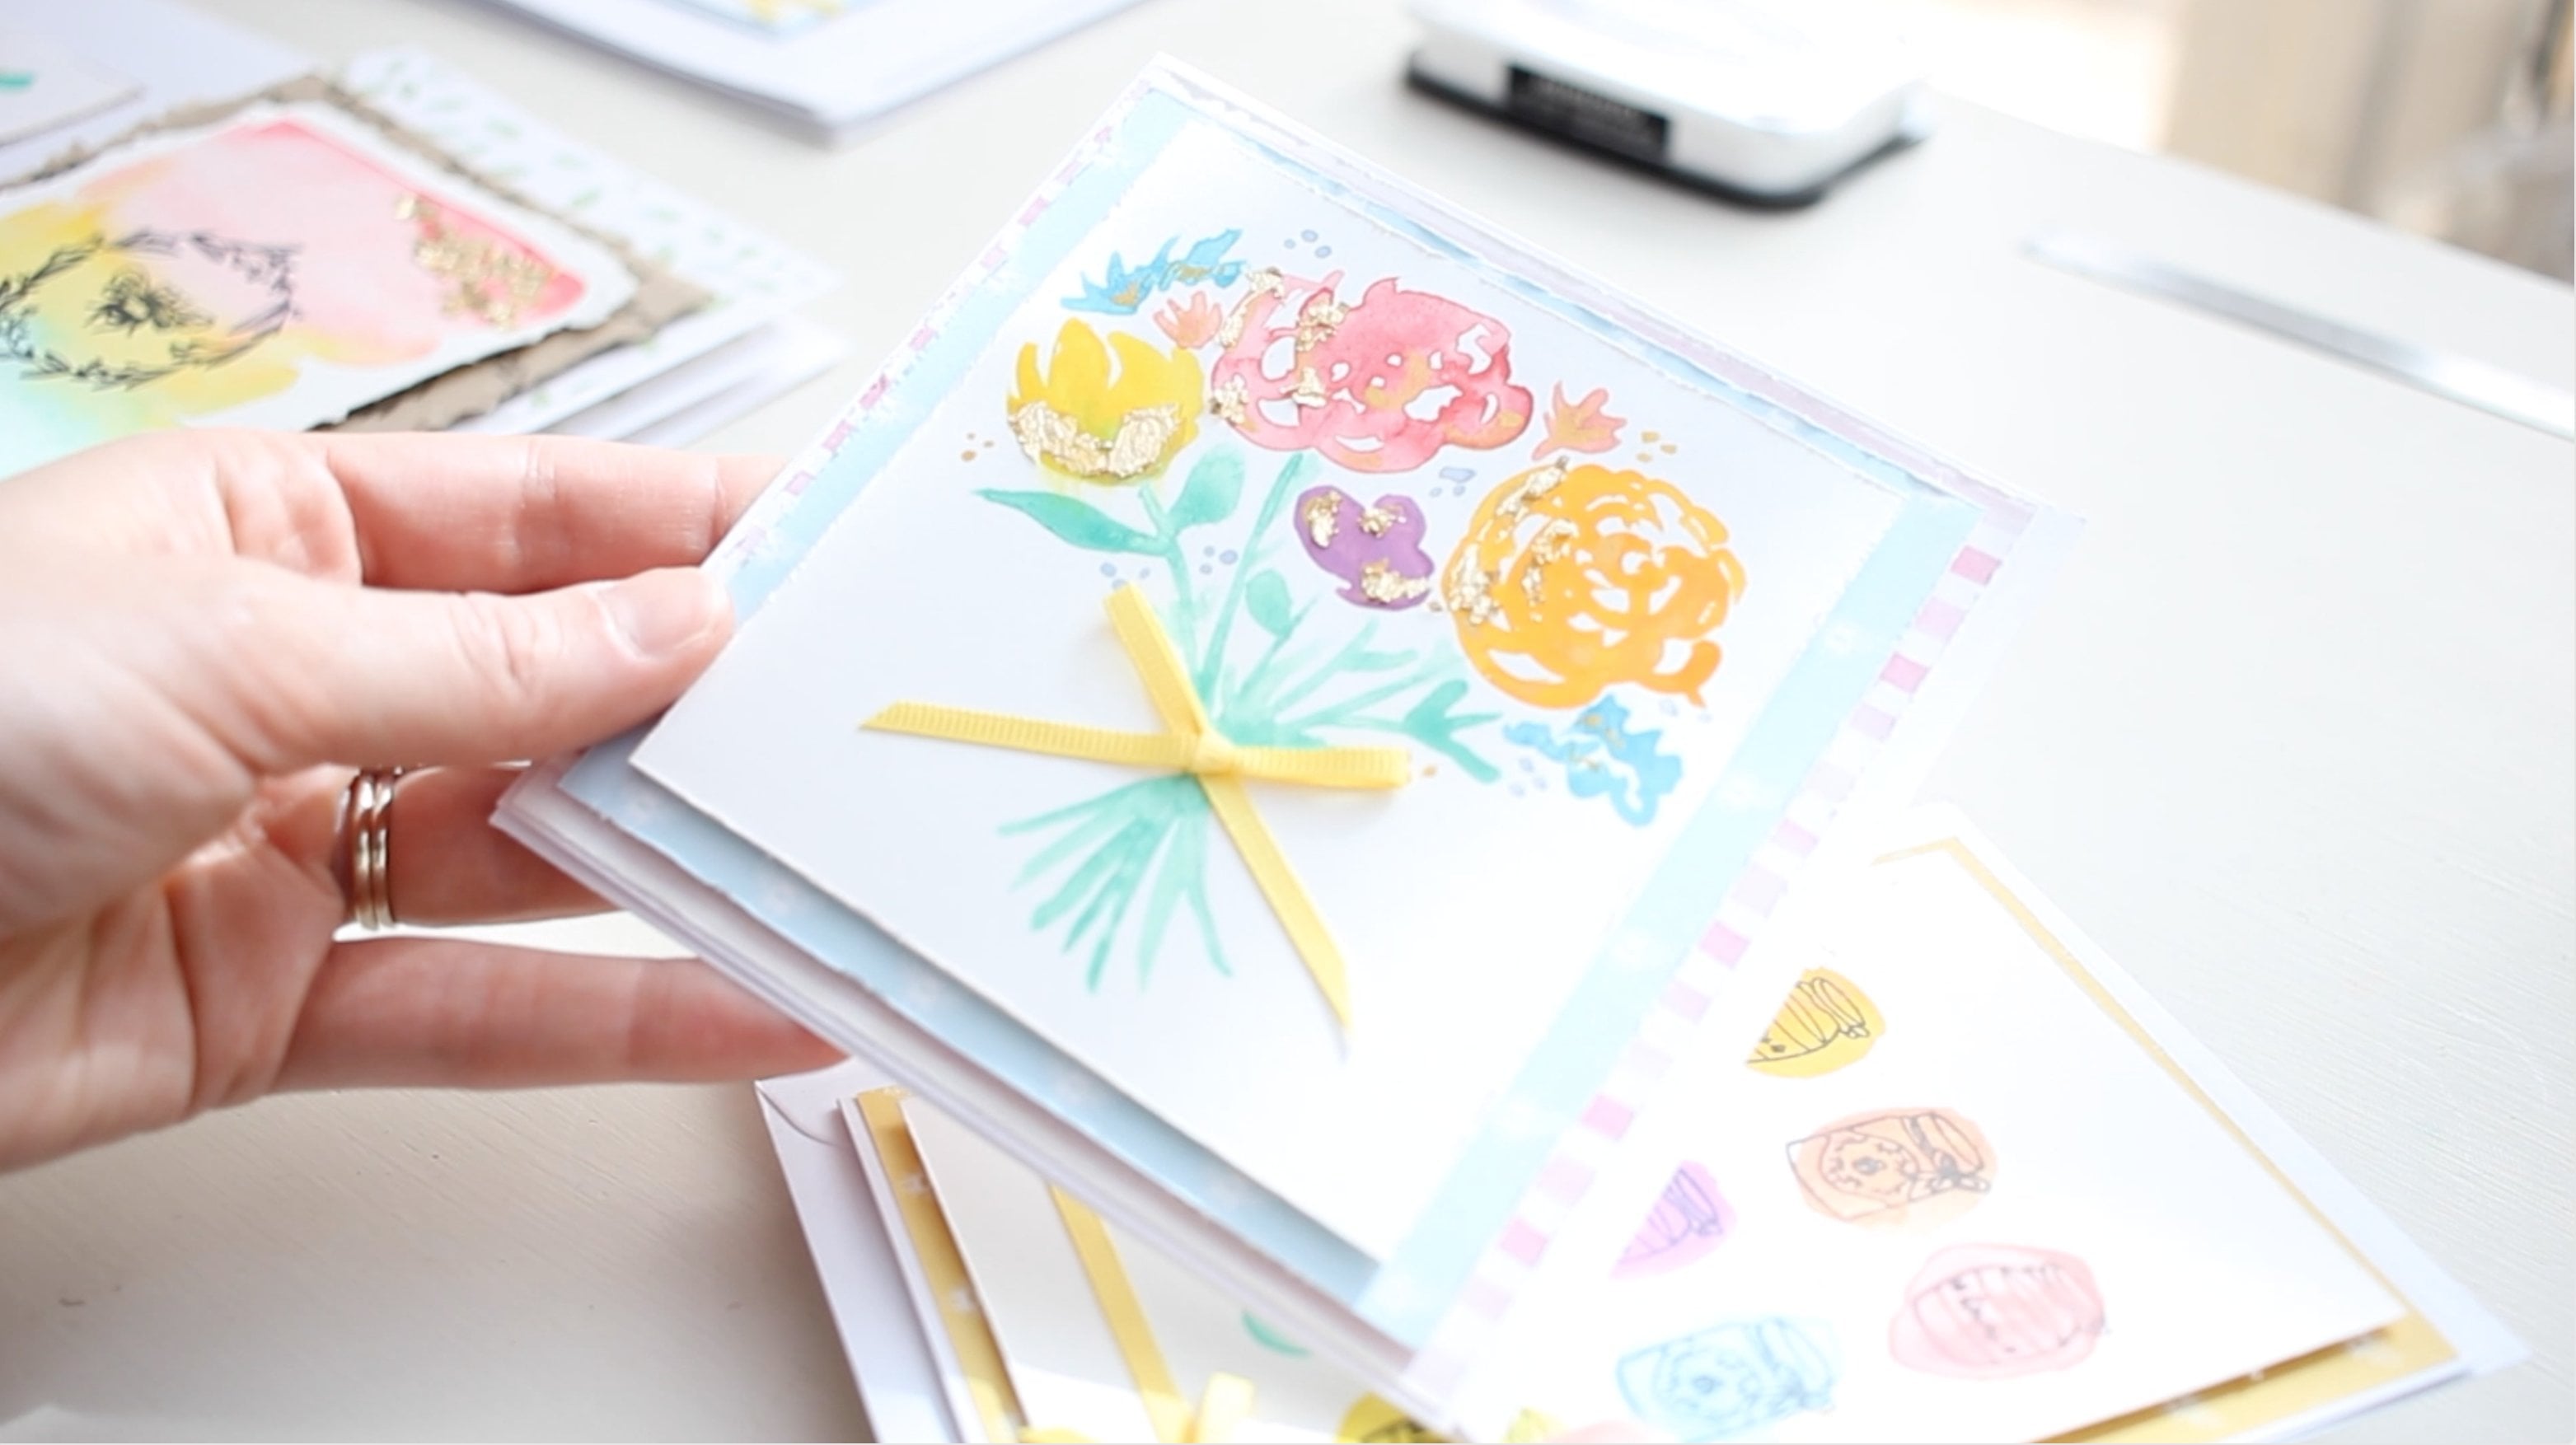
5. Sketching Your Design: So I have my watercolor
card blank here, and the first thing
I'm going to do is put masking tape around the edges because that gives a really nice finish
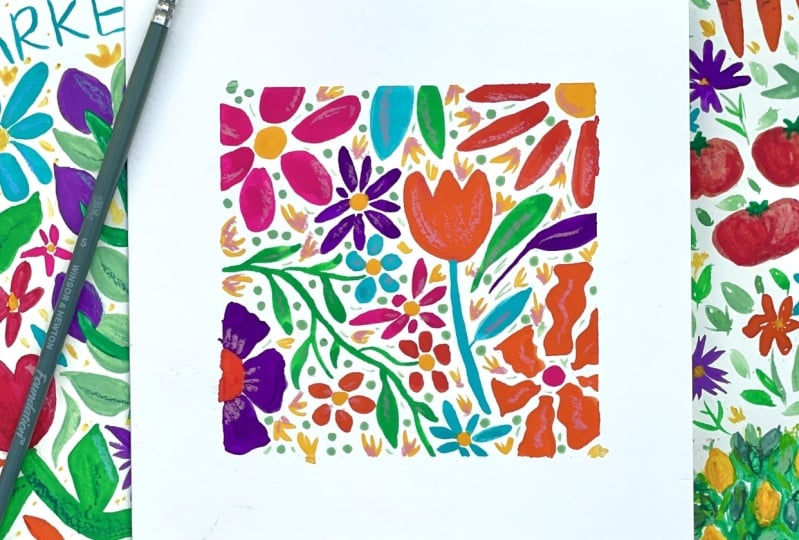
when you peel it off. It makes the finished
card looks like this with a large border and
the image in the middle, which I think looks
really smart. It looks really neat, and
it means you don't have to worry about finishing things off perfectly and making the design fit nicely and
all that sort of thing. I like to reuse masking
tape where possible. I think you can get a few
uses out of each piece. Once it gets too much
paint on it or loses its tack, then I replace it. So maybe after three uses, I found or if it
gets too tangled. I'm taping my card
to my desk here, but you might like to tape
it to your sketchbook or to some artboard or
something that you can move around if you don't want to do your project
all in one go. Now that we're taped up,
let's sketch out a design. I want to do a mix of large floral elements and
leaves and smaller pieces, but we're only
going to sketch in the large pieces for now. So I'm going to start top left. I'm going to do a bigger
flower with rounded petals. I'm sketching over the edge of the masking tape because I'm happy for this to be cut off.
I like the look of that. I know I want to have
a tulip in here, we'll have a big
tulip with a stem. I'm trying not to draw too hard because we're going
to want to rub this out a little bit before
we start painting in order that the graphite doesn't
show through the paint. I want to have something
trailing down here. And then come off it to
have some smaller flowers. The way I'm drawing my flowers, I'm leaving space between the elements because
when I paint them, I'm not going to leave time
for each color to dry. I'm just going to carry on. If they're not touching,
then they won't bleed. Which they shouldn't
really do anyway with the consistency of
paint that we'll use. But still, for this
particular style, I want to keep the colors. Separate, we'll have another
larger flower up here. And then down here, I want something with a bit
of a different shape. I'm going to give it some
funky kind wavy petals. I'm not afraid to shape my petals to fit
the space either. I've got longer ones that
reach to the edge of the tape and then shorter ones that fit in that gap there. That's all part of the design
a bit more deliberately. I'm going to have a leaf here
that comes off the edge. I don't really want to overlap that petal, let's come in a bit. I'll redo that a little bit. We've got a space down here, so let's add another flower. I'm going to have
a larger center. I'm going to have
some blockier petals. Then let's have a leaf coming
down here and one here, and then add a smaller
flower in this space. Again, I'm varying the length of its petals so it
can fill the gaps. I suppose because I'm used to designing patterns for
my paper craft supplies, that that's coming
through here as well, and when I look at the layout, I'm picturing it as part
of a bigger pattern rather than a finished illustration
in its own right. That's all I'm going
to draw in for now. We've got some gaps, but we'll fill those when we
finish the main elements. We don't need to draw every
single tiny piece right now with the simple small
bits that we'll add later. They don't need to be sketched. Before I begin painting, I'm just going to use
a rubber to try and take away some of the
harshness of these lines. I want to be able
to see my design, but I don't want the pencil
to show through the paint. It should be easier
because we're using bold colors that not too
much will show through. You can use a clean dry brush
to sweep those rubbings away if you don't want
to brush your fingers on your card to avoid any
oily marks transferring. Next, we're going to move on to painting and I'm going
to talk a little bit about getting the
right consistency for your guash paint
before we begin.
6. Painting the Main Flowers and Leaves: When it comes to quash paint, the consistency that
you want to aim for is that of double cream. You need to use a
little bit of water. You can use quash
straight out of the tube, it's quite thick and it
can leave a dry edge, which looks really
nice for some pieces, but I like it to be a little bit smoother
for painting flowers. I'm starting with Bengal rose, and I just add a few drips of water when I first started
painting with guache, I used far too much. I was treating it a little
bit like watercolor. But then I read some
advice that said that gouache paint is ideal at the consistency
of double cream. Now I try and aim for that
whenever I use gouache paint. I find that it does
come out nicest if you can get it not too thick and definitely
not too thin. I find these Windsor
and Newton paints are good for getting the
right consistency. It's easy. Whereas with the cheaper brands, I was really struggling to get it looking smooth and
opaque and not streaky. If you can invest in a
little bit better quality of paints, I think
it is worth it. It's a much more satisfying
experience to paint. We are diving straight in. I'm starting top left, but I am going to
dart around the page. I like to use one color at
a time and then move on, which does mean that
I'm sometimes trying to paint over here when there's
something wet up here. I'm just careful as much as I can be with where
I put my hands. But if you prefer to
paint left to right, so you don't smudge as
you go, then please do. The way that I enjoy
painting as well is to do the outline first and then fill it in almost
like icing a biscuit. I find that that's the
most satisfying for me. That works if you're
doing a small area at a time because the paint
doesn't have time to dry. The other thing I'm thinking
about when I'm adding different colors is the balance of the colors across the card. I don't want to
overload too much pink on one side and then
nothing on the other side. Once I've done one flower, I'll have a think about where
I want the pink to be next. I'm going to come down here and then I'll do a little
spot down there. As I mentioned before, I'm using a number
five round brush, a Windsor Newton one. I found that I can do
a whole piece with this one size of brush
because it's quite versatile. I can get fine details
and I can also do bigger broader
strokes if I want to. I spent a long time
getting angry at my tiny brushes because I
thought the smaller brush, the more detail
I'd be able to do, the more carefully,
the more intricate. But it didn't work
out like that. It took me a while
to realize that a bigger brush was
giving me more control. It could hold more paint and
it would give a finer tip. That's why I'm using
this size for this card. I also use this size brush for my bigger A four sketchbook page that I did with the
similar design as well. Of course, because these
are abstract flowers, they don't have to make
any botanical sense. If we want a bright pink
center to the flower, we can. The next color I'll
use is flame red. I've been working
with these colors that I'm really enjoying
using for a few weeks. I just keep adding them to my
palette in the same place. I'm only using a
little bit of red on this flower here and here
and this center here. I realized it was fairly
similar to this orange. I really like this
vibrant orange, we're going to use a
little bit more of that. Okay, I've added the
purple turquoise layers. I love this turquoise color. I think it's probably my
favorite out of these. Now we're going to use
the permanent green light to add in some of the leaves. I've swapped out my water. It was getting a bit, um, cloudy and gray, to keep the colors fresh,
I've changed it. I don't always. Sometimes
I'm a bit lazy. I just paint with dirty water. I think it depends what
colors you're using. When they're super bright,
it doesn't matter, but if you're using pastores, it makes them muddy
quite quickly. Let's swap it out.
With this color, I'm going to do
the leaf up here. Yeah, check, there's no fluff on your card before you paint. I don't know where all the
fluff comes from in this room, but every time I swap colors, there's a new layer
of fluff on my card. Also using this for the vine
shape that goes down here. Again, I will try my best
to do a steady hand. I don't know whether
that's something that just takes practice or whether some people just
have naturally steady hands, but I don't think
I'm one of them. I also want to add some
leaves to this vine. I haven't sketched them in, but I can see where there are spaces for bigger
leaves and smaller leaves. For this, I'm doing a slim line, pressing down with the
brush and then lifting off to create the leaf shape here see if I can fit
the mini one there. I'm also going to
put one here to balance out the colors a bit, so I have green
here here and here. They don't always
come out nicely. Sometimes I have to fill them
in a bit, but that's okay. Now I'm going to swap to yellow and I'll do the
centers of the flowers. Okay. Now we finish painting all the main elements
that we sketched in, and it's time to add
some smaller details in between the larger pieces.
7. Adding Details: Buds and Pollen: Point, the composition
of our card looks a little unbalanced. We've got all the
large elements in, but we've got some bigger gaps, white areas that we can
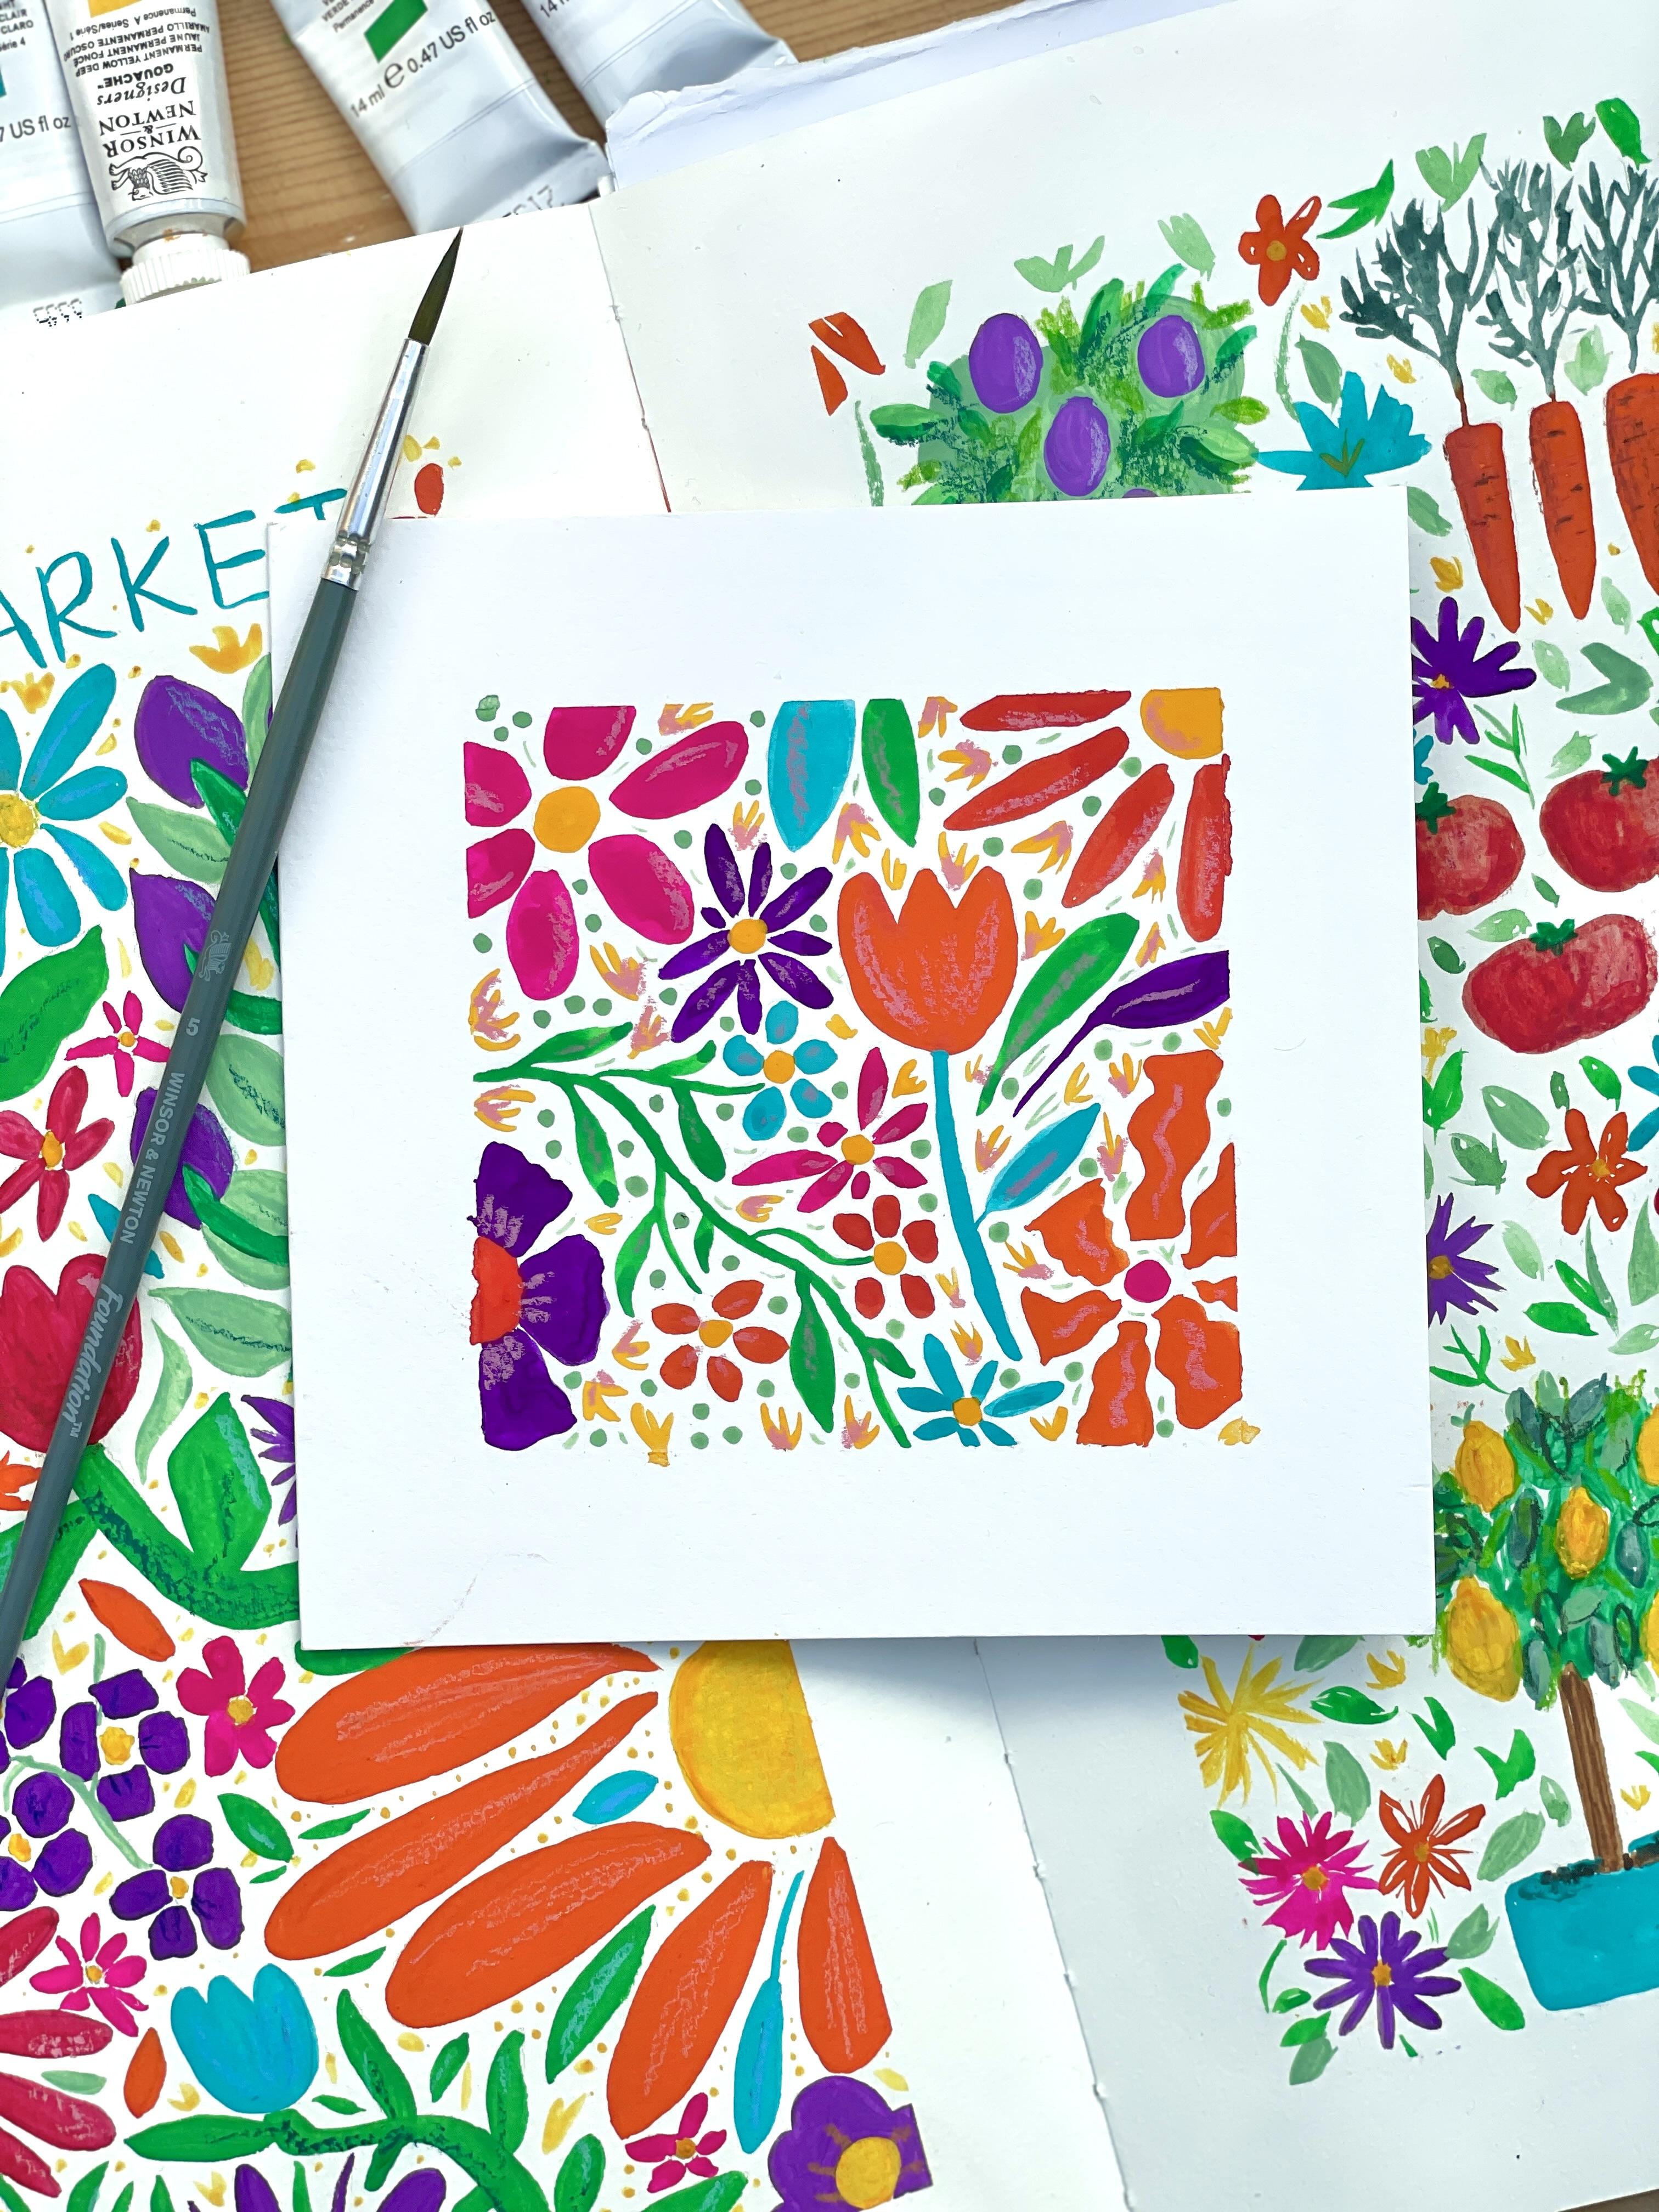
fill with patterns. On my original design here, I mainly filled in the
gaps with yellow and I chose to do these
small bud type, leafy type abstract elements. I'm going to do the same here. I have tried different colors for this type of
filling in the gaps. But I find that yellow
really lifts the card and adds a feeling of
movement and life to. I know I still have
some pencil marks that I could do
with rubbing out, but I'll go through and
do those at the end. I haven't let anything
dry completely yet. It's not taking too long.
It's quite a warm day. It's quite warm in this room, it's not all super wet. But if you prefer to let
your layers dry in between, then you can if you're too
worried about smudging. With these little leafy buds, I'm just varying the direction. If there's space,
I'll give them three. I don't know, frond. And
where there's less space, I'll give them maybe two. Another nice way to fill
space is to add extra leaves, so that's an option too. If you want it to look very green and like a lush
tropical forest, you could choose a dark green. One I ordered recently is
this one, Windsor green. It's quite a bluey
green like turquoise. It comes out really
nice on the page, but I'm sticking with
brights for this card. One of the things I
like about this design is that it's so simple to do. It makes me feel that I
could do it ten times over, do a series of them testing
out all my different colors. I hope you're enjoying your
painting as much as I am. Now that I'm done with
the yellow elements, I'm going to add
some green elements, even smaller pieces,
just dots this time. I already have on my palette this pale green that I'll use, which is this
permanent green light mixed with some white gouache
to create a pastel color. I find that this type
of pastel tone is quite nice in the background because it's not too dominant. It allows the bright elements, the flowers to stand out. But it makes the whole piece
come together a bit more. I also like that it
feels somewhere in between sparkles and somewhere in between pollen floating
around in the air. Again, just gives it a
little bit more of a feeling of life and movement. I'm just going to do almost like tiny poker dots
wherever there's a gap. One of the things I like about
simple shapes like this is that you can quickly fill up a space with a design
that looks complex, but actually doesn't have
much complexity to it. Each shape in itself
is quite simple, but the overall
effect when you're finished is something
that's very detailed. I'm just adding some tiny
thin strokes of green too where I can't
quite fit a dot. They're just almost like tiny little flick
marks of green. Now that all the painted
elements are done, we're going to add some
finishing touches to our card. But before we do
that, I'm going to grab my sketchbook and
just experiment with a few different
ways and show you a few different ideas for how you can
finish off your card.
8. Finishing Touches: Sketchbook Experiments: In my sketchbook, I've
quickly painted out some leaves and petals in the colors that we've
used for our cards, and I'm going to try out some different materials
over the top of these to decide what I like best before I put it
on my final card. You can follow along
with this process too, or you can pick what
you like to look of and add that to your final
card design now. First up, I have neo coolors as I mentioned in the
materials introduction. These are water
soluble wax pastels. I have this set which
has subtle colors in it. I'm going to try out the pink. When I did my
practice card here, I liked how the pink looked
on top of the yellow, so we can just see
how those colors look together and see
if the pink would work as a highlight on
these other colors too. I'm not normally such
a fan of mixed media. I like quite a flat
look to my work, but I do think it
lifts the design a little bit to have just
something to finish it off. I definitely like this pink. I think it looks really creamy. I can also try a yellow, which is maybe a little
bold for purple. I've also tried out using a darker neo color
to add shading, but I think this brings
the design down too much. When I tried this before, I decided not to do
it this time around. But just to show you
what it looks like, you could use a darker
color, for example, to do lines on leaves or a shadow on the
underside of some petals. Another thing we can try is
a fine liner to add details. This is a UI pin fine liner, not 0.5, and we can add lines
over the top of the paint. It creates quite a bold look, so you have to decide if
that's something you like. It can be nice if
you use it to add details like little
stamens to the flowers. Or if you've left space and you haven't
filled it completely with paint and extra elements
like I have on mine, you could use the
fine liner to add extra small flowers and
details in between, like this. I could do vines on the leaves. It doesn't really
go over the top of the neo colors
because they're waxy. Decide one or the other, or maybe use the fine liner
first if you want to do both. I also found a white colored
pencil in my stache. If you've got some
darker colors, you could use that
to add highlights. It works better on some
colors than others. Actually, it works quite
well on the yellow still. It shows up nicely on the red. So just have a play
around if you want to. You can use a mix
of white pencil and a fine line or
two to add details. But what I'm going
to do for mine, I'm going to give it
a bit of time to dry. I've peeled it off the desk. I was about to put
my sketchbook on top and I was like, now,
I'm going to smudge it. Once this is completely
dry, it's nearly there. I'll carefully rub out any
remaining lines I can see, and then I think
I'm going to go for the pink neoclor that I tried out first to
add some highlights. Then we'll do the
fun bit of peeling off the tape and
seeing how it looks.
9. Adding Finishing Touches: Okay, so I decided to
go with the pink one. I'm going to add some highlights
to some of the petals. I guess I just try to think
about not too perfectly, but in rough terms, where the sun might hit. If it was shining on
the petals and leaves. I mean, this is obviously
quite abstract, so it doesn't have
to be perfect. I'm not doing each
flower the same. But it's just to add a
little bit more life to it. I'm also going to add
a bit of pink over the top of these
yellow elements. Because these are water
soluble, you can, of course, use them wet or you can use a paint brush to add
water afterwards. But I'm using them dry for this. I find that it works better on a bigger piece where you don't have much control
once you add water. So something small like this. I think at least for me,
I'll make it too messy, so I'm not going to
use water this time, but it is something fun to experiment with on a
bigger sketchbook page. Let's take off the tape and
reveal our finished card. Here we go. Doesn't
that look cute? Thank you so much for
painting with me today. Keep watching for the
final conclusion video.
10. Conclusion: Thank you so much for
joining me for this class. I hope you had fun painting
and experimenting. Now there are a few final
steps to finish off. Firstly, please leave a review of this class in
the review section. Not only does it help
me, but it also helps your fellow students decide
if this class is for them. I actually has a huge impact on how people find this
class in the search results. So if you can leave a
review, please do so. It only takes a few minutes and it makes a really
big difference. Secondly, please make sure you've uploaded
your class project. So take a picture of
your finished card and go to the class
project section. And the tabs below,
upload your picture, add a little bit of text to tell people about what you created, and then others can see it and comment on it and gain
some more inspiration. It's great to see everyone's
different designs. I love looking at all
your submissions. Thirdly, hit the follow button above to follow me as a
teacher on Skillshare. That way you'll get notified whenever I publish new classes. Finally, if you want to
find out more about me, you can check out my website, which is stickkitten.co
dot K. I design and sell my own range of cute and contemporary papercraft
and planning supplies. So on my website, you'll
find paper packs, stamps, stickers, stationery, and all
kinds of lovely goodies. You can also find
me on Instagram at Sticker Dot Kitten
please also check out my YouTube channel
where I upload lots of behind the scenes and small
business type content too. I'd love to keep
in touch with you, please do add yourself
to my mailing list. If you go to Stikkitten dot code at Ukfwardslash NewsLetter, just pop in your name
and email and I'll keep you up to date with
everything that's new from me, including products and
Skillshare classes. Hope to see you again in
another class soon. Bye.
 Sarah Douglas, Papercraft designer & illustrator