Transcripts
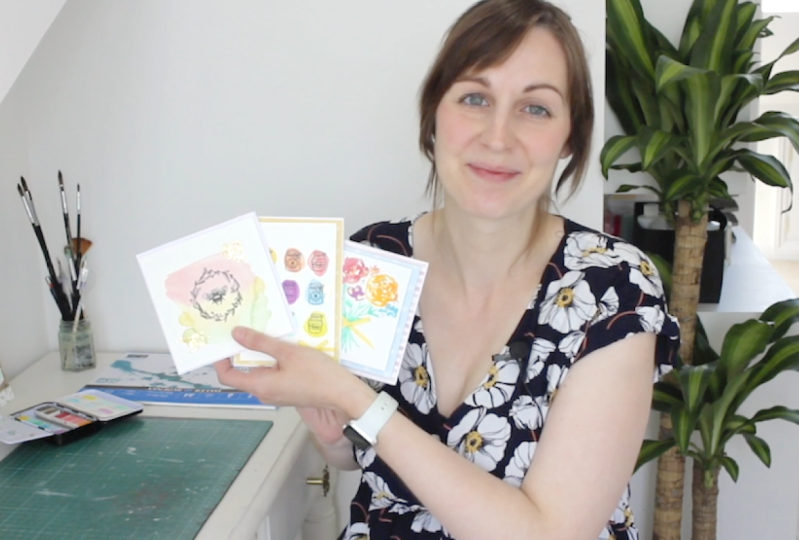
1. Introduction: [MUSIC] Hi, I'm Sarah Douglas, card maker, crafter, and small business owner. In this class, I want to
show you how to incorporate simple but beautiful
watercolor elements into your handmade cards. In this class, I'll
show you how to use watercolor washes,
spots of color, and simple florals
to add interest, variety, and best of color
to your handmade cards. I've been making cards
for over 10 years now, and I run a small
business designing and making my own paper
craft supplies, including patent paper,
stamps, and stickers. Since starting my small
business in 2016, I've been on TV demonstrating
card baking techniques, and my products and
handmade cards are regularly featured
in craft magazines. My crafting style is
clean and simple, and I love using
watercolor elements in my handmade cards. In fact, lots of
my paper designs fit to my watercolor artwork. [MUSIC] During this class, we will practice the techniques first and then move
on to our project, creating three beautiful
handmade cards. I'll show you step-by-step
how to make each one. Painting the watercolor
elements, stamping on top, layering up with patent paper , and adding embellishments. This class is suitable
for beginners in watercolor and card making. But if you've been paper
crafting for some time, there'll be some new
inspiration for you here too. You just need some
watercolor paints, brushes, and paper, and a few basic
card-making supplies, including stamps and ink. We'll be using simple techniques to create three beautiful cards. By the end of this class, you'll have knowledge of
several different ways to combine the two worlds of watercolor and paper craft that you can use in any
mixed-media projects. So let's get started. See you in the first lesson.
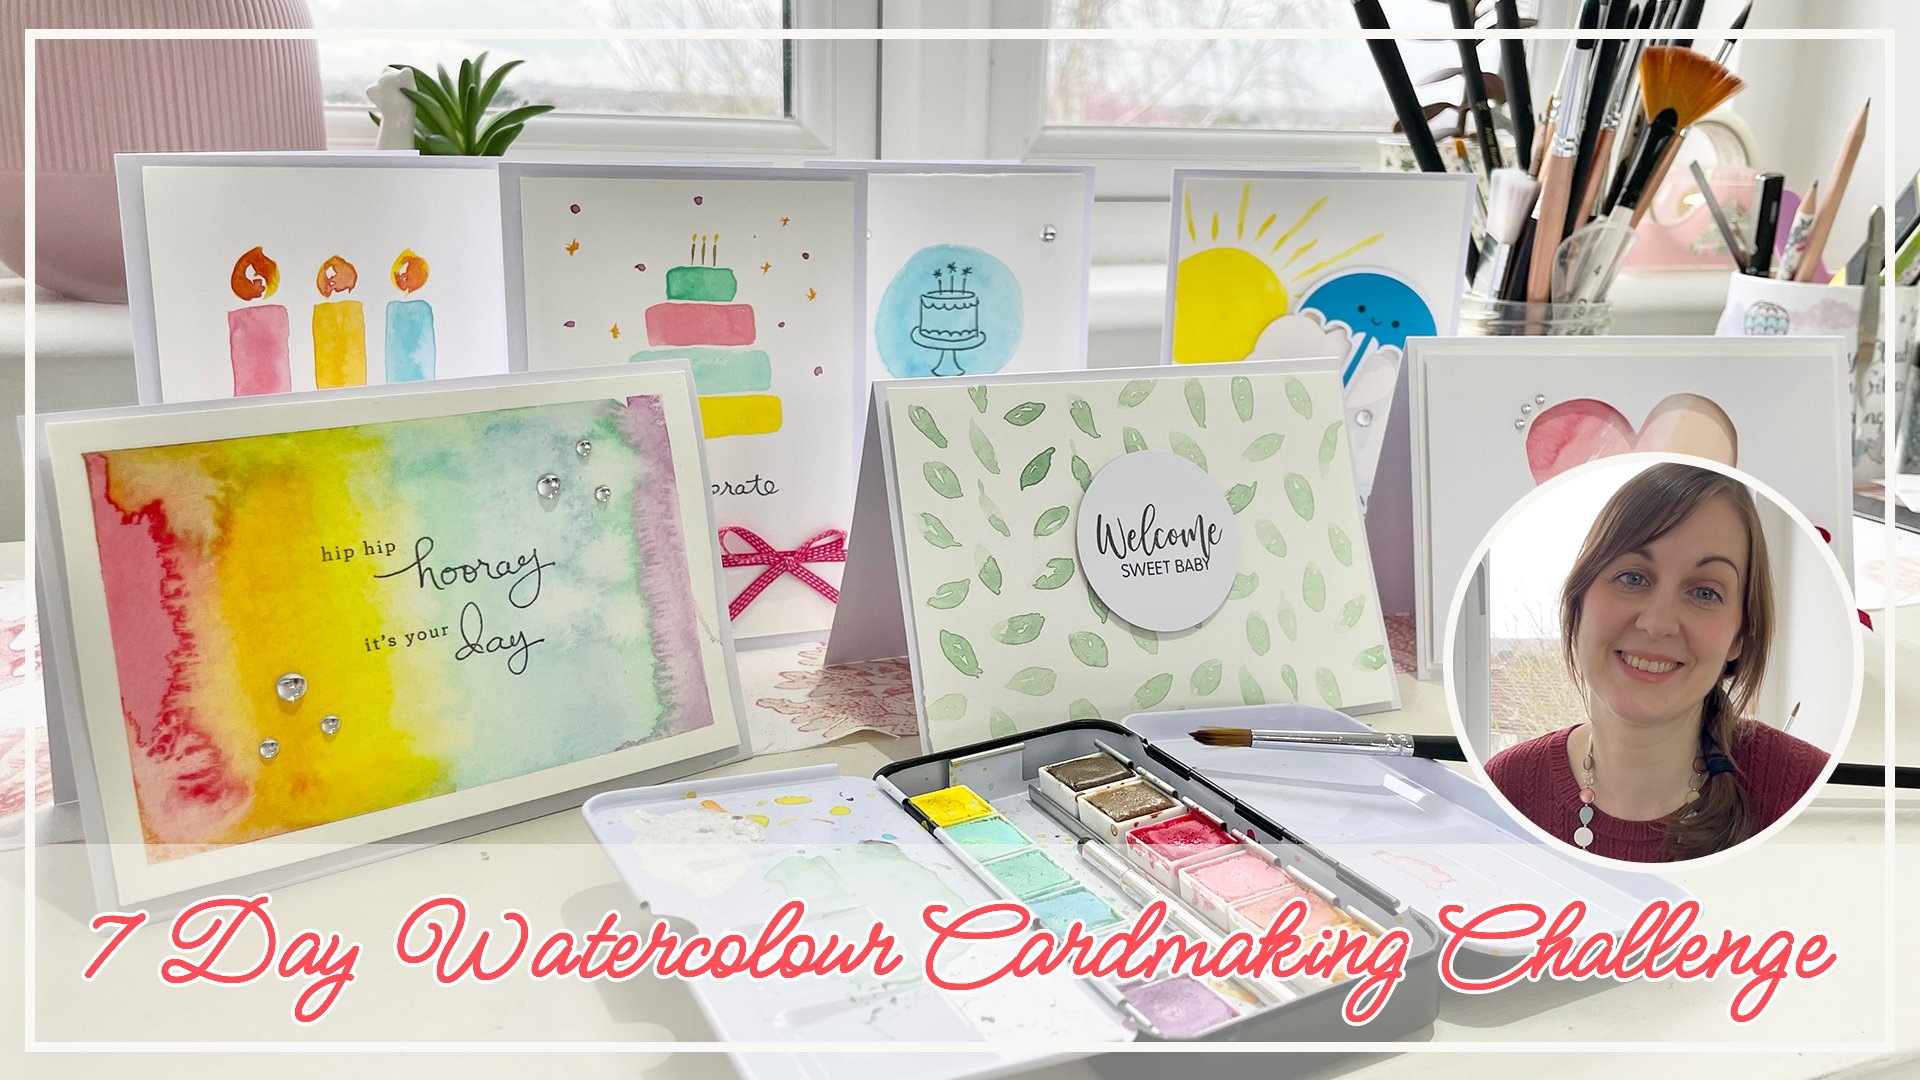
2. Project Overview: [MUSIC] In this class, I want to equip you with three simple watercolor
techniques that you can use in your card making, your sketchbook practice or any other mixed media projects. Our class project will be to
create three different cards that combine
watercolor techniques and card making techniques. Such as stamping,
layering up with patterns paper and adding embellishments such as
ribbon and gold leaf. We'll start with a
practice sheet to have a go at those watercolor
techniques first. Then there'll be
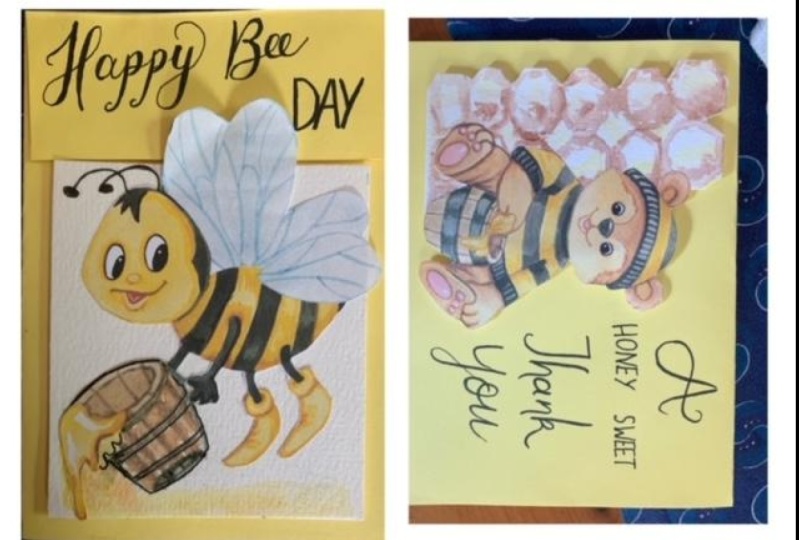
a lesson focusing on each of the three cards. Firstly, is stamped be in wreath card using a simple watercolor wash
for the background. Secondly, it's stamp
tiny jar card, but we're painting
bright spots of pasta watercolor and
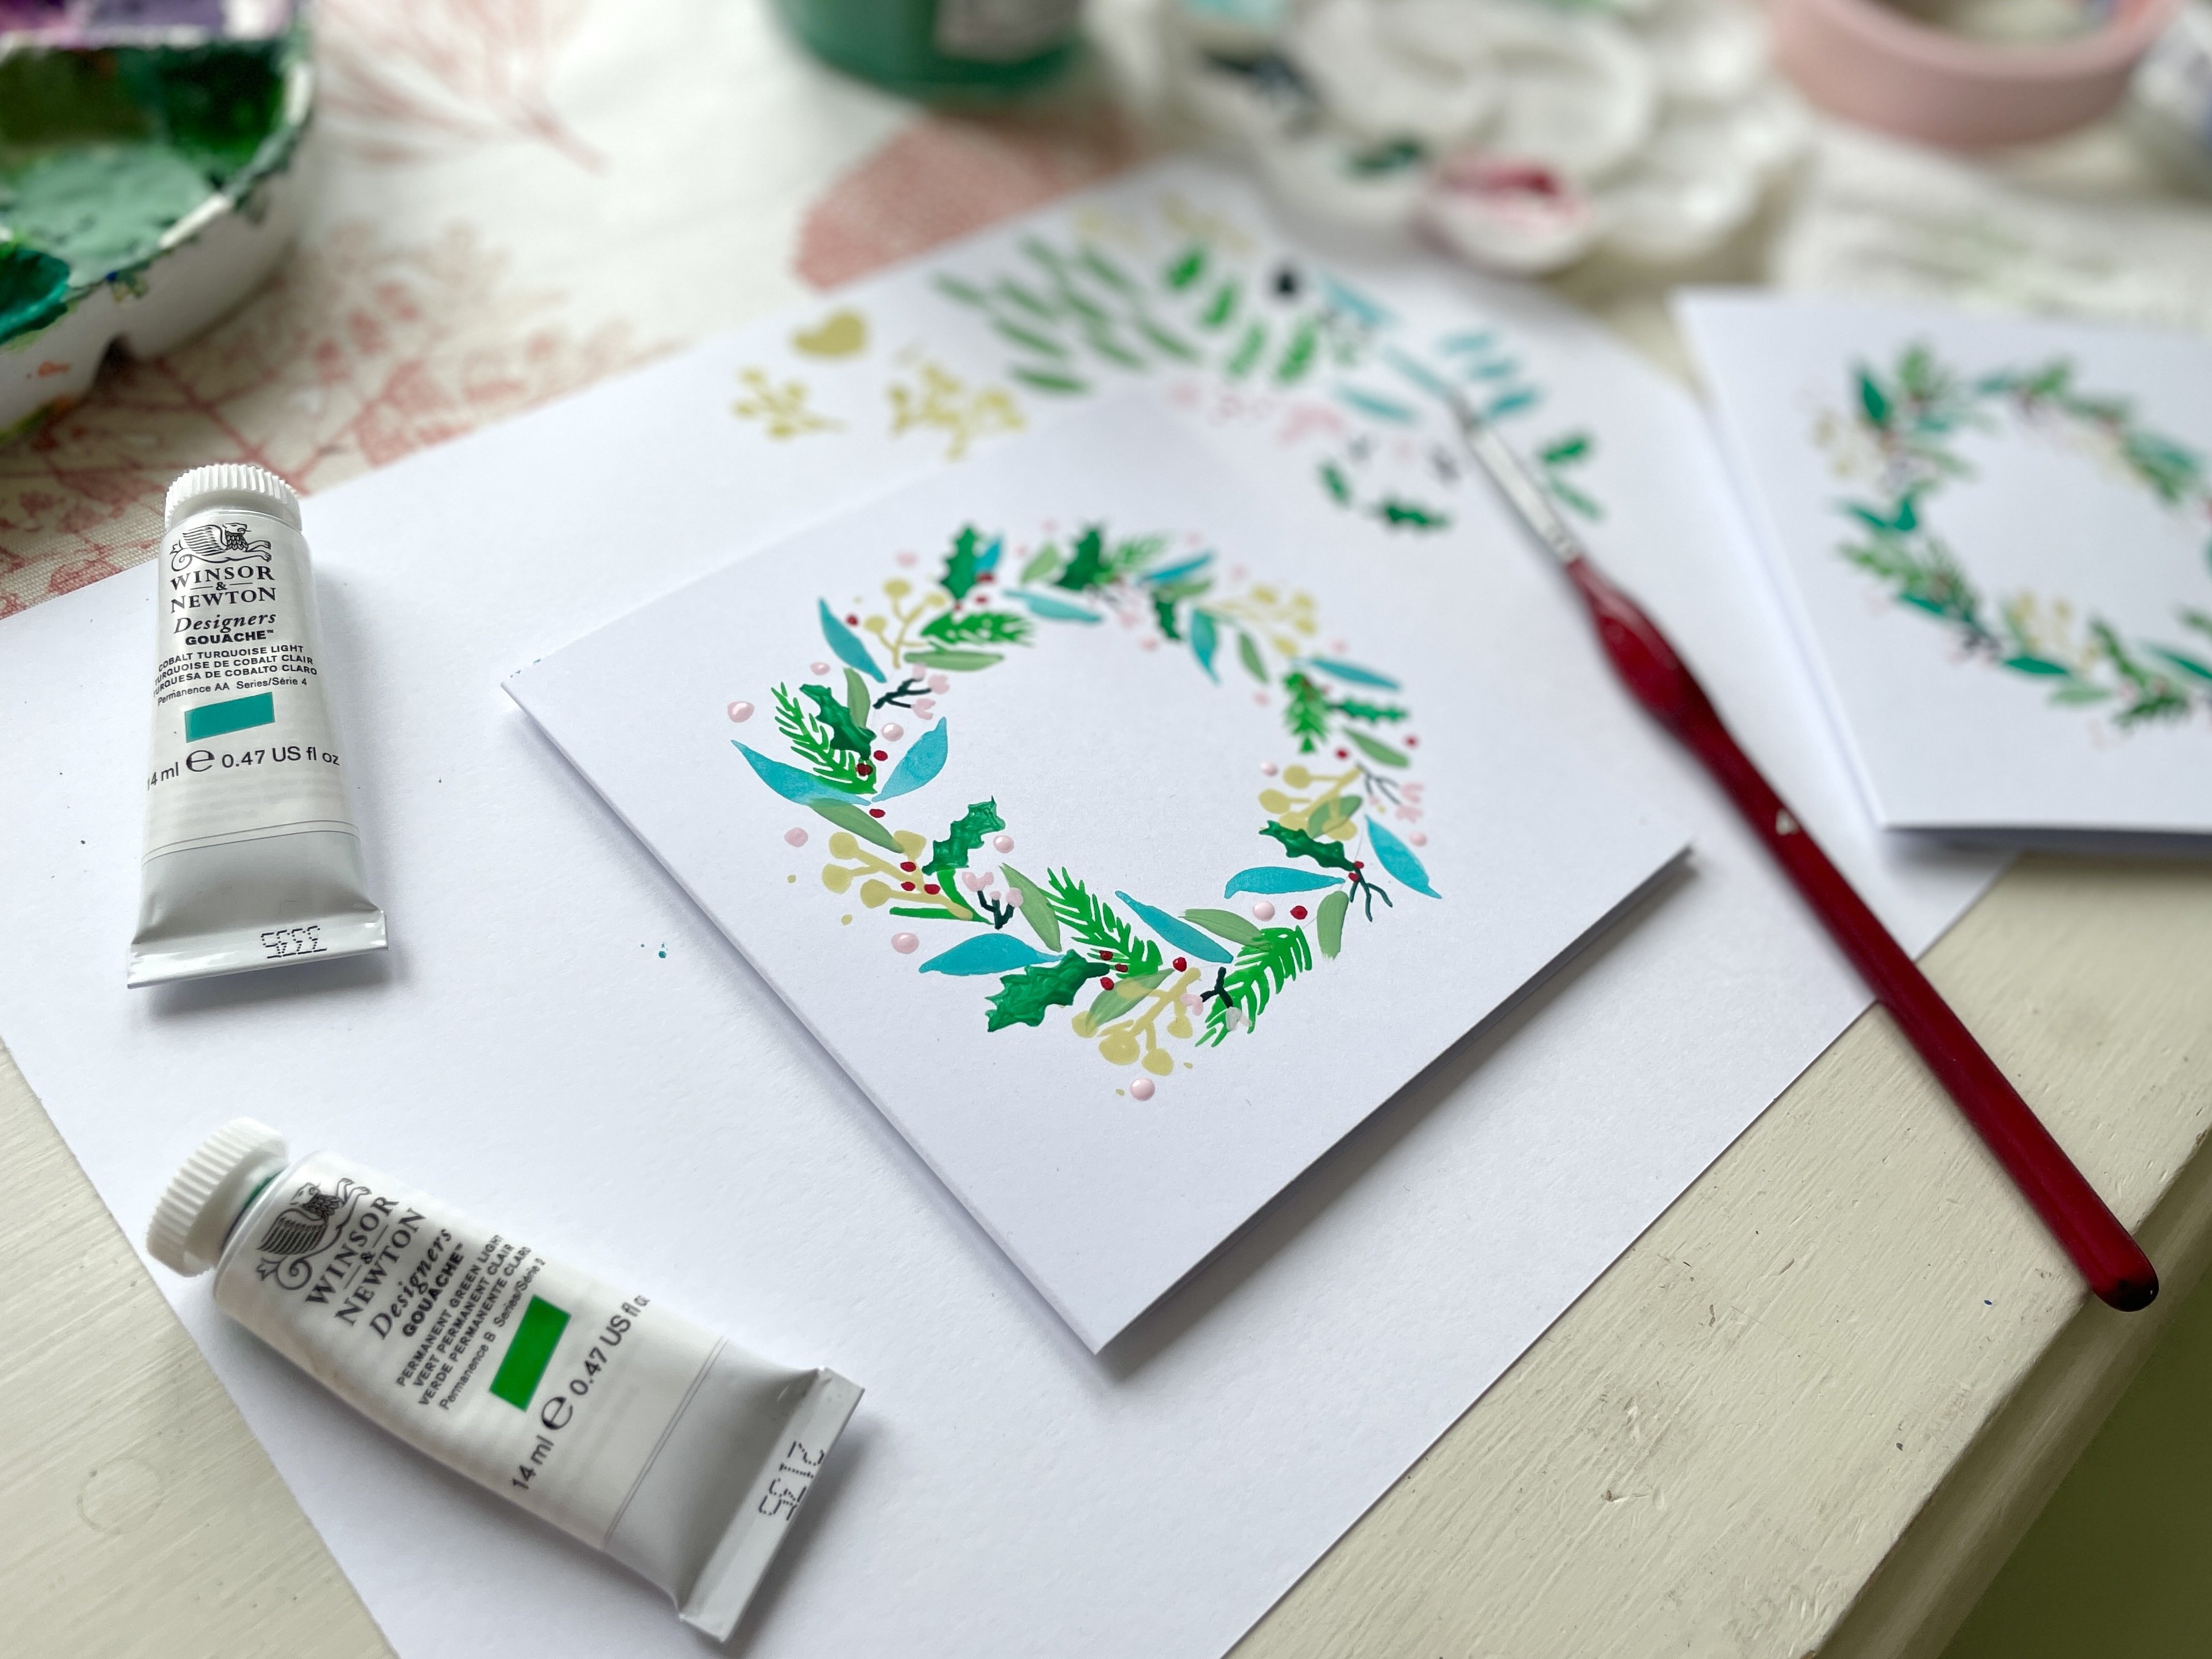
stamping on top. Thirdly, a watercolor floral card where we'll paint
some loose blooms, leaves and stems and layer this mini art work piece up
with pattern paper, adding gilding flakes at the end for a bit of a luxury feel. In each of these lessons, I'll show you the
watercolor techniques, stamping techniques, and how to put
together the card, as well as adding those
finishing touches such as ribbon and
gilding flakes. The final lesson,
I'll also give you some other bonus tips for
mixing up your design, that's all and
creating something that feels good for you. I've been making cards for over ten years and
nothing gives me more satisfaction than combining the two worlds of
watercolor and paper craft. Two hobbies that I love. I hope you feel the same way as you jump
into these projects. In the next lesson,
I'll show you what supplies you need to create
your three handmade cards.
3. Supplies Neeed: [MUSIC] For this class, we will need watercolor
supplies and making supplies.
Watercolor paints. I'm using this prima pastel
dreams watercolor set. I love these shades because
they look vibrant and well-coordinated on the page without needing to do
a lot of color mixing. But for this class, you can use any
watercolor paints you have and just choose
your favorite shades. For brushes, you'll need a bigger brush to do the
washes and the color spots. This one is a Size 12, round brush and a smaller
one to paint the flowers. This one is a Size
4, round brush. For watercolor paper, I'm using this Taylor rounding Aquafine
hot-pressed paper. You don't need the same brand, but I would recommend
using the same thickness, 300 GSM, and make sure it's
hot press watercolor paper. There is cold-pressed,
is more grainy, and therefore harder to stamp on for our particular project. In terms of
card-making supplies, you'll need some card
blanks and envelopes. These often come in big packs. We won't be painting
directly on this, a thinner card is fine. I have a couple of
square card blanks for the V and floral cards. I'm using an A6 card blank
for the honey Jaccard, but you can use
whatever you have in your stash and adapt
your artwork to fit. You'll also need
some patent paper, a clear stamp set, an acrylic block, and a water-resistant
black ink pad, such as this memento
tuxedo black dye ink pad. For the finishing
touches to your cards. You might also like to add some colorful ribbon
and gilding flakes. For adhesives, I'll be using
tacky glue and fine tape. You'll also need a pencil and
scissors or a craft knife and cutting mat to trim
paper to the right size. Now that you know
what you'll need, let's get started with
some watercolor practice.
4. Watercolour Practice: [MUSIC] In this lesson, we're going to do a bit
of watercolor practice on a sheet of watercolor paper before we dive into
making our cards. This is a chance to test out your color combinations,
your brushstrokes, get a feel for the paper you're using and if you're a beginner, just to have some
more confidence before you jump into
your final projects. The first technique
we're going to practice is a simple wash
of three different colors. I'm using a puzzle
watercolor set, so I don't need to
do any color mixing. As I know that all of these
shades work together. Some choosing a color I
like the look of to start with and then just
painting a swish. Then following with
two different colors. That's in them bleed together
as my brushes quite wet. A bigger brush is good for this. This one is a size
12 round brush. I'm also going to test
out another color combination to see if I like it. You can do this as many times
as you need to there if you want to save your
watercolor paper after the first couple, you can do further color
testing on scrap paper. The next technique
is just creating some bright surface of
color to stamp on top of. There is not much
to practice here, other than just thinking about
the sizing and spacing of your circles and how they work with the
stamps you choose. Experiment with some paler and some more opaque circles to see which effect you like best. Finally, and probably
the one you'll want to practice
most is the flowers. They are fairly
loosened abstracts, and just built up using a
series of simple shapes. For this one, I'm
just doing a C-shape over and over and
layering them up, letting the colors
bleed together. I'm using a smaller
brush than I did before. This one is a size
four-round brush. For this one that
looks like a tulip, I'm painting a center petal and then one curving
round each side. For this one, that
looks like a rose, I'm doing C shapes again, but making them a
lot more wobbly and starting from the
center moving outwards. You can also experiment
with some smaller balloons, some with points of petals
and some with rounded petals. For foliage, you might have
some leaves like this, so I'm pressing the
brush down to make a thin mark and some long pieces of grass
or slim leaves like this. You can keep it really basic.
5. Stamping Practice: At this point, if you're a beginner card maker or if you're using
a new stamp set, you might also like to practice
your stamping techniques, especially if you've
not stamped onto watercolor paper before and
want to get a feel for it. Once your paint is
completely dry, you can try stamping on top, choose the stamps
you want to use for your project and place
them on the acrylic block. These clear stamps are
made of photopolymer, so they're slightly tacky and cling to the block perfectly. Ink the stamp evenly and then press it down onto the page with a
firm even pressure. Give it a few seconds for
the ink to transfer to the paper and then lift
the stamp off straight up. Try not to rock the
stamp too much or push down super hard as this
can distort the image, but it does need
to be firm enough to create a clear impression. You can keep going to
see how different images look in combination
with your watercolors. This is the point where
you can begin to visualize some of those final
designs for your cards. You don't have to reproduce exactly the designs that I do, although you're welcome to, The key is to find
something that's visually appealing to you or even to the person you
might want to give you a handmade card to
when it's ready. One thing I will mention here too is how to clean your stamps. You can just give them a rinse into the tap to wash the ink off or a little rub with soap and water if they
need a deeper clean. I like to have a
stamping shammy handy. It's just a reusable
cloth soaked with water that you can
use over and over. It gets stained, but it
still works perfectly. Once they're dry, your
stance will cling again to the backing
sheet for storage. Now let's try out some
different stamp designs on top of our
watercolor circles. I'm trying out the honey jars to see how they look
and how they fit. Most are going to
test out the bee. Then these small
flowers as well. Finally, I liked the
look of this cute bee. Let's see how it looks
with the flowers. Now that we've had
some practice, we'll dive into
making our cards.
6. Watercolour Wash: [MUSIC] Our first project uses a simple watercolor
wash that we've practiced with the three colors. Stamped be underneath on top. To start with, we'll need to cut our watercolor paper to the right size to
fit the card blank. The easiest way to do this
is to just draw around the card blank and then cut it a little smaller
than your pencil line. [MUSIC] I'm using a craft knife
and a ruler here, but you can use scissors. I'm cutting at about
half a centimeter beneath the line I drew. This will leave a
nice white border when you mount it
to the card blank. [MUSIC] Now let's do the background. I'm happy to have this as
quite a pale translucent wash. My stamped images
stand out on top. [MUSIC] I like the way that the colors bleed
into each other. I'm trying not to overwork
it by going back on myself. I'm not too worried about it being even or perfectly spaced. This is just about enjoying the process of doing
something simple. If you're not happy with
how yours has come out, you can of course, do a few
versions and pick the best. Now let's leave this to dry. [MUSIC]
7. Bee Card: [MUSIC] Once your background
is completely dry, you can stamp on top. I'm going to use the leaf stump first as it's the
largest one to position. Place it on the block. [MUSIC] Ink it up, and then the advantage
with clear stamps is that you can see where
you're placing the image. Press down firmly
and hold it for a few seconds, then lift it off. Next, I'm going
to stump the bee. As I mentioned at the
start of the class, you don't need to have
the same stamp set as me. You can choose whatever
kind of image or design you like best that
works with your background. The next step is to mount
this to the card blank, check the placement first, and then add a few
strips of foam tape on the back [MUSIC]. Take off the backing, and then adhere it to the card. I prefer to use foam tape here, rather than just gluing
the piece straight on as it makes it sturdier and gives it a little bit more of a professional feel to
have some dimension there. For the finishing touch to bring this card to life
a little bit more, I'm going to add
some gilding flakes. No need to do
anything fancy here. Just put some tacky glue where you'd like
the flakes to go, and place them on
with your fingers [MUSIC]. You can then just
brush away the excess. I'm using my fingers
here as well for this, but if you prefer, you
can use a dry paintbrush. [MUSIC] Our first card is done. Don't forget to upload your
work to the project gallery. Let's move on to the
next card [MUSIC].
8. Colour Spots: [MUSIC] For this card, I'm using an A6 card blank. Let's trim our watercolor
paper to match. [MUSIC] Again, I'm just going to draw around the card to get the right size and
trim it smaller. [MUSIC] I'm going to
cut off more this time, about a centimeter away
from a line I drew. Because I know
once I add a layer of patent paper underneath. [MUSIC] I'm going to start
painting the circles, and I'm just doing one of each color from my
pastel palette. You could do the same,
or if you prefer, you can make your
circles all one color, or two alternating colors. Just choose what suits you best. You can do them very
deeply or very loosely. It's okay if they're messy. I want this cards to feel
hand painted and playful. I'm not being overly careful about the spacing and
shape of the circles, but I did start from
the center before doing the circle side to side to make sure I can fit
them all on the card, and they're relatively central. [MUSIC] Let's leave
this one to dry. [MUSIC]
9. Honey Jar Card: [MUSIC] Although we'll be stamping on top in a
water-resistant ink, we definitely want to make sure the paint is dry
before stamping on top to avoid any slight bleeding
or fuzziness in the ink. I'm going to begin with
this cute honey jar design and stamp alternate circles. [MUSIC] Now I'm switching to
the other honey jar designed for the rest. [MUSIC] Now, we're ready to put together
the finished card. I'm going to map this piece
onto some patterned paper. The way I like to choose
is to just spread out the designs and place the painted piece on top to
see which color goes best. I like the look of this
bright yellow bee paper. [MUSIC] To get the paper
to the right size, I'm again just going to
draw around the card blank. I always avoid having to measure something
if I don't need to. I'm going to trim it
a little smaller. [MUSIC] Layer up the pieces
to check the fit, and then we can
attach them together. Before I attach the front panel, now is a good time to add a
little piece of ribbon across the bottom for a really
pretty finishing touch. Again, without measuring, figure out how long
your ribbon needs to be to go across the front
and cut it to size. Apply some tacky glue and stick the ribbon
across the front. We glue the ends of the
ribbon around the back. Next, add some foam
tape to the back of the panel and attach it
to the patterned paper. Next, we'll use tacky glue to stick this piece
onto the card blank. I'm also going to
make a little bow with the same ribbon
I used on the front. Check the positioning, and then use tacky glue to
adhere it to the front. As we did for the bee card, if you want to add a bit of
gilded leaf to this card, you can do that as well. I'm going to place a little bit next to three of the jars. In fact, this is a very good rule of thumb
when it comes to card making. Things look good in threes. Our second card is complete. I'll see you in the next lesson for the third and final card.
10. Watercolour Florals: Our third and final card is
the floral watercolor card. Well, again, begin by trimming the watercolor paper
to the right size. Draw around the
card blank again. When we cut this out, we want to make it a
fair bit smaller than the card blank to leave room for two layers
of patent paper. I'll trim off about
two centimeters or so, just doing it by eye. I can always trim a little
more off later if needed, as long as I don't paint
too close to the edge. I want to start here by
working out very roughly where I want the flowers
to be and the stems to go. I'm just making some very
light pencil marks as a guide. Just a dot where I want
the stems to tie together, some faint lines
for the stems and some dots where I
think the center of the main flowers will be. Pretty marks that look
a little too heavy. I'll rub them out of a bit. Any pencil you paint over
can't be rubbed out afterward. You want to make sure it stays
unobtrusive as possible, especially since this card
uses light pastel colors. Okay, Let's begin painting. I'm using a size
four brush for this and the prima pastel dreams
watercolor palette again. We'll use the techniques
we've practiced at the start of the class to
create some different blooms. I'm starting with
the biggest ones. This one here, I'll just
choose a color I like and begin to do some C
shapes to create the petals. [MUSIC]. That looks good. I'll switch colors and paint this one to
look like a rose, starting in the center
and moving outwards. [MUSIC] Now let's do a tulip
on the end here. A center petal, and
then two side ones. [MUSIC] Now we'll add in some smaller
flowers to fill the gaps. You don't need lots and lots as we'll be adding leaves too. [MUSIC] I'm also not too worried if
some of the colors bleed together because I think this just adds to the
handmade watercolor effect. [MUSIC] Now I'm going to add in
the stems in pale green. Now I want them to cross in the midpoint here in a bouquet. I'm just curving them round
to fall in the right place. [MUSIC] I'm adding some leaves here too, keeping them all quite
high up near the flowers. [MUSIC]. When you're happy
with your bouquet, leave it to dry. [MUSIC]
11. Floral Card: [MUSIC] Now, let's
finish off our card. I want to use two layers
of patterned paper here. I'm just going to
spread these out again and choose to that
coordinate really well together with the flowers. [MUSIC] Once I've chosen those, I'll trim them down to size, using the card blank to measure against for the first
piece of paper, and then using that to draw around to measure
the second piece. [MUSIC] To add a little bit of texture and interest
to this card, I'm also going to distress
the edges of the paper. I'm doing that by using
my craft knife to scrape along the edges
and make them rough. You can also do
this with scissors. I think it adds a
nice rustic look to cards and makes
them a little bit more visually appealing than the straight lines of three
squares layered together. [MUSIC] To attach all the
layers together, I'm going to glue the pink
stripe layer to the card blank and use phone tape for the blue layer and
the watercolor piece. [MUSIC] Now it's time for some
finishing touches. I'm going to tie a bow
with yellow ribbon and then just glue this to the
center of the bouquet. Just as we did for
the other cards, we're going to add some gilding
flakes to this one too. Just along the edge,
so some of the petals. I'm applying tacky glue first where I know I want
the gold leaf to sit. When I'm crafting,
I really love to coordinate sets of cards
that I make in one go, which is why the three
cards in this class all use the same watercolor palettes and all feature gilding flakes. It gives me a lot of
satisfaction to look at them together as
complementing each other. Even if I know they'll be
going to different recipients. If you prefer, you
can make your cards completely different
from each other. It's all about exploring your
own preferences and coming to a style that works for you that you most enjoy creating. That's it. Our floral
card is complete. Come and join me in
the next lesson for a few final hints and tips.
12. Final Tips: [MUSIC] Congratulations, you have made it to the end of
this class and produced three beautiful watercolor
handmade cards. Give yourself a pat on
the back and head on over to the project gallery
to upload your makes. I love seeing what each
of you has created. From the same inspiration, our cards can turn out so differently and that is
all part of the fun. Before you go, I want to give you a few bonus things that you might like to explore when you come to create work
like this again, whether that's for
more handmade cards, or gift tags, or just practicing
your sketchbook. Firstly, have a go incorporating metallic
watercolors into your work. They're more subtle
than gilding flakes and can add a lovely sheen
into a pastel palette. Secondly, if you liked the technique of
distressing the edges of your paper that we looked at for the watercolor floral card. You might like the even
more rustic appearance of tearing the edges
of your paper. This can create some
really nice texture. I think it mirrors the
technique of using loose watercolors really well. Thirdly, if you're
feeling brave, have a go illustrating some
of your own designs on top of your watercolors
using a fine liner pen, instead of using stamped images. I love the speed and consistency
of using stamped images. But if you want to develop
your illustration work, this could be a fun way
to get in some practice. Thank you so much for
joining me for this class. I hope you enjoyed it. You now have in mind
three simple ways to incorporate watercolors
into your card making, as background washes, pops
of color, and loose florals. Please do follow
me on Skillshare by hitting the Follow
button next to my name. That way you'll receive
notifications whenever I post a new class and
please do come and join me over on
social media too. Thank you very much again for watching and happy crafting.
 Sarah Douglas, Papercraft designer & illustrator