Transcripts
1. Intro: 
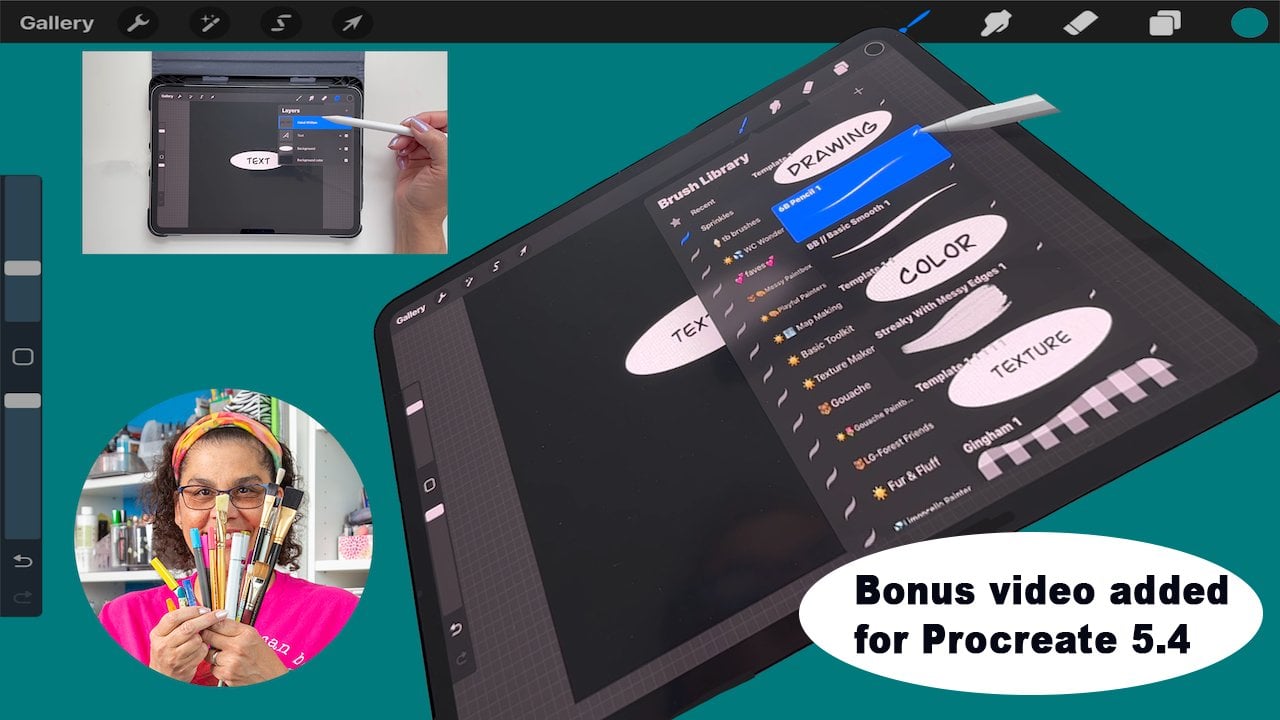
In this class, I will
show you how to organize your Procreate
classes in Procreate. As much as I love teaching
here, I love being a student. I am a lifelong learner and I use Procreate to
capture notes with words and drawings from the Procreate
classes that I take. I use this method in two ways. One, to refresh
valuable information, tips and techniques
that I have learned, and two, I use my
artwork from class as an inspiration or even for
a project I'm working on. Hello, beautiful people.
My name is Trina Brandon. I have a passion for color and a passion for
helping others. That's why I'm excited to teach here on skill
share with you. I have many identities. Among them, I am a
children's book Illustrator. Currently, I draw and color all my illustrations
and procreate. I'm also a surface designer. I license my artwork I dig traditional and
digital creating. I'm also a founding contributor to the Alcohol Ink Art Society. During this class,
I'll provide ideas and suggestions for helping
you organize your classes. Having the information in
procreate means you'll always have the information available when you
have your iPad. The class is broken
into three parts. 
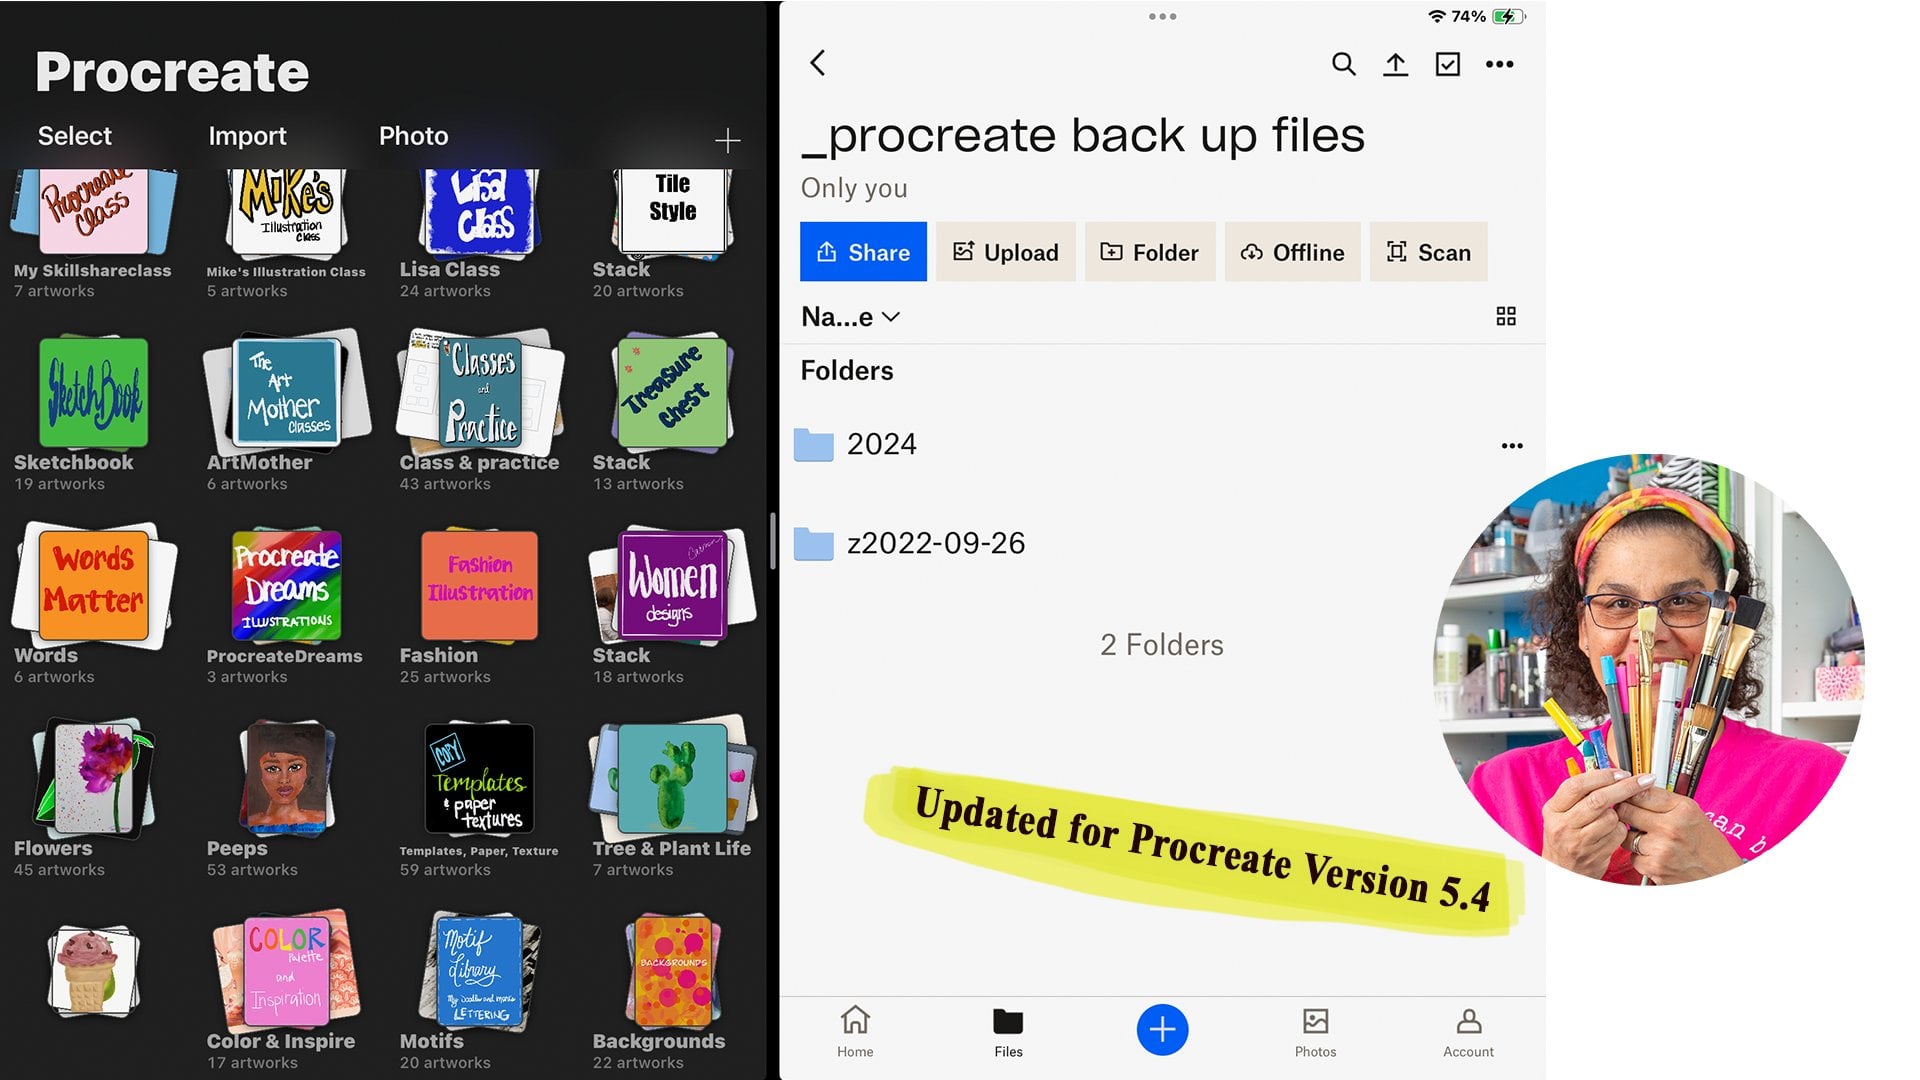
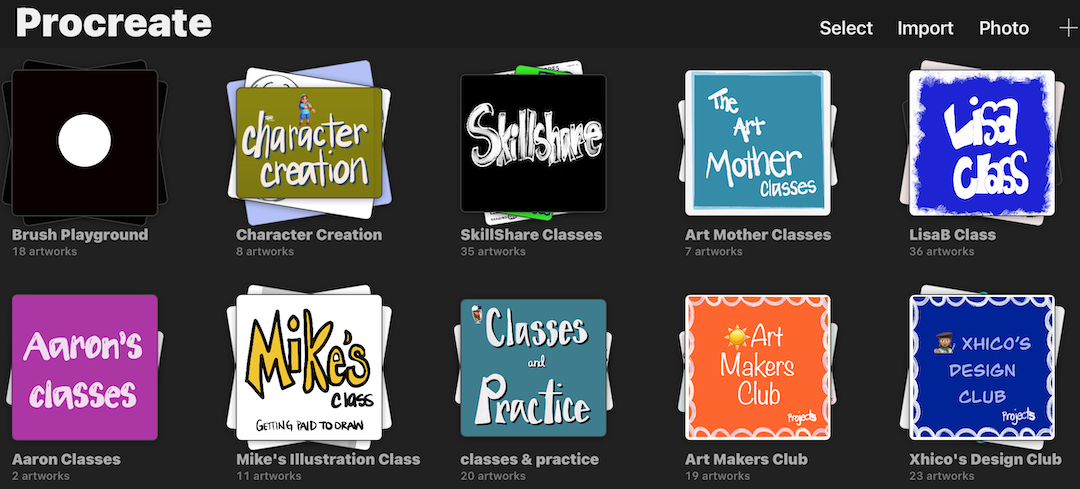
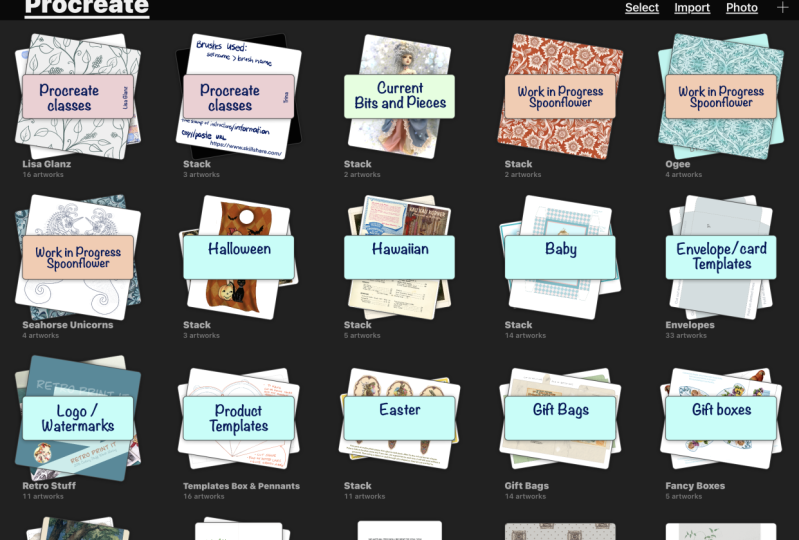
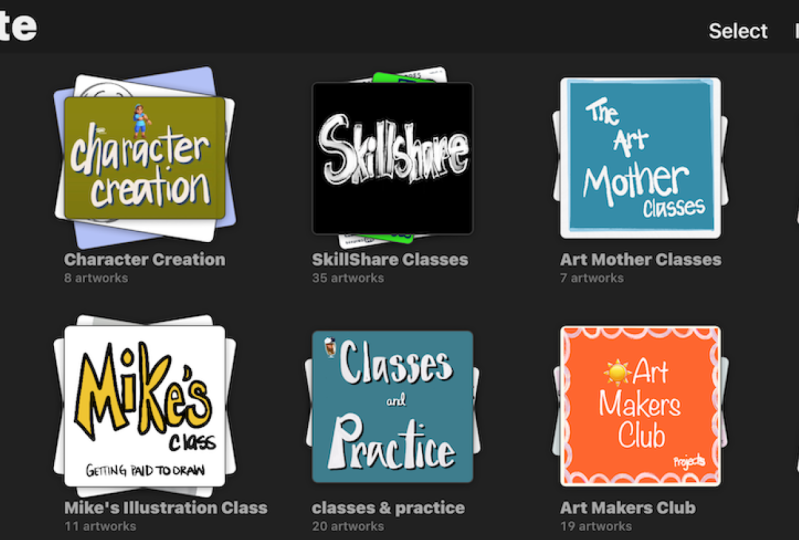
A tour of my organization with suggestions on how to organize, which includes stacks
and inside a stack. 
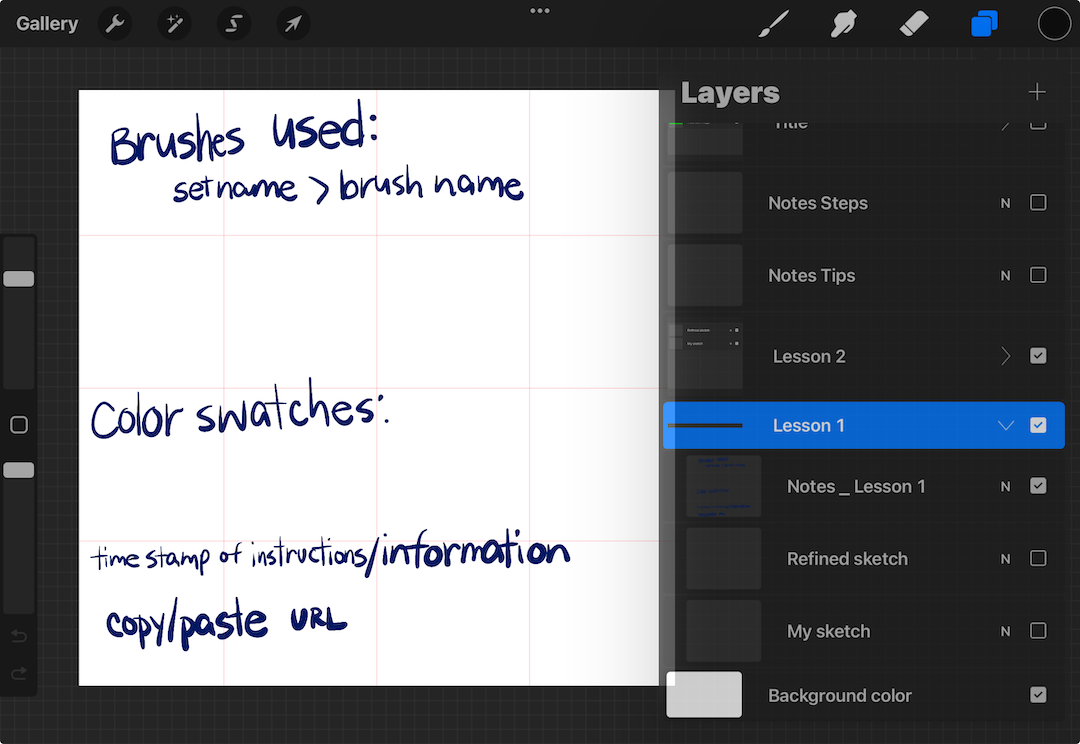
How to use layers inside a Procreate file for capturing the information
you want from class, a short summary
with key takeaways. In the projects
and resource area, I give you two files
to help you organize. You can customize these files. There's a link on
the projects page of this class with an example, instructions on how to download the files and
bring them into Procreate. For the project,
I'm asking you to use the steps you've
learned in this class to update the Procreate
class template file that I provide for you in a way that is meaningful
for you and share a snapshot of that in the
class projects and resources. You can even use this
class for the project. Supplies needed for class are an iPad and the Procreate app. I'll use an ample pencil, but you don't need one. You
can just use your finger. Let's get started.
Next, I'll give you a tour of how my
files are organized.
2. Tour of My Organization: I have been using this
organization method for quite some time and find
it helpful while taking a class and when I want to go back and look for information
that I learned in class. As you can see in
my Procreate app, I have several stacks. The top two rows are
classes and communities. If you have taken my, be sure to back up your Procreate files class
here on skill share, you know that I am visual, and I like to see a visual that identifies the
content inside the stack. So I have covers
for all my stacks. Here you can see,
I have a variety of ways to organize my classes. For example, this
character creation stack contains classes around
character designs by platform. Skill share by teacher. There are certain teachers
that I take many classes from, and so they have
their own stack. I also have a classes
and practice stack that contains miscellaneous classes
and YouTube tutorials, any information that
I want to save. When I go into a stack
such as Skill Share, which is my favorite teaching
and learning platform, I have a clear labeling
method for the classes. I organize the files by class
name and teacher because I find it easier to remember what class is associated
with what teacher. May want to organize by subject. For example, drawing
may be a subject, acrylic painting,
watercolor painting, maybe another
subject on business. Think about how you
like to organize. You would have a title for
each section so you can quickly go to that
section to continue a class or look back for
information you learned. I use a file separator with
multiple procreate files, or I use a title at the top of the file to identify the
teacher and the class. This way of labeling helps me quickly find the class
I'm looking for, so I can continue that class. I don't know about you,
but I sometimes take more than one class or try to remember the last
class I started. I put my most recent
classes at the top, including classes that I want
to take, so I'll remember. The skill share history view
does not always work for me because every time I get that skill share email
with suggested classes, I have to go look at the
intro so my history fills up. A couple tips, use
the actual name of the class or at least
the first couple of words when the name is long. That way you can find the
class in skill share. One quick way that I have
learned to label my stacks, as well as my layers is
to use the microphone. For example, this class
is called drawing Ideas. Initially, I just put drawing, but I want the title of the class to match
the class name. So when I select the title, I can select the end and
instead of typing in ideas, I can use the microphone. Ideas. And then select Done. Now it's updated and I
didn't have to type it in. I found that speaking
slowly gives the best results for the words you want to get in your title. Next, let's go inside
Aprocreate file.
3. Inside a Procreate File: Let's open stamp
brushes in Procreate. This is by Claire Makes Things. The second file I
provided is an example of different ways you can name your layers to
help you get started. Let's select Layer. You can see that I have
several layers in this file. The class that I'm
taking will determine the amount of layers and
how I separate them. At the top, I always have the label frame and
then the title. The consistent
layers I include are notes with steps and
tips from the teacher. On those layers, I capture the important information
that I want to remember. I write the brush
set and name on the drawing layer or
on the notes layer, just so long as I capture it. So let's look at
the notes layers. I will turn off the illustration layers and the title and turn on the notes. As you can see, my
notes are messy. I just write them by hand as long as I can read them later. That's the
most important thing. So in this case, I captured some information at the top
that was important to me for actually changing
information about a brush. I also included the
steps for making the stamp and some other tips that Claire included
during the class. In this group, I included all the layers
of the illustration to help me remember
the process I used to create
that illustration. For longer classes where there's a lot of new
information for me, I group by lessons. Next is a summary
and key takeaways.
4. Summary with Key Takeaways: In the class, we
covered a tour of my organization with other
suggestions on how to organize how you can use layers inside a Procreate file for capturing the information
you want from class. The key takeaways
from the class. Organize your stacks in a
way that works for you. For example, subject or platform or particular
technique like watercolor. On your notes and
drawing layers, add the most important
information for you. Whatever that teacher says that resonates with you or that's new information you want
to make sure you remember, then you want to capture that. The number of layers and
how they are grouped are determined by the
amount of new information. Again, what's important
for you to remember? You want to organize
your layers in that way. A couple of tips that I shared. Use the microphone to name
your titles and your layers. For example, the title
in the tour video. This last tip is something I remembered
after I did the filming, but I have found it helpful. I don't use it very often, but it comes in really handy. When a teacher shares
some information that has many steps or
that's complicated, sometimes it's hard to
capture that in your notes. Something that may
be helpful is to record the timestamp
in your notes. And that way, when
you want to see the steps again or you want
to practice the steps, you'll know exactly
where it is in the class and what
lesson it's in and what timestamp that
important information or that lengthy information
is there for you. Please share a snapshot of
how you decide to organize. I would love to see
that, as well as it may help others get ideas
for how they can organize. Also, kindly leave me a review. I'd appreciate knowing what
you thought about the class, and the class reviews, let others know what to
expect in a class. And last but not least, please follow me here on skill share so you'll hear
about my upcoming class. I have other procreate classes which you may be interested in. Thank you so much for joining
me. See you next time. Take care and stay positive. Oh