Transcripts
1. Intro: In this class, I
will show you how to organize your
procreate brushes. I'll provide ideas
and suggestions for making the steps more
efficient. Hello, beautiful. My name is Trina Brannon. I have a passion for color
and for helping others. I'm so excited to be here teaching on skill
share with you. I have many identities. Among them, I'm a children's
book Illustrator, a surface designer. I license my artwork. I dig traditional and
digital creating. I am also a founding contributor to the Alcohol Ink Art Society. For many of my projects, I use Procreate to create
the illustrations. I use a finite set
of brushes for the entire project I'm working on to maintain consistency. I find it saves time and frustration to have all my
brushes easily accessible. If you love Procreate,
like many of us do, chances are you have picked a few or a few hundred
brushes along the way. It can be frustrating
looking for that one brush you used when you started that drawing and now you
want to continue. This class will help you
organize your brushes so you can easily find that one
that you're looking for. The key information you
will learn in this class is different ways to organize your brushes that
is meaningful to you, how to organize your brushes
in a non destructive way, how to stay organized
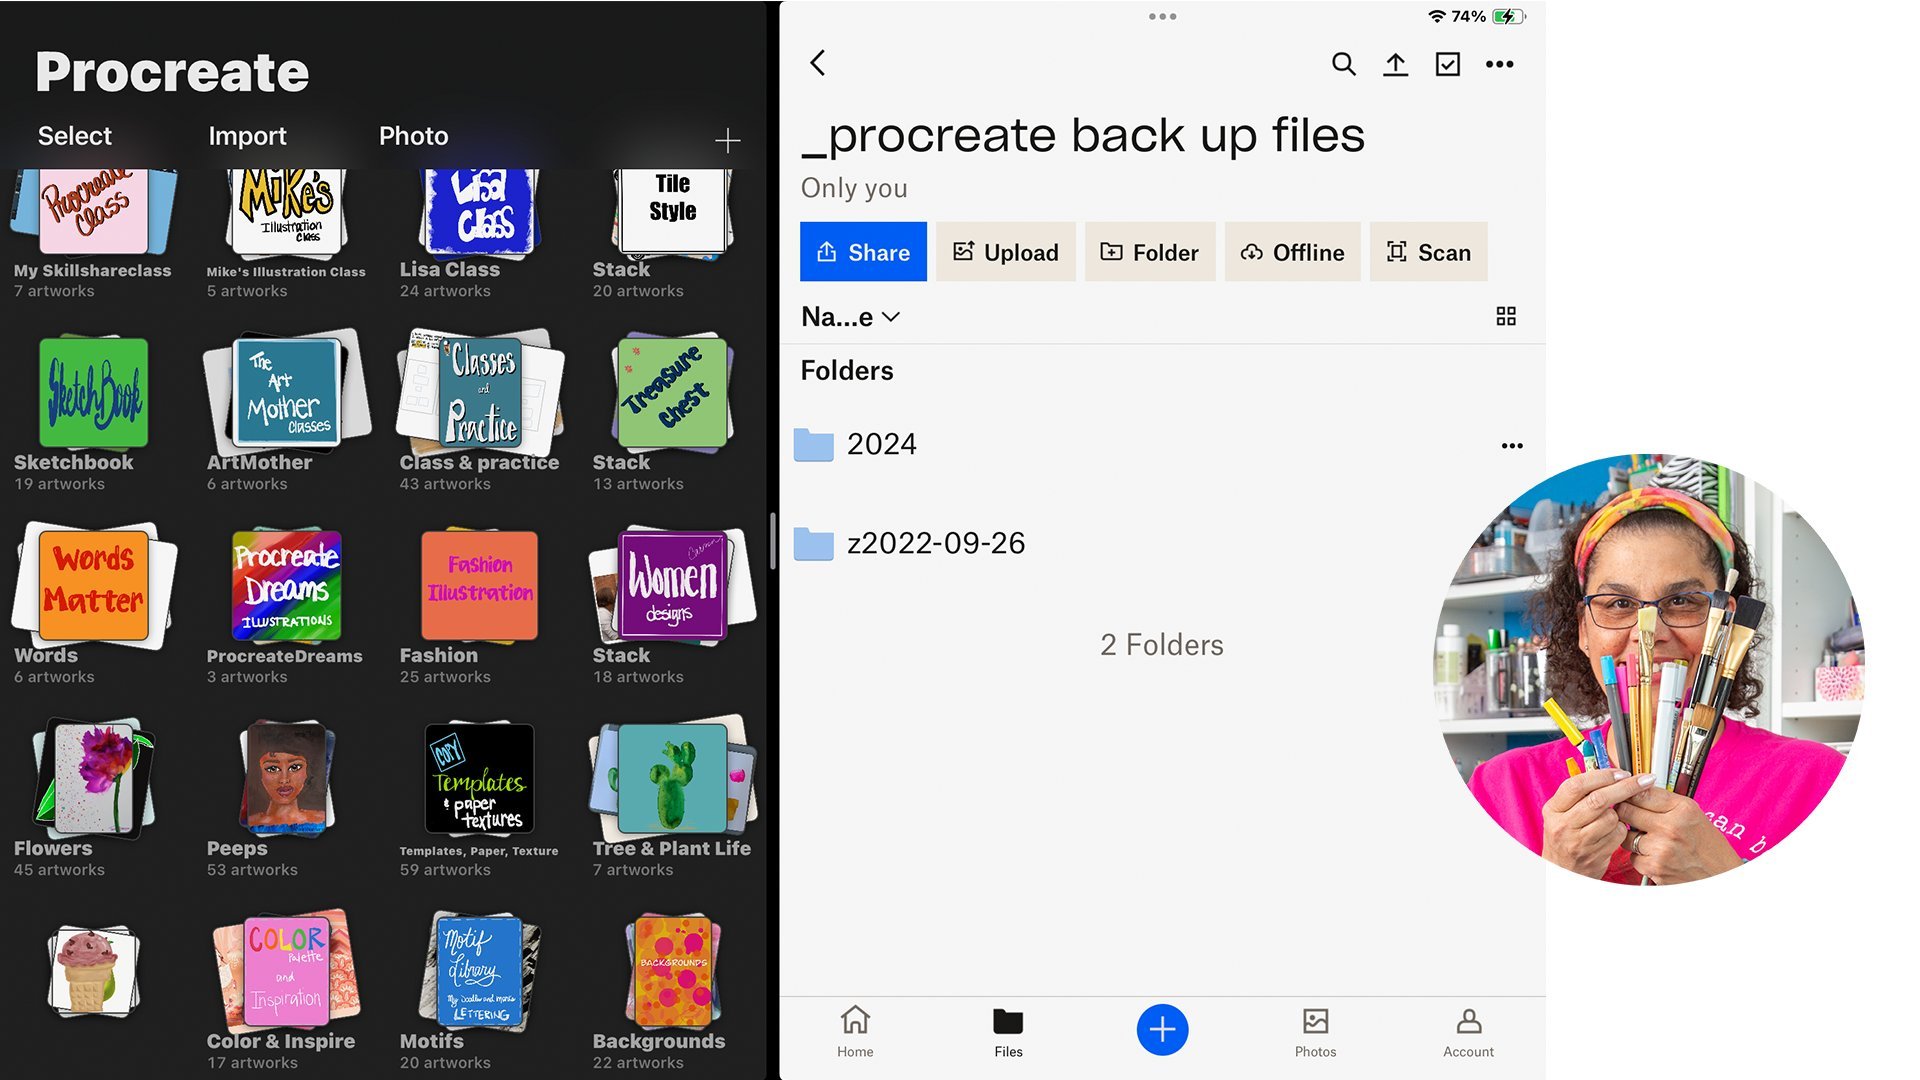
with your brushes. In the resources, I'll provide
a brush separator image and a procreate file you can customize for
your brush sets. This way, you can organize the brushes
that are best for you. Along the way, I'll share some tips to help you
streamline the process. I'll recommend you save
the new brush sets you create in my, be sure to back up your Procreate files class
here on skill share. I show you how to
save and recover brush sets and your Procreate
files and color palettes. You may find the
entire class helpful or only watch the lesson on saving and
recovering brushes. In this class, I'm using
an iPad and Procreate app. Even if you don't have the
Procreate app right now, if you're considering it,
you may find this class helpful for general
information about the app. For the project, you'll use the steps you learn in class to create a new brush set that's organized in a
meaningful way for you. So let's get started.
2. Project: Hello, I'm glad you're here. In this video, I'll talk
about your project. When you actually do
the steps yourself, you'll get the most
value out of the class. It's like learning to drive. You watch someone driving, but you really understand how to drive when you sit
in the driver's seat. By executing the steps, you will see the results with your own brushes and get
comfortable executing the steps. Follow the steps
you learn in class. Decide how to organize
your brushes. I'll share some examples
and suggestions, create a new brush
set and name it, identify your categories and
make separators for them. Choose the brushes
you want to organize, duplicate and move your
identified brushes into the new brush set
in an organized way. Please share a screenshot of your new brush set in
the project gallery. I'll cover supplies
next. See you there.
3. Supplies: Hello, and welcome back. In this video, I will
share the class supplies. I'll be using an iPad
and the Procreate app. You can use whatever iPad model you have that works
with Procreate. The steps are the same. I'll also be using an Apple
pencil and my finger. You can do all these
steps with your finger. Go ahead and get the
separator brush and Procreate template files I have provided in
the resource area. Here's how you can download
them to your iPad. Go to the Projects
and Resources tab of the class and you'll see
two resources down here. Select on the first
one and save it. We're going to save it to Files, which is directly on
our iPad and we're actually going to open it
directly into Procreate. When you select Procreate, the file comes into your
Procreate app right at the top. To open the second
file in Procreate, first, come back to that page. You may see that the previous little pop
up is still there, just tap on X and then select the second
file, save in files. And then open in Procreate. You'll see that your Procreate
app comes up when you go into a file and select
the brush icon, go all the way to the bottom, tap on Imported, and you should see that brush file in there. So now we're ready to
go to the next step. If you have any
questions along the way, please post them in
the class discussion. I'll be checking it often. Next up, I've added
a new lesson for the Procreate 54 update. And
4. Bonus Update for Procreate 5.4: I've added this bonus section since the Procreate
five for update. With the addition
of the new model, everything that I share
in this class is still applicable and gives
you more options. So I'd like to take this
opportunity to show you how I've set up my
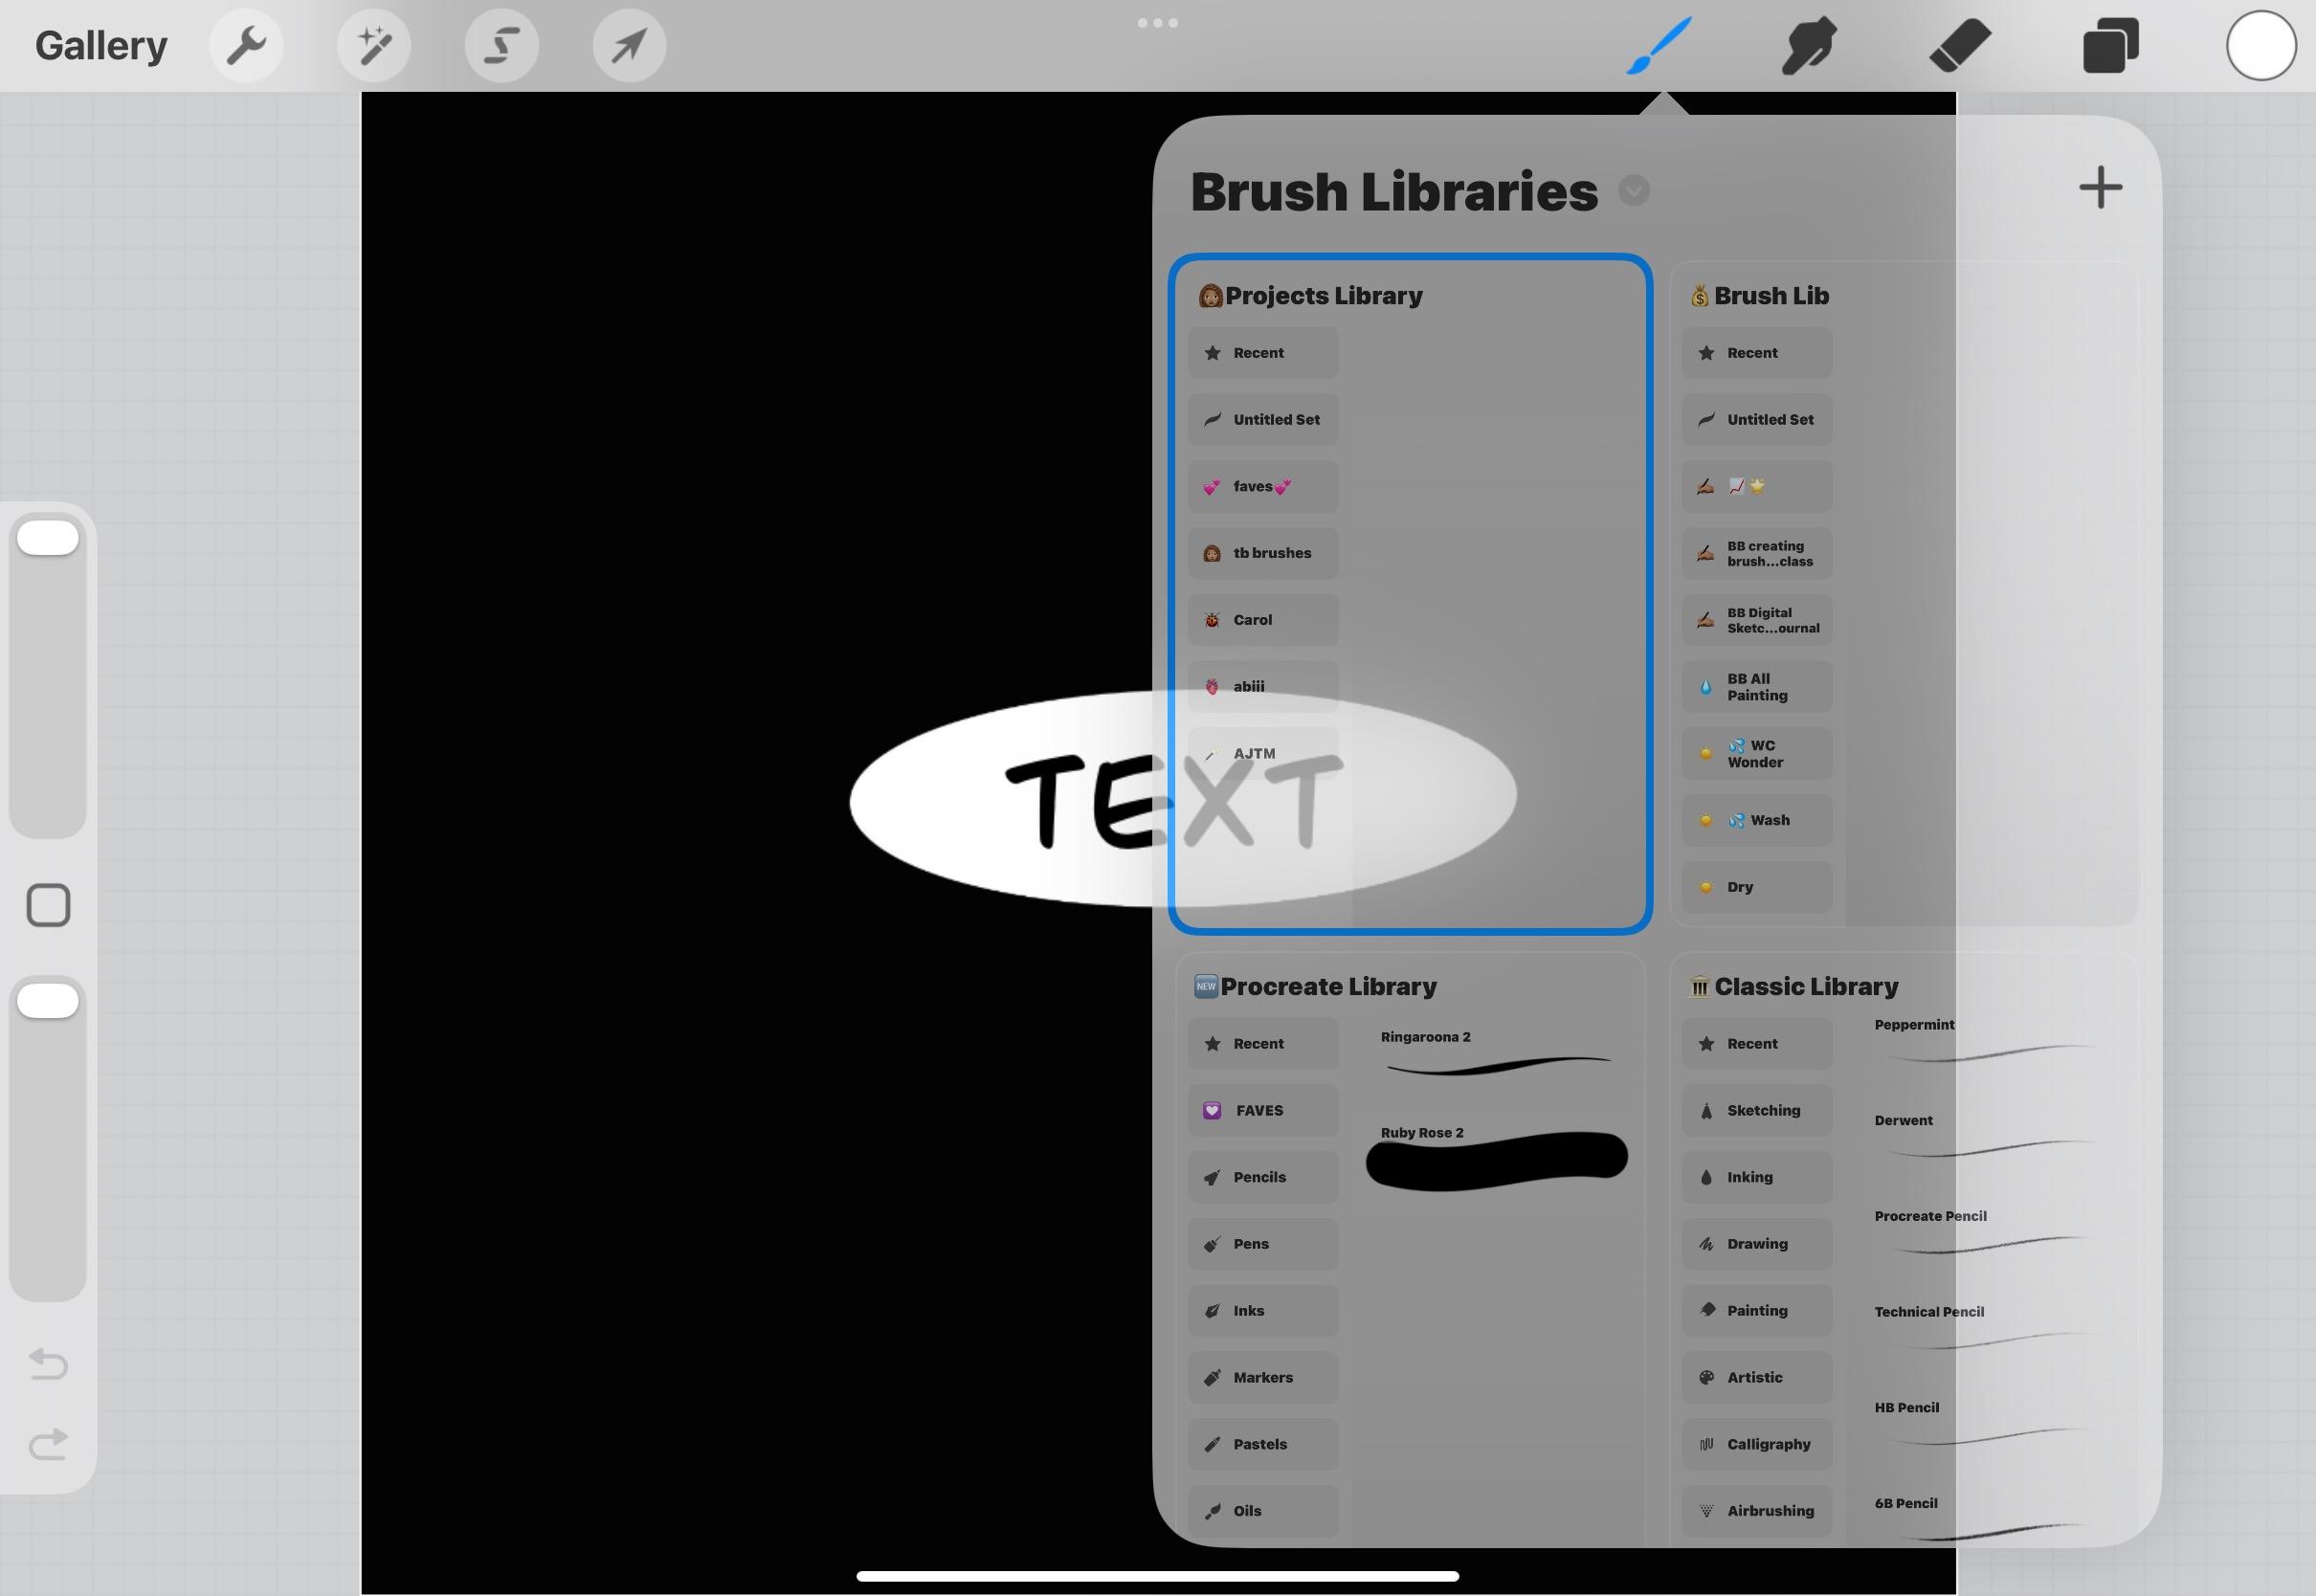
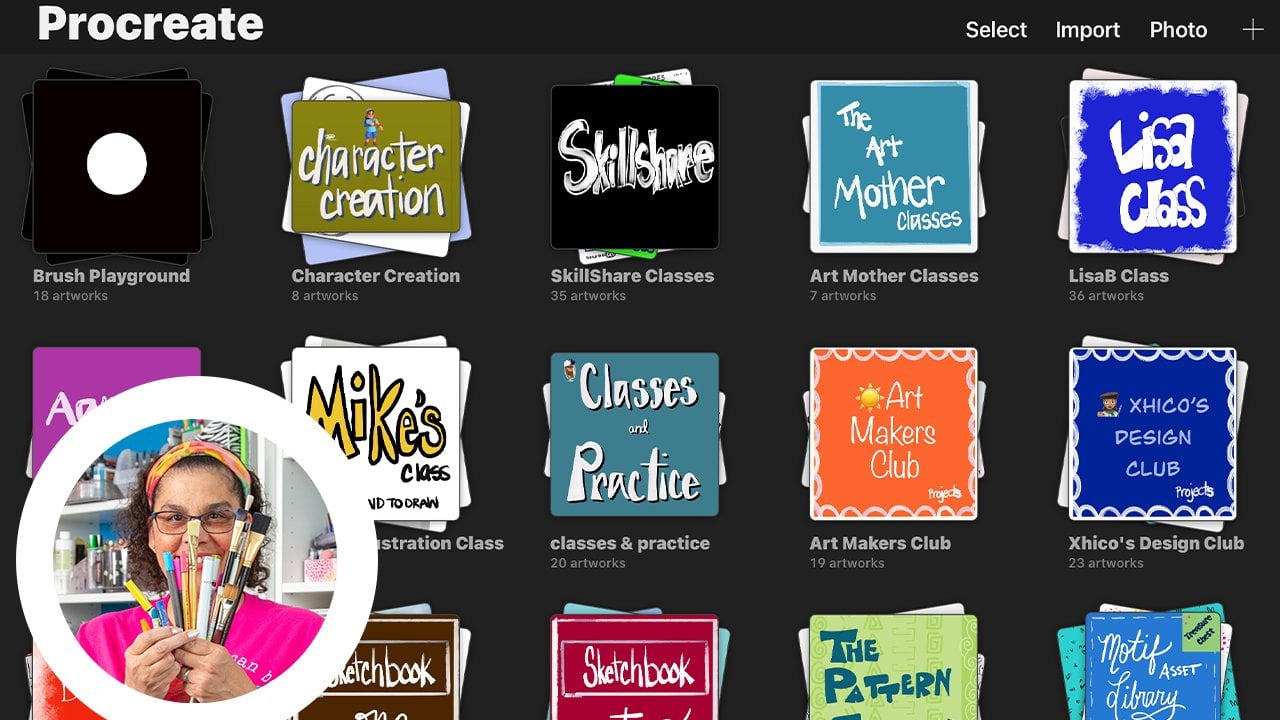
Procreate libraries. I added all the new
Procreate brushes into something called
Procreate library, and I added an icon called New. The classic library or the Procreate library
prior to the update, I call it classic library, and I put a little
classic building on there for the icon. For all the brushes
that I've purchased, I created something called
brush Lib and I put a little dollar sign
and this includes all the brushes that I've purchased or that
I've received for free. Then for any brushes that I've created or projects
that I've created, which is the focus of
this particular class, I put in a separate library. I have four libraries, the new Procreate brushes, the classic Procreate brushes, brushes that I've purchased
or received for free. Download it for free, and then my projects
library that contains the brush sets that I've created specific for
projects I'm working on, which is what I'm
going to tell you about more in the
rest of this class. If you have any questions, please feel free to add
them in the discussion. In the next video, I'll talk about ideas for
organizing your brushes.
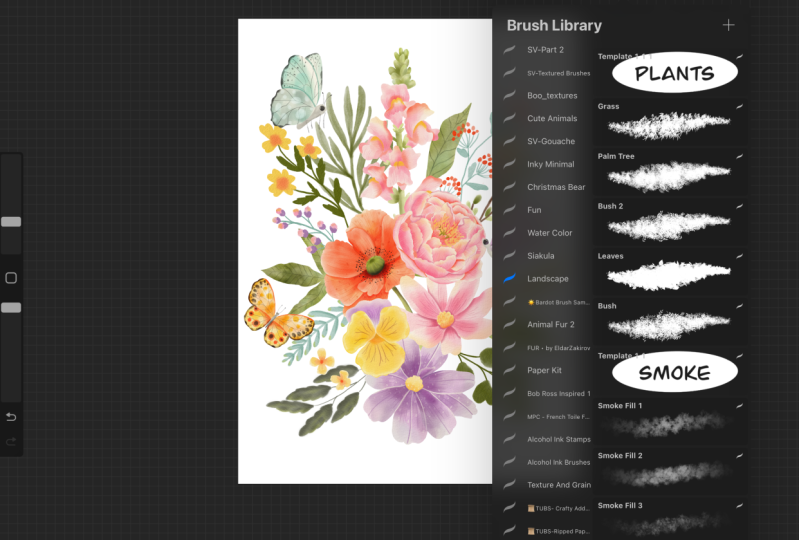
5. Ideas for Organizing Your Brushes: Hello, and welcome
back. In this video, I'll share ideas and suggestions for
organizing your brushes. I encourage you to think
about how you organize. You may think of it as file management or
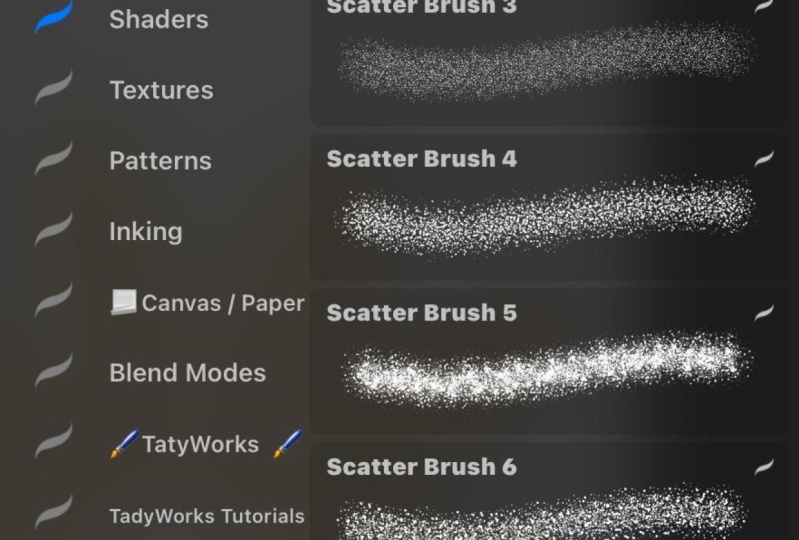
brush management. For example, do you organize by project name
the current project you're working on by brush types
such as line outlines, texture or painterly
versus flat, by style, gothic
realism or abstract, and you have
different brushes for the different styles that
you create in by subject, landscapes or people, you may use a different
set of brushes for each. For example, if you like to
organize by type of brushes, you may choose outlines as
your brush set name and then separate the brushes by
type of line work you do. And you'll have categories
for fine lines, thick lines, textured lines, brush sensitive
lines, et cetera. Whatever category
titles work for you. The choice may be an
easy task for you, and you already know
exactly how you work. If you're not sure,
I encourage you to follow the steps with me
using my example in class. You will easily be able to make changes to fit
the way you work. One recommendation I
do have is to give your brush sets meaningful names and meaningful category names, as opposed to ABC or fav
one, pave two, fave three. I knew what was in each brush set when I had only a few sets. After a while, I
had to look through a set to see what
brushes were in there, and that just took time
away from me creating. Next, I'll show you how
to create your brush set and category
names. See you there.
6. Tip to Easily Move Brushes to a Different Brush Set: Hello, beautiful
people. We interrupt this regularly scheduled program
for an important update. After I filmed and published this class and received
feedback from some of you all, I looked for a better
way or more easy way to move brushes from one
brush set to another. This is what I found. I was so excited when I
discovered this. During the class, I
showed you how to grab them and slide
them over and move them up and then try
to drop them in. Here is another way you can move the brushes that you
may find easier. Identify the brushes
that you want to move, touch lightly, and you
can see I have them. Use your other hand
to pull down to the area that you
want to drop them in and then let them go. No more hovering over
to try to find it. You can just use your
opposite hand and keep the brushes over here so you can clearly see what brush set
you want to drop into. I hope that helps. I wanted to put this earlier
in the class, so hopefully you will not
have frustration when you go through the modules as you try to move your
brushes around. See you in the next
video. Thank you.
7. Create New Brush Set & Categories: Hello, and welcome
back. In this lesson, I'll show you how to create your new brush set
in category name. I am creating a new
brush set that will hold all my brushes for new
project I'm Illustrating. Having all my
brushes in one set, I will quickly be
able to find them making it easier to know
which brush I was using. The name of the brush set
will be called sprinkles. So I am going to go up to the top and select plus
untitled set. I will name it. A tip is to use the microphone instead
of having to type it in. I'm going to tap the
microphone and name it. Sprinkles and then hit Return and now I have my
new brush set set up. Another tip that I want to share is using emojis
to help organize. There are several brush sets
that I have ordered from other people and for my favorite people
that I buy sets from, I'll use a little icon. For example, Lisa Bardot, who uses sunshine as her logo, I will put a little sun before the name of the set that
I purchased from her. Lisa Glance is another
favorite of mine, and she is famous for her bears. I'll put a little
bear in front of the set that I
purchased from her. For my brushes, I am an
ice cream enthusiast, so I have a little ice cream
cone in front of my brushes. Getting back to my project and thinking about my
illustration project, I know that I'll need
brushes for linework, brushes for color,
brushes for texture, and brushes for
highlights and shading. Once I get into a project, I'll likely add more brushes or may even remove some brushes. This way of working allows
for that flexibility. I'm going to organize
my brushes within the brush set using categories with names that
are meaningful for me. When you think about this at the beginning
of your project, it makes it easier to add brushes to the set in a way
to remember where they are. You may also find you want
to move brushes around. This way of organizing upfront will just make it easier for maintaining
and editing later. I am identifying my initial
categories as drawing, highlights and shading, texture, and backgrounds,
four categories. These categories
will be identified by the brush that we brought in. This is the actual
separator within the brush set so you can find the section
that you're looking for. So in order to customize this, let's go to the Procreate file that was included
in the resources. When you look at the layers, you'll see that there is a
layer with a oval background, a text layer, and something
called handwritten. I included these two layers so that you could have a choice. You can use the
fonts that come with Procreate or fonts
you've downloaded, or there's a layer that you can customize the title in
your own handwriting. For this example, I'm just
going to use the text. So I'm going to change this to my first category,
which is drawing. When I selected this layer
and then close the layers, you see this light
blue box came up allowing me to edit this. When I at the end of the word, I can delete the text that's here and put in
the text that I want. I can do that by bringing up the keyboard, show the keyboard, and then I'm going to
X, and I'm just going to put in drawing. Because this is going to
be my drawing category. Then next, I want to
copy this canvas. I'm going to select the actions little icon up here
and tap Copy Canvas. Next, what we're
going to do is use this image to
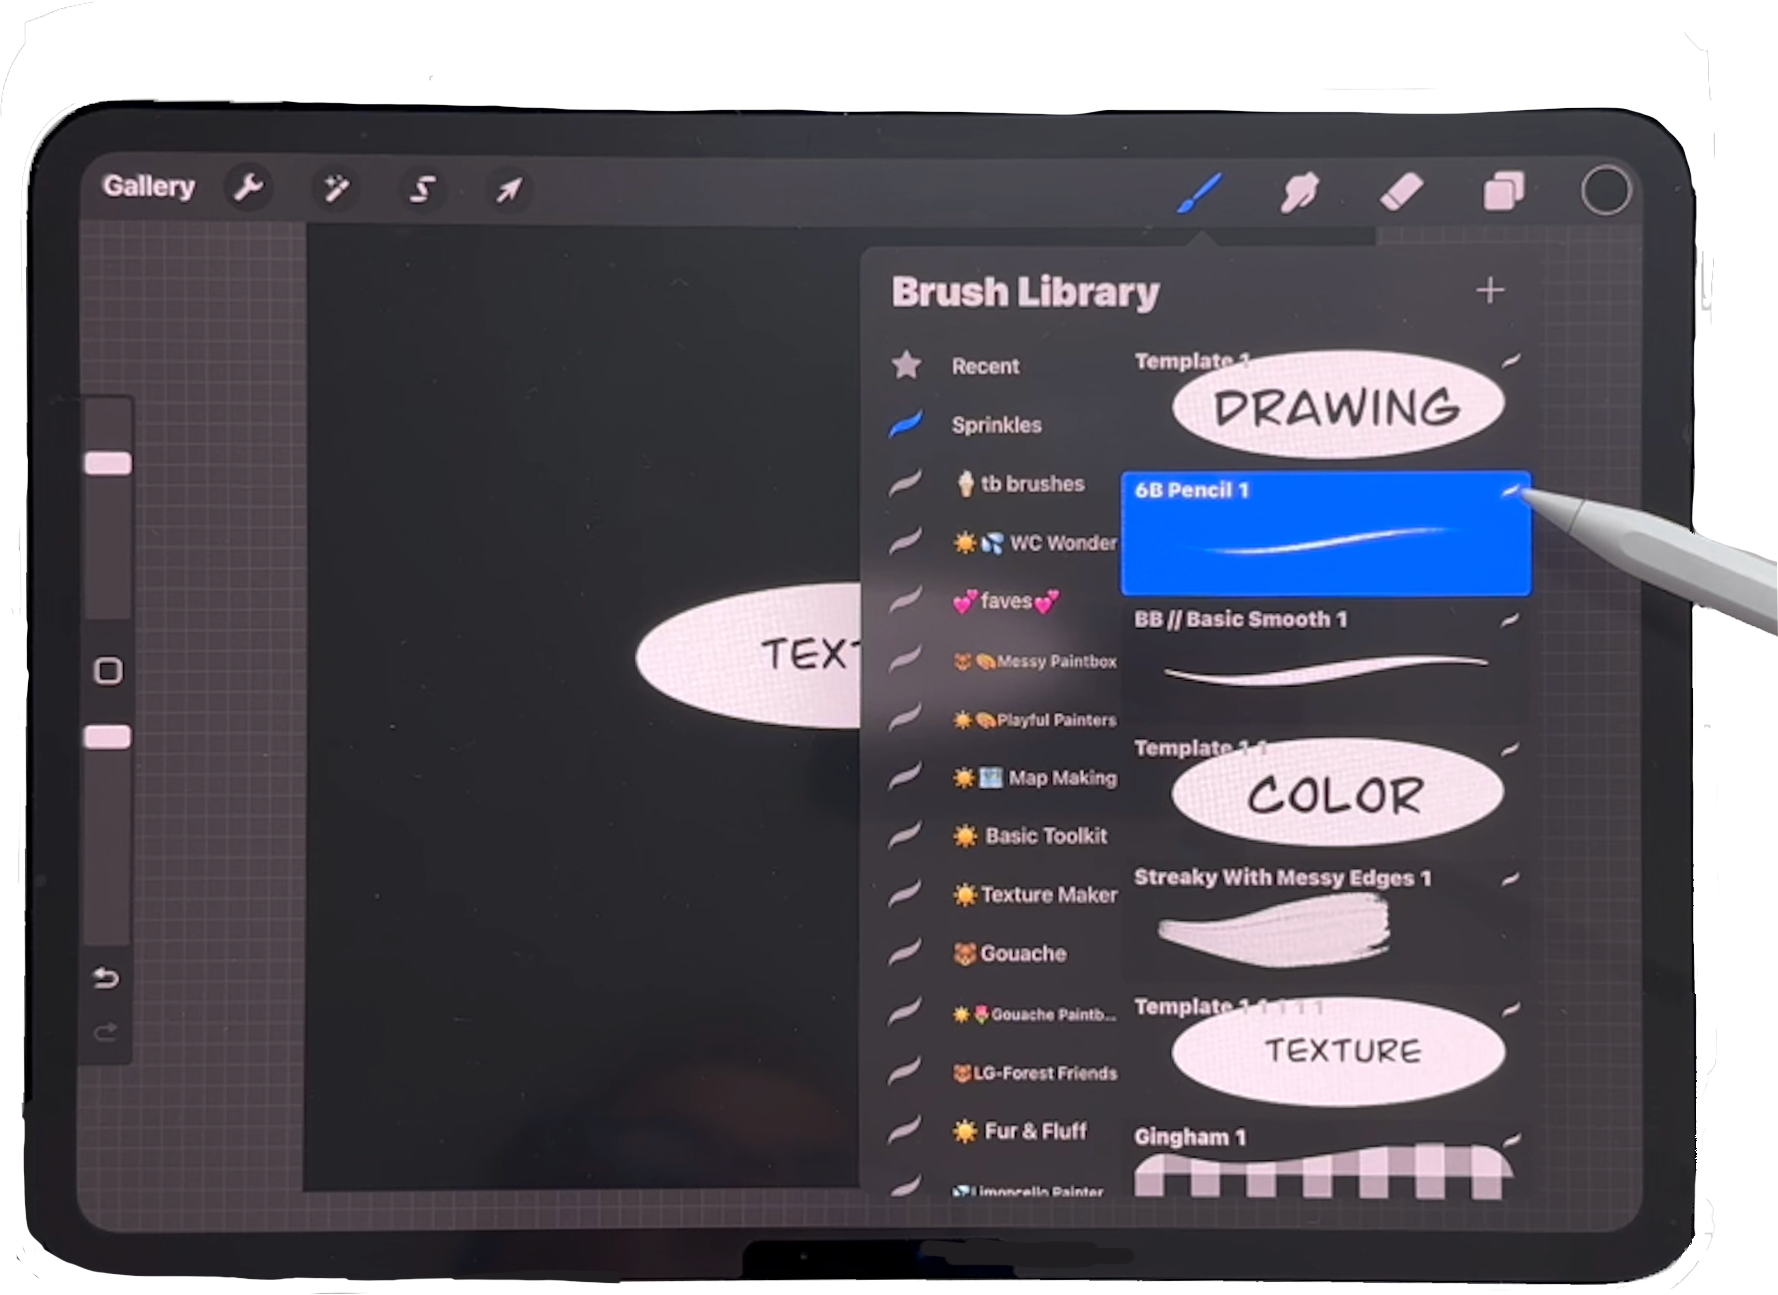
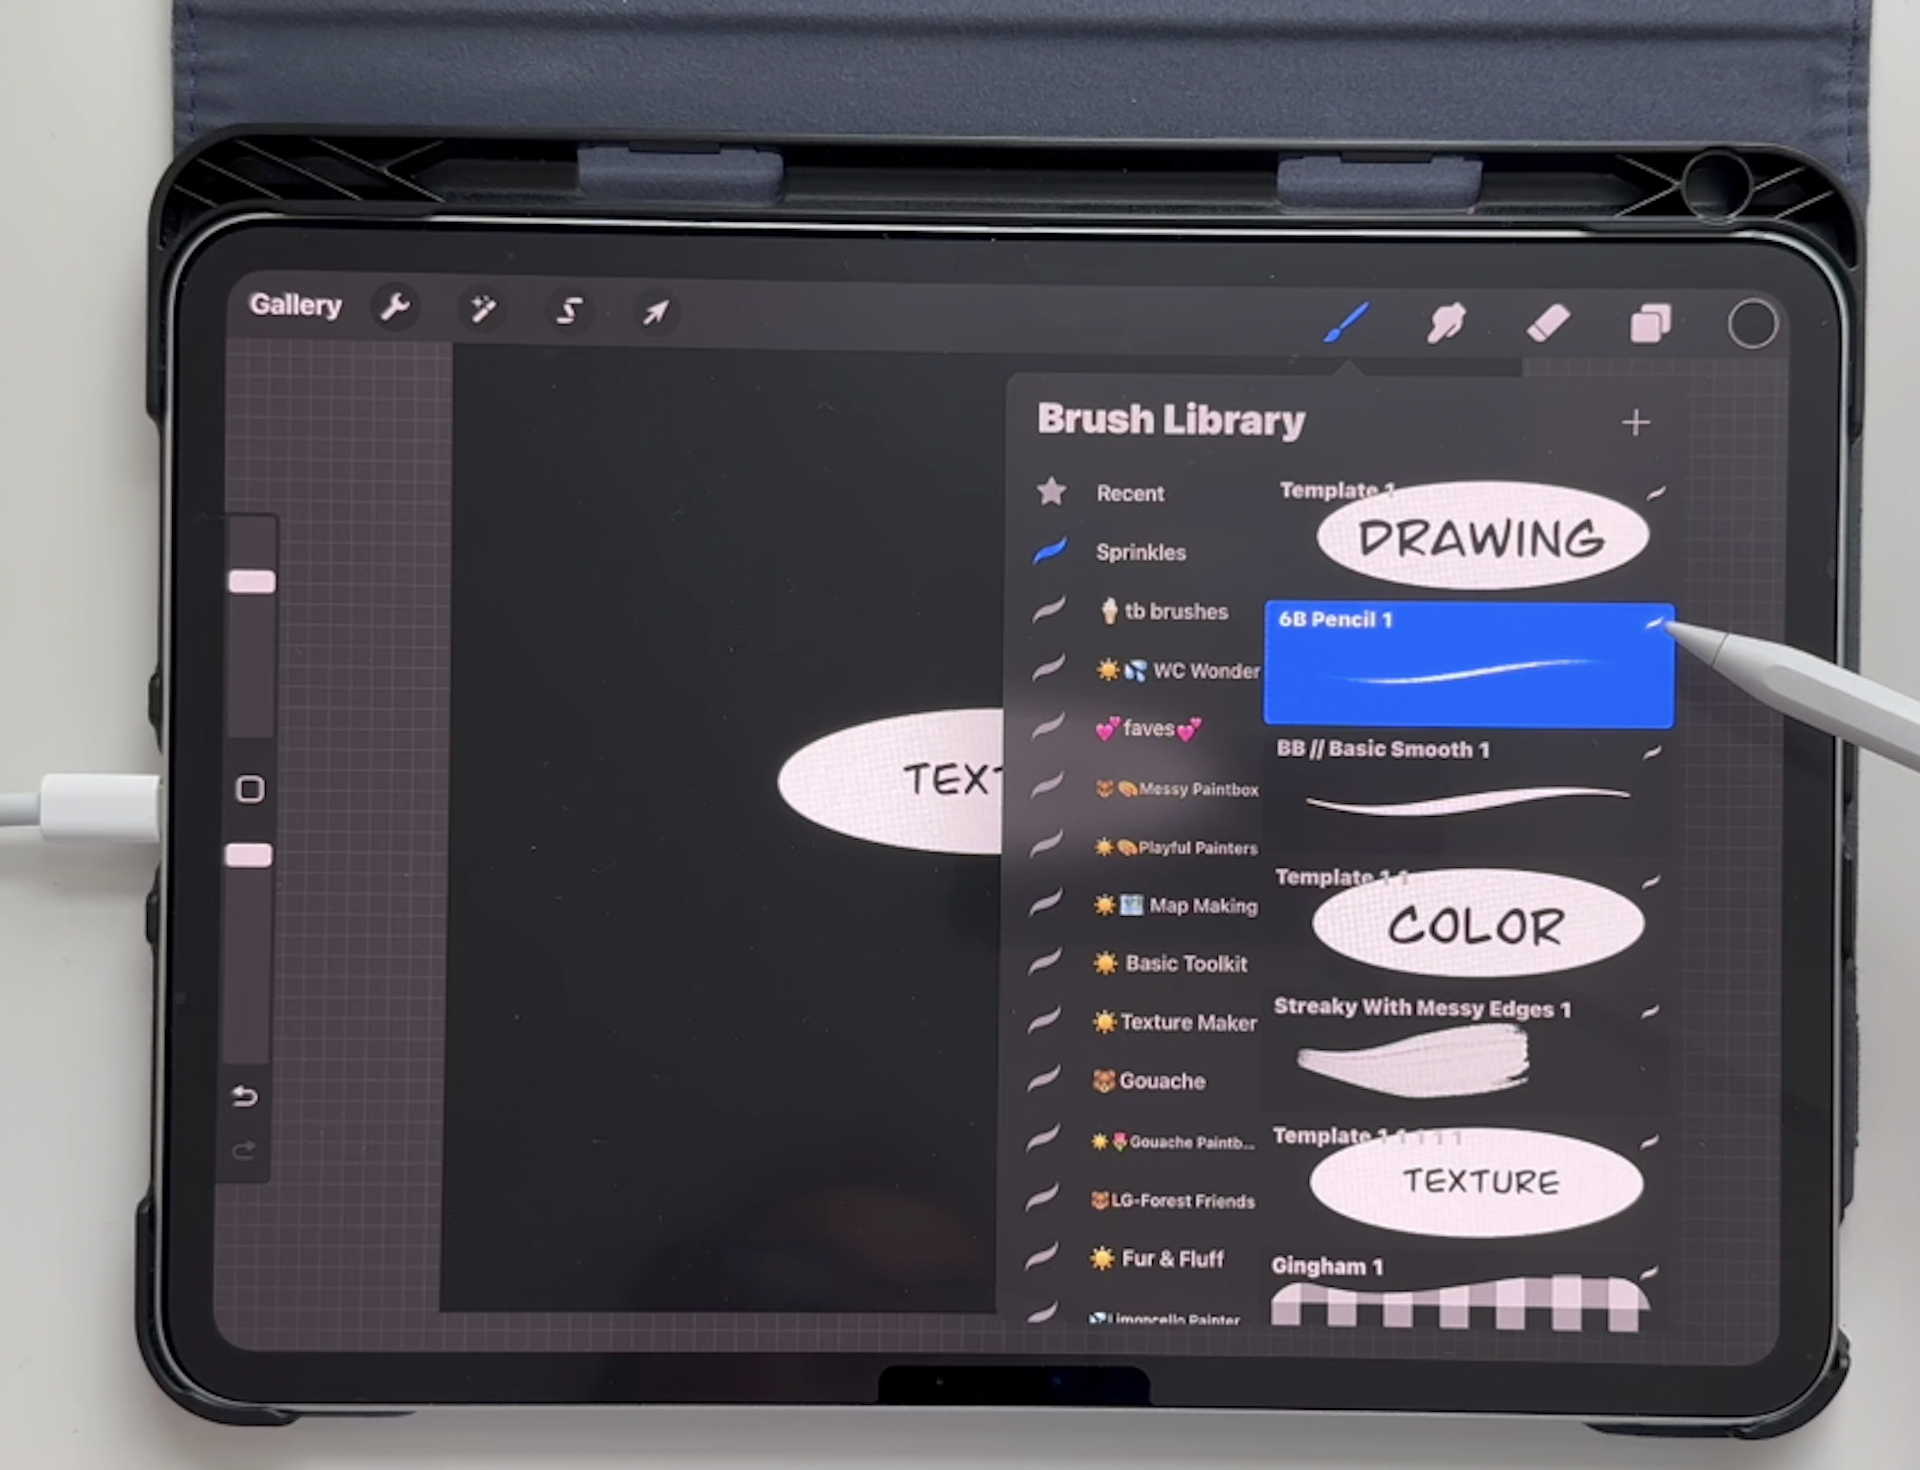
create a separator. Next tap on brushes and here is the template that you
brought in for the brush, slide to the left
and duplicate that. When you duplicate it, you'll see that a little
one was added here. This was the template,
and this is one. I'm going to make
this my drawing separator for my new brush set. I will tap on that brush and it brings up
the editing mode. Once I'm inside, you want to go to the shape
selection because what we're going to do
is edit this text and use the image that I
just created called drawing. I will edit the shape and then I'm going to
import and I'm going to paste because
you'll recall that we copied that canvas that
had the drawing on it. Now drawing comes up. I'll select Done Select done again and now
we have drawing. I'll repeat this process
for the next categories. Going back to my Procreate file. Tap off, it still says drawing. Now I need a section
that says color. I will tap there to
get my cursor inside, back it up, use my
microphone, color. For the next separator title, I have a longer title. I have highlights and shading. Once I put that in, what I can do is just make the overall box smaller
so that it can fit. Let me go to my wrench icon, copy Canvas, back to my brushes, duplicate, tap to edit, go to shape, edit,
import, paste. Now you see my highlights and shading and I can just tap done two times and then out now that I have all
of my categories, I'm going to take
them all and put them into the brush set
that I created. Now, to do that, it's very easy to do them
all at the same time. I'm going to select them by sliding to the right and you can see that they change color. I have my drawing, color, highlights and shading,
background and texture. Then I'm going to tap on one
and pull them to the right, use my other hand to come down to my sprinkles brush
set and then make sure that you're in your sprinkles because you'll see it turn
blue and then I'm going to drag them all to the
right and drop them in. Now I have all of my category titles in
my new brush set name, and I want to put them in the
order that I'll use them. That's just the way
my mind thinks. I'm going to select drawing
and pull it to the top. Then usually I do color
and next I'll add texture, highlights and
shading and I'm going to put background at the bottom. Next, I'll show you
how to identify and populate your brushes.
See you there.
8. Populate Your New Brush Set: In this lesson, we will
identify and populate brushes. In the intro, I talked about non destructive
organization. To further explain
what that means, I'll talk about two ways you can populate your new brush set. One way is to move
the brush out of its current location and
into the new brush set. An example is when I actually move the brushes
out of the imported section. When we scroll down to imported, you see that the brushes
are no longer there. They have been moved to this new sprinkle
set that I created. The other way is to copy or
duplicate, as it's called, and procreate the brush and move that copied version
into the new brush set. This way is considered non
destructive as the brush will still be in its
original location if needed. For example, I'm going
to add a brush that I really enjoy drawing with
into the drawing separator. It's one of the original
brushes from Procreate, I go into sketching,
it's the six B pencil. I'm going to duplicate
this six B pencil by swiping to the left and
then selecting duplicate, you can see the
original is right here and the one that I just created, the copy has this little Tilda. I'm going to select the
one that has the Tilda. I put my finger
on it and you can see that I've selected
it to come out, and then I'm going to go
up to my sprinkle set and just hover over it ever so
lightly until it pops open. There it is and I'm going
to put it under drawing. What I find is if I'm hovering over the
brush that's below it, it puts my current brush that I'm trying to drop
in above that one. So that's what I found works because it seems
to be Procre seems to be really sensitive about
when you're moving something around the brush
area, where it will drop it. That's why you really
want to pay attention for the little Tilda to turn blue for where
you're dropping it. Otherwise, you may be dropping it someplace that
you're not planning to. And if you do, it's
not a big deal. You just select it again
and then work with it to get it into the
brush that you want. It just takes a little
bit of practice, so I encourage you
to be patient. So now I have the copy of that 60 pencil that I
can use for drawing. Another one of my favorite
tools for drawing is in Lisa Bardo's
basic tool kit. So I'm going to
go down there and go up to the BB Basic Smooth, and I'm going to swipe
left and duplicate it. You'll see in this case, the little Tilda showed up, and there was a little
Tilda in the original one. The little Tilda means
it's an imported brush. And what you'll see
in the name is that the number one was added
to the original name. I want to make sure that I'm
only bringing this one in. I touched on it. I see my little plus
and I come up to sprinkles I want to make sure
I see my drawing over here, you'll see, and I
put it a little bit over this brush and it
populated right on top. Now I'm going to continue looking for some other
brushes to populate. So for color, I like
Lisa Glan's messy box. She has some fun
brushes in here that create some really cool
texture for coloring. So I'm going to pick this one, this streaky with messy edge, and I'm going to swipe that to the left, duplicate, again, you see there's a one
that's added here, and I just want
to touch this one because I only want to copy the copied version
into my new brush set. I select it and I move it, see the little plus sign, go up to sprinkles I hover there a little
bit, and then I move down. I'm a little over texture, and it still I didn't put
it within my color section, I'm going to select the color
and try to move it above. Then it moved above the pencil. Let's try moving the
pencil up. Oops. And sometimes you just
have to play with them to find the right spot so that
it goes where you want. The thing is you can always move it around
if you have an issue. I encourage you to not get too stressed about
this because it is getting a feel for
where to drop it. Now I have a couple drawing
brushes under drawing. I have a color brush.
Let's go to texture. Scrolling down to spray paints. There's some texture in here. Now, I'll just point
out here you don't see the little tildas
because these are native brushes of procreate. That's one way to tell if your brush is something
you imported or if it's part of the original set that Procreate had when you
installed it on your system. I'm going to choose this flix. I just really love these
little dots on here. I'm going to swipe to the left, duplicate and see the
little Tilda shows up as well as the little
one after the name. Then I just want to get
the copied version, so I'm going to press down. Then I'm going to go back
up here to my sprinkles. It looks like what happened. I was too far to the
left and it pulled it out of my brushes. What happened is it didn't move it out of
the original spot. So that's a good thing.
I'm going to try it again and try not to go
too far to the left. I'm glad all these
things are happening to me so that I can explain them to you because you may run
into them and you'll know that it does
happen, and it's okay. You can go back and find
where your brush was that you duplicated it and then bring it to
where you want it. I'm going to grab it again and I'm going to go up
here to my sprinkles. Try not to go too
far to the left, and then I come in
here and I'm going to put it below texture, but I don't think I
was below far enough. Okay. I got it in between there. Now I have two drawing brushes, a color brush, a texture brush. There's another texture
brush that I want to add that I actually created. If I go to my TB brushes, here's the brush that I created. I'm going to duplicate
it and then bring it over and get it in sprinkles. That's recent. You see the little star there
and it turned brown, comes over to sprinkles and I can pull it down into texture. Next for highlights and shading, there is a brush that I really like that's a soft brush
that I want to use. I'm going to go down
to airbrushing, and there's several
soft brushes in here, but I like the one
that says soft brush. I'm going to duplicate
that one and tap on it, has the plus, come back
up here to sprinkles. And bring it down to
highlights and shading. Then for background, there are
some brushes that I really like in this
watercolor set that I downloaded with a class and
it's called scribble brush. This one I'm going to duplicate
and grab it and bring it up here and pull it
down to my back. Now what I've done is curated this set of brushes
for my project, which will make
it easy for me to find which brush I was using for outline when I get
ready to outline the next image within
my illustration, which brush I used for coloring. So there's consistency,
some texture. When I'm highlighting
and shading, I'm using the same brush
and I don't have to go look for it through
several brush sets. And then when I create
my backgrounds, they will have a similar
texture which makes my whole project come
together and stay consistent. Next, I'll share a summary and provide you with
some resources. See you there.
9. Summary & Resources: And it and in this video, I'll summarize the class and provide you with some resources. Congratulations. You
finished the class. You went through all the steps. Now you know how to drive. You now have your
first brush set where you can easily find your
brushes that you love, and you have organized them in a way that's
meaningful for you. In class, we covered different ways to organize your brushes that is
meaningful to you, how to organize your brushes
in a non destructive way, duplicating and moving
your identified brushes into the new set in
an organized way. How to stay organized
with your brushes. Please take a screenshot
of your new brush set and share it with us in
the class project gallery. I wanted to share a few
resources with you. Lisa Glance and Lisa Bardo are two brush designers
that I mentioned, and they are both
skill share teachers. Kyle Webster actually designs
brushes for Procreate. They are three of my
favorite brush designers, and I have purchased and downloaded several
of their brush sets. Sinly leave me a review. I'd appreciate knowing what
you thought about the class, as well as it lets others
know what to expect. Also, please follow me here on skill share so you'll hear
about my upcoming classes. Thank you so much
for joining me. Take care and stay positive.
 Trena Brannon, advocates kindness inclusion positivity