Transcripts
1. Introduction: In this class, I'm going
to show you why it's important to back up your
individual procreate files, how to back them up, and how to recover them. Hello? Beautiful. My
name is Trina Brandon, and I have a passion for people
and a passion for color. That's why I'm excited
to be teaching here. On skill share, I have
many identities including children's book illustrator,
a surface designer. I license my artwork, I dig traditional and digital. Creating a founding contributor to the Alcohol Inc Art Society, procreate is an essential tool for me when creating artwork, especially when
illustrating books. A few months ago I had a multi
day ipad issue adventure, the Share function Stop Working, which meant I could not share J Pegs PNG's PSD's
essential files that I needed from
the procreate app. It was a showstopper for me. Fortunately, I had excellent Apple support
that helped me get to a point where I could save my individual procreate files. Which was wonderful
because I was not able to use
the full recovery for my ipad and had to build
my ipad from scratch for me. Procreate files were
my highest priority. From that experience, I have started the best
practice of backing up my individual procreate files daily in addition
to the ipad backup. In this class, I'll share with you how I organize my files, save my individual
procreate files. I don't want you to
have to go through this type of scare in the class. I'll cover why it's important to save your
individual procreate files, how to save and recover
individual procreate files, brush sets and color palettes. I'll also share some tips
for staying organized and what I learned from
my ipad issue adventure. I'll be using an ipad Pro, the procreate app and cloud
storage for the project. I'm asking you to try these
steps to make sure you see the results for yourself and feel comfortable executing them. Let's get started.
2. Project: Hello, I'm glad you're here. You'll get the most
value out of this class. When you try the steps yourself, it's like learning to drive. You watch someone driving. But you really understand
when you sit in the driver's seat by
executing the steps, you see the results with
your own files and get comfortable executing the
steps for the project. Please share a screenshot
of your success. After you have saved or
restored a procreate file, a brush set, or a color palette, simply screenshot it and share
it to the project gallery. I'll cover supplies
next. See you there.
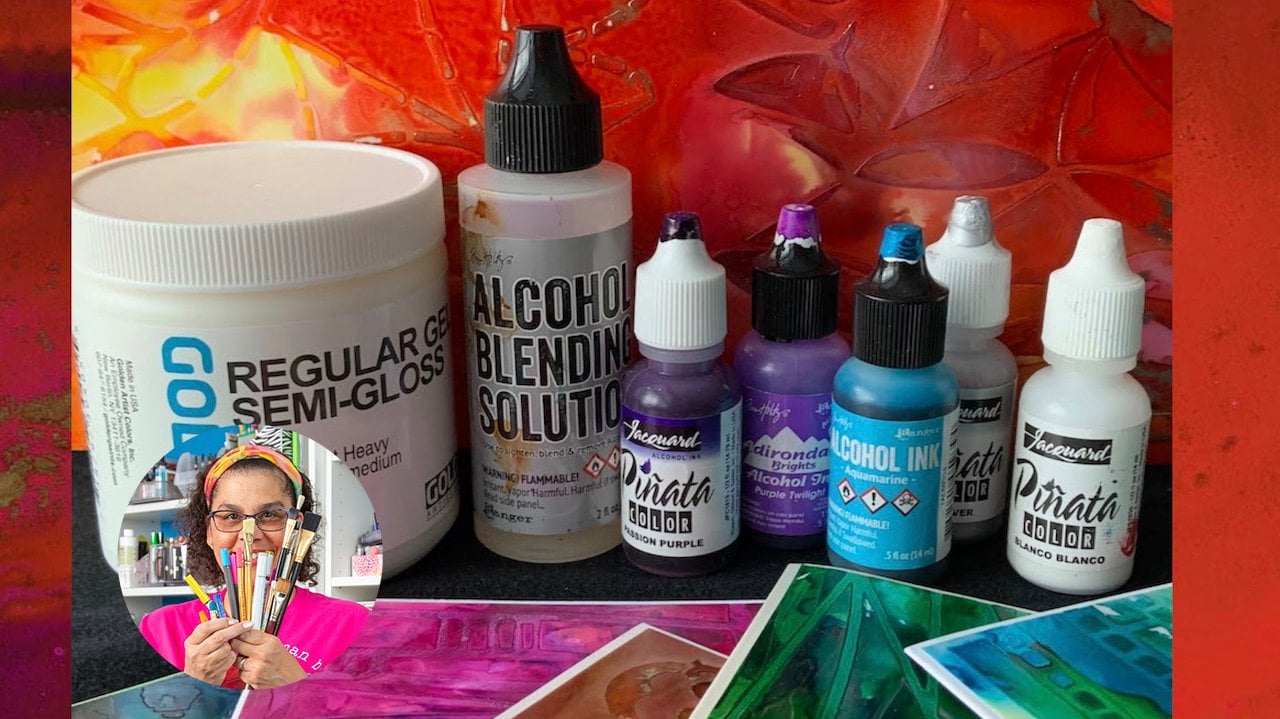
3. Supplies: Hello and welcome back. In this video, I will be sharing the supplies
for the class. I'm using an ipad, Pro Generation two, the
Procreate app and Dropbox. I'll also have an I pencil,
but you don't need it. You can use whatever ipad model you have that works
with procreate. Whatever cloud storage
you have access to. The steps will be the same. If you have any
questions along the way, please post them in
the class discussion. I'll check it often.
In the next video, I'll talk about
the importance of saving individual
procreate files. See you there.
4. The Importance of Individual Files: Hello and welcome back. In this video, I
will talk about why you would want to save
individual files. A couple of months ago,
I had an issue with not being able to share any
files from my ipad. This was a huge
issue for me because my workflow for my children's
book illustrations is to create the elements
in procreate and then share the files in P and G form and PSD
form so that I can continue working on
it in Photoshop, I contacted Apple support and worked with three different
texts to resolve the issue. During my ipad issue adventure, I had to reset my
ipad multiple times in my attempts to restore the same problem kept coming up. It stumped my top
tier support tech, but he was determined
to get my ipad back up. And running through
this experience, I found that I could not
recover parts of my ipad, for example, just
the procreate data. It was all or nothing. Luckily, my wonderful
support technician got me to the point where I could upload individual files. After that, I had to start
over with the factory, reset. I had to reinstall each app, and then I was able to recover my procreate files that I had backed up myself
and continue my work. I have now made these steps that I'm going to
share with you part of my daily workflow for any updates I make to
my procreate files. Let's go ahead and get
started with the steps.
5. Back Up Individual Procreate Files-1 NEW: Hello, and welcome back. In this lesson, I'll
show you how to back up individual
Procreate files. First, you need to make sure
that you have downloaded the Cloud storage that you're going to use and
you're logged in. I'll be using Dropbox. You can use your finger or
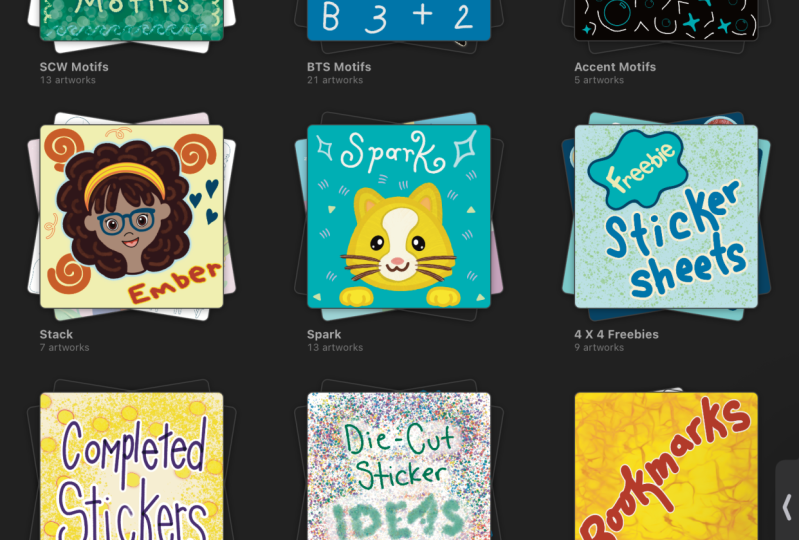
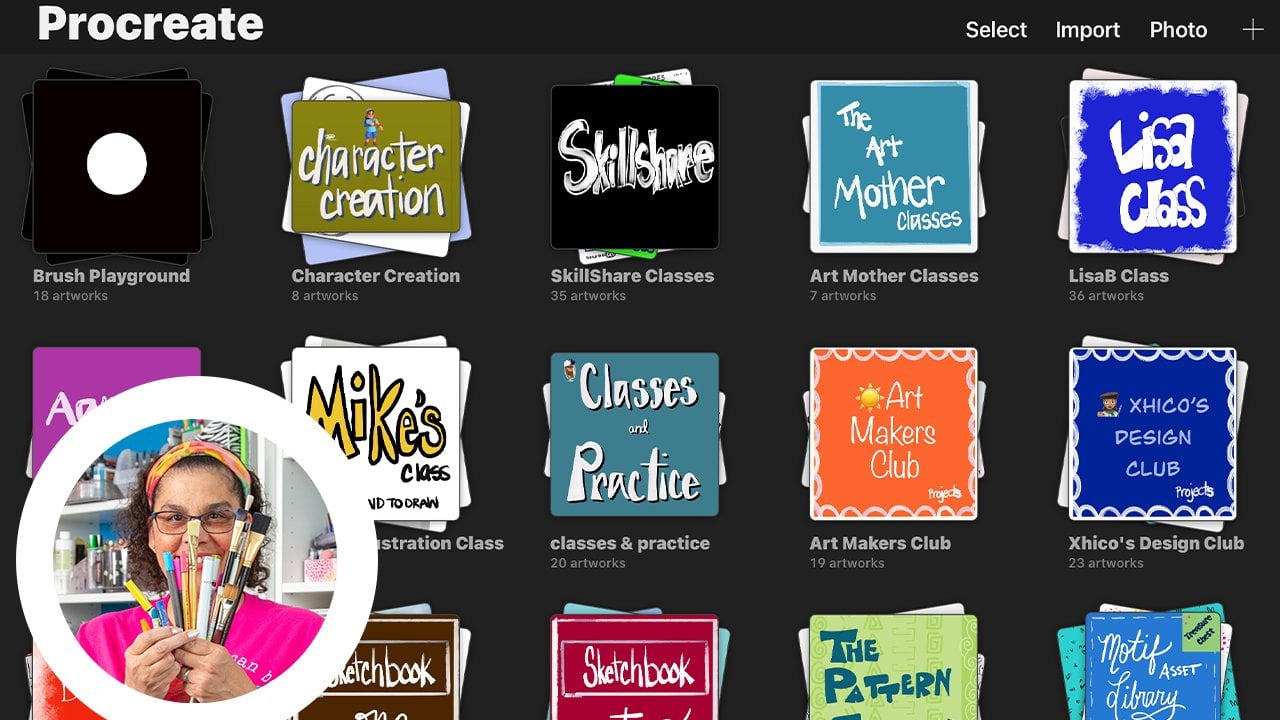
an iPencil for these steps. As you can see, I have
all of my stacks here. I like to put a
cover on my stacks. I'm very visual and I like
to see a lot of color and it just helps me recognize
what is in each stack. A tip. Set up your cloud folder so that they match
your stack name. That way, it makes it
easier when you need to recover them
and organize them. The first thing I'm
going to do is to set up a split screen with my Cloud
storage, with my dropbox. I do a split view,
I choose Dropbox. This way, I'll be able to see the files being backed up
as I go through the steps. This will be the folder
on my storage that holds all my backup
stacks or folders. I use that word interchangeably. They're folders on
the backup storage and there stacks on Procreate, which is similar to a folder. In Procreate, I select one of my folders or stacks
that I want to back up. This is called Procreate
class and I want to create a folder over here in
my storage to match this. I'm going to click on the
plus icon and create folder. An efficiency that
I learned during my iPad issue
adventure was to use the microphone to create my file names and
my folder names, which saved me a lot of time. I'd spent a lot of time trying
to get the letters right in the little box or to bring up the keyboard and I
found this much easier. I'll use the microphone
to name my folder. Procreate class. A couple of things
I learned with using the microphone is to speak slowly and to pause when I finish my words to make sure
that the tool can catch up. Otherwise, your name
will be cut short. Now I have my folder in my storage with the same
name as the stack in my Procreate app and
I want to copy or share all of these
files into this folder. Now, one thing I
noticed is that I have one of my files
named untitled artwork. And I want to name that. One thing I
experienced when I was trying to recover my files, I had way too many
untitled artwork files which caused me some confusion. I would recommend that you name all of your
pieces of artwork, even if they're IMG
four and IMG three. At least it has a unique name, and that way, it's easier to
keep everything together. Since there's not an image
on this particular file, I'm not even sure
what's in there. I need to check to see what's in there so that I'll
know what to name it. I see these are my notes. I'll come back out here, use the microphone
again for the title. Notes. Next, I want to copy
all of these files and back them up
here in the folder. I'm going to select the files
so you can tap each one or you can simply
run your pencil or your finger across
to select multiple. Next, I'll share. That is the feature within
Procreate that allows you to basically export the
files out of Procreate. I'm going to select
the top choice, which is the Procreate
file because I want to keep these files in
the Procreate format. So in the event that
something happens, I'll be able to continue
working on them. I select Procreate. It's exporting and then it
comes up with my choices. I want to export to Dropbox and I'm going to look for the folder
that says Procreate class, so I need to navigate there. These are at the top, it shows my recent folders
that I copy too. I want to go to all files
because I know that it is somewhere within this path. I navigate to class
backup and then there I see the Procreate class
folder that I created, and that is where I want
to upload these files. Once I select it, you see the little blue checkmark
is next to it and I click on Upload and it says
it's uploading to Dropbox. I can see the files start
to drop into the folder. So now I can exit out of
here and just go back and check to see that I see
the names, and they match. And there's seven files, and I have seven files within
my stack on Procreate. So then I want to go
on to the next folder. In the next lesson, I have a few more things
to tell you about backing up individual Procreate
files. See you there.
6. Back Up Individual Procreate Files-2: Hello and welcome back, and this lesson will finish how to back up individual
procreate files. Let's pick a folder
with a lot of artwork. Okay, this is a class actually I took on skill share
with Lisa Barda. It's called Kickstart
Your Creativity with Procreate 20 Fun drawings
for beginners and beyond. Actually, I took this class a couple years after I
had been using Procreate. I felt pretty comfortable. I still learned quite
a few tips from Lisa. I would recommend this class. In this stack, you can see
that I have several files. When you have a lot of
files within your stack, you'll want to
divide it up again. The first thing I want to do over here is I want to create a folder that matches
my stack name. I hit on the plus sign, create a folder Lisa class. Now I have my class.
I want to select, I pick ten, and I say
share the procreate file. And then I want to
navigate to Lisa class. This time it's taken a
little longer because it has more files to export. I'll select Dropbox. I'll scroll down and navigate to the
backup files back up. Now I see Lisa class. I'll select it and the little
checkmark comes up, Upload. And this is going to
take a little bit longer because there are
more files to upload. Once the task is complete, I go down to the bottom and
I see there are ten files. I come back over to my stack and you can see that those
are still selected. So I want to make sure that I start from this
point right here, but I don't want to
download these again, so I need to these and start selecting here
for the next ten share. Procreate to take a moment
because there's ten files. When it pops up,
I select Dropbox, and what I'll see right here
at the top is Lisa class. That was the last folder
that I uploaded to. It keeps that in the memory, and now all I have to
do is select Upload, and it's going to
upload the next ten. Once it's finished, you can scroll down and
see now there are 20 files. Those are the steps. You would just continue
this process until all of your stacks are backed up onto
your cloud drive. Once I had everything backed up, I made it a best practice to update any files
that I touched daily. That way I knew I had a complete backup of
all my procreate work, all this body of work that I've been working on for years now in a separate place from
the ipad, full backup. And the way in which
I do that is just, let's say in this
particular stack I was working on a file, let's say I'm working
on the class and I worked on one of my slides. I added something or created a new slide within procreate, let's go to the wrench icon, the actions icon, and share. And choose procreate. Then I back that individual file up to the
appropriate folder. I can back it up here, choose the procreate class
and back up and save it. The tool will tell me that
there is a file name there. Do I want to replace it? Yes, I do, because this is a later version of the
backup that I created. I will just select replace and
it will replace that file. Now I know that I have
the latest version saved. In the next lesson,
I will show you how to back up brushes.
See you there.
7. Use a Hard Drive to Back Up Your Files: So after I created
the initial class, I stumbled upon an
information video on YouTube that showed another way to backup your files
from your iPad. Depending on the version
of iPad that you have, you can connect a hard drive
directly to your iPad. I have an iPad Pro which
has a USBC connector and I also have a drive
that has a USBC adapter, so it can plug directly into my iPad and it's self powered. If you have one that is not self powered or does not
have the same adapter, you may just need to get
a little converter for whatever connection type
you have into your iPad, which many times depending on the little converter
that you have, has a slot for power, so I can power your iPad and your hard drive
at the same time. In my case, I could
plug directly in. What I did was when
I plugged it in, my drive name came up this is the same device that I
actually plug into my IMAC. I already had a name and
it was already set up to copy files from Apple device. So this worked out just fine
for me to plug in directly. I didn't have to
do anything extra. But depending on what
type of setup you have, you may have to do
a little research. So once I plugged
it in, the name of my device came
up and then I could just select it and it takes me right into the
file structure. I created one for today's date. This is the day that I'm backing up all my Procreate files, and so I've already
started backing up some. This is on the drive side. Within Procreate, I
have been selecting files that I want to copy
over and it's just this easy. You go into the
mode where you can select tap on the stack. You see, I have 29
artworks in here. I can share all
these at one time. I select share, and then I
want the Procreate format. This will take some
time depending on how many artworks that you
have within that stack. You may have to wait a moment. Then it asks me, where
do I want to export to? I'm going to save to files, and it puts me in the last place I was the
last time I uploaded. I want to go back out to my main folder so that I can
create the stack name here. What I do on this little folder that has a plus, I select it, and then I'm going to use
the microphone to name the new folder, tile collection. And then it takes
me right in there. Right now it's holding
those 29 items for me, and all I have to do is
select Save and it's saving. What I usually do too, what I've been
doing is write down what folder or stack that I'm on because depending on how many art pieces
I have in there, sometimes I walk
away and come back, so I want to remember
where I was. When it completes, it
takes you right back to where you were
so I can deselect that one and then select the next one and just
repeat this process until I have copied all
of my procreate files. Clearly, this is the
fastest and easiest way to upload your files. If you don't have a separate hard drive to do this process, you can of course,
still do the Cloud save that I taught you in the
original part of the class. But once I discovered this, I just wanted to let you all know because when I
find out something new about Procreate that impacts one of the
classes I've created, I want to give you that
update so you'll be aware of any new information
that I've discovered.
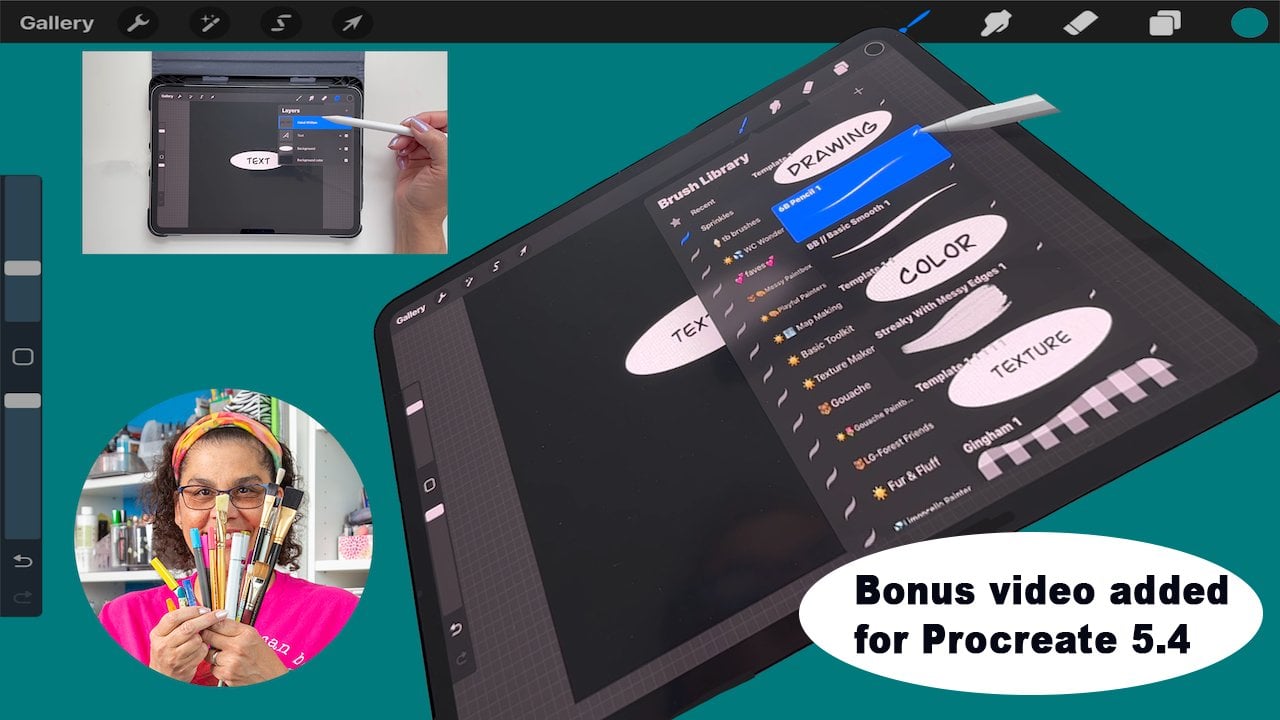
8. Back Up Brushes: In this lesson, I'll
show you how to save your brush brush sets
for my color palettes, I create one folder. Within my backup, I would have all of my stacks
created as folders. And then I create a separate folder for my
brushes and color palettes. Brushes and color palettes. Now I have the folder for that I can correct the spelling and take out the
Or. I can leave it as is. For now, I'm just going
to leave it as is. So we can move on
with the class. For this part, you can go
into any of your files and select the brush which gives
you your brush library. And you would have listed here the brushes and brush sets. Procreate any
brushes that you've purchased and also perhaps
any brushes that you've made. I have here a phase folder that has all my
most used brushes. That is the first one I
make sure that I save, I selected and then
I have some choices. I will choose Share, and then I want to share it
or save it into this folder. I'm going to select Dropbox, just as we did with
the procreate files. Then I am going to
navigate to that folder, go to Class backup, and there I see brushes
and color palettes. I select it and my
little blue check mark, I select Upload, and then
it is uploading to Dropbox. So after a moment or so, we should see it
appear in the folder. There it is, faves brush set. You can tell by the
suffix there, brush set. It is a set of brushes and
not an individual brush. You can also share
an individual brush, let's say in one of these files, I wanted to share that
particular brush, or I wanted to save that brush, I would just swipe left and then select Share and
follow the same path, Dropbox, and then the most recent folders
will show up here. I will select Upload. That is the brush that I chose. One tip that I will
mention is that I give my brush sets meaningful names, like I do my files when I
work on a specific project. And I'm saving that
set of brushes, I just make sure that I
name it appropriately. In the event I do
have to restore it, I'll know what project I was working on
with that brush set. In the next lesson,
I'll show you how to back up your color
palettes. See you there.
9. Back Up Color Palettes: In this lesson, I'll show you how to save your color palettes, which is very similar
to saving your brushes. Here we are in procreate and I'm going to select the color icon. And all the color
palettes are listed here. There are three little dots that are over each color palette. When you click on those, you have an option to share. I select, I'm going
to select Dropbox. Then, brushes and color
palettes are here, because that was one of
the last folders I was in. Select Upload, it adds
it to the folder. As with my brush sets and files, I also give meaningful names
to my swatches so that I can know what project I was
using those swatches for. Now that you have
your procreate files, brushes and color
palettes backed up, I recommend that for any
files you touch daily, you make it a practice
to back them up. At the end of the
day, you can use the same names to
stay organized. If the file currently exists, you will get an
option to replace it, as you saw in the
procreate video. In the next lesson,
I'll show you how to restore your files.
See you there.
10. Restore Files to Your iPad-Updated: Hello, and welcome
back. In this lesson, I'll show you how to
restore your files, brushes and color palettes. Mm hm. In this lesson, I'll show you how to
restore files to your iPad. For these steps, you'll
need to make sure that you are in the
stage manager view, and that's under multi
tasking gestures when you go to your settings, multi tasking and gestures, and you'll select stage manager. When you do that,
it allows you to easily copy your files
back into Procreate. You'll have Procreate open
and you'll also want to open files. Your file folder. In your file folder, go to where your
backup files are and go to the folder that
you want to backup. You see the whole list
of Procreate files that you want to bring
back into Procreate. Also, you want to
bring up Procreate. With the stage manager version, you gently slide from the left and you can also
bring up Procreate, hold it and bring up and then you'll see both Procreate is up and also
your files are up. Long press on the
three little dots and you'll see this selection. What you want is side by
side so that you have Procreate on one side and
your files on the other. What we're going to do is easily and altogether in two steps, bring all of the files from this folder or stack that you want to bring
up into Procreate. Over here in files, you want to select
multiple files. Tap the three dots and then select and you see
these circles come up. I like to bring over
two at one time so I can then create the stack and bring the rest
of the files over. And so it's just this easy. Hold those two that you've
selected and bring them over and it puts them right
at the top of Procreate. Then I select these two that
I've just brought over, select more and stack them
so they are together. After they're in the stack, deselect to get out of that selection mode and
you can select the stack. You see your two that
you have copied over. Next, I deselect these
over here and select all and then deselect those two again because
I've already copied them. Then I can select
the rest of them, drag them over, and Walla,
they're all populated. The last thing that I
do is bring my cover up to the top so that it shows when my full
library is up and I change the name using the microphone,
character creation. And now I have successfully
restored files from backup and you can
just go through each one and restore your files. Next, I'll import brushes. If you've ever purchased
brushes or gotten them free or color palettes, then you are familiar with
how to add them to Procreate. As you can see here,
my favs brush set is not in my brush library. So to get it back, I'm going
to do a split view again, add Dropbox and I'm
going to navigate to my brushes and
color palettes and choose my fave brush set and
then save it to my device. You can do it in Dropbox from these three little
dots on the right. It says, save to device. I tap that and then I tap Procreate and you can see
that something happened here. When I tap on the brush, you can see that it's added
faves here at the top. It would be the same process for bringing the brush back in. Next, I'll show
you how to recover a color palette
from the dropbox, select Save to device, select Procreate, and the color will be exported
and added at the bottom. I already had the color palette here and it just added it again. The Procreate tool allows
for having a color palette, a file, or a brush
with the same name. Up next is the class
summary. See you there.
11. Summary: Congratulations,
you have finished the class and made it
through the steps. During the class,
we covered why it's important to save your
individual procreate files, brush sets, and color palettes
separate from the ipad. Back up how to save each type. I recommended some organization
tips that may help you. We also talked about how
to recover your files, brushes, and color palettes. If there's one thing I hope
you take away from the class, it's knowing that you have
control over how you can save your procreate data
and also how to recover it. Kindly leave me a review. I'd appreciate knowing
your thoughts about the class as well as it will help others
know what to expect. Also, please follow me
here on skill share, so you'll hear about
my upcoming classes. Thank you so much
for joining me. Take care and stay positive.
 Trena Brannon, advocates kindness inclusion positivity