Transcripts
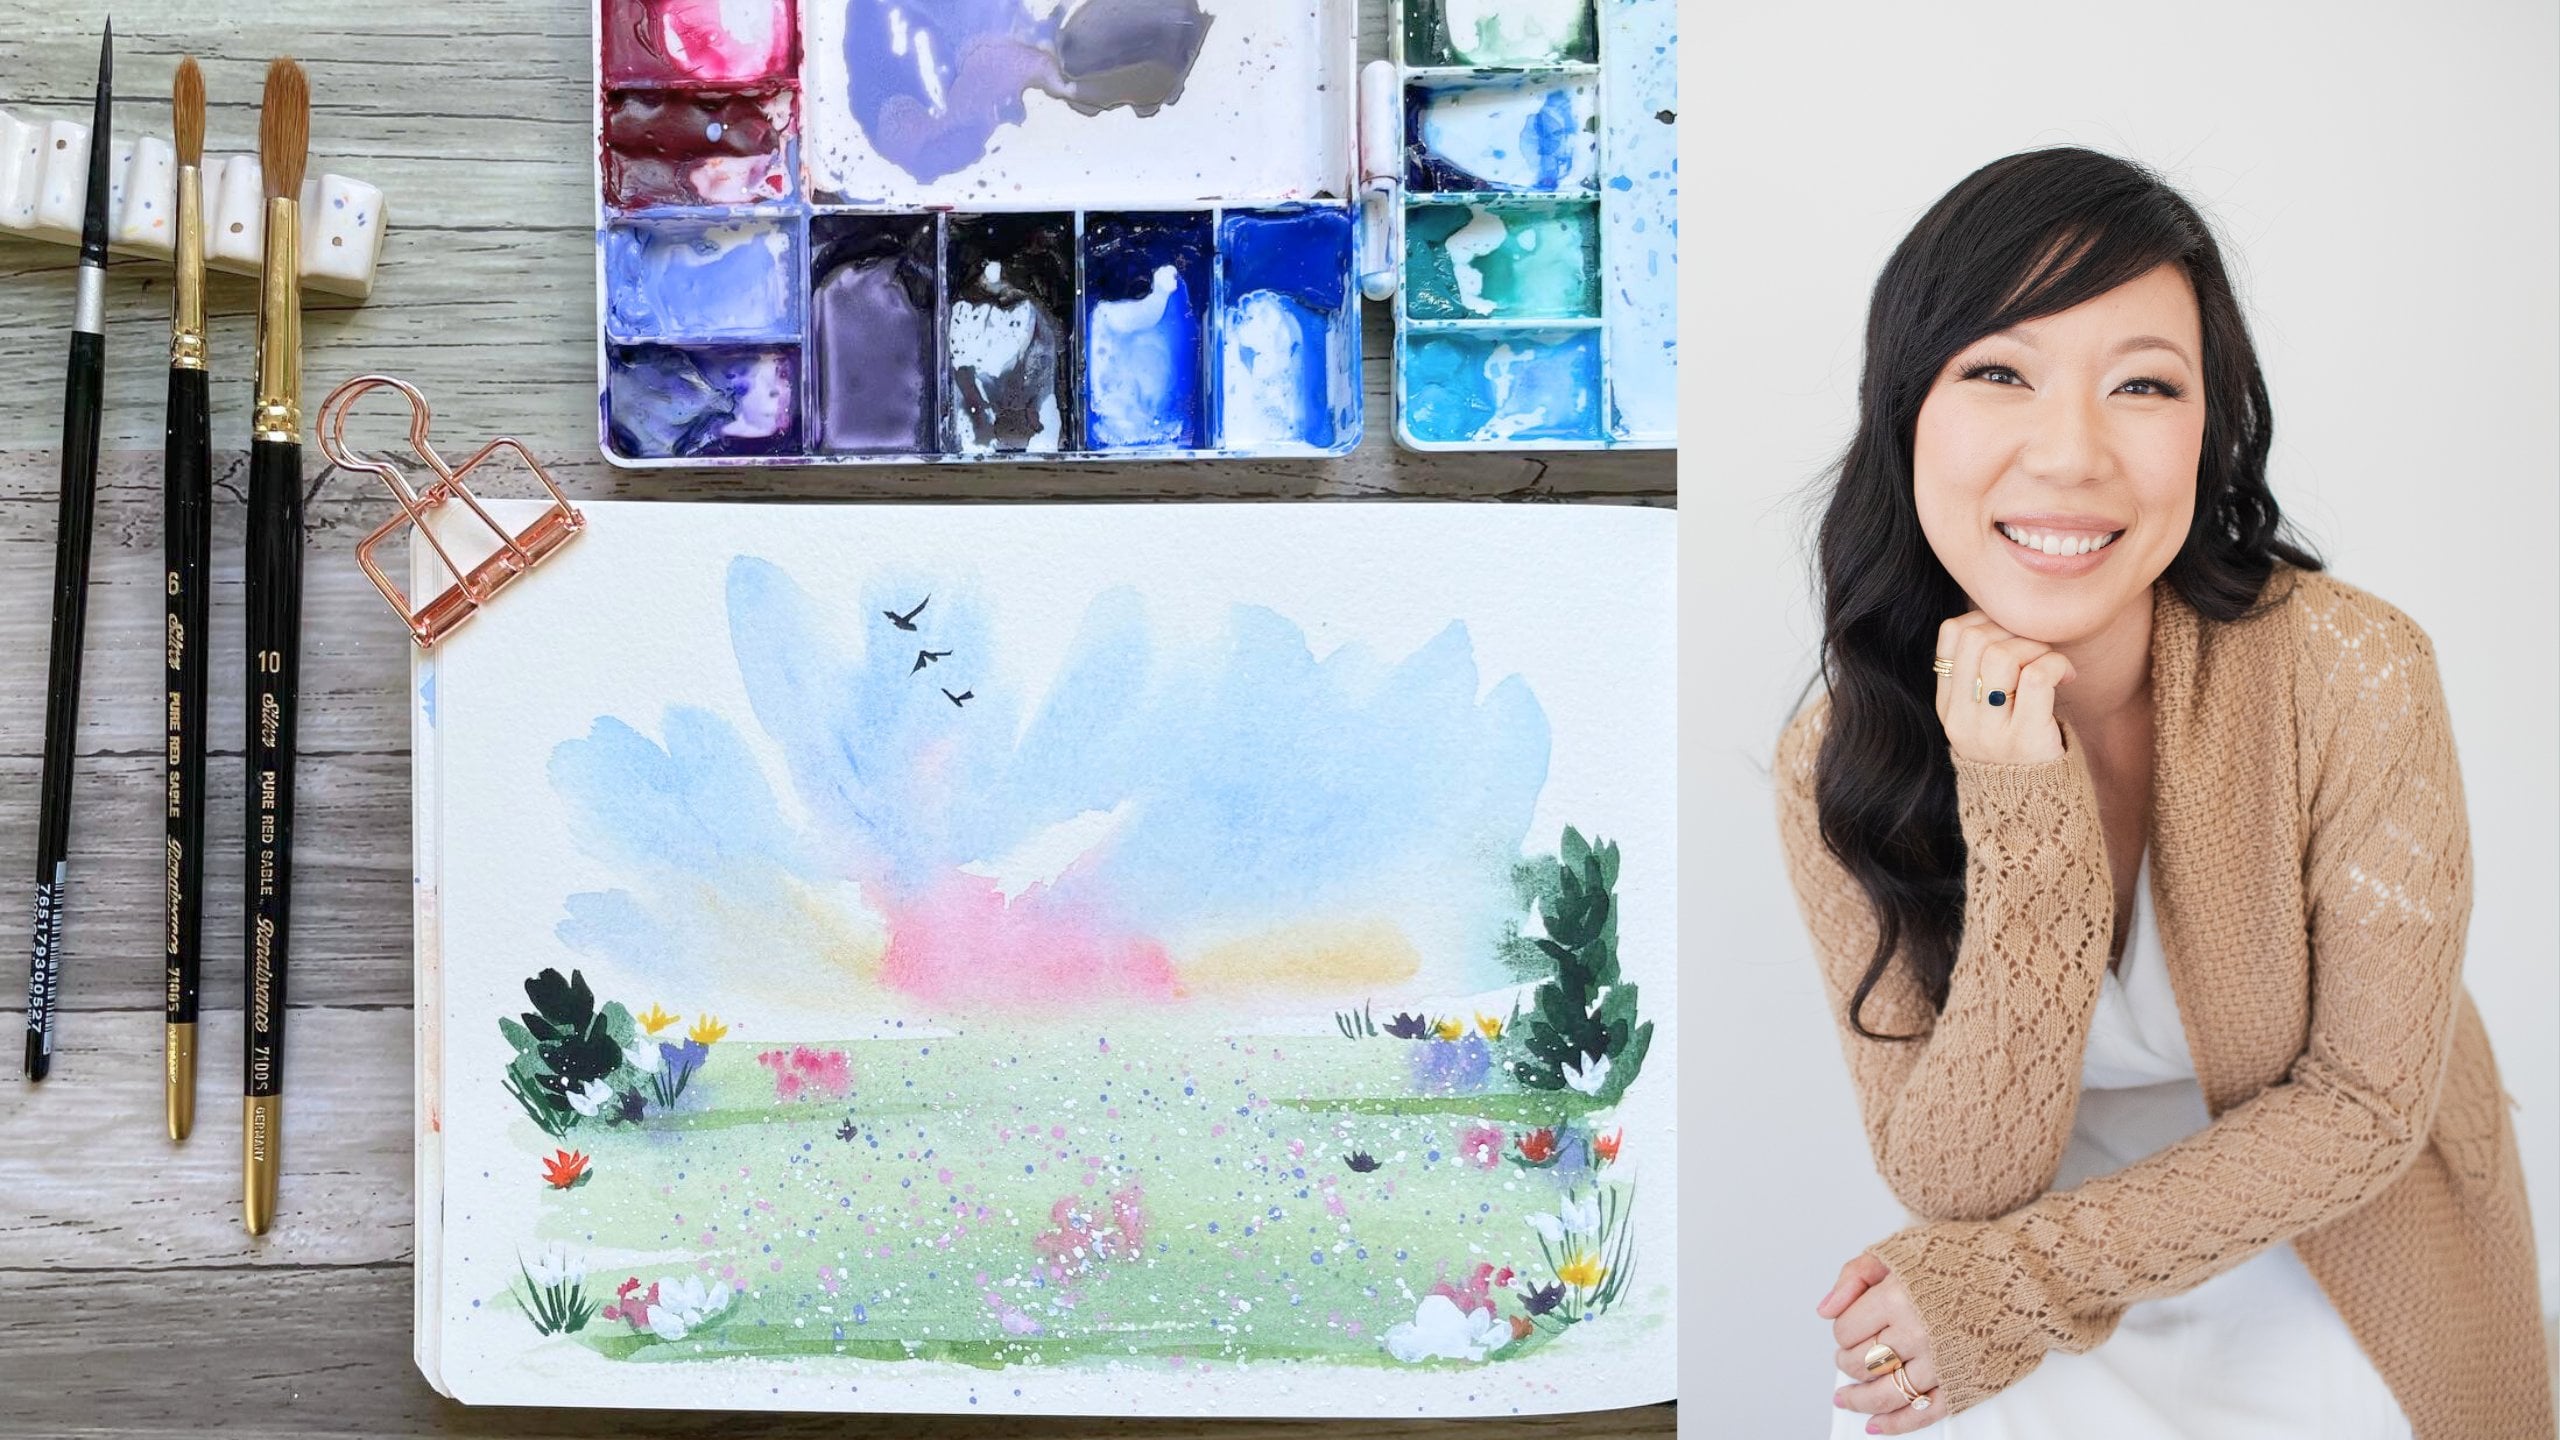
1. Misty Watercolor Landscape Intro: Hi, my name is Madeline. I am a loose Landscape
Watercolor Artist and content creator. I am primarily on Instagram, but in addition to teaching
classes here on Skillshare, I also teach on
patreon and YouTube. I'm also a brand ambassador for Polina Bright and all
about Art international. Welcome to my misty and foggy
forest landscape Tutorial. In this class, we will not only play around with an enjoyed the free-flowing quality of our Paynes that is so
unique to watercolor. I will also teach
you how to create a Moody and misty, loose
Watercolor Landscape. We will learn to let go of
not only are watercolors, but also the control. Because one of my
favorite qualities of watercolor is its ability
to completely surprises. Sometimes I will
also share how I create Hard line
Details alongside Soft Edges by utilizing
the differences between painting on wet
paper and dry paper. I'm so excited to
paint with you. I hope you enjoy this class and I will see you
in the next lesson.
2. Supplies: Let's go over our supplies. I will be using this two inch flat brush by Princeton Neptune
to wet our paper. This Round one brush
by Polina Bright to drop most of our
color onto our paper. I will be using a rigger
brush and a liner brush. They are both brushes
with very long hair. The rigger brush has a
slightly larger belly and this tiny mop brush
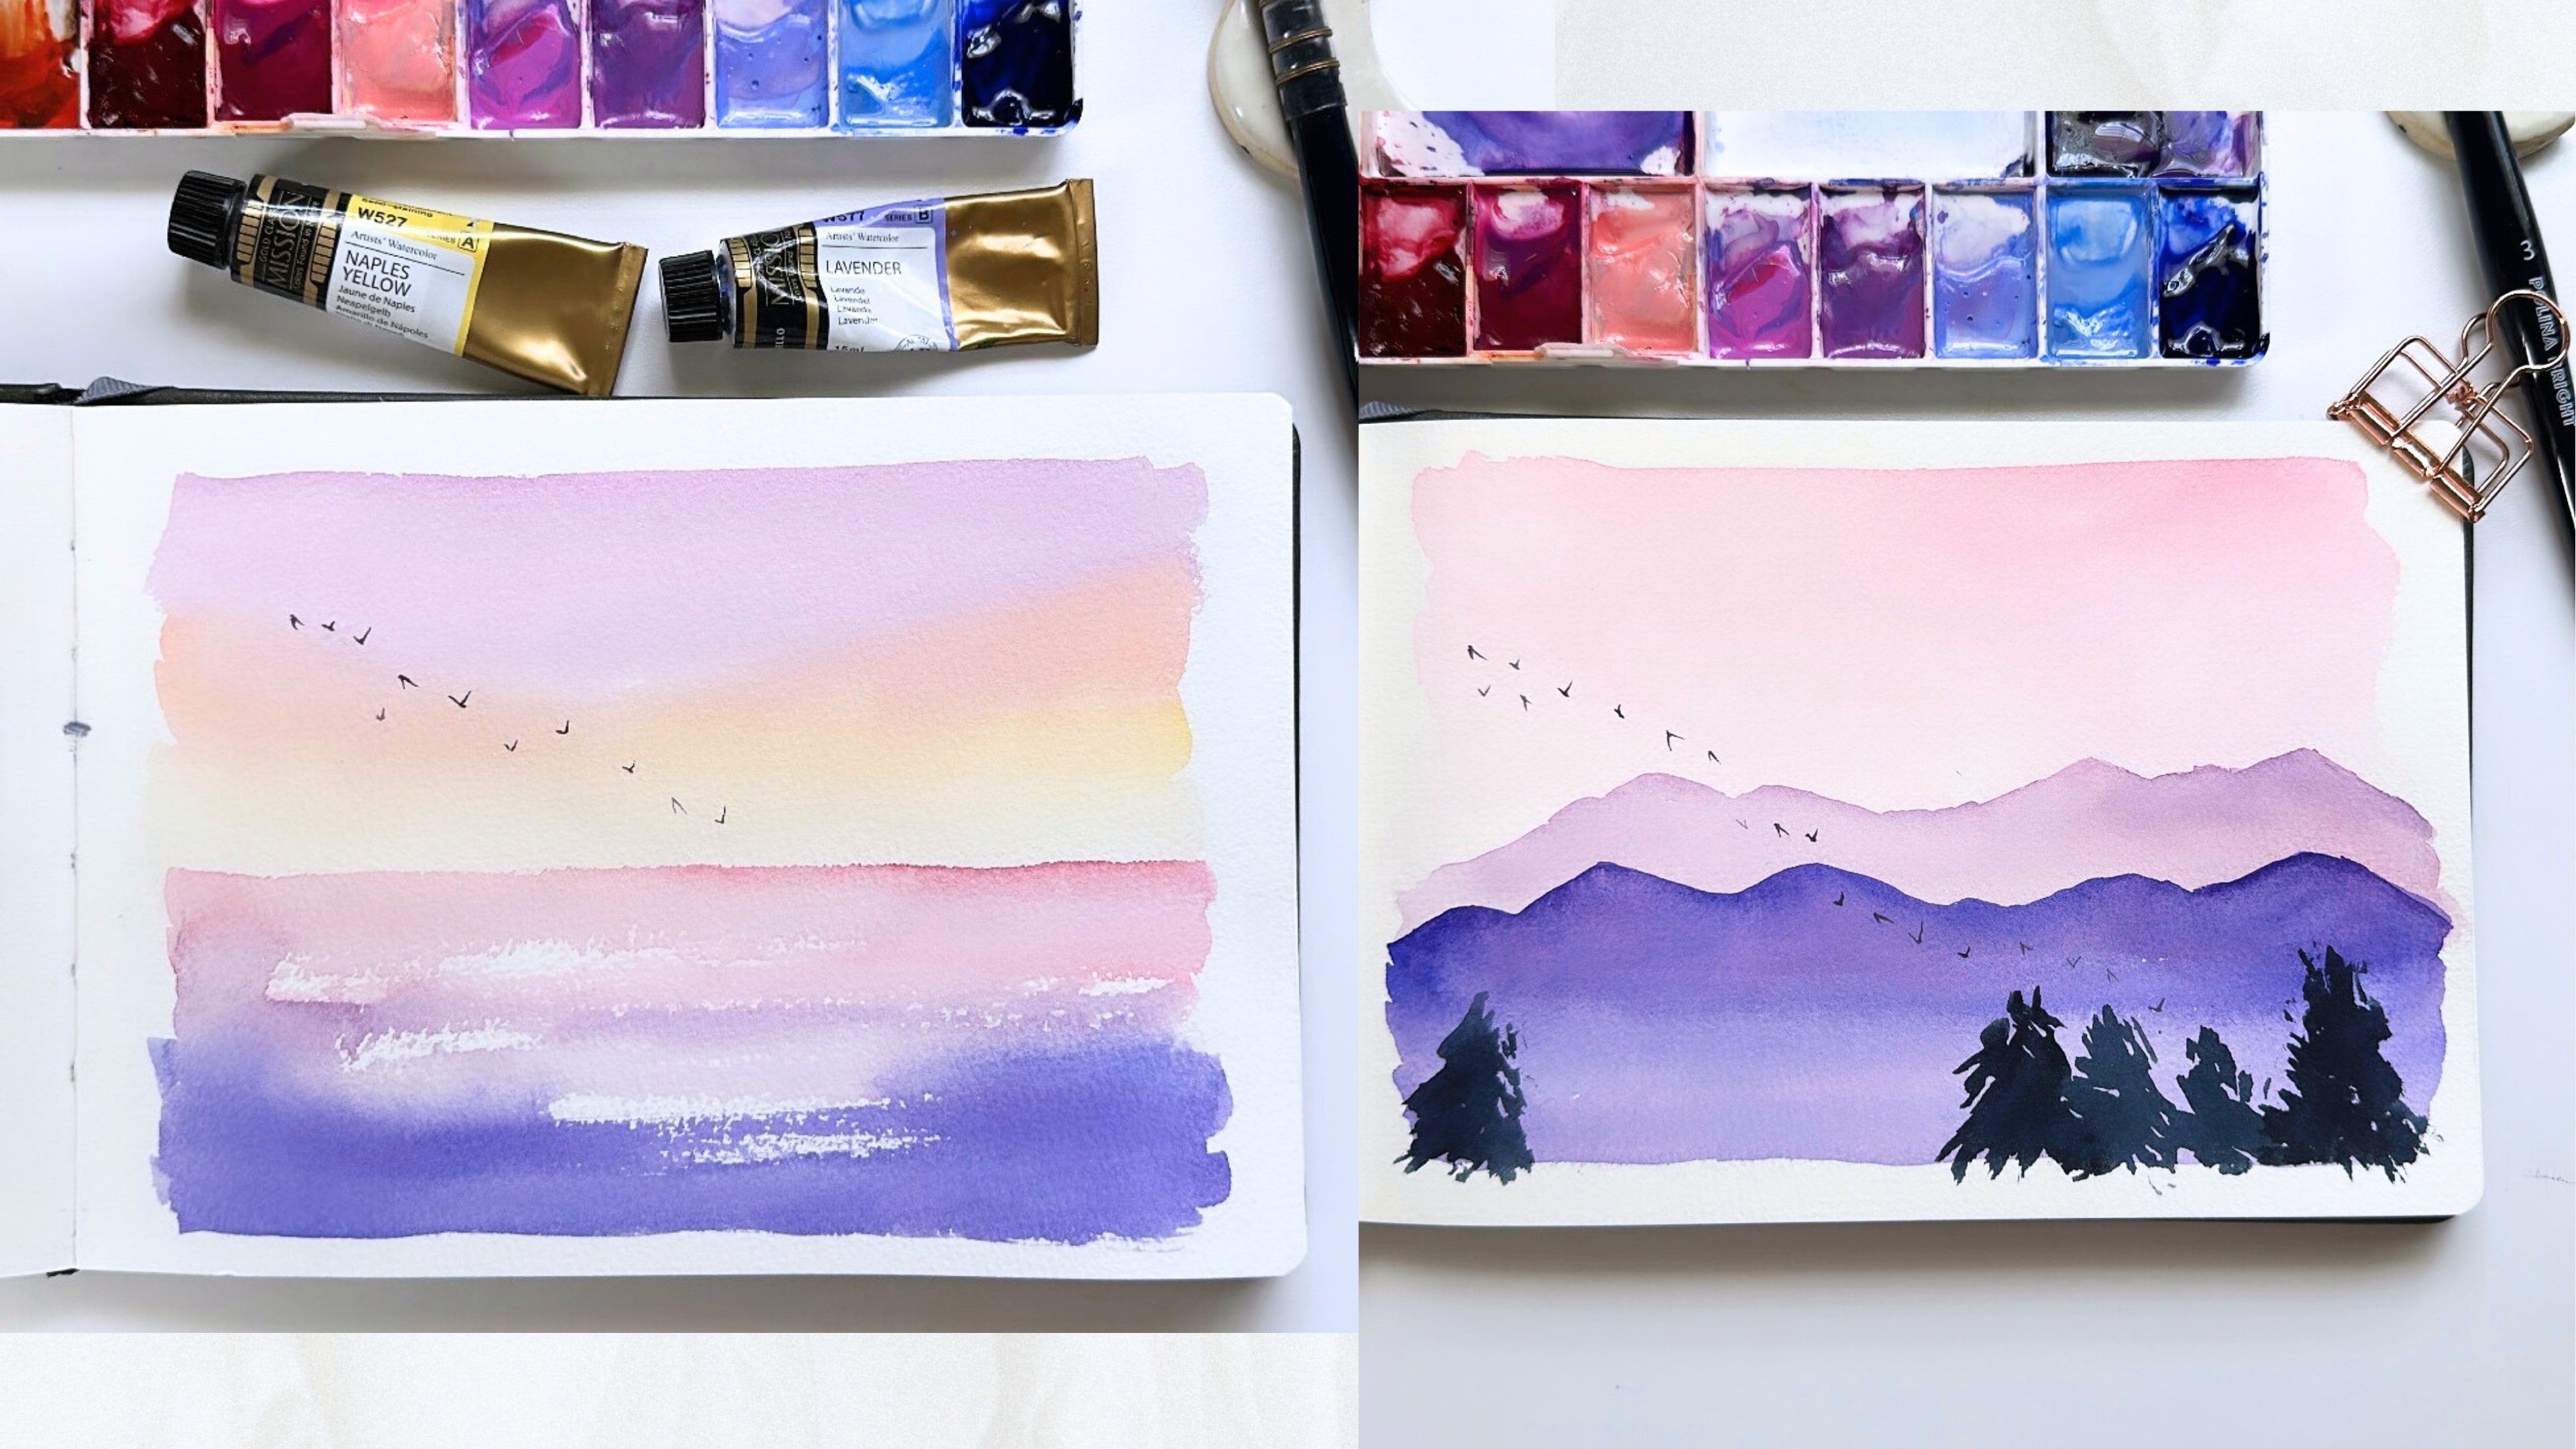
that I will be using to paint a tree details. I am going to be using only two colors for
this entire landscape. It is going to be primarily
made up of Indigo, which I will swatch
right here for you. In addition to the
color Paynes Grey. And in addition to
these two colors, I will also be using
a little bit of whitewash and the brand is Dr. Ph Martin's. I also want to give
you an idea of the brushes that I'm using. This size three
dash zero mop brush just has a really fine tip. If you can see, I
can get kind of like really nice sharp branches for when we work on our
tree details later. As for the to rigger
and liner brushes, this is the wider of the two and this is the line
that I can get with it. And the liner brush is slightly thinner and a little
bit on the drier side. So this is the liner brush. It is a size zero. So that is the liner brush. I will also be painting our landscape on a
block of arches. 100% cotton cold press paper. I like blocks because they
are sealed on all four sides. And when we paint a landscape
with this much water, it is very helpful. I have masking tape, a small mixing palette, and hot air tool to help
speed up the drying times. Then lastly, I have a small
little water spray bottle
3. 1st Layer, The Main Wash: So the first thing
we're going to do is to grab some masking tape. I'm using about a
one-inch size tape and I'm just going to tape
off our horizon line. And we're going to start with the upper half of
our landscape first. Now I'm gonna grab my
two inch flat brush and some clean water. And I'm going to wet the
upper half of our block. I'm going to drop a
little bit more water at the masking tape because I really want to facilitate our watercolors
are really flowing. So the first thing
I'm gonna do is grab my Round two and some Indigo. And I'm going to load
up our horizon line. I have my board
tilted a little bit towards me so that nothing
starts running yet. And then once I've loaded up the horizon where I
want our trees to be, I'm going to invert my board. And I'm going to let the
Watercolors start flowing. And I'm just adding
some more Indigo. I want all the
trees and all that missed to flow at the same time. So that's why I loaded
the horizon line. And just a reminder with
free-flowing Watercolor, we really don't know which
way the watercolor is go. We can, we can facilitate it. But the beauty of this is just letting go of the
watercolor and sort of letting go of
control and letting the colors do what
it wants to do. Now, I'm going to grab
my water spray bottle, and I'm going to spray
the Watercolor a little bit more to
get it flowing. I want the midst in the
upper half of our landscape to cover most of where we're
going to paint our trees. There is going to be
some whitespace in the middle because there's an opening there in
the reference photo. But for the most part, I want that Indigo color
to bleed everywhere. And you don't need to get
it to look a certain way. We're going to work
our midst into our landscape no matter
what our watercolors do. You'll also notice that I accidentally marked the
lower half of our landscape. And that's gonna be okay
because we're going to paint over that later. This is quite a messy project, but at the same time, it really is so much FUN. I'm gonna grab my flat brush
and I'm just going to spread the Indigo a little bit
more where I see kind of like larger areas
of whitespace. Now I'm going to grab
a clean paper towel and we are going to soak
up the excess paint. What I gonna to do
is where there are large puddles of Indigo. I'm just going to kind of
lightly tap the corner and I'm just going to let the excess paint drain
into my paper towel. While this is all still wet, I'm gonna grab a rigger
brush and I'm going to start outlining trees sort
of in the background. And so what I'm
doing is just very loosely painting a triangle For the shape of the tree, I'm grabbing some Payne's
gray in addition to Indigo to vary the color. But we want to do this part
when our paper is wet. And this is going to
give us that really loose, misty, foggy feel. Now I'm going to remove the masking tape at
our horizon line and we're going to paint the
lower half of our landscape, which is going to be
the lake reflection. So I'm gonna grab my flat brush again and get some clean water. And I'm basically going to wet the lower half of our block. I am going to touch
the upper half of our landscape and get some of
that indigo paint flowing. I have a tiny pool of water
on the right-hand side. So I'm just going to tilt
the board a little bit to get that water
evenly distributed. And I want to point
out as we fill out the lower half of our
landscape to be mindful of not letting
excess water drain into the upper half of our landscape because
that could cause blooms. I'm going to take my masking tape and I'm just going to prop up the top of our blog, make sure that the
free-flowing watercolors stays below our horizon line. So now I'm grabbing
my round brush again and I'm just dropping Indigo at the top
of the lower half. And now I'm going
to invert the board a little bit more and
I'm going to spray it with our spray bottle. Now I'm going to
grab my paper towel again and I'm going to pick up all the excess
water and paint. I like how the lower half
of our landscape looks. So I'm going to pick
up some of the water. I'm going to grab a flat brush and I'm just going to smooth those Hard Lines out
a little bit and pick up the remaining
bit of water. I'm going to grab
the rigger brush again and pick up
some more Indigo and just sort of give our trees
just a little bit more color. And then now I want to do the same on the lower half
of our landscape, which is the lake reflection. There's some Hard Lines in the middle of our
landscape right here. So I'm just going to grab
a clean brush and go over this area just to
smooth out that Hard line. Then now I'm actually going
to lift a little bit of color to preserve
our horizon line. Our block is really
wet, really saturated. So even though I'm trying
to lift our horizon line, it is likely going
to bleed back in. So you'll see me
lifting as I dry and as we keep going
just because I don't need like a we don't need a clear line all
the way through. I just want a little
bit of horizon. And that little spot that
I dropped Peyton earlier, I'm just going to grab
a wet paper towel and just sort of pick
up that color again. I really love our first layer, so I'm gonna grab
my hot air tool and we're going to
completely dry it
4. 2nd Layer, Details: Hard Lines, Soft Edges: Now I'm going to
grab a mop brush with a really fine point. And we're going to start giving some details
to our landscape. And we're going to be doing
a hard line Details and soft blurred edges details to keep that overall misty feel. And so getting Hard line details is going to be
painted wet on dry. So I'm just sort of
giving these trees kind of like sharper
looking branches. And I'm not, if you notice, I'm not painting
the whole tree in. I'm just painting in
small details here and there so that it
looks like some of the trees are a little
bit more in focus, which is where the fog isn't. And then in a little bit
we're gonna do kind of blurred soft edge,
edge to Details. And that's gonna be kinda
where the mist or the fog is. And so that's why the details
aren't as crisp or clear. And of course, if you drop
your brush like I just did, don't worry too much. This is a very loose landscape and if you accidentally
mark your paper, we can work that in. Okay, Now I'm gonna
grab my spray bottle and I'm just going to
lightly missed our paper. I'm not like
completely wedding it. I'm just sort of
wedding it and pockets. And we're going to grab
our rigger brush again. And I'm going to paint
in some more trees. And I'm going to paint
where the paper as wet. And we're going to get sort
of like these really soft, kind of blurred lines, similar to when we
did our first wash. But this is going to contrast the sharper looking treat
details that we just did. And then now I'm going to start working on our lake reflection. I'm going to missed the lower
half just a little bit. And with our lake reflection, we mainly just wanted to mirror the trees in the upper
half of our landscape. Now, I'm going to grab
some white gouache. And I'm just going to really lightly liner horizon again just to give it a
little bit more, to make it just a little
bit more noticeable. I like how our
second Layer looks, so I'm going to dry it
5. 3rd Layer, Finishing Touches: Now we're going to grab
White Gouache again, and we're just going to finish this landscape off with
some finishing details. So I'm going to
just sort of very loosely paint some tree trunks. A little bit of contrast
to our trees just to give them a little
bit of definition. Now we're going to paint some water ripples so that it looks like
a lake reflection. And I'm mixing the White
Gouache with some of the leftover Indigo that I had on my little Mixing palette. And all I'm really doing to get that kind of water ripple effect is painting like a
line or not super, super straight line
over the darker parts of the lake reflection so
that you see that ripple. If you paint it
kind of where the, there's more white-space,
it's going to be a little bit harder to see the water ripple. And then now for my
very favorite part, we're going to add
some metallic details. With metallic paints. It's important to activate them. And when I say activate, I mean, I wet the pan and then I get a brush and I really
sort of stir the paint so that the sparkles and
all of the paint sort of get mixed in and are
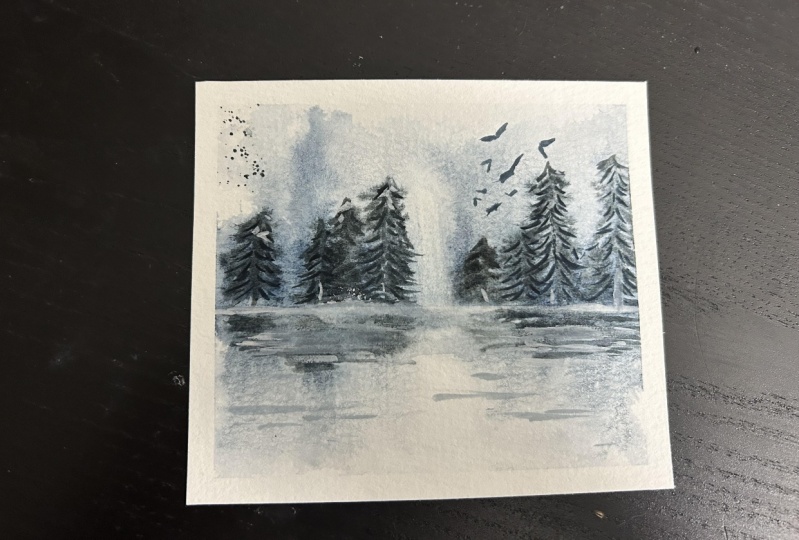
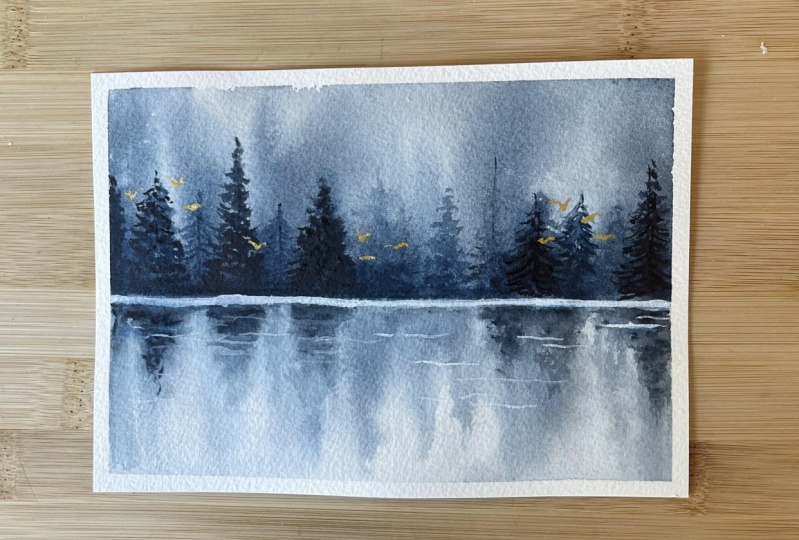
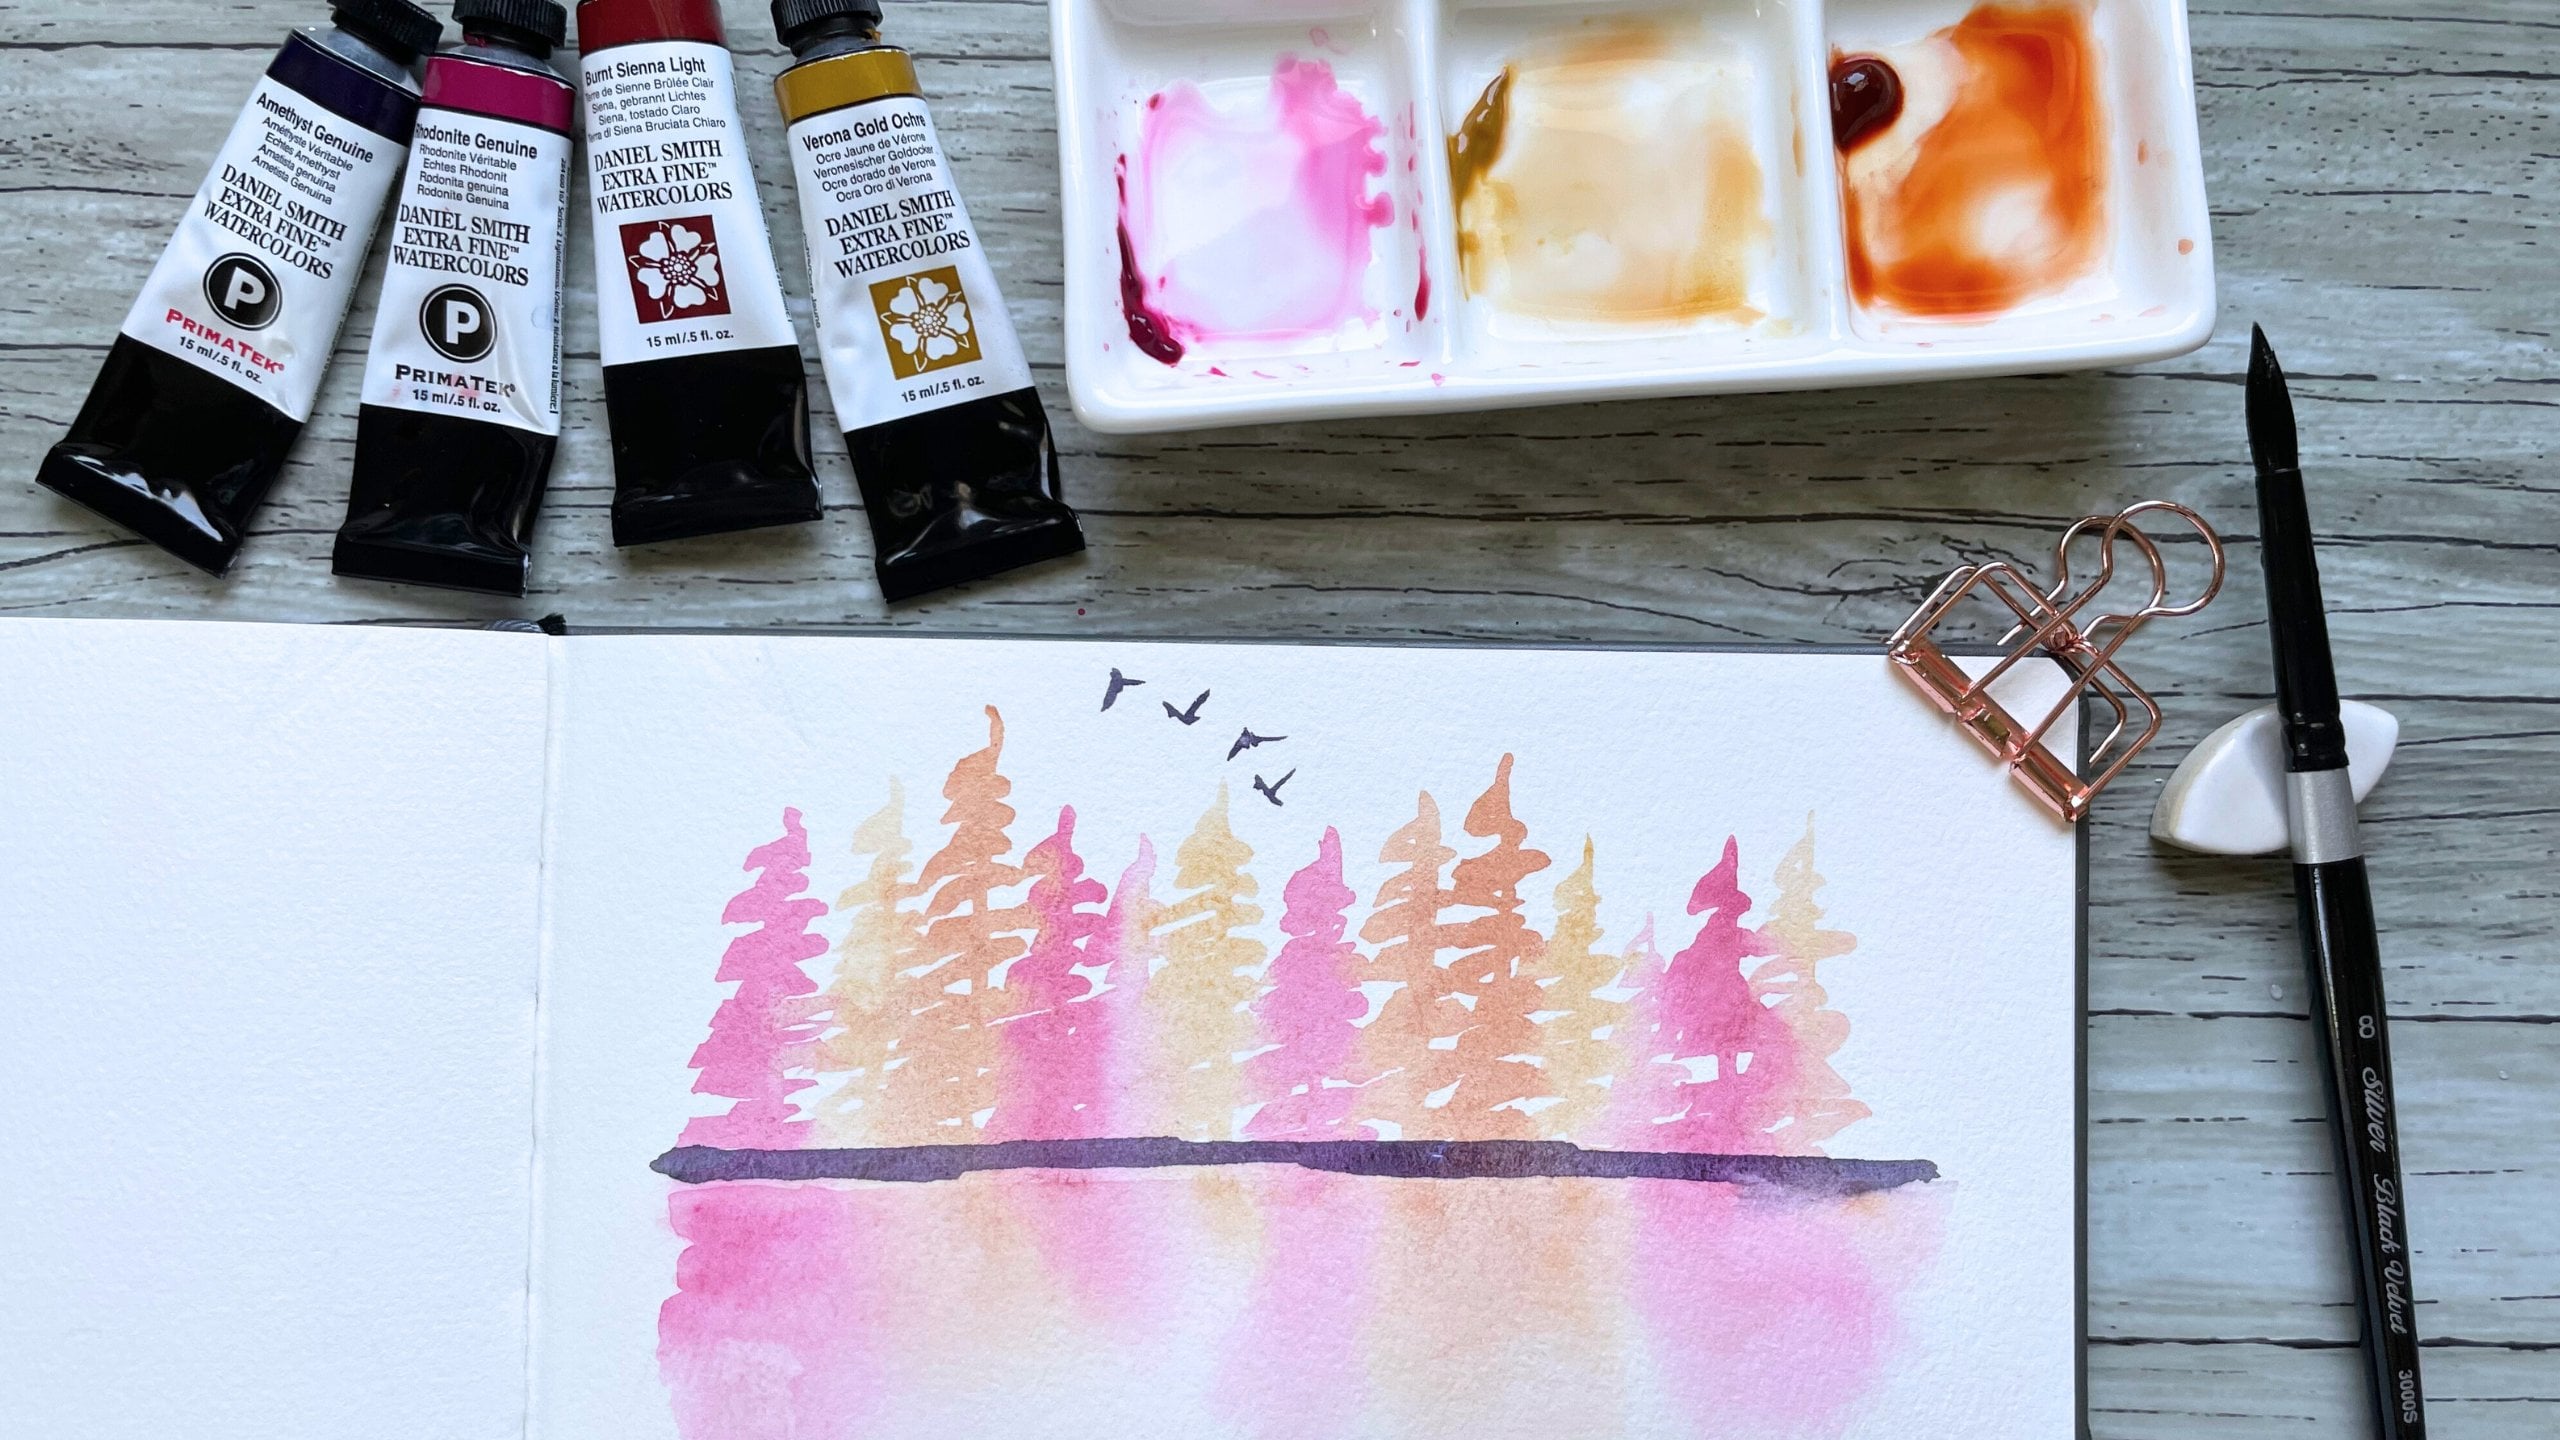
ready for me to paint. And I'm going to paint a
flock of birds with this sort of shimmery pale
gold metallic paint. And then now I'm gonna get
this metallic blue color. And I'm going to add just
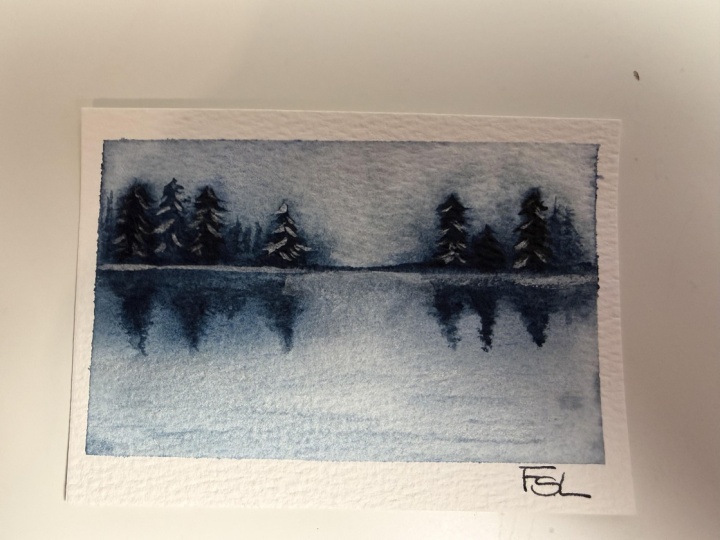
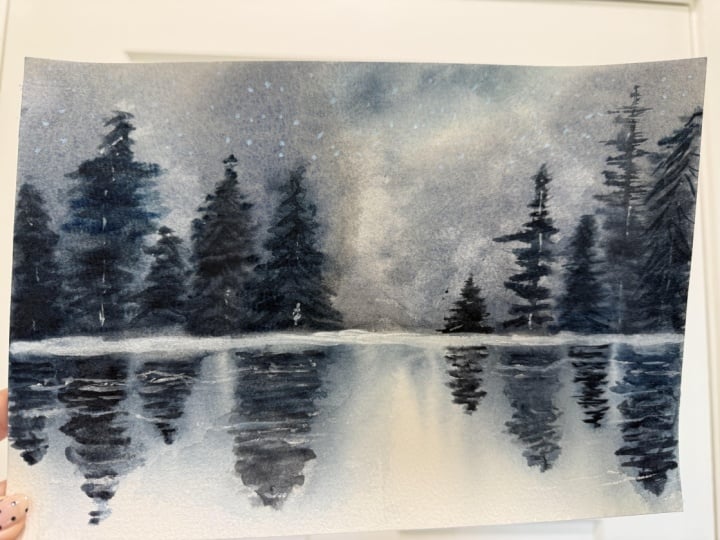
a little bit of sparkle to our lake rebels. And this is our final landscape, this super misty and moody forest with a really
nice lake reflection
6. Resources for Your Project: Now it's time for you to
make your own class project. And I wanted to share
some resources with you. If you scroll down
below the class and hit the Project
and Resources tab, you can find a hyperlink on the right side under
resources where you can download the image of my finished landscape piece if that would be
helpful for you. This is also where you'll
find the create project tab. If you clicked the
green button right here where it says
Create project, it'll take you to
this screen and upload the project
as your image. And under project title, you can write your name. Then after doing that, if you hit publish, it'll get posted to the
class project section. You can also hit the
Discussions tab right here to ask a question or make
a comment on the class. And last but not least, if you enjoyed this class, please consider leaving
a review for me. It is the best way for the
Skillshare algorithm to recommend my class to
other watercolor artists. Thank you again for
taking my class. I hope you enjoyed it.
 Madeline Kerrii, Watercolor Artist