Transcripts
1. About the Class: Hi, my name is Madeline. I'm a self-taught watercolor
artist and I've been painting for two years some of my favorite
things to paint, our simple loose
watercolor landscapes. During part of the pandemic, I homeschooled my two kids. And one of my favorite
parts of homeschooling was teaching art to my
kids and their friends. I loved teaching
them how to paint, how to fall in love with art and find and foster their
own creativity. In this Skillshare class, I will be showing
you how to paint this simple loose
watercolor forest with a lake reflection. This is my very first class
on Skillshare and I'm so excited for you to come
and learn alongside me.
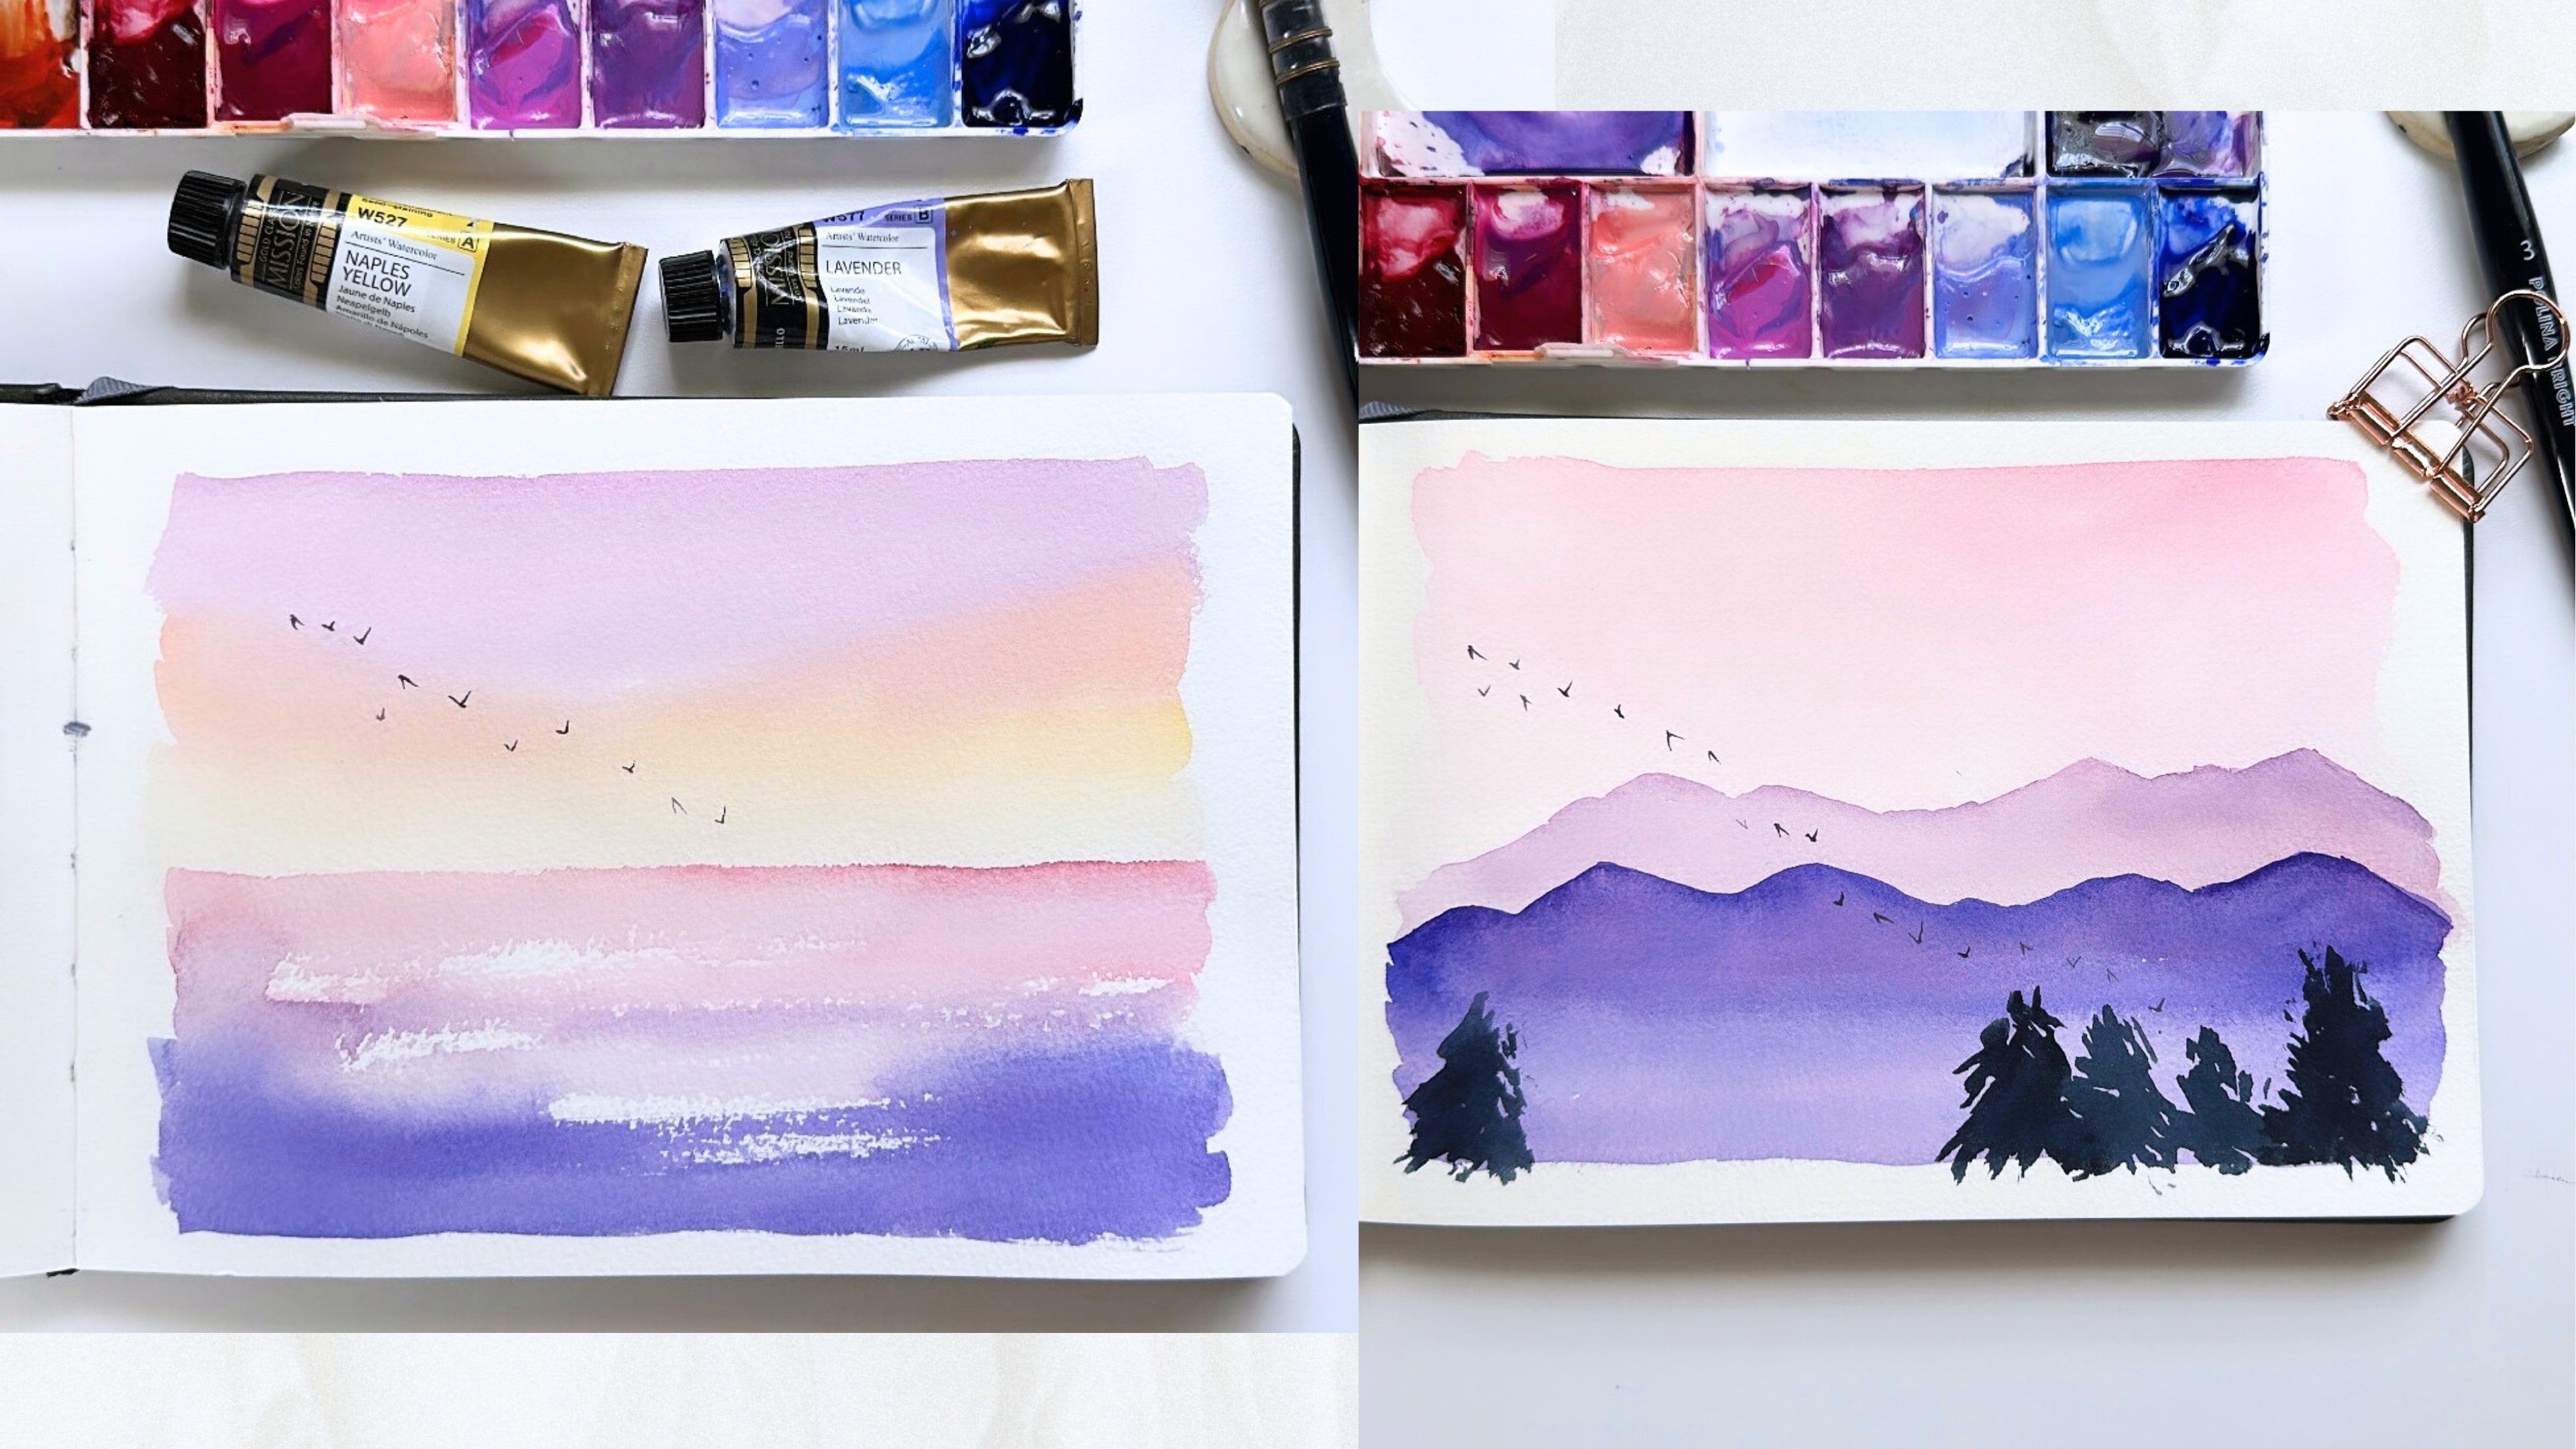
2. Supplies: Let's go over the supplies
that we will be using. I will be painting
in this sketch book. It's called The perfect sketch book by the brand at shirt, it has a 100% cotton paper, which I really like for a lot of my quick loose
landscapes sketches. I have two jars of clean water and this small ceramic palette that I'm gonna be
putting my paints in. I have a round size eight
silver black velvet brush, and I also use a liner brush to paint birds and a flat brush. What parts of my paper later, but I don't have a
picture in this video. They will be in a photo
in the Resources tab. I'm going to be using
for Daniel Smith colors. Right here. These three colors are going to be used
to paint the trees. And I'm going to use a
little bit of amethyst genuine here to
paint the horizon. I am going to squeeze out
some of these paints and do a quick swatch for you
so you guys can see what color these trees
are going to be. If you don't have
these specific colors, you can use whichever
paints you prefer, this piece looks good with
any combination of colors. I think it's really pretty ones the paints bleed together. So you can use paint
similar to these colors or you can use something
different, whatever you prefer. So this first color then
I'm going to use to paint the trees is called
erode and night genuine. It's a nice light, pink. The second color is
called Verona gold ocher. It's like a yellow ocher but a little lighter
in my opinion. The last color for the trees
is burnt sienna light. I like this a little
bit more diluted. So these three colors are what I will be using
to paint my trees. Make sure to check out the resources tab and you can find the list of
supplies that I use.
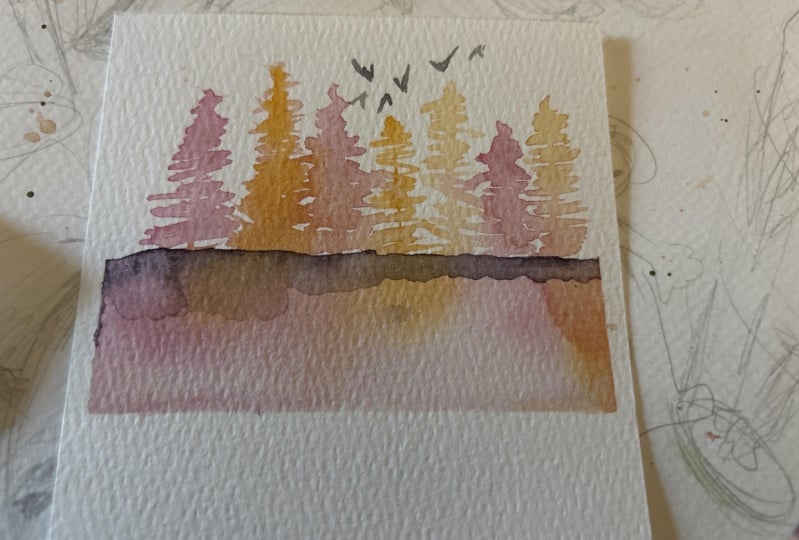
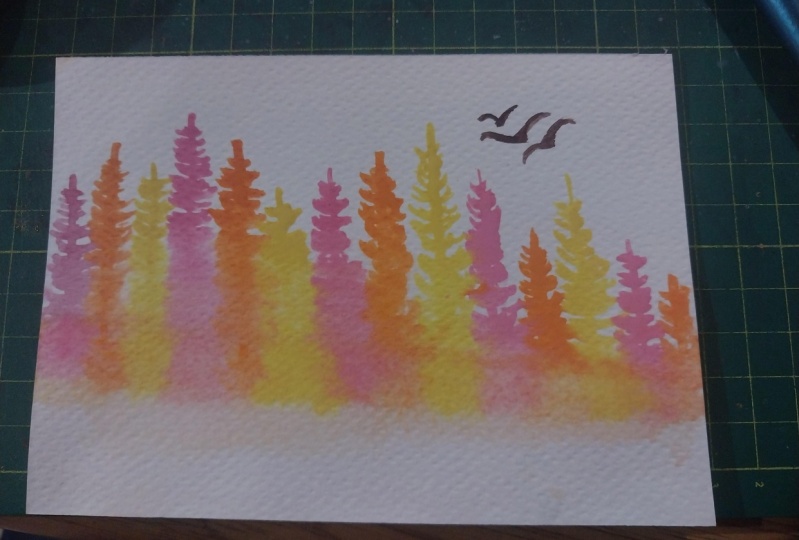
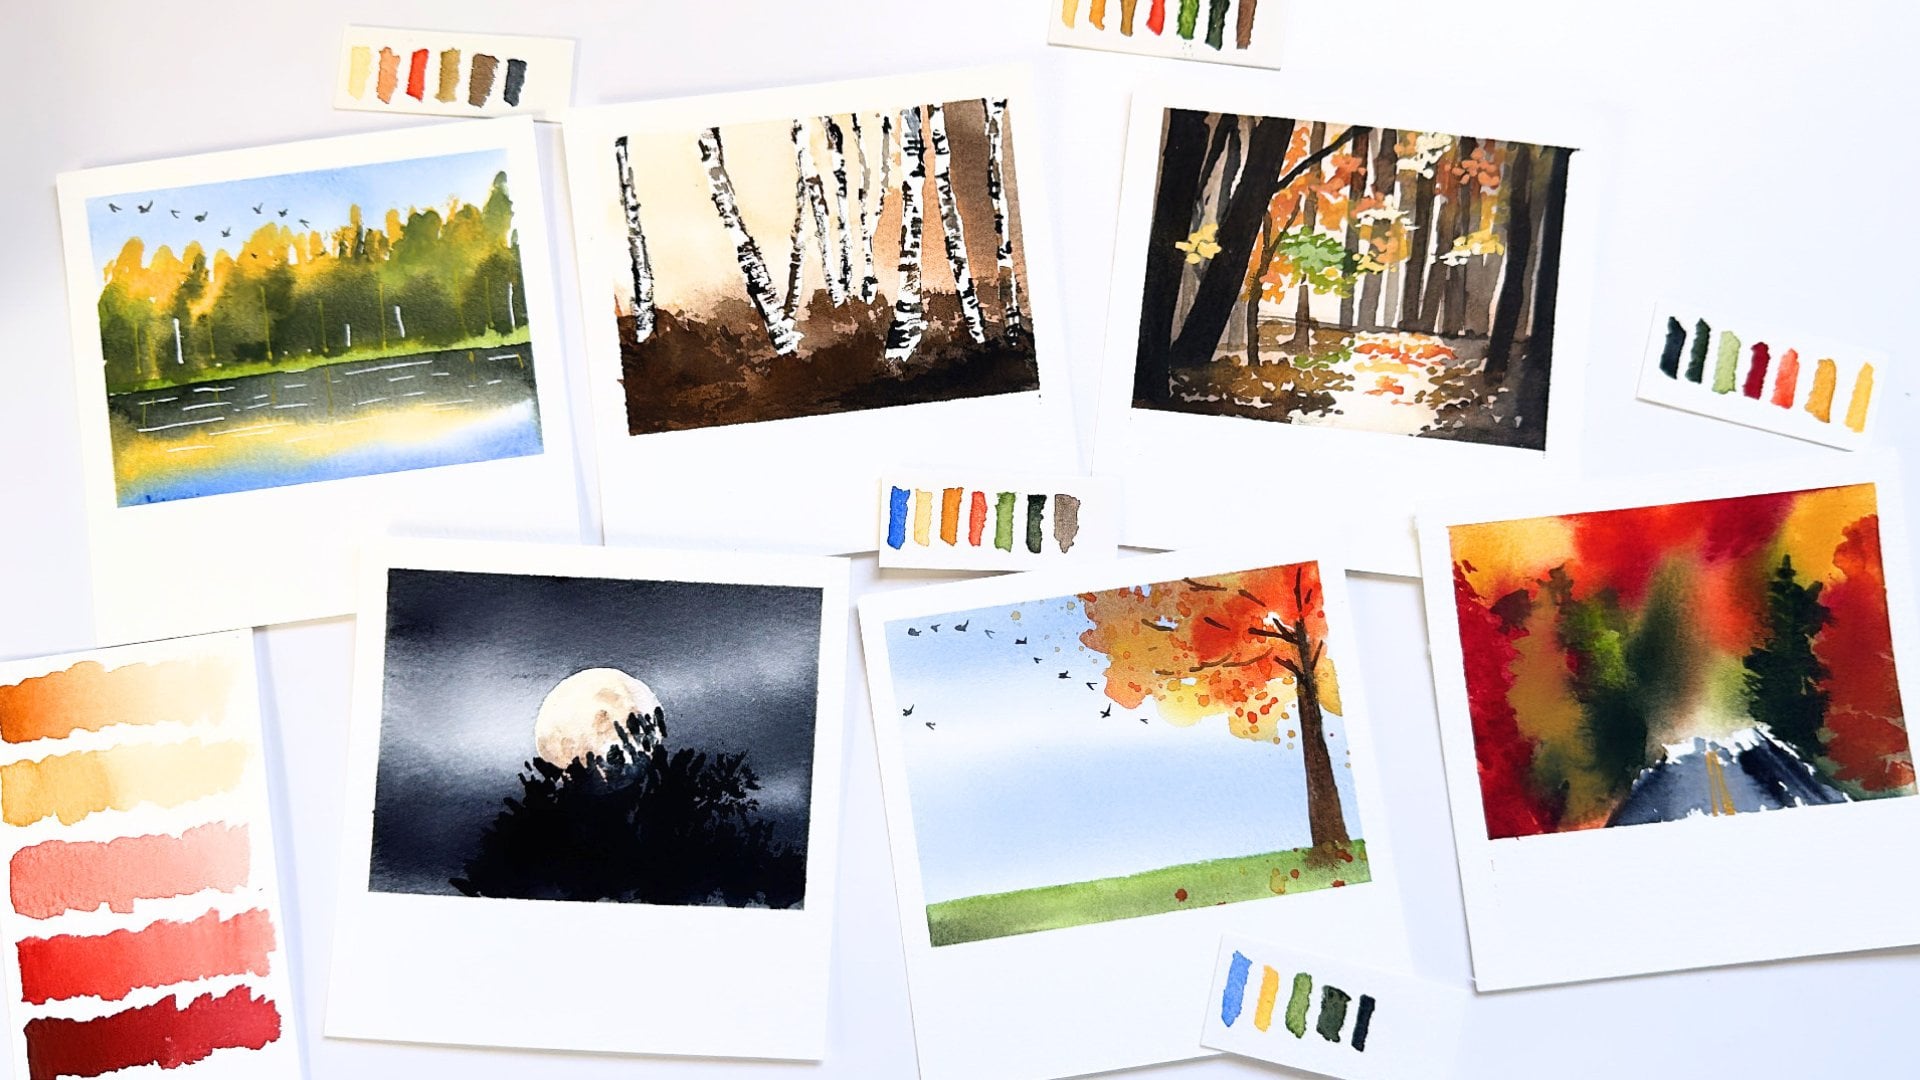
3. Quick Trees Tutorial: I am going to do a
really quick tutorial on how I paint my trees. Just so when you guys
paint it and you guys have a general idea of
how I paint them. It's very loose, very quick. It's oftentimes a little
uneven and messy. I'm going to use brooding
night genuine first. So I draw a straight line down as the trunk of the tree
and then I take the tip of my round brush
and I zigzag down. Going wider as I
get to the base. It's not in a totally
uniform fashion. I guess it's kinda
like a triangle. Don't think too much
about the trees. I find it easier to paint
when I don't overthink it. There's really no
right or wrong way how they should look.
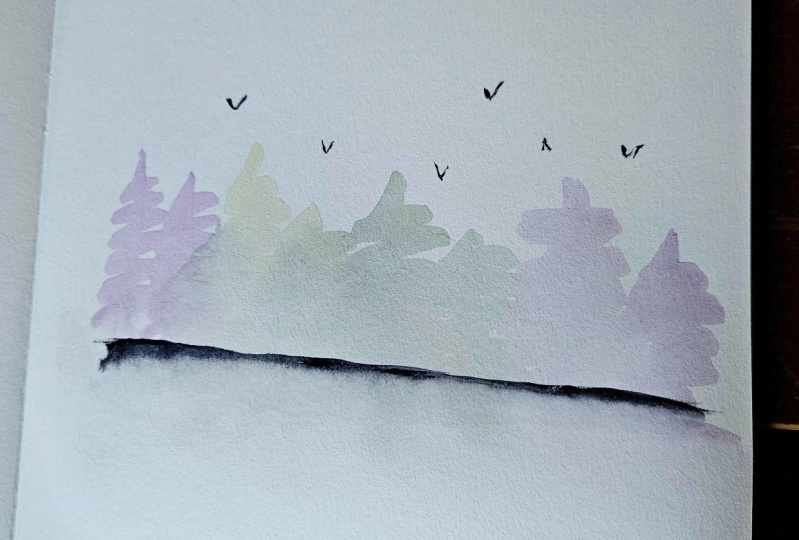
4. Painting the Loose Landscape: I want to go over the basic
layout of this piece. The top half will be the trees, and then we will have
a lake reflection on the bottom half. Before we begin, I already
have the colors in my palette. And I'm going to take
some clean water and wet the bottom half of the page so that when
we paint our trees, we will get a bleed effect
on the bottom half. The trees on the top are going
to be painting wet on dry. You don't have to
put too much water, just make the bottom
part a little bit damp. I'm going to start with
row tonight, genuine. I'm going to paint
a straight line. Start zigzagging
to paint my tree. There's really no order. What colors you need
to paint them in, whatever you feel like doing. I also like to vary the
height of my trees. To make some tall,
make some short. You can also vary the
values of each color to make some lighter and some darker by adding
more or less water. I love seeing the paint
bleed on the bottom. If the bottom gets a little dry, you can try rewetting it. But if you try to re-wet
the entire bottom portion, try not to pull the paint
that's already there. Okay. I am going to paint
one last tree right here. If you want, you can drop a little bit more color on
the bottom half of the paper. The paper is still wet. If it's dry, then I
probably wouldn't recommend it because you
might get some hard edges, but my paper is still damp, so I'm just going to drop
a little bit more color. When it's wet, the paint
moves pretty easily. So you can either wait for it to dry or if you have a
heat tool like me, I'm going to use this to
speed up the drying process. Okay, now that it's dry, I'm gonna take a little
bit of amethyst genuine. I'm going to use it for my regular paint palette because I already have some here. I'm going to use this. It's like a nice dark purple. And I'm going to draw
the horizon line so there are trees
don't look like they're just floating in midair. I'm not the best at
drawing straight lines. So there we go. See I added water
there at the end and then dried into this
weird hard spot. Whoops, don't want that. Let me try to add some water, see if I can even it out. Make it a little less obvious. I'm just going to pull
the water all the way to the right so that I don't get another weird hard edge. But watercolor is all about these kind of weird,
funny mistakes. Sometimes they're like
happy accidents and then other times you get
your blogs like I just did. Oh well, you just never
know what can happen. So that's that There's a little bit of a
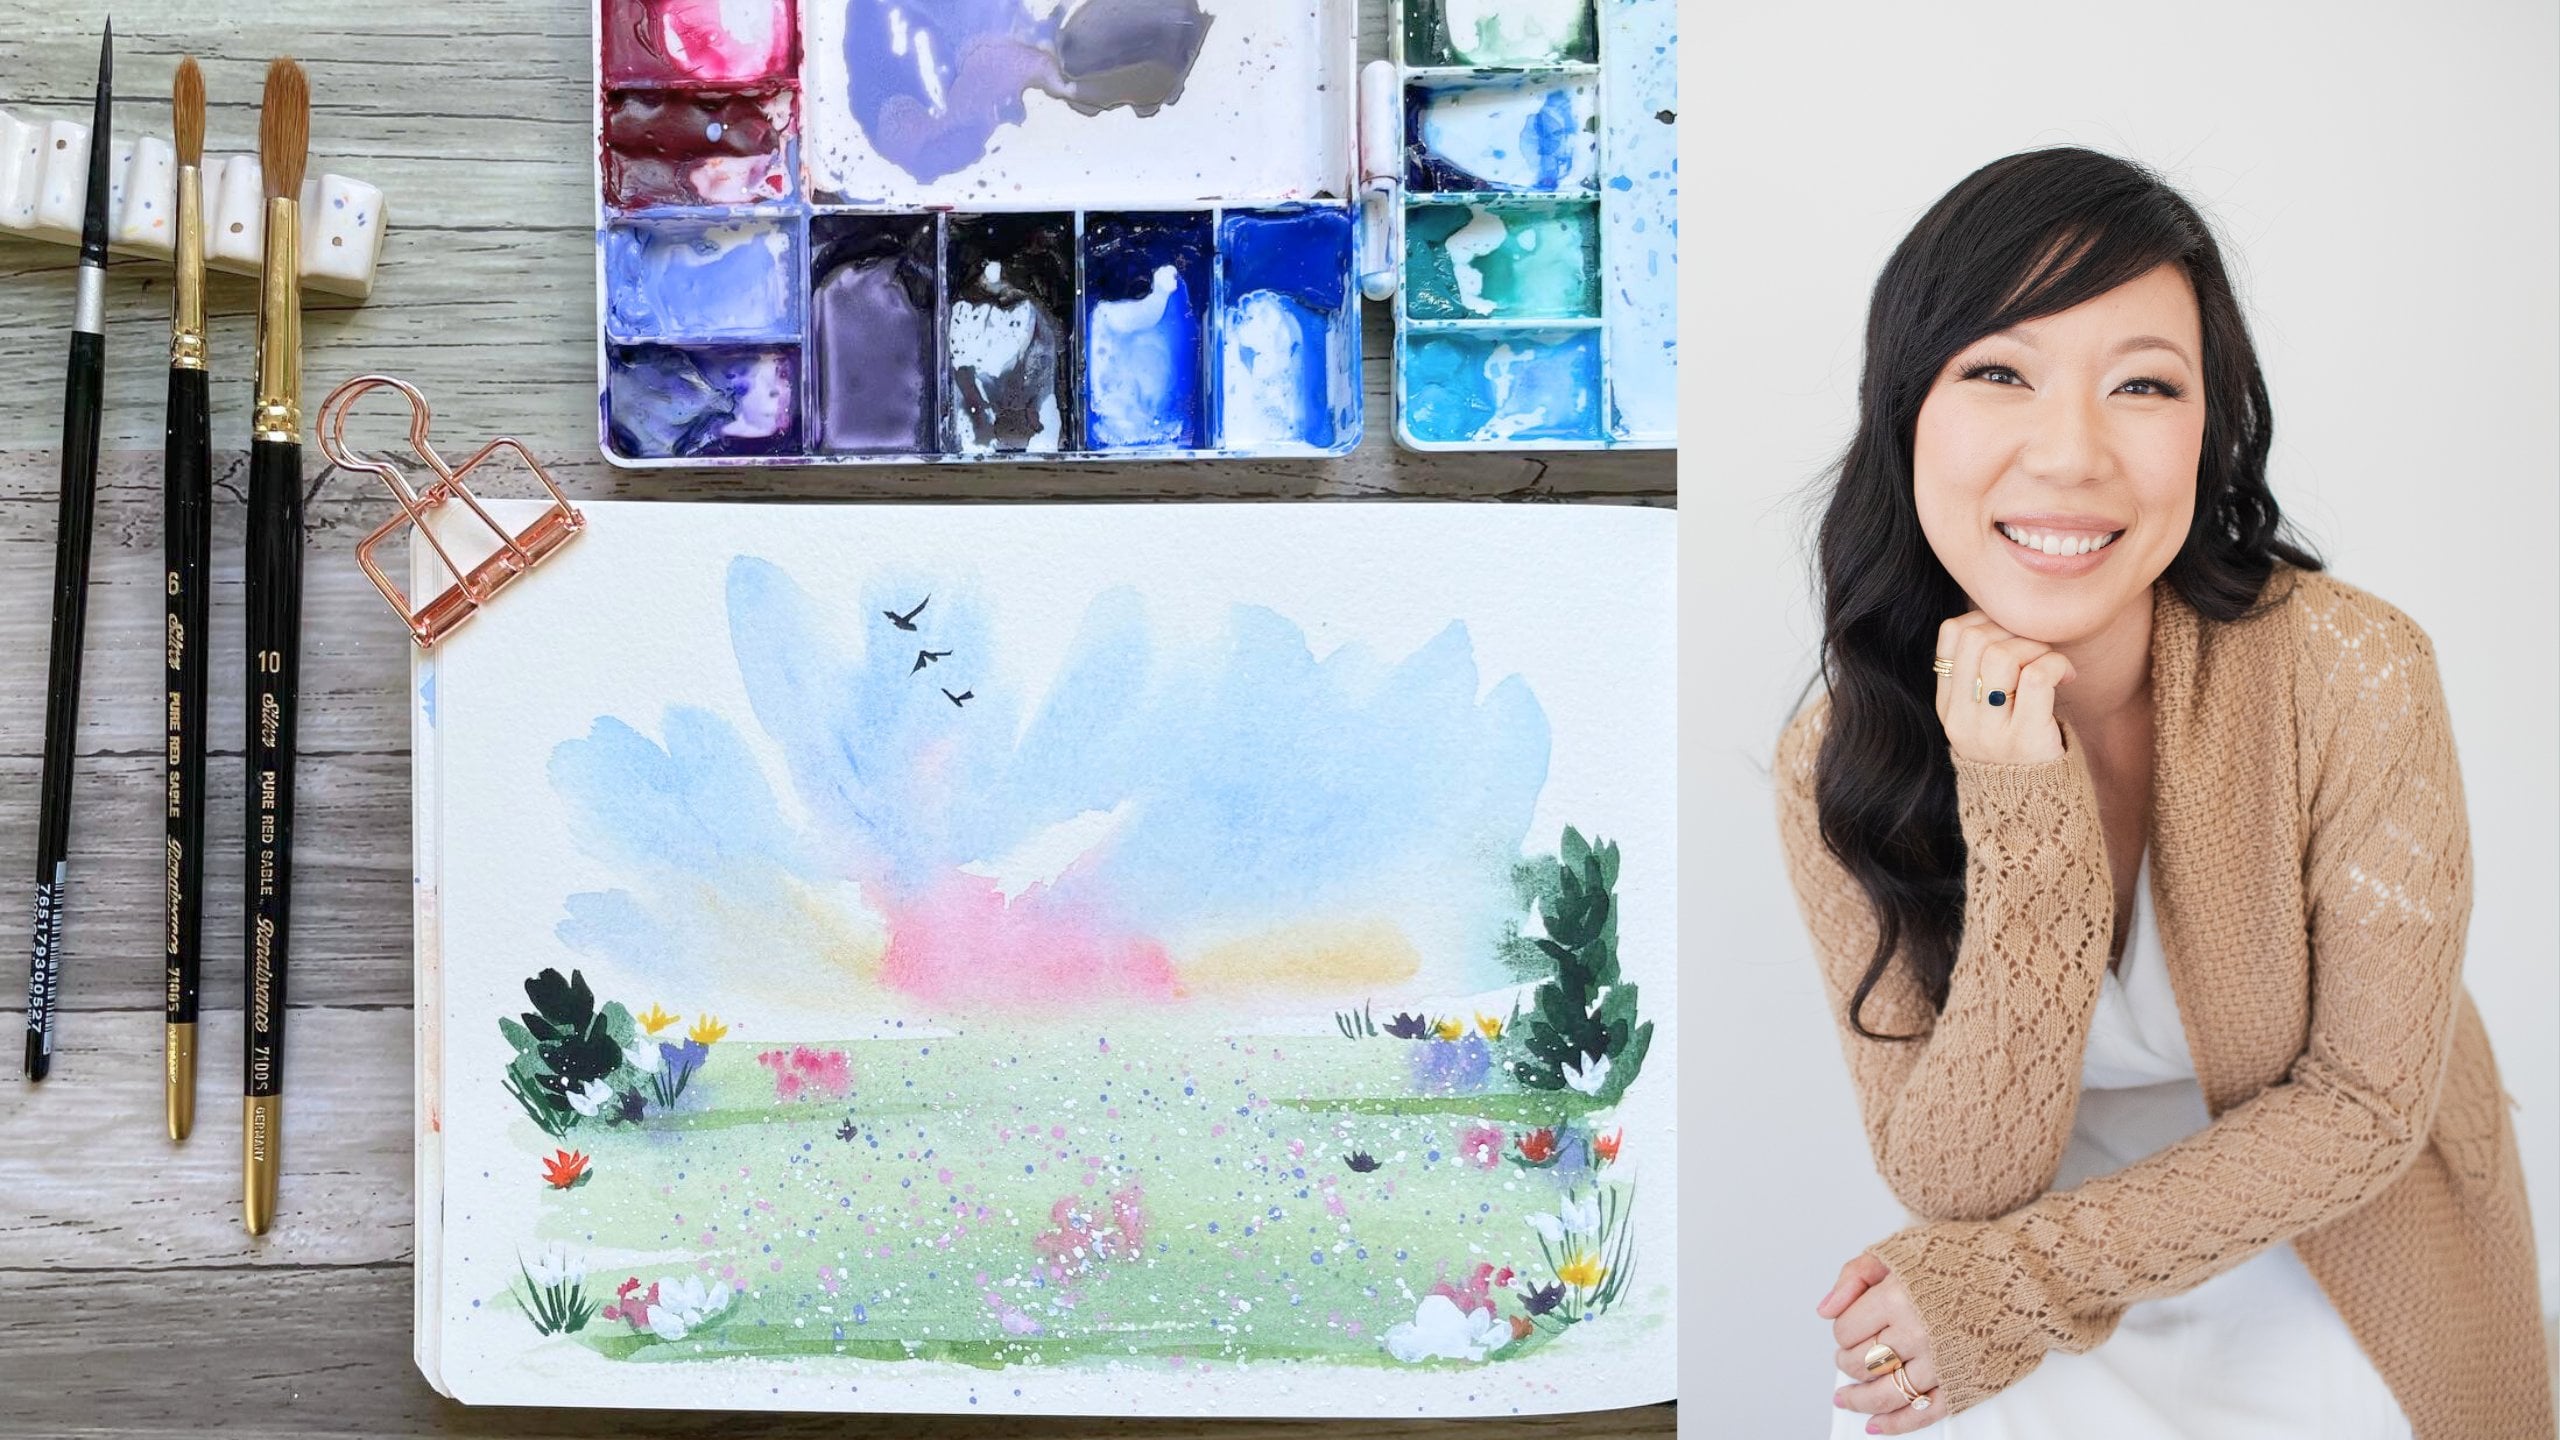
bleed right here. Let me just wipe it off. Here we go. For finishing touches. I'm going to take my
black velvet size one liner and I'm going to
grab more emesis genuine, a thicker, creamy or amount. And I'm going to
paint some birds. Because I like birds. I just make little
v's like a regular, be an upside down V. And then there'll be
there, we have it. Simple, loose watercolor forest.
5. Class Project : Thank you for taking this loose landscape watercolor
class with me. I hope you will join me and painting this loose landscape. Like I mentioned earlier, you can use the paints that
I used if you have them. Or you can feel free to use whatever favorite
colors you like. What I love about
this piece is seeing the different watercolor
paints flee together. I think it creates a
really cool effect that is unique to watercolor. In the resources section, I have included a photo list of all the supplies that I use, the pink colors as
well as the brushes. And I will also include a
photo of my final piece. If you do paint this, I would love it if you upload your art to the
Class Projects tab. I love seeing everyone's art. If you enjoyed this class, I would love if you
left me a review. If you're on
Instagram or TikTok, my handle is Madeline carry. You can also find my page
through my Skillshare profile. I would love to meet
and connect with you. So don't hesitate
to reach out to me. I love to meet other artists. Thank you for being a part of
my first Skillshare class.
 Madeline Kerrii, Watercolor Artist