Transcripts
1. How to Paint a Loose Watercolor Meadow Landscape: Hi, my name is Madeline. I am a self-taught
watercolor artist. I started painting
during the pandemic. A lot of people and slowly fell in love with painting
these loose landscapes. I am not the best
when it comes to painting realistically
or perspective. Even so, I enjoy painting loose landscapes
because it gives me a little bit more freedom
to play around and I like creating these simple
landscape scenes. In this class, I
will be going over how I paint loose
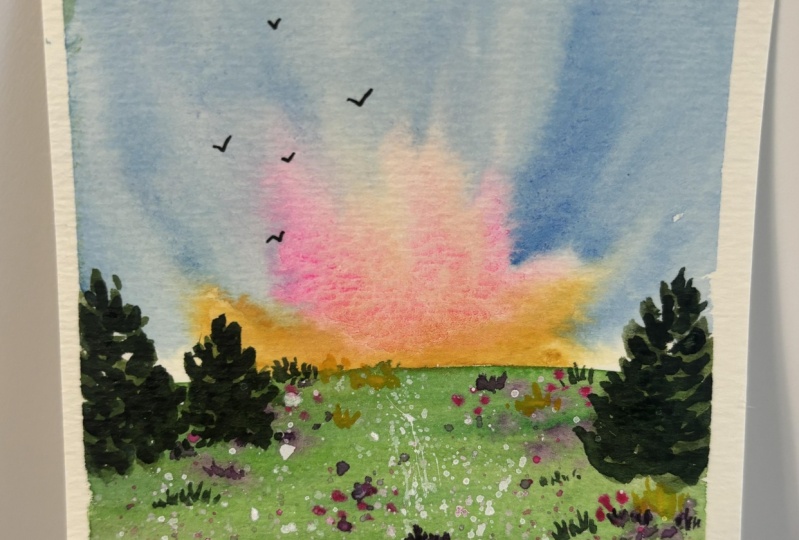
meadow landscapes. Little areas of greenery with flowers and bushes or trees. This is going to be the piece that we'll
be working on today. I will be talking about what I do to create the texture here on the foreground that
sort of look like flowers and how to create
the soft blended feel. I hope you enjoyed this class and thank you for being here.
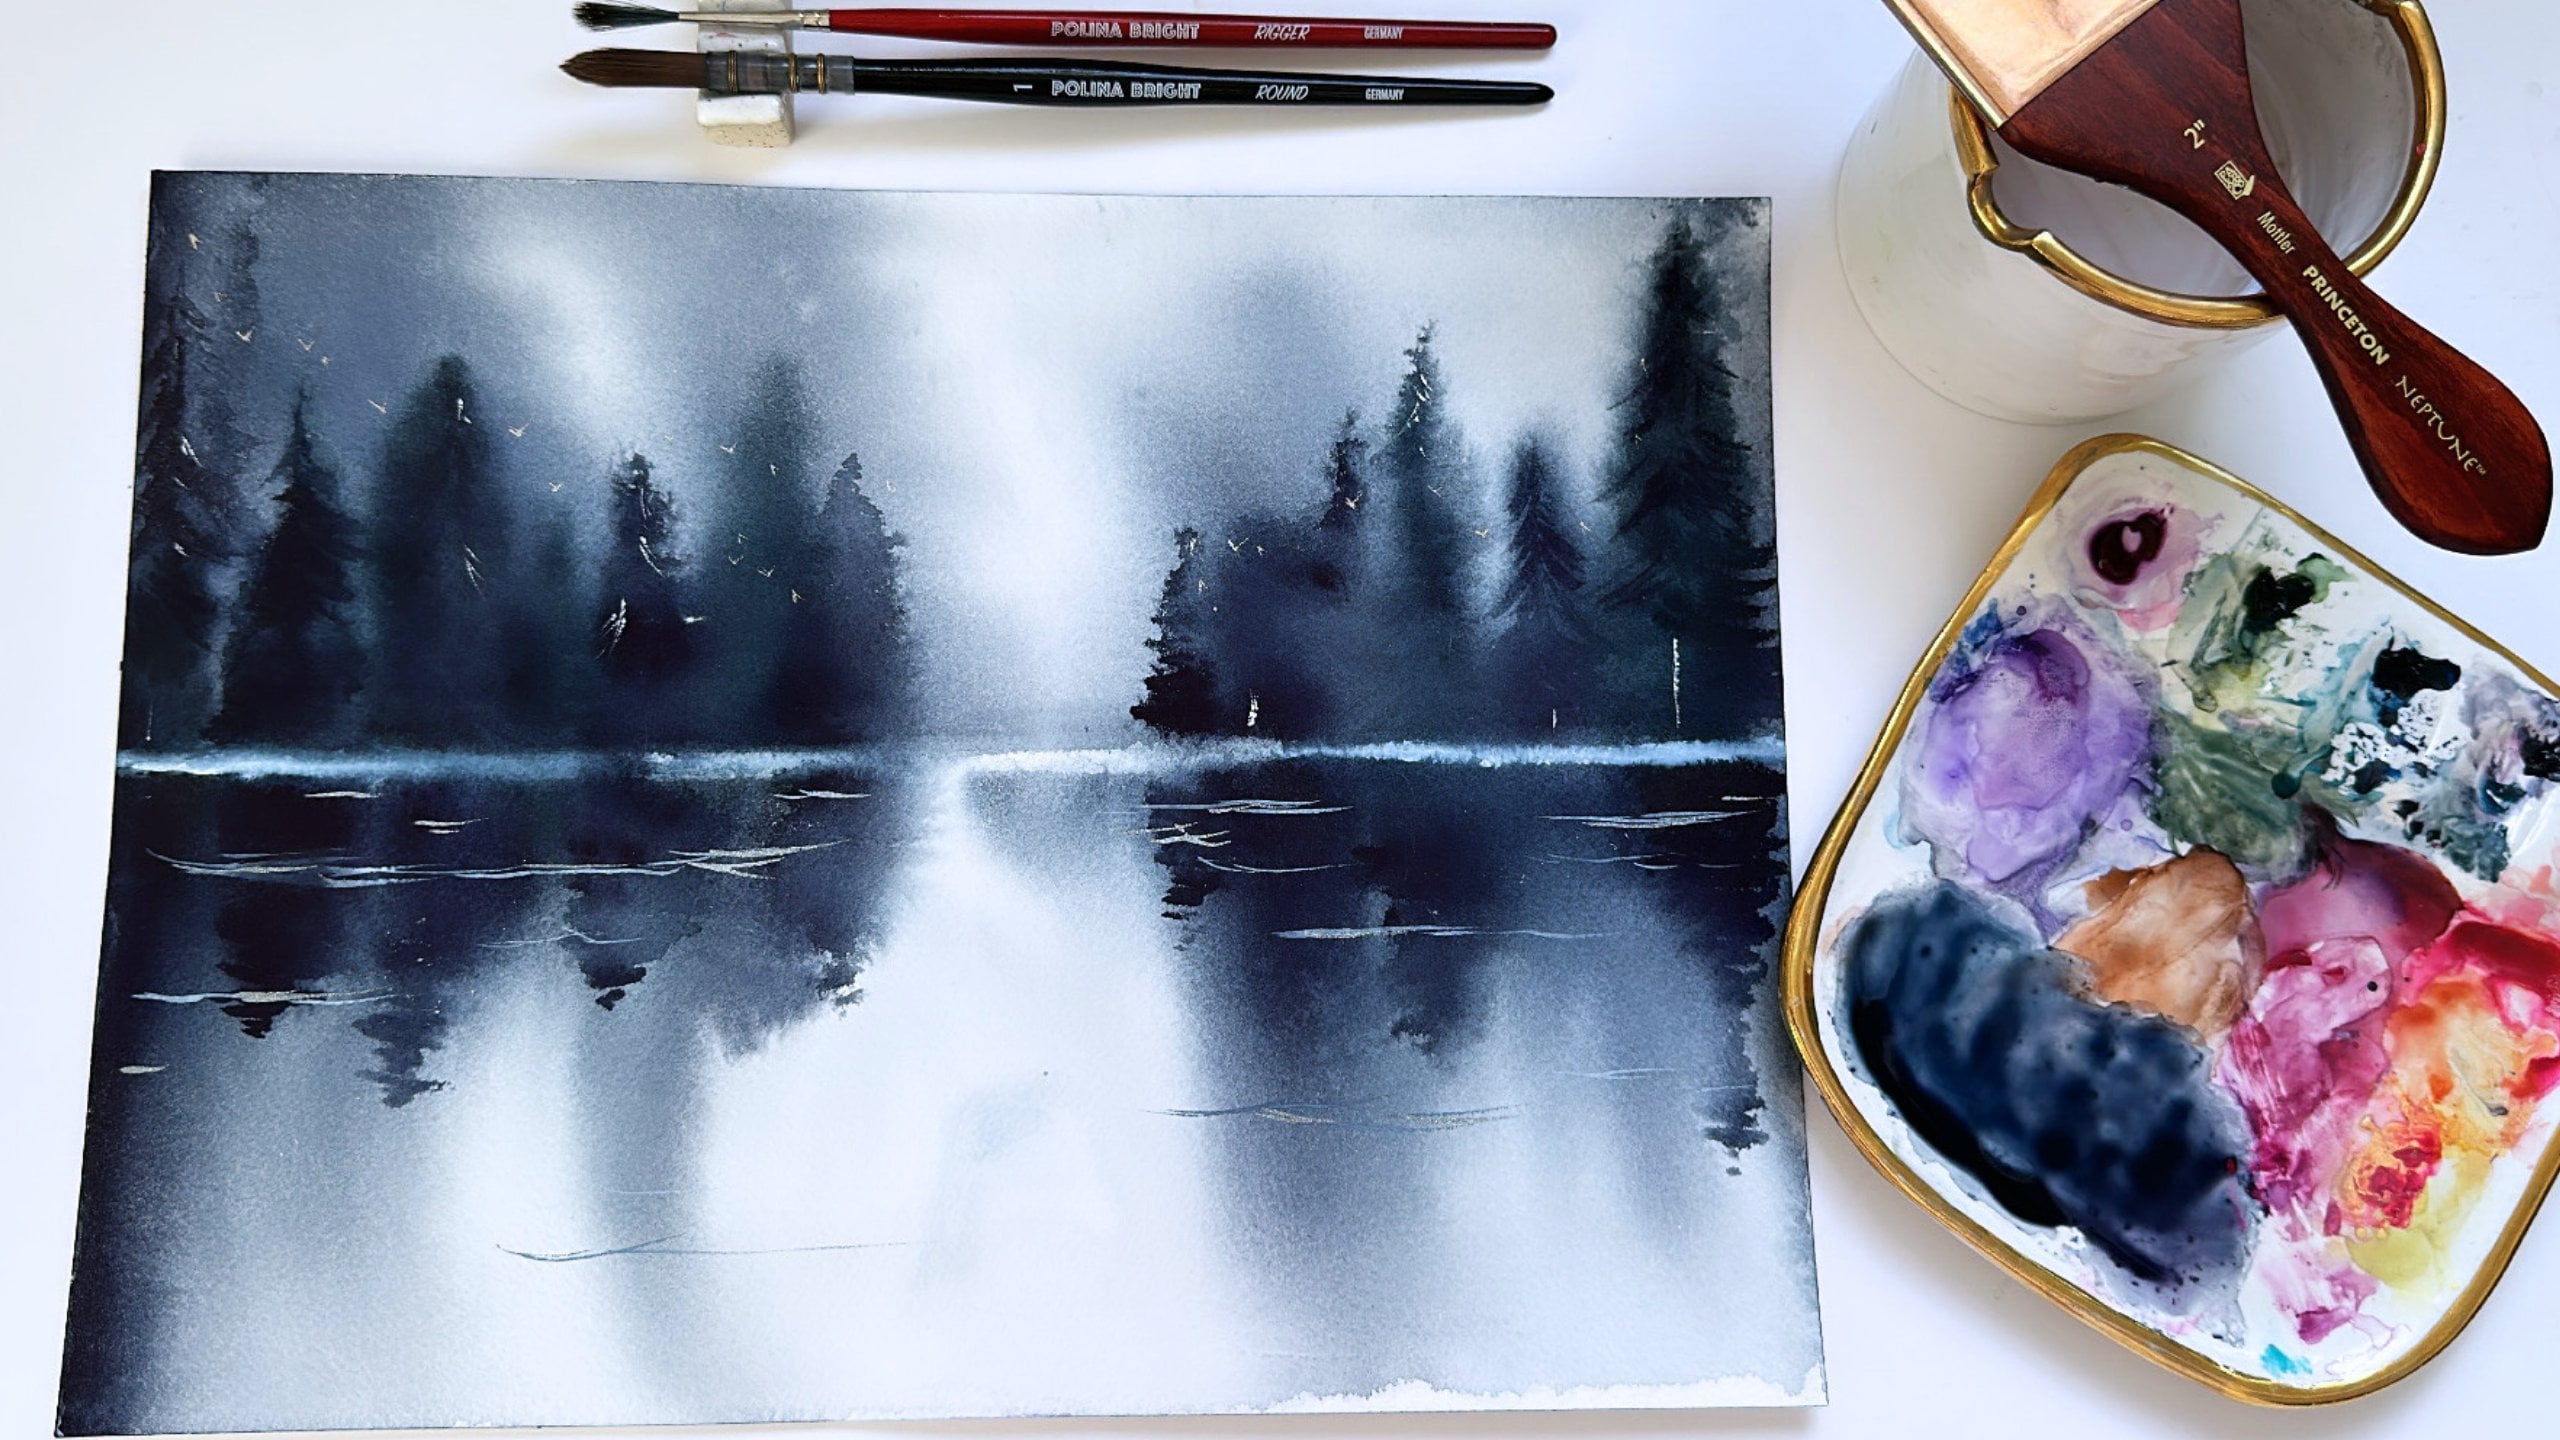
2. Supplies: I am going to go over the
supplies for this class. I will be painting in my
edger perfect sketch book. It is made with a
100% cotton paper. And I really loved
this sketch book for a lot of my loose, quick
watercolor sketches. I will be using my
paint palette here, and I will go over which colors I will be
using during the class. And I will also include
in the resources section a list of all the colors
that I use in today's piece. I will be using
four brushes here. Two of them are silver brush
limited Renaissance brushes, around six and around ten. I use around ten to do the initial wash
because it's bigger. And then I use the round six to do some of the
smaller details. I will also be using
to silver brush limited black velvet
brushes around two and a script liner size one. And I have my clean
cup of water here. And I also really like Dr. Ph. Martin's bleed proof white
paint for my white highlights.
3. First Layer: We will be starting our loose watercolor
landscape meadow. I have my supplies
here and my brushes and my paints have all
been pretty moisten, so they're ready to go. I am going to start off by
grabbing my round ten brush. We are going to start this piece off by
working on the sky. I'm going to take
some clean water. And I want to make a loose
sky with a little bit of whitespace to give
the effect of clouds. So what I'm gonna
do is instead of wetting the entire
top portion evenly, I'm just kinda use
water instead of paint to highlight where
I want the sky to be. And you can't see where I
have the water right now, but once I start adding pay, you'll be able to see it. So I'm going to grab
some yellow ocher and put some right here, the bottom. And then I'm gonna grab
some road tonight genuine and drop some pink right here. You want to drop the paint
where the paper is wet so that these colors bleed
and blend together. This is a little dark
pickup, some color. Then I'm going to
grab some cobalt blue and mix in a little bit of Horizon Blue to get this nice soft blue for the upper
portion of this guy. I feel like by leaving
some pockets of white, it creates this whimsical
feel. For our sky. One of the key tips
I have for achieving a very soft feel
with watercolor is not using colors
too dark in value. So I tried to paint with either muted colors or
soft pastel light colors. The best way to get soft colors is using the right
mixture of paints. So choosing lighter paints as
opposed to darker Payne's, as well as having
the right amount of water to paint ratio. Generally, the less water
or more paint you have, the darker the
brushstrokes will be. I do recommend swatching the colors you'd like
to use before you start painting so that you
aren't trying to guess how to mix that
color as you're working. And another good tip is to use the wet on wet
technique like I did with the sky that sometimes can help diffuse
some of the color. And if there are parts
that feel too dark, you can always lift some of that paint with a clean
brush afterwards. Next, I'm going to
grab some terre verte. I think that's how
you pronounce it in a little bit of sap green to get this light green to paint the
grassy part of the Meadow. This is wet on dry, so there's no water
on the paper here. And I'm just going to make some large sweeping
brushstrokes. Now, I'm going to take
a little bit of cascade green and I'm going to paint
some bushes right here. I like how that accidentally
bled together right there. We'll put a little
over here too. And I'm going to make the foreground here just
a little bit darker. Just going to blend
this out a little. I'm going to take some amethyst genuine and mix it with some lavender to get
this creamy purple. And I am going to drop some little purple flower blooms while this green
part is still wet. I'm going to do the
same with some running. A genuine this wet on wet creates these nice
soft little blooms that I feel like
look like flowers. Which I find really pretty. Put one worry here. Alright, so you can let this dry or if you have a
hot air tool like me, you can speed up
the drying process. And this is going to be our
first layer, our first wash.
4. Second Layer: Now that our first
layer has dried, we will be moving on
to our second layer. I am going to use my Renaissance round six brush to paint
more of the details. It's more narrow than the round ten that we were using
earlier for the background. So I am going to grab
some perylene green and redefine some of these
bushes right here or tree, whatever you wanna call them. I knew this one too. We're going to move on to
making some splatters. Actually, before we do that, I am going to take
my hot air tool and dry these really quickly. By the way, I love
this hot air tool. I cannot live without mine. It just speeds everything up. So so much better. It takes away so much downtime. Okay, So these are dry
and I'm going to cover the sky because I only want the splatters on the lower half. So I have this. If you are painting in
a sketch book like me, don't forget to cover
the other side. Otherwise the paint
splatters will get all over that side too. And that is not fun.
Covered the sky. And I'm going to grab
a good amount of lavender and make splatters by hitting my brush along
another brush like this. Next I'm going to grab this Dr. Ph Martin's bleed proof white. I absolutely love this
brand of white watercolor. You can also use white gouache. And I have used that
in the past too, but I personally like
this way, way more. It's a lot thicker and it's
perfect for splattering. If you want a really thick
consistently consistency, you can go at the center of the jar or you can
grab some water and rub your brush
along the sides of the jar to get
thinner consistency. And we're just going to
splatter some white. I am also going to grab
some protonate genuine and mix it with some of
this bleed proof white to get this nice
soft pastel pink. So there we have
our loose flowers. I am going to close this and wipe this off. Okay, now I'm gonna take my black velvet
round two brush and I'm going to paint more
distinct looking flowers. I'm going to grab some yellow paint, some petals. These aren't really flowers. They're like yellow
blob brush strokes that look like flowers. I cannot paint flowers
for the life of me. This is my makeshift
version of flowers. I'm going to grab
some amethyst genuine and paint a little bit more. Here and there. Now I'm going to grab
some cascade green. I'm going to paint
some blades of grass. The grass and the front
is going to be taller than the grass that is
further away from us. Like right here. I'm going to take a
little bit more white. Make a little bit
more white flowers. I'm going to take a
little bit more cascade green and some sap green. And I'm going to darken
the front area right here. Alright, I think I like that. I'm gonna see if I
want any other colors. Like I said, you can use any, any colors for your slaughtering
in the front right here. Maybe I'll get a
little bit of orange. And just wanted to remind you
in the resources section, I will list out all the different paints
that I used in this piece. Okay, so the last part of this layer is going to
be painting some birds. I'm gonna get my black
velvet liner brush. And I'm going to grab
some Payne's gray. I like adding birds. Painting birds to me are
just like making little v's. Upright, be upside down V. There we go. This is our loose
watercolor metal landscape. And like I said, you
can play around with the colors however you like. If you want, you could
do all blue for the sky. I, I personally like when this guy has a few
different colors, but that is it for
our second layer.
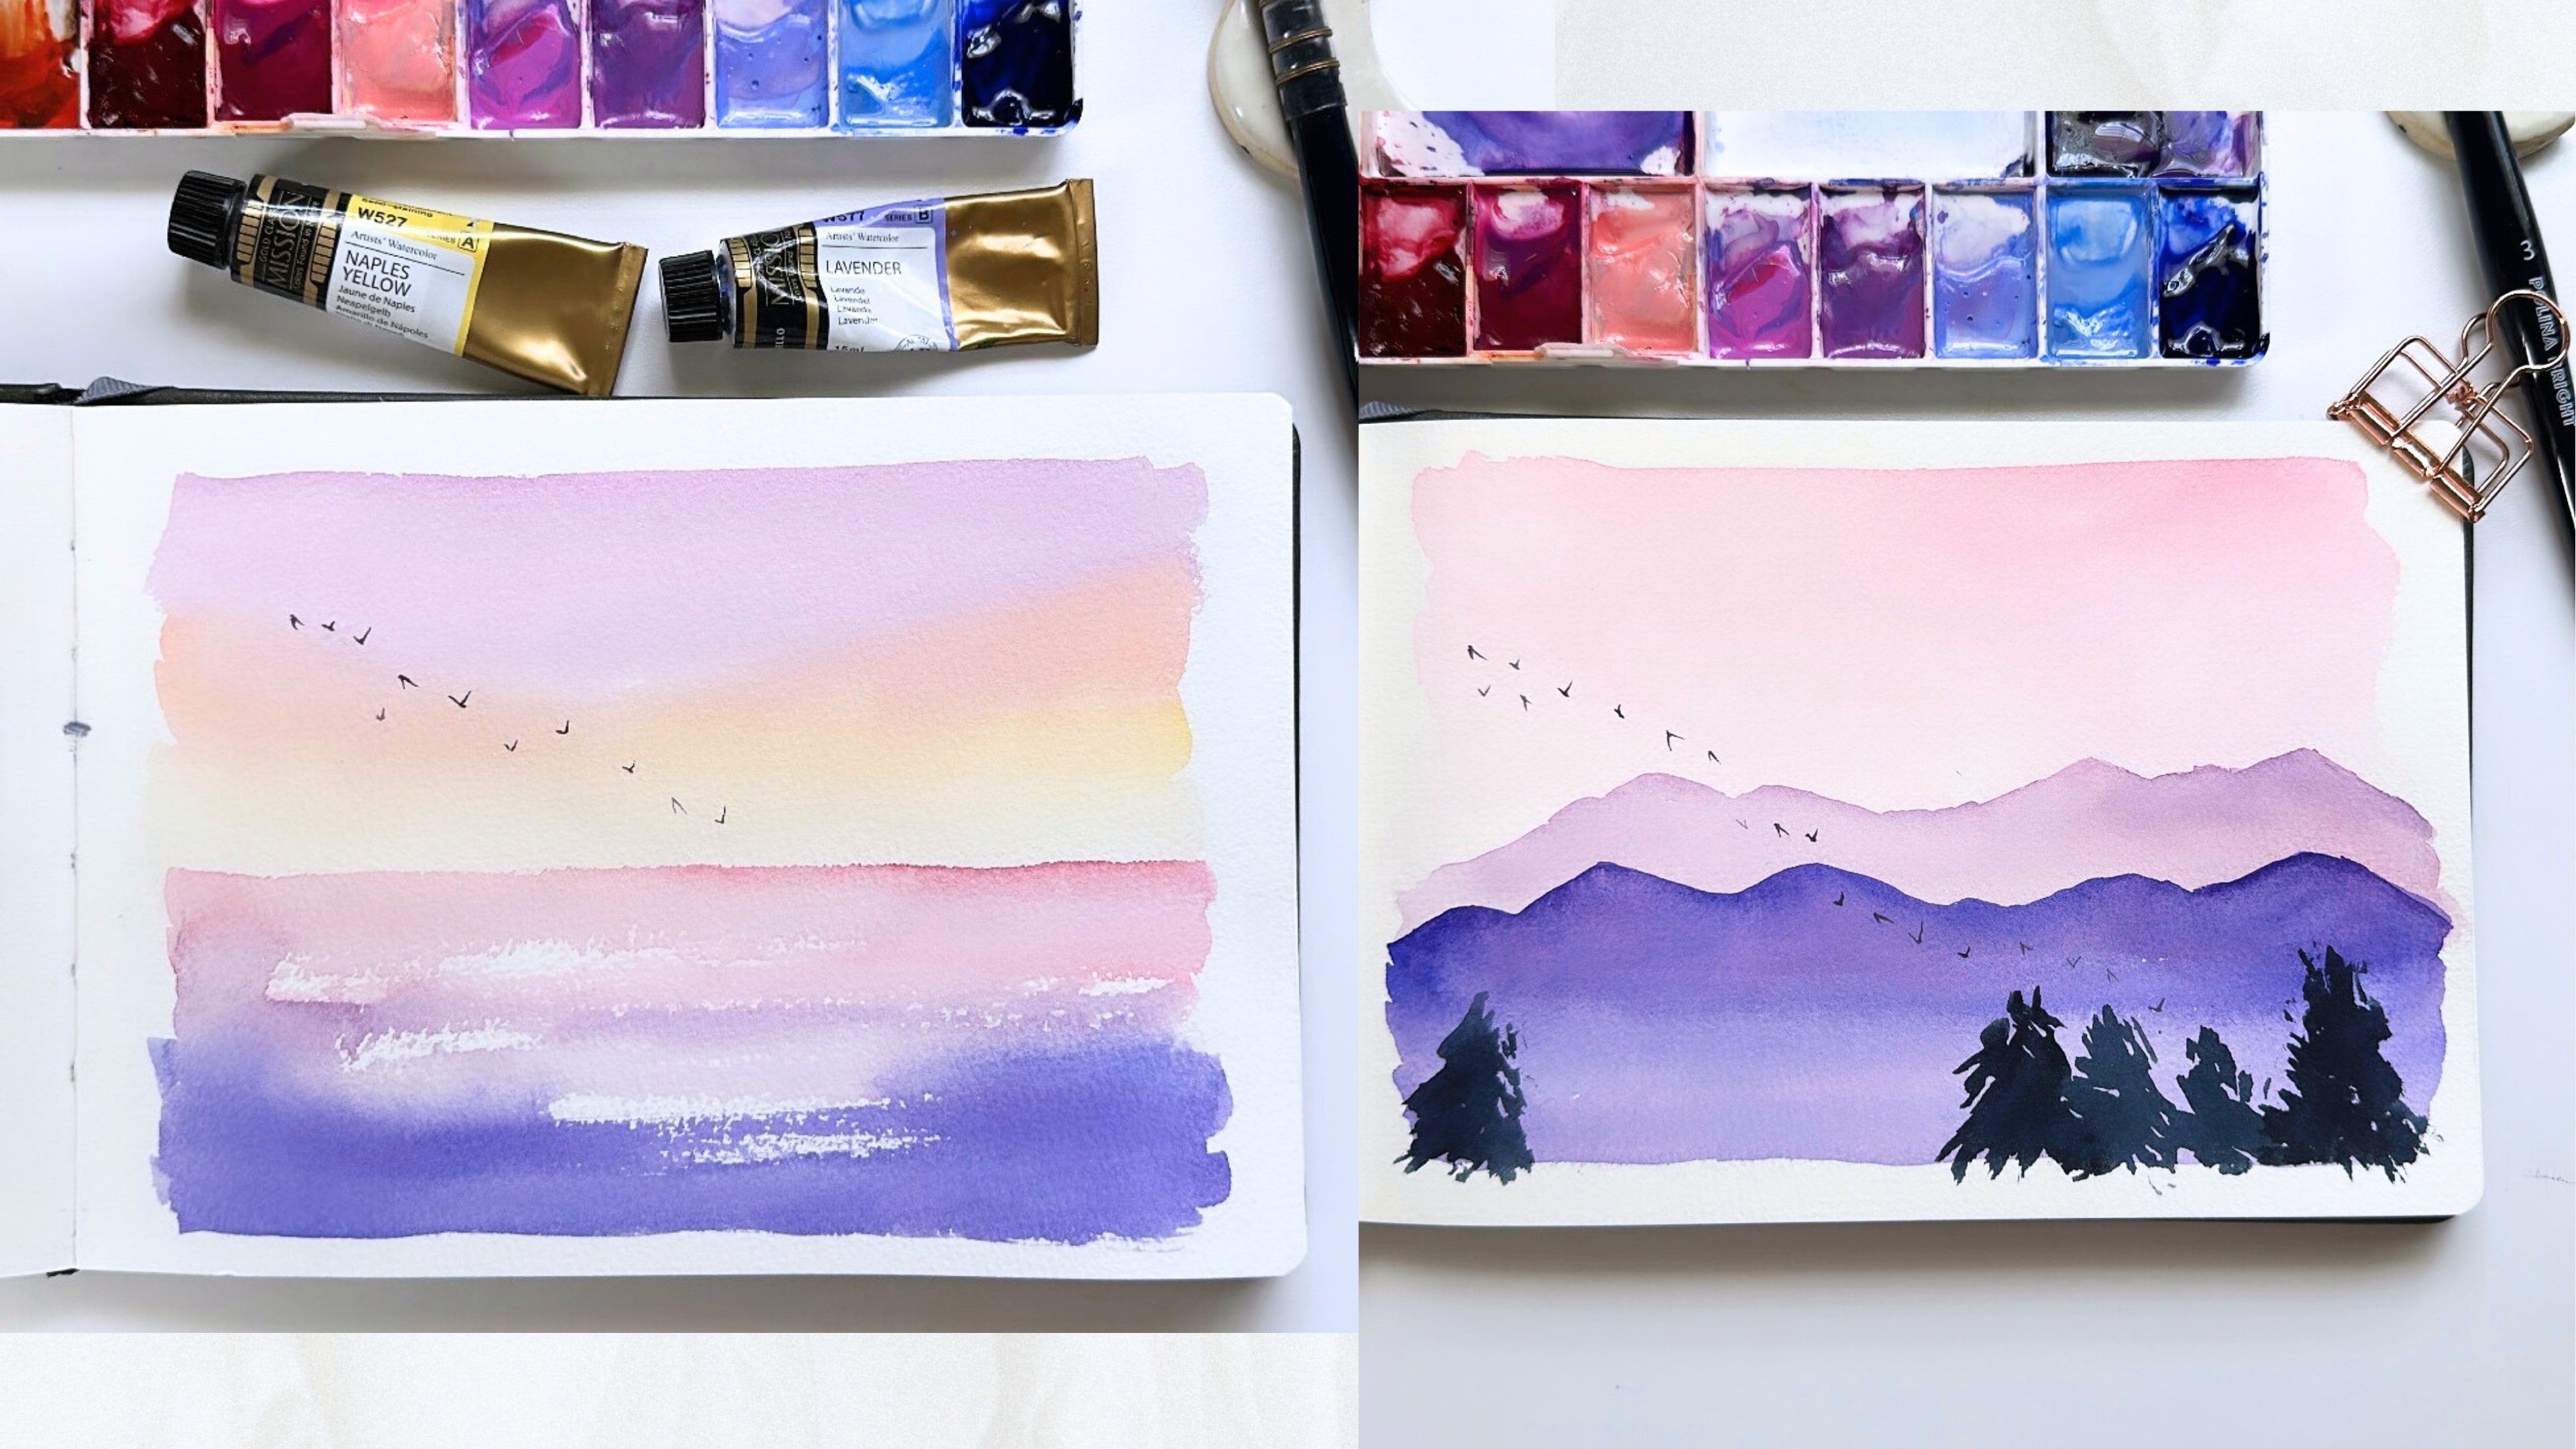
5. Class Project: For the class project, you will be painting a
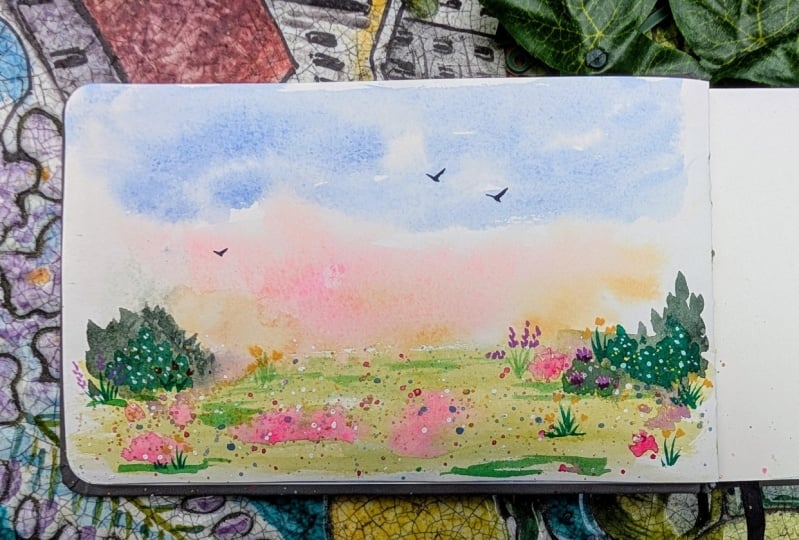
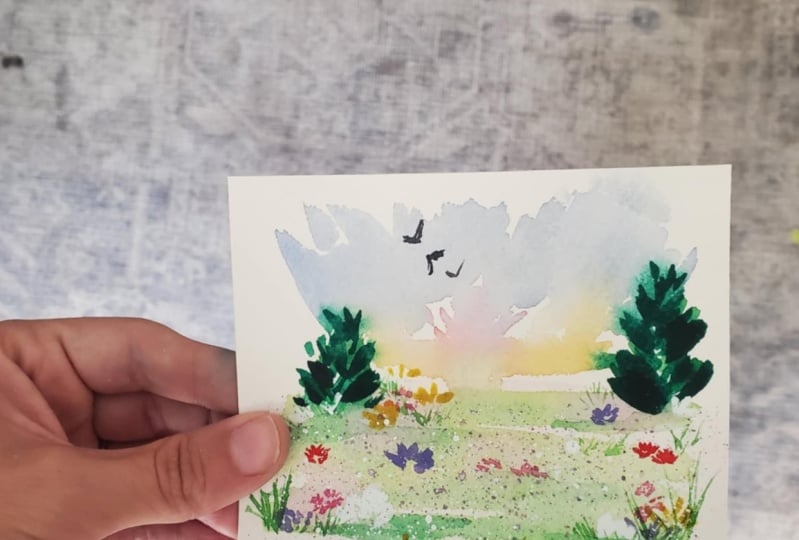
loose metal landscape, just like I went over here. And actually as I was
filming this class, I actually painted
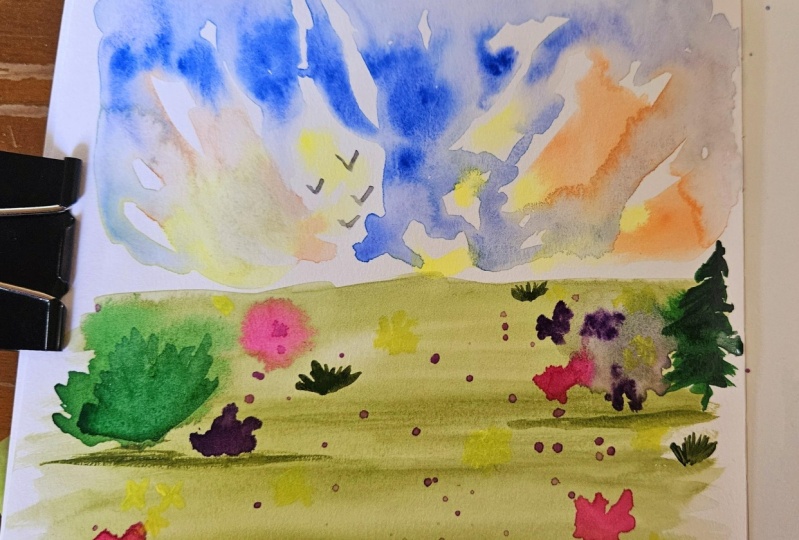
this a few times. This one is actually
my fourth attempt. This was my third attempt and it was a little bit darker
than I wanted it to be. And here is another version
than I had painted before. They all have similar loose feel and I hope this class helps you get a better feel
for how I paint these loose meadow landscapes. I would love to
see your version. You can paint the
clouds like I did right here with these loose brush
strokes for this sky, leaving little pockets
of whitespace. If you'd like. You can have a mixture of
colors like how I did, or you could paint it all blue. Or you can even wet
the entire sky portion and have a full wash like
how I did right there. They both look very
soft and loose. You can use whatever
colors you'd like for your flowers, bladders. And I'd really love
to see your work. So please upload it to
the Class Projects tab. If you're on Instagram, feel free to tag
me in your work. My handle is Madeline carry, and I would love to
share it to my stories. If you enjoyed this class, it would be amazing if
you left me a review. And if you want to get
in contact with me, I am very active on Instagram. If you find me there, I'm want to DM me. I try really hard to
answer all of my DMs. I'm always happy to chat
or answer any questions. I really hope you enjoyed this class and thank
you for being here.
 Madeline Kerrii, Watercolor Artist