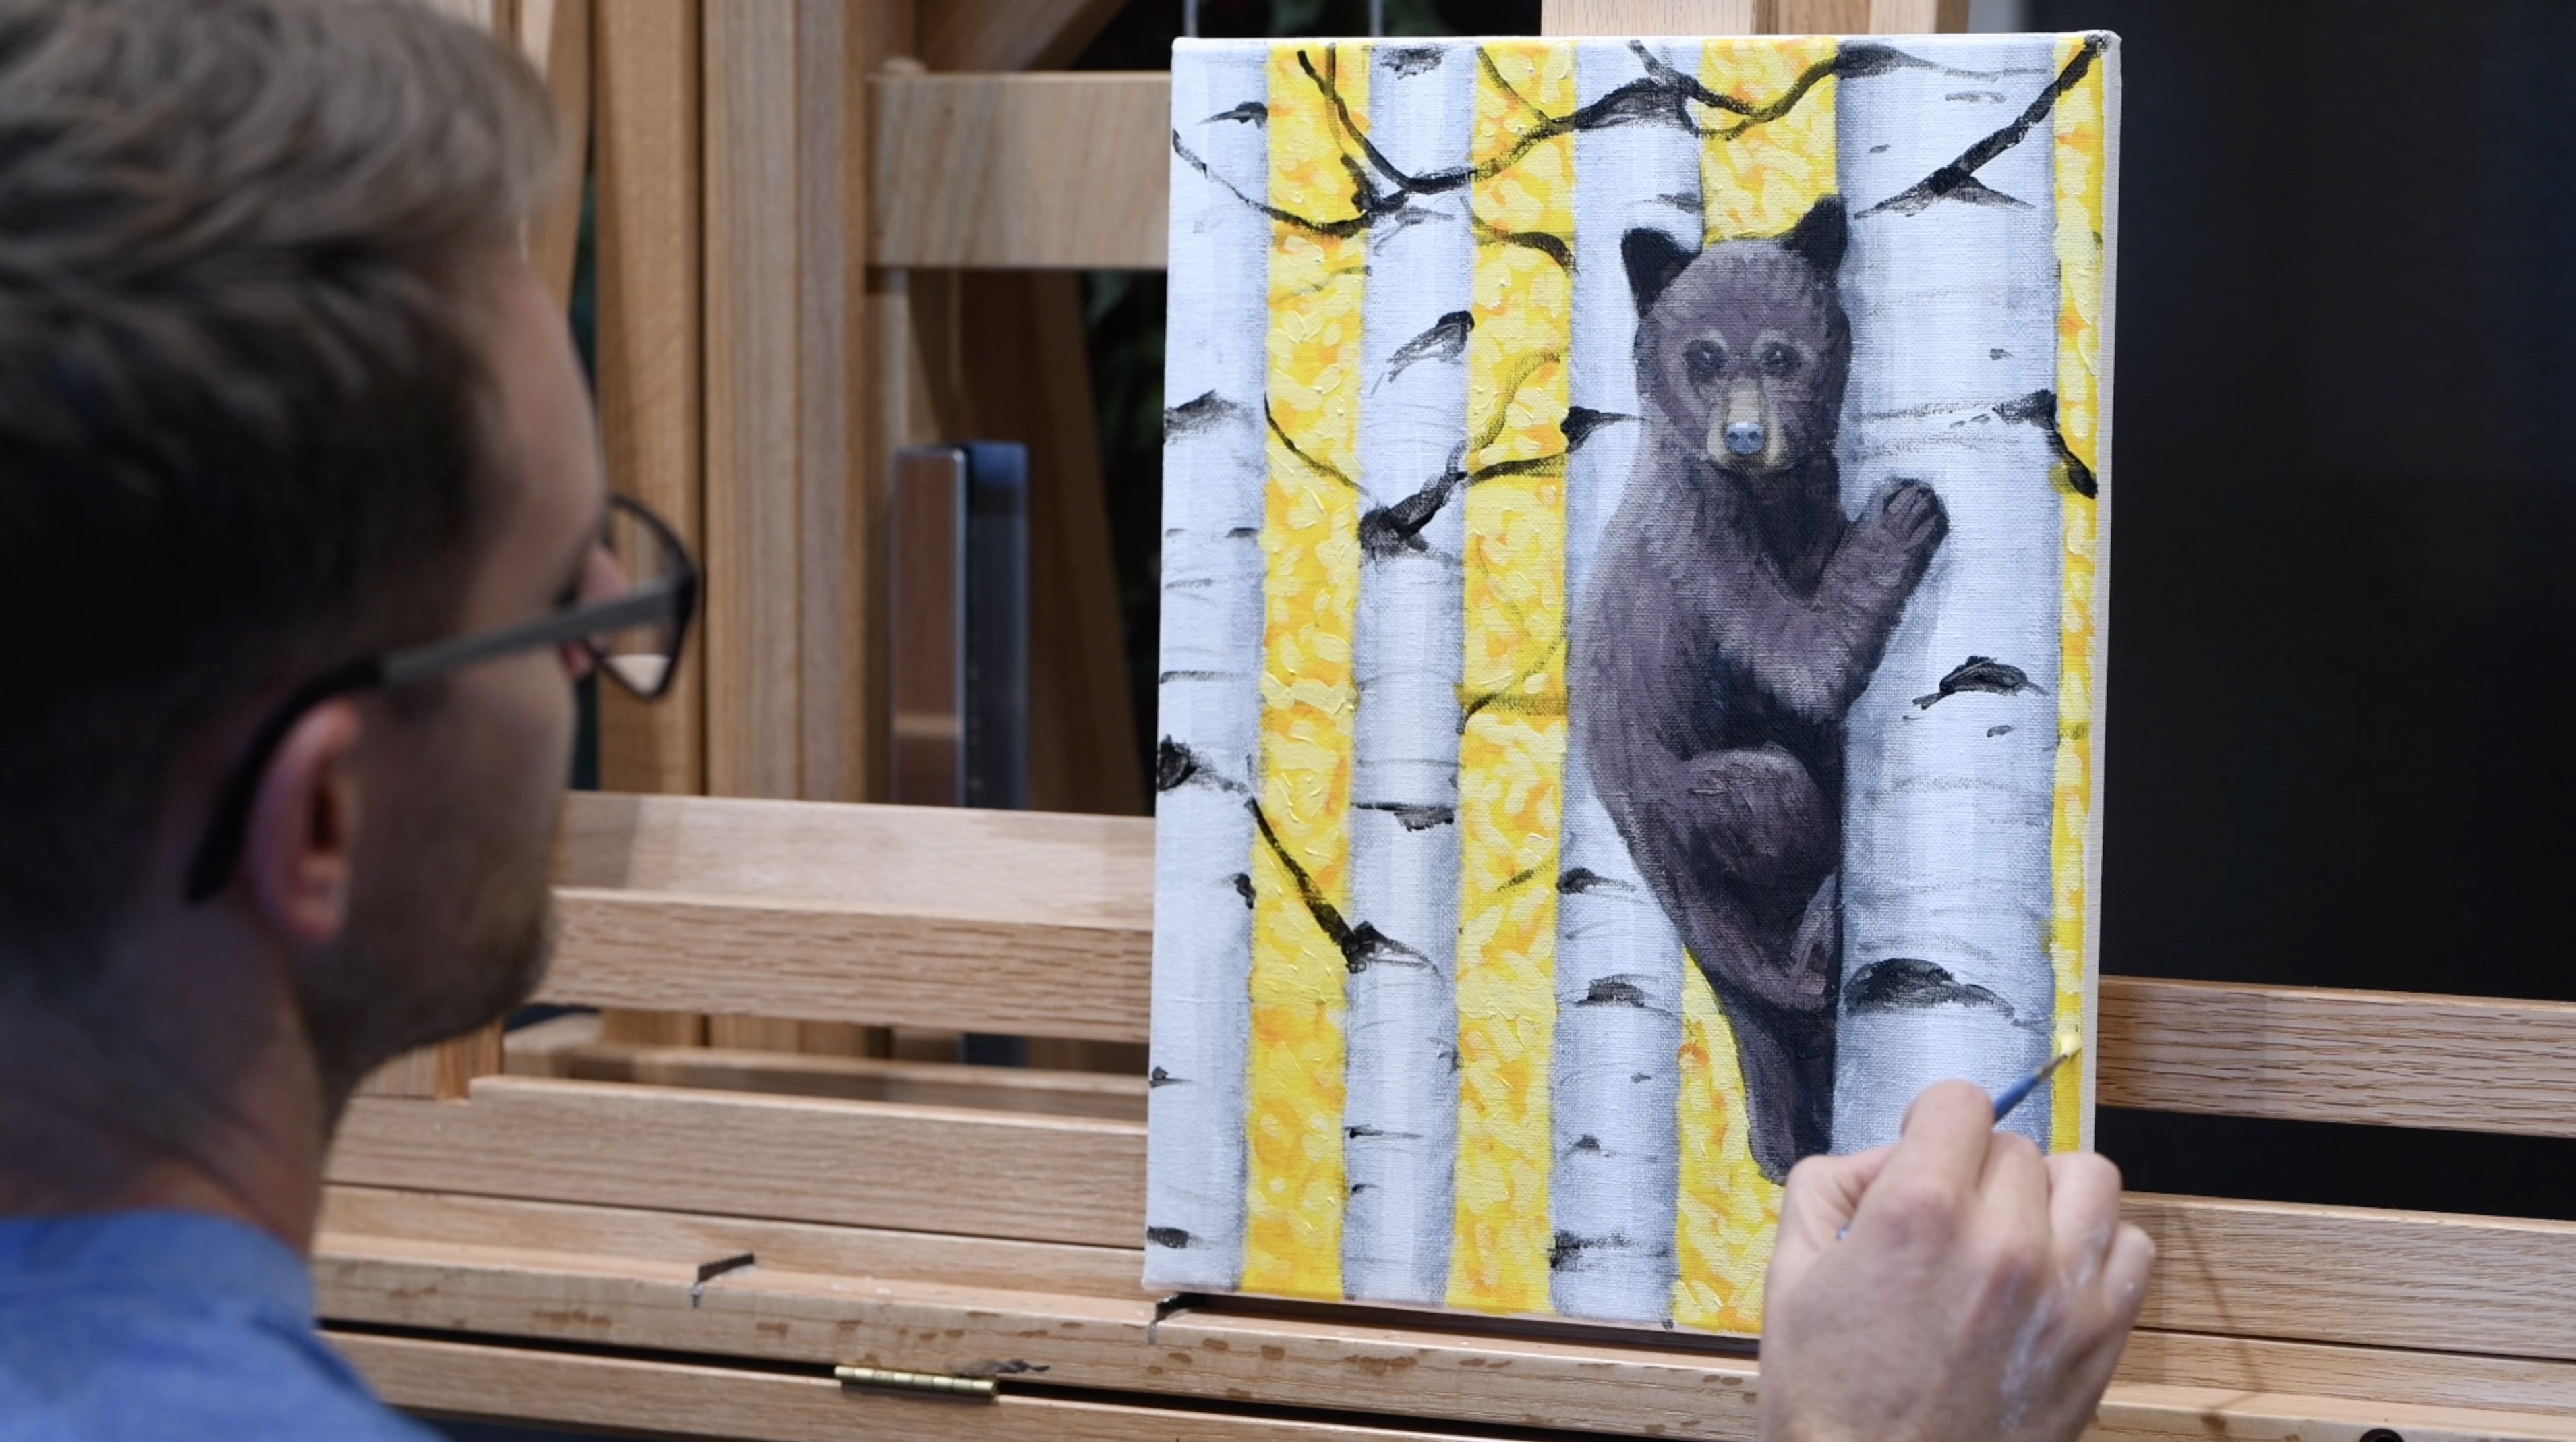
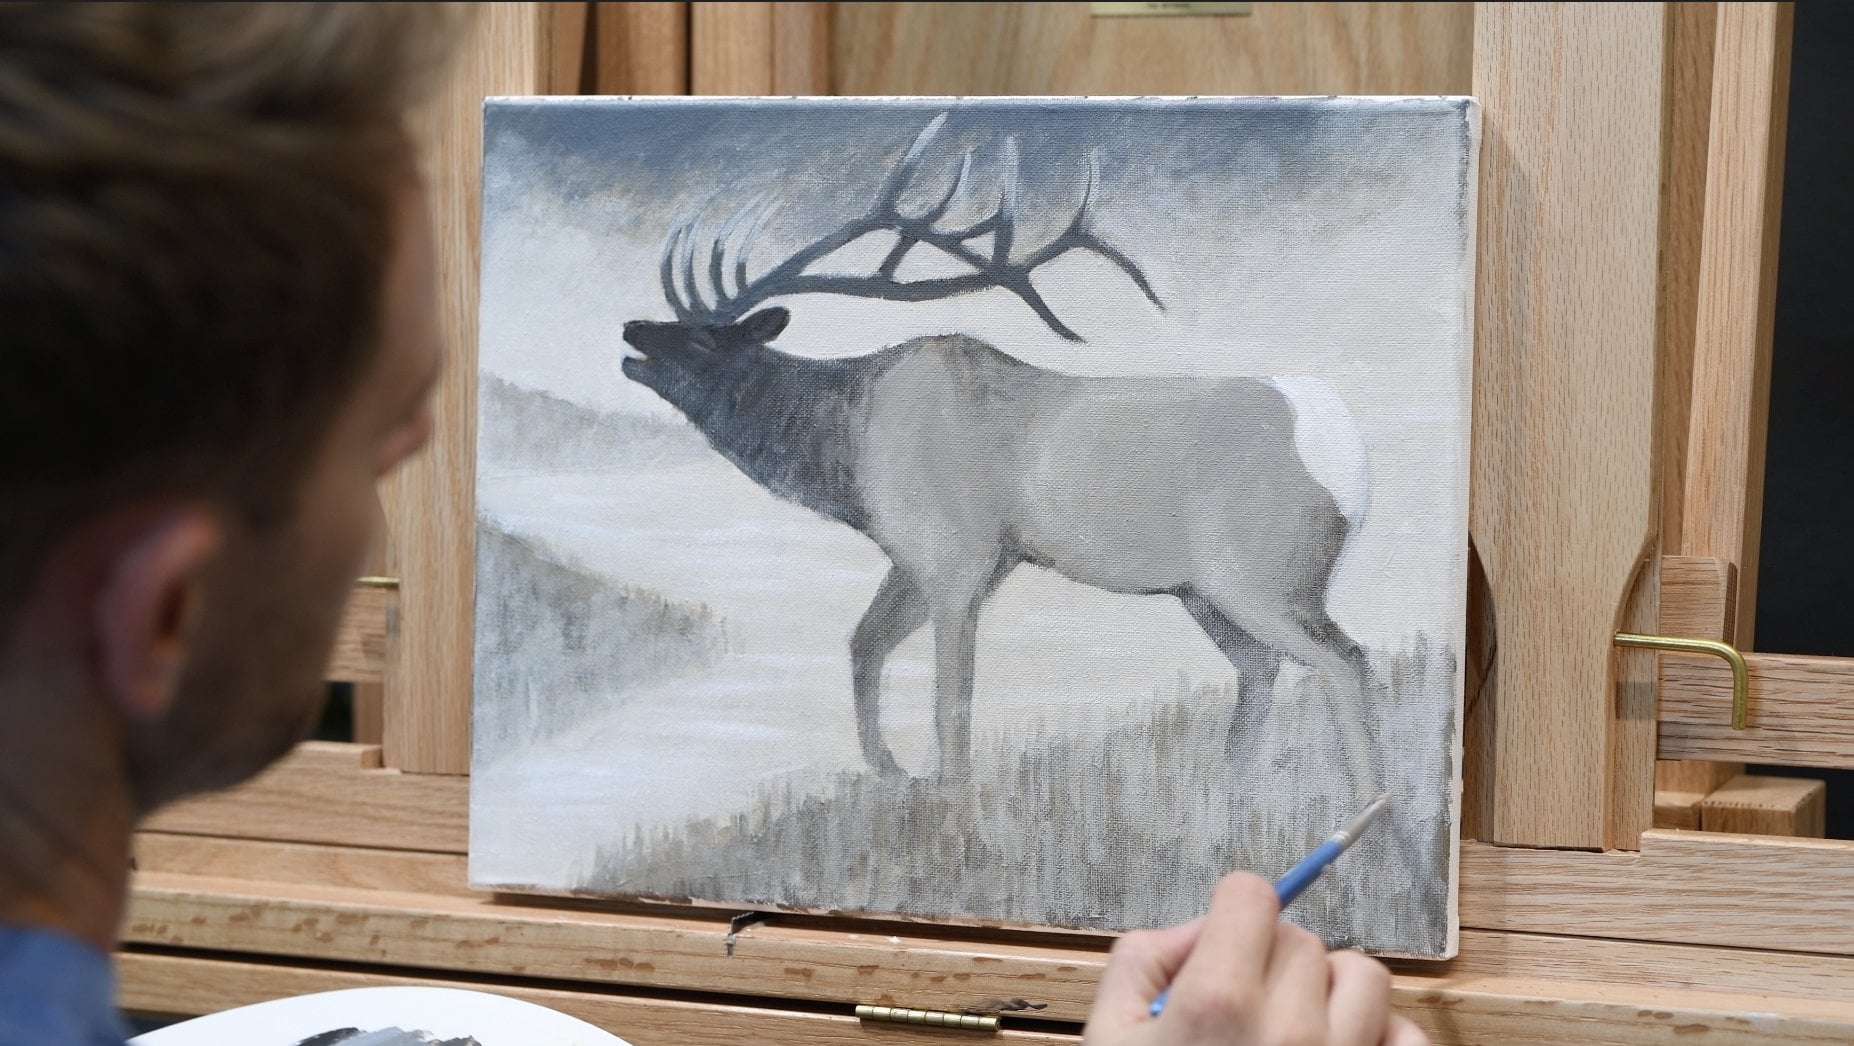
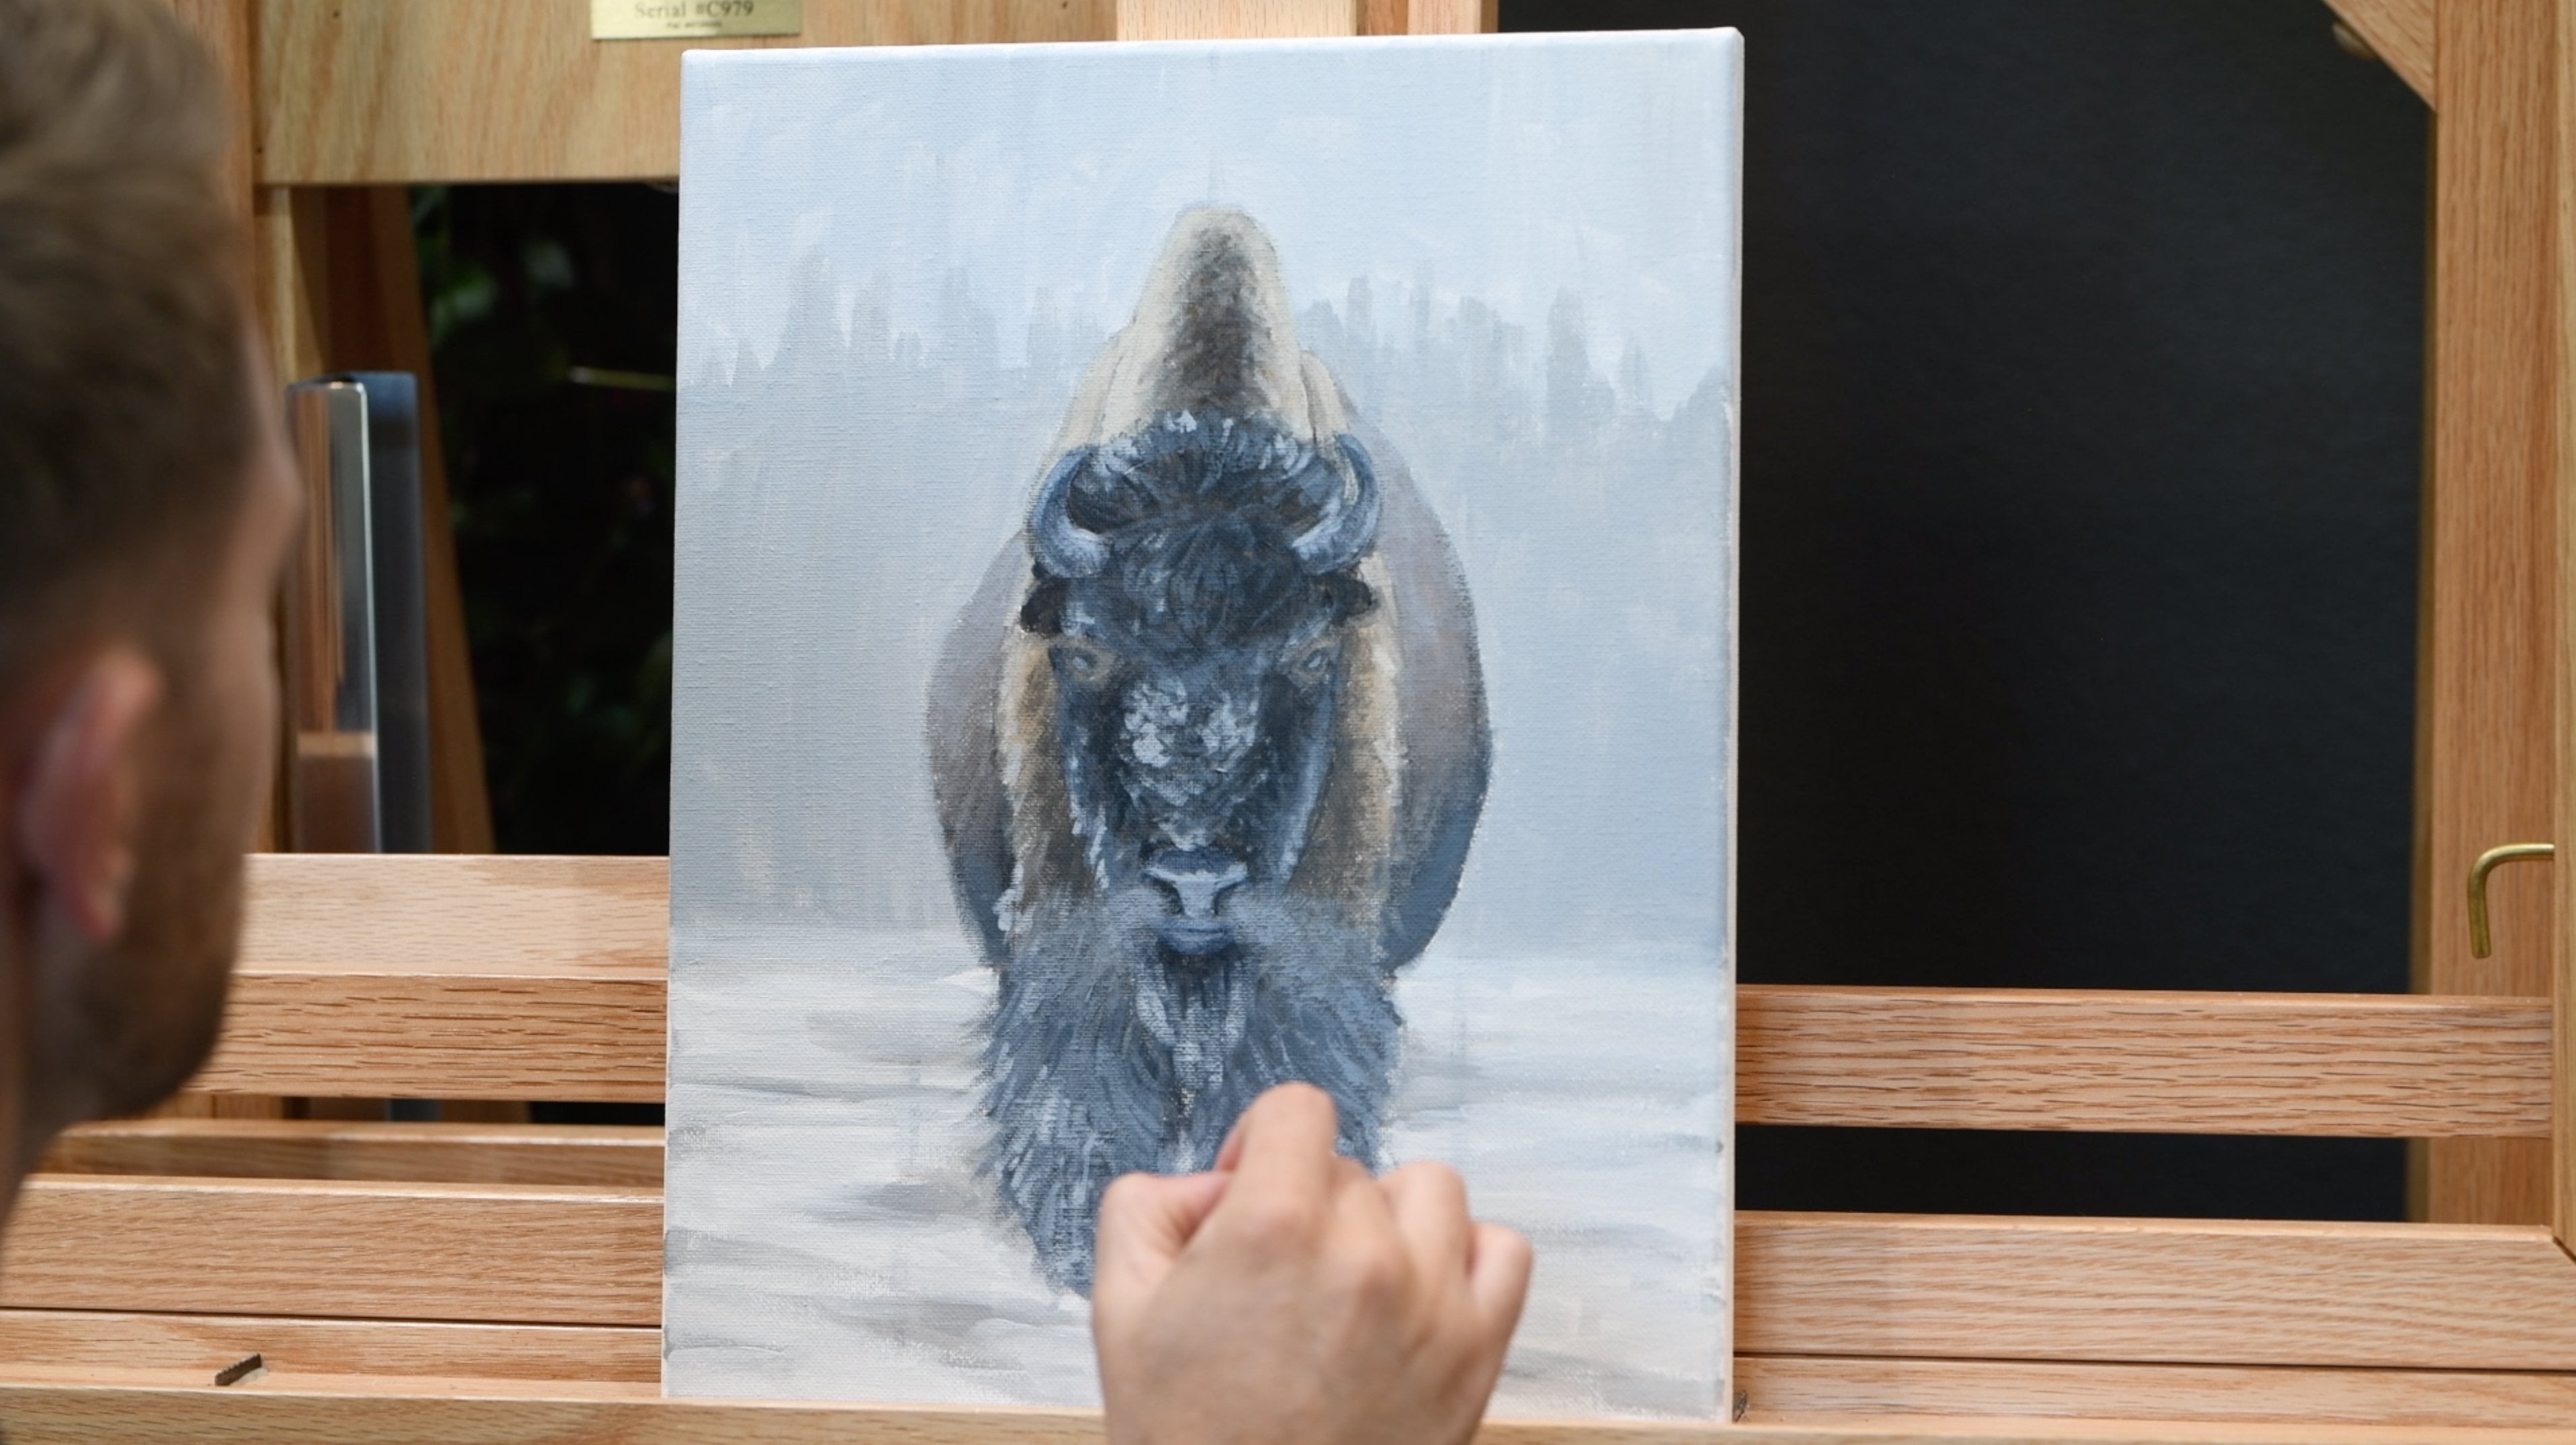
Transcripts
1. Bear in Beargrass Step by Step Art Class - Introduction: Hi, I'm wildlife
artist James Corwin. Thanks for joining me today
in this painting class. We will be painting a
bear in bear grass. I'll take you step by step
through this painting, demonstrating here on
the canvas and then giving you time to complete
each step before moving on. In the video, you will
see a little prompt that comes up that
says to pause now. You can rewatch that
section and do that stuff, and then when you're ready
to move on, press play. To start, we're
going to simplify the drawing process
by creating a grid here on the canvas and then some reference
points within that grid that will
connect with lines. That way we draw a bear that's proportionate
and accurate, and then we begin filling
it in with color. The colors we're using
today are raw umber, titanium white, ivory black, cadmium yellow, cadmium
red, and ultramarine blue. We're using acrylic paint
for a couple of reasons. One, it dries quickly, so we can let those layers dry before
adding new layers on. Also, it's a forgiving paint. Meaning if you make a mistake, it's easy to fix by
taking your paper towel, dipping it in some water, and wiping that paint away. Or because the paint dries fast, you can just wait a few minutes, let it dry and then
paint over the mistake. You're also though, welcome to use oil paints if you'd like. I also have a cup of water for rinsing the
brush, a paper towel, and the brushes we're
going to be using today is a large flat brush
and a small pointy brush. The canvas is 11 by 14 ". Great. Well, let's begin.
2. Bear in Beargrass Step by Step Art Class - Drawing out the Grid: We are going to start by
drawing out our grid on the canvas using our
small pointing brush and just the ivory black. We're going to make
a line that cuts down the center of the
canvas, a vertical line. This line is just
very light and faint. It's a reference line. We don't want it showing
through in our final painting. We're going to come to
this first half and divide that in half with
another vertical line. This half in half as well. Now we're going to
come here doing a line cutting the canvas
in half horizontally. In half again in this
upper half the canvas. And this lower half
in half again. That's all we need to do with our grid before we start
drawing in our bear. So go ahead now and finish that and then in the next step, we'll begin drawing our bear within that grid structure. O.
3. Bear in Beargrass Step by Step Art Class - Begin Drawing the Bear using the Grid: Continuing to use our small
pointy brush and our black. We're going to come to this
point here and just make a little.in the center of these
two squares here down here, we're going to make a circle that touches upon these points. It doesn't need to
be a perfect circle. If it doesn't quite reach
that point, that's okay. We don't want to stretch. Just want to circle that rests on the bottom here and
touches up here like that. Now we're going to come to
this halfway point here and our destination is down here
on the corner of the canvas. We just want to draw
a diagonal line that goes all the way
down to that point. There. Now we're going to come
to this section down here and find our halfway point. We're going to draw a line that connects up to
this point here. Our destination is
halfway now into this box on the bottom of the canvas and
another line down. Now we're coming to this
center vertical line. We're going to just follow up this line as it gets to
this first line here, it's going to bow
out slightly here, and then back up to
this junction of lines. And then back up to
this point here. Then we have another destination where this line will end up. It's this line here. We're going to divide that in half and then each
half and half, we get quarters,
one, two, three, four, and we'll go to
this bottom line here. This is just an arc
that comes down going around to this point and
then back into that circle. Rwatch that section
if you need to. There's a lot of
reference points and lines to connect in there. Then in the next step, we'll add some more
to finish at there.
4. Bear in Beargrass Step by Step Art Class - Continue Drawing Bear Body: Okay. Let's finish
drawing our bear. We're going to come from this first line and go
three sections down, find the halfway point
in that section, we're going to mimic this
curve by going around outside that circle up towards the top of
our first circle. And again, on this side, going around up to the
top of this circle here. Then from there, you're going to come off the side here and do a big old bare ear and this side here your
best bare ear there. Now we're going to come
to this last column, the last square down here and cut that in half
with a little mark. This line is going to come up up up up until
we reach this line. You can see there's a
very slight bend to it. And this is going to curve up all the way to this
destination point here. We can just finish that
slope of the bear's back there and finish
with the last leg. We're going to come
to this point here. Bow it down just for bit of bear belly and then
it slopes down. This is our destination here. Lastly, there's just one
line that comes here. This will be a bit in shadow, but it's the back
leg coming forward. I'm going to build
this up just a hint here because I think it means a little less slope
in the back. There. Then I'm going to actually round out front of this leg too, just so it's not so boxy. Great. The next step will put the
facial features into our bear.
5. Bear in Beargrass Step by Step Art Class - Adding Facial Features to the Bear: Let's add a face
to our bear now. We're going to
find the center of our circle here and make a dot. Then if this were a clock
and this being 6:00, this would be five and
this would be seven. We just want to make those
marks at five and seven. And then draw a line
going straight up from either point up to the
top of this line here. I arced it a little bit there. Then down here, we are going to draw a little rectangular box. That's where the nose will be. Round out the top of
that box a little bit. Then for the eyes,
you're going to come up from these lines
here and then just do a circle there
and a circle there. We'll be able to
fill in our eyes a little bit more
when we add paint, which we'll begin to
do in the next step. Finish up your bear now and then I'll meet you in the next step.
6. Bear in Beargrass Step by Step Art Class - Adding First Layer of Paint to Body of Bear: Take out your large brush now. We're going to make a light
gray for our first layer of color by taking our white and
mixing it with some black. I said light gray,
but actually think we should go a bit darker because we're going to be
working dark to light here. This is a medium
gray color here. We're just going to
paint this right into the body and paint over those black lines now that you had for
drawing out that bear. You can still see
those lines in there, which is good because
I don't want to lose these legs to this color. I still want to be able to see where one leg begins and the other ends for the future
when I put more colors on. Bring this color into the face. Again, I want to see these
lines in here that I've drawn so that I know where to add some of the darker colors
later that we'll do. We're going to leave the
eyes and the nose unpainted. We'll do those next and let that body dry before
putting more paint on. Finish that step and then I'll
meet you in the next step. Sure.
7. Bear in Beargrass Step by Step Art Class - Painting the Nose and Eyes with Initial Color: Let's get some color
into the nose. Take out your small or brush. We're going to take that raw
umber and mix some white into it to make a
more light tan color. I'm going to make
that just a little bit lighter with
some more white. It's always good
to test your color on the canvas because I promise it looks different on the canvas than it does on the palette for whatever reason. It's always nice to
make sure that color is accurate before
you mix it all up and then just put it
right on the canvas. Go ahead and test
it and see, okay, I need to add a
little bit more of this or that to make
it the right color. Now I'm going to rinse my brush and make a darker
gray with my black and my white and fill in that nose box right there
and also my eyes there. Great. Finish up that step and then we'll move
on to the next step. H.
8. Bear in Beargrass Step by Step Art Class - Painting in the Background: Take out your
bigger brush again. We're going to fill
in our background by making a light gray, lighter than our bear, taking our white and just a
little bit of black. We're going to paint this
all in around our bear, getting rid of our
white canvas and also getting rid of
those black grid lines. We don't want to
see those anymore. Get a little bit more
weight on the pallet. Okay. Great. So finish
the background. Our bear should be dry now too, so we can add some
more layers of fur into our bear in
the following step. O.
9. Bear in Beargrass Step by Step Art Class - Adding the First Layer of Dark Fur: In this step, we will use
our small brush again. Again, we're going
to make a darker gray by taking her white and mixing it with
a little bit more black. This is a dark gray that's considerably darker
than the gray we have here for the body. We can begin to get in
these shadowed areas. Let's start by painting in this back leg all
into shadow there. And now we're going to
go up the shoulder here. This is a shoulder. We're going to bring
that area out by adding these shadowed
furry brush strokes here. How do I do these? Well, I'm very lightly touching the canvas and just making light brush strokes
in this direction. As you're watching, take note of the direction of my
brush strokes because that will bring out the natural
form and curves of our bear. If we go straight up and
down or horizontally, it flattens our bear and doesn't make it
three dimensional. I'm extending these out now. They go down this leg here. You can even add
just a little bit of water to your paint. That can help it flow a little more easily
if it starts to get sticky as it's drying
on your palette. I'm just going for
coverage right now to get this texture
started in my bear. But there will be more layers of color that go over that bring out even more furry details. That's all I'm going
to do in this area. Just going to do a few
along the back here. Now I'm going to come in
around this first line here and do some shadowed fur underneath. Again, take note of the direction I'm taking
these brushstrokes. It's very important. And I'm going back and
forth, back and forth, back and forth very quickly to get these
brush strokes down. A little bit more black. Okay Let's see. Just continue going around. We'll leave this leg
unpainted for right now. And we're going to
add some more shadow right here behind the ear. Okay. Here above the head, of course, inside here. Another similar to how we did this in this
inner circle here, but leaving this little strip
unpainted for right now. And then finally
here in the face around our bare nose up
into the cheek area, leaving a little bit of it unpainted on the side
around our eyes. Again, up the side of the cheek, there isn't really
any fur texture that I'm bringing out here. Instead, I'm just
scrubbing this color in to my bare face
so that I can get some more three
dimensional shapes within there it will
make more sense to you when we add in
the next layers, but we're working dark to light, so we want to put in the
darkest layers first. There is a lot in that step. Rwatch it if you need to
and take your time with it. When you're ready to
move on, press play.
10. Bear in Beargrass Step by Step Art Class - Bringing Warmth to the Fur: Rinse off that
small pointy brush, we're going to
continue using it. We're going to take
our brown this time and mix a little bit
of white into it to make a medium brown color. And similar to how we did this dark gray
in the last step, we're going to add
some brown here into some areas
that are bare just to not make it so gray. This color is going to go
right here into this layer. And also into the
face ever so lightly. I'm going over this gray area, but very lightly because
I still want to see those dark gray colors in the face without pinking
them away entirely. But you can see it's starting
to warm it up a little bit. A little bit more down
here into the body. In a little bit in the back a little bit
into the back here. Very light application of paint. To warm it up a little bit. That's all we're going
to do with that. In the next step, we're going
to add some more fur now into these other blank areas
that it's a bit lighter. Do that step now and I'll
mention the next step. No.
11. Bear in Beargrass Step by Step Art Class - Adding a New Layer of Mid-tone Fur: Keep using that
small pointy brush. We're going to make a
lighter gray by taking a white and mixing it
with some more black. We want this color
to be it's about the color of the first
gray I'll be put down. But actually, we want it just
a bit darker, forgive me. But not as dark as this. You can see it's darker than the first gray but not
as dark as this gray. You can test that on
your canvas by just putting a little swatch
of it down and see, do I need more black or
do I need more white? Once you have that color, using that same feathery
brush drop texture, going to fill in that
last bit of area there. And we're going to start
to work this color up into the other colors
that we have down. Also being mindful of the
direction of my brush strokes. Naive just a bit darker
in these areas here. And continue around
to this lake. You can see how just adding another layer of
color starts to bring even more depth to our fur making it look
even more bear like this continues up the shoulder. Now starting down the back, I can begin to integrate
this color into those other colors still leaving it darker behind the shoulder. Don't worry if you lose
some of that darkness, we'll be able to
bring it back out in some more layers later on. Can see as I move back
towards the back of the bear, I'm not as focused on getting those feathery brushstrokes in because it's a bit more in
the distance, out of focus. So getting that detail
in isn't as important. It just makes it easier
on me and I don't have to do all these fine
details back in here. But as I come forward, more, that's when I
bring out more detail. I'll let you get caught
up with that step. Then in the next step, we're going to add some more
of this color into the face. O.
12. Bear in Beargrass Step by Step Art Class - Painting Detailed Fur into the Head: Okay. Let's add some
more color to the face. So starting here
in this section, we're going to do our furry
little brushstrokes here, going all around, leaving
it dark up in here. And around the ears uh, a little bit inside the ears
to just to get some texture. Of course, up along the back. Then here in the face. Just going around the circle. Much smaller brush strokes now. In the forehead. And eyebrows. Perfect. But better. Great. Really starting to see
that for texture and nerve. Pause now and when you're
ready to move on, cress play.
13. Bear in Beargrass Step by Step Art Class - Adding Highlighted Fur to the Head: Rinse off that
small pointy brush. We're going to take
some white and mix just a little bit of that
raw umber brown into it to make a very light
off white color. It's like a little beige, very light, sandy color. We're going to place it right here in the bridge of the snout, just to give it a little
bit of highlight. A little bit here in the size. There. I think that's
all I'm going to do. But I'm going to keep using this color because
this is going to be some highlighted
fur here in the back. Go ahead and put that up
in the back of the bear. Also here in the head, just a little strip across
the top and up the ears. Going around the top, the head and down the sides. Very similar to what we
just did in the last step. Little light tick marks. Now we're going to come
into the face of our air. H bring out the brow, a little bit here in the
forehead, very lightly. Painting this color
down, very lightly. Bringing it around the face. Bring out this highlight
area just a little bit more. Little tick marks is all you
need a little bit more here. And then on the outer circle. Me down there. Beautiful. We're going to continue with this
color over here, but I'm going to let
you get caught up in that step and then we'll do some more in the
next step. Okay.
14. Bear in Beargrass Step by Step Art Class - Bringing the Highlighted Fur to the Body of the Bear: I need some more of that color with the white and
a little bit more brown to continue going
around in the body here, bringing some highlights
into the ears. Now, bringing this highlight of fur down the shoulder. It's a little bit over here where the light
hits this leg. Letting that color
just fade into the gray as I get that
residual paint off the brush. Somewhere on the back here. Okay Great. Do that step now and then I'll meet you in the next step. Two.
15. Bear in Beargrass Step by Step Art Class - Creating Contrast in the Bear: Print off your small
brush, give it a good dry. We're going to use
our pure black. We're going to come right
into the nose here and do two little dots
here on the side for the nostrils and then little black line
underneath for a mouth. I'm going to just
shadow it above the mouth ever so slightly
smudge it with my finger, so it's not too noticeable. That's my cat begging for
some attention as usual. Then we're going to
take a little dot of this black up into
those eyes up there. We'll be able to put in a
glint of light into it later. Darken these ear areas
just a little bit. Then show a hint under here and a hint here
into the shoulder, but not very much at all. I notice I have a little bit of black here that I don't want, just going to paint that
out with my brown but I do want to bring some dark shadow right underneath so I can
see a little bit more of a chin
there and then let that dark color just fade
out into my other colors. Like that. Beautiful. In the next step,
we're going to do another layer of background
and we'll be able to do some mist over our bear before
we put in our bear grass.
16. Bear in Beargrass Step by Step Art Class - Adding Background Mist: Take out your big brush again. We're going to make
that light gray again, like we had in our
background by taking our white in just a
little bit of black. We're going to do
one more layer. Is nice because we will
finally get rid of all those grid lines in the back that we can still slightly see I mentioned that
we're going to be doing mist over our bear. I'll show you how that works as we get
into the legs here, so I'm going to wipe off most
of the paint off my brush. So I don't have very
much to begin with. And then I'm very
lightly pulling this color into my bear. There isn't very
much pressure from my hand through the brush
so that I can begin to very lightly pull this color in using just whatever
residual paint I have left on the brush. Bringing it up into the body. Little heavier down here and dissipates as it
goes up into the body. You can see I'm shifting
the direction of my brush strokes so
that I can layer this mist without it showing or revealing
my brush strokes. Every single brush
stroke I go down is laid in a different
direction than the one before. Finish putting in
your miss now in the next step will be
drawing our bear grass.
17. Bear in Beargrass Step by Step Art Class - Painting Beargrass Stems and Leaves: Pull out your small
pointy brush again. We're going to take
just a little bit of our blue and mix
it with the black, and then just a
little bit of yellow. I'm going to bring in
some more blue into that. I'm looking to make
a very dark green. You can mix blue and
yellow together with a little bit of black as
well to make a dark green. Starting from the
bottom of the canvas, I'm going to pull
up these very light stems for where my
bare grass will be. As I put these stems in, they're going to be varied
in height and also varied in the direction that they
move or are placed. So bend and some lean and some
are short, some are long. Some are closer together
and some are farther apart. The more random
you can make them, the more natural
it's going to look. As humans, love patterns
and are drawn to them, which means we naturally create patterns when we paint and
draw without even knowing, which is why we have to be
deliberate about being random. Otherwise we will be drawn
to creating a pattern. H Then once I have those stems in, I'm going to pull some
very light grassy blades off of these stems just to make it look a little more
bare grass like. This can be easily overdone, so I don't want to do too much. Just enough to suggest
to the eye that there's some of the grasses
coming off of these stems. Again, I'm changing
the direction that these blades of grass fall
so that it looks natural. Nice. Do that step and then we'll add the bare grass
flowers in the next step. O
18. Bear in Beargrass Step by Step Art Class - Painting Beargrass Flowers: Rinse off that small brush,
give the good drive. We're going to make
our flowers by taking a white and a hint of yellow into it to make a off white light popcorn color. Only need just a teeny bit of yellow to tint that white down. Then the anatomy of this flower starts with
little dots going up the stem and then it gets wider and bilowy
towards the top. I like to put this paint
on thick so that I can get some texture from
the little petals. I guess, they're just a cluster of little flowers that
make up one big flower. So have different
shapes to them. I You can also start with a big
ball and taper it down into the stem
too, if that's easier. Um. Uh, uh, uh, uh, uh, uh, kind of peaceful
creating these flowers. Just making them up as I go. H. Beautiful. Finish painting in your flowers, and then I'll meet
you in the closing. Mm.
19. Bear in Beargrass Step by Step Art Class - Bringing Life to the Eyes and Nose of the Bear: Before we close out,
I forgot there was just one step I
wanted to add using that white and our
small pointing brush that we used for the bear grass. That's just a tiny
dot of that color. Into the black of the eyes
to give a little more life, and then just a little
buoyant on top of the nose to bring it forward. Now it's complete. Love that. Do that step and then we'll close
out the class together.
20. Bear in Beargrass Step by Step Art Class - Closing Remarks: And that brings us to
the end of this class. Thank you so much for
painting with me. I would love to see the
artwork you created, so please share it with me. And if you enjoyed this class, I would love to paint
with you again, follow along,
subscribe, and I'll see you in a future class. Bye.
 James Corwin, Professional Artist