Transcripts
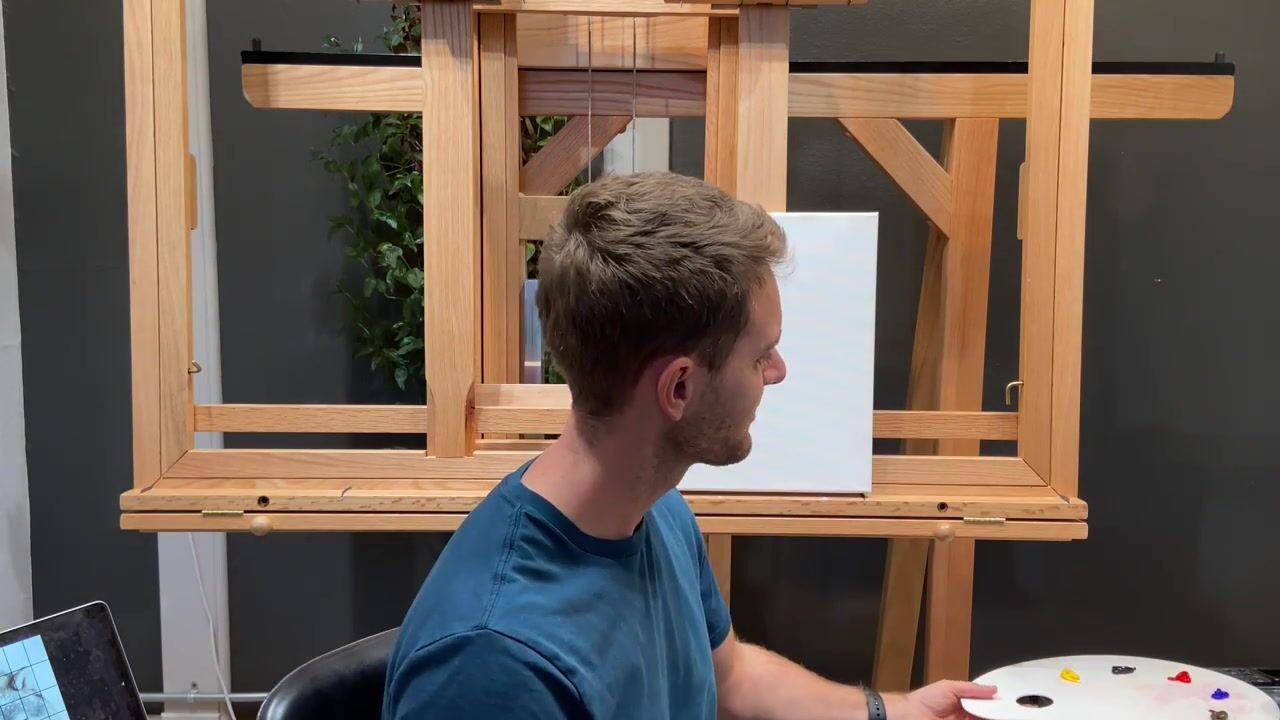
1. Step-by-Step Bison in Yellowstone Painting Art Class Introduction: Hi. I'm James Forwin. Thank you for joining me today. We will be painting
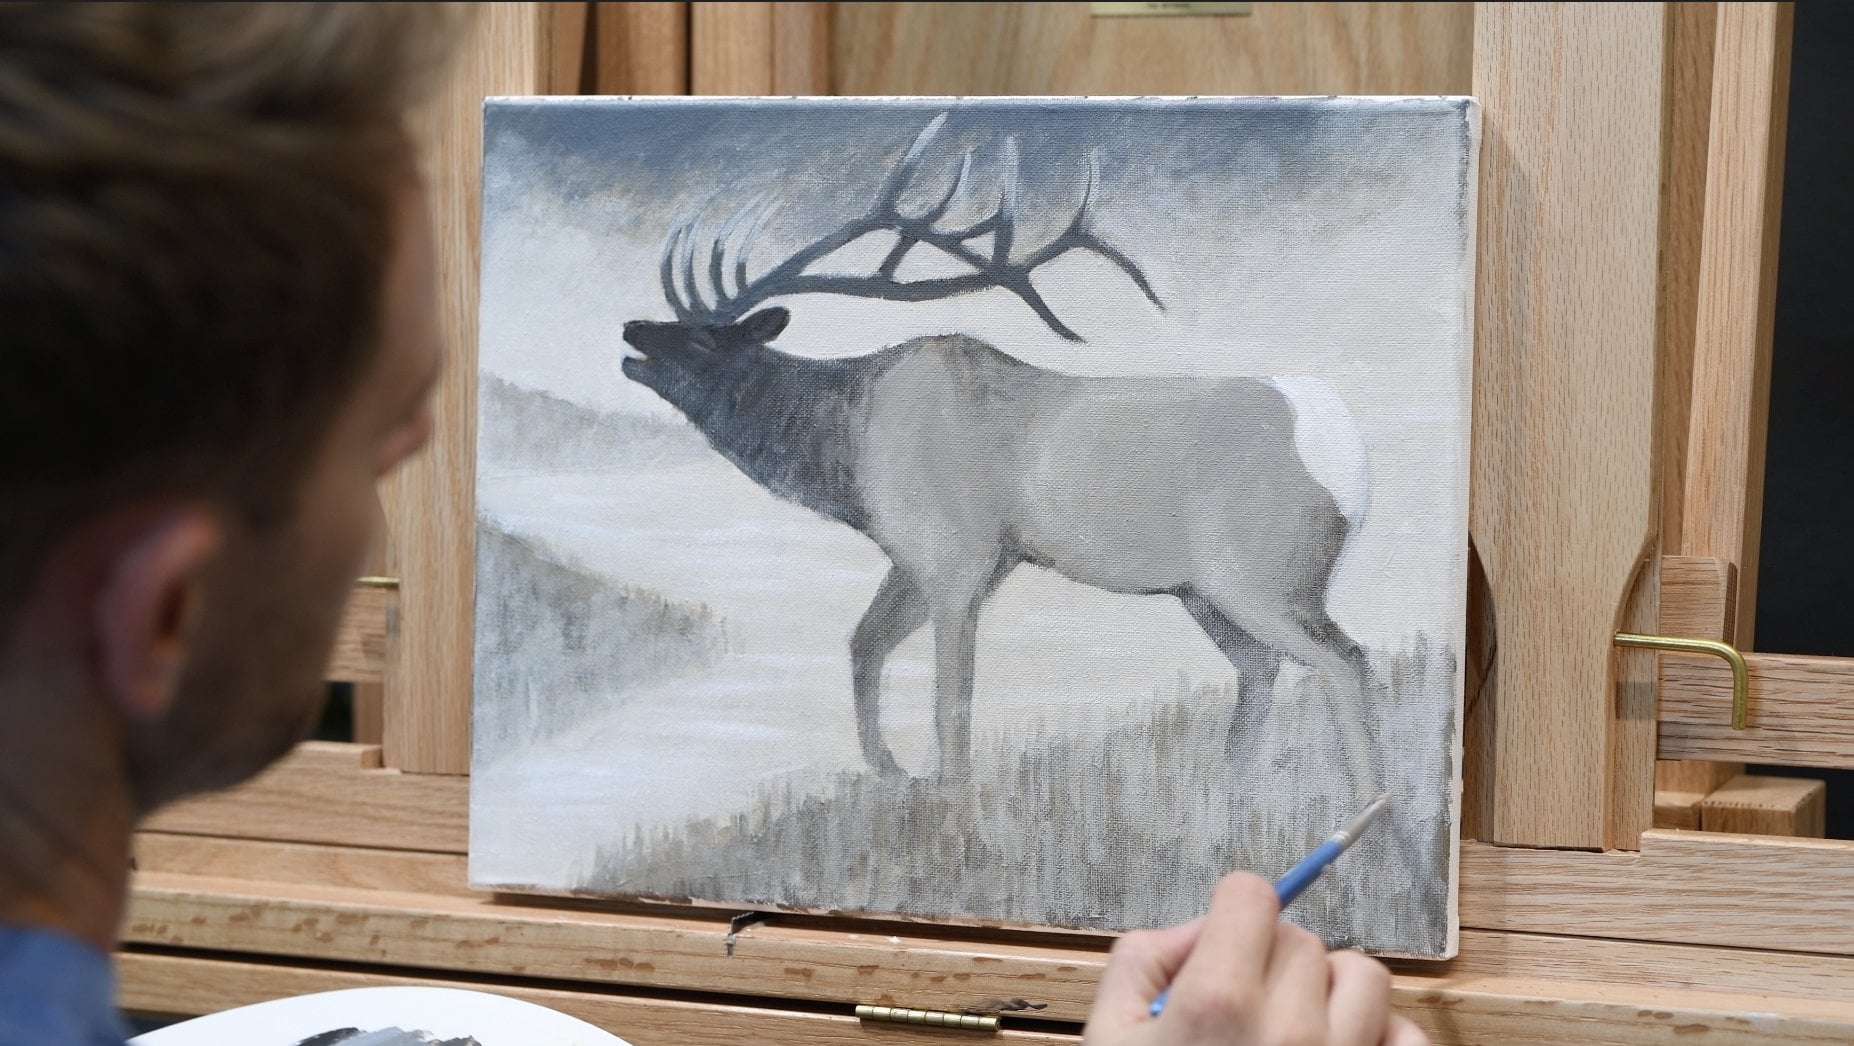
a beautiful bison in Yellowstone National Park, walking through mist and snow with the geyser
erupting in the background. I will take you through
this painting step by step, simplifying it into
some simple shapes and lines and easy color mixing. I will demonstrate each
step here on the canvas. And then tell you to pause the video so that you
can complete that step. Feel free to rewatch that
section and when you finish a step and you're
ready to move on, press play. Today we will be
using acrylic paint, and I have the primary colors, and we're using just a
cadmium red, titanium white, ivory black, cadmium yellow, Bultamre blue, and raw umber. We will also be using
three small brushes, a big flat brush,
medium flat brush, and a small pointy brush, and just a cup for water for mixing those
paints and getting them clean and a handy paper
towel for easy cleanup. If you haven't used
acrylic paints before, they wash away with water
and they also dry quickly. So if you make a mistake, there's a couple of
things you can do. You can just dampen
your paper towel with some water and just wipe it away or just wait a few minutes, let it dry and you can
paint right over it. In the time that
we have together, we'll finish the painting. But if you're struggling with
anything or have questions, feel free to message me
or write in the comments. I'm super happy to help. All right. Well, let's dive in.
2. Bison in Yellowstone Painting Class - Placing the Grid: So to start, I'm going to use my small pointing
brush and the black. I'm just going to make
a simple grid here. I'm dipping my
brush in the water, so the water helps get the paint flowing
a little more easily. We don't typically
mix water into the paint throughout
this process, but at the beginning, it can help get that paint
flowing better on the canvas. So the grid we're
going to do will help blocking our
bison so that's proportionately
accurate and that all of the bison we green together will be
relatively the same size. So what we're going
to do to start is just draw a line
straight down, cutting our canvas in half. This line can be
very light and thin. We don't want it showing
through in our final painting. Then the next line is cutting our canvas in
half horizontally. You can start to do this step
along with me if you want. It's pretty easy one. Now we're cutting
this upper half in half and this half in half. Great. Now I'm going to focus on this first half and
we're going to do a vertical line
cutting that in half. And again, on this side. Okay. So go ahead now and start
to put in those lines and pause the video when you're ready to
move on, Press play.
3. Bison in Yellowstone Painting Class - Begin Drawing the Animal Head: Okay. We're going to continue using our black and
small pointy brush. We're going to make
some marks here. Come up into this section. We're going to find
that midway point right there and come down into this bottom section and also put in a point halfway
between here and here, halfway between here and here. Now, we're also going
to make a mark. We're going to find
our center here, and this section here, we're also going to find
our halfway point there. And now coming into
these two sections, half between here and here, half between here and here. If you need to rewatch that or go ahead and put
in those marks, we'll now connect
them with some lines. This first shape is basically
just big oval or egg shape. Coming off this line
is going to curve up and touch just the
top of this line here. Get some more water into that
pain if it gets a little sticky and now it's going to curve back
down into this line. Then it's going
to start to taper in right down to this line. That's going to be the
main head of our bison. Now, from the top, we're going to come
off the sides here and another big arc right up to that line and back down just like that. Go ahead and do
that step now. M.
4. Bison in Yellowstone Painting Class - Drawing the Body of the Animal: So the next step we're going
to do is put in some lines. We're going to mark out
from this point to the side of the face here and halfway. Again, from here
to here, halfway. Now about halfway down this, find that little part there. This is just more of an organic free foreign line that follows the
edge of the face, comes down right into
that line there, and the same thing on
this side as well. Just like that. Now this continues down, flares out just a little bit. This is where the legs come. As it hits this line, it's going to curve back
towards this line here. Same thing on this side, this line comes down, down as it hits this line, it starts to curve
inward like that. All right. Next, we're going to find roughly about halfway
from here to here, but on the body, that'd
be right about there. Again, halfway here, but on
the body is right there. That's just going to
be just a slight bow that's going to hit this line here for the back of the body. This side is actually
going to start up higher, but we're going to end
right about that same spot. So you just draw an
imaginary line and cross. It's basically where this
line is here and mark. But we're going to
come up from this line and it's going to hit here, it's just going
to be another bow there and back into the
body, just like that. Go ahead and put those lines in and if you need to
rewatch that section, do so when you're ready
to move on, cross play.
5. Bison in Yellowstone Painting Class - Adding a Bison Nose to the Drawing: Okay, so let's put some
facial features in. We're going to come down
to this chin area here. We're just going to do a box. It's going to go up about
halfway from here to here. And it has just a bit of
curve here at the top. But it drops straight down. So we form a little
box right there. Now within that box, I'm going to do a
curve right here. Makes a little almond shape. And line straight cross. This is for the
chin and the mouth. Then on either side of that, put in some black here
for the nostrils. Be sure to leave a little gap
of white in between there. You can also put
in the beer here. Okay. Go ahead and do that step and then we'll
move on to the next one.
6. Bison in Yellowstone Painting Class - Draw in Bison Horns: Okay, let's go ahead
and put in some horns. So we're going to come to
this top of the head here. About so we're going to
break this section up. So here's the halfway point. And into force is going to come and go across this
line there curving that. That's going to be
where our arms starts. They come in just
inside the head ever so slightly and then curve outside running along this
line here and then back in. Again, curving up
towards the inside, towards the head, then
back, sing on this side, curving in towards the head, and then following along this line back in,
just like that. Of course, there's some little black ears that
come off of that. A little ear that
comes off of that. And then for the eyes,
what do the eyes have. We'll put those horns in and
then we'll put in the eyes.
7. Bison in Yellowstone Painting Class - Draw Eyes and Ears and the Final Details: I'm just going to draw a
line that comes up off the nose just like that. We're going to be able to play with that a
little bit more. But the eyes are going to rest from this line if we were to draw
it straight across, and we can bring in
these little eye sockets that end on this line too. But then the eyes
within those are tiny. Basically just in that center, you're going to put in those eyes in the
center of that space. Do that step and then we'll
move on to the next one.
8. Bison in Yellowstone Painting Class - Drawing in the Background Trees: So lastly, we're just going
to mark out the lights here. We're going to come to this
and we're just going to do slight diagonal up
to this line here. Then again, slight diagonal
into this line too. Just a little V shape or a cone there just to show
split with the legs. And might as well
start to put in our trees of our background. I'm just going to roughly put in some bees here
along this line. Those are where the trees will be very faint in the background. I'm making them just
random right now. We'll bring them out
a bit more later. Then also where geyser
is going to be erupting, going to put in just this
little horizon line, make that a little darker
so we know where that is. It's just coming across this line here halfway
between here and here. All right, go ahead and do those steps and then we'll have more bisondro in and we'll be able to start
filling it in with color.
9. Bison in Yellowstone Painting Class - First Layer of Color in your Bison: All right. Let's go ahead and start
quitting in some color. I'm going to take out my medium
size brush and I'm going to mix that raw umber with the black equal parts just
to make a darker brown here. I'm actually going to bring just a little bit of blue into it just to cool it down because
this is a winter scene. Now, this color I'm
going to use to just paint everything inside
the face to start. And you'll notice this
paint goes on thin, but I can use that to my
advantage here in bringing out some fur texture using
my brush strokes. We'll also be putting
on multiple layers. This isn't the final layer. You can see how I'm using these brush strokes
to start to shape out my face just a little bit and some
of that fur texture. I'm also going to bring
this in down here to legs. As I make this color, I'm going to add just a
hint more blue just so it's slightly more on the
cool side with the blue. It's only going to
go partway up here. And as I do that, I'm releasing
the pressure of my brush, making it very light so I get this nice faded transition
into the white canvas. Same on this side. Just very lightly letting that start to fade
up into the white, but then remain dark down here. Again, these brush strokes. I am using that to bring out that fur
texture in those legs. Then lastly, with this color, going to bring it into
the sides of the body here and same thing as
we get about halfway up, start to lighten that pressure, letting it just fade
into that white. Same on this side,
dark down here, and then lightly
fading as we go up. Just like that. All right. Go ahead and start
to do this step. The colors again, we mixed the raw umber with some
blue and some black. About equal parts will
give you what you need except down here just a
little bit more in blue. Go ahead and rewash
that section if you need to and then I'll
reach in the next step.
10. Bison in Yellowstone Painting Class - Adding in Color to the Back of the Bison: Okay. For this step, we're going to continue using
our small or medium brush, rinse it off and
give it a good dry. We're going to mix our raw
umber with some of the black. We're just going to come
right up here on this line here and just do a darker
section of this color. Just like that. But now we're going to bring some
white into that color. Actually, let's
go ahead and make a new color because I don't want that black and
marrow gray down. We're going to take
our raw umber here and mix some white
into it. We'll see. I'll start to lighten
it up into mocha color. This color we're going
to use now to just fill in the rest of that area
just around that dark part, and then also down the
size of this body. Downsize. Now, as it
gets into this color, we're going to bring
it over the top so it has that nice transition
between those two colors. Mix that raw mro with the
white and fill in those areas. We're going to make a new
color for the other areas.
11. Bison in Yellowstone Painting Class - Paint and Mix Color to the Sides of the Bison: Okay, for these parts, we're going to use
that same color. If you need to make more, do so mixing the
brown, the white. I'm just going to
bring in a hint of red and a hint of black
to darken that down. I might put in just a
little bit more black, a little bit of red. You can always
test your color on the canvas to see if it's
right because it will look different on painting in comparison with the other
colors B does on your palette. Same thing that just fades out into that nice
color down there. Same right there. Go ahead and do this step and
rinse your brush.
12. Bison in Yellowstone Painting Class - Paint the Eyes, Horns, and Mouth: We're going to
take out our small coining brush for this step. We're going to make it gray by mixing the white with the black. It's a bit of medium gray and a bit of that blue in there
and darken it down more. It's a medium blue gray. This color here, we're going
to paint into our orange. A here in the nose
across the top down around those nostrils
and into the chin. Now for the eye sockets, I want to bring a little
bit more brown into that. Also want to darken it
down so I hit more black. We'll bring back out the eye. We'll go ahead and just
fill in those spaces there. We've got our first coat and base of paint and we're
going to let that dry. We're going to put in some
of the background now before we put some more paint
layers on our bison.
13. Bison in Yellowstone Painting Class - Paint the Sky into the Background: Okay. Go ahead and pull
out your bigger brush. We're going to put in our sky and it's a
subdued misty sky. We're going to take our white here and we're going
to mix it with some of the black and some of the blue just to make that
light blue gray color again. We're just going to cover our sky down to where
trees are going to be. That's a little blue, add some more gray and
white to that. Keep the color consistent. Okay. So go ahead and put in your sky and when
you're ready to move on, press play and we'll go
on to the next step.
14. Bison in Yellowstone Painting Class - Learn to Paint and Mix Color for your Trees: Okay, we're going to continue
using our big brush and we're going to move into
painting in our trees here. It's a very similar color
to what we just made. I'm going to actually
use that same pile. I'm going to bring in
the white and make that blue gray again with
my black and my blue. This time, I'm going to bring
in just a little bit of that raw umber to start
to get a sage green. We can actually use just
a hint of this yellow too and darken that down. We want it darker than our sky so that
those trees show up, go ahead and add some more
black to that if you need to. Looks like my trees
are showing up, but I want them very faint
and misty in the back. I don't want it to be too
dark, just slightly darker. Making up some more
of this color so I don't run out. All right. Bringing out some
of these trees, really I'm just pulling up
these points into that sky. They don't really have any
sort of defining tree shape, but our eyes will
read them as trees. It goes all the way down
to this line down here. Starting on this side. Okay. Wonderful. All right. So go ahead and put that those trees in and
pause the video. When you're ready to
move on, press play. Okay.
15. Bison in Yellowstone Painting Class - Adding the First Layer of Rock and Snow: Right. We're going to keep
using that big brush. And we're going to move
down into the foreground here and we're going to revisit this color by taking our
white and mixing it with our black and just a little
blue and a little brown. And I'm going to just drag this color across here and make in just some variations
that will be in the snow. It's just random. Kind of breaking that
up just a little bit. I Then I'm going to rinse off that brush, give it a good dry. Now I'm going to take
my white and I'm going to work it back
into that color but make it much lighter and then go over all that area in between those sections
that we just put in. I'm actually going to soften this horizon just a
little bit there. Pull that paint up
into that other color. Also, right here
between the legs, get some of that
white up in there. Go ahead and quit that step in, rewatch that section
if you need to, and then we'll move
on to the next.
16. Bison in Yellowstone Painting Class - Finish Painting in your Snow: Go ahead and pull out
that medium brush again. We're going to come
back into our bison now and put in some more layers. We're going to take our black again and mix it with the brown. Just go to make that dark chocolate brown again and adding just a hint
of blue to it. We're going to put that right
back over this layer again. Make some more of this
paint so I have enough. And just bring
another coat to it. Now while we're
using this color, we're going to do the
same for the legs. We're going to mix that color
again by taking the black, some brown, a little
bit more blue. This time we're going to
bring some white into it. We're going to make
this light color here, but we're going to do it
with the white now instead of having the canvas
showing through. You can see it's a bit
of a dark blue gray. Now I'm bringing
that into the legs. On this side as well. Make note too of the direction
that my brush strokes are going because this is
the direction that the fur falls on the body. So as I paint it in and be
mindful of the direction that the fur flows when
bringing out the brush strokes. A little bit more color
right in here and here. Go ahead and do this step. We'll move on to the next one.
17. Bison in Yellowstone Painting Class - Darkening the Nose and Horns for Dimension: Okay, go ahead and take out
your small pointing brush. We're going to take
our black with some blue here, mix
those together. We're going to come back
into these nostrils and just do another coat
just to darken them a bit. And also bring out
the mouth, too. Now I'm going to bring some just a hint of
brown into that color. I'm going to darken this
area right up in here. But the mouth there, and also the sides of the chin, setting it back in
a little bit more, giving it some shadow. Also going to do
the same here in the horns coming from the top. It's a little blue. I'm going to add just a hint
more brown to it. Just lightly bringing
that color down. We'll be able to bring out
some more highlights because I know that quickly
darkening away, but this just helps bring
out some of that texture. I'm just doing another layer
over that color like that. This is also the color we're
going to use for eyes. Revisiting that
area in the middle. Just going to do just a
little splotch right now. Then just very lightly darken this area around the eyes again so that it starts
to set in more. All right. Go ahead now and start doing this step and then we'll move on
to the next one. H.
18. Bison in Yellowstone Painting Class - Bringing Life to the Face in the Eyes, Mouth and Horns: So while his sections
are still wet, we're going to use
our small brush. I rinsed it off and cleaned it. I'm just going to
bring some white back into that color that
we're just using. This here is just going to
go just across the top here. A slight bit across
the top of the mouth. And then also right up
here in the horns on the inside and on the outside, just the outer edge. Same thing here, little bit on the inside and on the outside. Lastly, just going to
use it to just bring out a hint of the eye inside, another small little dot
of that color there. Then we'll be able to darken those eye sockets a bit more. In the next step. All right. So go ahead now and
work on those steps, and I'll meet you the next one.
19. Bison in Yellowstone Painting Class - Adding Highlighted Fur to the Back of the Bison: Okay, take out your
medium brush again. We're going to take our black
and mix it with that brown. Get that dark chocolate
brown again and we're just going to darken this section here one more time. Actually I'm going
to bring a little bit of blue into that just so it matches a bit more of the other
blue of the body. Just like that. I'm going
to rinse off that brush. I'm going to move into the
other color around it by taking my white and mixing a little bit of
that brown into it. This time, I'm going to
use just a hint of yellow. Well, that's too much
yellow, so just a hint. And some white that's too light. I'm going to take a little
bit more of my brown. Dark it down just a little bit. This goes on here in the size. I actually use my small
brush for this part because I think I can get a little bit more
of that detail in. The detail as I come back in, I'm going to break this
up just a little bit here so I can get some
nice fur texture. You can see how I'm using that
wet paint that I just did and just scrubbing it around. I get that nice n between the two and same going
down the sides here. Eaving just a hint darker
in those creases there. And this continues
down the sides. But just on the outer edge, we're out a different
color on the inside there. Same going around the horn and sticking to the outer
edges here, just like that. All right. Go ahead and do that and we'll move
on to the next step.
20. Bison in Yellowstone Painting Class - A New Layer of Texture in the Bison Hair: Okay. So I'm going to keep using that small brush I
gave it a good clean, and I'm going to
take my black and just hint of that brown and
some of that blue this time, a little bit of white
to lighten it up. I'm to do some more brown into that to get more
of a brown gray. And just here on the side of
the body, hugging the face, just bringing in some
shadow of that color, letting it lightly fade
out into the other colors. Same thing on this side. Shadowed area along the face, and then very lightly letting it just fade
into those other colors. Because I love using
the same color, making it easy on you, we're just going to
keep using that color, but we're going to
add some white to it and just a hint of red. Going to move up
into this area now. Doing another layer
here ting that color just fade down. Same thing here. Now for just a little
bit of highlight, adds more white to it
and it touch more blue. Make just a lighter
bluer version. That's going to hang out
right up here at the top. Give it some nice highlight there and a bit of
highlight there. All right. So go ahead
and do this step. If you need to
rewatch that section, please do so and we'll
move on to the next.
21. Bison in Yellowstone Painting Class - Painting Fur Details in the Face and Legs: Okay, we're going to keep
using our small point brush. We're going to take
our black and our white and make a medium
gray with some blue. So it's a medium blue gray. Touch it here on canvas. Make sure that S
that's too light. I'm going to darken it down. Maybe it's more of
a dark blue gray. Now we're going to put
in some furry details. I like to roll my
brush in the paint, helps roll it into a finer point and very light with
your pressure, you can get a finer
point from your brush. I'm going to start to bring out these long hairs here in the
face running down beard. It's darker right
under the chin, leave it darker there and light up the side of the
face towards the eyes. The side of the face, letting that color just fade
into the rest of the face. Now here in the
center of the face, it's a little seesaw back and forth from
the top of the nose. Is is going to help bring out more three dimensional form
in her face as we go up. You can see all these areas
now that I'm starting to fill in bringing out the hairs here that are getting frosted
from the cold weather. You can see the direction
of my brush strokes too. Feel free to rewatch any of
this and then do as I do. Mimic these brush strokes and the directions
that I'm going. In tinging the top but leaving some areas
of it still dark. Great. Now I'm going to
add just a hint more white to that color and do the same thing here in the legs bringing out these hairs
and fur going down legs. Again, copy the direction of these brushstrokes
that I'm going in because they start to curve inward as we go in. And then outward as we go out. Great. All right. There's
a lot in that step, so take your time with it and then I'll meet
you in the next step.
22. Bison in Yellowstone Painting Class - Learn to Paint Steamy Breath: You have some of
that color left, we'll continue using it. With our small pointy brush, you're going to use
some mist or I guess, I don't know, vapor
coming out of the nose from where
it's breathing out. I have very little pain on the brush and I'm just
very lightly touching my canvas to brush this in so very little
pain on the brush, very light delicate
brush strokes will help you get this very
light transparent effect. A slowly working the color out. As it goes out, it dissipates more into
the rest of the body. All right. I might
bring in just a hint more white closer in here just
so it shows up even more. Because the acrylics,
they do dry darker than you put them
on when they're wet. So it's nice to compensate
for that a bit. Okay. So go ahead and put
in that miss steam that is blown out and we'll move
on to the next step. I
23. Bison in Yellowstone Painting Class - Creating Snow on the Bison: I'm going to bring some
more white into that color. I'm going to keep working
with it because I. Now it's a light blue gray, and this is where I'm going to be able to bring out a bit of my snow that's crusted here
on the side of the face. It's a bit right here
on the top of the nose and into the face. So again, just note
where I'm putting this and then do
the same on yours. Me shun on the top of the head. Of course, some in the beard. So here, the legs, maybe on the side of the
body just a little bit. Wherever you think that
you want some of the snow. We're going to put
some more heavy snow down where the feet are too, but that's our next step. I'm going to take
my white now and just bring in it into black
just to make it off white. I'm going to put in
another layer going over the snow here helps
get rid of some of those black lines from the very beginning that we have if they're still
showing through, which mine are,
you can see them. Just
24. Bison in Yellowstone Painting Class - Adding in the Geyser and a Last Layer of White Snow: Looks like the video cut off
when I was in the middle of the painting process and you couldn't see the last
couple steps that I did, but I will tell you what I did. They were super easy. I added some more white here. I took my white, added
just a hint of black to it to make it an off white
and layer that in, so I got rid of those black grid lines and then brought some
of that up into here. And then I also brought
some of that up here and just some little
bits and blotches there. And then I took my white
and I put in the geyser. I used my medium brush and I pushed a line of white up here, and then I used a residual
paint on the brush to scrub that paint around into the background to give
it that nice misty look. And then lastly, I took my
small brush and I made that blue light blue gray again by mixing white with black
and some of the blue. I brought it into all
these little areas here. That's little bits of snow
that's collected on the first. So that's here in the legs, the beard, up the sides, sides of the face, in the face across the top
of the head in here too. Go ahead and do those steps. Rewatch this section if you need more of the
explanation again. And if there's something that I miss or you
have questions with, ask me in the comments. I'm so sorry hit missing that, I guess my cameras have a 20 minute timer and
I should know that. Anyway, go ahead and do that
and I'll be too an for.
25. Bison in Yellowstone Tutorial Closing with James Corwin: All right. That concludes our vice in painting.
How did it go? I would love to see what
you created, truly, so please send me pictures, and please subscribe,
follow along. Join me in a future class. I would love to paint with
you again. Thank you, sir.
 James Corwin, Professional Artist