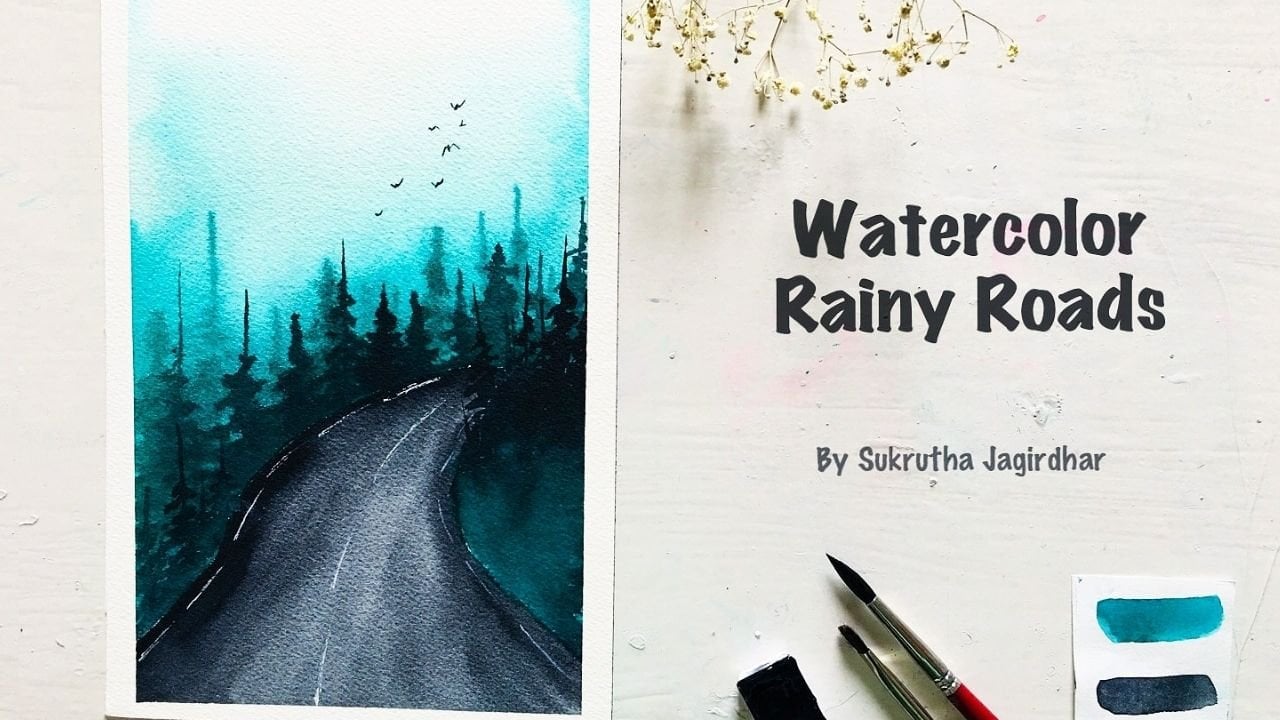
Misty Forest In Watercolor
 Sukrutha Jagirdhar, Watercolor Artist I Creative Entrepreneur
Watch this class and thousands more
Watch this class and thousands more
Lessons in This Class
-
-
1.
Introduction
1:38
-
2.
Understanding the Perspective
10:56
-
3.
Sketching and Art Supplies
2:56
-
4.
Setting up the Background
5:08
-
5.
Trees in the Background
12:22
-
6.
Trees in the Foreground
2:53
-
7.
Branches and Leaves
7:04
-
8.
Details and Final touches
4:51
-
9.
Thank you for watching
0:40
-
-
- --
- Beginner level
- Intermediate level
- Advanced level
- All levels
Community Generated
The level is determined by a majority opinion of students who have reviewed this class. The teacher's recommendation is shown until at least 5 student responses are collected.
1,102
Students
32
Projects
About This Class
Hello Everyone,
Today we will be learning how to paint misty forests
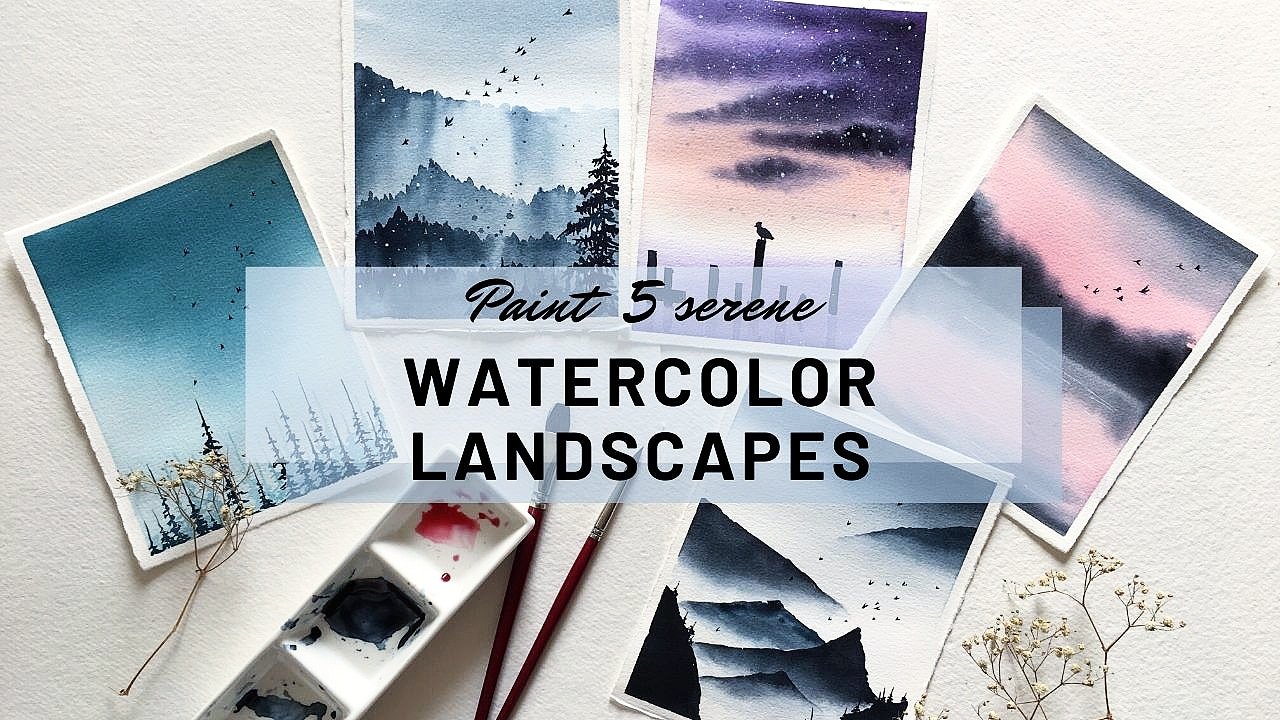
First we will discuss about perspective needed for approaching the forests.... slowly we'll move on to breaking down the landscape into background, foreground and branches and a few details..but not before we discuss a few tips..
with that we will conclude the lesson for today..
I hope you guys would find this carefully constructed class helpful...Thank you
Meet Your Teacher

Hello, Everyone
I'm Sukrutha, the artist behind @watercolors_by_sukrutha on instagram..
Paints & Papers have always fascinated me.. I have tried various different mediums over the years but none of them are as better an option as watercolor medium..the magical flow of paint on wet paper, the thrill of unpredictability, the magical soft end results were my final answer..!!!
I always challenge myself to explore and experiment different themes and subjects.. I share my thoughts on failures and successes equally on instagram..its all such an interesting process and my life with watercolors is always an adventure..:)
I teach watercolors privately, on my instagram profile as well as here on skillshare..i always look forward to share my passion of watercolor... See full profile
Hands-on Class Project
Misty Forest in Watercolor
Hello guys, i hope you finished watching the class..
Please UPLOAD your class projects here on the gallery and if you have any doubts, feel free to reach out to me..


Class Ratings
Why Join Skillshare?
Take award-winning Skillshare Original Classes
Each class has short lessons, hands-on projects
Your membership supports Skillshare teachers
Learn From Anywhere
Take classes on the go with the Skillshare app. Stream or download to watch on the plane, the subway, or wherever you learn best.


Related Classes