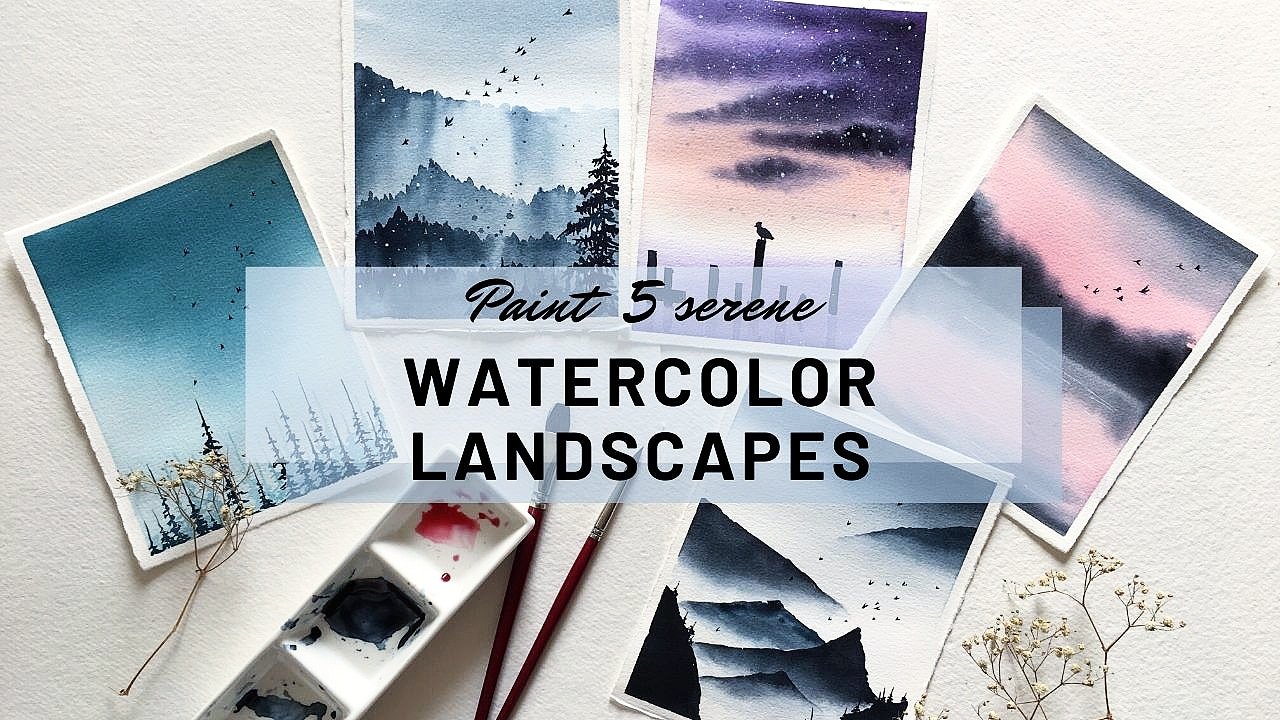
Watercolor Winter Landscape
 Sukrutha Jagirdhar, Watercolor Artist I Creative Entrepreneur
Watch this class and thousands more
Watch this class and thousands more
Lessons in This Class
-
-
1.
Introduction
1:46
-
2.
Art Supplies
3:16
-
3.
A Few Techniques
11:57
-
4.
Class Project - Sketching
1:40
-
5.
Class Project - Base Layers
7:09
-
6.
Class Project - Frozen Ground
2:41
-
7.
Class Project - Trees and Details
6:34
-
8.
Final Thoughts
1:42
-
-
- --
- Beginner level
- Intermediate level
- Advanced level
- All levels
Community Generated
The level is determined by a majority opinion of students who have reviewed this class. The teacher's recommendation is shown until at least 5 student responses are collected.
621
Students
31
Projects
About This Class
Hello guys
Happy November to all of you

Well, winters are here and being from a place where it doesn't snow..i always held snowfall and winters very dearly to my heart..that, i think, attracted me towards these winter landscapes..
then began the long process of learning,failing and learning again..after almost two months,,we are here..with this class..its mostly beginner friendly with all the tips and techniques to break down this complex subject in an easy step by step manner..
my favorite part was the thumbnail sketch..i hope you find this class useful ..
Love,Sukrutha
Meet Your Teacher

Hello, Everyone
I'm Sukrutha, the artist behind @watercolors_by_sukrutha on instagram..
Paints & Papers have always fascinated me.. I have tried various different mediums over the years but none of them are as better an option as watercolor medium..the magical flow of paint on wet paper, the thrill of unpredictability, the magical soft end results were my final answer..!!!
I always challenge myself to explore and experiment different themes and subjects.. I share my thoughts on failures and successes equally on instagram..its all such an interesting process and my life with watercolors is always an adventure..:)
I teach watercolors privately, on my instagram profile as well as here on skillshare..i always look forward to share my passion of watercolor... See full profile
Hands-on Class Project
I'm looking forward for your thoughts on this class
As well your class projects;;
Thank You for taking time to watch my class


Class Ratings
Why Join Skillshare?
Take award-winning Skillshare Original Classes
Each class has short lessons, hands-on projects
Your membership supports Skillshare teachers
Learn From Anywhere
Take classes on the go with the Skillshare app. Stream or download to watch on the plane, the subway, or wherever you learn best.


Related Classes