Transcripts
1. About the class: Hi, everyone. Welcome to this mini watercolor
floral class. My name is Lisa, and I'm a watercolor artist
from Malaysia. Floals are one of my
favorite subjects to paint. And in this fun and
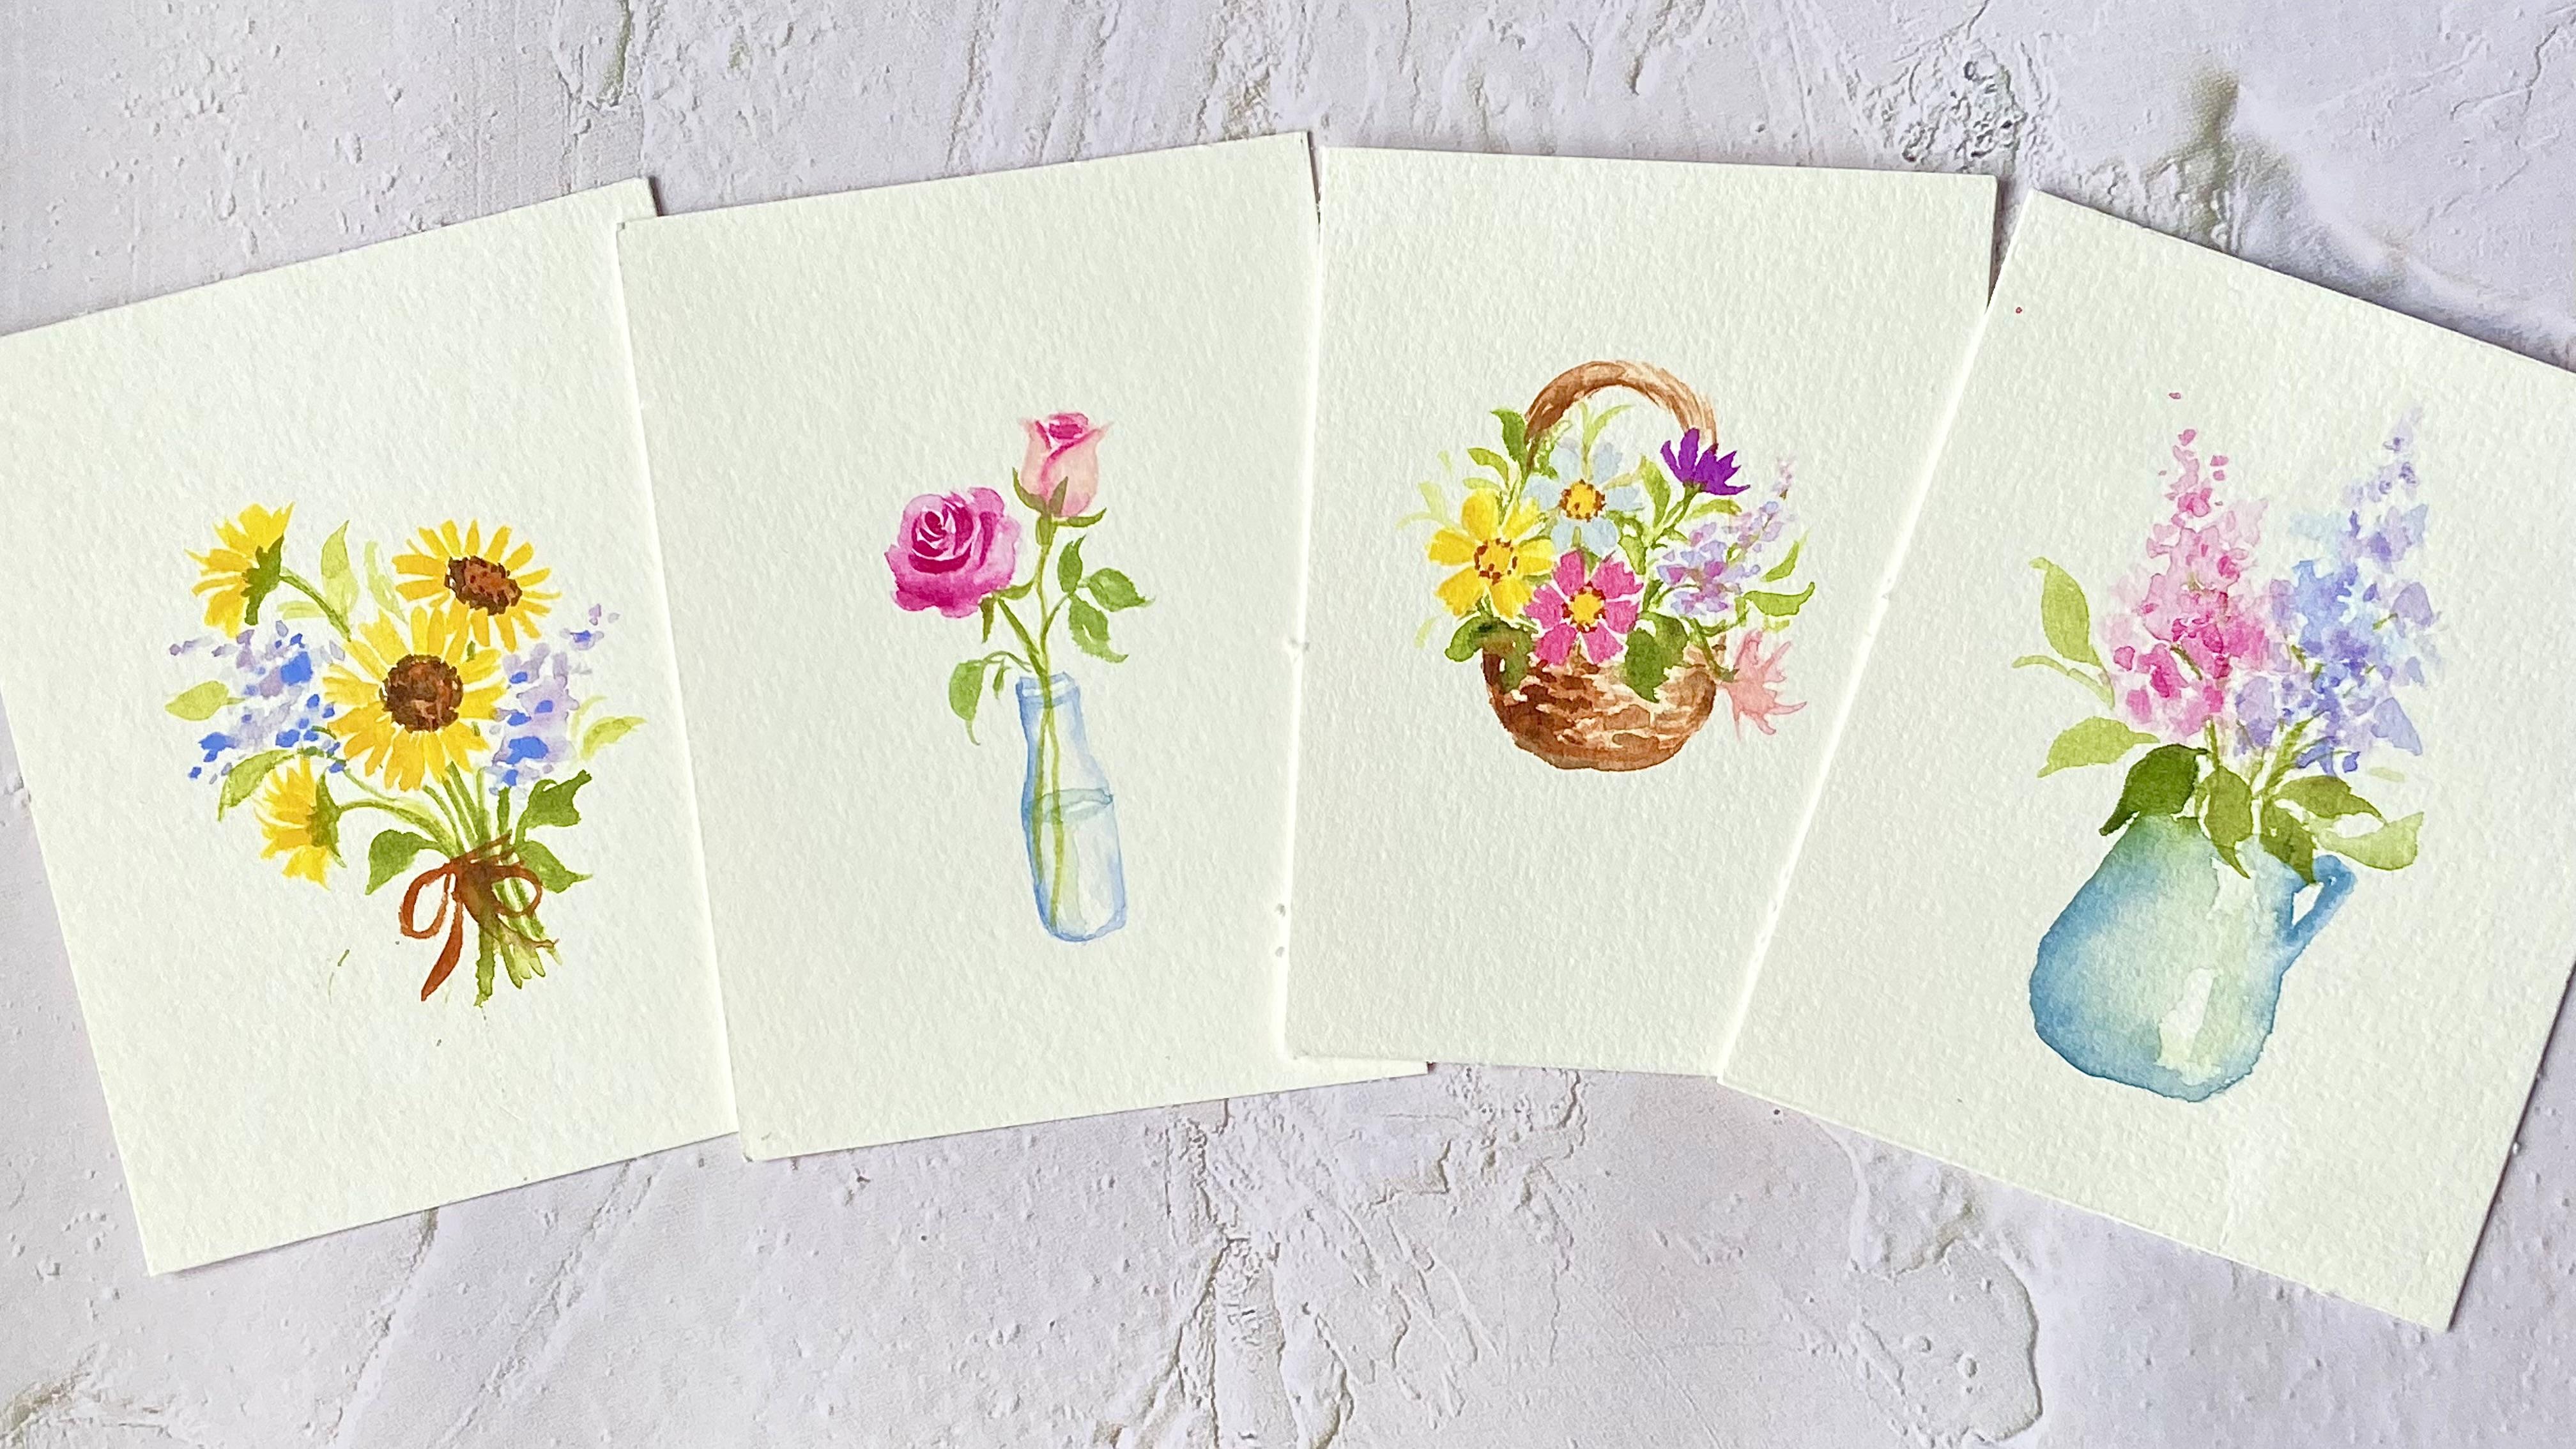
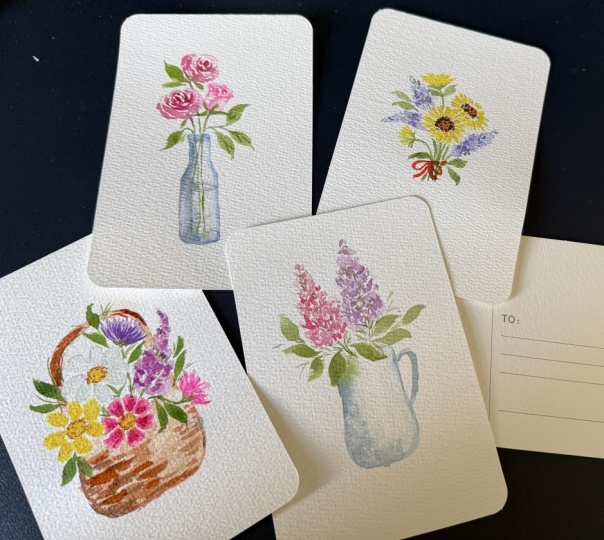
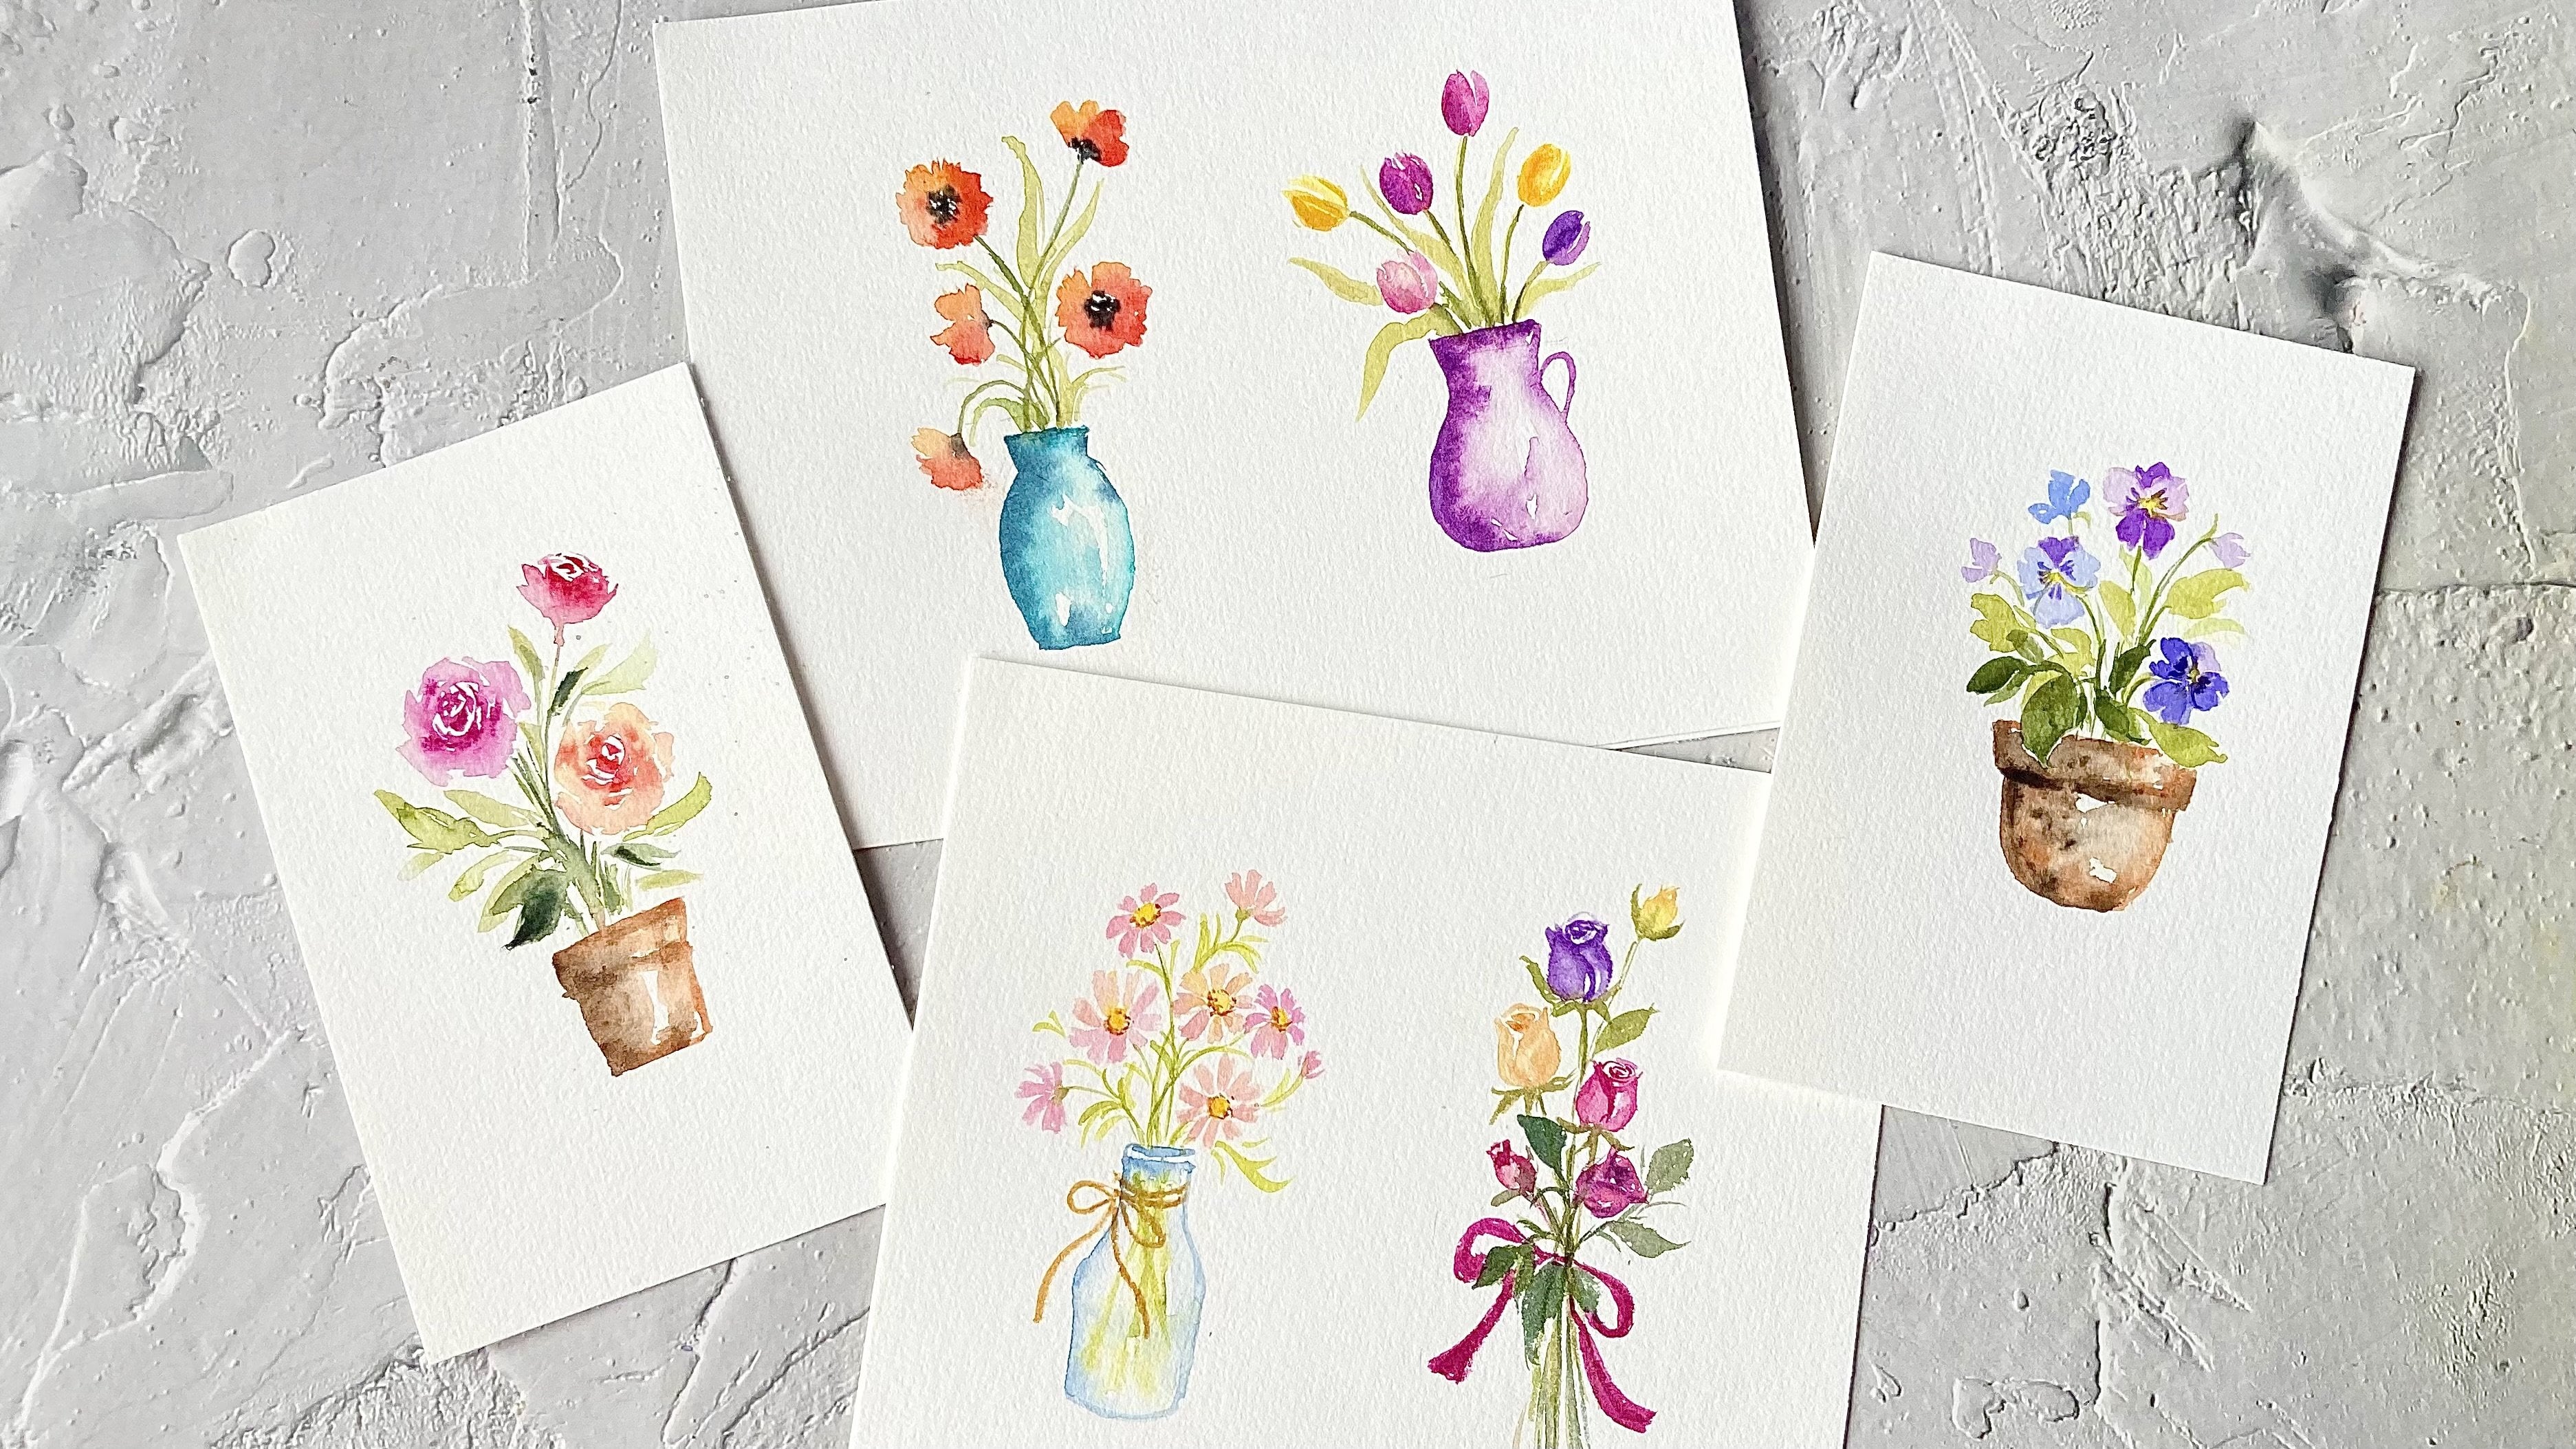
relaxing class, we'll be painting four lovely
floral projects together, a bright bouquet of sunflowers, some delicate lilacs
in a ceramic picture. Elegant roses in the glass vase and a colorful basket
of cosmos flowers. I'll walk you through the watercolor techniques
we'll be using. And throughout the class, you will learn how to build depth and dimension
in your flowers, as well as in the vases,
peaches, and baskets. By the end of the
class, you will have four lovely paintings that are perfect to display,
frame or gift. This class is suitable
for all levels, so grab your brushes
and let's get started.
2. Supplies Needed In This Class: In this class, I'll be using a 300 GSM cold press
watercolor paper. Now, if you don't
have a 300 GSM paper, you can also use a
lighter weight paper, such as a 200 GSM paper. For this class, we'll be
using small round brushes. Any size 0-3 will
work just fine. We'll also need
some clean water, some paper towels to remove excess paint and
moisture from our brush, and a palette for mixing colors. For paints, a basic set of watercolor paints
will be enough. I'll list the specific colors used in each individual lesson.
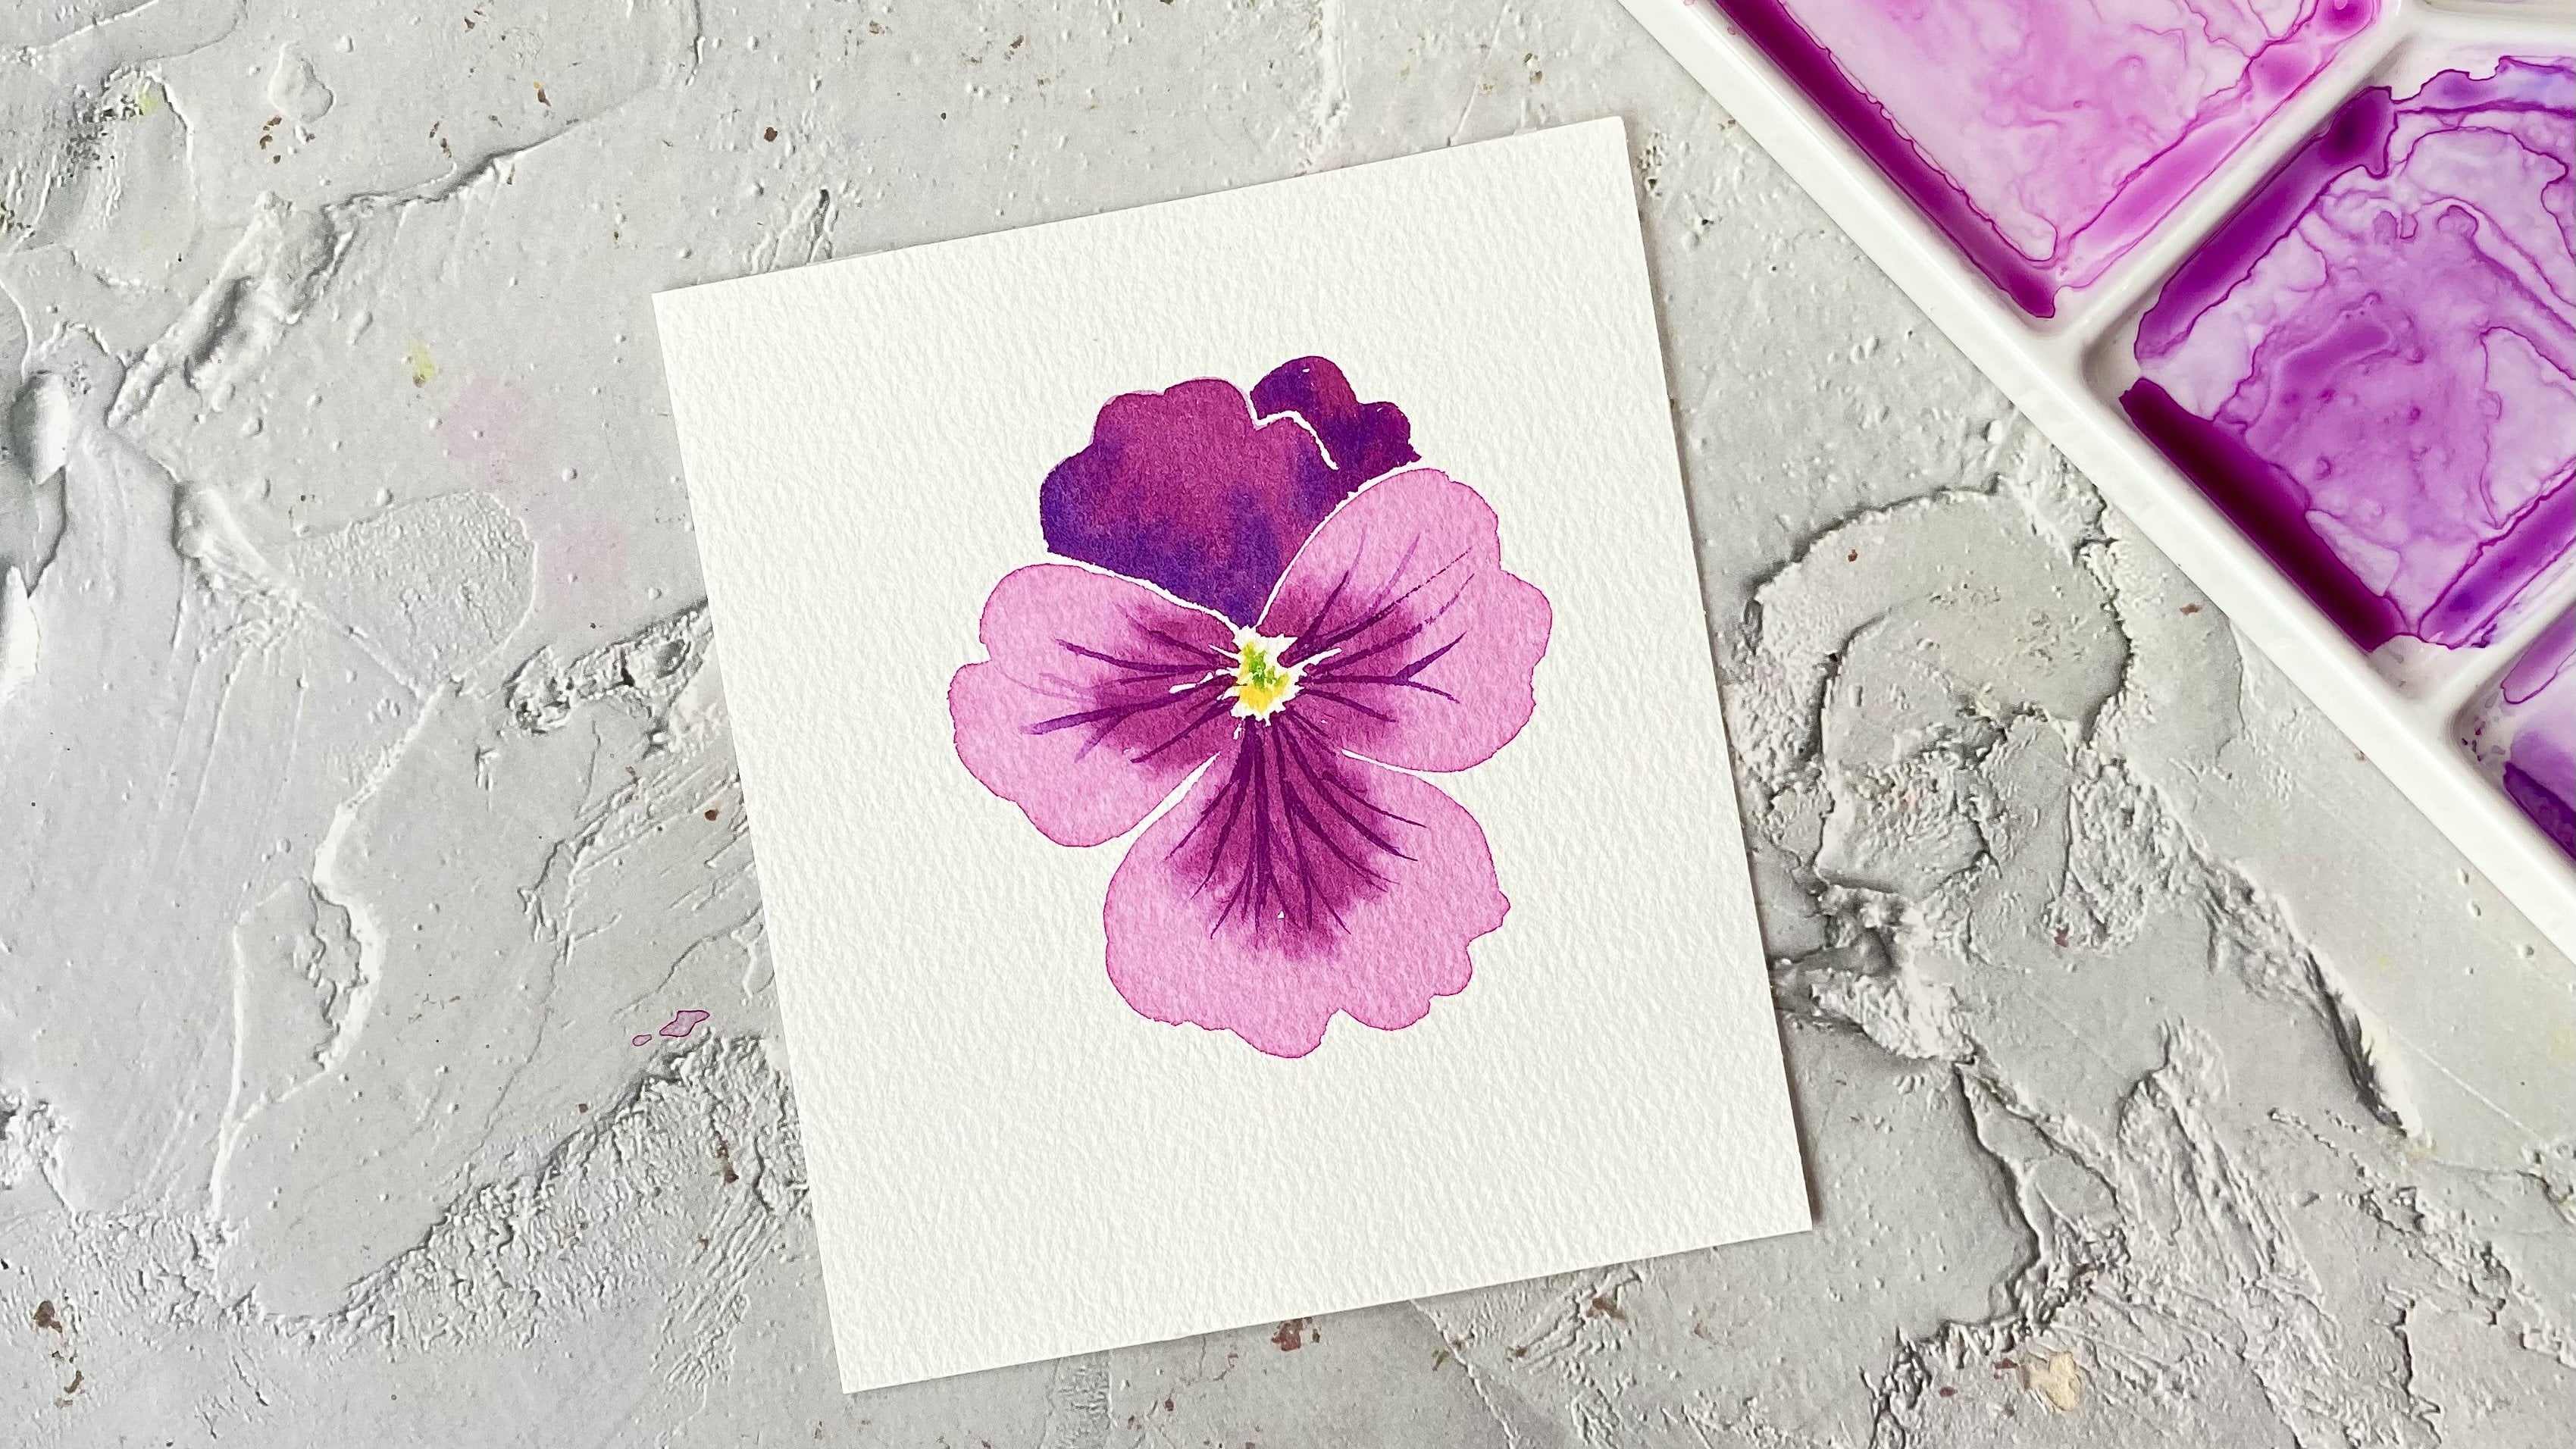
3. Before We Begin: Before we begin, let's go over the watercolor techniques
we'll be using in this class. Let's start with the
wet on wet technique. This technique involves
applying wet paint onto wet paper to create a
soft diffuse effect. I'll begin by wetting a
small area with clean water, making sure there's an
even shen with no puddles. Now I'll drop in some violet. You can see how the color
blooms and spread softly. Next, I'll use a thicker
mixture of violet. You can see the color still
blooms, but not as much. So the thicker the
paint consistency, the less it spreads
on wet paper. Now, this technique is
perfect for creating soft shadows on
vases and pitches. Now let's move on to
the next technique, which is blending or
softening an edge. I'll apply a stroke
of wet paint. And while this is still wet, I'll use a clean damp brush
to gently soften one side. Now, it's important to
do this while the paint is still wet because
once it dries, you won't be able to
blend the edge smoothly. So by lightly pulling
the pigment outward, we create a soft transition
from dark to light. This technique is useful
for adding depth and dimension to the curved surfaces
of our vast and picture. Now, the last technique
is the lifting technique. Here I'll use a clean
damp brush to lift or remove paint from the paper,
creating a highlight. This can also be used
to correct mistakes, but it only work if the paint isn't fully
dry on the paper. So practice each technique before moving on to
the floral projects. Now, if you want a
more detailed lesson on using these techniques
to paint vases, do check out my other mini watercolor floral class where I show step by step how to paint a glass vase and a ceramic vase. The same methods and
techniques apply here when we paint
our vase and picture.
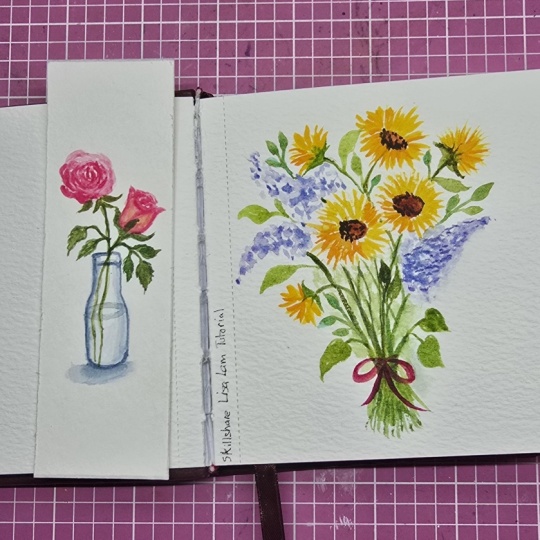
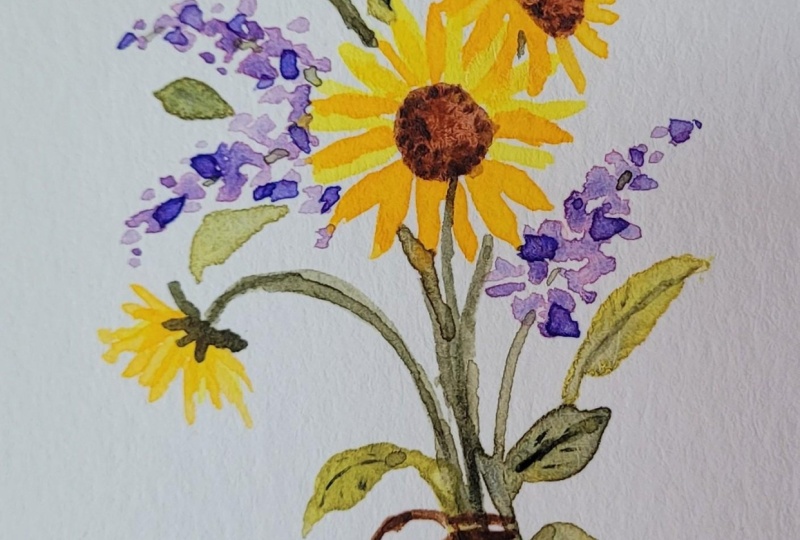
4. A Bouquet of Sunflowers : In this lesson,
we'll be painting a lovely bouquet of sunflowers. These are the colors
I'll be using today, but feel free to choose any
similar shades you prefer. In this bouquet, we
are going to include sunflowers from a few
different angles. We'll start with the
front facing sunflower, and then we'll paint
another one that's slightly tilted facing the
upper right corner. All right, we'll begin with the flower centers
for both sunflowers. I'm using burnt sienna
for the centers. For the sunflower that's
tilted at an angle, I'll paint the flower center as an oval shape to
suggest perspective. Now let's move on to the petals. I'll start with some
primary yellow. And then I'll add some
permanent yellow deep to vary the tones of the petals. These two different
yellow tones will make the sunflower look more
vibrant and dimensional. Next, we'll add the petals
for our second sunflower, which is just behind our
front facing sunflower. Okay. Now let's add some
texture to the flower centers. So here I'm just
using the tip of my brush to add
little dots of sepia. All right. Now let's
move on to the stems. We'll add two more
side sunflowers to complete the bouquet. One on the upper left corner. And another one
bending to the left. All right. Once that's done, I'll paint the base of the
flowers and add some samples. I also add a few more petals
to make them look fuller. Okay. Now to complete
the arrangement, let's fill in the bouquet
with some lavender flowers. Since violet and yellow
are complimentary colors, adding them will balance and enhance the warm yellows
of our sunflowers. I'll be using lavender
and a mixture of violet and lavender
for these flowers. So I'll switch between these two mixtures as
I paint the lavenders. I'm just using the tip of my brush to add little depths of colour while leaving some
white spaces in between them. We'll paint two more
lavender flowers on the left side to create
balance in the composition. Now, to add a bit more contrast, I'll use a thicker mix of lavender and add little
depths here and there. And then I'll fill
in the shape with the violet and lavender mixture. Now, let's add a
few more depths of saturated lavender to create
contrast in our lavenders. Alright, now that our
flowers are complete, let's paint the stems
and add some leaves. I'll vary the total values of my greens to create some
darker and lighter leaves. This creates a sense of
depth in the bouquet. To finish off the bouquet, let's paint a twine, wrapped around the stems, and tied in a bowl. Okay, so this completes
our sunflower bouquet. Thank you for painting with me, and I'll see you in
the next lesson.
5. Lilacs in a Ceramic Pitcher: In this lesson, we'll be
painting two sprigs of lilac flowers arranged
in a ceramic picture. So here are the
colors I'll be using. Now, if you don't have
the exact same colors, feel free to use any similar
colors from your palette. Okay, so we're
going to start with the pink lilac
sprig on the left. Using a watery mix
of permanent rolls, I'll start by adding
little depths of colour to suggest the
overall shape of the lilac. I'll leave a few white spaces in between to keep
it light and airy. And while the pin is still damp, I'll pick up a thicker mix of permanent rolls and add a few
more depths here and there. This creates variation
and dimension, keeping the cluster
from looking flat. All right. Now we'll paint the second lilac
spread on the right. I'll start with a watery
mix of cobalt blue. And just like before, I'll make light depths on the paper to form the
shape of the lilac. So again, I'm leaving some
white spaces in between. Next, I'll switch
to a watery mix of violet to add some
color variation, and I'll use this to complete the cluster while still keeping those white
gaps unpainted. And while the paint
is still damp, I'll pick up a thicker mix of violet and using just
a tip of my brush, I'm going to add in
tiny depths here and there to suggest shadows and
add dimension to the flower. Okay. Now let's add a few tiny stems within our lilac bricks. So I'm just painting
tiny strokes between the blossoms to
connect the clusters. A Alright, now let's paint some leaves at the bottom and along the
sides of our lilacs. So feel free to use any greens. I'll vary the tonal values of my green so that I'll have some lighter
and darker leaves. This will give the painting
more depth and interest. Now, you can also vary the size and shape of
your leaves to make them look more natural and balance within
the composition. Okay, now let's move on
to painting the picture. So with a watery
wash of cobalt blue, I'll just slightly
outline its shape. Then using a clean damp brush, I'll soften the edges and leave a highlight to suggest the light reflecting
on the surface. Next, I'll paint the handle. And while the picture
is still wet, I'll drop in a touch
of indigo along the left edge to create some shadows and to
give it more dimension. So here I'm using the
wet on wet technique. I'll also drop in a little
bit here on the right. Since we assume the light
is coming from the right, I'll add a little
bit more indigo on the left to create
subtle shadows and form. I'll also tap in a few shadows on the handle to
give it more depth. Alright, we'll let the pitcher
dry, and once it's ready, we'll add a few more leaves near the top to complete
the arrangement. Now, let's go back
to our lilac bricks. Since they are already dry, I'll deepen some of the shadows to enhance dimension
and contrast. I'll tap in a bit of
permanent rose on the pink lilac and a touch of violet on the lavender one to
make the blossoms pop. Okay. Now for the final touches, I'll darken this
leaf here and add a few more around the edges to
balance out the composition. Now at this stage, the
picture is already dry. All right, so this
completes our painting. I hope you had fun
painting along, and I'll see you in
the next lesson.
6. Roses in a Glass Vase: This lesson, we'll be painting some lovely roses
in the glass vase. These are the colors
I'll be using today, but feel free to use any shades
you love for your roses. Now, we'll be painting
a rose that is slightly tilted
like this one here. Because of the
angle of this rose, some of the petals at the
back are partially hidden, while the ones in front
are more visible. We'll paint this rose facing
the upper left corner. All right, let's
begin. I'm starting with some permanent rose
straight from the pen. I'll begin by painting
the center of the rose. And then I'll add a few overlapping curve
strokes just below it. These will suggest the
shadows between the petals. Next, I'll use a
diluted mixture of permanent rolls to build the
overall shape of the rolls, leaving a few small gaps here
and there for highlights. Now to give the rose
more form and depth, I'll add a few shadowed areas and then I'll gently
lift some color on the right side to create
a soft highlight. We're assuming that the light
is coming from the right. Now let's add a few samples at the base of the rose,
followed by a stem. Okay. Now let's move on to
painting the glass vase. So here I'm using a very
light and watery mixture of ultramarine blue to outline
the shape of the vase. And then with a
clean then brush, I'll gently soften the edges of this outline to create that soft transparent
look of glass. And while the paper
is still wet, I'll drop in a bit of indigo
along the left edge of the vast to suggest the subtle shadows and
depth of the glass. Now, while waiting
for the vast to dry, let's paint our second rose. I'm going to grab
some opera rose. And I'll paint a few short
strokes for the center, leaving some small
gaps in between. Then I'll add a curve line here to suggest the folded
edge of a petal. Next, I'll use John Brilliant to fill in the overall
shape of the rose. Now, while the
paint is still wet, I'll drop in a bit more opera rose to create
some soft shadows. This will add volume
and depth to the rose. A Okay, now let's paint the stem and add a few small samples at the base. And to complete these roses, we'll add some simple leaves
to balance the composition. All right. Now that
the vast is dry, let's paint the water level. And we'll also add a
few subtle shadows to give the glass
more dimension. I'll leave a small highlight in the center to suggest the
reflection on the glass. All right, and that's
it. Our lovely rose in the glass
vast is complete.
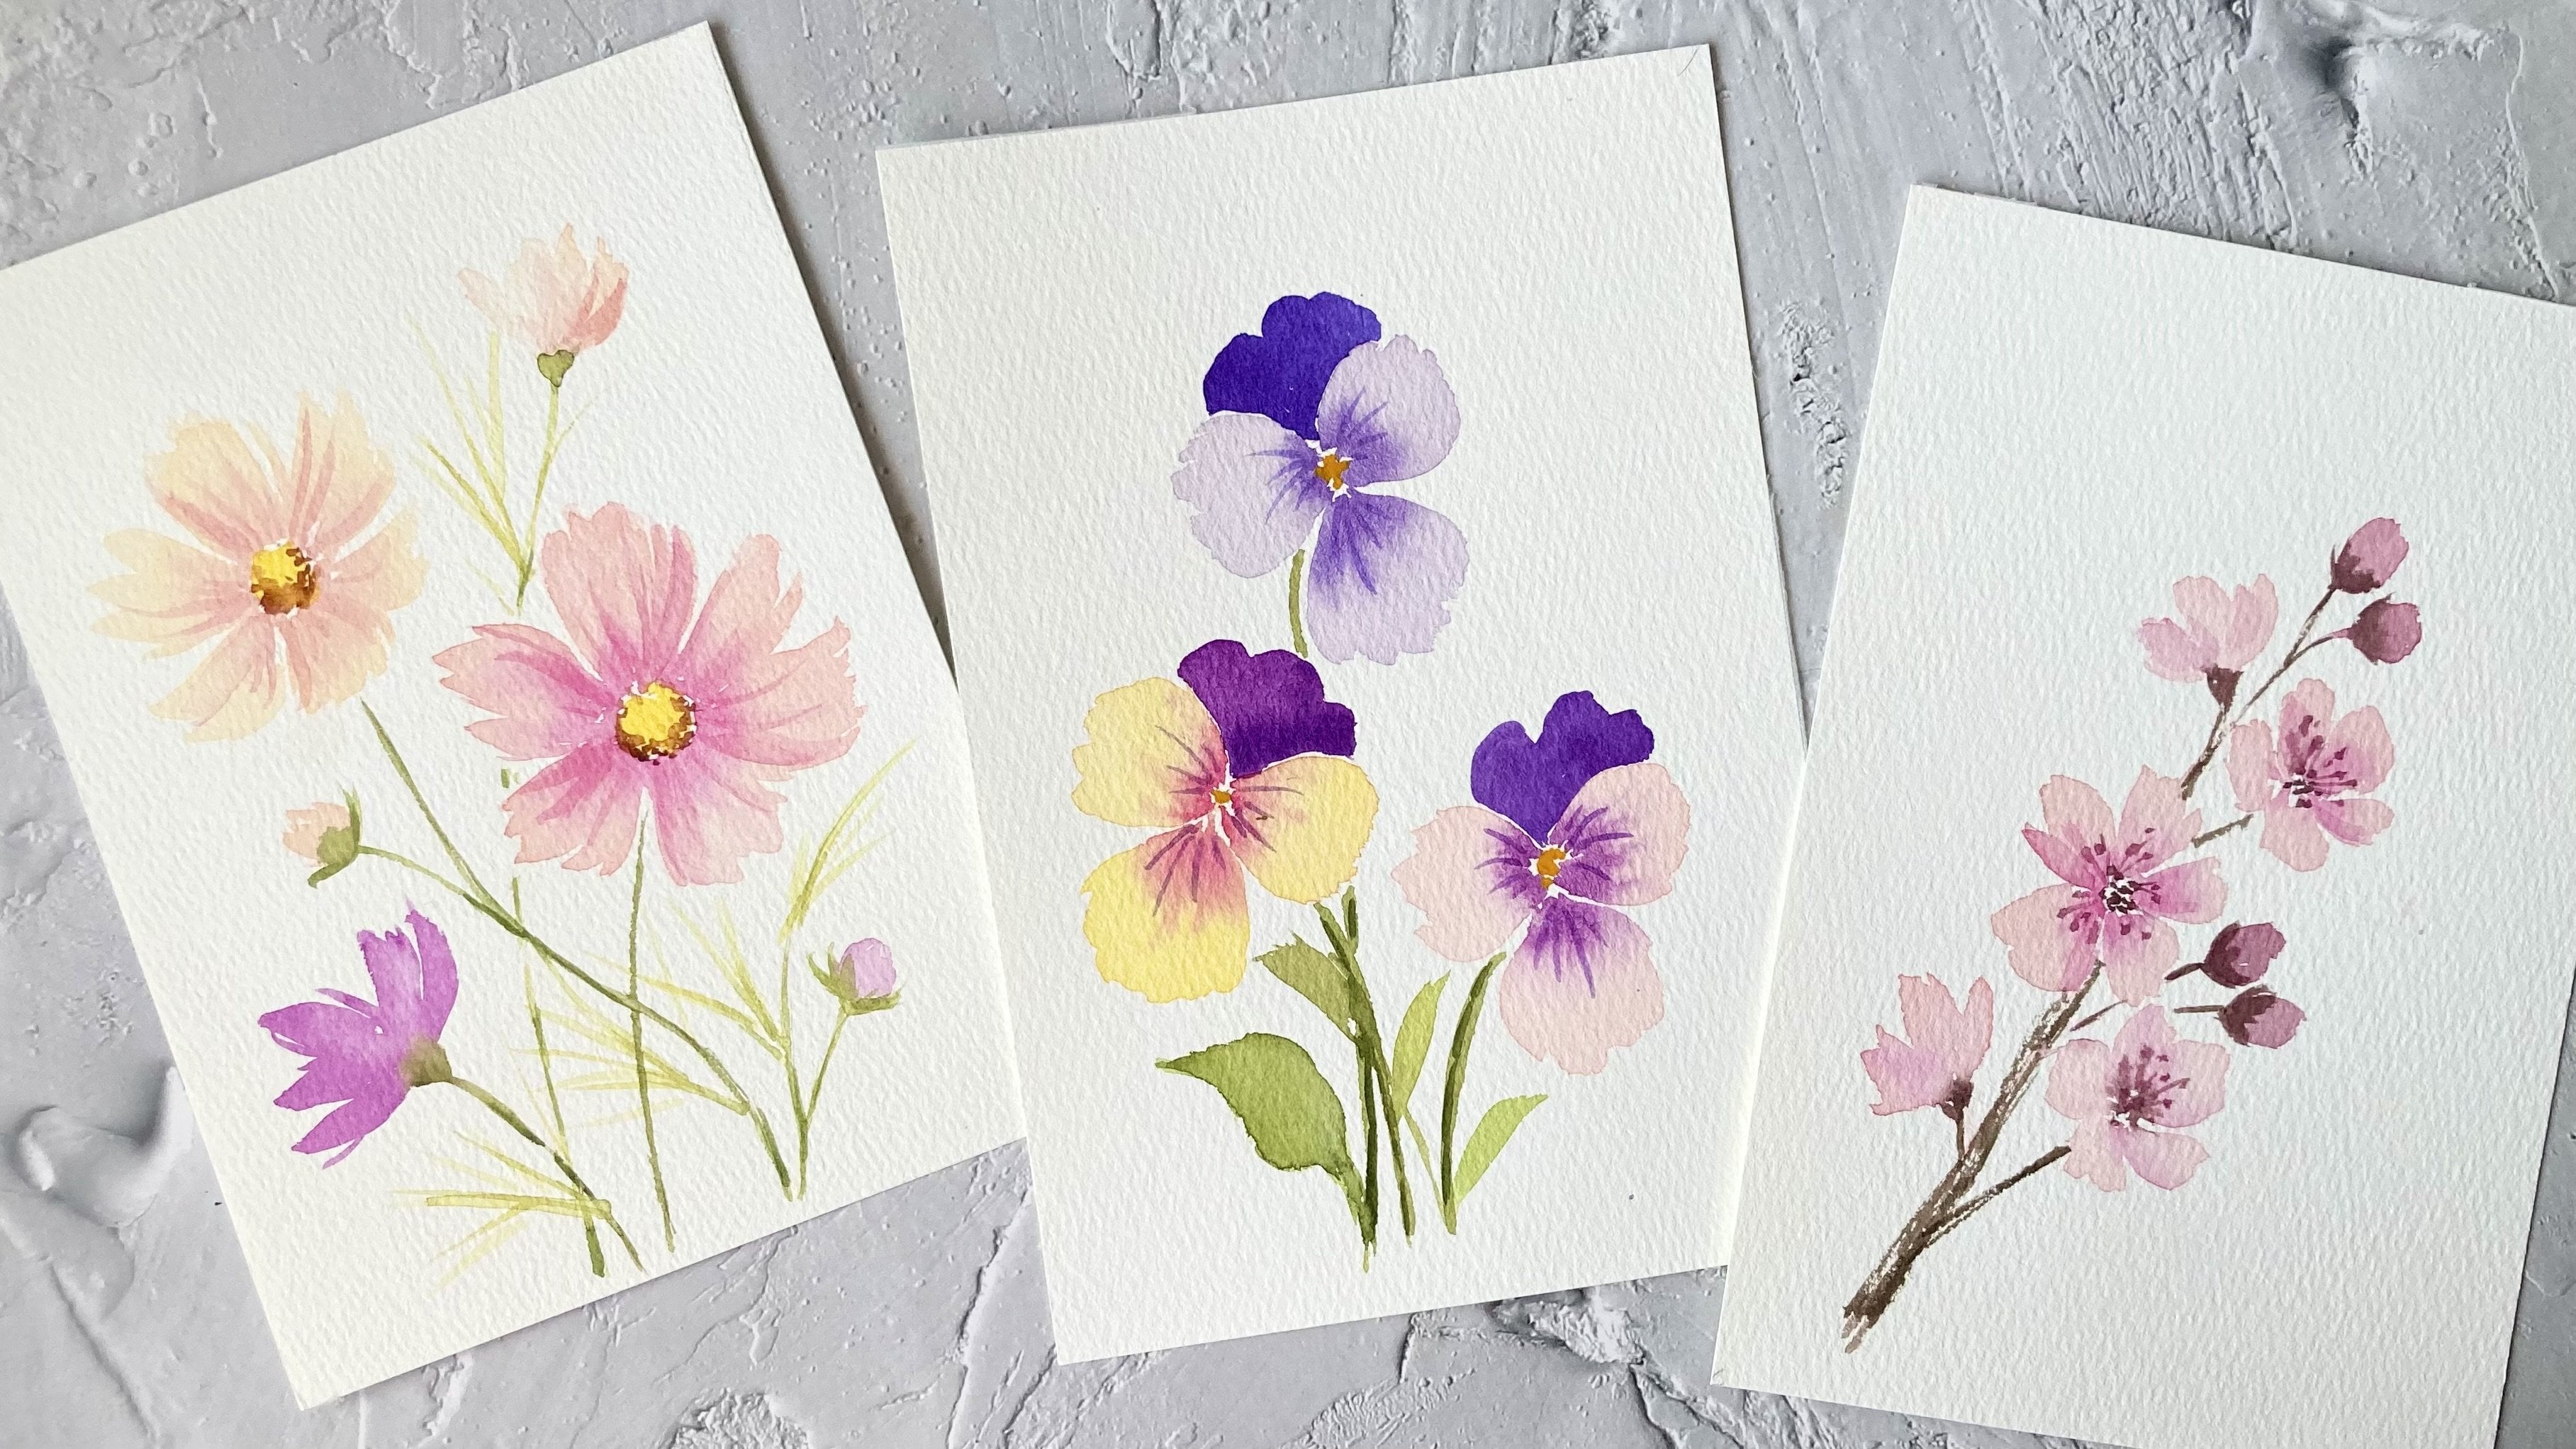
7. Cosmos Flowers in a Basket: In this lesson,
we'll be painting a lovely basket of flowers. These are the colors
I'll be using, but feel free to use any colors you prefer
for your flowers. Alright, so we're
going to start by painting some cosmos flowers. We'll begin with
the flower centers. I'm using permanent yellow deep. For our first cosmos, I'll paint the petals
using primary yellow. Now, since this
looks a bit pale, I'll add a bit of
permanent yellow deep into my yellow mixture to
darken the petals. For our second cosmos flower, I'll use permanent
rolls for the petals. Since the cosmos petals
have slightly jagged edges, I'll combine thin strokes
to form each petal. Okay, now let's move
on to our last cosmos. I'll paint a white cosmos flower using a watery mix of indigo. A Next, I'll dab in a touch of
burnt sienna around the yellow centers to create that speckled texture you
often see on cosmos flowers. This adds warmth and a more natural realistic
look to the flower centers. Okay, now let's move
on to the basket. I'll use a light wash of burnt sienna to draw the
outline of the basket. And then fill in the
shape with some color. Now that our cosmos
flowers are complete, let's start filling
up the arrangement with a few more blooms. I'll add a side flower on the upper right
corner using violet, but feel free to use
any colours you prefer. Next, I'll paint a lavender
light filler flower using lavender and lilac tones. I'll start with a light wash
of lavender and then I'll tap in a bit of lilac while still leaving
some white spaces. Now, I'll just add a stem to our side flower and
also to the lavender. To balance the composition, I'll paint another side flower bending towards the
lower right corner. This time in pink to bring
in some color variation. All right. Now let's
add some texture to the basket to make it
look more dimensional. Using burnt sienna, I'll make
small uneven strokes while leaving a few white spaces in between to suggest
the woven texture. We'll start with a
light wash first, and once it's dry,
we can come back and layer a darker
tone for more depth. Okay. Now to complete
the arrangement, I'll add some leaves. I'll vary their
tonal values, size, and shapes to make the bouquet look more
natural and appealing. I'll paint some larger leaves at the front and some smaller and lighter
leaves at the back. Next, I'll paint a basket handle using a light wash
of Brant sienna. Then I'll add some texture with a slightly darker tone to
suggest a woven pattern. Okay. All right now
that the basket is dry, we'll deepen the shadows by
adding some short strokes of BurnsienaFocusing mainly
along the left edge and just a little
on the right edge, since our light source is
coming from the right. I'll leave a highlight area in the center to suggest
form and dimension. All right, now let's fill
in those small gaps between our cosmos flowers
with touches of green to better
define their shapes. Okay. I'll also add a few stems here and
there to complete the composition and tie
everything together. Okay, now for the
finishing touches, I'll use a bit of sepia to add shadows on the
basket and handle. Since our light is
coming from the right, I'm focusing most of the
shadows on the left side. I'll paint shot broken strokes, and I'll leave some
gaps between them. This helps give the basket
more texture and depth, making it look less flat
and more dimensional. Alright, and that completes
our final lesson. I hope this has inspired
you to keep painting, experimenting with colours, and creating your own unique
mini floral pieces. Thank you so much for joining
me and happy painting.
8. Final Thoughts: Congratulations on
completing the class. I hope you had fun painting these mini watercolor florals and gain some new
skills along the way. Now, if you have any questions, feel free to post them in
the discussion section, and I'll get back to you
as soon as possible. I would also love to see
your class projects, so please upload them to the project gallery so that I
can give you some feedback. I would also really
appreciate it if you could leave a
review for this class. So thank you so much
for joining me, and I hope to see you
in my next class.
 Lisa Lam, Watercolor Artist