Transcripts
1. About The Class: Hi, everyone. Welcome
to this class. My name is Lisa, and I'm a watercolor artist
from Malaysia. In this class, we'll be creating five lovely and festive
Christmas cards together. We'll start by going over
the supplies you need, and I'll also introduce the watercolor techniques
we'll be using in the class. Then I'll guide you step by
step through each project, keeping it simple and
enjoyable to follow along. By the end of the
class, you will have five lovely Christmas
cards to share with your loved ones or add
to your holiday decor. This class is suitable
for everyone, whether you're a
beginner or someone looking to create lovely
handmade Christmas cards, you're sure to learn something new and have fun along the way. So grab your brushes and
let's start painting.
2. Supplies Needed For This Class: Alright, let's go
over the supplies you'll be using in this class. Starting with paper, I'll
be using 100% cotton, cold press watercolor
paper in 300 GSM. I've cut them into
smaller pieces, roughly half the size
of an A five sheet. Now you can also use
a 200 GSM paper. We'll be using round
brushes in this class. I'll be working with
a range of sizes 2-8, but you don't need this many. A small round brush
in size one or two, and a medium brush in size
six or eight will be perfect. I'll also be using a
few detail brushes. But if you don't have these, you can easily use the tip of your round brushes to
add small details. We also need a paper towel to blot excess paint and water, a palette for mixing colors
and some clean water. For paints, any basic set of 12 watercolors will be great. I'll list out the specific
colors for each project, but feel free to substitute with similar colors or use
your own favorite colors.
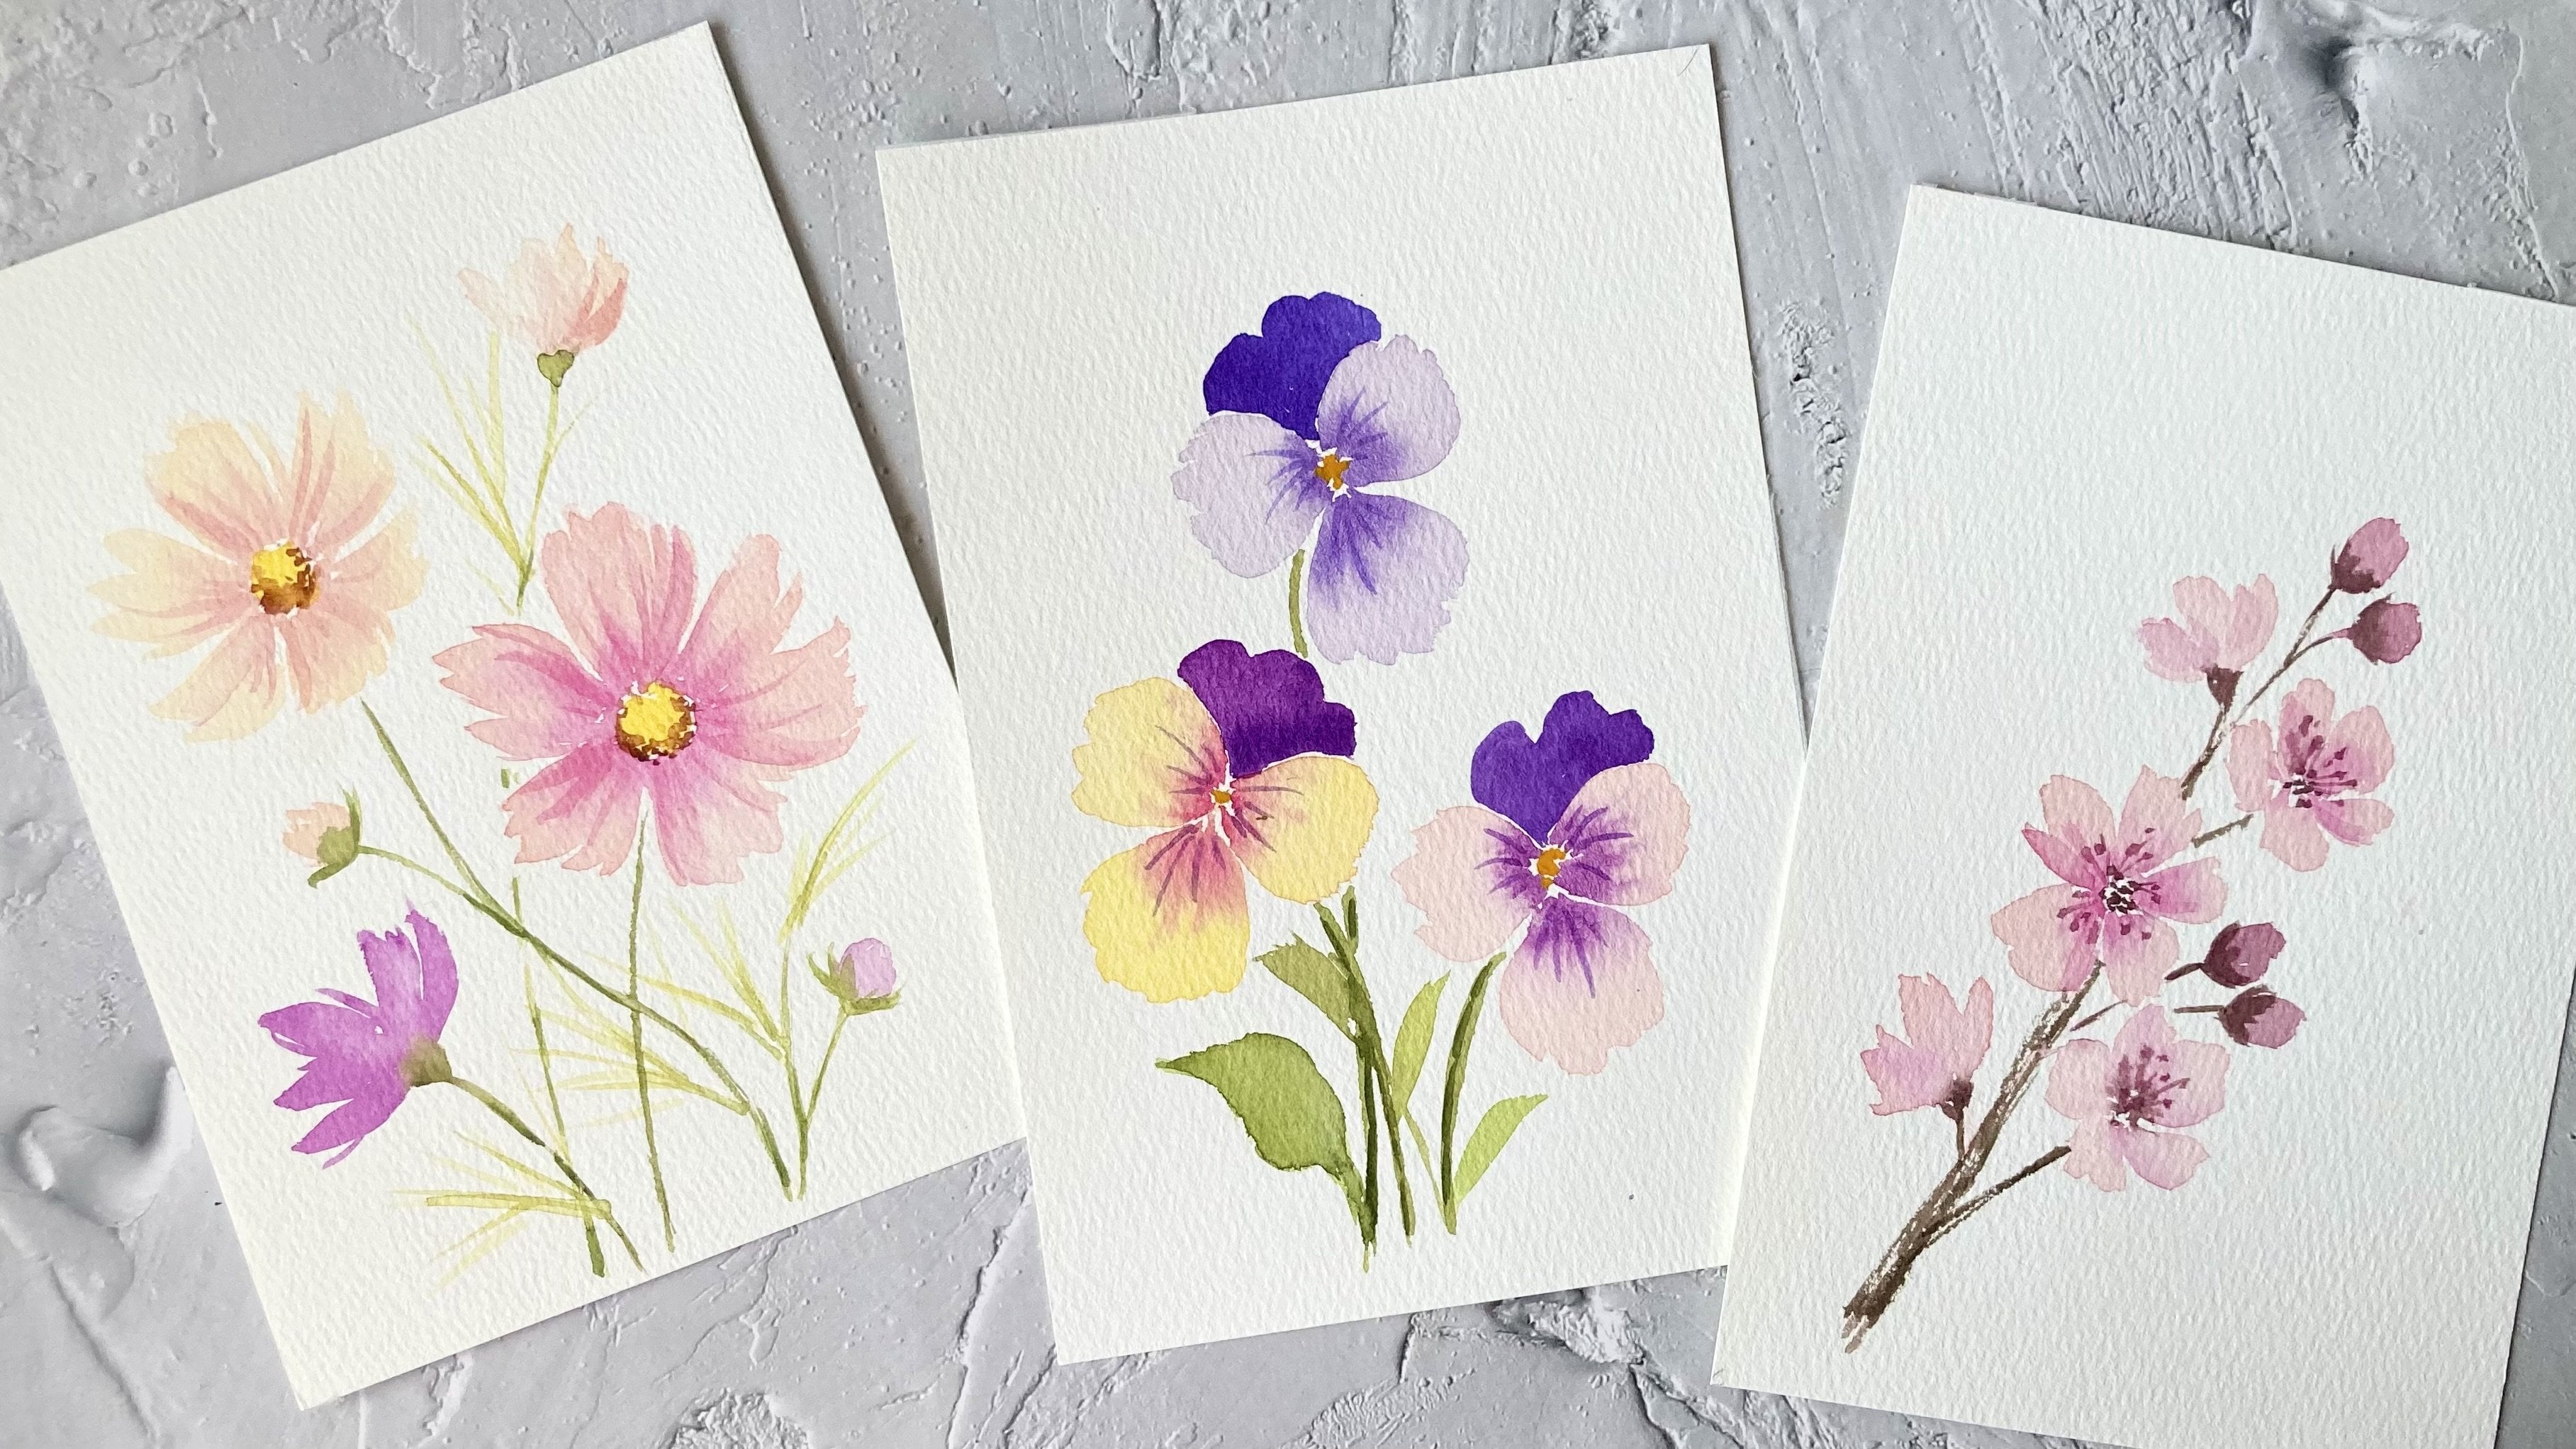
3. Watercolor Techniques: Alright, so in this lesson, we'll go over the watercolor techniques we'll be
using in the class. The first technique is
the wet on wet technique. This involves applying
wet paint onto wet paper. The paper can either
be pre wetted with clean water or
a wash of color. When we apply paint
on wet paper, the color spreads, creating
a soft blurry edge. So to demonstrate, I'll apply a thick mix of red to the
wet paper and show how it spreads followed by a
more diluted red mix. H. So as you can see, a thicker mix will spread less, giving us more control
over how much it spreads, whereas a diluted mix will spread further
and more freely. So this difference
in spread can be useful for creating various
effects in your painting. For example, in
this flower here, I use a concentrated
mix of indigo to keep it from spreading too
much across the wet petals. And for the stripes
on this stocking, I use a thick mix
of pink to prevent the color from spreading too much and covering
up the base layer. Now the next technique is using clean water to blend
out the color, creating a smooth transition between different tonal values. To demonstrate, I'll
paint a red stripe. And while it's still wet, I'll use a clean damp
brush to blend the color, gently pulling it out to create a smooth gradient from the
red to a lighter shade. Now, this technique
is great for creating smooth transitions between different tonal values
of the same color. It helps achieve a
soft gradient effect, making the light and dark
areas blend seamlessly. For example, in this
mark of hot chocolate, I use this technique to
semlessly transition from the darker areas of the mark
to the highlighted areas, giving it a soft realistic
look with smooth shading. So now that you know
how to use the wet on wet technique and
clean water blending, you can apply them to your own paintings to create beautiful, smooth transitions and control
how your colors spread. So take some time to practice these techniques and don't be afraid to experiment with
them in your own artwork.
4. Berries & Holly Leaves: I in this lesson, we'll be painting some festive
berries and holly leaves. I'll be using these colors, but feel free to use any reds and greens
from your palette. I'll start by painting the
main stem and then add some smaller stems branching out from it using olive green. Next, I'll load my brush with metallic red light and
begin painting the berries. I'll leave a small highlight on each berry to create
a natural reflection, which adds dimension and
prevents them from looking flat. A to create depth, I'll mix a little green into my red mixture to add subtle
shadows on the berries. Then I'll connect these
berries to the stem. Okay, now let's paint some
berries on the right. And then I'll add some shadows while the pin is still wet. Now let's attach a
stem to each berry. Alright, now let's add some berries here on
the lower left stem. A Okay. Now I'm going to darken the
stems with some olive green. Alright, now let's paint
some holly leaves. I'll start with one on the
lower right using olive green. I'll touch the wet berries
to allow some of the red to bleed into the leaves to make
it look more interesting. And then I'll paint
another leaf on the left, using a darker green
for depth and variety. Next, I'll add two more
holly leaves at the top, starting with the
outline of each leaf. And then I'll fill one with olive green and the other
with a darker green. Finally, I'll add a smaller leaf on the lower left
behind the berries. I'll use olive green
for this leaf. Next, I'll add a central vein to each leaf and I'll outline them to make
their shape more defined. All right, now that
the berries are dry and the color has
faded quite a bit, I'm going to add another
layer of red to some of them so that they'll stand
out against the leaves. Now, let's add some
shadows on the berries. For the final details, I'll darken the
outline of the leaves. Okay, I'm going to add
another layer of green on some of the leaves to make
their color more intense. So I'm just adding another layer of olive green to
the lighter leaves. All right. I hope
you have enjoyed painting these berries
and holly leaves. Thanks for joining me, and I'll see you in the next lesson.
5. Christmas Stocking: In this lesson,
we'll be painting a Christmas stocking with
two presents tucked inside. I'll be using these colors, but feel free to choose any colors you like
to make it your own. Okay, I'll start by sketching
the stocking lightly. Here's a clearer sketch for you. Feel free to pause the video while you create
your own sketch. Now, I'm going to lighten
my sketch with an eraser. Then I'll add the
heel and toe section. Now let's begin by filling in the main part of the
stocking with shell pink. I'll leave the heel and
toe sections unpainted. After that, I'll paint the two presents in
shell pink and green. Al right now, I'm
going to fill in the hue and toe section
with some green. Now, you want to make sure that the pink
fragment is already dry to prevent any green from
bleeding into that area. Now, we are going to paint a poinsettia flower
on the stocking. So for the first
layer of petals, I'll mix shell pink with a
bit of metallic red light. I'll start by adding small dots of yellow ochre for
the flower center. Then I'll paint
the petals varying their size and shape and leaving a tiny gap along the midline
of some of the petals. We'll let this first layer of petals dry before adding
the second layer. While we wait, I'll paint a broken line along
the border of the toe and heel sections
using medal leg red light. Alright, now with
the first layer dry, we can now add the
second layer of petals. For this layer, I'll use medal leg red light to paint
smaller and darker petals, giving the flower more depth. I'll also darken the center
with dots of burnt sienna. Next, I'll add a simple
snowflake pattern to fill in the stocking. And then I'll add fine veins to the first layer of
petals for extra detail. And Now moving to the top section of the stocking, I'll start with a light wash
of quinacridone magenta. And while it's still wet, I'll add stripes with a
more concentrated mix, letting the colour spread softly to create a gentle
blood stripe effect. To complete the look,
I'll add a red bow to the green present and a
green bow to the red one. Next, I'll deepen the color
of the red present and green bowl by adding an
extra layer of paint. Alright, so this completes
our Christmas stocking. Feel free to customize it with your own
colours and details, and I'll see you in
the next lesson.
6. Poinsettia: Alright, in this lesson,
we are going to paint a poinsettia flower
with some berries. Now, I'll be using these colors, quinacridone magenta for
the poinsettia petals, yellow ochre and bird sienna
for the flower center, meddled red light
for the berries, and green earth and shadow
green for the leaves. But feel free to use any similar colors you
have in your palette. Alright, we'll start by
filling in the center of the flower with small
dots of yellow ochre. Next, we'll move
on to the petals. Now, for the first
layer of petals, we'll use a diluted mix
of quinacridone magenta. And while the paint
is still wet, I'll add a slightly
darker shade of the same color along one edge of the petal
to create depth. I'll vary the size
and shape of each petal to give the flower
a more natural look, and I'll leave a thin gap down the center of some petals
for added interest. Okay. Now let's tap
in a darker value of magenta while the base
layer is still wet. Okay, so I'm going to paint the remaining petals
using the same process. I'll vary the shape and
size of each petal. And while they're still wet, I'll tap in a bit of
Kunagudon magenta. A All right. Now I'll paint a small petal
here to complete the shape. Okay, now we'll let
this first layer of petals dry before adding
the second layer. While we're waiting, let's paint the leaves
around our poinsettia. I'll vary the size and color
using two different greens, green earth for the
lighter leaves, and shadow green for
the darker ones. I'll start with the
lighter leaves. And then add the darker ones. I'll also add a few
pine needles for variety and to balance
the composition. A Okay, now that the first layer is dry, we can add the second
layer of petals. But first, I'll add
a few more dots in the center to
build up that area. Now for this second layer, I'm going to use a
more concentrated mix of quinacidon magenta. We'll paint darker
and smaller petals. I'll vary their shape and size to keep the flower
looking natural. And I'll also leave a thin gap down the center of the petals. All right. Next, I'll add
fine veins to some of the first layer petals
with rinocdon magenta. I'm not filling the
entire petal with veins. I'm just adding
them to one side of some petals for subtle detail. After that, I'll darken the
center with dots of Bnciena. Okay, so once the
poinsettia is complete, we'll move on to the berries. We'll paint some berries
around the flower. Since the leaves are now dry, I can place some berries on top of them to show
they're in front. I'll leave a small
highlight on the berries to create dimension and to make
them look more realistic. And then I'll connect
each berry to a stem. All right, now let's add some berries on the
left and at the bottom. A to finish the composition, let's add some smaller
leaves at the top. And then I'll paint veins
on some of the leaves. Finally, I'll add two small
leaves at the bottom. Alright, so this
completes our painting. I hope you enjoyed the process, and I look forward to
seeing your creations.
7. A Mug Of Hot Chocolate: So in this lesson, we'll be painting a mark of hot chocolate with a little gingerbread man and a candy cane on the side. So I'll be using the
following colors, but feel free to substitute any similar colors if you
don't have these exact ones. All right, so here's a
clear sketch for reference. Feel free to pause the video while you complete
your own sketch. All right, I'll begin
by sketching the mark. I'll start with the rim and
then move on to the body. And finally add the handle. Then I'll lighten the
sketch with my eraser. Now before we get started, I like to prepare my colors
to make sure I have plenty of paint in my palette so that I don't run out
while I'm painting. For the shadows on the mark, I'll mix a touch of violet with carmine to create a darker tone. Now, I'll be using two
brushes to paint the mark, one for applying paint, and the other with clean
water to blend out the color. All right, let's
start with the rim. First, I'll outline the top
edge and sides with color. And then use my other brush, which is slightly damp with water to gently
blend out the color. I'll also leave a
small highlight on the right side to suggest
a bit of reflection. Next, I'll tap in a bit of carmine at the base of the rim, leaving a small section
untouched to add some depth. All right now let's paint
the rest of the mark. I'll leave a small
gap at the base of the rim to separate it
from the rest of the mark. I'll add more paint just
below the rim and along the left side and then blend the color out
with my clean wet brush. Next, I'll fill in
the right side, leaving a highlight to
suggest reflection. And finally, I'll use
a clean wet brush to softly blend the color from both sides towards the center, creating a lighter shade
of carmine in the middle. O now let's add some shadows while the
base layer is still wet. I'm using our violet and carmine
mixture for the shadows. I'll add deeper shadows on the left side and
little on the right. This will give the
mark more depth. I'll also add a touch of
shadow along the top of the rim to suggest a shadow
from the whipped cream. Now at this stage, our
base layer is already dry, so I'll use my clean them
brush to blend out the color. Then I'll tap in a bit more carmine to make it
look more vibrant. Next, we'll paint the handle. I'll leave a small highlight
to suggest reflection. And add a bit of shadow to
give it dimension and depth. I'll also tap in a bit
more carmine to the mark. All right. Now, I'm going to sketch
out the whipped cream. Here's a clearer sketch for you. So again, feel free to pause the video while you
make your own sketch. For the shadows, we'll use a
light mix of yellow ochre. I'll add some soft curve strokes to capture the natural
swirls of the whipped cream. I'll also sketch a candy cane on the left and a gingerbread
man on the right. For the candy canes red stripes, feel free to use
any red you have. So here I'm using carmine. We'll add a subtle outline
to make it more defined. For this step, you can use a light value of red or violet. All right now let's add
some darker shadows on the cream using a
light value of violet. Let's move on to our
gingerbread men. I started with yellow ochre,
but it was too light, so I added some burnt sienna
on top to darken it a bit. I Alright, next, I'll deepen the shadows on the whipped cream and add a subtle outline
to define the shape. Alright, now that
the muk is dry, I'm going to paint
a Christmas tree. I'm mixing green with a
bit of white to create an opaque mixture so that it stands out against the red
background of the muk. You can also use white guash
for a more opaque look. Then I'll add some darker
green to the tree. Alright, now let's paint
the gingerbread man's face. I'll add another layer of
paint to deepen the colour. Then the pink bow tie and some
curve lines on the hands. I'll add one more layer of burned sienna as the color
still looks a bit pale. Finally, I'll add some
green and red sprinkles to give it a festive
Christmasy vibe. Alright, so this
completes our painting. I hope you enjoy this project, and I'll see you in
the next lesson.
8. Hand-Painted Ornament: In this lesson,
we're going to paint a lovely hand painted
ornament together. I'll be using these colors, but feel free to
choose your own colors for the ornament to
make it your own. I've already sketched
out the ornament shape. Here's a clear sketch
for you to follow. Feel free to pause the video here to complete your sketch. Alright, let's start by
preparing our base colour. I'll mix a generous amount of shell pink to make sure I have enough to cover the entire area without running out
halfway through. I'll fully load my
brush with pink, which helps prevent
any dry patches and allow my brush to glide
smoothly over the paper. A Now, as I fill in the shape, I'll also refine the edges to
keep them smooth and clean. Now, while we let
this space layer dry, let's paint the gold cap at
the top of the ornament. I'll start by adding
yellow to each side, leaving the center unpainted
for a subtle highlight. And while the yellow
pin is still wet, I'll add a bit of
burnt sienna to each side and let it blend
naturally into the yellow. I'll also outline the shape
with a bit of burnt sienna. Then using a clean dm brush, I'll gently blend both sides into the highlight
in the center. Leaving this highlight creates depth and dimension in the cap. Alright, now let's add
a loop at the top. Alright, now that our
base layer is dry, it's time to add some
decorative flowers and leaves. I'll be painting a few
simple four petal flowers using metallic red light, but feel free to experiment
with different flower shapes or colors to make this
ornament uniquely yours. I'll start by placing a small dot to mark the
center of the flower. Then I'll paint wispy strokes to shape the petals around it, making sure to leave a
little space for the center. And while the petals
are still wet, I'll tap in a bit
of indigo right in the center and let it gently
bleed into the petals. We're using the wet on
wet technique here, so I'm using a
concentrated mix of indigo here to prevent the color from spreading all
over the petals. Alright, let's paint another
flower on the upper right, using the same colours. But I'll make this one smaller to add some variety
to the design. All right, now let's drop in
some indigo in the center. I'll extend these
petals to the edge of the ornament and I'll add a few final strokes to the petals to
complete the look. Next, I'll add some smaller
flowers and some wavy leaves. I'll vary the size
and direction of the leaves to make the
design more dynamic. I'll also add some wavy
stems for variety. I'm using the tip of my brush
to paint these thin stems. Feel free to switch to a smaller brush if
that's easier for you. So I'm painting the leaves in different directions to
fill out the ornament, to give it a more complete look. Alright, let's add two
more smaller flowers. To finish off the painting, let's add a bow to
the loop on the cap. I'll use Kunacridon magenta to give it a nice pop of colour. And finally, I'll add
more burnt sienna to the sides of the cap
for shadow and depth, and I'll also define
the loop a bit more. Alright, so this completes
our ornament painting. I hope you enjoyed this lesson. Now, feel free to
experiment with different colours and
designs to make it your own. Have a wonderful holiday
season and happy painting.
9. Final Thoughts: Hi, everyone. Thank you so
much for joining this class. I hope you had a wonderful time creating these festive
Christmas cards. If you have any questions, feel free to post them in
the discussion section, and I'll get back to
you as soon as I can. I would love to see
what you have created. So please share your Christmas cards in the project gallery. If you enjoyed this class, I would really appreciate it
if you could leave a review. So here's wishing you a merry Christmas and happy holidays. I hope these cards bring a little extra cheer
to your celebrations. So enjoy your holidays and
I'll see you next time. H.
 Lisa Lam, Watercolor Artist