Transcripts
1. Introduction: Hi, I'm Yasar Wurdam, professional artist
and illustrator, Wooded collaborated
with global brands like Adop Belly Elish, Prime dios Lord of dings, rings of Power Series, Stadl and the Well
of Time Series. Also Wacom, Logitek
and many more. In this class, you
will learn how to master digital portrait
painting using Procreate. We will start with
strong foundations focusing on structure,
proportions and likeness. You will learn how
to build skin tones, control light and shadow, and create dipped in the face. We will paint Lana Del
Rey in this class. I will share professional
techniques for blending, texture and expressive details. By the end of this class, you will have the skills
to create polished, professional looking
digital portraits. This class is perfect
for artists who want to take their portrait work in Procreate to the next level.
2. Learn Procreate Gallery: Welcome again. In this part, I will teach you the
interface of Procreate. At first, when you
open the Procreate, you will face with the gallery. Gallery means your every
painting in the procrate. And for one Illustration
before you open it, you need to pinch your
fingers outside and holding. You can move each
illustration for make it. For example, if you
make it like this, you can make it full screen or switch between the
illustrations. For example, let's try it, whoop and pinch for close. And if you hold and
drag to the left, you can see you can
duplicate the light or share the work, or you can click with your
finger or with your pencil, tap one, and you can change
the name of the illustration. And if you hold and move illustration to
another illustration, it will stack and group
the illustration. For break the group, you can hold and I will show you I'm holding it with
my one pan, one finger. And with my another finger, I taped the bag and
it is one again. And you can open it and hold it again
and back and like this. And at the right top, you will see select. If you press Select, you can select multiple
illustrations and you can take them or preview or share
or duplicate or delete. And for Import, it
means you can select one photograph at
your gallery and make it come into
DPcretOPhotograph Procreate. Or you can click the
Plus button and you can open COVAS and from
COVA settings, you can select the
quality of your time lap settings and background
color and dimensions.
3. Learn Procreate Interface for Portrait: Welcome again. In this part, we will talk about
the base elements of Procreate and interface. At leftop, we will
start from actions. In Actions menu. If you click or tap with
your finger to do ad, you can add any
image or like file, photo, take, photo or add text or cut copy covas
or paste basically. And from Canvas settings, you can crop and
resize the Canvas, and you will see how much layers will be visible if it will
be bigger or smaller. And you see the pixel size
at the top of this thing. And you can open
animation assist, and if you open
animation assist, you can see what will happen if you paint
with the layer system. For example, I will
show you quickly. And if you tap play, you can create
animations like this. And you can play
with the options of the animation from
the setting site. And I will close it. And you can add reference for your paintings or Philip
Canvas horizontal or vertical from here. And share. You can
share your image with your friends or social
media or your device. And it is the same
options like PST, PFT, JPEC, PNG, and TV and
animations share layers. And for video, you can time laps replay and export
the video from here. And there is the base
preferences for your Procreate. And another section
is adjustments. From here, you can play hue, saturation or brightness
of your painting. For example, I will show
you with this painting. I will paint a box
here like square. And let's play with hue. Hue is basically the color
of your image or painting. And saturation is is saturated. If you set it to none, it will be gray scale. And brightness is
white and black. The color balance
how much San or red inside and magentas
like yellow or blue. And curves is like levels in the equal
levels in Photoshop. It is the brightness
like gamma and channels. You can add brightness
and darkness it. Gradient map is for adding extra colors or filters
into your illustration. And csim blur makes your illustration
blurry and adds blur like a mirror and perspective
blur at blur and make the place you selected
is much more focused. And noise will give the
texture at your painting. By the way, for creating it, I'm moving my finger
left to the right, and sharpen will make your
illustration sharper. Ca is another effect, and chromatic
abrication is like, make the color change
channels much more visible. And liquefy is
basically you can play and a different effects
into your painting, just like this pinching and expanding and
crystallization like this, it creates an edge and constructions and
adjust and you can push and change the
size of it like ligufi Clone means you are selecting one reference
spot and when you paint, it creates clone of the area like copying the
existed area pixel area. And selection tools, you can select
automatically like this, and with moving your finger
or pencil left to the right, you can select the TSLTFreehand, with your finger or pencil, you can select the area and the other one is
like geometrical shapes. You can type with
your one finger and other finger or pencil, it will be perfect line. Selection tool is
for select tool and move at uniform or freeform
or distort like this. If you are painting like
perspective things, you can play with it or create perspective look and verb
also change the arbing
4. Understanding Procreate Brushes: Welcome again. In this part, we will talk about bright sets. Procreate have two
brush library. One is Procreate's
Nv brush library, and the old one is
classic Library. And let's talk about
the classic library. If you want to create
realistic illustrations, you need to use air brush because this brush is creating
things much more softer. And it is easy to blend. And if you want to create like painterly
illustrations, it will be like painterly brush. You can simulate real
life illustrations with this painterly brush, you can catch a
traditional look. And if you working over comics, you can use inking brush. Inking brush is great for
creating outlines or defining the line arts and I will
show you just like this. It is perfect for creating
animations like characters or pop art or some paintings
like caricatures, like this. It is really great
for sketching. And there is munens. It is for ambience and materials and different
kind of brush. This bright is depends on
how you paint, and you can
5. Understanding Quickshapes: Welcome again. In this part, I will teach you Quickshapes. Quickshapes means you are painting and holding with
your finger or pencil. For example, I paint like
this and I'm holding it, and it creates perfect line, and it means Quickshapes. And if you tap your other second finger when you holding the
pencil or finger, it will be like
ametrically moved. And if I paint, if I want to paint
perfect circle, I paint it like
this and holding. And it creates ellipse. And if you hold it and tap
with your other finger, it creates perfect ellipse. By the way, you can
create from here also. And let's create triangle. 1 second, I will create it
like triangle like this. And you can make a triangle from here and move to
the corners as you wish. It creates it like this. And it is the same for
the sequarePen square here, rectangle. You can make it perfect
or quadra or polyline. It is depending on your choice. And it was the Quickshapes.
Thank you again. And next part, we will
talk about gestures. I
6. Understanding Gestures: Welcome again. In this part, we will talk about gestures. If you paint some line and tab to do secreen with your
two finger, it is undo. And for redo, you need to
use your three finger, two finger undo, three finger, tab to do secreen undo. And for example, if
you paint layers with the different layers,
just like this. And tap the secren with your
forefinger and scroll it like it will clear the layer with your three
finger swipe left and right, and it clears the all layers. And if you tap the
secreen with forefinger, it makes full secrene and tap
with the forefinger again, you will see the interface. And if you swipe your
three finger to do down, you will open this quick
copy and paste page. And if you use your two fingers, I paint line here, with your two finger, you can pinch and rotate
depending on your choice. And if you pinch quickly, it will be like this. It is quick pinch. Like you need to pinch your
finger like this quickly. I will show you it is
your two finger quickly. Whoop. Again, Whoop. It makes full screen of
the vas, like agsial size. And again, thank you for joining this part. See
you in the next part.
7. Learn Blending Colors: Welcome again. In this part, I will teach you how to
create portraits so quickly. And for creating portraits, you need to use smoothline and how to render is important. For rendering
colors, for example, if we have red and some
different dark red here, and I want to blend
these two colors here. You need to zoom in
and if you zoom in, you see many colors
between them. You need to select the
between of the colors and we apply over it slowly. And always select middle of the two color and blend
it just like this. And imagine if you
paint ball like this and you want to
make it like color here, tap and hold, and Press lighter when you want to
make light colors like this, and you need to see things
much more geometrically. Like, for example, if
you paint one portrait, I will paint it like this
quickly for show you and Always try to understand
where the light comes. For example, if you
paint pole here, it is highlights and lights and middle color shadow
and reflected light. And for example, if light
source comes from here, this part will be light, and this part will be light. And maybe these corners are
darker because nose is here and this part of nose is lighter and dark lens
here just like this. And like this and
it is light part. Again, it is dark part. You need to calculate everything depending on the light
source, this light source. And light bones
from here also like bool and we will see the reflected light over
the face. Thank you.
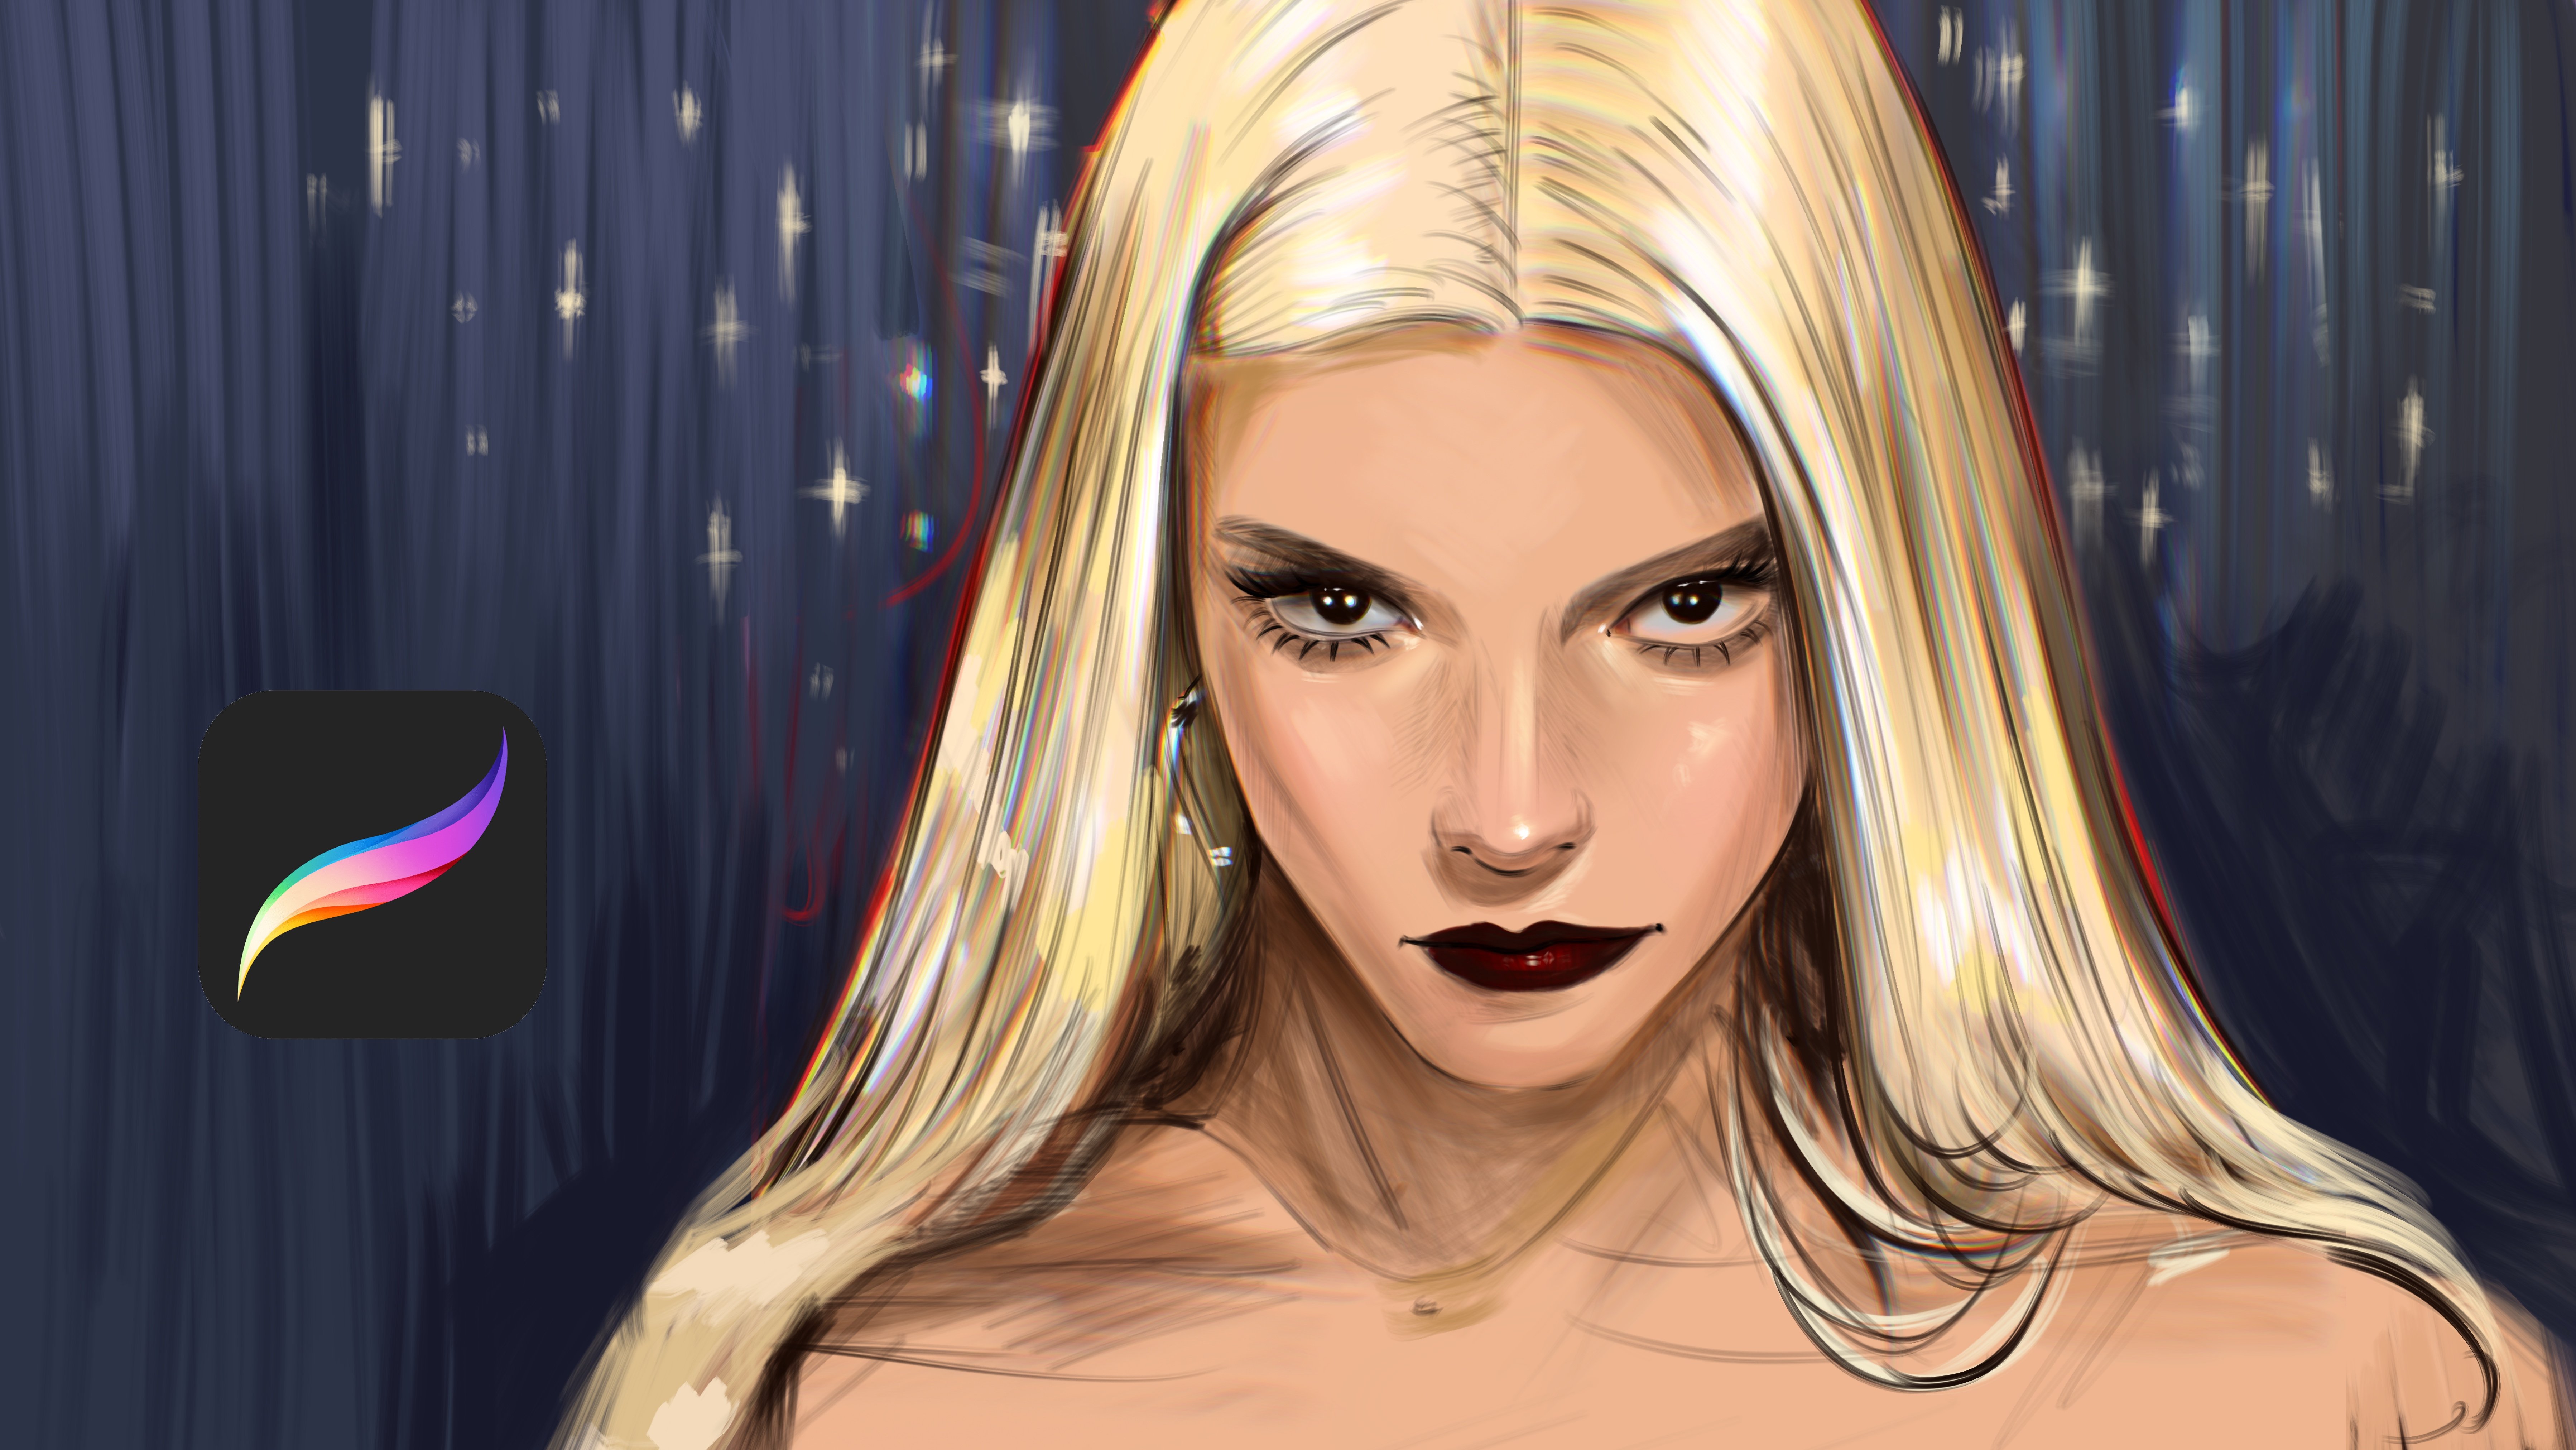
8. Drawing Sketch: Welcome. In this class, we will paint this portrait
of the Lana Del Rey. At first, I will make
the outlines of it. Lower the opacity
of the image to this person and Zoom in and try to catch the details
of the portrait without using so
much size brush. I'm using two for this step. And I will continue to create the illustration just like this and like this. At some parts, you need
to define the outlines. For example, if
this part is dark, you need to make a dark. And this part is just like this. And at this part, make it much more darker and these parts
will be lighter, a bit much lighter. And I will continue
to create eyelashes, and this part of the
illustration is dark. And I'm defining the lashes. Yeah. And for this part, I will continue and add some singular lashes,
just like this. And this part also,
we have lashes. And this part is darker, and you need to
define the shapes and divide it to the color
shapes like for example, this part is much more darker and this part
is also darker. And let's continue
to adding eyebrows, and I'm making tiny
eyebrows just like this. And I'm trying to mimic
every part of the eyebrow. And let's continue from this part and add
shadows over here. And this part will
be also darker, and I will delete this part
because I did by mistake. And let's continue. And I'm trying to
build the eye shape. And at this part, I'm adding shadows of the eye. Yeah. And this part will
be much more visible and very very really very visible at this
part and this part. And I will continue to build like this and
just like this. Like this, like
this and like this. I will make it much
more visible Yeah. And for the eyebrows, zoom in and continue to build the exact shape
of the eyebrow, you can make it like this, and don't forget to put
darker parts of the eyebrow,
9. Detailing Sketch: And zoom here. Also, this part of
the nose will be darker and nose
describes the anatomy. So what we're going
to do is define the nose, just like this. And I will continue to adding the tail over nose
because I want to be sure this look really perfect from the every step,
just like this. And this part also
will be like this, and this part will be
much more visible. Yeah. And this part is
darker, just like this. And don't forget to
add the shape of the this part and always
think geometrically. For example, this
part light divide, this part light, this part dark. This part dark spot
light and color shapes. And define the shape. And this part also like this. And this part just like
this, much more visible. And here like this. And I also will share this catch layer with
you if you don't want to do this tap and past
the next part directly. But outlines is
really important. So I suggest you to
do it by yourself and use the line art brush like inking or some other
brush for this tap. It is also important. So I will divide it
into colors like this. And for example, it
is dark. It is dark. And I'm trying to take the
shape of every hair shape, like how it flows from the head. You need to define it. HID flows from the face, and COVID affects the portrait. For example, it comes
like this and it turns, and let's continue
it is like this and have some the tail over
here and negles the tail, and this part is dark. And if you look at the
sketch, we catch it. For example, if this
part is darker, you need to define it on your
portrait just like this. And this part dark
and this part, dark, this part, light, this part light,
this part, dark. And it's like this. And after you be sure about these singular
details such as this detail will be show the
exact place of the details, again, at this part, at this part, and that's all. And we have clean sketch
right now of the portrait. At next part, we will
color this portrait.
10. Painting Eyes: Welcome again. In this part, we will start to
coloring the portrait, add for select the
selection tool and make the reference a bit
much more shorter like this. And open naive layer. And this layer will be
our background layer. And at first, I will put
the background here, and it will be at the
top of the illustration, and I will start to
adding to the details. At first, we will start
from the head details. So I will put the big like
the best base colors. And some parts in the dark and some parts in
the dark like this, and some places
are in the light. And I will start to create this detail at eye parts, it will be much more
darker than we expect. So I will start to adding the
tails from the right eye. At first, do not
rush and just try to define the basic colors. For example, this
part is in the dark and this part is lighter and I will keep adding
the tail until I at the main detail
just like this. And these corners
is also darker, and there will be hair
strokes comes here. And let's continue to
adding shadows under eye, and I will add
some shadows here. And the inside of the color will be darker, just like this and
continue to adding detail. For example, in this part, it will be darker and it will be darker
also, just like this. And at the top of this part, it will be lighter. And this part will be dark, again, just like this. And I will add the base color
over here, just like this. And at the top of it, it will be darker, really dark. By the way, I am using
airbrush for the illustration. And this part of the
eye is like this. And I will add also extra lights here and I will add
much more lights here, just like this and
zoom into eye. And as you can see, it have some lights here and shadows here,
just like this. I'm making it really slowly and trying to make the portrait
realistic as possible. And I will start to making
the other eye right now. At first, I'm putting the background color
and zooming here. And I will define
it just like this. And at this corner, it will be lider and lider here. Yeah, just like this. Yeah. And I will add
some dark parts here. And I will add some lights
over here like this. And it will be lighter
here, just like this. And I will add lights
here, just like this. And this part will
be lighter maybe, but zoom in here and
you will see there is pink colors under here
and here, just like this. And I will add some lights here. And I will continue to
adding the details. At first, I will make it
like this and like this. And the top of the illustration is much more darker
at this part also. And this part is in
the dark and okay. Let's zoom in here and copy
the light parts of the eye, and I will define
the light parts of the portrait just like this will be really,
really lighter. And this part will be lighter. But as you can see, this eyes light parts is much more lighter
than the other one. So I will select light
parts here, and will apply. But also this upside of
the eye in the light. So I will increase
the lights over here and here, just like this. And let's look at it
and make this part much more visible and try
to define the colors yeah. At some parts, the
eye is in the shadow, like it is darker at some parts, just like this and like this. Just like this. Yeah. And let's zoom in here and
try to add the lights. Yeah, just like this. And for the other eye, I will add much more lights
here, just like this. And zoom into the eye and
you will see there is a brown colors near
these dark parts. I will make it same
for the botteyes. After it, I will add much more lighter color
near I just like this. And like this. And after it, again, I will focus on the eye and we try to solve
the shadows of it. For example, this
part is looking dark, and this part also dark. And the near corner, there will be
really dark shadows for her portrait, like this. And
11. Painting Nose: I will check it right now, and it will be also
darker at this side. The end of the eye will
be much more darker. Also, oh, so this part will
be lighter and lighter. And let's zoom in the eye
again and make this part much more We brand with
a bit orange color. And for the left eye, I will make it again
darker at this part. And you can always select colors from the
photo reference for improve your colors because you can also select better
colors from the color wheel, but for practice, I
suggest you to using Procreate reference
like this for portrait and work a bit from
these photo references, and it will be really
nice for your improving. For example, I will try to
build the nose part right now. I will add shadows of the nose, and there is a bit pinkish
color here near nose. And I'm defining these parts. And at this part also, it will be darker
just like this. And for the forehead, I will use really
dark colors here, and just like this and here and here. Okay. And I will continue
to add detail to nos. And these parts will
be geometrically darker for we need to
define the general shapes. For example, it comes like this, and there is a really
dark and separation part in the here and these
parts ends like this. If you solve this like puzzle, you will make your portrait
much more realistic. For example, uh, this part
is darker, just like this. This part is connection
point of the nose. You need to make it
much more darker, even much more darker. And for eye, I will add a bit much more lights
here to catch the balance. And for nose, select
the darkest color of the nose and will apply just
like this and like this. And for the other parts of it, I will make it like
this and like this. Yeah, it is very nice right now, and I will make this corner
even much more darker, just like this and like this. And her nose shape
is not so flat, and it have really
powerful construction. From the corners that makes really different
than the other nose. And this part is
darker, just like this. And light comes from
the top of the nose, especially from this side, just like this to define
her shape, her nose shape. And you need to understand it. It is in the shadow, especially this
area in the shadow, and this part is also darker. And this part is
darker, just like this. And I will select
lighter colors. Here, here and here, here, just like this. And I will increase the detail level over
here. Also here. Yeah, it is looking great, and I will continue to add
details at other parts.
12. Detailing Face: Welcome. In this part, I will open the new layer and we continue to adding
details over the porprat. And these parts of the
portrait will be darker. And also, this part will be darker side, you
just like this. And like this part
also will darker here. And this part is darker and
these parts is darker again. And this part will be lighter, and this part will be lighter. At first, do not
rush and just try to make the
illustrations shapes. For example, I selected
the color for the lip and we create the basic color
like base color of the lip. And I'm focusing the part and we'll add the light
over here and here. And again, and I will make it just like this
darker, darker, darker. And at this part, I'm adding lights
for the portrait. And again, other lights comes
from here, just like this. And corners are really darker because this part of the portrait will be
darker like this. And Darsh just try to
understand how it builds slowly and put the details
of the lip like this. Yeah. And here also will be darker part
of the portrait. And I will add some lights
here, just like this. And just like this, here, here. And it's looking really
great right now. And for the cheek size, I will make it just like this and we continue to add
the tails over here. Just like this. And it
will be just like this. And we'll add lights here. And here, just like this. And this part will be
lighter, just like this. And I will continue to adding
some shadows over here. And again, here will be darker tones of the
portrait, just like this. And some parts of it
is really lightish. And this part is darker, again, just like this. And I will add some colors here to balance it because
there is many, many, many shadows here, and I will put
shadows over here. And here, just like this. Maybe much more
darker, like this. And for the lips upside, I will again apply some
shadows here just like this. And as you can see, there is really good amount
of detail over the portrait. So we also need to add some textures over
here at the portrait. And for it, I will use skin texture and we'll
start from here. I will select the
shadow color and we'll apply it's just like this, and some parts will
be darker, for sure. And some parts is
slider, just like this. And like this, I'm
adding slowly, slowly, and it helps me really well, because this brush
is creates textures, you can access this brush at my marketplace, and if you wish, you can use any spray like
brush or skin simulate brush. But spray brush is better because it creates
grainy look over it. And also, this part will
be darker, just like this. For this part, I will make
brush much more shorter and we add some lights
here here and here. And it will be like this. Much more detailed, and some
parts of it is lighter. For example, at this part
will be darker and lighter. And I will use the darker, much more darker tones for
crates corners of the face, especially these areas
will be much more darker. And this parts will
be much more darker. And I will select a
smooth brush again and we make these parts. Theise parts will be much
more darker at these parts. And these parts yeah. And these parts will be lighter. Yeah, it is darker at this part. And again, it is
darker over here, and there's brain tones at
her lip at these parts. And after I put some microdtails over
nose and other parts, I will focus on the Lib. Yeah. Let's look it. It is great. And this part
will be much more darker here. By the way, if you
watch this video, don't forget to watch my
other videos about portraits. I created many contents like fashion illustrations
about Anatomy and more and hope you enjoy. And these parts will
be much more lighter. And I will make these
parts much more lighter. And from left side, I will make it lighter again. And this part will be really just like this,
much more lighter. Again, thank you and see
you in the next part.
13. Painting Hair: Welcome. In this part, we will continue to adding
the details of the hair. I will start to add some lines
over here, just like this, like base colors
because we don't need to add extra color for the hair. And this part, I will add
these details much more visible and detail it because we need to make
hair much more visible. And I edit this
detail over here, and as you can see, there will be a background, and I will clean the
background of it because I think we paint
it a bit much more. And after this, continue to add detail over
the hair stroke. For example, this hair is lther at this left
side, just like this. And it has small particle
details over it, and I will make
the detail slowly. Because we don't
need to do hurry and be slow about these details. And after it, let's try to add some hair particles at the left of the portrait
because it is really important. And I'm adding these small
details here just like this. And, of course, end of the lip, we need to make the contours of the these details and
here just like this. And these parts for sure, we need to be much
more confident from the shadow side because after we describe these
shadows and lights, it will be easier for us to continue and finish
the illustration. And for example,
this will be really, really dark and these
parts also darker. And I will add some lights
here, and of course, we need to put the
shadows under nose and make it much more polished. I added the shadows
here just like this. And for other detail, what we can do is
adding extra shadows. I will make this part
much more darker. And this part will
be darker again, and I will add much more
highlights over here, just like this and like this. And it is already looking great. And I will add some much more detail
here, just like this. And Zoom here and paint some
lights around the corners of the lips because it is really strong contort and
this one will be darker, just like this, and there
will be bone in here. I'm building the tail slowly, and it is the best way for create the realistic portraits. So let's continue from this part and aml details just like this. Yeah, just like this. Be slow and confident
about details. Don't overdo it and just
try to be just like this. And from the part, it will be darker. And let's continue about it, and we'll create some
m lighter colors over here and it looks so mixed. So I'm trying my best to create this concept with slowly and
effectively and zoom into e. Sometimes you can paint
the tails you can't see. And it is also important for create details just like this. It will be much more detailed. And also this part will be
detailed just like this. And like this at this part and if you see these litle
details over the lip, we need to paint some lights
comes from this part, and it is also important. And next part, we will increase the detail
level again. Thank you.
14. Complete Hair: Welcome. In this part, we will paint the portrait
details to get better. At first, we will continue to adding detail over the portrait because it is the
most important part. I will make these
parts much more darker and this part is lighter. And I will add some shadows
over here and here again. And this part will be like this. Yeah. And I will make this part much more darker
to define the shape. Especially this
part will be really darker and of the lip maybe. And generally, the portrait
is looking really great, and we just need to put some shadows and light parts to make the portrait
much more visible. And I will make
this part much more darker and we create this part, much more light effect. But we need to make
it shortly, like, not so big and after this part, you can add some lights here, just like this and some
other lights here. I'm trying to define the
shape of the portrait and trying to bring it shadows. Yeah, just like this. And this part will be lighter. And after it, I will try to paint this part just like
this as a background. Yeah, it is pretty
good right now. And this part will be darker but not so dark
because it is not p, and it is left side, it will be darker,
especially at this part. And sometimes you
can zoom in and focus on the small details and try to bring them together. For example, this part
will be really darker and Inside of the nose, it will be much more darker. And this part just like this. And this part will be lighter. And this part will
much more darker, and I will add light at
the left part of it. And, of course, some parts
will be darker just like this. And I'm checking what
I can do right now is adding lights over here because it adds really good
amount of detail, and especially at this part
will be much more lighter. And after adding it, I will move this portrait here, just like this for make
the other part visible, and I'm adding lights here
like the base colors of the hair. Just like this. And like this. Here,
it will be like this. Always try to put the
general shapes at first. Do not rush in any detail level. Just focus on the portrait
and the details of it. For example, it have some
lights here and thinner, and it comes like this. Always try to solve the lights
and shadows before adding details And this part is darker. You always need to define
which place of the portrait is lighter and which portrait
side of the hair is lighter. Just like this. It will be
lighter and this part will be darker. Yeah, like this. And this place is also
darker, much more darker. And now I will focus on
the details of the hair. For it, I will use
smooth lime brush, maybe very smooth lime brush. You can use any hair brush or different kind
of brush you wish. And I will start to
put some lights here. Just like this. Like this and like this. It adds thinner and
we add some details here over the here
here and here. And we'll add some much more
texture over here like this and like this. Yeah. And I will create other dark parts
here and continue Yeah, it is great right now. And again, I will move the
reference to the left, I mean, right, and
we'll make it bigger to understand much more
details for the face. And this time, I
will zoom here and we'll add some lashes. And for the other side, I will keep doing the same
thing just like this. And now select
smooth shading brush and we'll add some lights here. And here, Again, like here and it will be much more
saturated at this part and this part and this part. And again, don't forget to
add lights at this part. This part. Also at the
checks, I will add details like this and we make parts much
more darker inside it. I will start from the
parts just like this. And this part will
be much more darker. And this part will be much more darker and
this part is lighter. And I will use some
textured brush for increase the detail level
of the hair at this part. And inside of the hair, I will use same brush
just like this. And this part will be like this. And we'll select
smooth sheding brush, and we'll make this
part much more darker. And here. Yeah. And I will use this part
much more lighter. For the texture of the dress, I will just paint the lines
like this horizontally and will make the
tail here slowly. And this part will be darker. And this part dark, and add some lights here. And for the necklace, I will start from here and
we'll add it like this. And I think I did wrong at the parts because it's
the late parts I make. I will fix it in the next video, and we'll continue to
add details. Thank you.
15. Adding Concepts: Welcome again. In this part, I will open another new layer, and we'll continue to adding
details over the portrait. And this was wait 1 second. Okay. 1 second. Yeah, I will make it like this and we collect the
layers, also this layer. Yeah. And I will open another new layer and we'll
continue to adding detail. At the portrait, I will open the reference again
for see what I'm doing. This part, it has a
shadows just like this. And this part will be lighter. And this part also lighter. And some parts of the
portrait is in the dark, especially at this
part and this part. And these part will be the hair, again, just like this. That continues to hair, and some parts of this hair is connecting
with each other, just like this, like
this and like this. And zoom into the face again and make this
part a bit much darker. Yeah. And we'll continue to add the tail
over the portrait. Maybe this part's darker. And this part is a bit
much more lightish. And the end of the eye, it will be darker again, and this part will be lightish. Just like this, I'm adding much more shadows and for
make it much more realistic, you can mimic the
background, like blurry, and there is something in
the background like this, I'm trying to add to the
detail here, just like this. Yeah. It's like this. It's looking much more
great right now because this background is
really creates realism. And this corner will be
much more darker. M. Yeah, and we'll make it. No zooming to do lip and
at the background of it. And I will increase the details a bit much
more and we'll finish this illustration and hope you enjoy this process and like
the steps we did together. And also this part
will be lighter. And I need to delete this
part a bit much more. Okay. And now I will close this reference and
will continue to add detail by myself and
finish this illustration. I'm adding the necklace
just like this. And I will add some small
particle details for make the hair look much more
realistic with tiny details. At some parts, after you finish the illustration
and collect it, you can select the blend brush. And you can make these
details much more smoother, especially at these areas. It is smoother and
look much more soft. And you can always
paint here strokes over it after you
blend it better. You can paint over your
hair with different kind of brush to make the
illustration look much more realistic and
make the illustration pop up with these
small details. Yeah. And we'll add small
details just like this. Yeah. Yeah, does the tail
swell like this. Yeah. And this corner will be
really dark and this part. Because to make it
much more realistic, we need to create
shadows better. I will flip the cavas
once like this.
16. Complete Illustration: We make this part much
more darker and zoom in. And these parts we will
paint a bit much hue. I will give a bit much
hue and curve like this. And we'll add some
light parts in eye and these parts also will do same
here, just like this. And here. And here. Now we got some
light or portrait, and it is looking great. But some parts you
can always dilate the colors and the tails. I will make this part
much more darker, a bit, much more darker, not so much but and this part. It will be much more visible. And I will select lighter brush and we'll add some small
particles for the skin texture. I will even use the
skin brush here to make illustration
much more realistic. I will duplicate it, and
at the sketch layer, I will delete these
unnecessary lines to make it much more clean because it
adds an extra layer, and I don't want to see these lines and will
collect it again. With kin texture brush, I will brush over
the check slowly, and I'm pressing really soft. Yeah. It is same for the head. I will use it just like this. And this part, I will use
brush just like this. But and here. Yeah, it is looking
really great right now, and I will finish the
illustration after I add some small
particle details. For example, I make it
a bit much more darker. And these corners
will be lighter, a bit much lighter
to make it clean. And some parts we can add some different kind
of detail for make it unique because we don't have these details
in the reference, but I will add, for example, I will make rose
particles here like floating at the air and it is really great detail
for our illustration. Just like this, and
we'll make it here also. And ad here, I will
make it just like this, like the roast tails out from the portrait
and floating away. It makes the illustration
even much more interesting. And I will continue to
adding much more detail here. Yeah, just like this. And under it, I will drop shadow for increased
realism level. Just like this. And it will
be much more saturated red. And here, and here maybe small particles here. And I will put some ros here for make it even even
much more interesting. It starts from here like this. Just like this. Yeah. And it will be darker at this part. Yeah, it is looking much more interesting
and beautiful right now. And you can add
also small lights here and here to make the
portrait much more interesting. For example, open new layer
and change the layer mode to color then select red color. Or pink color. And you can add details
over face like this. It will bring your
portrait much more realism and extra colors without
losing the current details. And it is really important for
increase the detail level. And I will continue to adding
lights here just like this. Yeah, thank you
for joining me in this tutorial and see
you in the next videos.
 Yasar VURDEM, Creative Art Director