Transcripts
1. Welcome to the class: Good day and welcome
everyone to this glass. Will you learn how to make a very simple and elegant
looking leather bottle trait? This project is extremely simple to do and he's barefoot
for practicing with another if you want
to improve your skills or as a nice gift
for someone special. In this glass, I'll
show you how to prepare the leather stitching
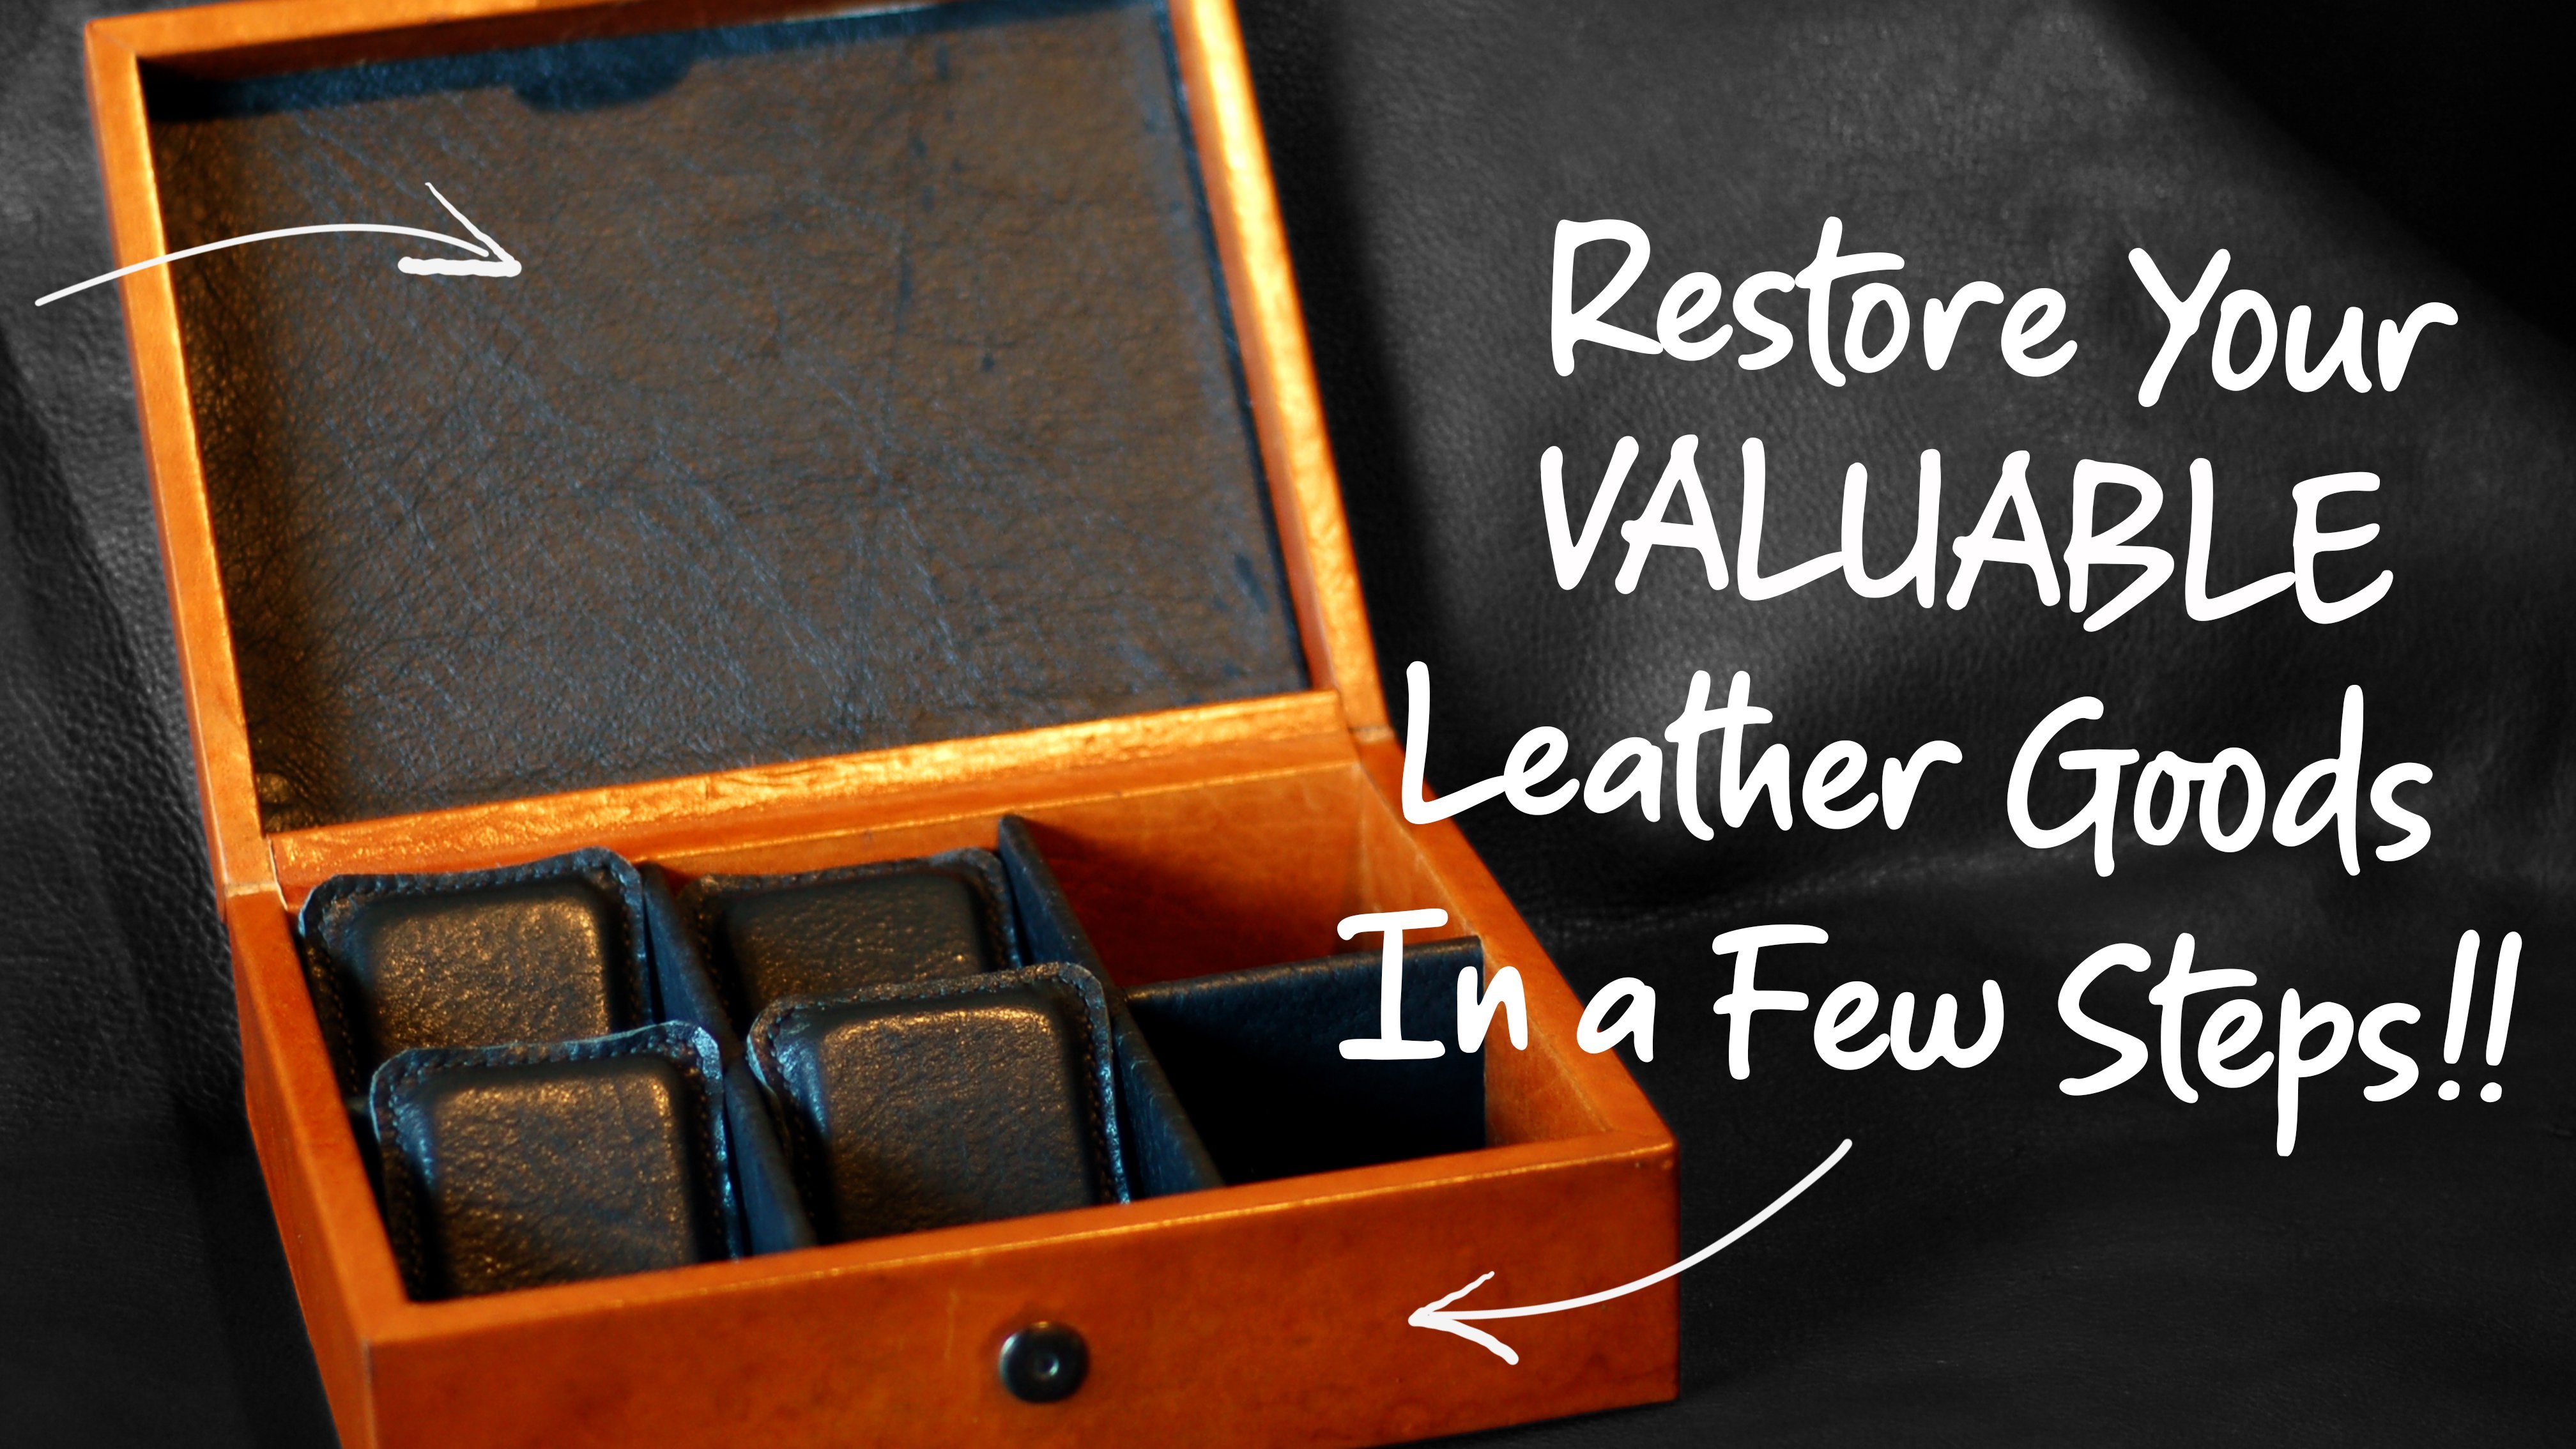
and finish the inches. The project for this lesson will be to make your
own volunteering. You can use any type
of weather you wish. So without any further
ado, let's get started.
2. Preparing the leather: Let's begin to create
or by the tray. For this project, I'll use this thick brown leather
that is actually a leftover from a
previous project. When working with
leather, I suggest you always keep good pieces of leftovers and you can always do many extra
projects with them. The first thing we
need to do is to make sure the area
we're going to need is free from scratches or cuts that might affect the jury. In this case, this booth
is perfect for the job. I'll be cutting a
square section of the letter and tried to
use as much as possible, since this is a relatively
small leftover piece. Because it's a simple square. There's no need to use
any template whatsoever. If you're also working
with a leftover, guide yourself with the size
of the b's you're working. And from a section that
you could easily identify as straight as possible to
draw the first straight lines. If there's leather that Hindus, you cut it out to have
the area more manageable. With your ruler in Scratch all Marcus straight line over the leather as
long as possible. You can also use a leather pants are coded
directly if you prefer. Use your square to Margaret
perpendicular line to the first line you drew at
the very edge of the line. You'll do exactly the
same for the third line. When you're making the lines, Use your words and
make sure that the lengths are the
same for everyone. And for the last line, you
can make some marks where the line will start and finish and then join them
with the ruler. As you've seen the video. Remember to have good lighting when making this box
and getting the letter. And when you are happy
with your piece, you can proceed to cut it, which we'll see in
the next lesson.
3. Cutting and glueing the leather: To begin coding or literary, the first thing is to
make sure you working comfortably with another
over your working table. So as you can see, I'm cutting
out some x's that might get in the way when cutting this three lines of the edges. When you're ready
to quit your piece, makes sure that
letter is as flat as possible over the table and you're cutting ruler
and X-Acto knife carefully start cutting it. Because this leather
is considerably thick, it's more convenient to make
small guts and pleasant. I've several times to
make sure that code is clean and that God will
come out quite irregular. Also, make sure you're
working with a sharp knife. I'll be putting some excess of leather on the other side of another piece before making the final God for
that edge as well. All the leather
you've got out is still good and useful material. If you think you can make some extra projects out of them, keep them safe, and you
can come back anytime. Sometimes it's
hard to get around the same leather
you've worked before. This is because it is no longer in production or the sold out. So always make sure you
can take as much advantage as possible of your
material before away. When you're done cutting
the excess of leather, make the final coats little
piece square as possible. Now for the Detroit to have
its characteristic form, the edges must be joined. As you can see, if we leave this as it is
and joined them, they will end up
looking quite sharp. To avoid is we'll have to
cut some x's on the edges, a 45 degree angle
from every edge. A good rule of thumb is to
mark one inch from each of the edge to both sides
and then join both marks, get a straight line and call
it as you see in the video. In the end, this is
actually a matter of preferences for everyone. So if you prefer the
edges to be more sharp, then there's no need to go
this xs for this does however, I'll cut them out. When you're finished. The next step is
to live as rate. In this case, I'll be
using some blood pig skin. Fixed King is a
very strong leather used mainly for lining. And as you can see, I also use some leftovers from
previous projects. I was actually very lucky
to find this piece that fits perfectly to the
square root that apart. Play this quarter leather or the pig skin and linear pattern, draw an outline of the square. And this doesn't
have to be perfect, is actually just to got the excess and make the
letter more manageable. When you're done,
plays a square root over the big screen once
again, but this time, make sure both
leaders are facing the inner sides between them because this is how
they'll be glued. With your other Ben, drawn
a line of the square over the big skin and this time and tried to be as
precise as possible. This line will be
your guide when doing both pieces together. When you're done, it's time
to do both parts together. Plays blue bold surfaces
of the leather, making sure the
governor would move. Some glues only needs
to be used in fees. Others need to be saved for
a few minutes to join them to better each glue has its
own specific instructions. So make sure to always
check them before using it. Sometimes the glue gets
quite sticky and fake. One is relatively old. Make sure your glue is
when you're not using it. You can see in the video it was hard to manage it in that state, but using a guard or plastic loop lawyer help
you do the job better. When both pieces
have enough glue, carefully join them
together and start applying some pressure to make sure the glue on both
sides fixed as well. You can leave your P is with some pressure on top like a book or a piece of wood
and come back after 20 or 30 minutes to continue. The last step is to
go up the excess of lining left on
this big scheme. Using your sisters
carefully God this excess and guide yourself
with a squared b's. You might see some
axis of the edges. If this happens rides,
it's a good idea. Your fingers are
witnessed some level when you're happy with the
results and we can proceed to the edges and leave that B
is ready for afterwards.
4. Painting and finishing the edges: It's time to paint the
edges of our project. To do this, you will only need some black or brown
and sprains or your preference and an
edge paint applicator. I like using feelings
and sprained for these type of projects
because it dries quickly. The edge, a nice finish one, polish them varnished,
which we'll do later on. You can use any paint
obligated to do this. My case, I'm actually going
to use a leather styling to which a modally use for painting small sections on my projects. Shake. Well before using it, applies small amounts of
paint over the edges, making sure they
don't drip over them. Also dry slab relatively quick, so let's split it to war
with small sections rather than long strips
like a heat sink. When you're done
painting the edges leave the letter B's for the
last for about 20 minutes. This will allow the
painters, right? Well, before continuing, when the paint is,
we'll draw it. We need to seal it. This would allow the edge to feel
smooth and shiny. To begin with, use a wooden
edge burnishing for this job. I have a very simple
black wooden burnisher. And what you need to do is check which slot fits better to the edge and then
make fresh and we did burnisher until you feel
the edge smooth it. When the paint dries, it leaves the leather would
have very rough feel. This burnishing process
will have delayed. She feels smoother once again. Okay. Lastly, use some
burnishing gum and a small piece of canvas
to polish the edges. I like using some
local knowledge, varnishing God places well a lot of gum or the edge
with the Canvas B's apply friction until you
can feel up correcting South is will tell you the
pieces ready and well sealed. When you're finished that
we can continue with. The next and final step
of the project is, is touching the edges.
5. Stitching the leather: Before stitching our project, it's helpful to visualize the steps of the
project in two parts. The first one has to
do with the stitching along the four sides
of the square. And the second one will be stitching the edge of the tree. As you can see, bending DH is considerably affect the size, shape, and space for stitching. This is important
to have in mind since we don't want
our stitches to have some problem during the
process or interfere with another stitch along the way and make the tree look silly. To do this, we need to
know exactly where to begin and finish the
stitches or the size first. To know the distance between
the size and the stitches, I'll use some edge bubbler
the marks and offset of four millimeters through any
other bees when passing it. You can also use your
ruler if you prefer. Or the same time. Mark a line four millimeters from one
edge of the trait inwards. While we want, is to make the intersection between
both lines we've just made. The second line will also
tell us where to start stitching both sides of
the trait in every edge. To make the stitching
poles use any diamonds, CISO, or a whole bunch
of your preference. For this lesson, I'll be using this Japanese I want you so and will later use as molar to
prom CISO for the edges. You will also need a
polymath and you're probably block to protect
your table from the chisels. Make sure the four
millimeter lines you Mark previously on
the leather are well visible since you need to find exactly where these
lines intersect. Then with your shuffle, mark the point of
intersection and the following points
with a whole will go. You can do this by just applying pressure over the leather
with a points of your she's like We want to start the second mark
left with the CISO, not the first one,
since this one will be done afterwards when
you stitch the edges. Pleasure leather over your
polyglot in which each chisel and polymath punch the leather through the entire
syllabus rate. If the letter is too
dark to see any hole, you can verify first by perforating it well
before moving forward, the thicker the leather, the harder it feels
to punch it through. When you get to the
end of the side, finish in one space
before the intersection of the lines from the
side and the edge, as you've previously did. When you're finished,
it's time to prepare our thread
to begins to change the first side to the other. You'll need a pair
of stitching needles and your preferred
type of thread. For this project, I'll
be using some polyester 0.8 Read Set 25 threat, also known as direct threat. The needles are a pair of Su Jue John James hand
stitching needles. To be part of the thread, you'll first need to
pause one tape of the thread through the hole
while the first needle. Then pull the tape until
it's long enough to manage it with your fingers and with the point
of the needle, thread, as you can
see in the video, pull the thread black boys
until it's glows through the hole and then pull
the experts it backwards. This will fix as red with itself and we allowed it to the
stage where other reason that needle coming loose do the same for the other
side of the thread as well. Now, when do you throw
these ready philosophers needle through the
first hole you've made on the side of this ray. And we the needle
on the other side. Boom, both needles together
to make sure they measure the same on both sides of the thread to be
as even as possible. Bosnia, from the right side to the next hole that's right. And with the needle still
inside the leather, grab the second needle. And with the help of your
fingers and the second needle, pull the first nail
to the other side. Then with your right hand, pull the thread slightly
to the back end. Insert the second needle through the same hole where the
first needle passed. We'll both needles
until the stitches will fixed and you've created the
first stage of your project. Continue moving forward through the entire side until
you reach the last hole. When you insert the second
needle through the whole, remember to pass it forward. The threat in the
directions of your stitch. This will ensure your
stage to look clean and even stitching for
the first time might be quite challenging, but don't worry, with practice, you'll be able to stitch
very easily and in no time. When you reach the
end of your edge and finish the chance
for the last hole, you'll need to go back one
competence stage backwards, n half stage to
ensure the thread finishes on the
backside of the trait. With both fluorescent
the same side, you can now cut them. And when I tried to burnish
that deep of both threads, as you can see,
the tips have been burned and actually
melted a bit. This is thanks to the wax that
this specific thread has. All the threads
like linen thread did not have that
much of wax on them. Which is why it's better for those threads to just be caught out when
they're finished. Do the same for the rest
of the sides of the trade. When you're finished
touching the sides, we now need to stitch
the edges together. To do this, you'll need to use a two-pronged
diamond chisel, your outlook and
polymath that as well. First, bendy edge the word itself to see how many
holes you'll need to fix. Then place your edge as flat
as possible and identify the intersection points
that were formed from the outline of four millimeters
you've previously done. Remember we move one space
for switching the sides. Now we need to mark
that first hole within, previously marked
as our first hole for stitching the edge. If you've got your tray with a chamfer of one
inch from the edge, you'll only need three holes, as you can see in the video, just ditch the edges. Mark and punch the three holes as well on the other
side of the edge. When you're done, both sides of the ash of the
perfectly aligned for stitching thread in the same way as
the way the sides. This time you only need 30
centimeters length of thread, bendy edge and make sure
that three hole from each side much perfectly the tree holes from
the other side. Then pass the first
needle through the first hole that is closest to the opening
side of the tree. Well, we have to
do now is to cross stage the first stage we do. So the edge is well
tightened together as the first needle through
the first hole from the other side of the edge and do the same with
the second one, as you can see in the video. The rest of the stitches
are going to be accepted the same absolute we previously did with the decides, making sure to go back 1.5 stitch backwards.
One finished. Great. Now that we've finished the first edge weight
and continue edges, I suggest you begin
with a one that is on the opposite side of
the ones we just did. So the trach and bend more
easily if you need to. When you're finished doing this, there's still one more
step to your project, which we'll see in
the next lesson.
6. Finishing the tray and final project: Awesome. Now this point in the my site, we're almost done
with the project. However, there is still a slight extra step you might want to do before finishing it. And that is to polish
the entire letter to give it more
shine and presence. You can see the black pig skin looks actually a bit though. So to improve this,
I'll be using another brush and
some black green for another polish up some
cream with a hair brush. And again, barrage
India entire leather. We don't want this to
look excessively polar, so just enough to
make it look nicer. You can do the same
with the Buchla that if you wish or
leave it as it is, polish the Gremio blow
with the same brush and after a few parcels that
way we'll be ready to use. Because the other
is quite flexible. You can easily band the tray in wars embolism to your
product with more 0s. Also when using very soft
and flexible others, you can bend your Dre and take it elsewhere
it comfortably. We have finished
a little project, is now you're joined
to make your own tray. And when you're
finished, share in the produce section so other
students can see it as well. Thank you so much for
watching this lesson. I hope you have enjoyed it and I'll see you
in the next one.
 David Gonzalez, Industrial Designer