Transcripts
1. Welcome to the class: Hi and welcome to this
class where you learn how to restore in line
year-old leather goods. In this class, I want to
show you how easy it is to align with pig skin,
any leather surface, and to clean and polish your project using
some other soap and some wax that you can easily get in a convenience
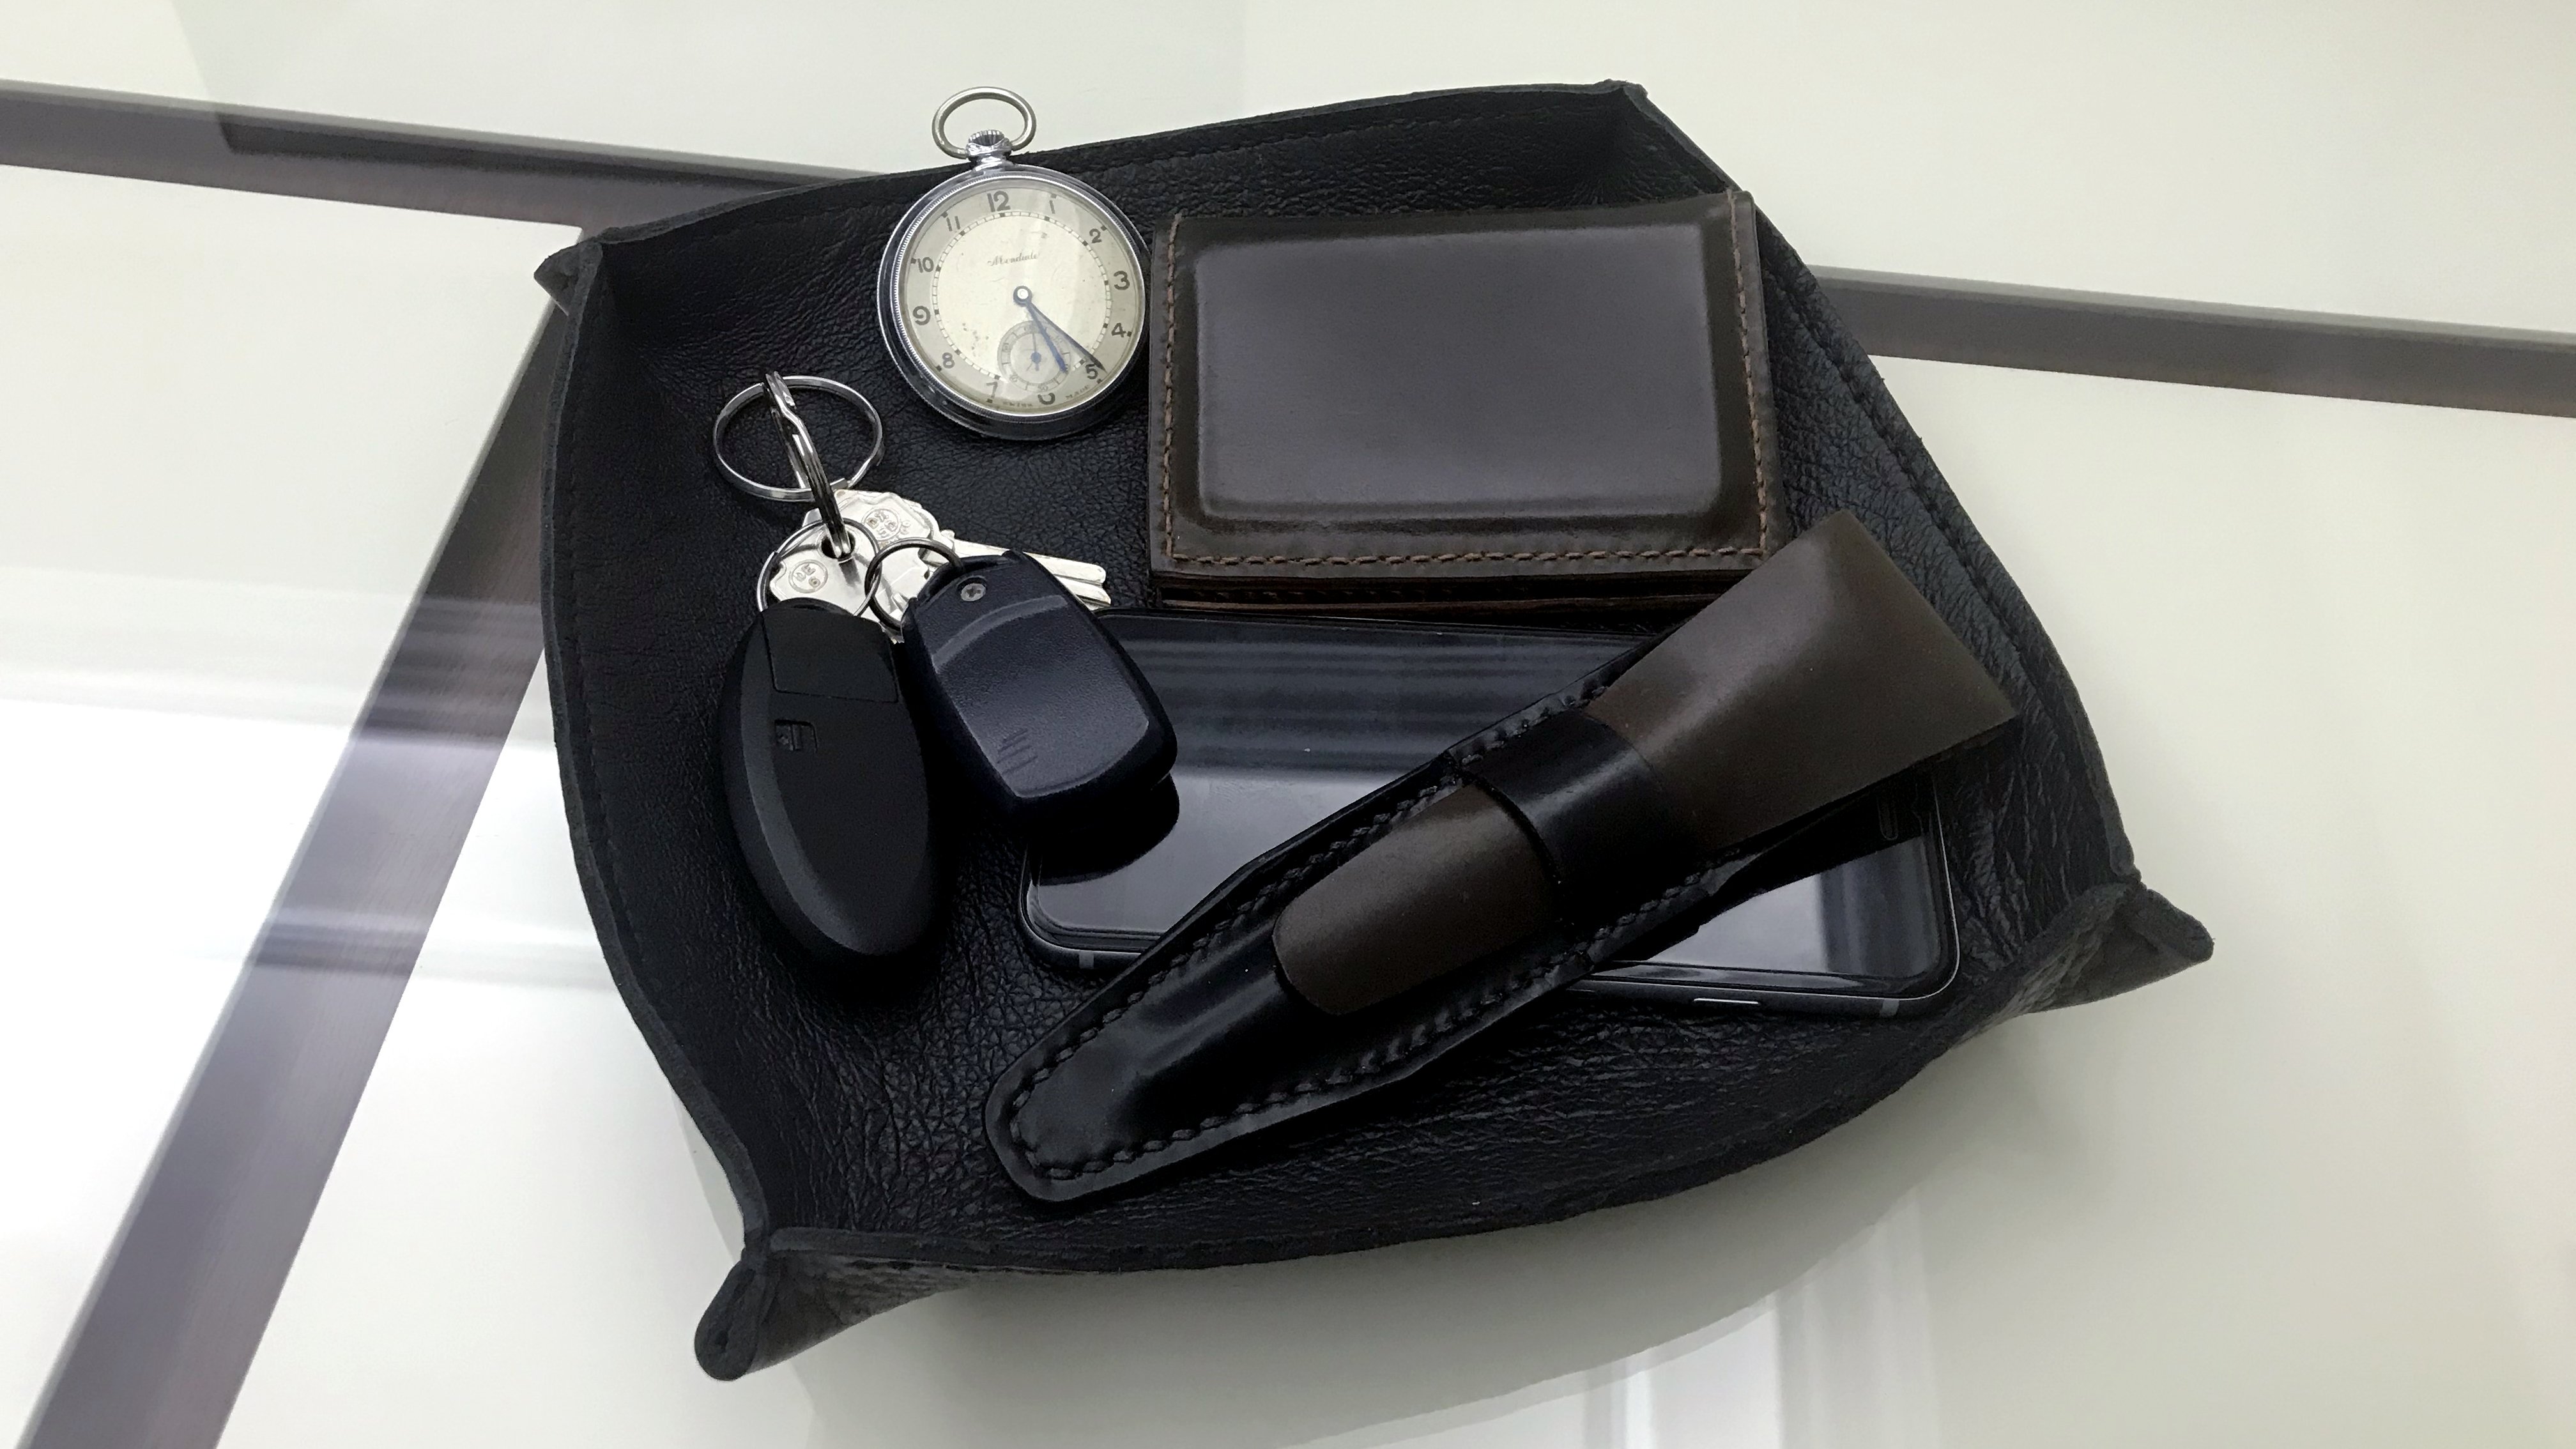
store or online. For this project. Other restoring this old
Watch box I have and we'll also make some cushions that it used to have
out of leather. To make the cushions.
It is recommended you have previous knowledge on
how to stitch together. However, the rest
of the project that includes the restoration
and polish the box, no previous knowledge
is required. So if you haven't
worked with leather previously, don't worry, you can easily follow the steps shown in this cluster,
restore your goods. And we wish to
learn how to stage and paint the edges of
your other projects. You can take a look at
my other classes where I teach how to create a
project from scratch. The project for this class
is for you to restore any leather goods you have following the methods
learned, the lessons. So without any further ado, let's move on to the next
lesson where I'll show you how to line editor
there project you wish, using some
high-quality pig skin.
2. Lining the inner parts: So let's begin with the
restoration of our leather goods. For this project, I have
this whole Watch box. There is actually a
very decent conditions. The box includes three
separators for the watches. They are firmly
pressed to the wall so the box and are made out of PDF line with
clear color pig skin. In any restoration
or team project, I suggest you always
Analyzer functionality and use of each part
of your product. This way you can make establish
constraints, so to speak. So for instance, by
understanding how tight the PDF panels are
with the walls, I know I shouldn't use any
extra letter in there. So first I want to know where
the new lining will go. And in this case,
it should cover both sides of the panels, as well as a small portion of the top which will be
exposed to the new leather. If you have a similar case, I measured your leather and using a ruler and
accept the knife, got the rather to
add desired length. Then check your measurements
are correct and apply some leather glued
to both surfaces where the leather
lining will go. Carefully cover one side of the first panel
with a new leather and move your way through until you've covered the other
side of the panel. Use your pair of scissors to
cut in excess of leather. Now for this case, I'll repeat the process on the other side of the panel under the same
for the second PDF panel. Then I'll cut a small piece
of leather, very small, just enough to cover
the small section that is left uncovered with lactic skin fluid and
cosine x's out of it. I'll go to you never
bring the sides that are visible in this smaller piece. And when they look
nicely finished, I can reassembly the
panel structure. In the next lesson,
I'll show you how to line the inner part
of the litter box. So if you have a
similar product, you can follow these methods
for its restoration.
3. Lining the inside of the box: Lining the box is perhaps the simplest process
of the restoration, since we only need to measure the right
length and width of the inner areas and
cut the lining of the desired length to
glue them directly. So in this case, as you can see, I'm measuring the dimensions
of both inner sides of the bugs and we'll
proceed to cut the leather using
my cutting ruler, exacto knife and other pen. To apply the glue
onto the surface. You can use either your
fingers or glue applicator. You can even use an old
credit card if you wish. It works perfectly fine as well. However, it's important that you cover the entire surface of both inner parts of the box and the pig skin you use
for your project. If you're using any
other type of letter, this applies in the same way. One way you can
apply the glue is covering a small section
on the surfaces, glue them together and
then continue applying more blue and joining
them as you move forward. When you're done fixing
that others together and make sure they are
flat as possible using a plastic bone folder or credit card and your fingers to press firmly board
parts together. Now if you happen to have any access of glue on the sides, you can easily rub it
out with your fingers. Leather gloves are
really simple to remove from many surfaces
once they dry out a bit, the process of
learning the box with the front section and then place a PDF panels in the box before moving forward to make
the letter cushions. In the next lesson.
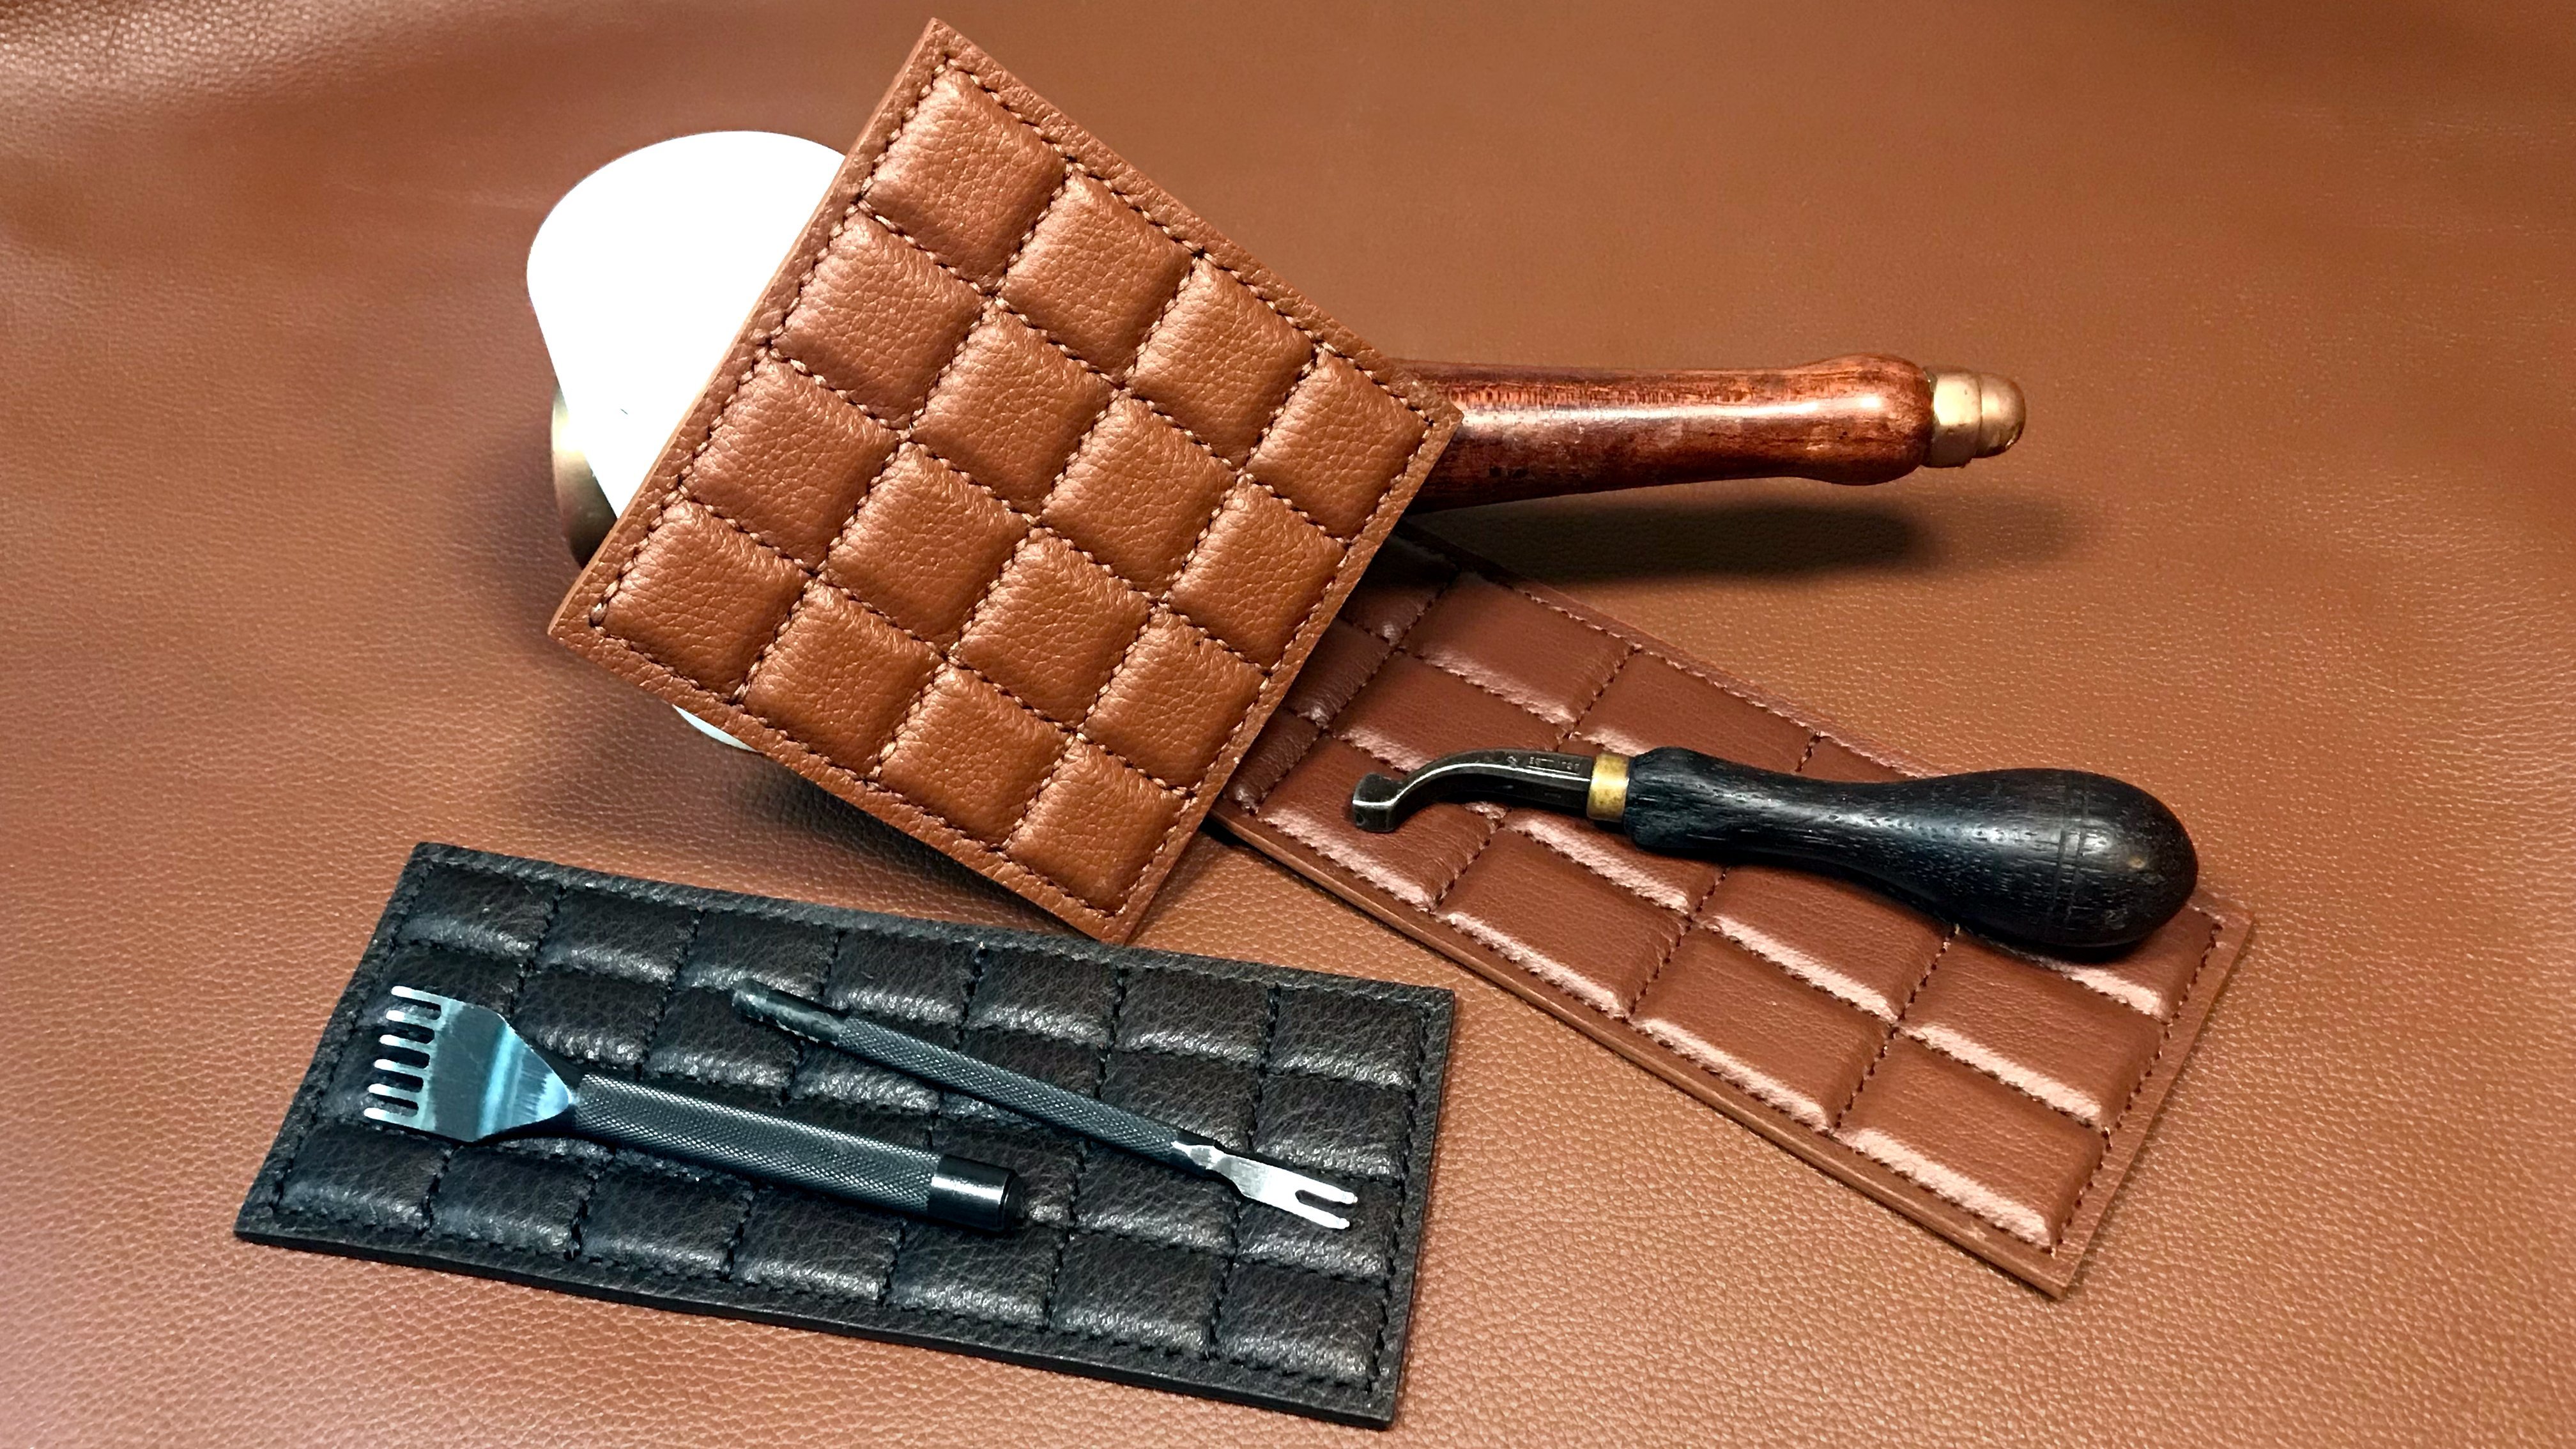
4. Making the leather squares: Now in this lesson, I'll
show you how to make a small cushion of
leather filled with foam. If you've been working with
leather for some time now, you'll see how easy and fast you can make one
of these cushions. For this part, I'll be using some black grunt
and letters since I want the cushions to be more solid that only
with the pig skin. If your project is similar and you wish to make
a question first, measure and cut the square root of the size you
want your cushion. In this case, I'll be
cutting mine to fit in one of the sections
of the watch box. Then use a rounded
object like a coin to draw around the outline on
the edge of the square. Coincide great tools for this. Actually, any cellular crafter, you might already be familiar
using them once in a while. Around the edges with
your sister and make the stitching holes using your diamond shape
fills or pricking iron, poly mallet and poly
block, as you can see. Will you sum from to
fill the cushion? In this case, I'll only
use to form pieces for each questions is
the thickness of the foam is quite considerable. And as we did with
the other squares, cotton around the edges
of the questions. Now to create a form
with a leather, leather glue normally
makes sure the surfaces are covered in blue before
joining them together. Got an extra piece of
leather that is going to be the one that
closes a question from behind and then
proceed to glue it in the layers of form and leather as you'll
see in the video. Then punch the stitching halls, stitch the cushion and currently excess of leather
left on the sides. If you have another hammer, it can be very convenient to flatten the stitches
of the cushion. Great. So for this project, I'll make three more cushions
and leave two spaces blank for jewelry and other
items in my letterbox. In the next lesson,
we'll see how to clean the outer
leather of the box.
5. Cleaning the box and final project: The final step is to clean the outer letter and give her
box a nice polished failed. To do this, use your
preferred brand of leather soap and give it a
gentle pass with a sponge. Some soaps might come with their own sponges like
the one I'm using. But you can use any
soft sponge you have. Just make sure it's
clean and hasn't been used with dyes or
paints previously. When you're done,
leave the rest for around ten minutes and then use some leather wax and I hold her shoe brush to apply the
wax and make friction to the entire surface just as if you were to
publish any issues. It's an exactly the same way. Make sure you polish off that other parts
of your project. In this case, I'll
polish the outer data as well as the small brown
bars on the inside. We're done punishing
them therapies, wants to give it a second polish to make it shine even more. And after a while you're done. So as you can see, we've given this project
are very different. Look as how it was previously. So thank you so
much for watching. I hope you have enjoyed taking
this quick class on how to restore and give
a different look to your leather projects. With this class,
you are now able to restore your leather goods and line them with pig skin
as you saw in the class. When you're finished,
don't forget to upload your product in the
project section. If you'd like to class and wish to see more
and other projects, I invite you to follow
me and I hope to see you in the next
one. Have a great day.
 David Gonzalez, Industrial Designer